

Winter Solstice Adventure
In the blog this week I share with you the highs and lows of landscape photography as I head out on winter solstice to capture some images.
The Longest Shortest Day
Back in June of 2017, I headed out with the camera to create some landscape images on the summer solstice. You can see the images I created that day along with the video I made by clicking here.
I really enjoyed that day so I knew that when winter solstice came along in December I was going to spend the day out with the camera. Being the shortest day of the year it shouldn't have been nearly as tiring as the summer solstice.
Unfortunately when winter solstice did come around the weather was grey and overcast. I had checked the weather forecast the night before and had planned my locations to suit the weather. I'm all for "embracing the grey", but a full day might well be a challenge too far even for me!
As with summer solstice, I spent the day capturing images and filming my experiences. It was definitely a tough day. Maybe I was tired, maybe I was feeling challenged, but one thing is for sure, it sure did feel like a long day. However, saying all that I did have some great experiences, and if you watch all the video you'll see something special happen right at the end.
Enjoy!
A Winter Solstice Gallery
As always I do hope you enjoyed watching my adventures. I tried to make the most of the weather conditions and the images I took that day both reflect my varying moods and the conditions I had to work with.
You'll have seen these images in the video, but here they are again in case you want a closer look.

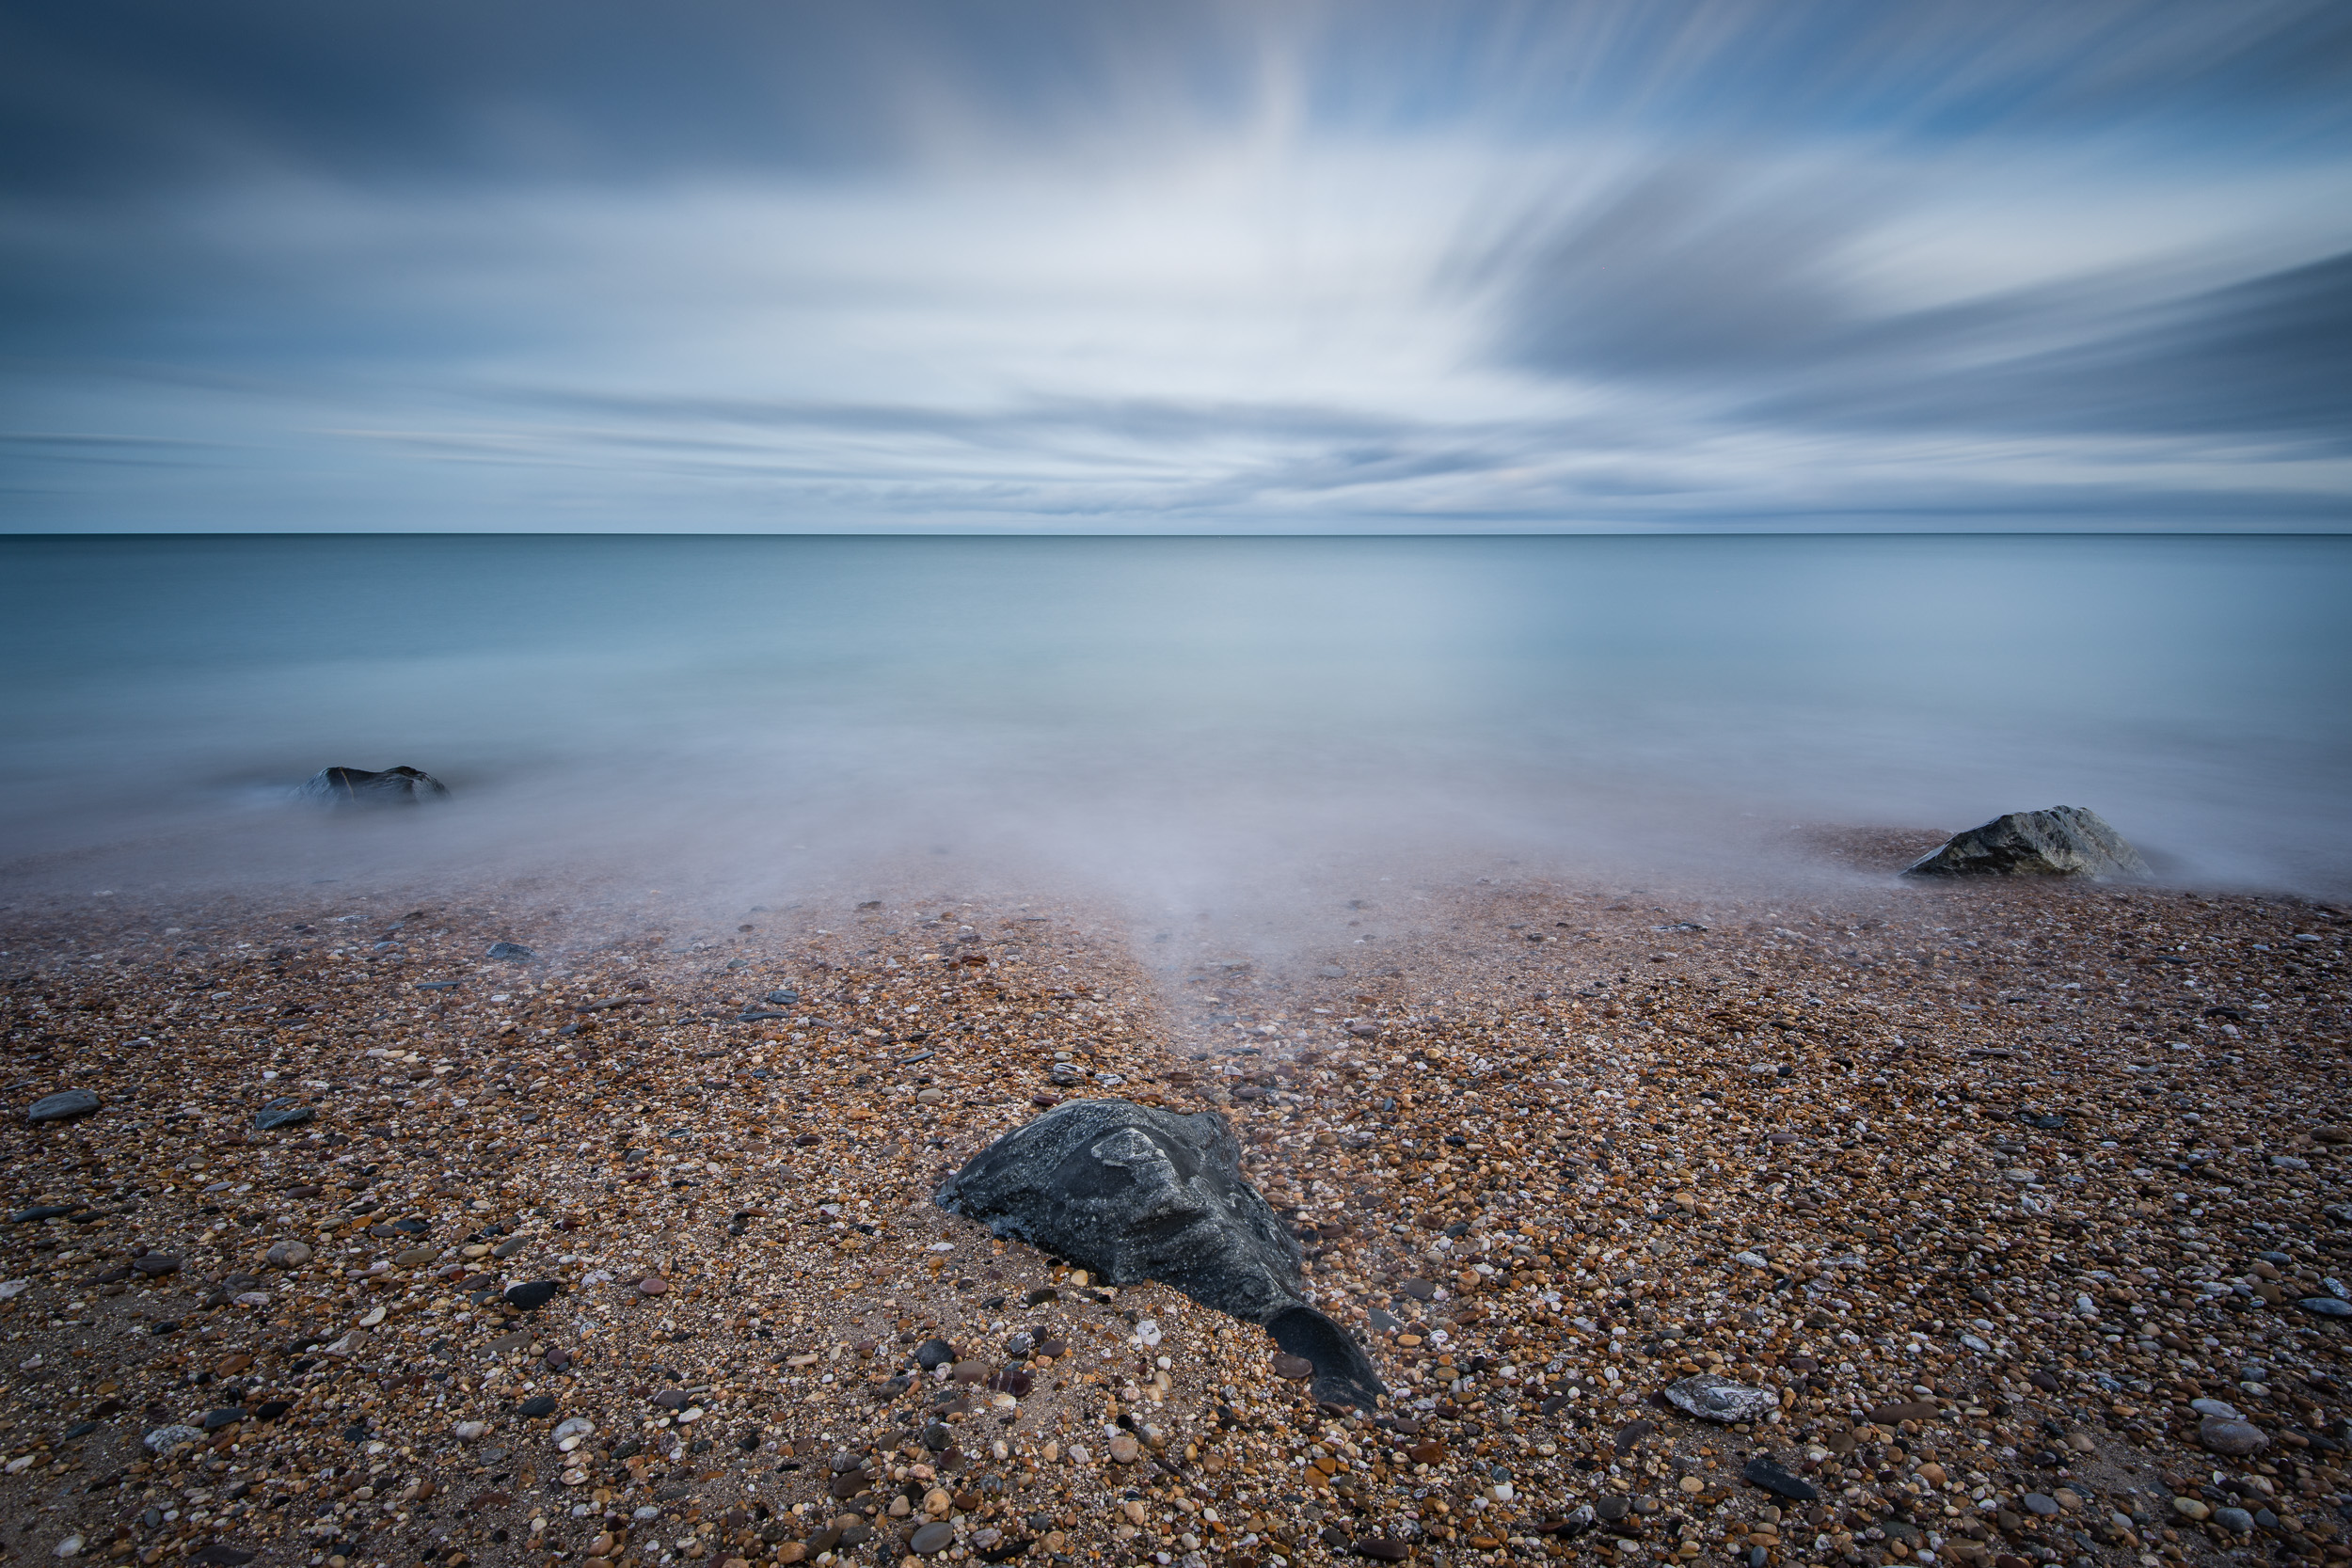
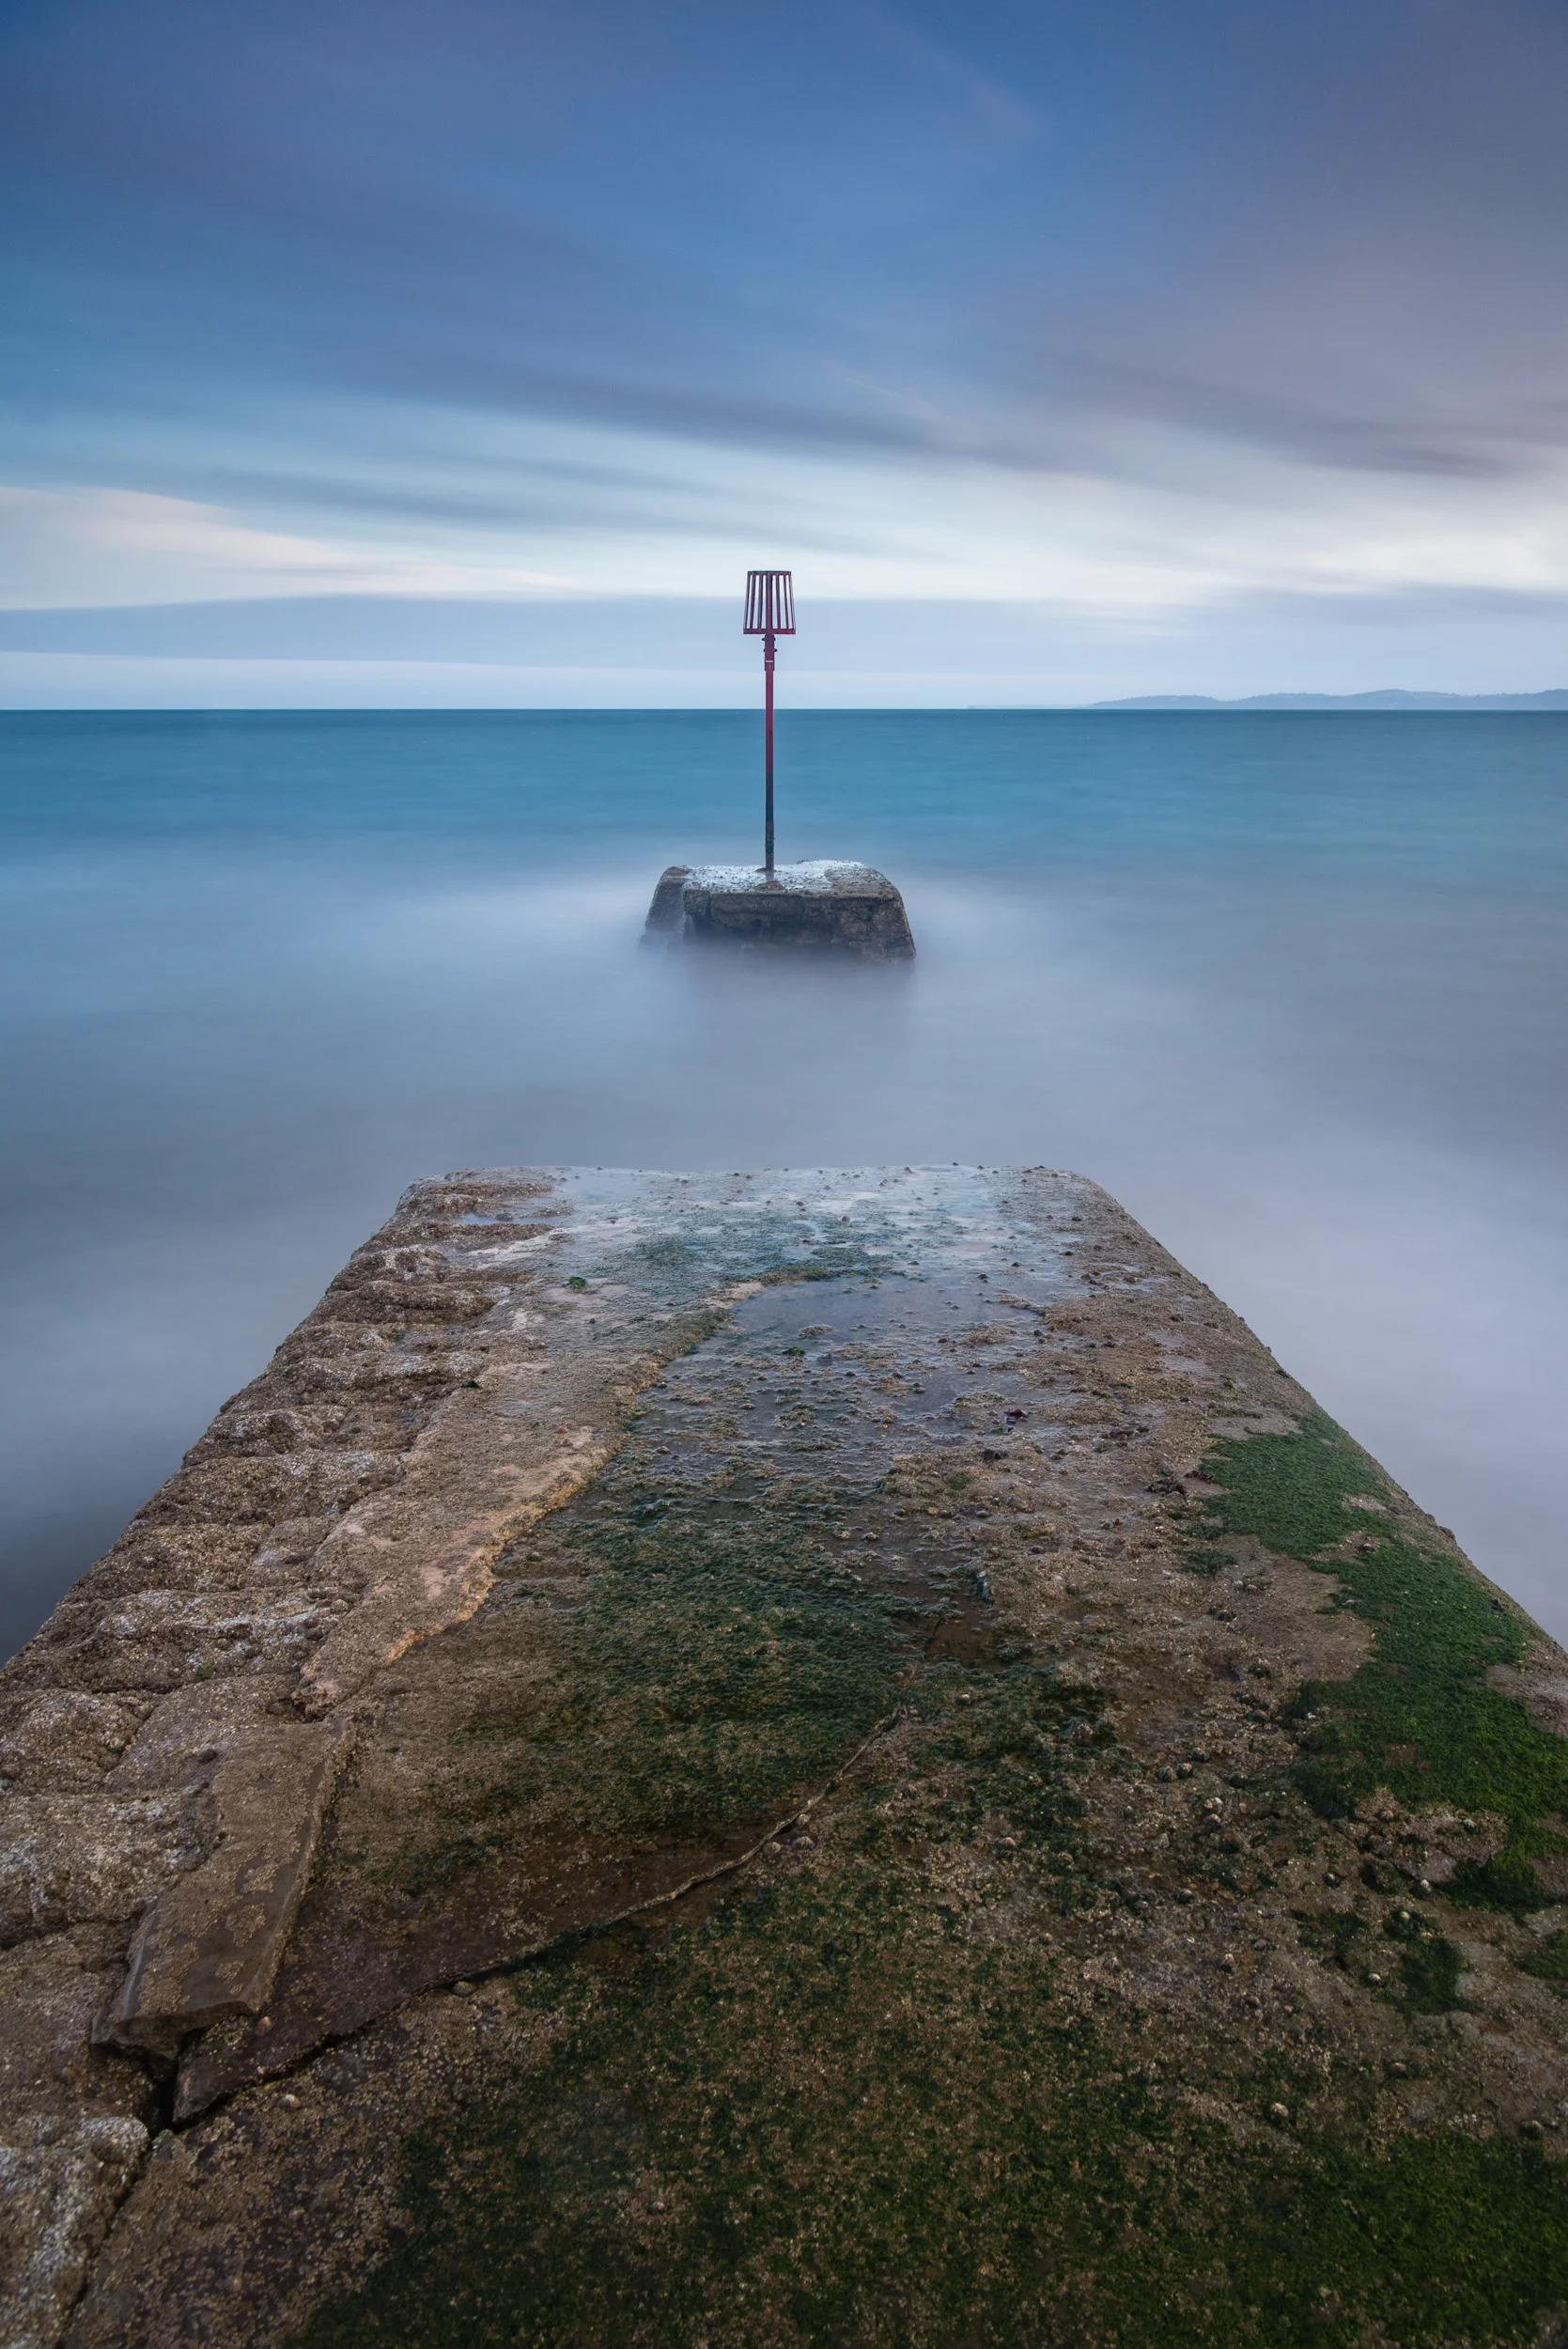
Nikon D850, Nikkor 16-35 mm f/4 VR at 19 mm, 180 seconds at ISO 64, f/11, Lee Filters circular polariser and Big Stopper.
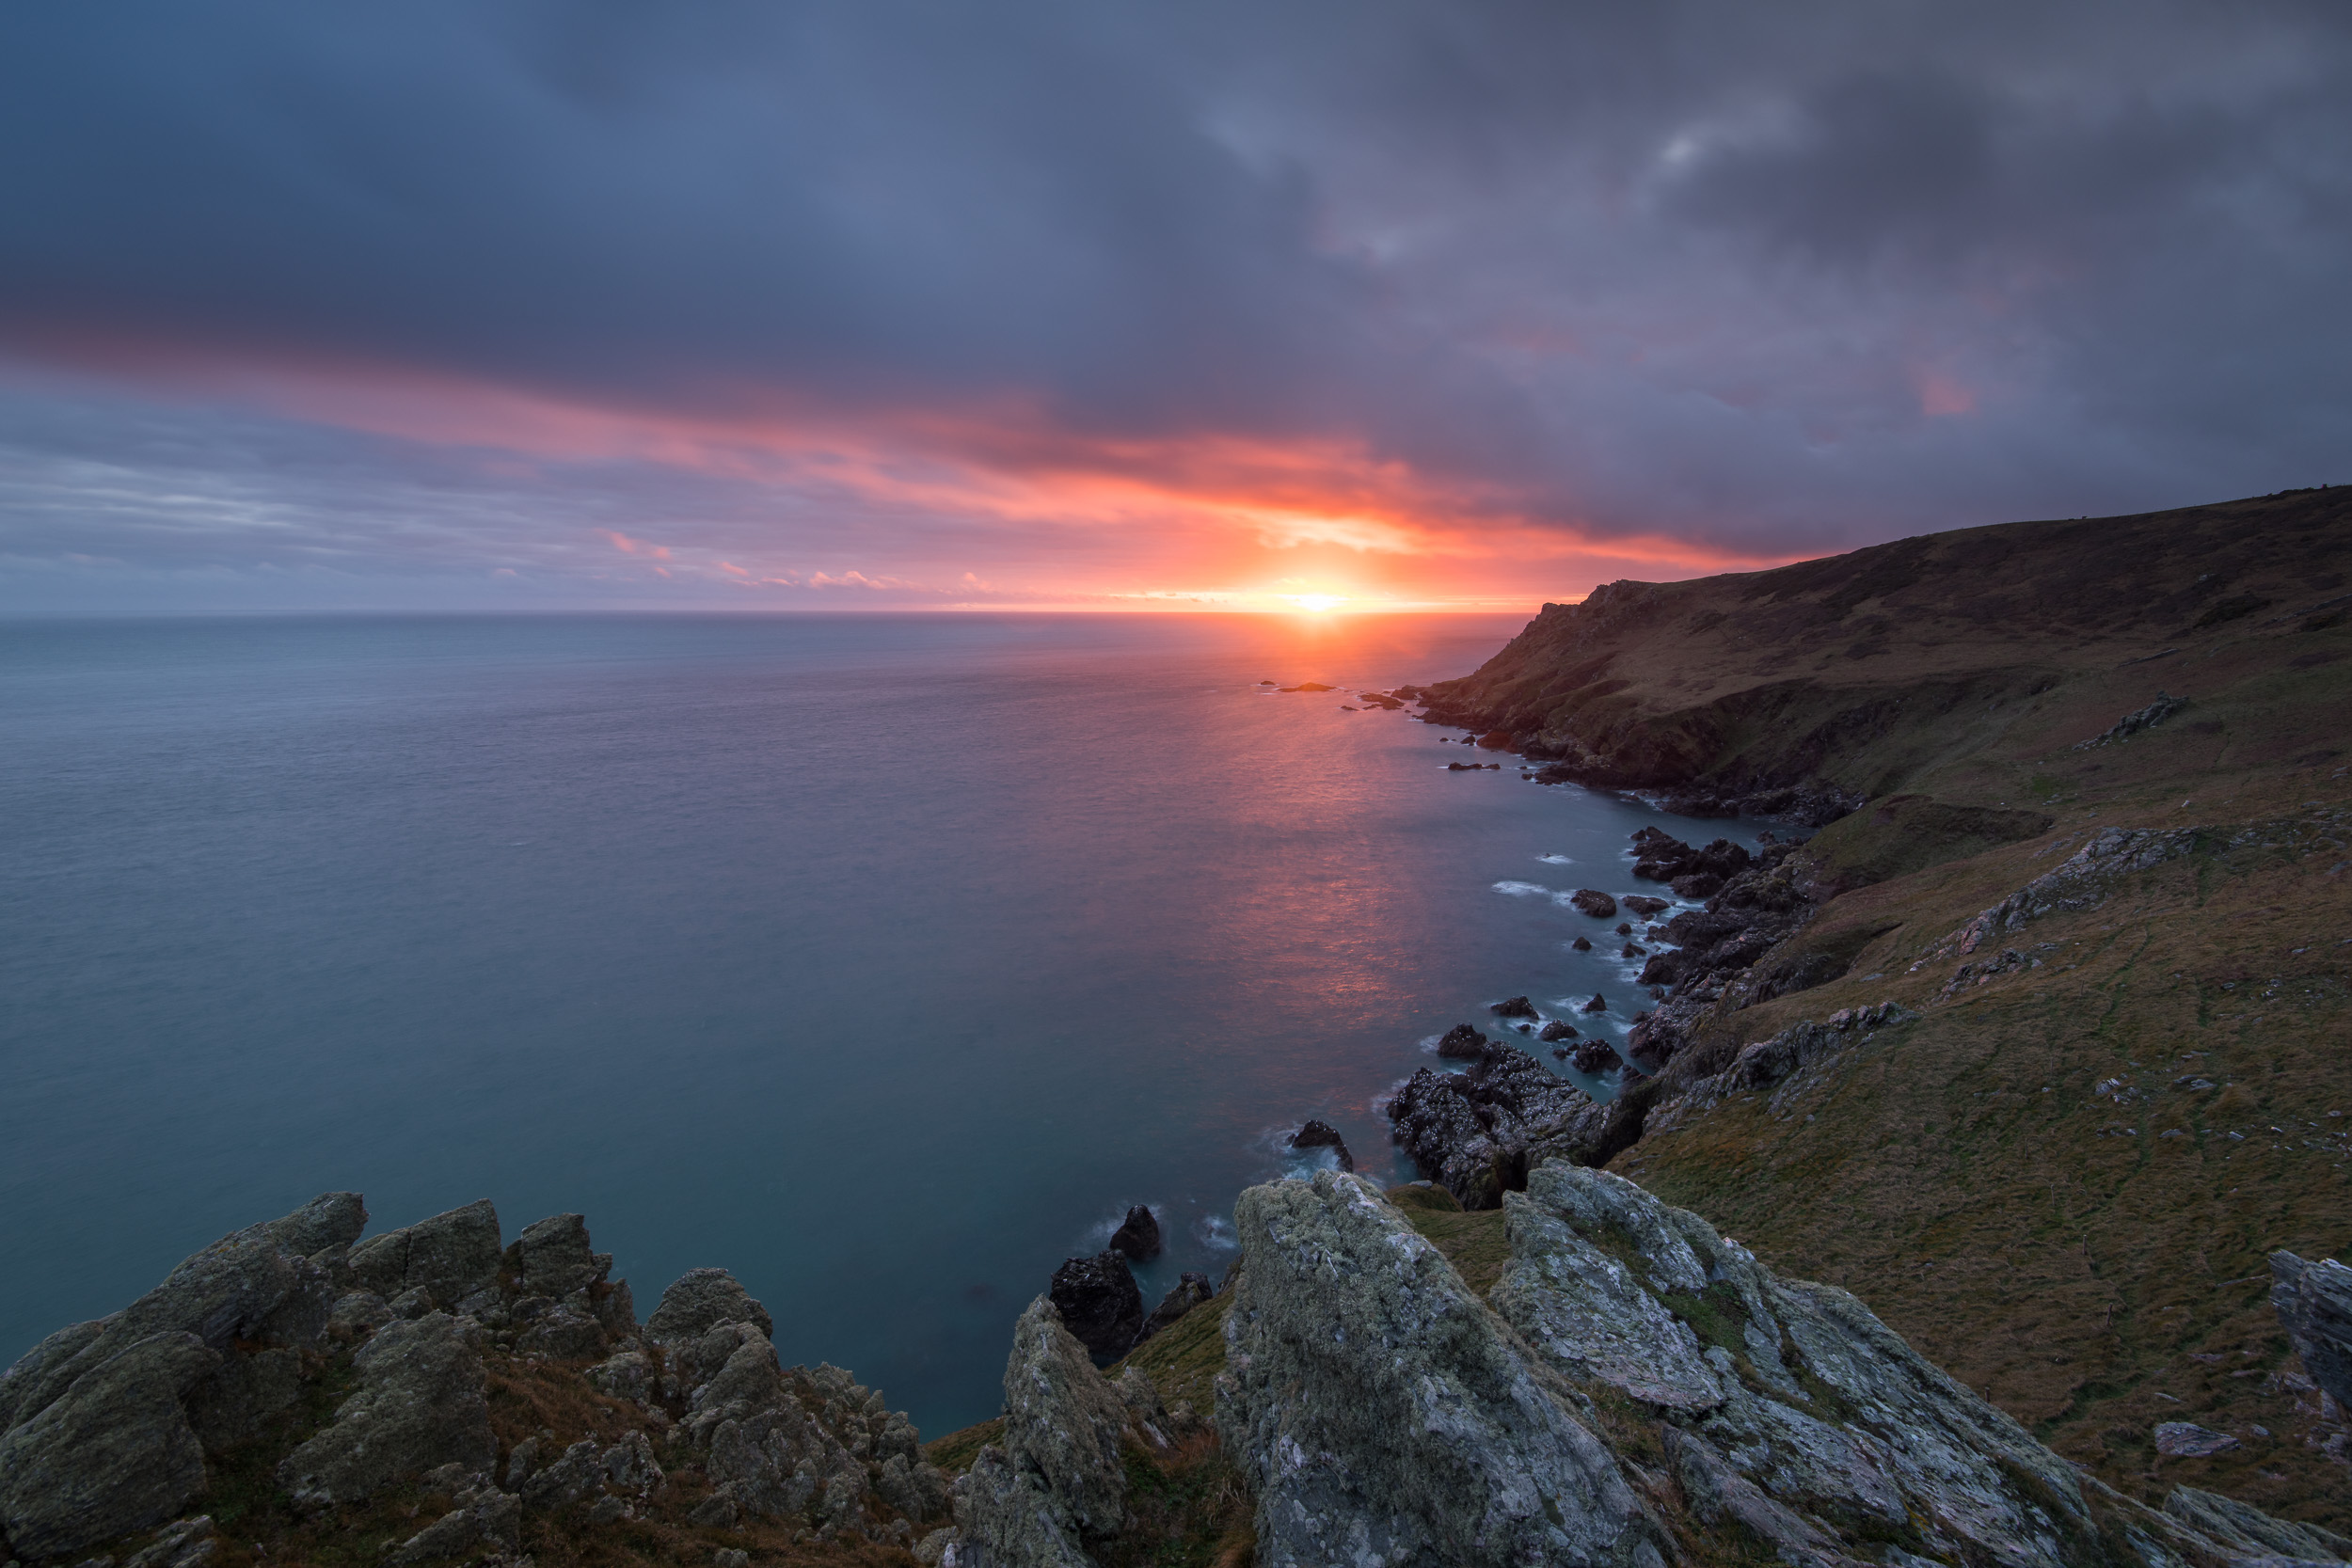
Nikon D850, Nikkor 16-35 mm f/4 VR at 19 mm, 180 seconds at ISO 64, f/11, Lee Filters circular polariser, ND grad and Big Stopper.

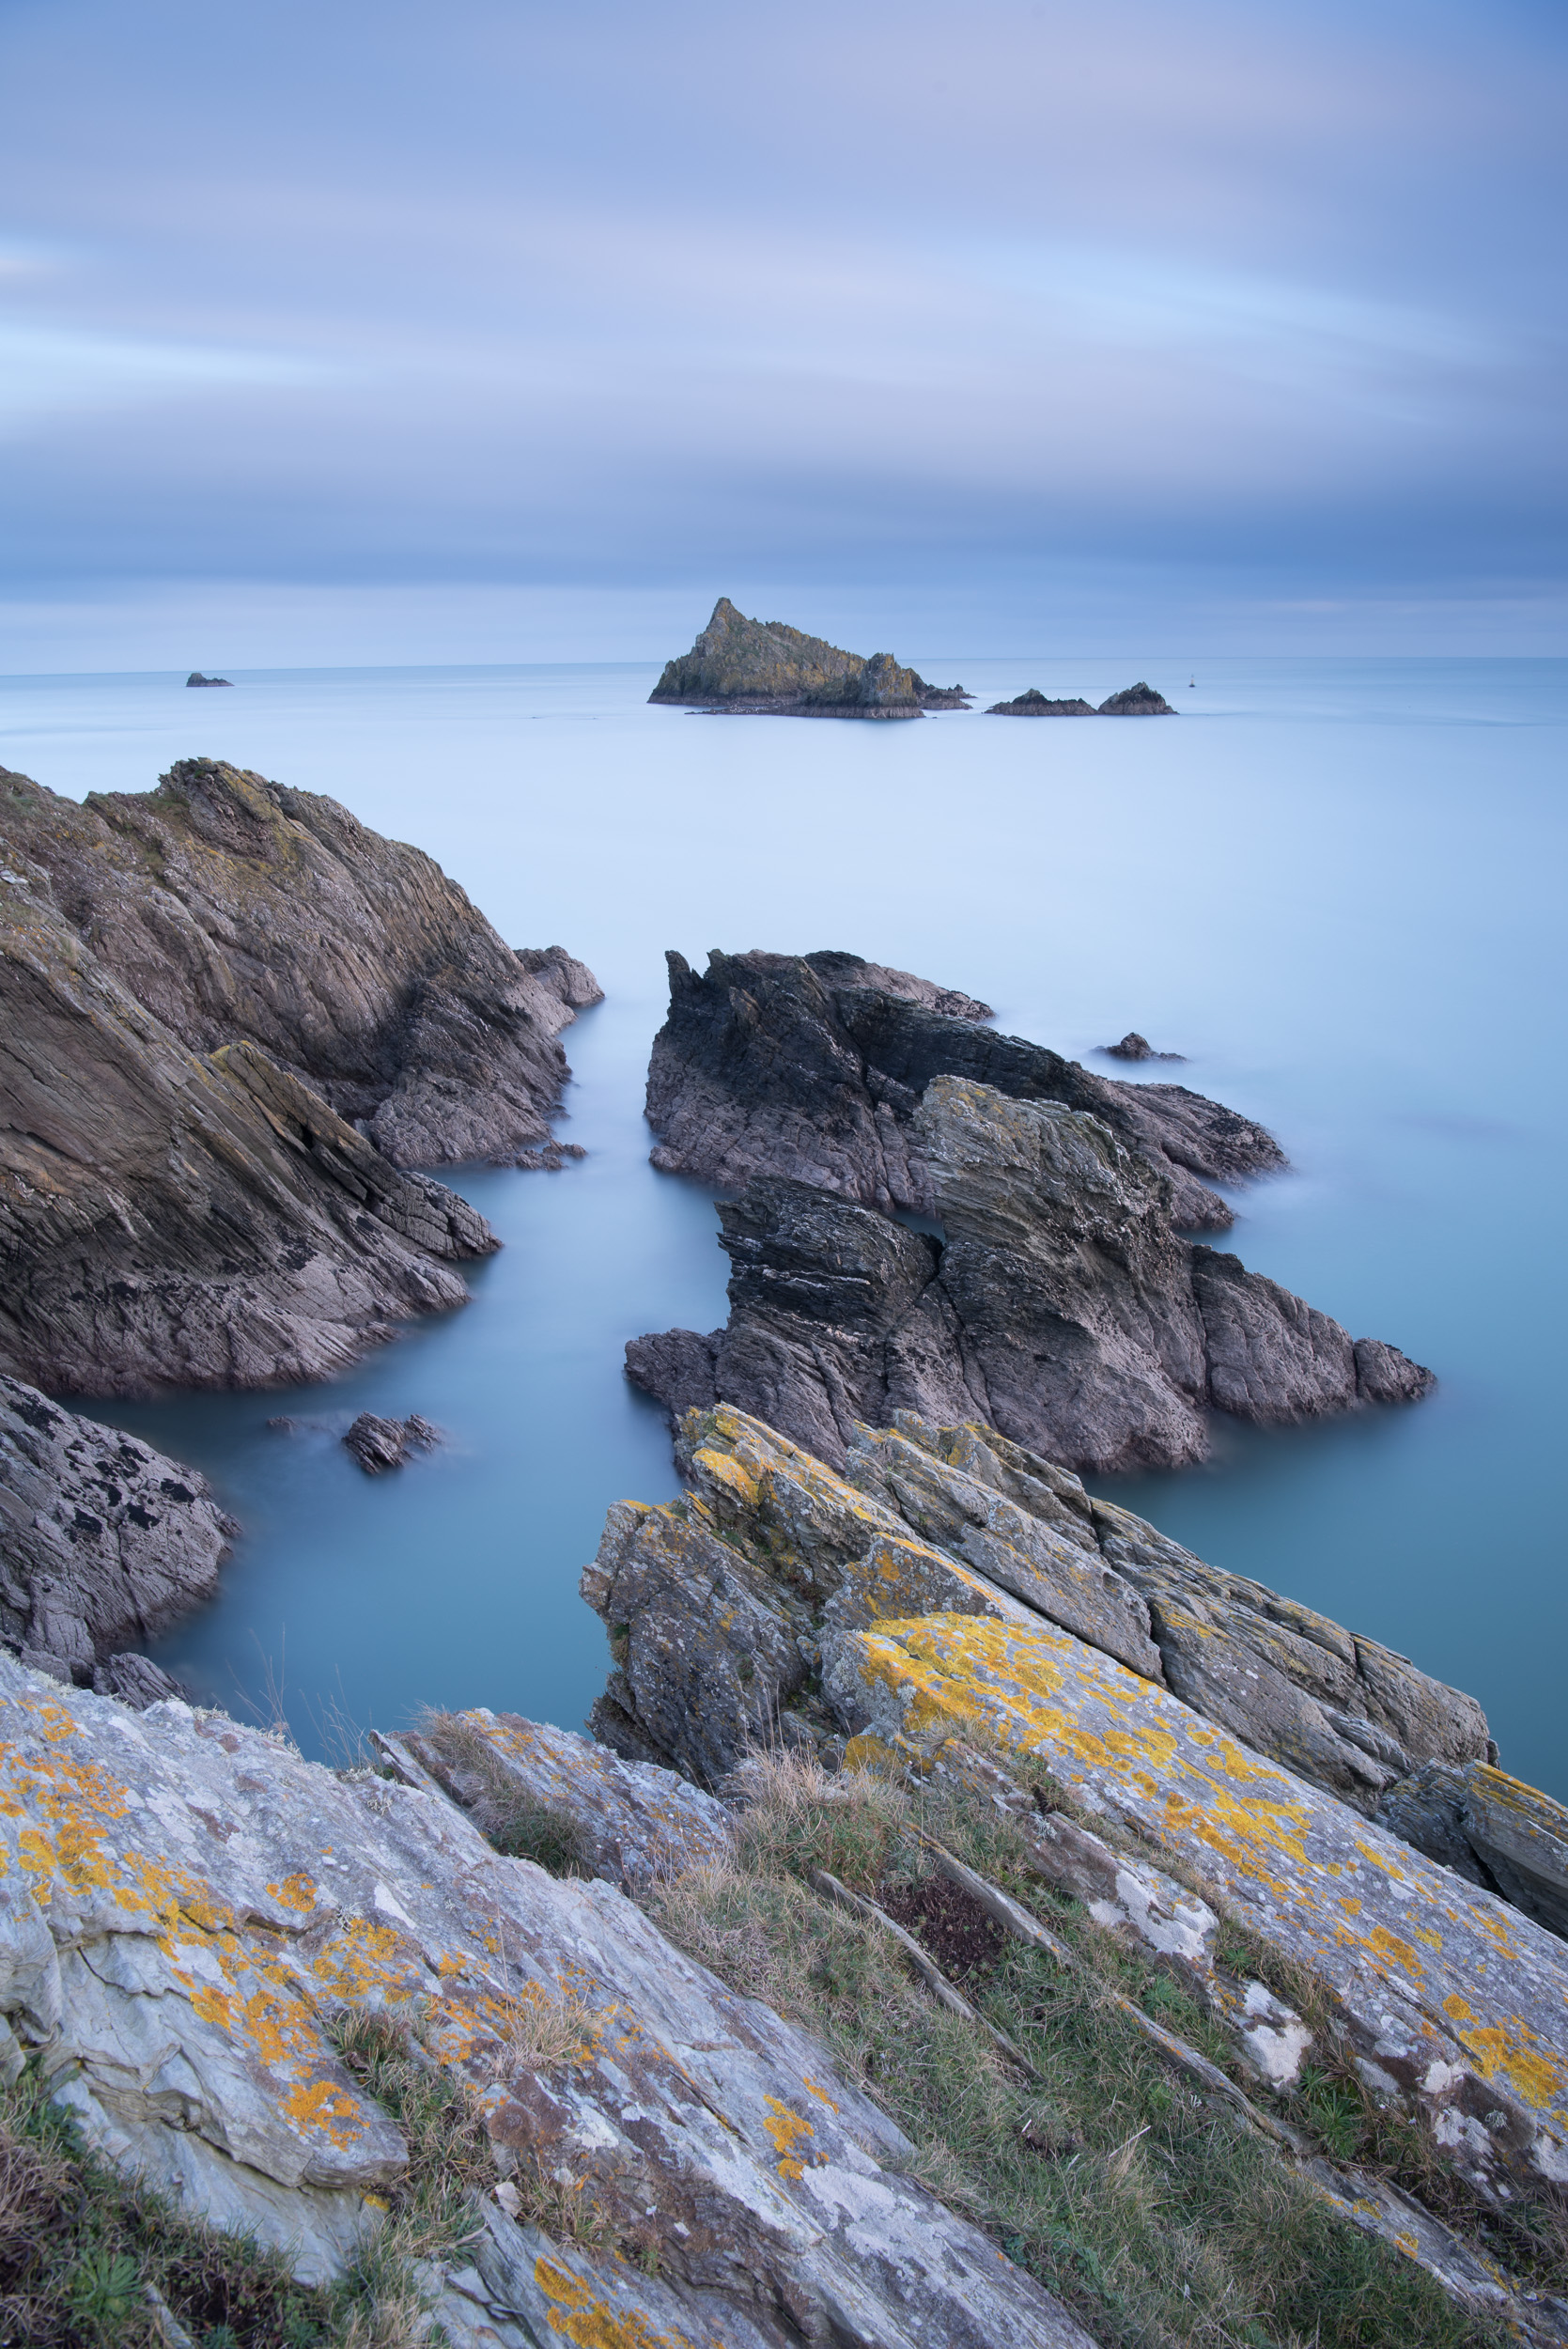
Nikon D850, Nikkor 16-35 mm f/4 VR at 18 mm, 180 seconds at ISO 64, f/13, Lee Filters circular polariser, ND grad and Big Stopper.

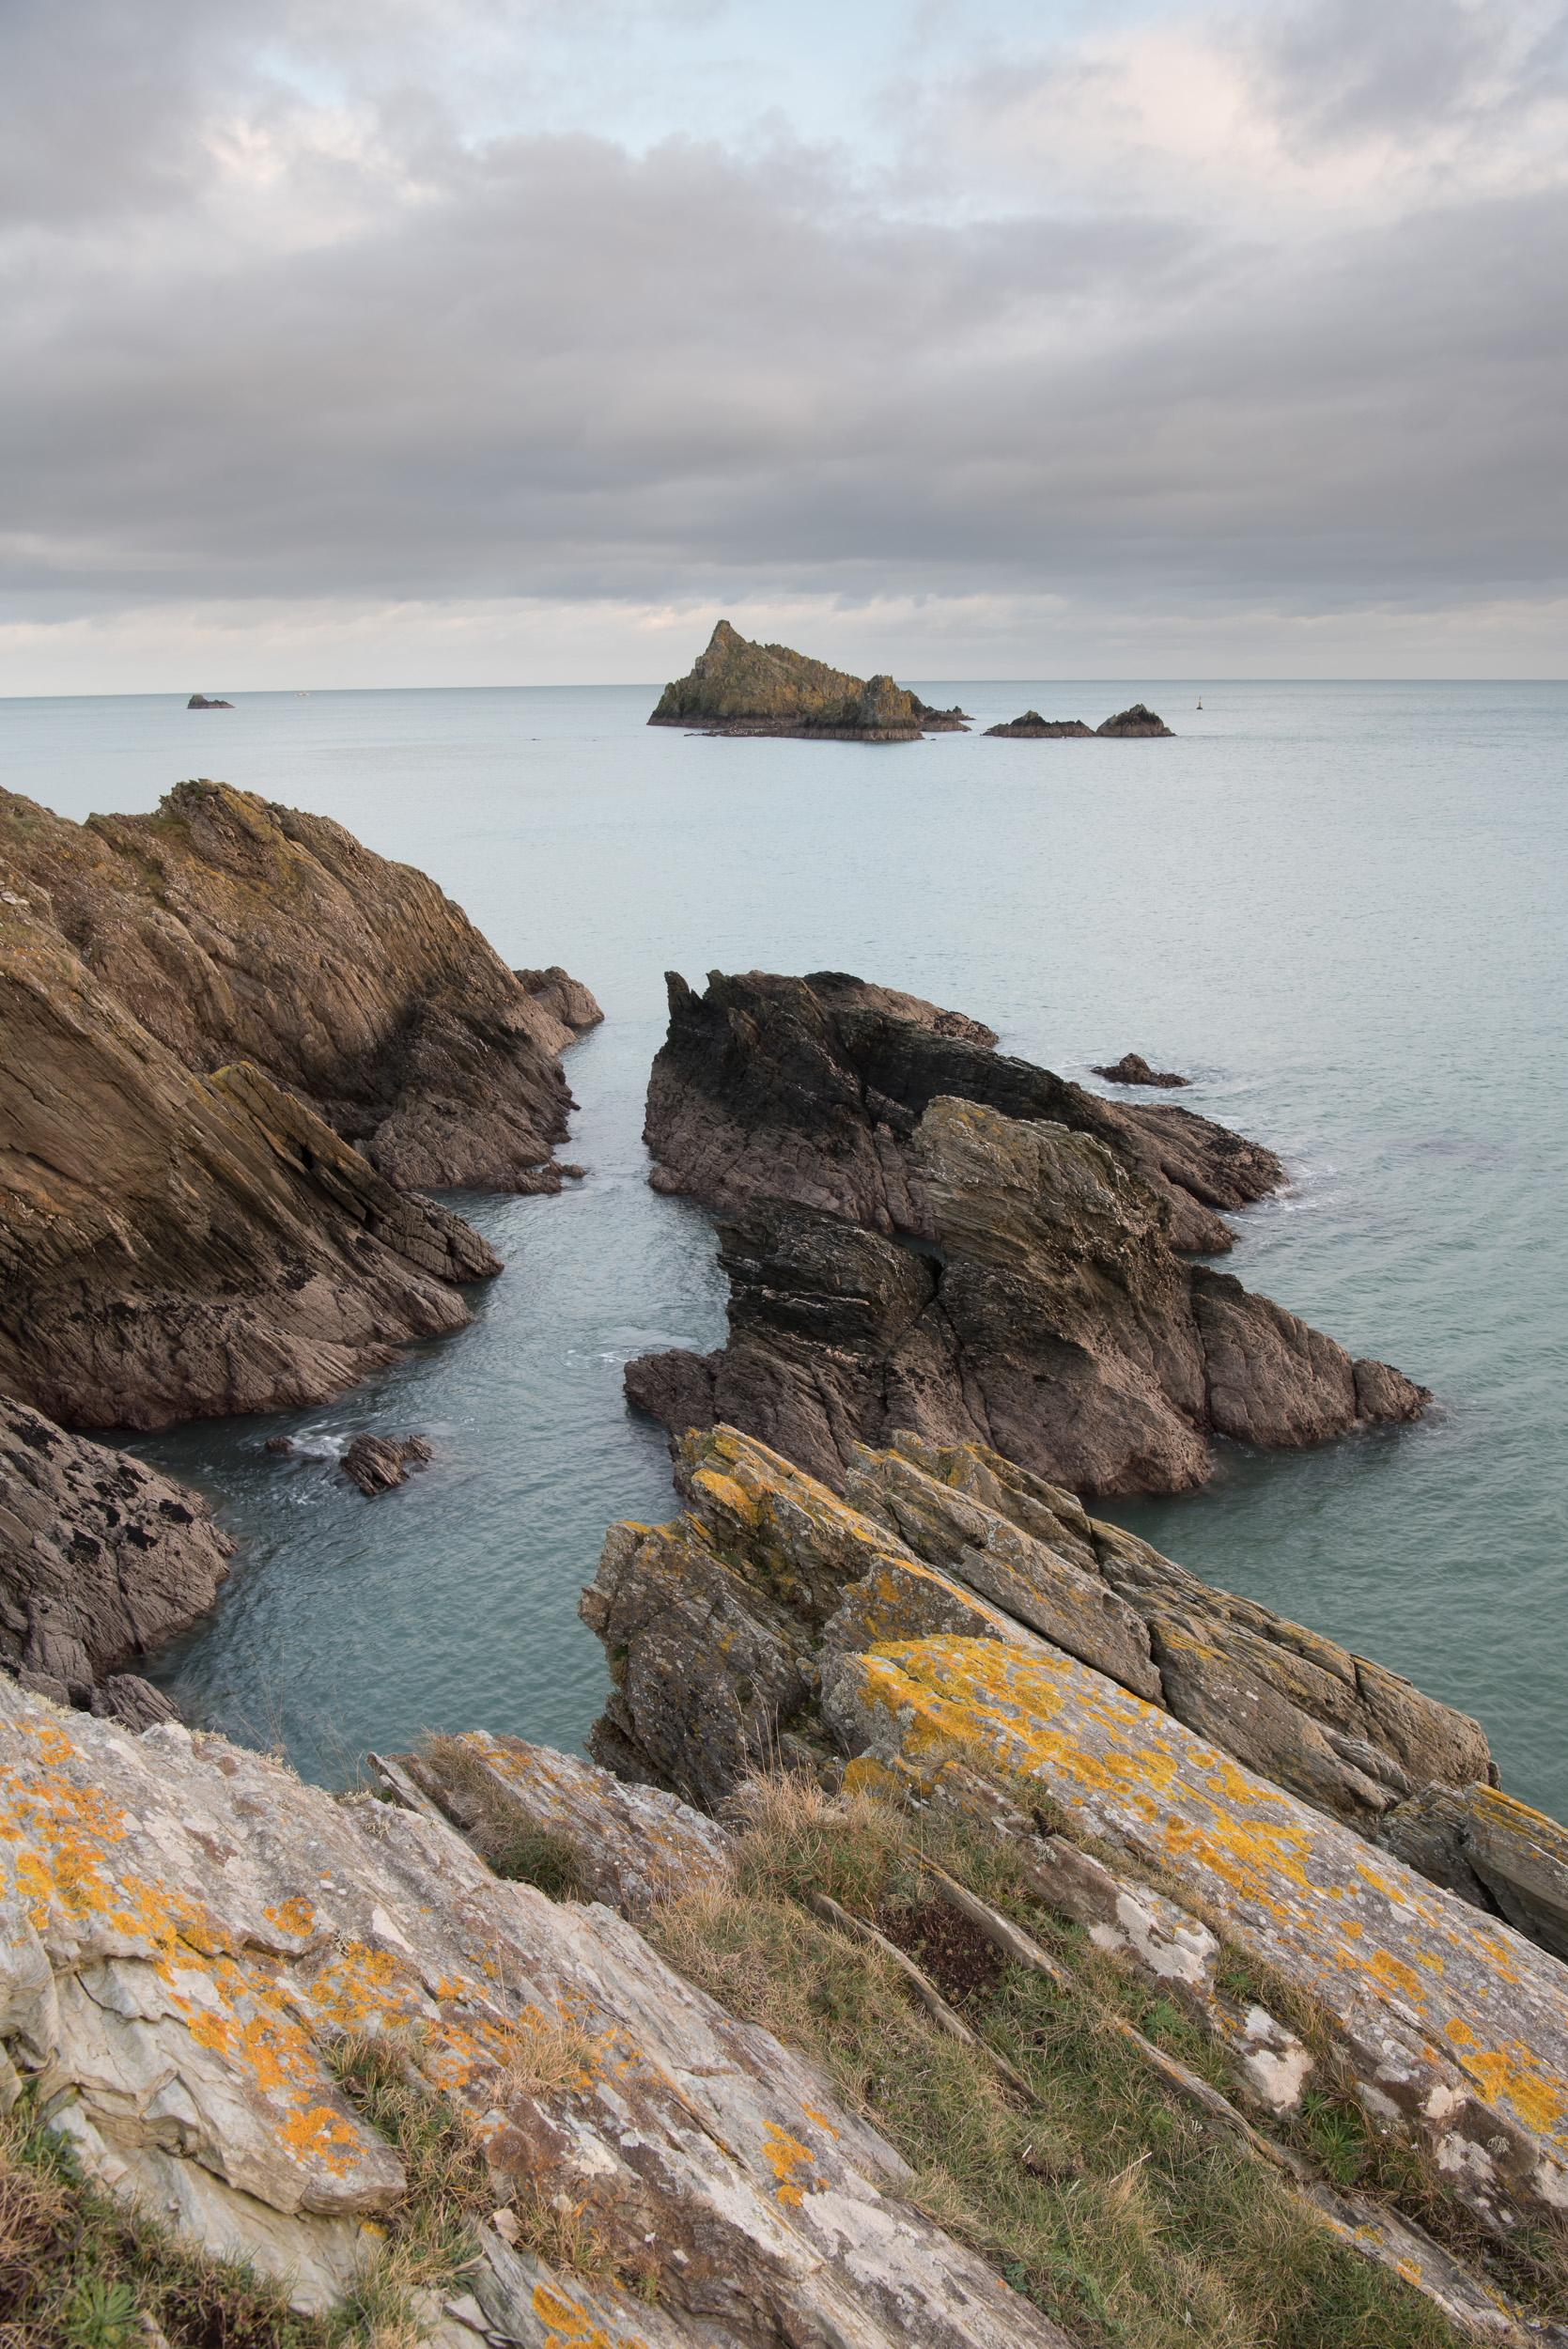
Nikon D850, Nikkor 16-35 mm f/4 VR at 18 mm, 8 seconds at ISO 64, f/13, Lee Filters circular polariser, ND grad and Little Stopper.
Nikon D850, Nikkor 16-35 mm f/4 VR at 17 mm, 4.8 seconds at ISO 64, f/13, Lee Filters circular polariser, ND grad and Little Stopper.
Well, I do hope you enjoyed those images and my winter solstice video. Did you head out for winter solstice? Have you had days where landscape photography has been both a joy and a drag? Let me know in the comments below.

My Field Guide to Using ND Filters
In this blog post and video I take you out on a shoot to Froward Point in South Devon to take you through my workflow when using Neutral Density (ND Filters). It doesn't matter what strength of ND filter or even who makes it, my process is the same. Read the blog post and watch the video to find out more!
Control
Modern cameras are wonderful and amazing bits of technology. They allow us to turn our creative visions into beautiful images that we can connect with. We have a lot of control. We can change shutter speed, aperture, focus, ISO, and position, all with the aim of capturing that moment. One thing we can't control is mother nature and so sometimes we need a little extra help "control the light".
This image required an exposure time of 72 seconds. Generally speaking it would not have been possible to get an exposure of this length without an ND filter.
This is where filters come in. Now, there are such a dizzying array of filters available it would be slightly foolish of me to try and cover them all here, so I'm going to concentrate on the use of ND (Neutral Density) filters or to be more specific how I use ND filters.
Though I use ND filters in my landscape work, it is probably in my seascape work that I will use them the most. They allow me to creatively control how the water looks in the image. It could be that I want to lengthen the exposure to 1 or 2 seconds to show the path of a wave, or even 3 or 4 minutes to smooth out the texture of a choppy sea. Sometimes you just can't get exposures times like that just with the camera alone.
The Process
I have a range of ND filters in my bag, all made my Lee Filters (my filter manufacturer of choice). I have a 3 stop, 6 stop (Little Stopper), 10 stop (Big Stopper), and 15 stop (Super Stopper). The Super Stopper is a recent addition to my kit bag and you can read how I got on with it on my first trip out with it here.
No matter which ND filter I use, the setup and execution process I go through is the same. To show you what my process is I've created in this field guide video which takes you through my process while out on a shoot.
To recap from my video the process I follow is:
Composition - first things first, I need to have a composition. Get this right first!
Base image - take a shot with no filters. Check composition again, image sharpness and exposure. If needed adjust, shoot and check again.
Add other filters - if needed, add ND graduated filters or a polariser. Shoot the image again and do all the same checks.
Add ND filter - finally, add ND filter of choice and take the image. Do all the same checks again.

Once processed the final image looks like this:
Final image. Nikon D750, Nikkor 24-70mm f/2.8 VR @ 28mm, f/13, 202 seconds, ISO 100, Lee Filters ND 0.6 (2 stop) graduated filter, Lee Filters Big Stopper (10 stop ND), cable release.
I hope the reading about my process for using ND filters has been useful. Do you follow the follow the same process? Do you do things a little differently? Are ND filters part of your creative workflow? Are you considering getting some ND filters? Please let me know in the comments below.
Planning a Landscape Shoot at Dawlish Warren
In this video blog post I show you some of the planning tools I use to help increase the chances of a succesfull trip out with the camera. After that I take you on a trip to shoot seascapes at Dawlish Warren to see if all the planning was worth it!
Plan, Plan, Plan
I like a plan. Plans are good. Plans don't always go to plan, but I like having one none the less. As a private pilot I definitely like to have a plan when I head out to the skies. And though photography is arguably less risky than flying I still want my trips out with the camera to be worthwhile and successful. After all, there is no point in heading out for sunrise only to arrive at your location as the sun comes up. This has happened to me before and trust me, after the hour and half it took me to get there it was a painful lesson.
So to prevent missed sunrises, badly timed tides, and gale force winds, I like to plan my shoots so I can maximise my chances of success. In this video I will use:
These are the tools I use the most and I've found them to be very effective and accurate in the past. So let's see them in action along with my shoot down at Dawlish Warren beach:
Success
As you can see from the video, I had a successful trip and I've come away with an image I was very happy with. By checking out what the conditions were going to be like before I headed out I could be reasonably confident that my image would meet my vision for that location.
Not as calm as it looks. Nikon D750, Nikon 24-70 f/2.8 VR, 195 secs at f/11, Lee Filters ND Grad, Polariser, and Big Stopper. Processed in Lightroom CC.
Audio Quality
As I mentioned in the video, though the photography went well I had a few problems with the video. When I had the camera facing into the wind I lost all the audio of my voice over the wind noise so I had to ditch a lot of the clips. Being a landscape photographer this won't be the last time I will have to deal with this issue so I have purchased a Rode smartLav+ external mic (and some added furs for extra noise reduction). Though I will have to sync up the audio in post using Premiere Pro CC (my Sony RX100 M4 doesn't have a mic input), the improvement in audio quality will be worth it. So expect to hear my dulcet tones much improved in the next video!
Do you plan?
So do you plan your trips out with the camera? Or do you chuck the camera in the car and go for it? Let me know in the comments. And if you have a couple of minutes please like and share this blog post. Till next time....