
Digital Books for Your Digital Bookshelf - On My Bookshelf S02E03
In this episode of On My Bookshelf, I take a quick look at 5 digital books that should have a place on your virtual bookshelf.
Inspiration on the Move
I’m a big fan of the photography book. Anyone who’s been subscribed to my YouTube channel for a while will have seen an episode of On My Bookshelf and watched me talk about some of my favourite photography books. For the most part though, those books are too big to take anywhere apart from your own living room.
In most cases, a printed photography book is preferential to a digital photography book. But what if you wanted a little bit of photography inspiration on the move. Perhaps you might have to commute to work every day, or you’ve got a long train journey or even a flight somewhere. Some of the books I have would need to pay for their own seat on a plane!
In this special, digital edition of On My Bookshelf, I’m going to share with you 5 digital photography books that I think should be on your virtual bookshelf, so you can a little bit of photography inspiration on the move.
Your Reading List
As promised, here is a list of those books from the video:
The Art of Landscape Photography - by Ross Hoddinott and Mark Bauer
Gordon Laing - In Camera: Perfect Pictures Straight Out of the Camera
I do hope you enjoyed this shorter than normal episode of On My Bookshelf, but hopefully, you’ve spotted a book there that you might be able to take with you next time you are on the move.
Do you read any digital photography books? Have you got any digital recommendations? Let me know in the comments below.

Making the Print
In this blog post I tell you about my experience of printing, packing and posting my first print.
A Special Request
On the blog recently I told you about how I have discovered the joy of printing. Adding printing to my photography workflow is something I've been wanting to do for a while and since picking up my Canon Pixma Pro-10S I've very much enjoyed printing out my work.
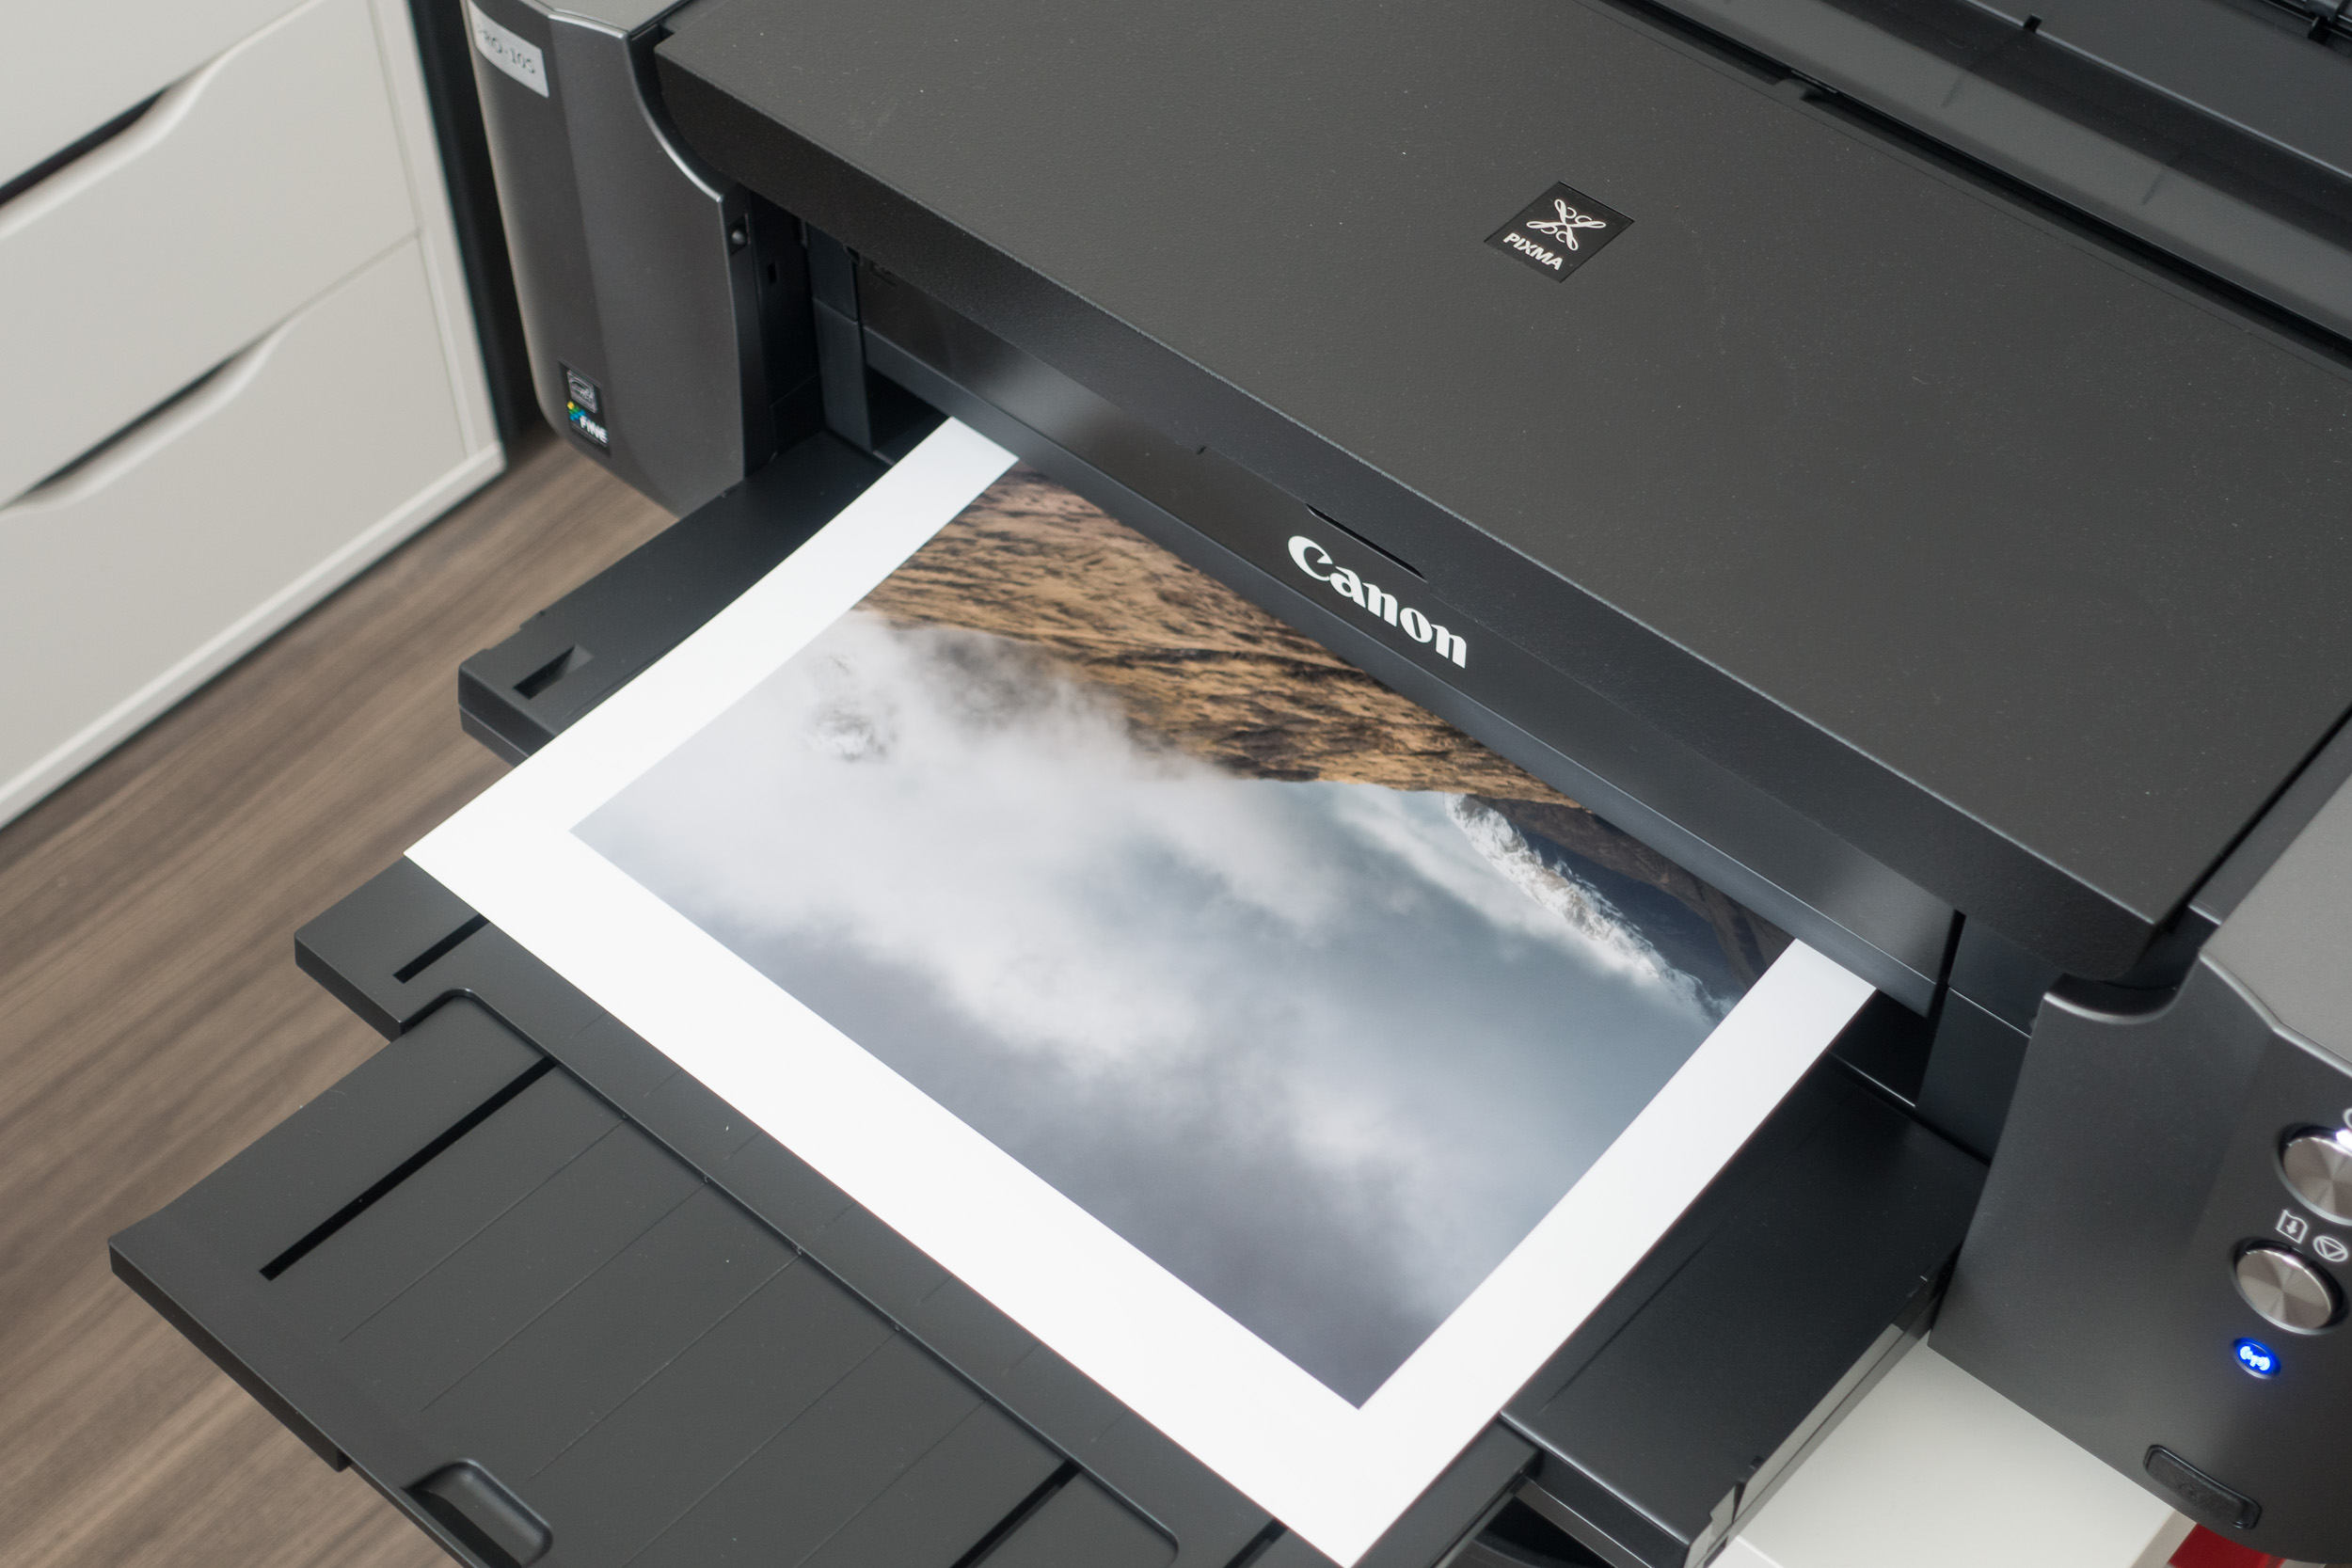
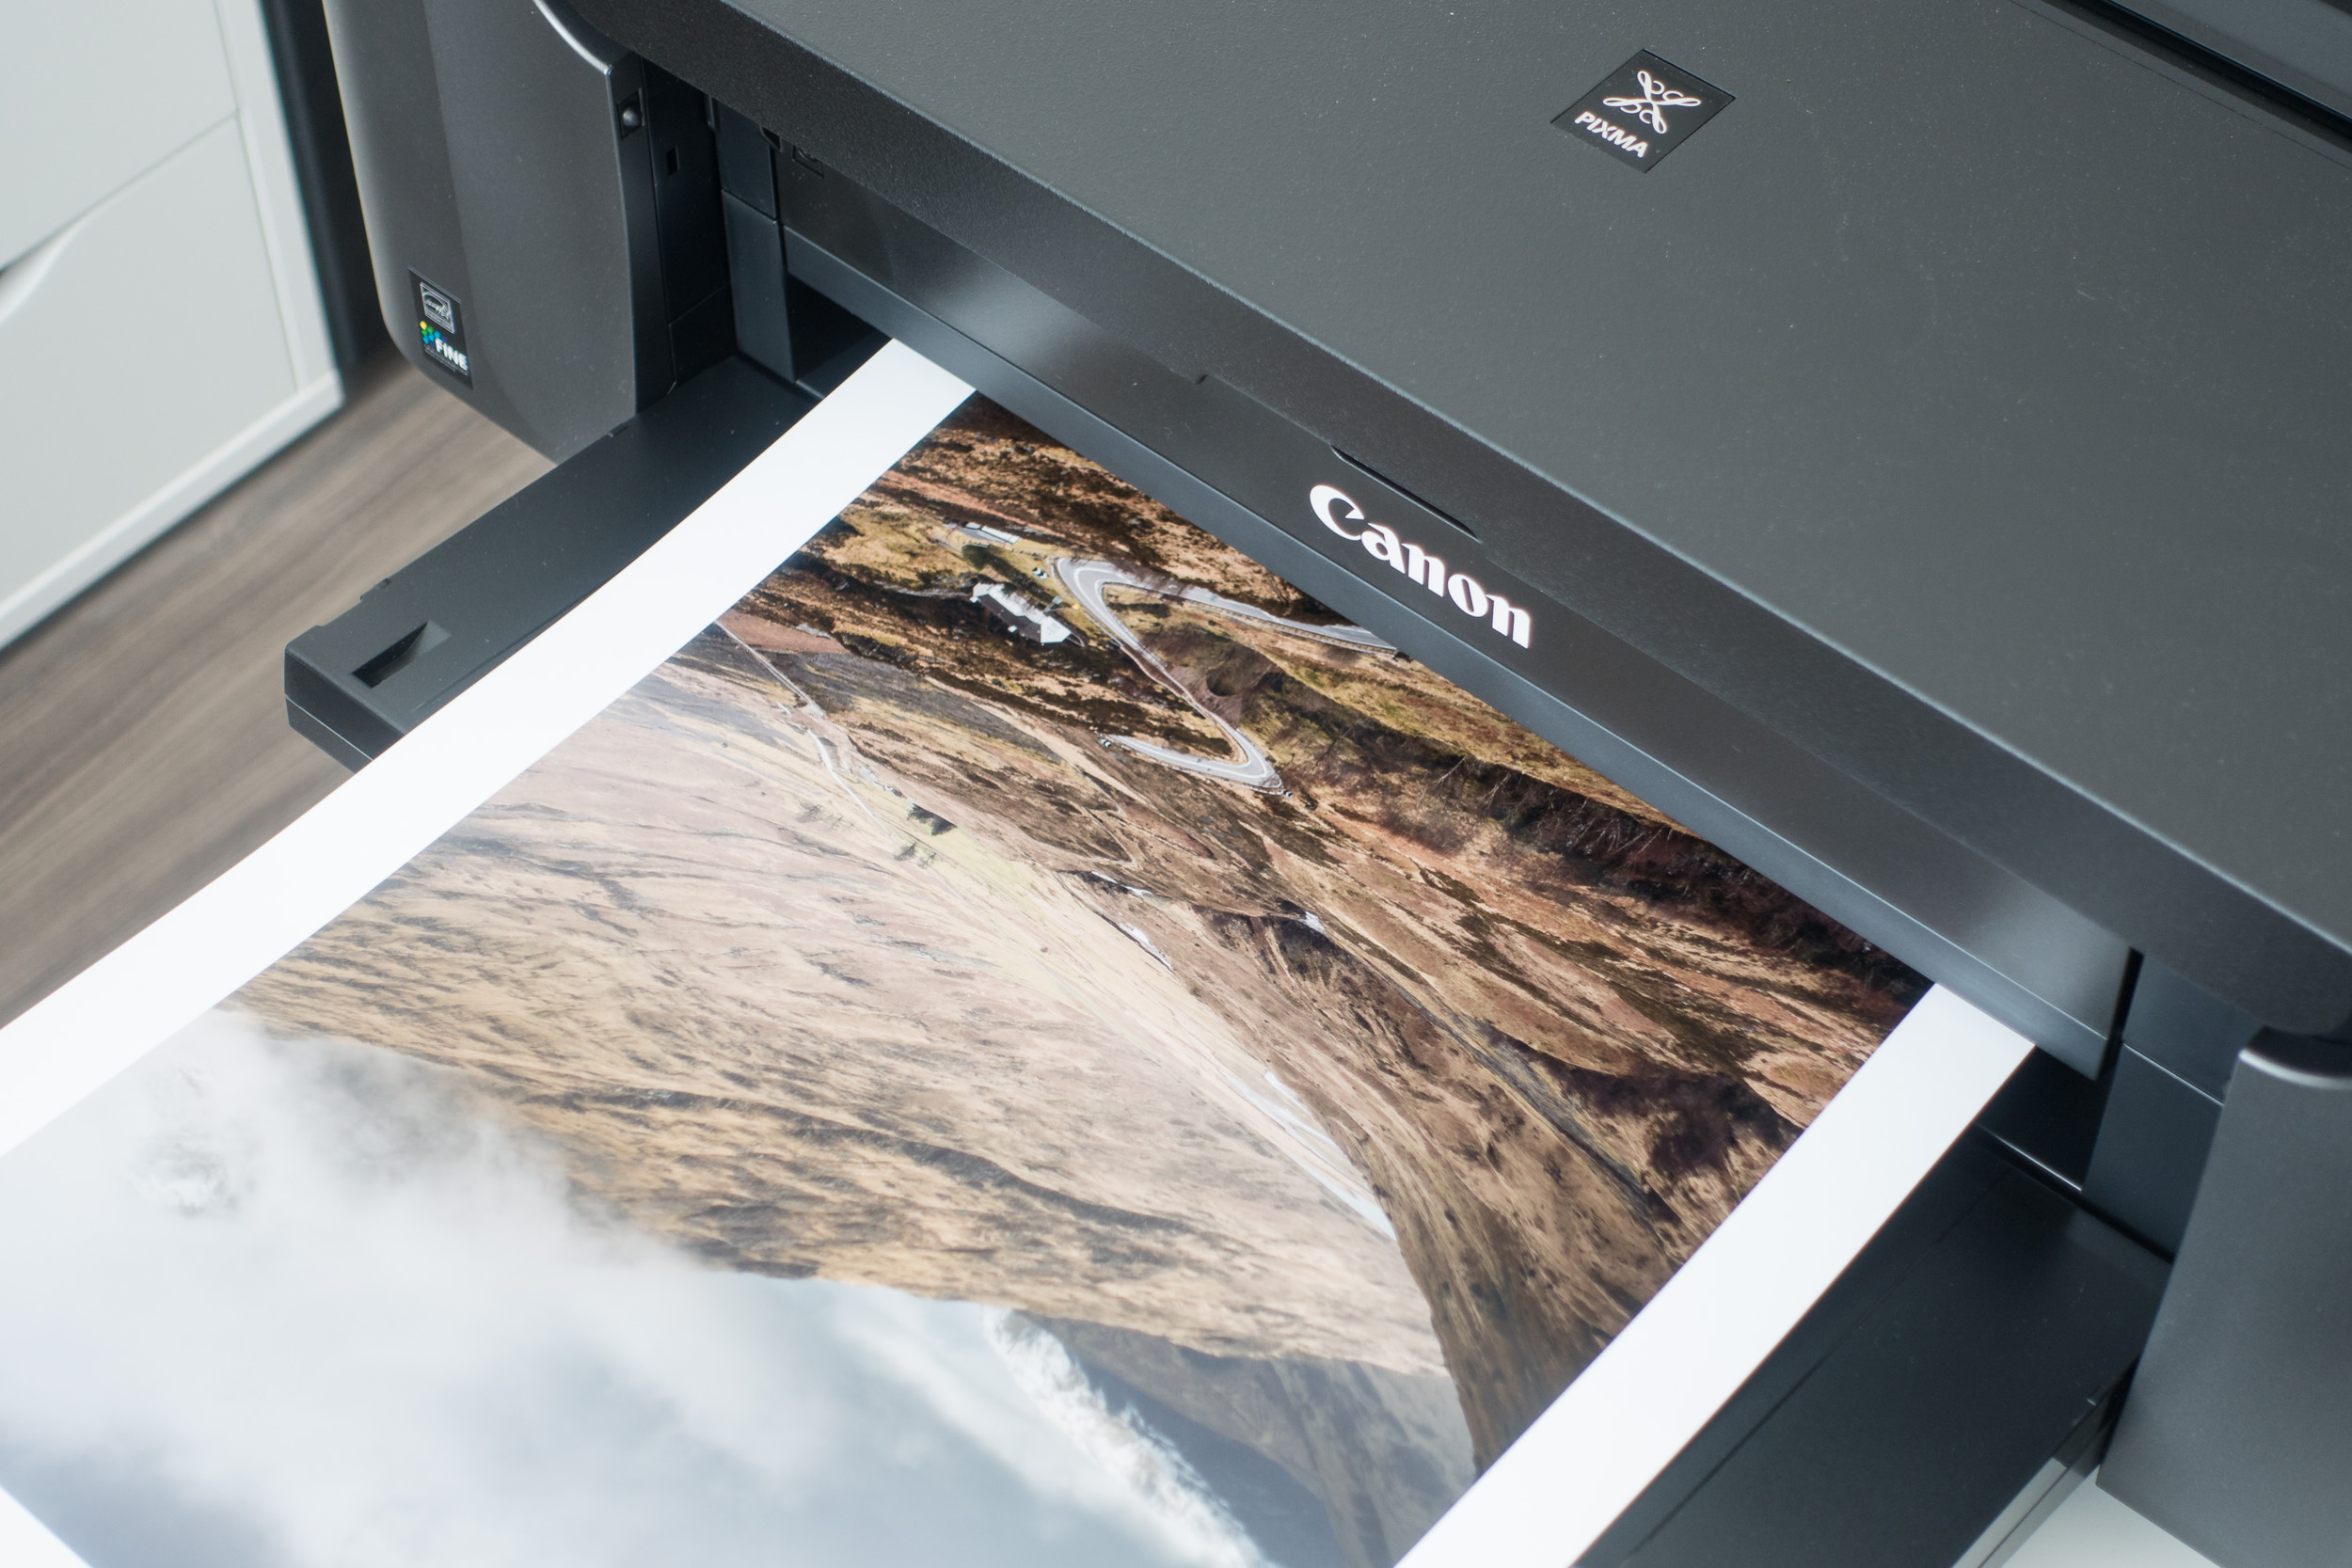
As if by some happy coincidence a friend of mine who lives in Sweden asked me to create her a print of an image that I took while on a workshop in Glencoe. I was of course delighted by the request. What better way to put the printer to use than to create an A3+ print of this image for a friend.
Pass of Glencoe
As I live in the UK and she lives in Sweden, I would also need to learn how to package and ship my prints. Time to get to work!
Printing the Image
As I said in my video Discovery the Joy of Printing, getting a high quality print from the Canon is fairly straight forward. By using the Canon Print Studio Pro software it was just a matter of setting the correct options:
Set media type to Photopaper Pro Platinum
Paper size to A3+
Set quality to high
Set "clear coat the entire image" - this ensures the entire image, even where no ink as been laid, has an even glossiness.
Set printer profile to match paper
Set layout to bordered - as requested by my friend
Set brightness to +15.
Canon Print Studio Pro - simple and straightfoward to use.
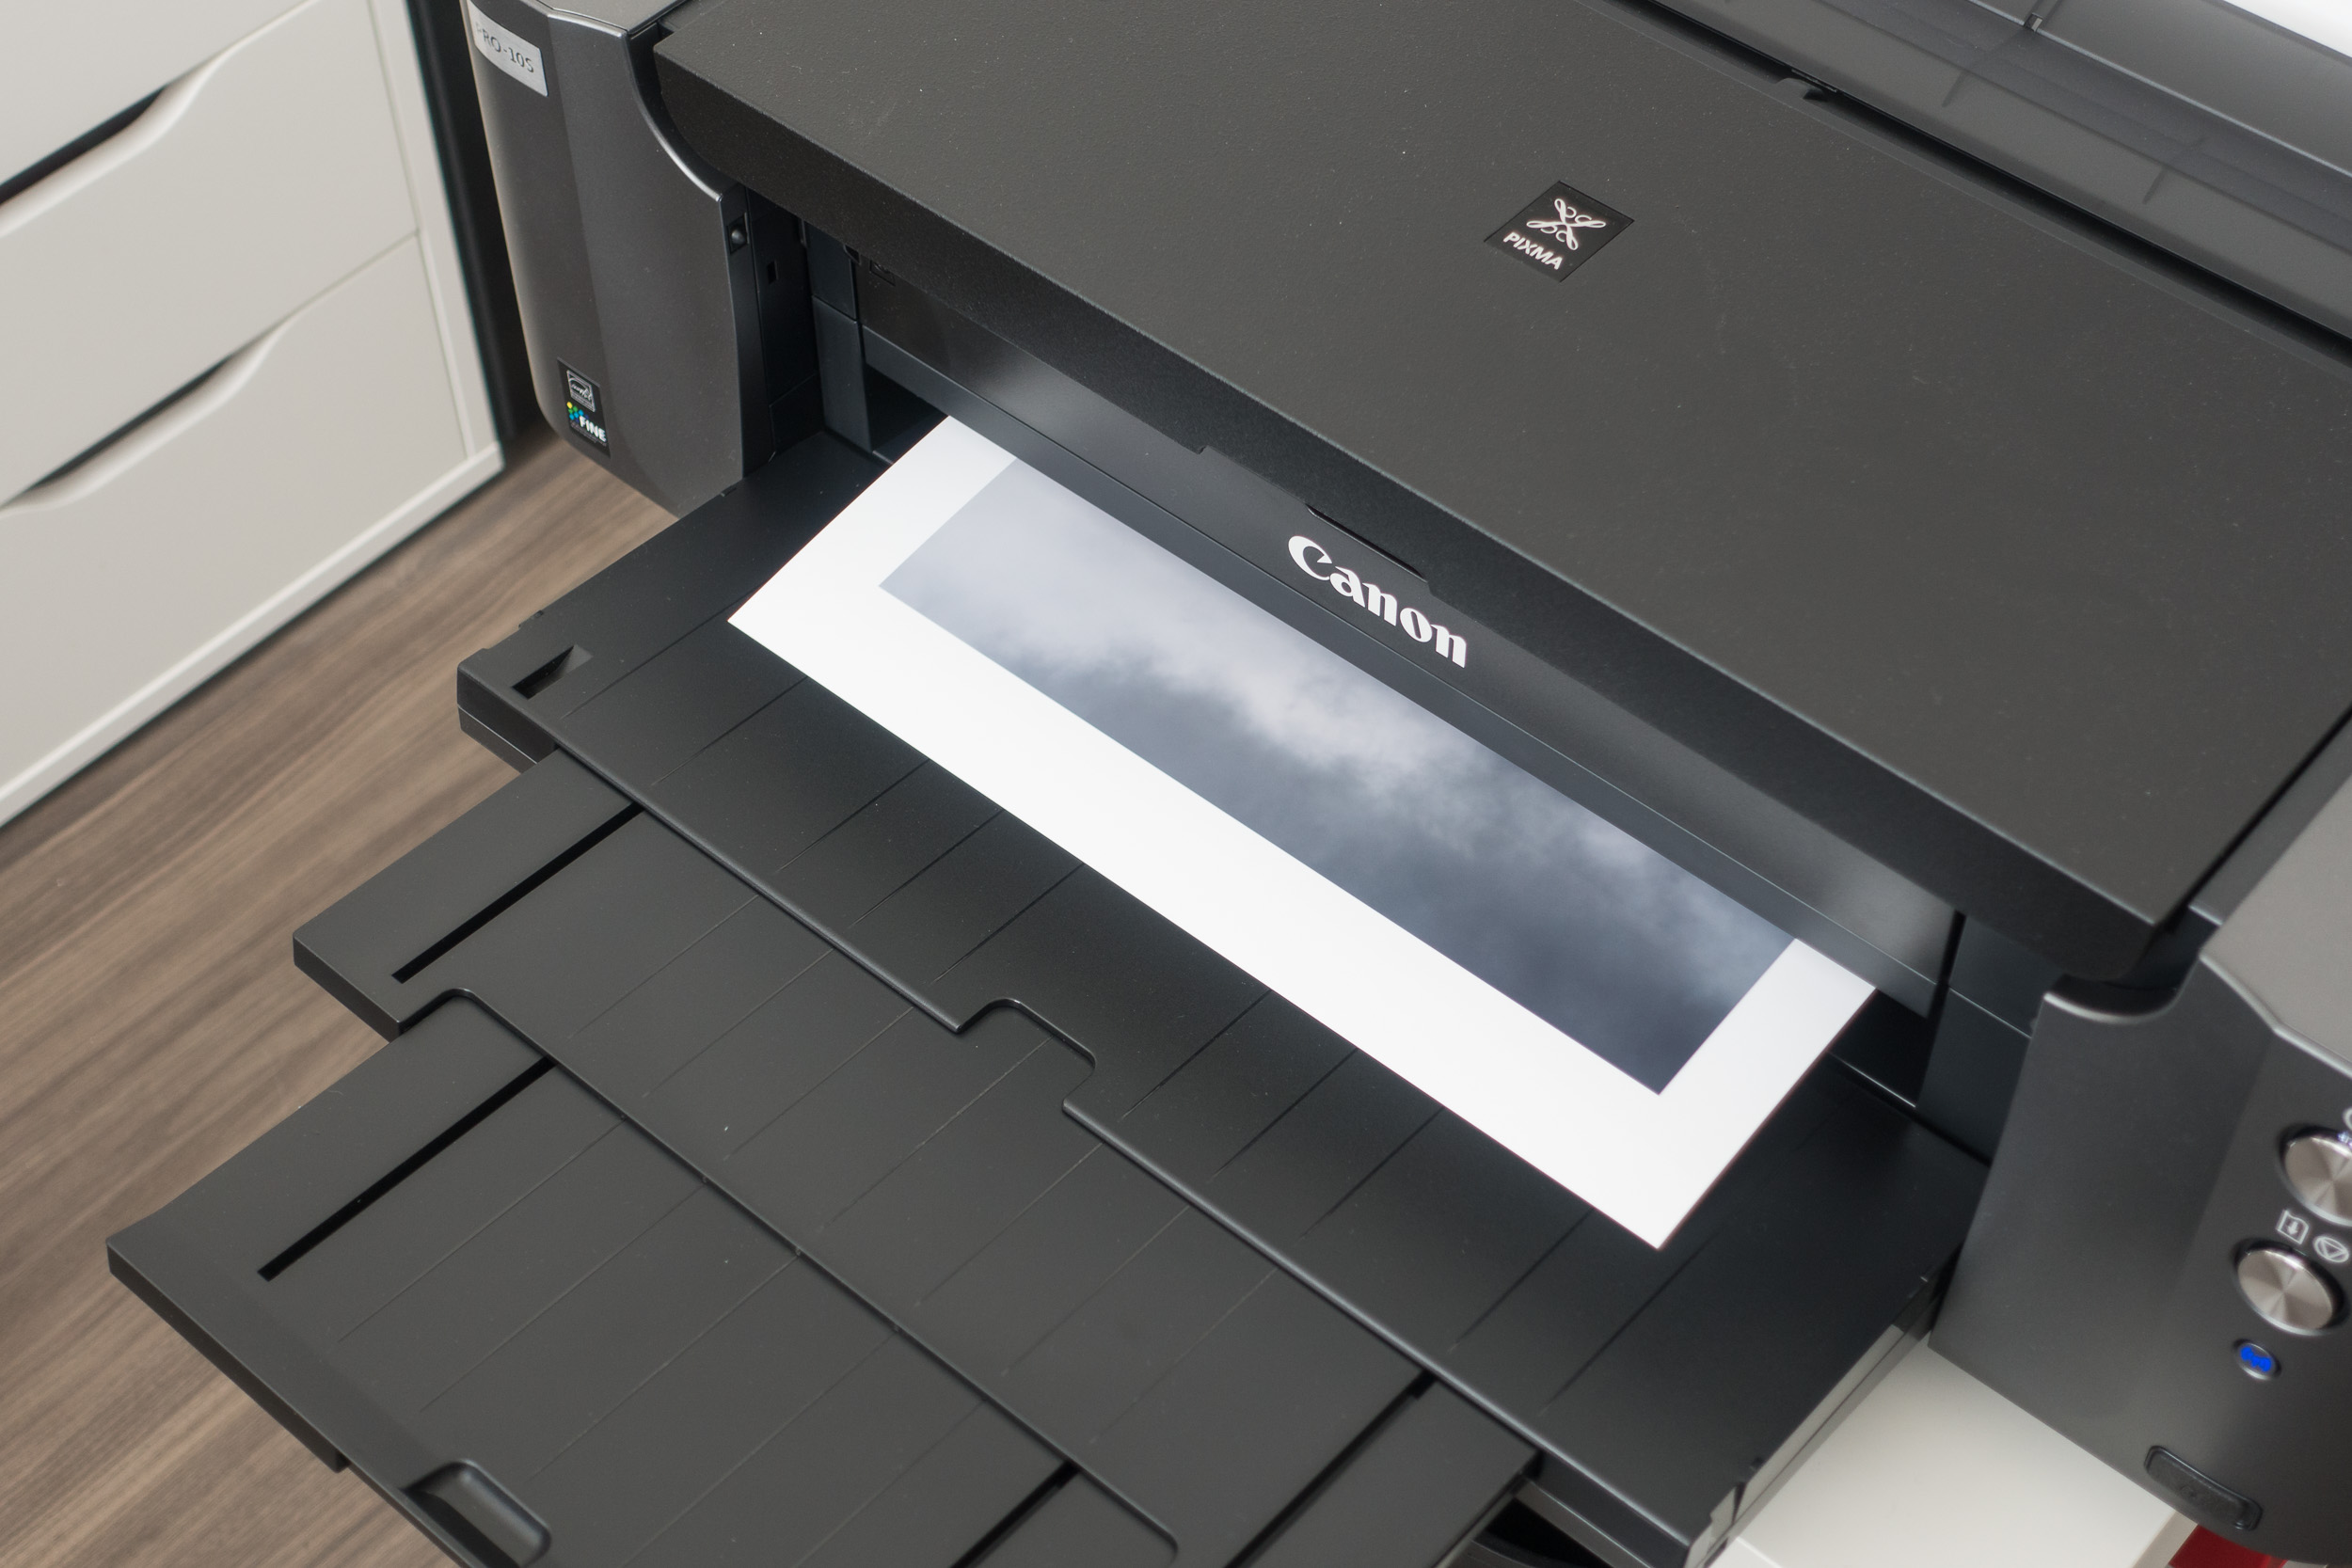
The next step is to load the A3+ paper into the rear tray. As you'll see in this image I am using white cotton gloves so I don't leave any residue from my fingers on the paper. I will use white gloves thoughout the process whenever I am touching the photo paper.

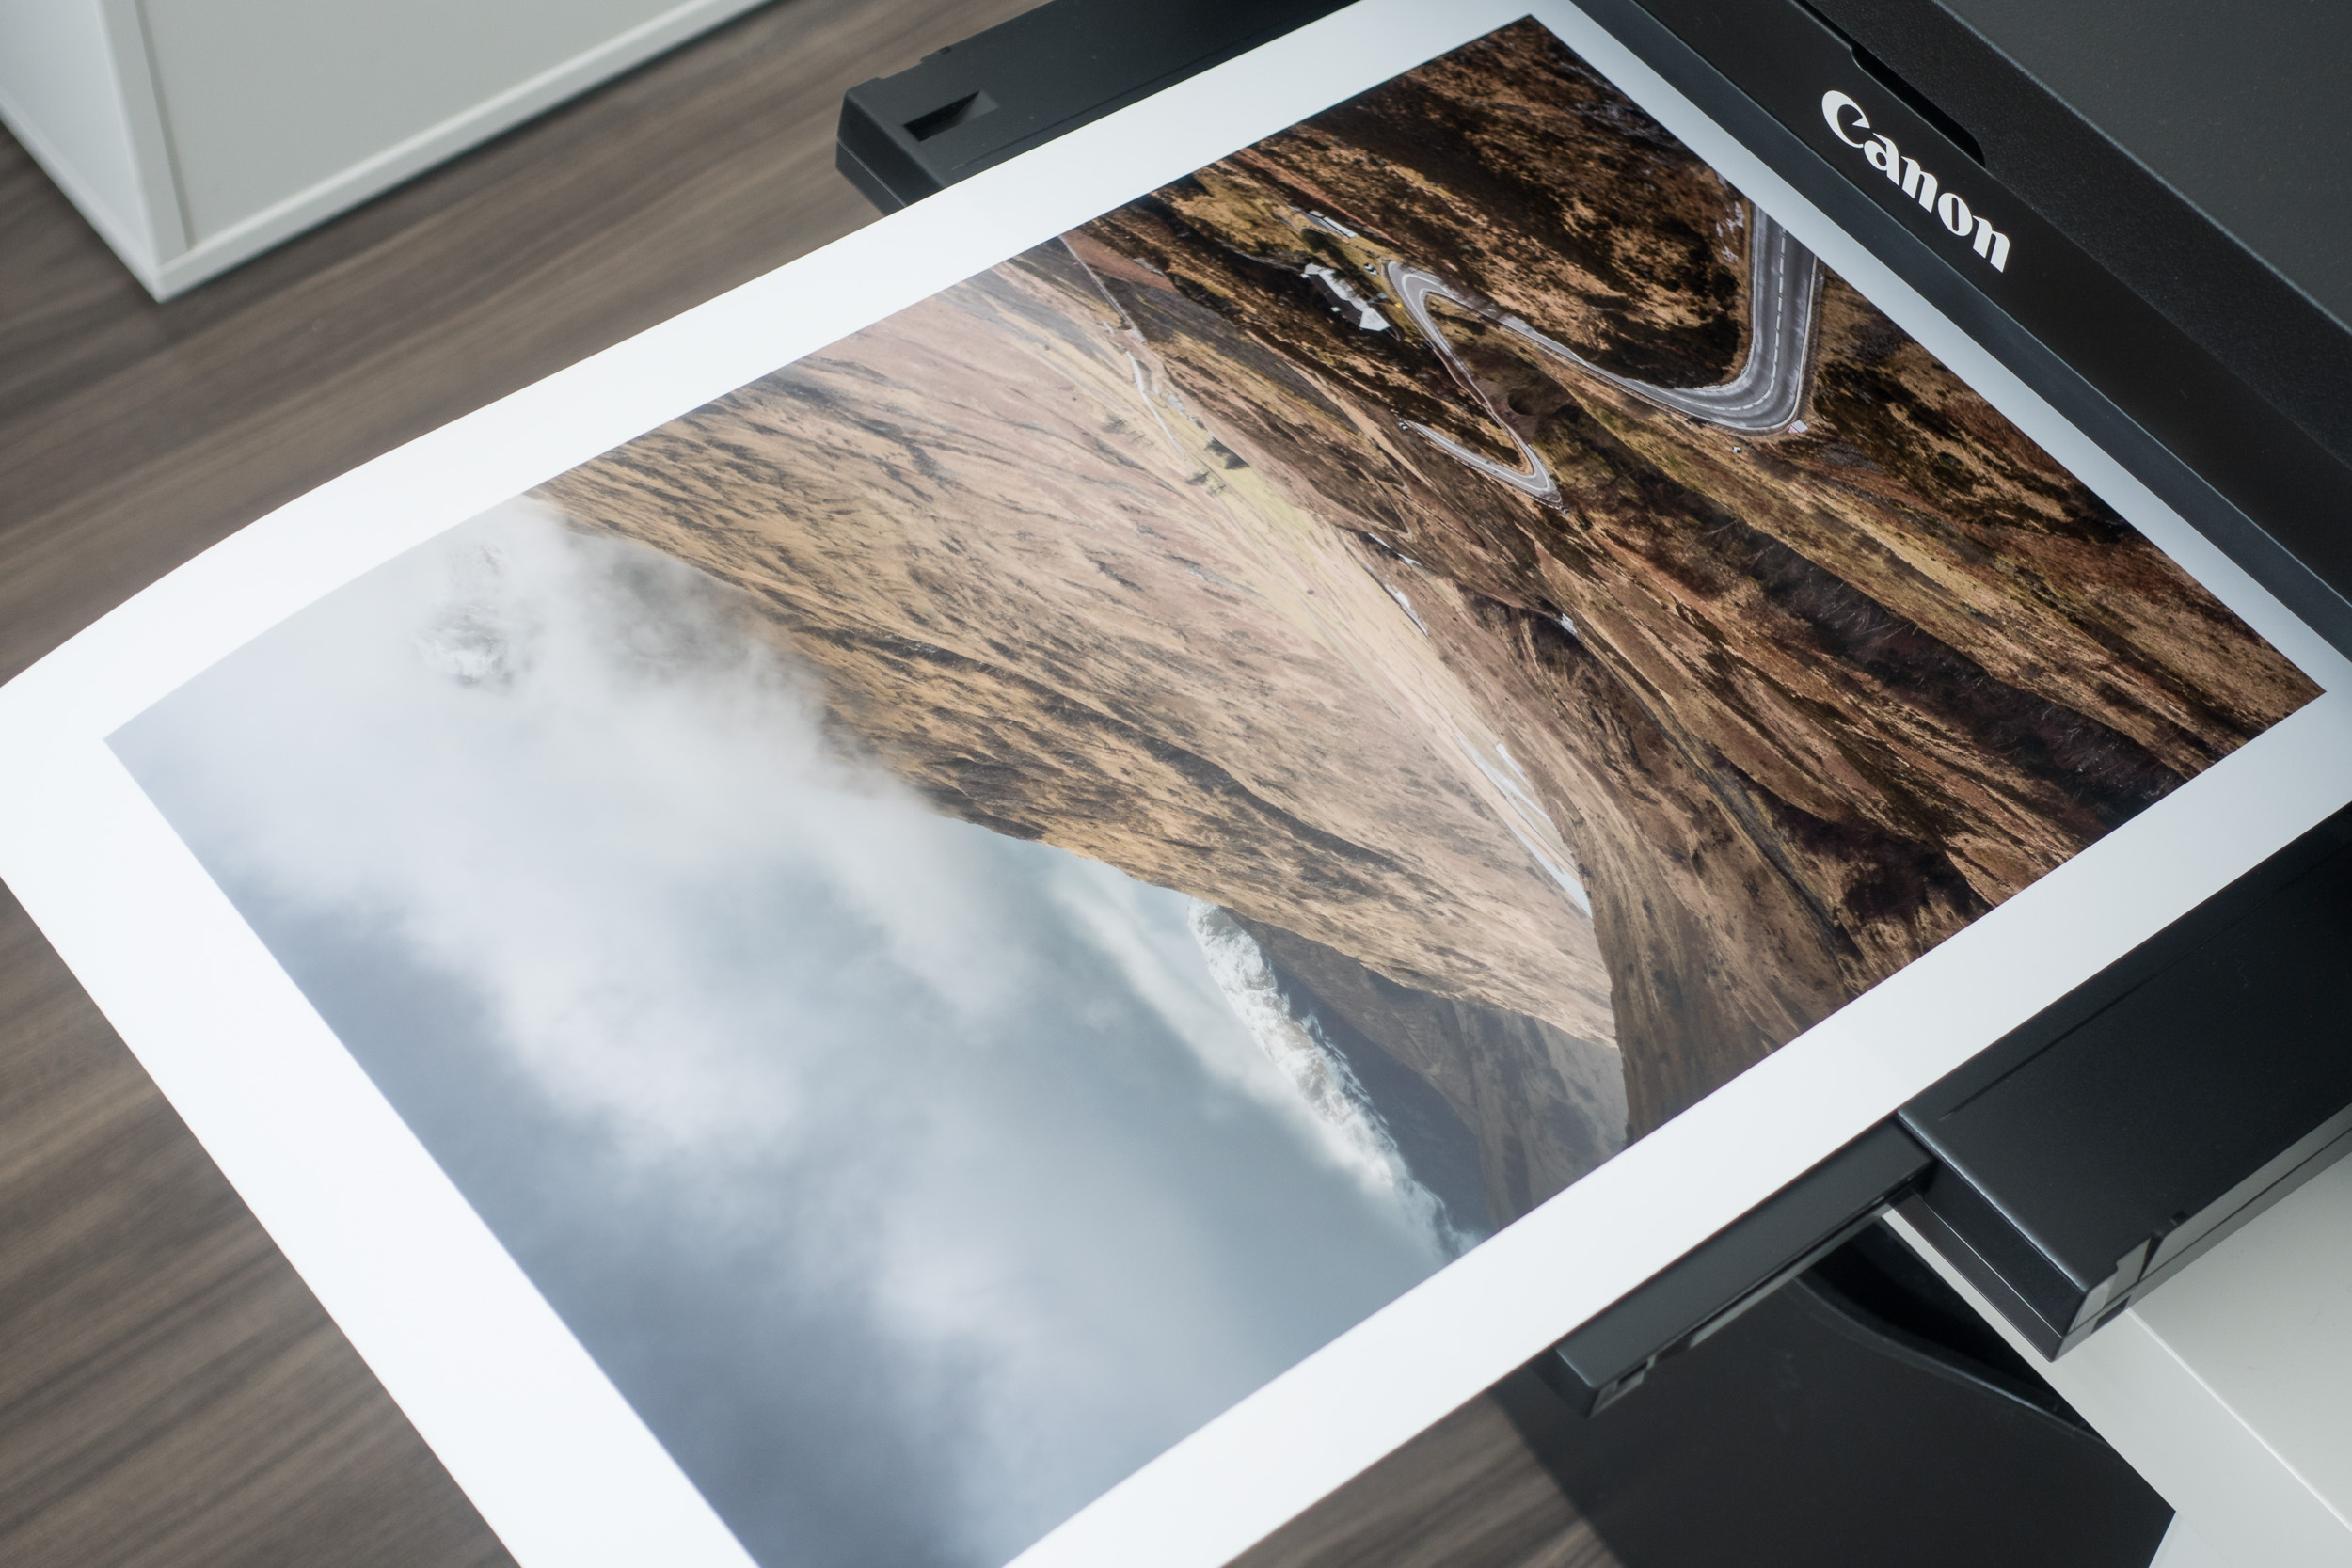
Then you just hit the Print button and wait for your image to take physical form!
Packing the Print
For this part of the process, I really have to thank Martin Bailey for his very informative and detailed blog post and video, Rolling Fine Art Prints for Shipping. Following Martin's workflow I got the following items:
Tracing paper - to put over the print to protect it when rolling. Martin used some Canon paper but tracing paper should be sufficient.
Tear away paper - this is used in the final stages of rolling and using sticky tabs holds the roll to the size you make. This stops the rolled print expanding once it is in the tube.
White gloves - to stop my fingers marking the print
Business card - with my contact details and website address
Bubble wrap bung - these are used at either end of the tube to stop the print banging off the ends when the tube is slightly longer that the print.
Shipping tube - as Martin pointed out you need to make sure its strong tube so it doesn't get crushed in transit.

Once I had everything I needed, I covered the print in tracing paper and then gently started the roll.
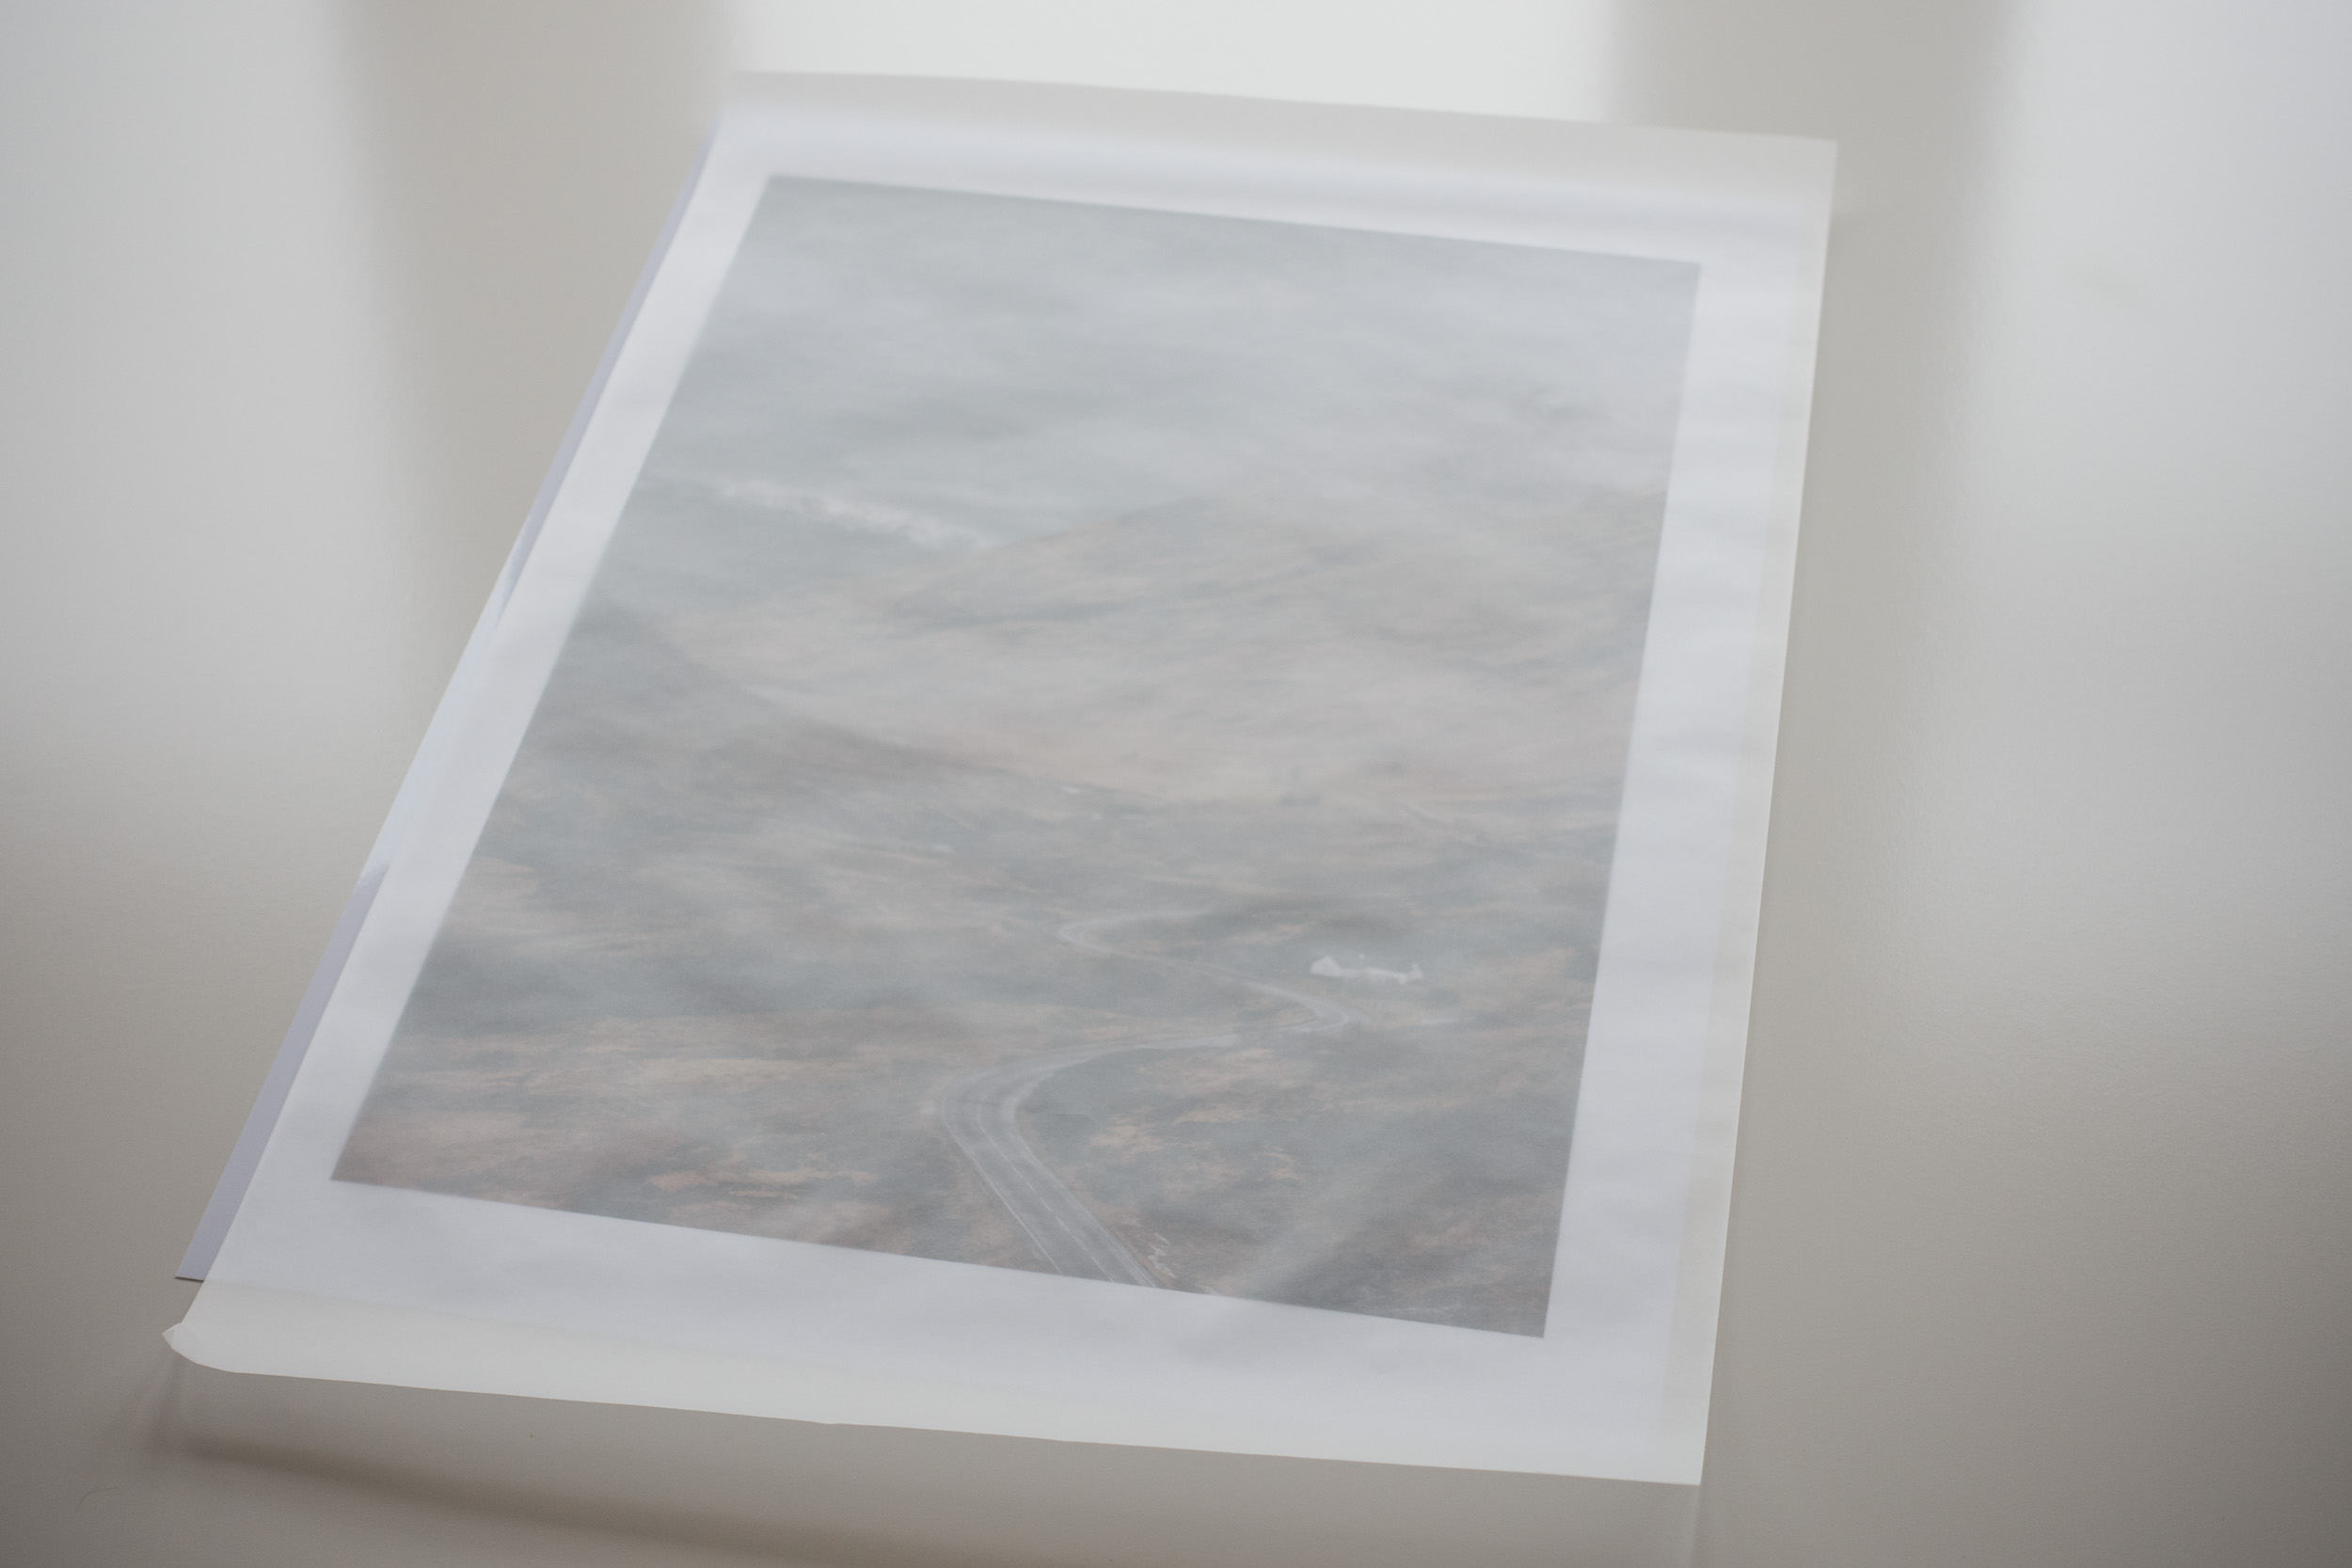
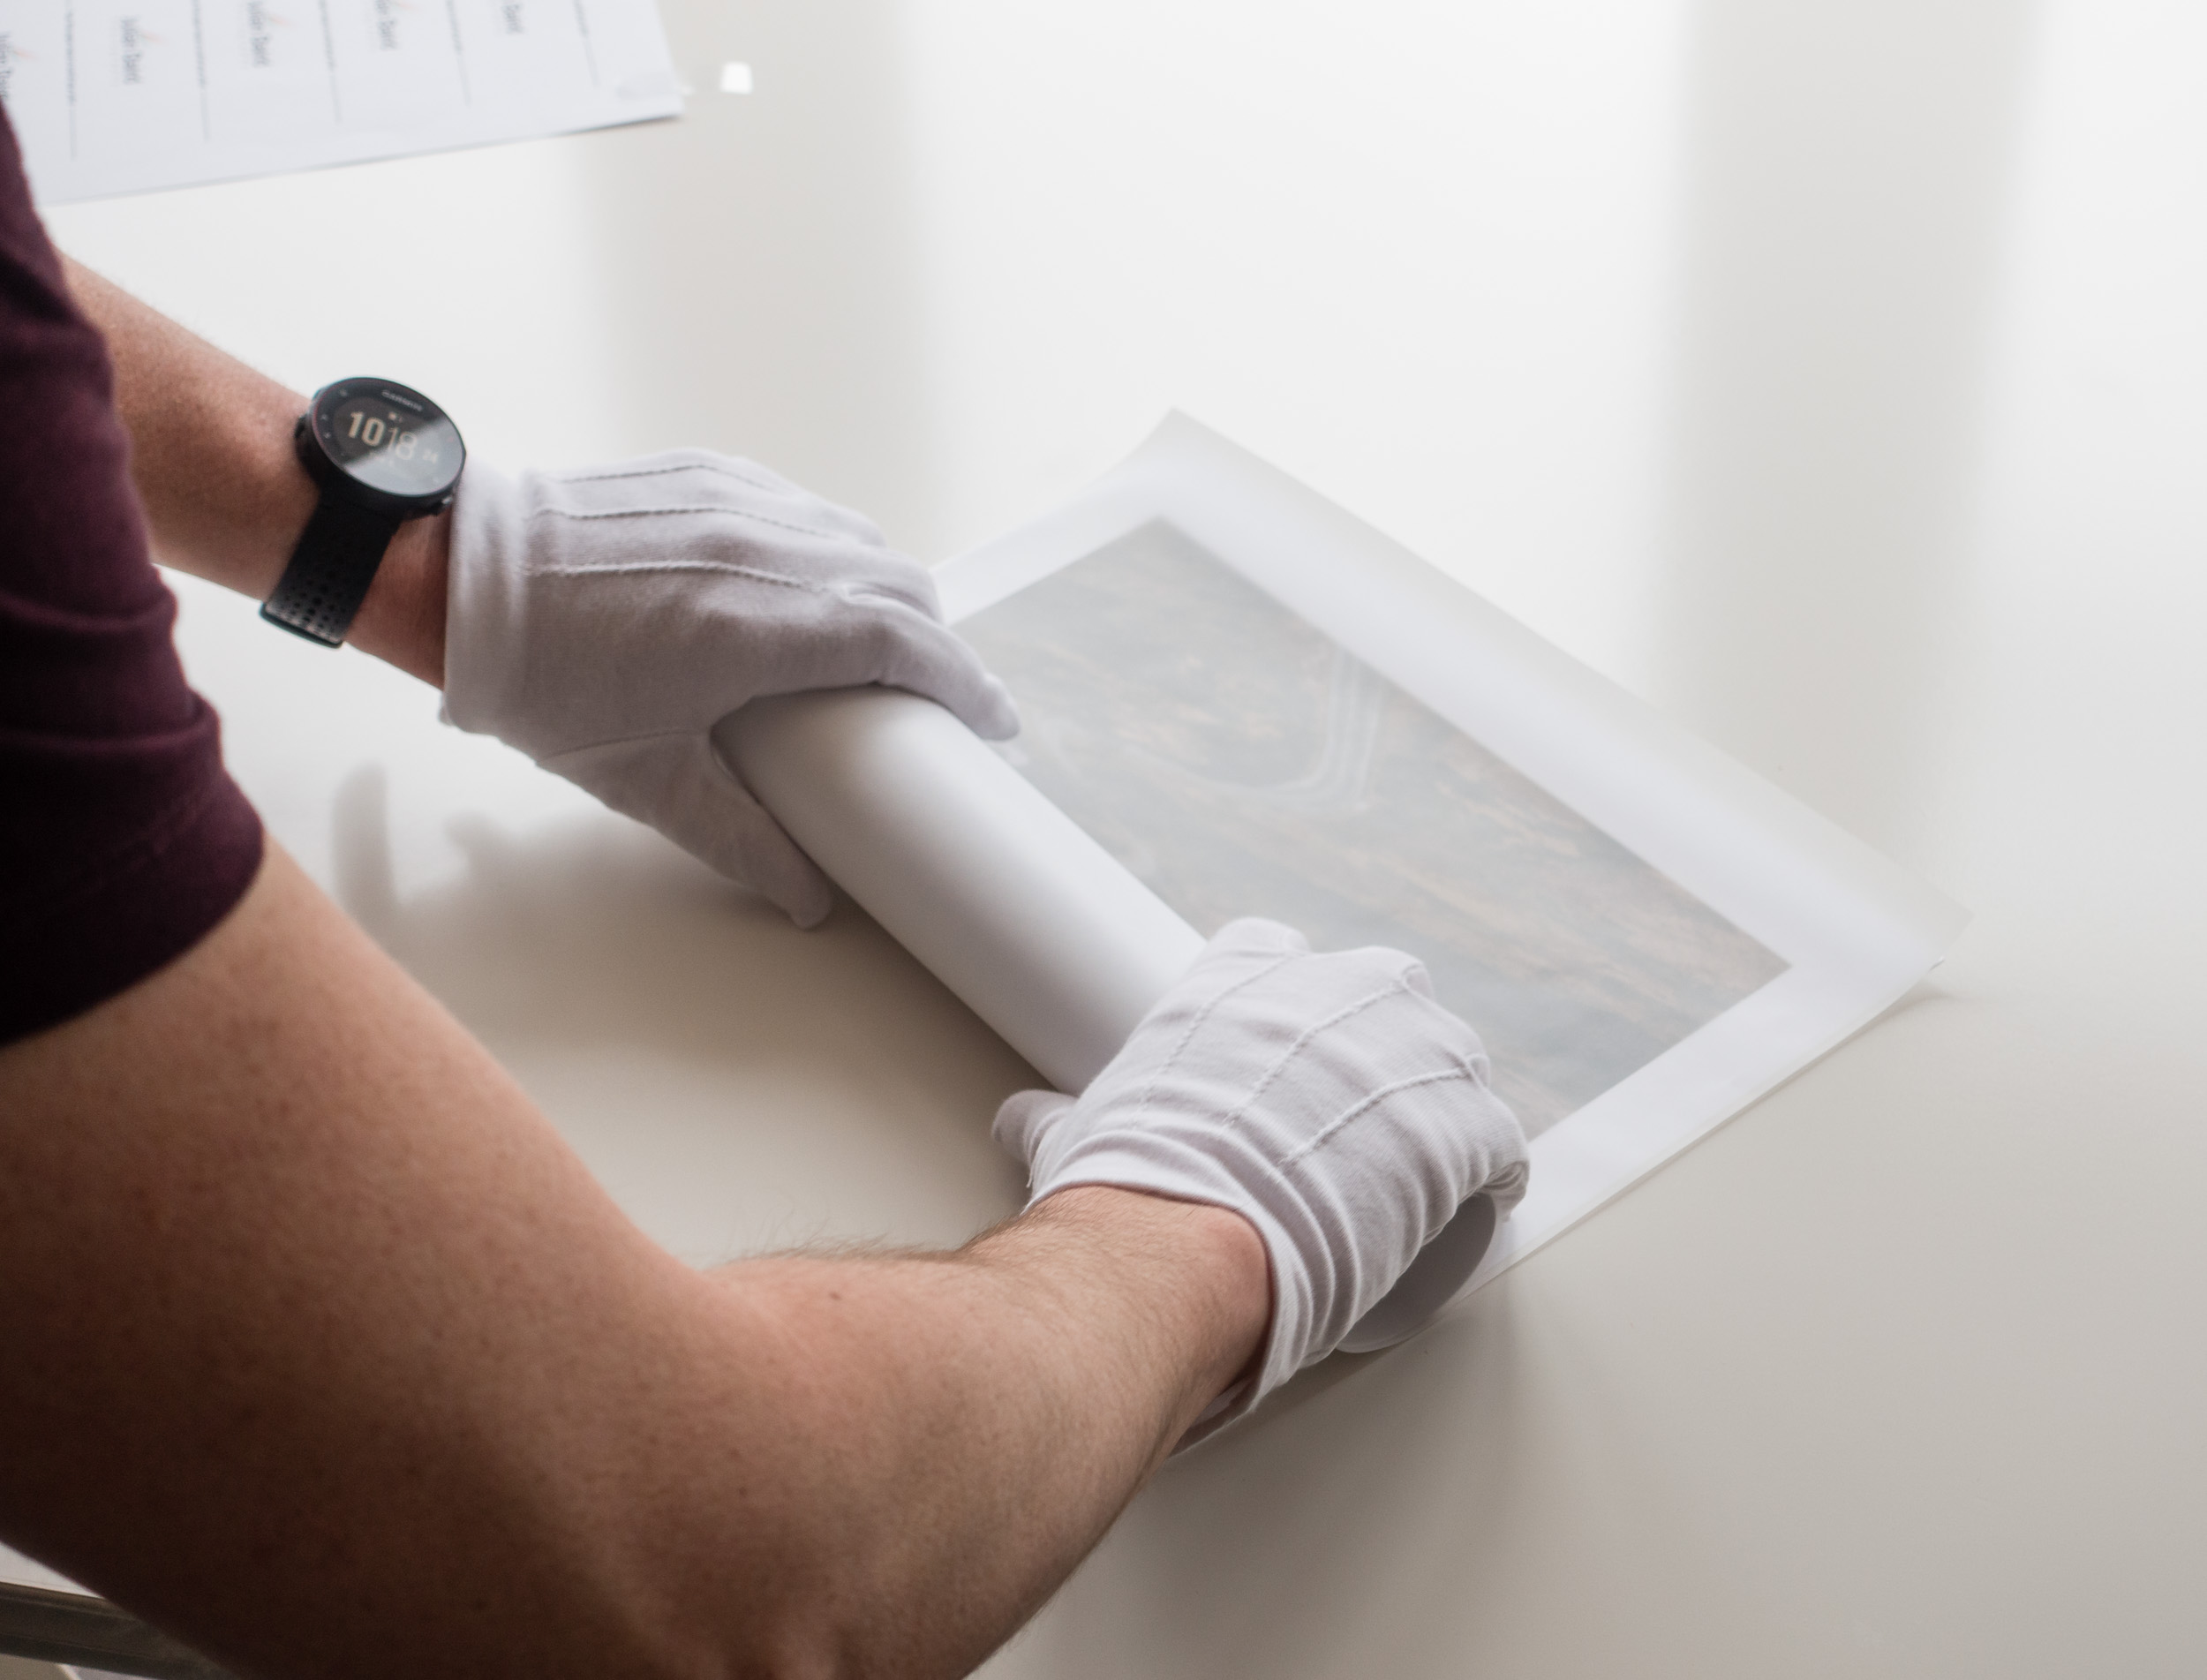
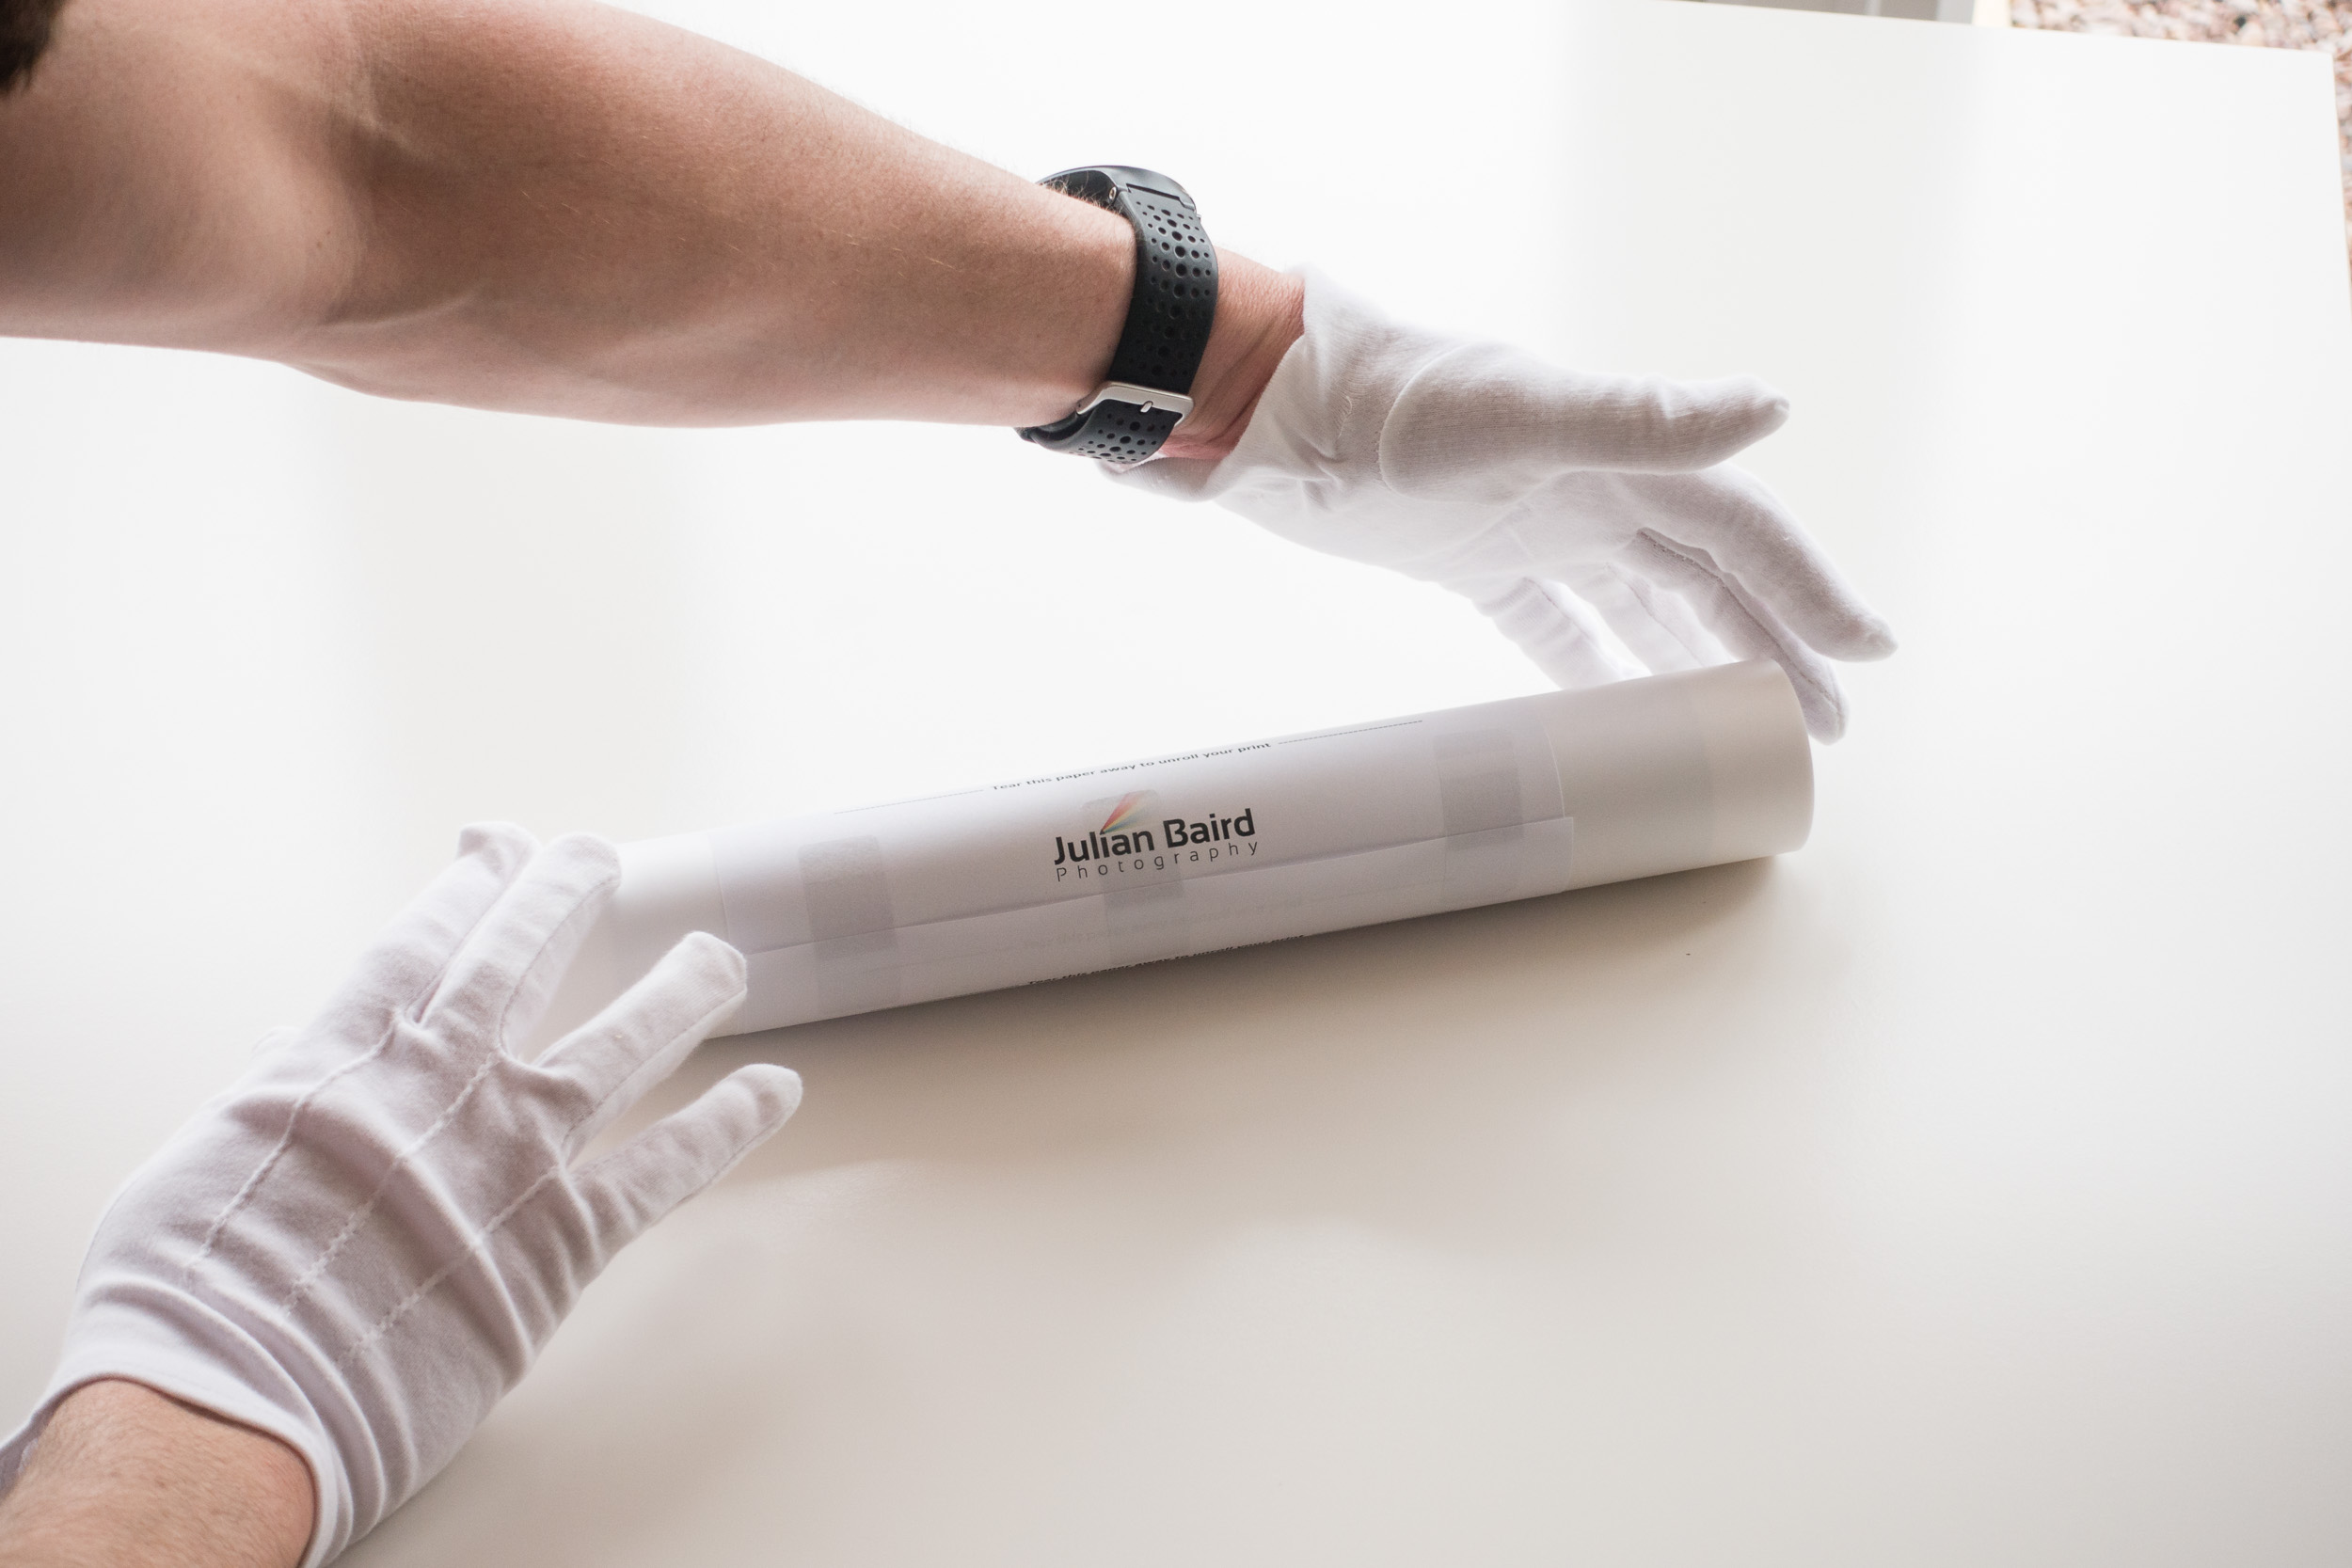
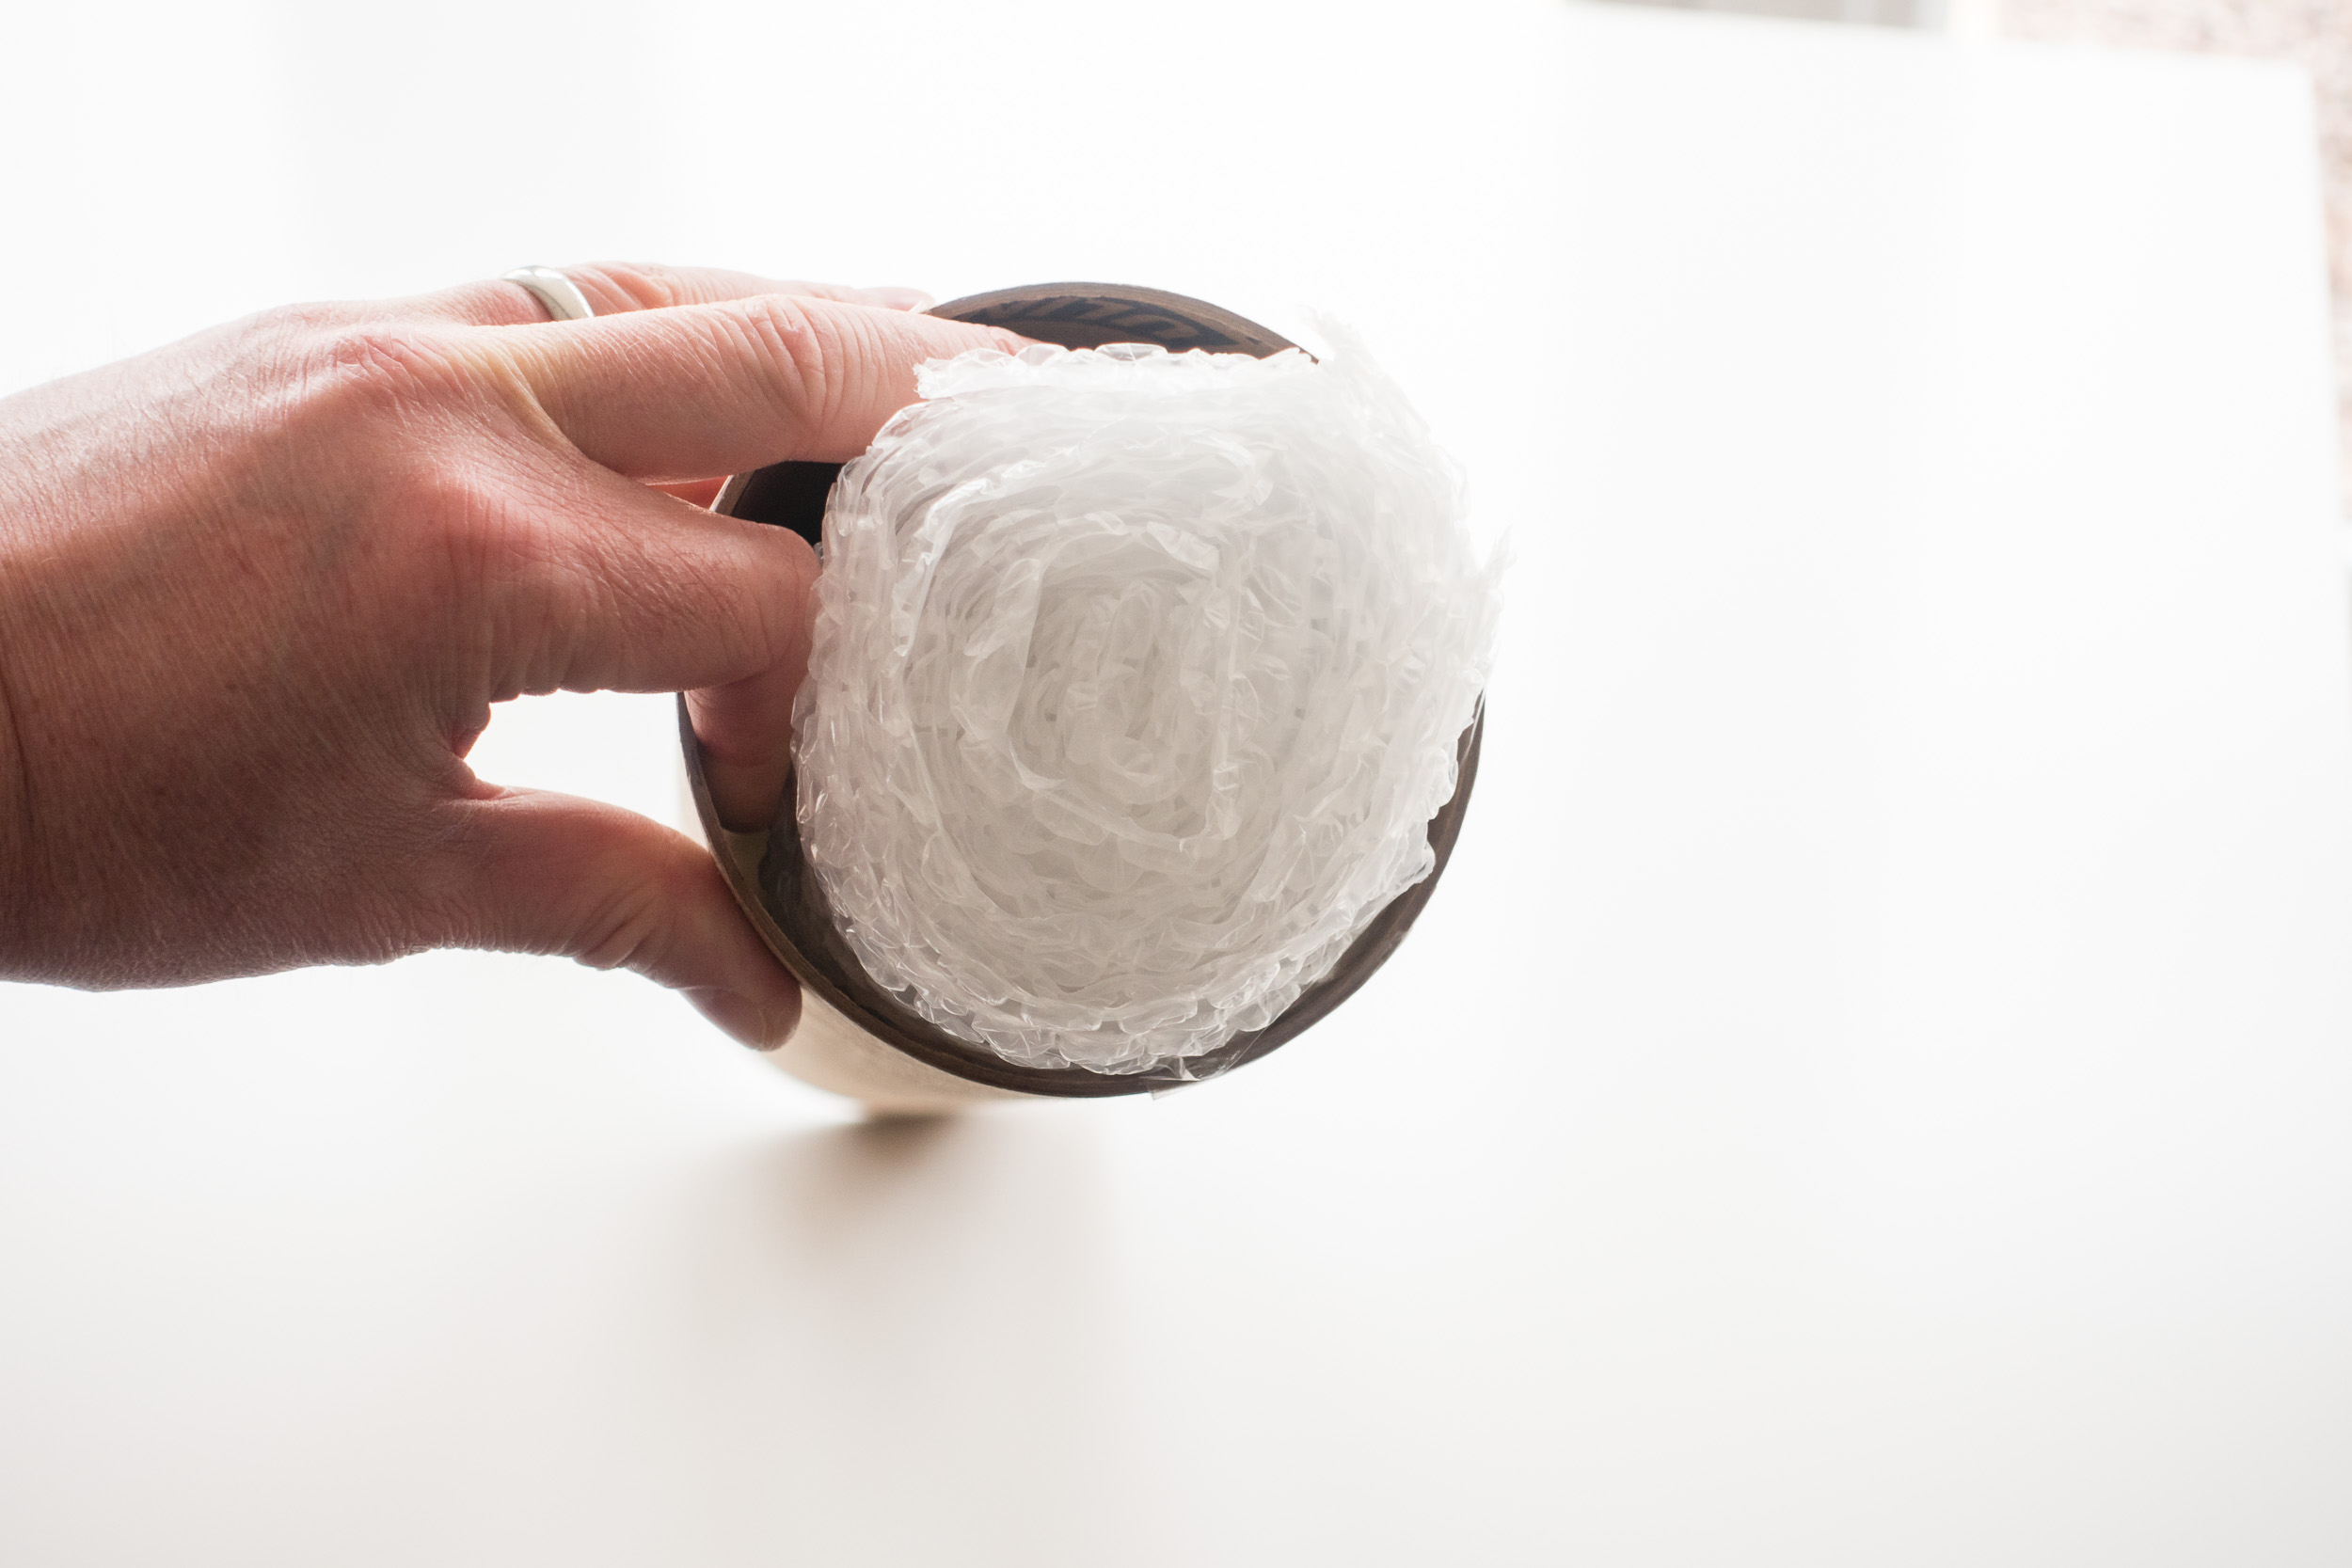
The rolling is the most difficult part of the process and you need to be careful not to damage the print, but after that, it's really just a matter of putting it in the tube along with one or two bubble wrap bungs and a business card.
Once the tube has been addressed and sealed it was off to the Post Office so the print could start its journey to Sweden!
Enjoying the Process
I suspect this whole process of printing and shipping isn't for everyone. After all, you can go to a printing lab online, upload your image and have it shipped directly to where you need it. However, for me at least, part of the enjoyment is doing it all myself. There is the satisfaction of owning the entire process from taking the image to printing it to shipping it. I like the fact that recipient of the print knows that I personally did all the work.
So do you print your own work? Do you sell and pakage your own prints? What personal touches do you put into the process? Let me know in the comments below.

Discovering the Joy of Printing
In my this blog post and video I tell you why I have decided to start printing my work and what it was like to print my first A3 image using a Canon Pixma Pro-10s printer.
Why Print?
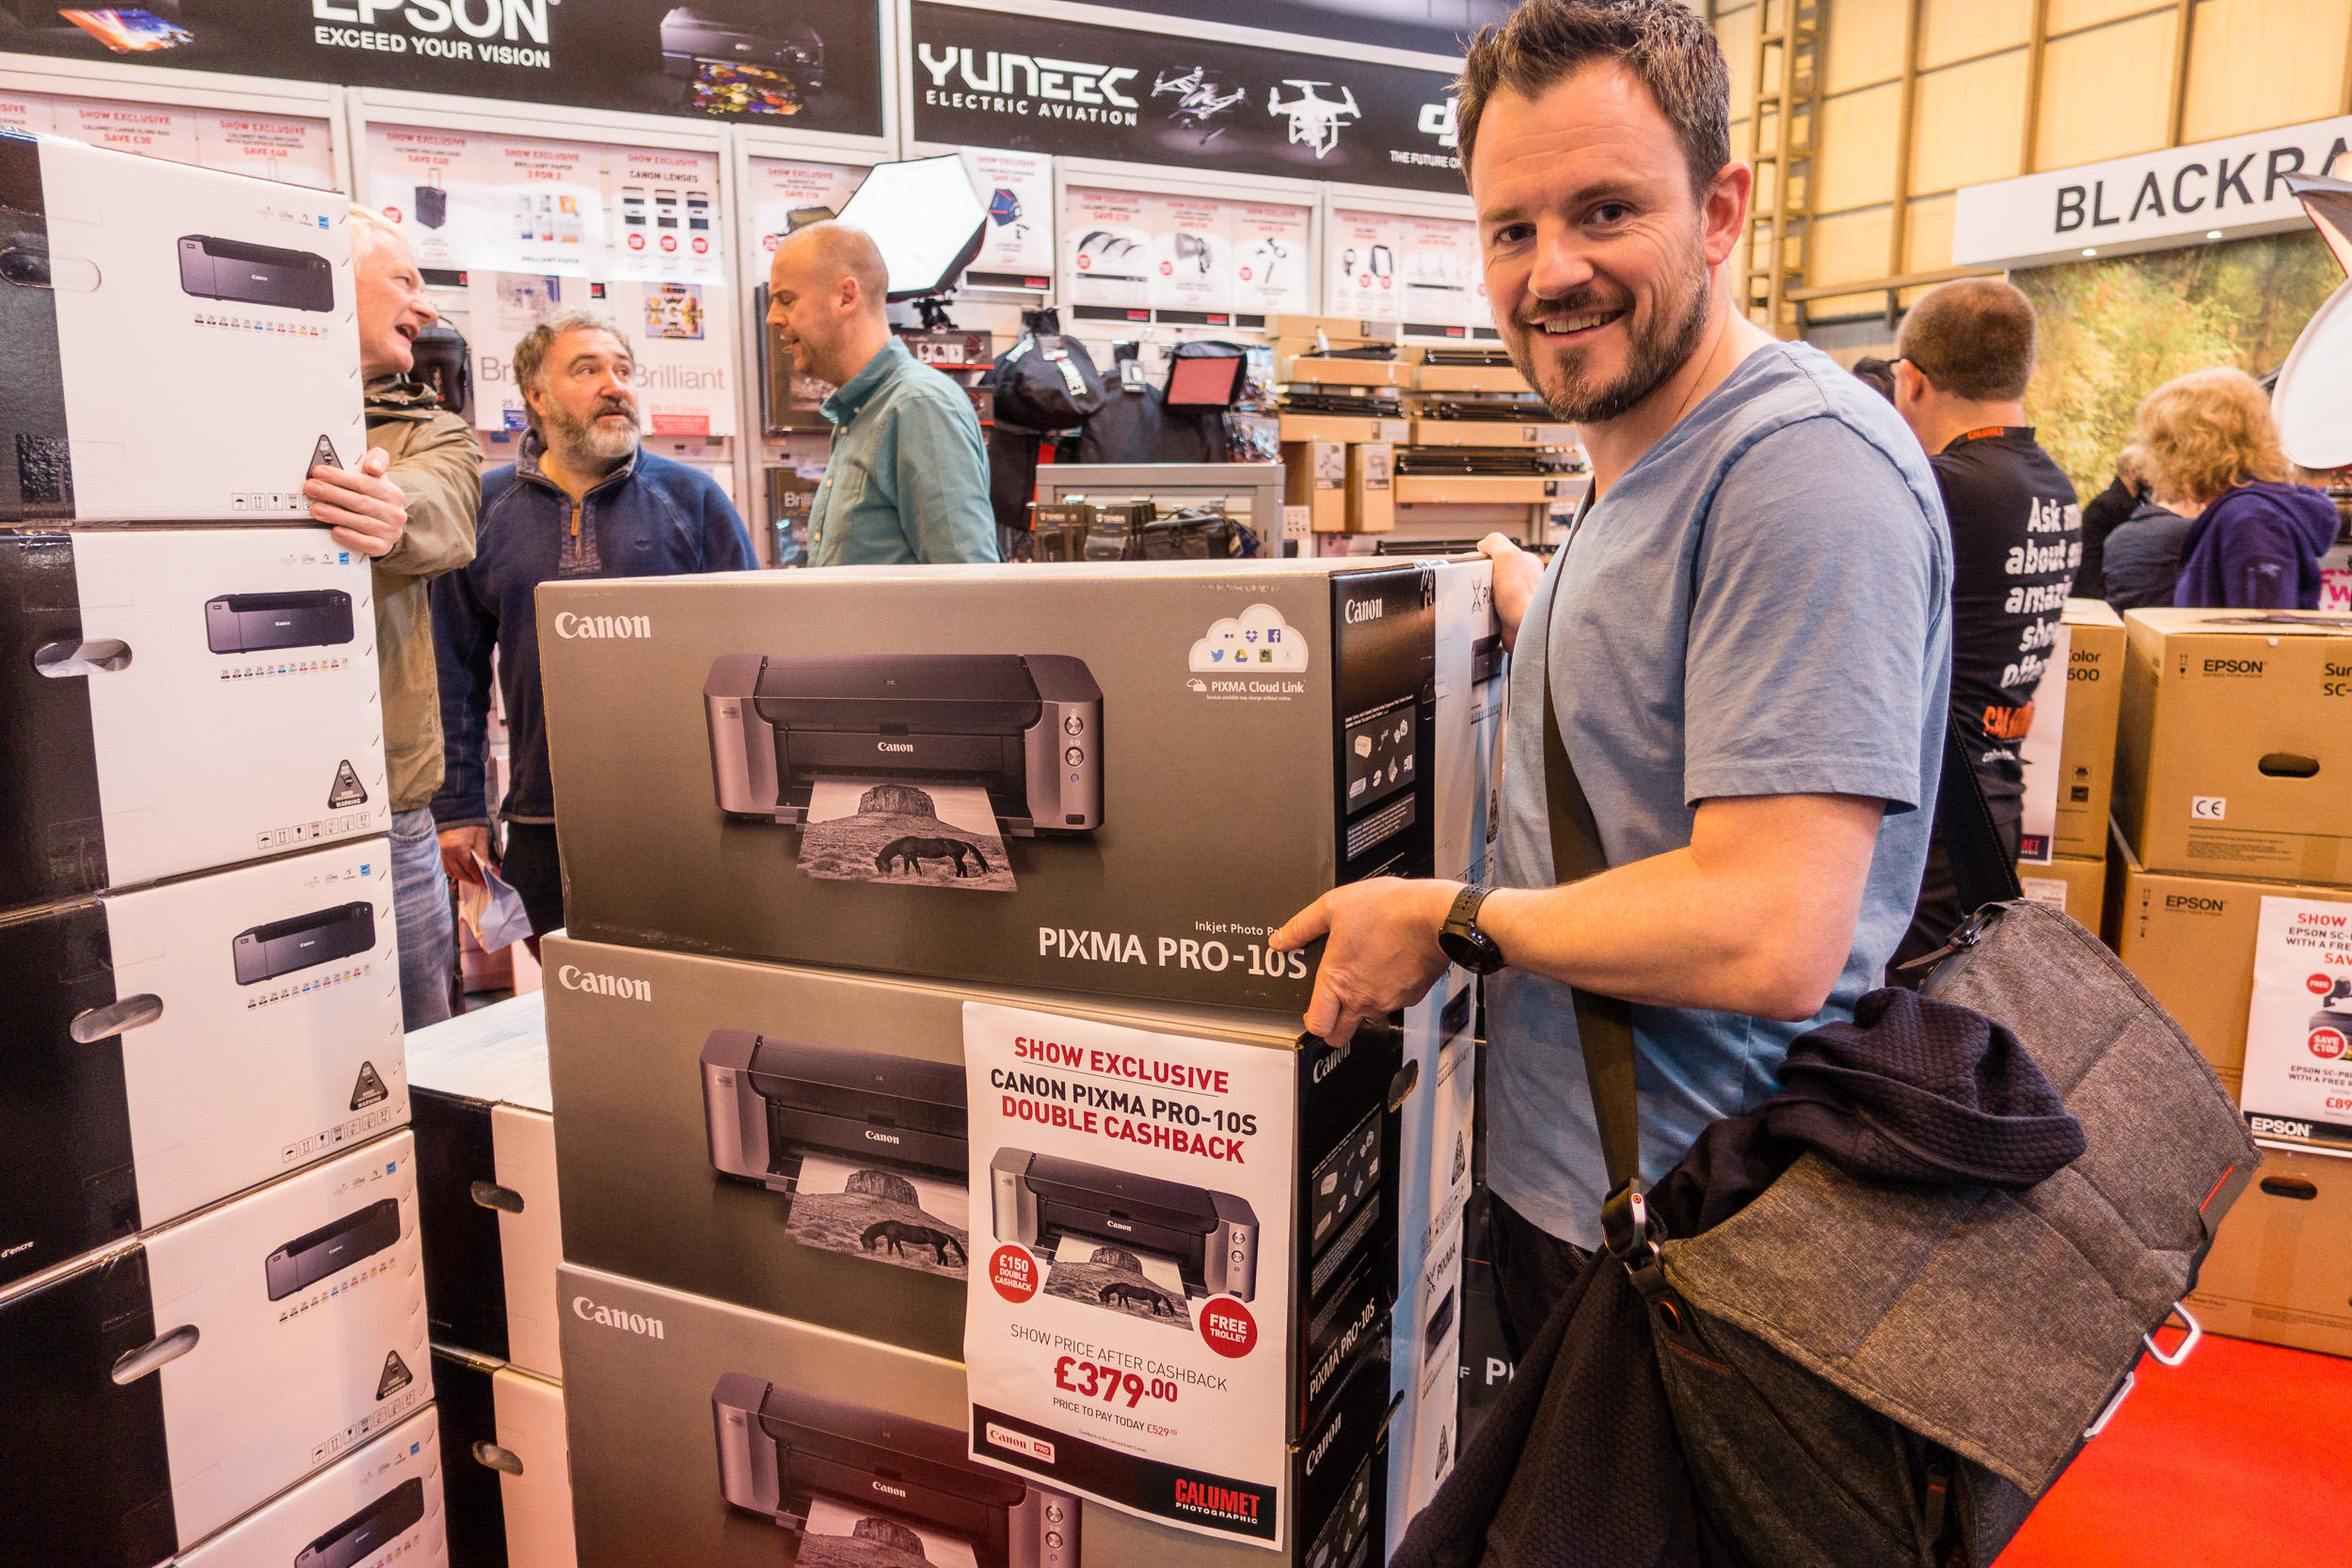
I was at The Photography Show at the Birmingham NEC a few weeks ago and while I was there I picked up a Canon Pixma Pro-10S printer. Every year I hope to pick up a bargain from the show and this year was no different. When I saw that Canon was offering double cash back on their range of Pixma Pro printers I went straight to the Calumet stand and grabbed myself Pro-10S.
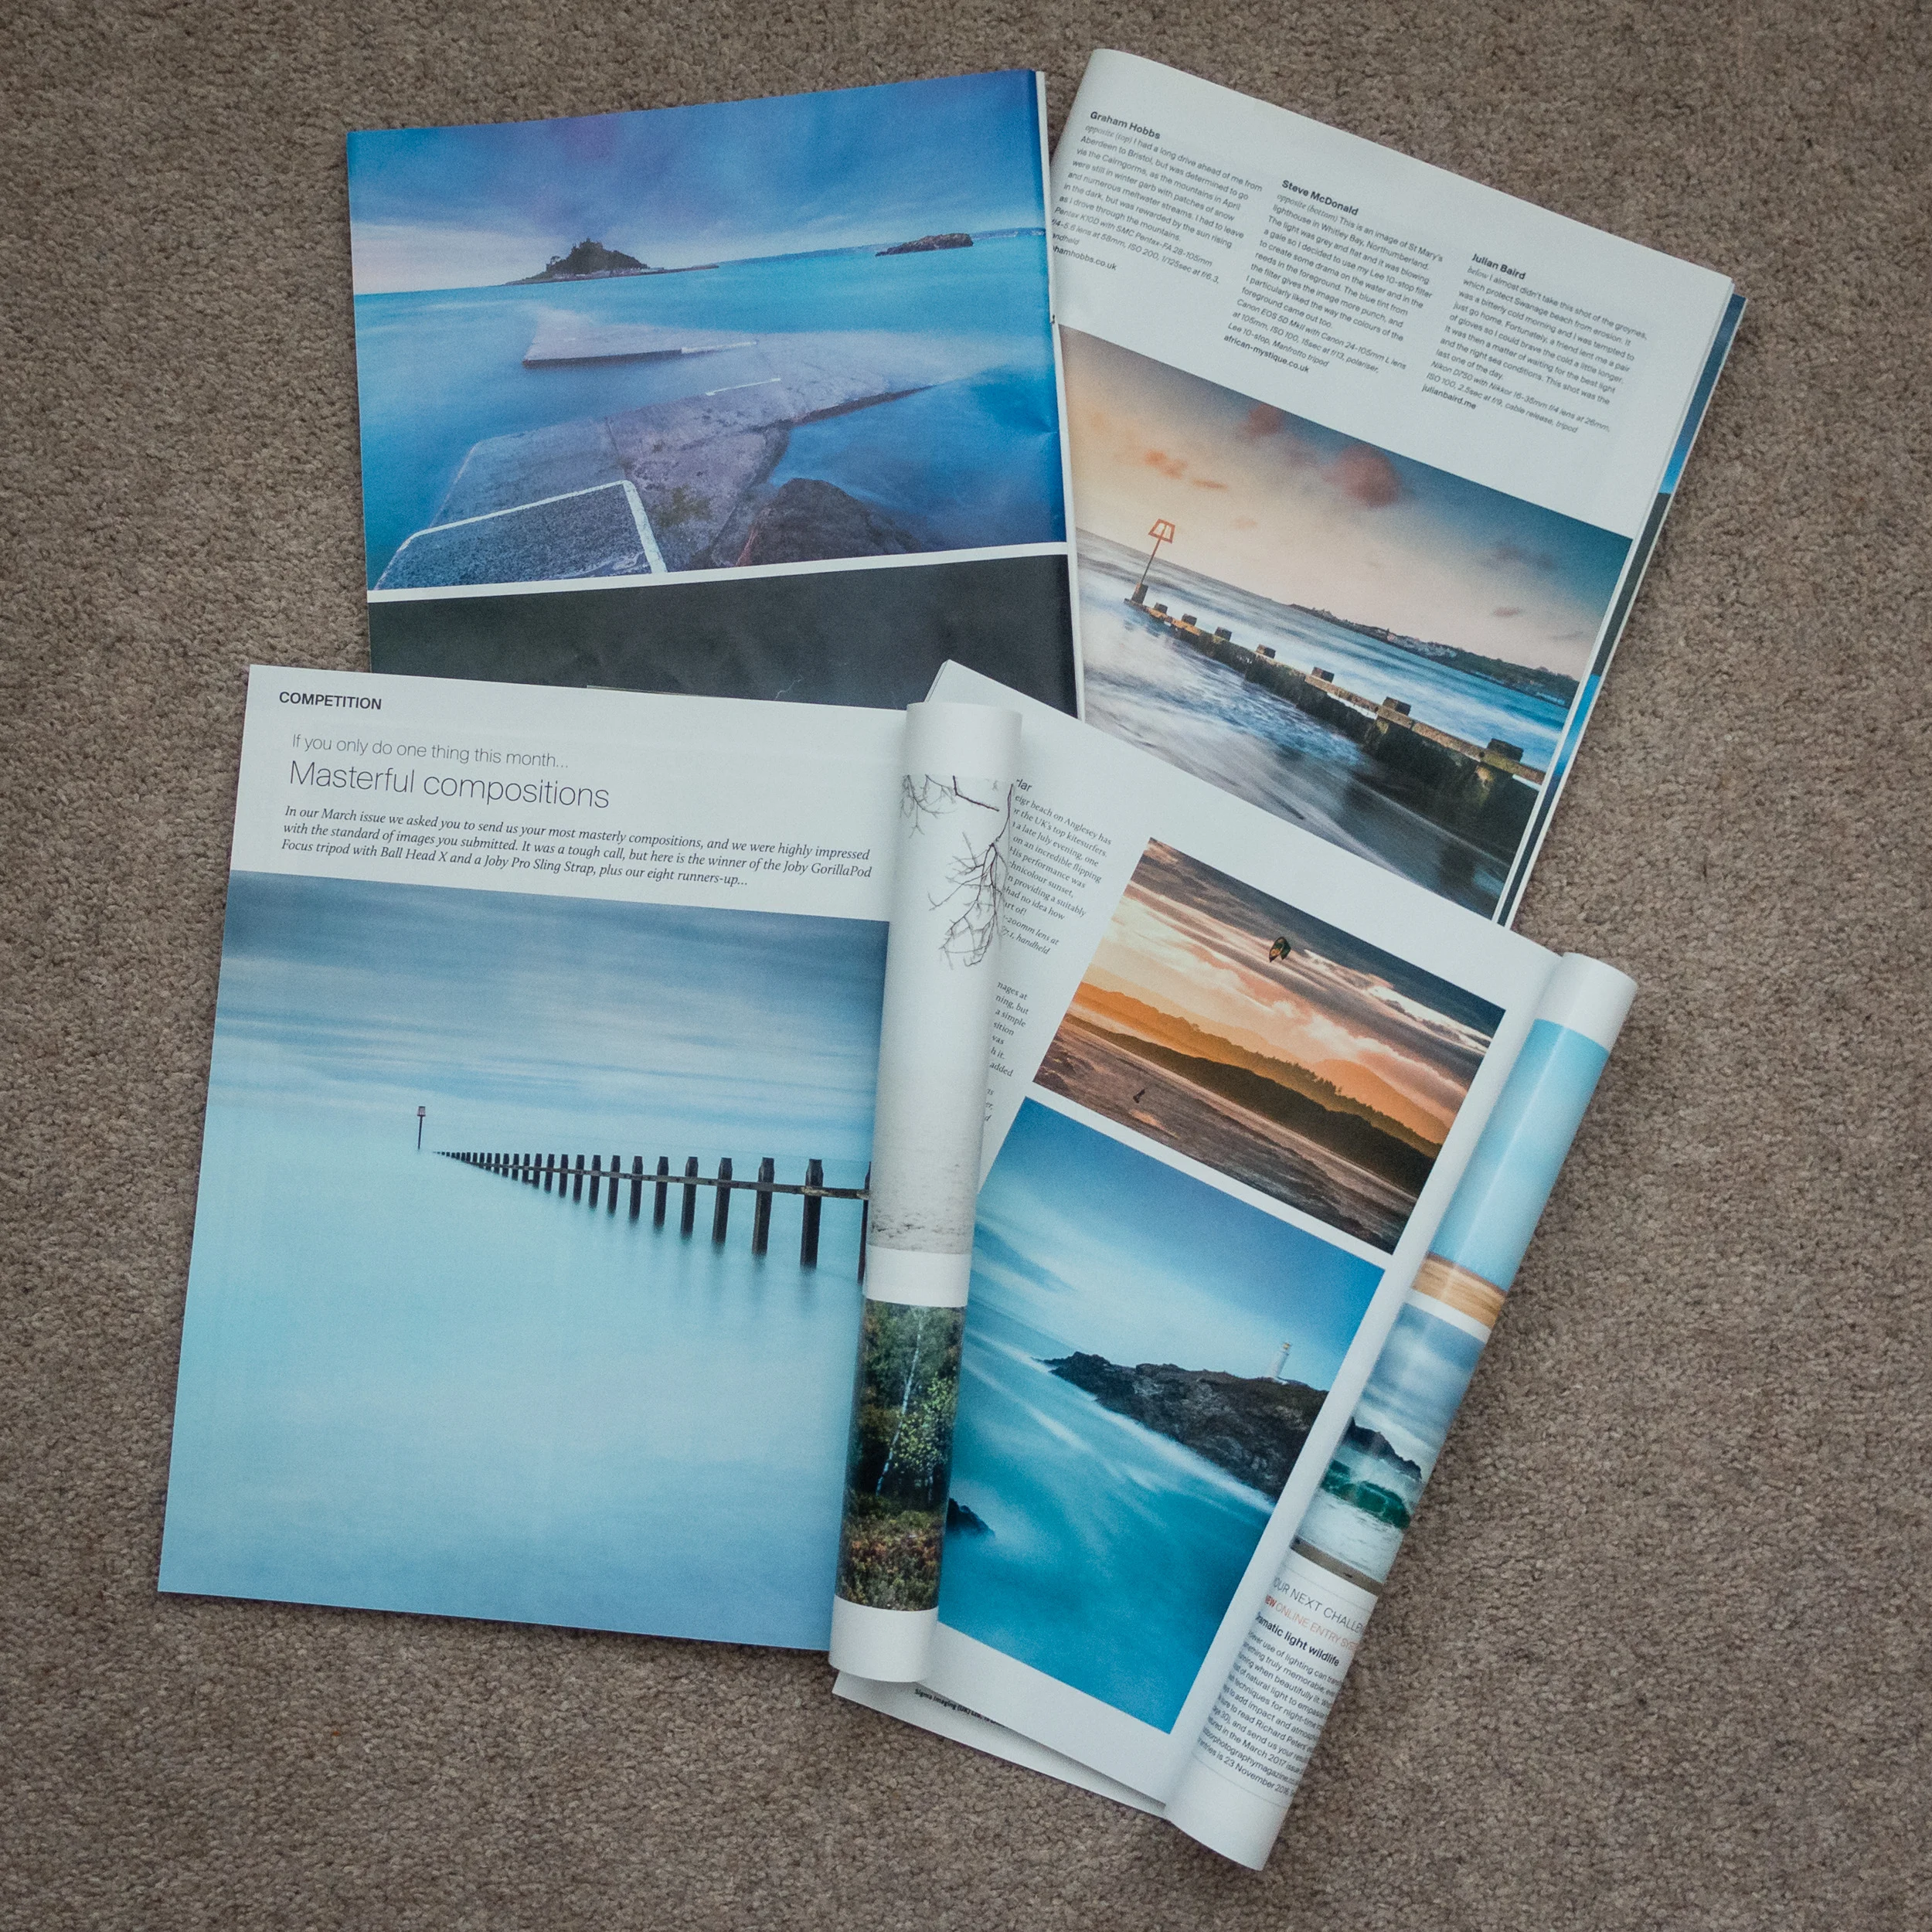
Though this may sound like a spontaneous decision, it was not. For at least a year now I've wanted to extend my workflow to include printing. There are a couple of reasons for this decision. Firstly, seeing some of my images printed in Outdoor Photography magazine has made me realise how wonderful it is to see one of your images in print.
I have also been influenced by a couple of photographers that I follow online that are big proponents of printing, Martin Bailey and David duChemin. Martin wrote and excellent ebook on printing Making the Print and David has an excellent video on Ideas for Living With Your Photographs.
I wanted to live with my work a bit more. Why should my images gather dust in a digital archive? I want to see what my images looked like in physical form.
Printing at Home
So why would I go to all the hassle of printing at home? Why not just send the images to a lab and have a professional do it? This is a valid question but for me, half the fun is the process of the print. There is a sense of excitement as the printer slowly prints out one of your images. The anticipation of seeing the final result. Printing is the last step in a complete end to end photography workflow that starts with capture and ends in print.
This isn't to say that I wouldn't use a lab. Labs are great, especially if you need an unusually large print, need framing or need to print on other materials. But for me, I want that tangible experience of doing the print myself and hanging it on my wall.
What about the cost? Isn't printing at home expensive? I'll be absolutely honest with you, I have not concerned myself with how much each print will cost. That's not to say that I don't care, it's just that the cost per page isn't something that has influenced either my decision to print at home or the decision to buy this specific printer.
I've always owned Canon printers and my current office printer is a Canon so I was very comfortable with my decision to buy the Canon Pixma Pro-10S. Also, given the volumes of printing that I was going to do, I could treat myself to an A3 print every now again. Compared with all the other money I have spent on photography over the years, the cost of a print seems a small price to pay to further my enjoyment and experience of photography.
My First Print
I was excited to make my first print with my Canon Pixma Pro-10S. One of the first things I needed to do was to get some paper. There is a dizzying range of paper types and sizes out there. I thought I would make my life easy to start with by selecting from Canon's own range of pro papers. After watching David Noton's videos on A guide to Fine Art and Photo Printing and Fine Art and Photo Printing I knew the Canon paper types would already have the relevant ICC profiles installed which should make my first print easier. He also made some good suggestion on which paper types to use.
So I got onto Amazon.co.uk and ordered some Canon Pro Platinum A4 and A3+ glossy paper. I was ready to start printing. If you want to see how I got on with my first print, from setup to final output, I've made a short video of my experience.
Impressive, Fun and Simple
To say that I was impressed by the output would be an understatement! The accuracy of the print compared to what I saw on the monitor was remarkable. The colours, tones and contrast all looked amazing on the glossy A3 paper. My black and white image from my Live Music portfolio was also stunning with the printer producing a punchy and detailed print.


I was also pleased how simple it was to make a successful print. I was already calibrating my monitor but I was worried that I might have to extend that to include printing, but Getting an accurate print was no more difficult than selecting the correct paper type in the Canon Print Studio Pro.
However, almost as important as the quality and simplicity of the process was that it was fun. There really was something very special about watching one of your favourite images gradually appear from the printer. When I held up that first print to the light I realised that I had definitely made the right decision to get into printing. The whole experience of looking at your images in print is so vastly different from seeing them on a monitor, even one as good as my Eizo monitor. Printing now as a permanent home in my photography workflow and I can't wait to print more of my images.
So do you print your work? Do you print at home or use a lab? Let me know in the comments below.