

Creating a Landscape Photography Gallery at Home
In the blog this week, I show you how I created my very own home gallery of images from Harris & Lewis using some fantastic papers from Fotospeed.
Printing Landscape Photographs at Home
If you’ve been reading my blog or watching my YouTube channel for a while you know I’m a big fan of printing! For me it’s an exciting part of the photographic process as I take a digital image and make it a physical photograph.
Regular readers/viewers will also know that last year I was lucky enough to photograph one of my bucket list locations, the Isle of Harris and the Isle of Lewis. I managed to capture some wonderful images but after sharing them on this blog, and social media, I knew I was going to not only have to print one image but a whole gallery of them!
I thought this would make for an interesting video, so I’m very pleased to share with you this video on how I went about creating my very own landscape photography gallery at home.
My Landscape Photography Adventure to the Outer Hebrides
As I mentioned in the video I created a video of my adventure to the Outer Hebrides, so if you are interested in seeing how some of the photographs I used in this printing video were created, you can see it here:
Products Used in Video
In the video I also said I would list out some of the products and equipment I used to create the gallery:
Fotospeed papers:
FYI - You can find the Fotospeed Tips and Tricks Facebook page here.
Printed using a Canon Pixma Pro-10S
Picture frames from Picture Frames Express
Those white cotton gloves I use to handle the paper
My Other Printing and Processing Videos
I also mentioned in the video that I would share with you all my other videos on printing and processing:
There’s Always Something to Print
I do hope you enjoyed my video on creating your own landscape photography gallery, and hopefully it has inspired you to print a little more. I highly recommend it!
Do you print at home? Do you have somewhere to create your own gallery? Is there another video on printing you would like to see me produce? Let me know in the comments below.

How I Manage My Images in Lightroom - From Import and Export
In the blog this week I share with you Adobe Lightroom workflow. I show you how I manage my images from import to export and everything in between.
My Lightroom Workflow
I've been using Adobe Lightroom since version 3 and over the years I've been fine-tuning my image workflow around its capabilities. While its image processing speed had left me screaming up until a recent update, I've always liked its ability to organise and manage my photographs.
In the video below I share with you my Lightroom workflow. I show you how I import my images, select images for processing, apply keywords, rate images and finally get them ready for export. There are lots of different ways to do Digital Asset Management (DAM) in Lightroom, so my way is probably neither the right way, nor the wrong way, but hopefully, you'll be able to take something away from this video and use it in your workflow.
Do you have any Lightroom tips for image organisation? How does your workflow differ? Let me know in the comments below.
My Other Workflow Videos
How I Backup my Landscape Photographs
Every landscape photography I take is unique to me and so I want to minimise the risk of data loss at every step. In the blog this week I show you how I protect my data from the moment I press the shutter button up until the point I'm ready to format my memory cards again.
Every Landscape Photograph Is Unique
Every landscape photograph you take is unique and can't be recreated. Each time you press that shutter button it is a unique point in time. The light, the weather, and the conditions will likely never be exactly the same again. So how much care do you take to protect your images from virus outbreaks, deletion, corruption or hardware failure?
To me, every photograph or video I create is important and needs to be protected. Some of the content is priceless, such as photographs of my children, or it might represent an investment of time and money, such as one of my landscape photographs. No matter the content though, to me it has value.
My Backup Workflow
For some people backup is something they think about rather than do. Something to do at some point Maybe. For me, though it's become such an integral part of my workflow now that it's just something I do automatically each time I upload new content to my computer.
So if you've been looking to start putting together a proper backup routine for your workflow or you are simply looking for some tips to improve your existing backup routine, I've created this video which lays out, step by step, how I backup and protect my images.
Backup Products
If you are interested these are some of the products I used in the video as part of my backup workflow:
So do you have a robust and complete backup workflow? Do you backup on occasion? What tools and products do you use? Let me know in the comments below.
My Other Workflow Videos
PS - Some of the links used are Amazon affiliate links. By buying through the links I may receive a commission for the sale. This has no effect on the price for you.

Developing a Passion for Printing
In the vlog this week I expand my printing skills by printing a panoramic image on panoramic paper and then mounting it into a custom-made panoramic frame. I also take a look at some different paper types to try and see what impact each one has on an image.
Discovering the Joy of Printing
Back in April of this year, I wrote about how I purchased a new Canon Pixma Pro-10S printer while I was at The Photography Show in Birmingham. You can read why bought a printer and watch the video I made on my first experiences of printing, in my blog article Discovery the Joy of Printing.
Ever since then I've been printing my images. A lot. And I have to say it's been a lot of fun. I've enjoyed the experience of going out to make an image, post-processing it, and then creating a print at the end.
Developing a Passion for Printing
I have however been keeping things relatively simple. I've been using standard paper sizes, using Canon's Platinum Pro glossy paper. The results have been great. Prints match what is on the screen and the whole workflow is straightforward.
However, there any many different paper types from many different paper manufacturers, so I thought it was about time to expand my printing horizons. In the video below I take one of my favourite panoramic images and print it on some panoramic paper from Fotospeed, and then mount it in a custom frame from Picture Frames Direct. I also take another one of my favourite images of the year and print it on some different paper types.
These are the images I printed in the video.
Nikon D750, Nikkor 24-70mm f/2.8 VR at 20mm, 1/3 sec at f/11, ISO 100, 7 image panorama.
Nikon D850, Nikkor 16-35mm f/4 @ 18mm, ISO 100, 5 sec @ f/13, Lee Filters circular polariser and ND grad.
Well, I hope you enjoyed my follow-up video on printing. As you can see I've still got a lot to learn, but I'm really enjoying the challenge. I get a great sense of satisfaction on owning the entire process from capture to print.
Have you recently taken up printing? Are you an experienced printer? Do you have any advice on printing? Let me know in the comments below.

Discovering the Joy of Printing
In my this blog post and video I tell you why I have decided to start printing my work and what it was like to print my first A3 image using a Canon Pixma Pro-10s printer.
Why Print?
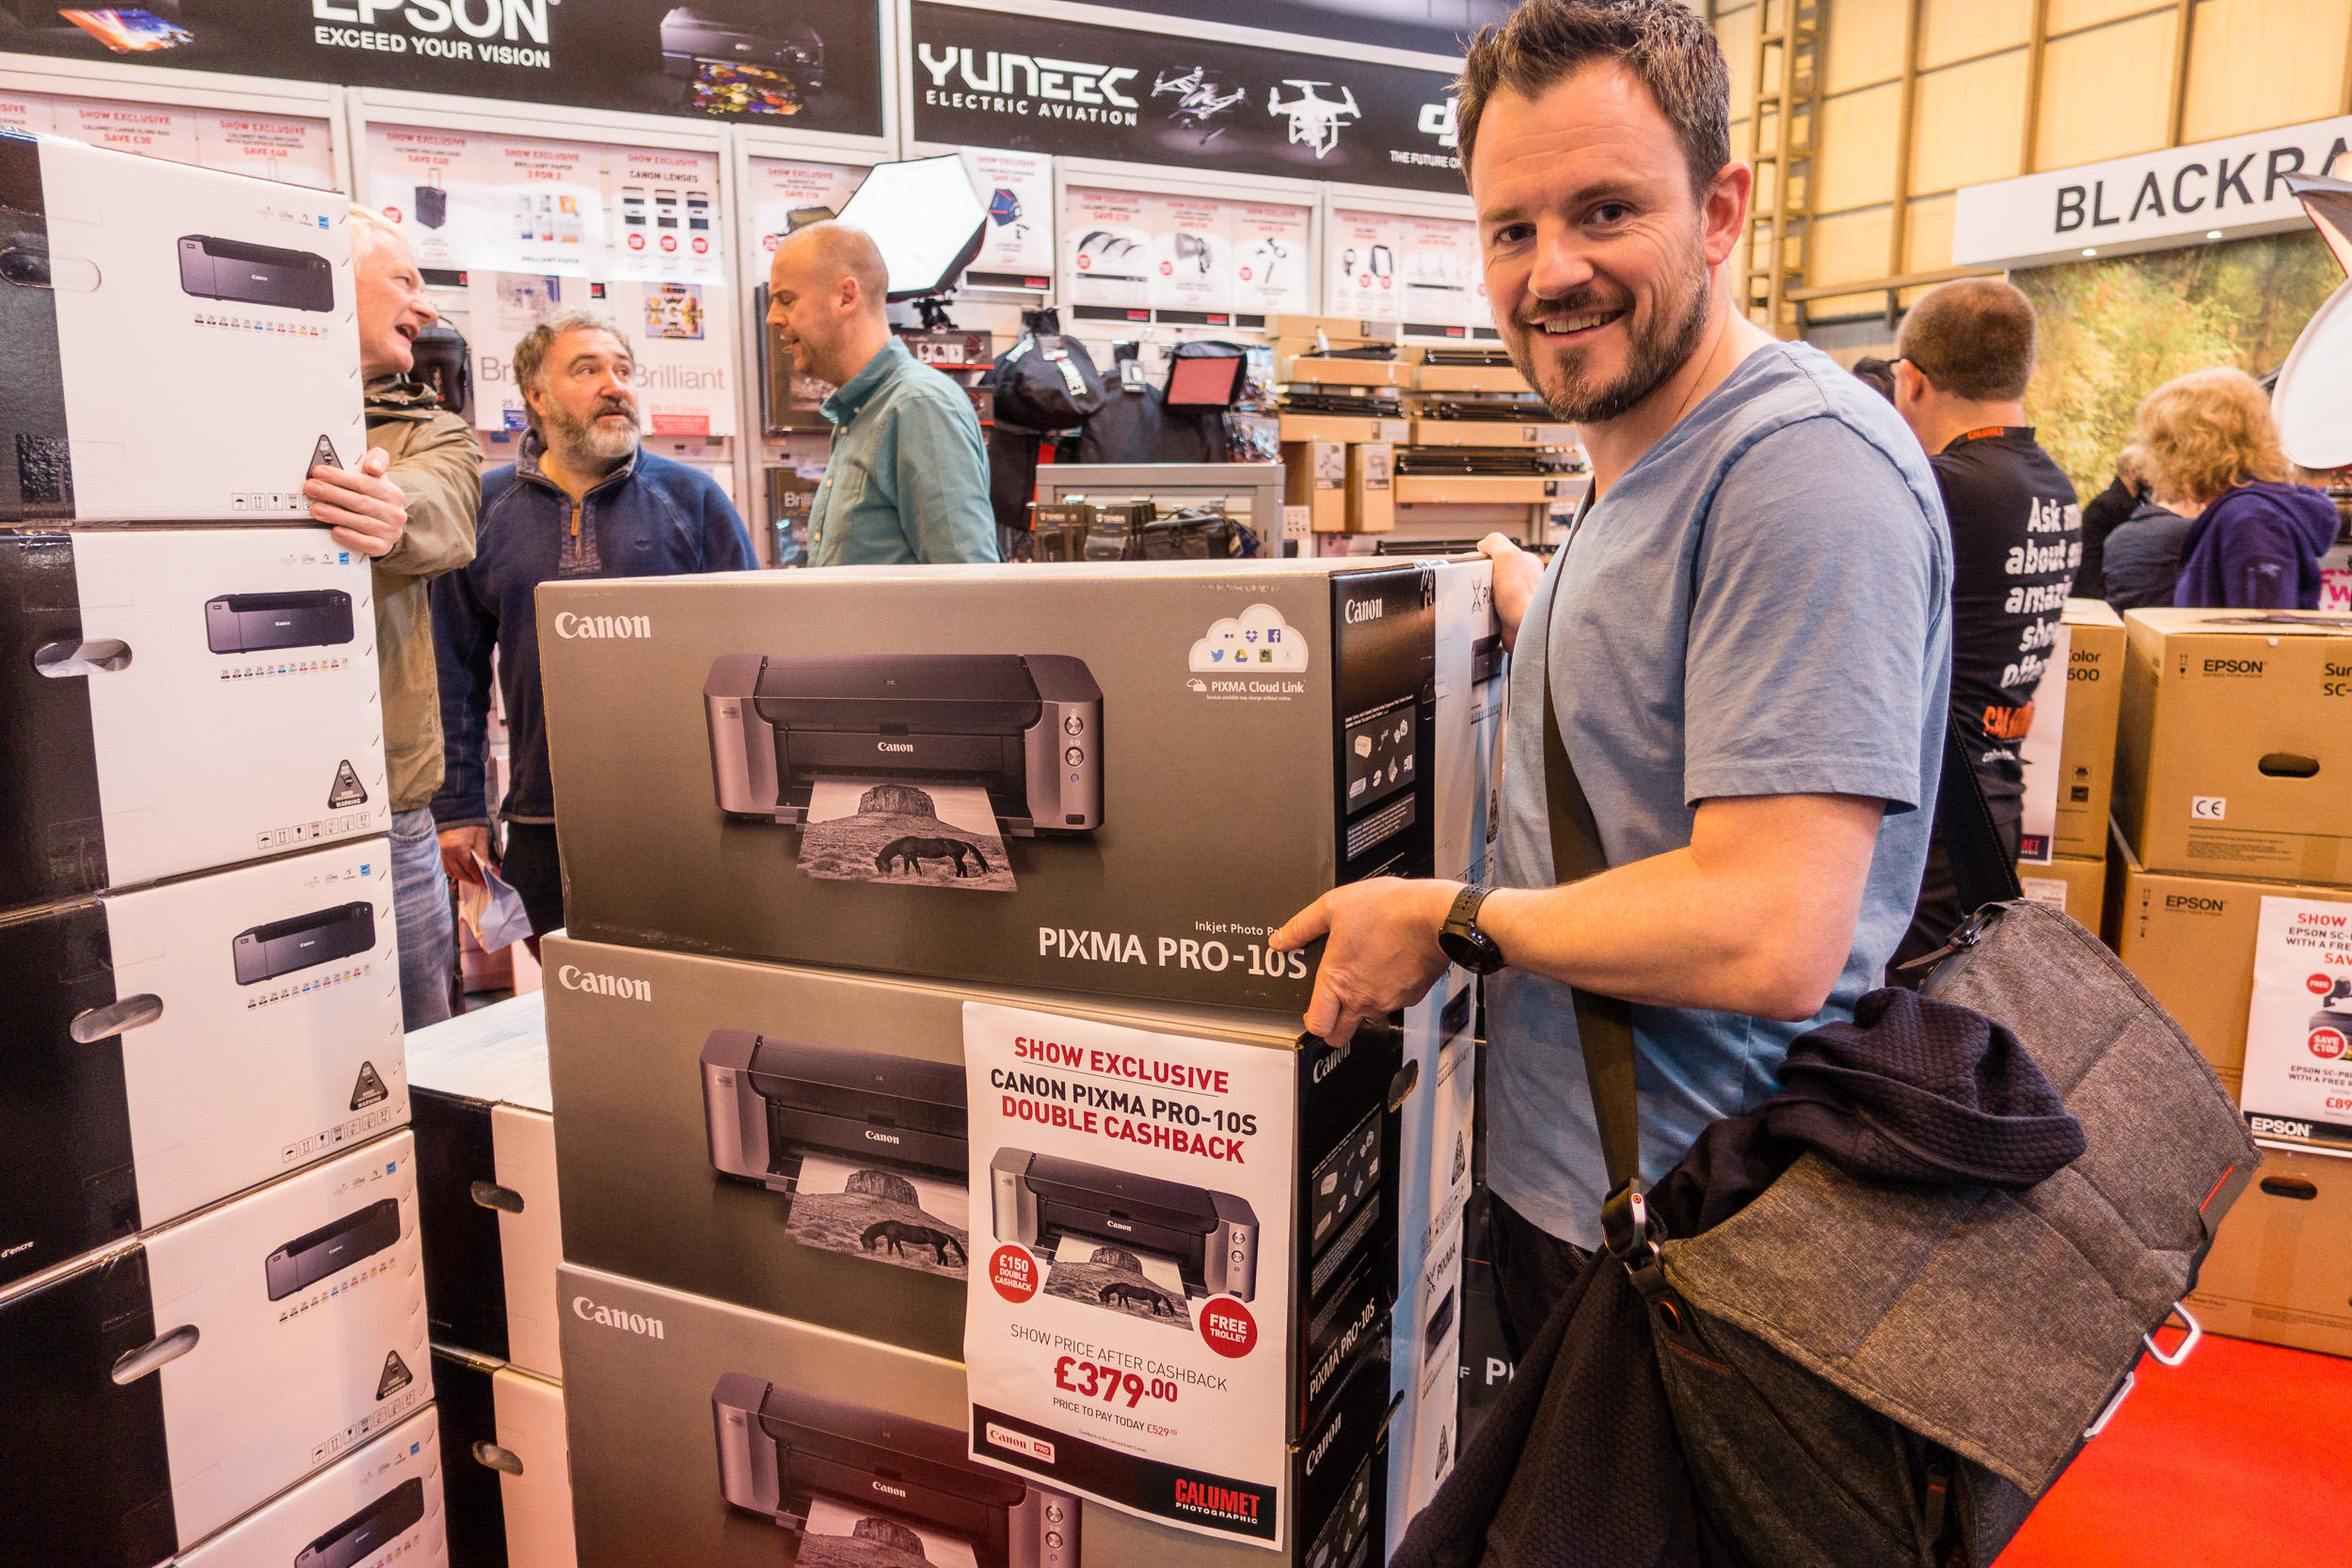
I was at The Photography Show at the Birmingham NEC a few weeks ago and while I was there I picked up a Canon Pixma Pro-10S printer. Every year I hope to pick up a bargain from the show and this year was no different. When I saw that Canon was offering double cash back on their range of Pixma Pro printers I went straight to the Calumet stand and grabbed myself Pro-10S.
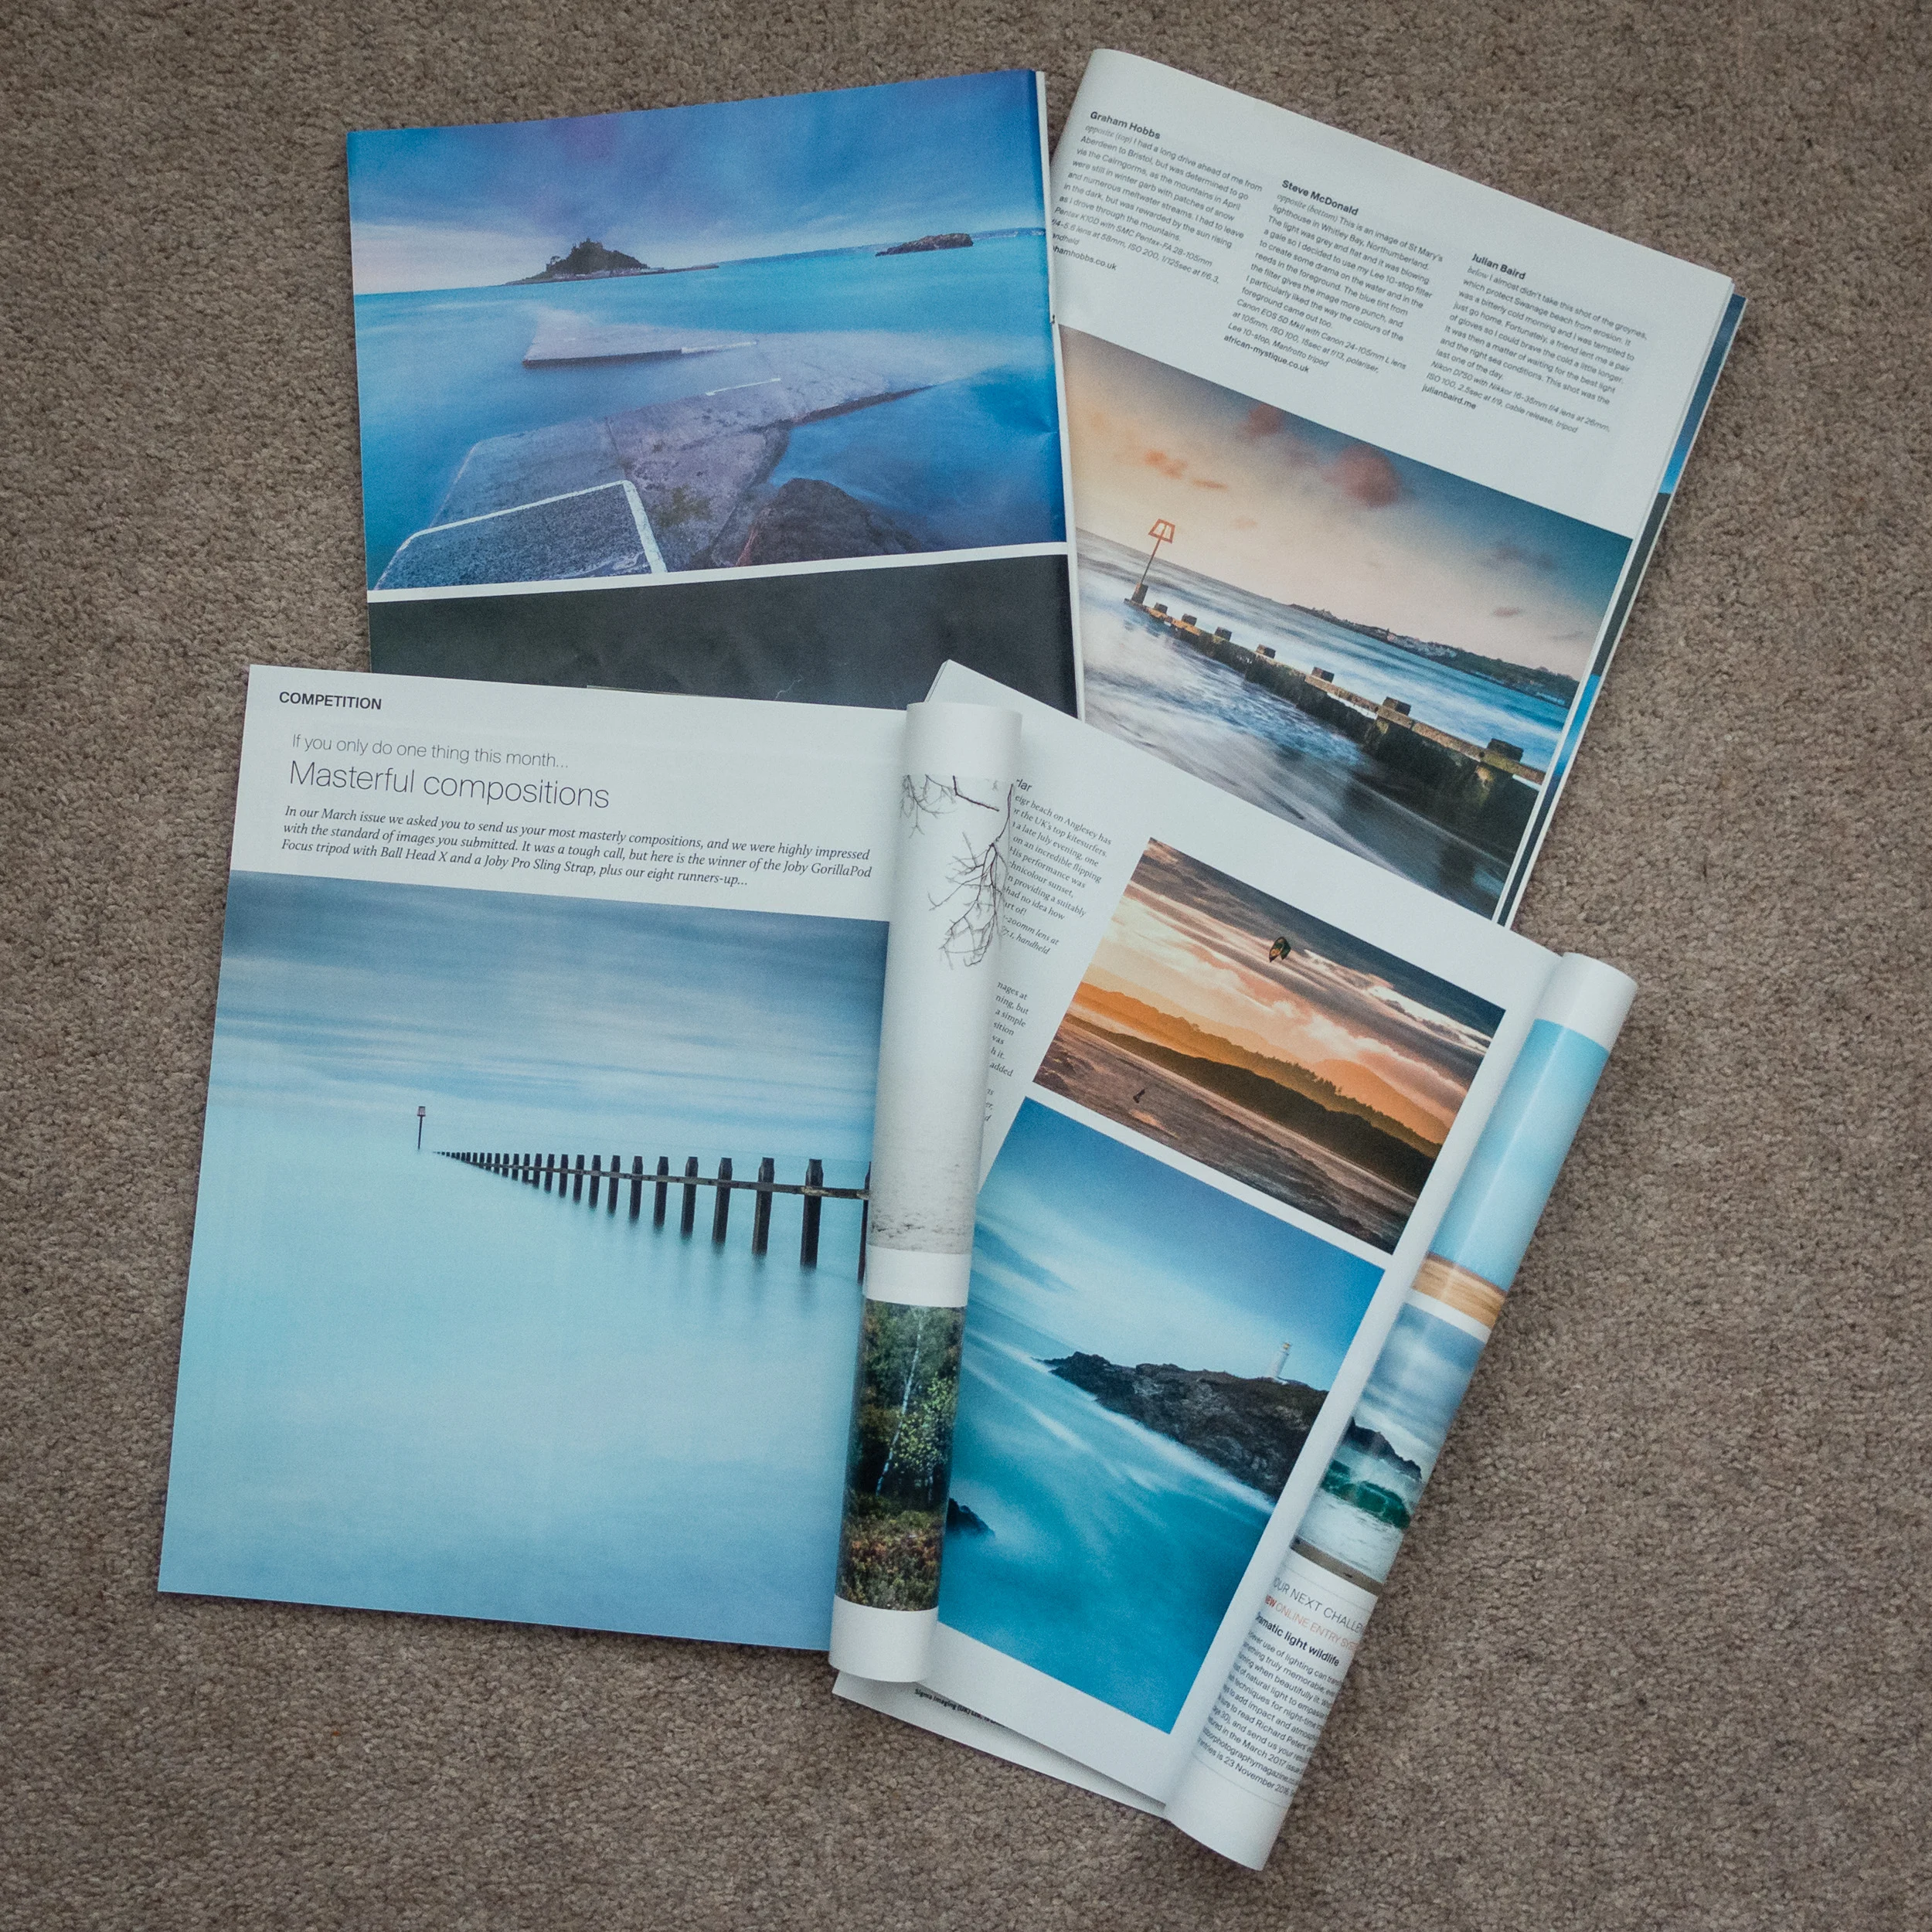
Though this may sound like a spontaneous decision, it was not. For at least a year now I've wanted to extend my workflow to include printing. There are a couple of reasons for this decision. Firstly, seeing some of my images printed in Outdoor Photography magazine has made me realise how wonderful it is to see one of your images in print.
I have also been influenced by a couple of photographers that I follow online that are big proponents of printing, Martin Bailey and David duChemin. Martin wrote and excellent ebook on printing Making the Print and David has an excellent video on Ideas for Living With Your Photographs.
I wanted to live with my work a bit more. Why should my images gather dust in a digital archive? I want to see what my images looked like in physical form.
Printing at Home
So why would I go to all the hassle of printing at home? Why not just send the images to a lab and have a professional do it? This is a valid question but for me, half the fun is the process of the print. There is a sense of excitement as the printer slowly prints out one of your images. The anticipation of seeing the final result. Printing is the last step in a complete end to end photography workflow that starts with capture and ends in print.
This isn't to say that I wouldn't use a lab. Labs are great, especially if you need an unusually large print, need framing or need to print on other materials. But for me, I want that tangible experience of doing the print myself and hanging it on my wall.
What about the cost? Isn't printing at home expensive? I'll be absolutely honest with you, I have not concerned myself with how much each print will cost. That's not to say that I don't care, it's just that the cost per page isn't something that has influenced either my decision to print at home or the decision to buy this specific printer.
I've always owned Canon printers and my current office printer is a Canon so I was very comfortable with my decision to buy the Canon Pixma Pro-10S. Also, given the volumes of printing that I was going to do, I could treat myself to an A3 print every now again. Compared with all the other money I have spent on photography over the years, the cost of a print seems a small price to pay to further my enjoyment and experience of photography.
My First Print
I was excited to make my first print with my Canon Pixma Pro-10S. One of the first things I needed to do was to get some paper. There is a dizzying range of paper types and sizes out there. I thought I would make my life easy to start with by selecting from Canon's own range of pro papers. After watching David Noton's videos on A guide to Fine Art and Photo Printing and Fine Art and Photo Printing I knew the Canon paper types would already have the relevant ICC profiles installed which should make my first print easier. He also made some good suggestion on which paper types to use.
So I got onto Amazon.co.uk and ordered some Canon Pro Platinum A4 and A3+ glossy paper. I was ready to start printing. If you want to see how I got on with my first print, from setup to final output, I've made a short video of my experience.
Impressive, Fun and Simple
To say that I was impressed by the output would be an understatement! The accuracy of the print compared to what I saw on the monitor was remarkable. The colours, tones and contrast all looked amazing on the glossy A3 paper. My black and white image from my Live Music portfolio was also stunning with the printer producing a punchy and detailed print.


I was also pleased how simple it was to make a successful print. I was already calibrating my monitor but I was worried that I might have to extend that to include printing, but Getting an accurate print was no more difficult than selecting the correct paper type in the Canon Print Studio Pro.
However, almost as important as the quality and simplicity of the process was that it was fun. There really was something very special about watching one of your favourite images gradually appear from the printer. When I held up that first print to the light I realised that I had definitely made the right decision to get into printing. The whole experience of looking at your images in print is so vastly different from seeing them on a monitor, even one as good as my Eizo monitor. Printing now as a permanent home in my photography workflow and I can't wait to print more of my images.
So do you print your work? Do you print at home or use a lab? Let me know in the comments below.