
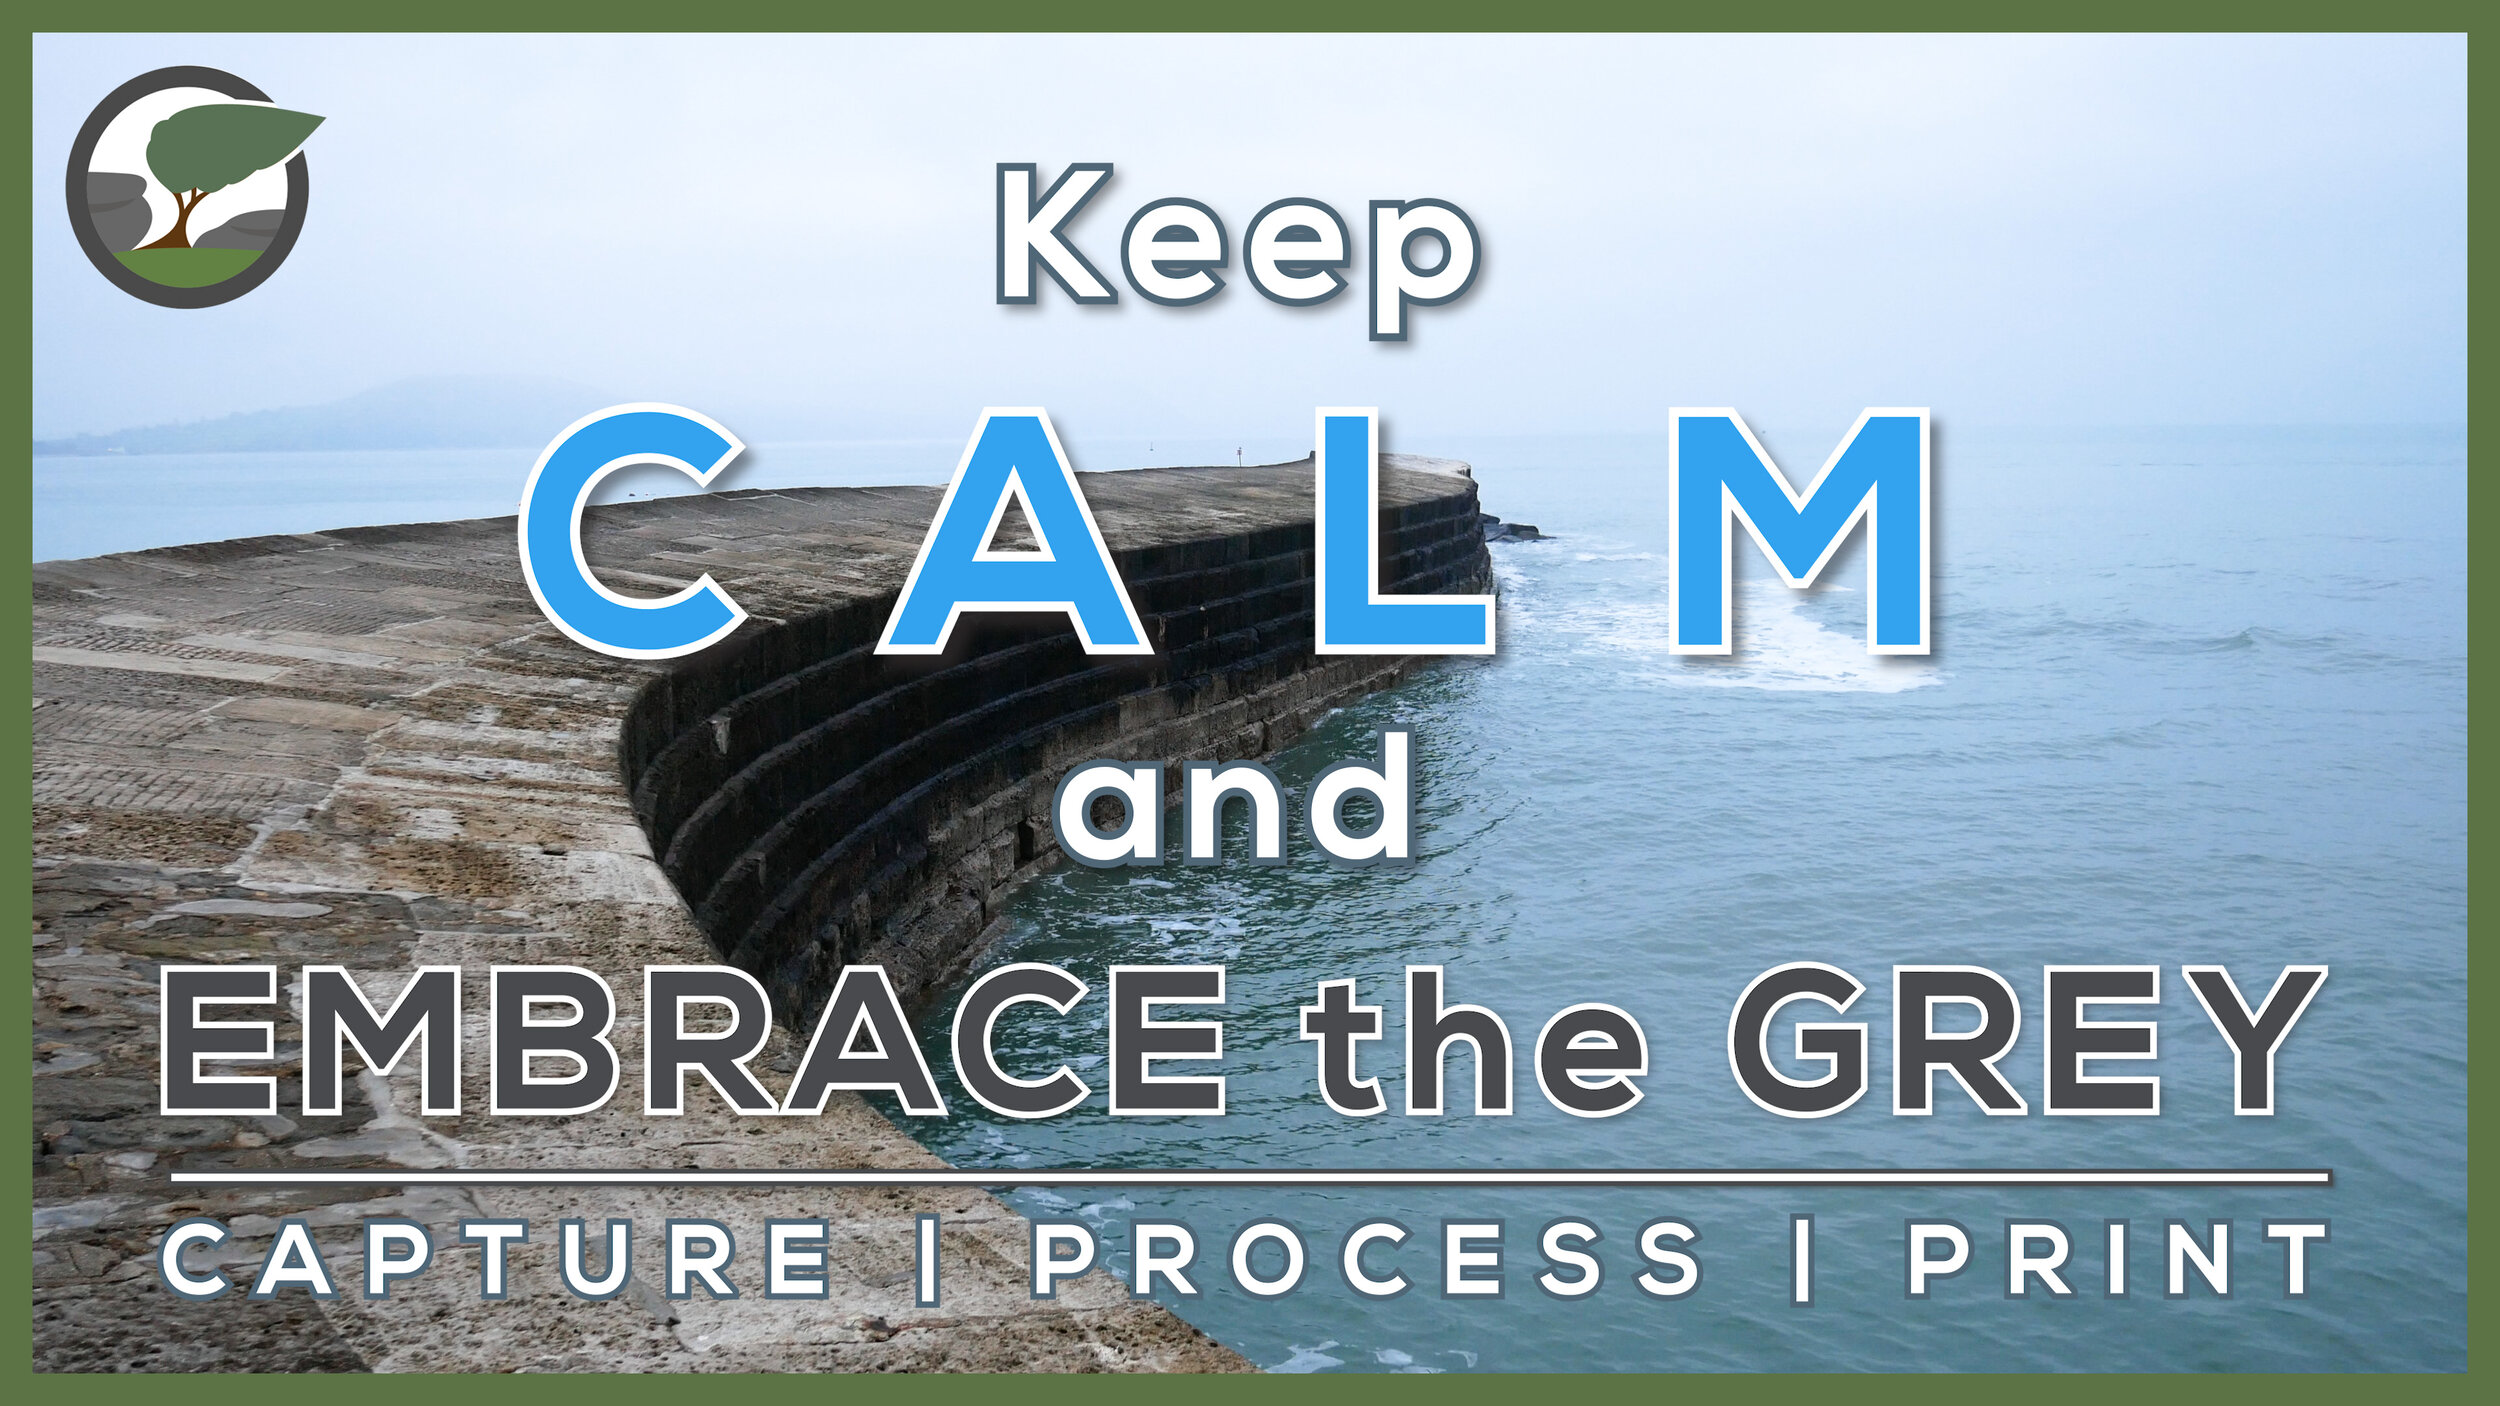
Keep Calm and Embrace the Grey
Big sunrises, amazing light, and epic skies. These are just some of the elements that have helped shape some of my best landscape photographs. But what do you do when you don't have those things? What if the conditions are grey, overcast and still?
It’s All About the Light
Over the years some of my best photos have been shaped by the light. I’m always seeking the type of light that will lift my compositions from looking a little dull and flat into something with texture, dimension and contrast. Don’t get me wrong, I’m not saying that you can’t get good images in flatter light, but the images that I like creating often require good light to make them a little more special.
Winter in the UK can be a challenging time for photography. The weather can be rather unsettled and grey flat days tend to be the norm rather than the exception. With so much overcast weather I decided it was once again time to #EmbraceTheGrey and I knew just the place to go.
Right Subject for the Conditions
Back in December 2018, I had visited The Cobb and the image that I captured changed the way I viewed that location. Rather than a location I would only visit when the waves were big and the sky glorious, I really wanted to capture a photograph when it was all still, flat and overcast. I almost got what I was looking for on that visit but I actually wanted it to be even more overcast! I wanted it to be even greyer!
For some time now I’ve been hoping to get those very conditions so I could make the photograph that I had in my mind’s eye. When a recent weather forecast predicted the conditions I was looking for, I thought it was finally time to head back to The Cobb.
In my latest video below I will share with you the experience of going back to The Cobb to try and capture the image I had envisioned all those months ago. I’ll also show you how I post-processed it and how I printed it.
I do hope you enjoyed the video. Though I’ll always be chasing that glorious light, hopefully, this video has shown you that having a subject or location that you can embrace the grey with is not only useful but can also lead to some very pleasing images.
Do you have a favourite location where you #EmbraceTheGrey? Let me know in the comments below.
And finally, here is that image you saw me capture, print and frame.
Embracing the Grey at The Cobb, Lyme Regis, Dorset - Nikon Z7, Nikkor 14-30mm f/4 at 16mm, f/13, 182 seconds at ISO 64, Kase Filters CPL and 6 Stop ND
Printing Notes
In case you didn’t catch everything in the video, here is what I used to print the image:
Printer - Canon Pixma Pro-10s (http://amzn.to/2Anrcj7)
Software - Edited in Lightroom and printed using Canon Print Studio Pro
Paper - Fotospeed’s Legacy Gloss 325 with custom ICC profile (https://www.fotospeed.com/Legacy-325/groupproduct/3103/) - one of my favourite papers!
Frame - Picture Frames Express (https://www.pictureframesexpress.co.uk/)

Do Spectacular Conditions Make Landscape Photography Easier?
On a recent trip to photograph the sunrise at Start Point, I discover than amazing conditions doesn’t always mean that the photography is going to be easy.
Into the Sun at Start Point
One of the reasons yr.no is my favourite weather forecast website is the fact that it splits cloud coverage into low, medium and high levels. I’m always on the lookout for a bit of high-level cloud combined with little medium and low-level cloud. It’s generally the high-level cloud that catches the light from the rising or setting sun giving us those lovely pink skies that we sometimes crave.
Start Point in all its glory.
It was those very conditions that were predicted for Start Point on the South Devon coast one morning recently. I was not only looking to do a little coastal photography, but I was also keen to return to Start Point, so with a positive forecast for the morning I was (for once) sure that it would be the place to be.
My only slight concern was the position of the rising sun. At this time of year I would almost certainly be shooting straight into the sun. There’s nothing wrong with shooting into the sun, and plenty of people make an excellent job of it, but I’ve never really got to grips with it. A quick scan through my Lightroom catalogue of my previous images from Start Point reminded me that I could also shoot the lighthouse further down the coast towards the west. This would not only give me something a bit different from the normal shots that I take there, but it would also mean the sun would rise from the side instead of straight on.
Decisions, Decisions!
My regular viewpoint of Start Point, Feb 2019.
It’s at least a 75-minute drive to Start Point for me, and given that I like to be on location at least 1 hour before sunrise, I had to get up really early. As I got into the car and it was still 2 hours before sunrise, I could see a bit of high-level cloud in the sky. Those big long patches of cloud that catch the light. I was beginning to get really excited about the morning.
My alternative viewpoint further along the coast, Feb 2017.
When I arrived at Start Point things were still looking positive. A little too much blue sky, but there were some great patches of high-level cloud. I grabbed my bag and started walking. I did however have a bit of a dilemma on my hands. If I were to locate myself further down the coast to get the peninsula from the side, there wouldn’t be any of the high-level clouds in the shot. If I went to my regular position I would be shooting into the sun but I could include the high-level cloud in the shot (which was already pinking up nicely).
I decided to head down the coast and just check what the side shot would look like. When I got there I was correct with my assessment in that I just had a clear sky. The question was should I wait there to see if the cloud would move, and move in the right direction, or should I head back to my normal viewpoint. That high-level cloud really had some nice colour to it so I decided to head to my normal spot.
Sunrise
As I stood in my favourite spot I watched the sky and clouds change colour as sunrise approached and passed. While it wasn’t the most amazing sunrise I’d ever seen it was still really nice. Having experienced so many dull mornings recently this was a most welcome change and photography aside, I couldn’t think of a better way to experience the start of a new day.
Despite the very favourable conditions, I have to admit I struggled a little with my photography. I’m not sure if it was the thought that I should have been at the other spot (as the cloud had indeed moved into a good position) or that I was feeling a little uninspired, or even that I was finding it tricky shooting into the sun. Sometimes things just don’t click. Despite the good conditions I wasn’t finding the photography easy.
A Glorious Morning at Start Point, South Devon - Nikon Z7, Nikkor 14-30mm f/4 at 14mm, f/16, 15 secs at ISO 64, Kase Filters K9, CPL, ND Grad and 6 Stop ND.
Image Review
This was the best image of the morning, and despite it being better than I thought it would turn out, there is something that I don’t like about it. I’m not sure if it’s the composition, the tones or some combination of factors. Some times it's difficult to put your finger on these things so I’ve decided to do the best thing you can do when you want to learn from your own photography and that is to make a print.

Learn from your photography by making a print.
If I make a print of the image and leave it sitting around my desk I will spend more time looking at it. Hopefully by spending more time with the image, and in a printed form, I will learn what I don’t like about the image, what I need to change (in the composition or post-processing) or even that I do indeed like the image. For me, making the print is one of the best ways to improve your photography.
Whatever I ultimately end up feeling about this image, one thing I have learned is that spectacular conditions don’t always make landscape photography easier!
Practising Landscape Photography and Risk vs Reward
Is there value in practising your landscape photography? Do you consider risk vs reward? In the blog this week, I head to Belstone on Dartmoor National Park to capture some landscape photographs and to answer those questions.
The Value of Practising Landscape Photography
In the blog last week I spoke about the need to practise landscape photography. That trip to Dawlish Warren beach was my first trip out to capture landscape photographs in over a month. I certainly felt a little rusty so I was keen to keep the momentum going so I decided to head out again as soon as I could.
I decided I would head out a couple of days later and instead of shooting the coast again I opted to head up onto Dartmoor. The weather conditions weren’t exactly ideal for landscape photography. The forecast was predicting 100% clear skies (everywhere) and sub zero conditions.
Despite the weather forecast I was committed to going out and getting some practise in with the camera. Practising photography became really important to me after watching this video by John Free. I know John is a street photographer but the message is clear. It’s probably one of the most important photography videos I’ve ever watched.
Risk vs Reward
While the goal of my trip to Dartmoor was to practise my photography, I was still hoping to get some good photographs. This is where the risk vs reward bit comes in. It’s rare that the weather forecast is 100% accurate or the conditions are predicted to be perfect for landscape photography (whatever perfect might be), so there is always an element of risk.
Sometimes the risk is part of the excitement though. If you always knew what the the conditions were exactly going to do then some of the joy of landscape photography would be lost. While the forecast conditions wouldn’t necessarily yield a great photography, if I didn’t take the risk of going I might miss something special.
So did my trip to Dartmoor pay off? You find out in the video below where you will see the images I took and hear me talk more about the value in practising photography and risk vs reward. Enjoy!
I hope you enjoyed that 5 Minute Photo Adventure <insert playlist URL>. Do you practise your landscape photography? How do you measure risk vs reward? Let me know in the comments below.
The Photographs
As always here are the photographs from the video.
Dawn at Belstone #1, Dartmoor National Park, Devon - Nikon Z7, Nikkor 14-30mm f/4 at 14mm, f/13, 1/4 sec at ISO 64, Kase Filters CPL.
Dawn at Belstone #2, Dartmoor National Park, Devon - Nikon Z7, Nikkor 14-30mm f/4 at 18mm, f/13, 1/13 sec at ISO 64, Kase Filters CPL.

Kicking off 2020 Somewhere Familiar
In the blog this week I head to Dawlish Warren for my first shoot of 2020 and to get some much need practice!
Where Did the Time Go?
Prior to taking the photographs in this blog post the last time I went out with the camera was the 15th of December. I went to Hound Tor on Dartmoor, I took four frames and frankly it was a bit of a disaster. Not the way I wanted to finish 2019 but hey, that’s the way it goes sometimes.
A few days after that I went on a family holiday, then it was Christmas, then New Year, then I got a cold and the weather was pretty miserable for an extended period of time. The result of all this was that I didn’t take another landscape photograph until the 17th of January (when I took the photos in this post). Where did all the time go!
Keeping Sharp
You may not think a month is a long time between sessions with the camera and for some people it might well not be. For me though that month represents a reduction in the sharpness of my skills. You may well ask what sharpness has to do with landscape photography? It’s not as if I’m shooting fast-moving cars, sprinting athletes or birds in flight. What I mean by sharpness is my “photographic eye”. My ability to pick out and fine-tune compositions.
Dawlish Warren #1, Devon - Nikon Z7, Nikkor 14-30mm f/4 at 16mm, f/11, 218 sec at ISO 64, Kase Filters CPL, ND Grad and 6 Stop ND.
Photography is a skill and one that needs to be practised. This is one of the reasons why I go out with my camera when the conditions aren’t exactly great. I’d rather practise my photography skills in poor conditions than find myself stumbling when I’m presented with some stunning conditions. In other words I like to keep my composition muscles fit and flexed!
Down to Dawlish
My choice to photograph Dawlish Warren as my first location of 2020 was driven by two factors. The first factor was time. I was really short of time that day and I didn’t want to potentially wait another week to get my first photo of 2020 just so I could go somewhere further away. The other factor was my familiarity with the location. As I was short of time going to a location that I was familiar with would allow me to spend more time taking photographs. However, as I wrote in a recent blog post “Does Familiarity Breed Complacency?”, being familiar with a location doesn’t necessarily make it easy to shoot.
Dawlish Warren #3, Devon - Nikon Z7, Nikkor 14-30mm f/4 at 16mm, f/13, 1.3 sec at ISO 64, Kase Filters CPL, and ND Grad.
I knew before I got to Dawlish Warren that the weather was unlikely to give me brilliant conditions and I wouldn’t get photographs that were better than some of my previous efforts from there, but that’s not the point. The point is that I would be out with my camera and I’d be exercising those photography muscles making sure they are fit for when I do get one of those very special days.
Dawlish Warren #4, Devon - Nikon Z7, Nikkor 14-30mm f/4 at 18mm, f/13, 1 sec at ISO 64, Kase Filters CPL, and ND Grad.
As I look at my images from that morning I already know that it’s not my best work. However, there are qualities that I do like and I can take these ideas with me on my next shoot where ever that might be. The most important thing is that I feel more prepared and confident for the next shoot.
Dawlish Warren #5, Devon - Nikon Z7, Nikkor 14-30mm f/4 at 19mm, f/13, 1 sec at ISO 64, Kase Filters CPL, and ND Grad.
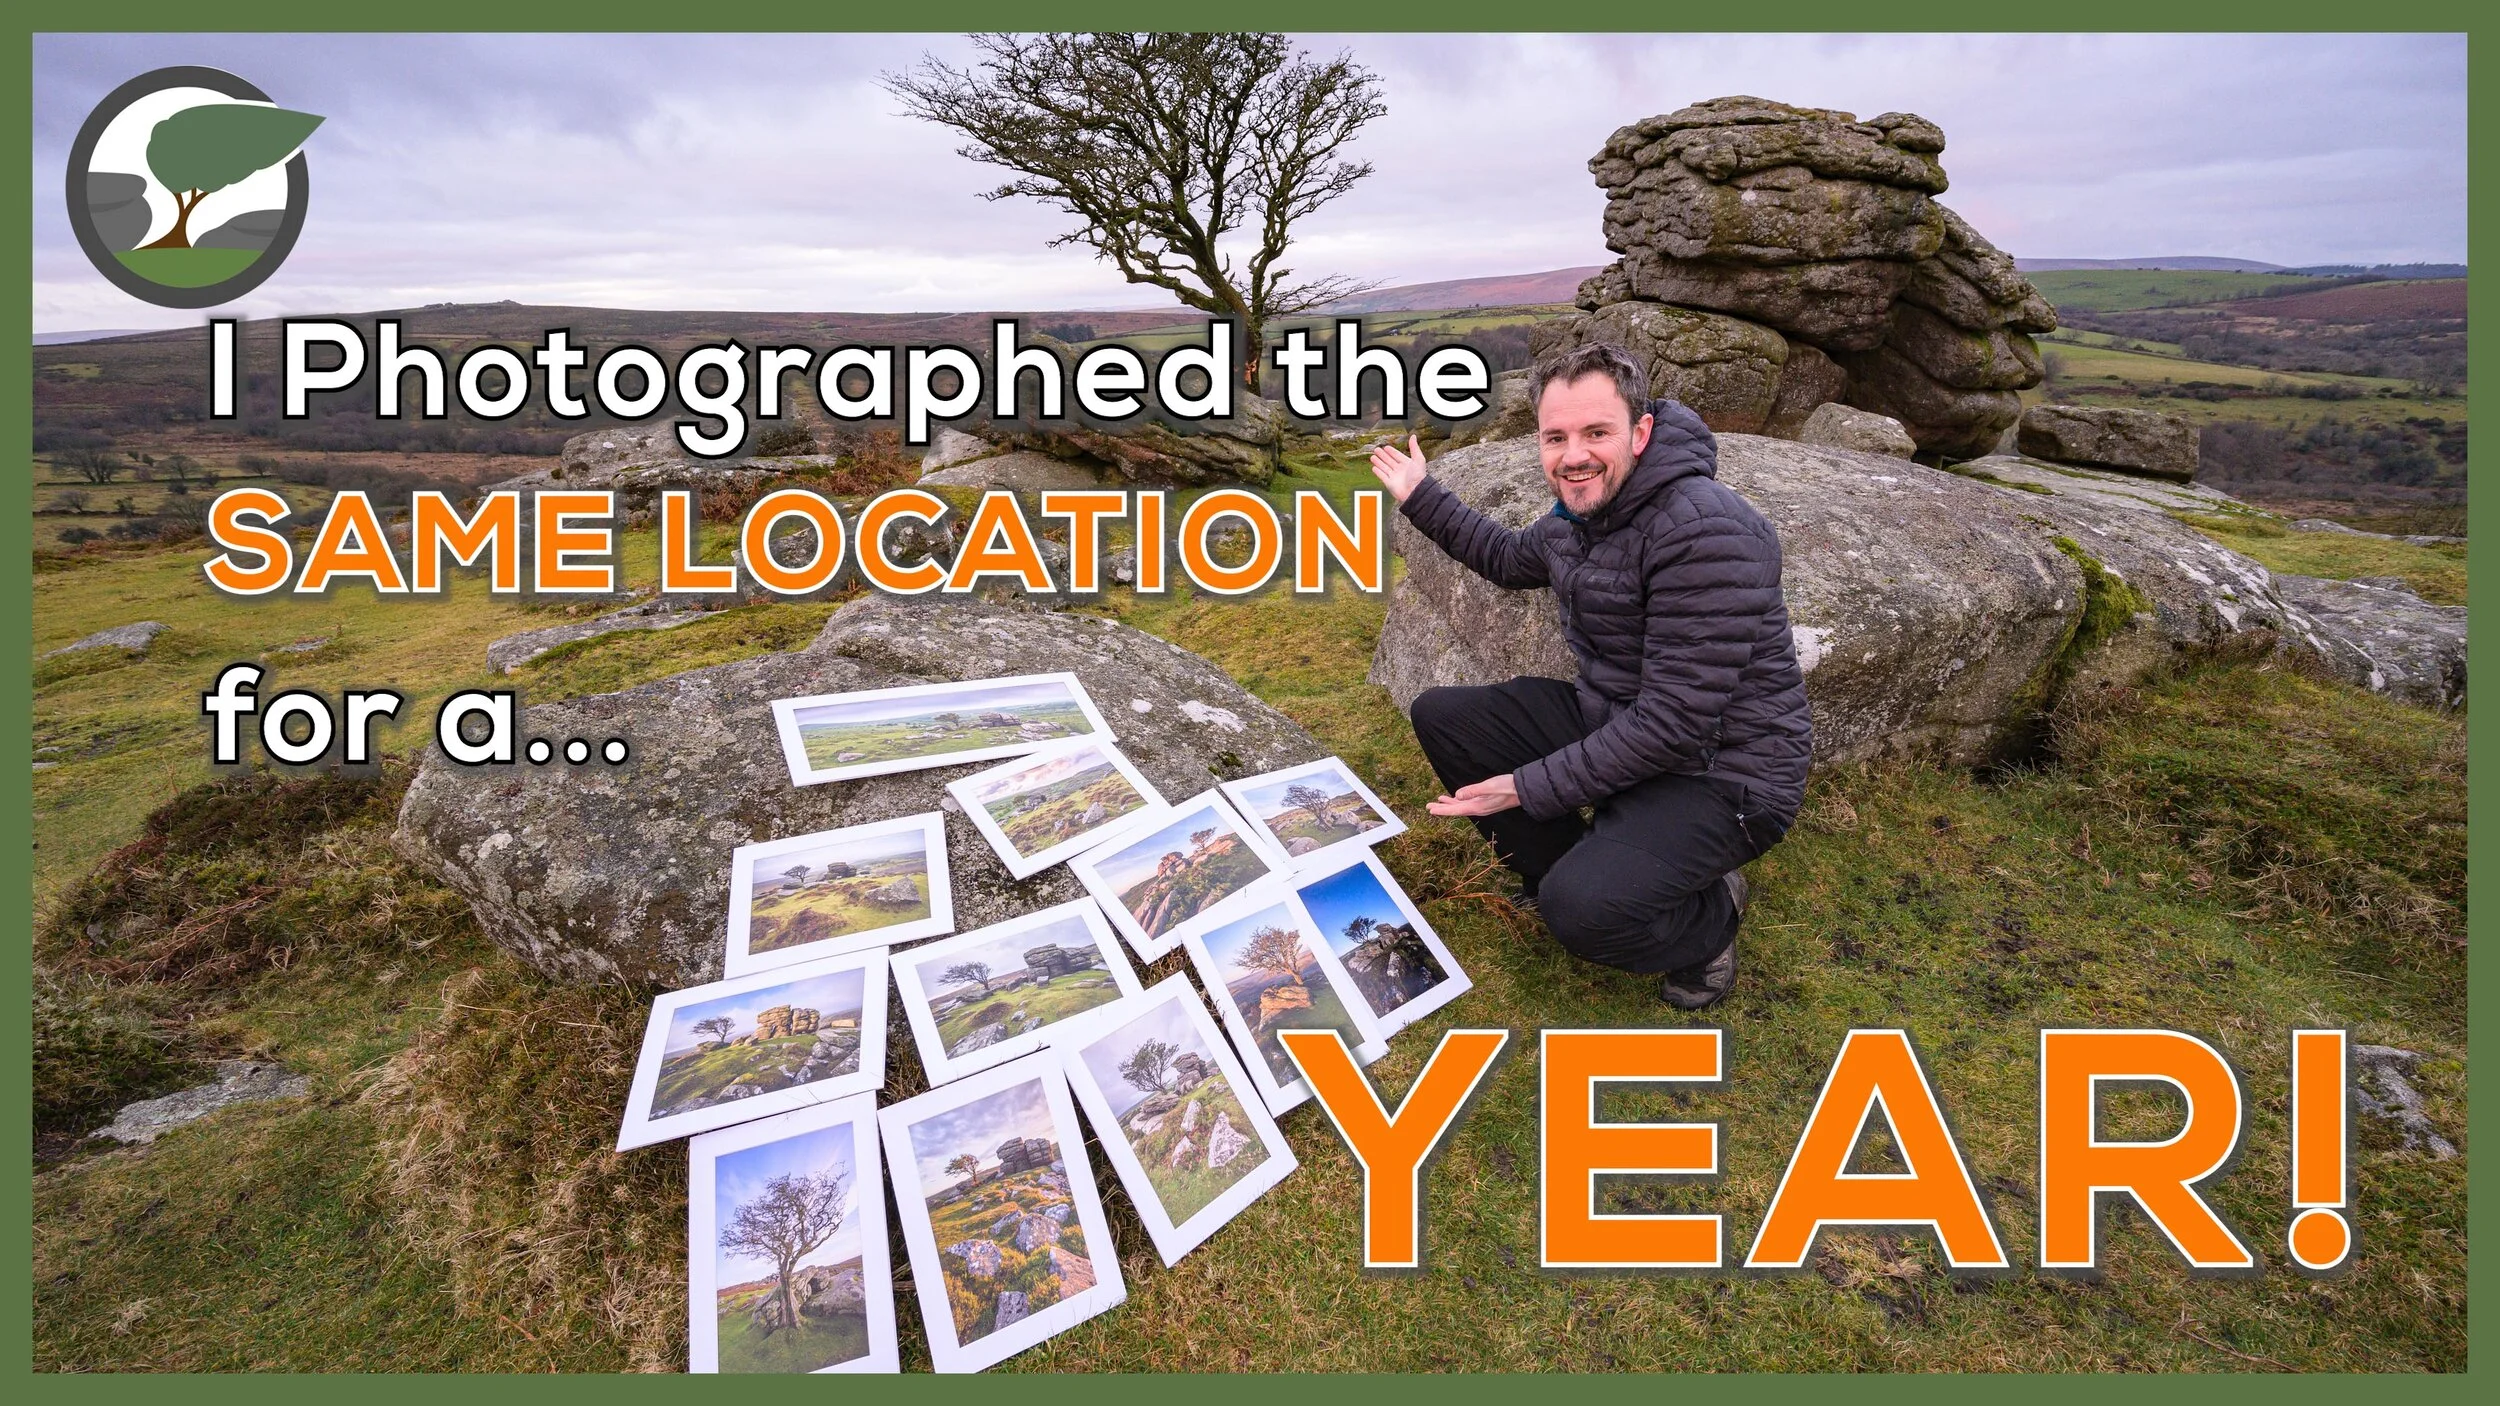
My Year Long Landscape Photography Project on Dartmoor
What happens when you photograph the same location for a year? In the blog this week I share with you the results of my year-long landscape photography project on Dartmoor.
One Year, One Location, Twelve Photographs
I’m going to keep this blog post really short as everything I would talk about here is contained in the video below. So rather than write a lot of text here I hope you’ll be able to find the time to watch my longest ever landscape photography video. I’ve actually tried to keep it as short as I can, but the video does contain a year’s worth of work so I hope you can excuse the length. So grab yourself a coffee or a drink and enjoy!
I do hope you enjoyed the video. Have you ever undertaken a similar project? Which image was your favourite? Please let me know in the comments below.
My Emsworthy Collection
Finally, here are all the photographs I took during the project and that you saw in the video. If you want to see the technical information for a photograph just click on it.



Every Photographer Should Do This
What's the one thing that every photographer should do?
The Annual Image Review
I wrote about the importance of doing an annual review at the end of 2017 and the following year shared with you my favourite images from 2018. Naturally now that we are now in 2020 it’s time to look back at 2019 and undertake the annual image review.
In the video below I not only talk about the reasons for me wanting to review my images from 2019, but I also talk about why I think it’s something every photographer should do.
Have you reviewed your images from 2019? Has my video encouraged you to do so? Have you published your favourite images? Let me know in the comments below.
Want to Know How to Find Your Best Images?
Here is the video I made at the end of 2017 that shows you how I go about using Lightroom to find my best images.
My Favourite Images from 2019


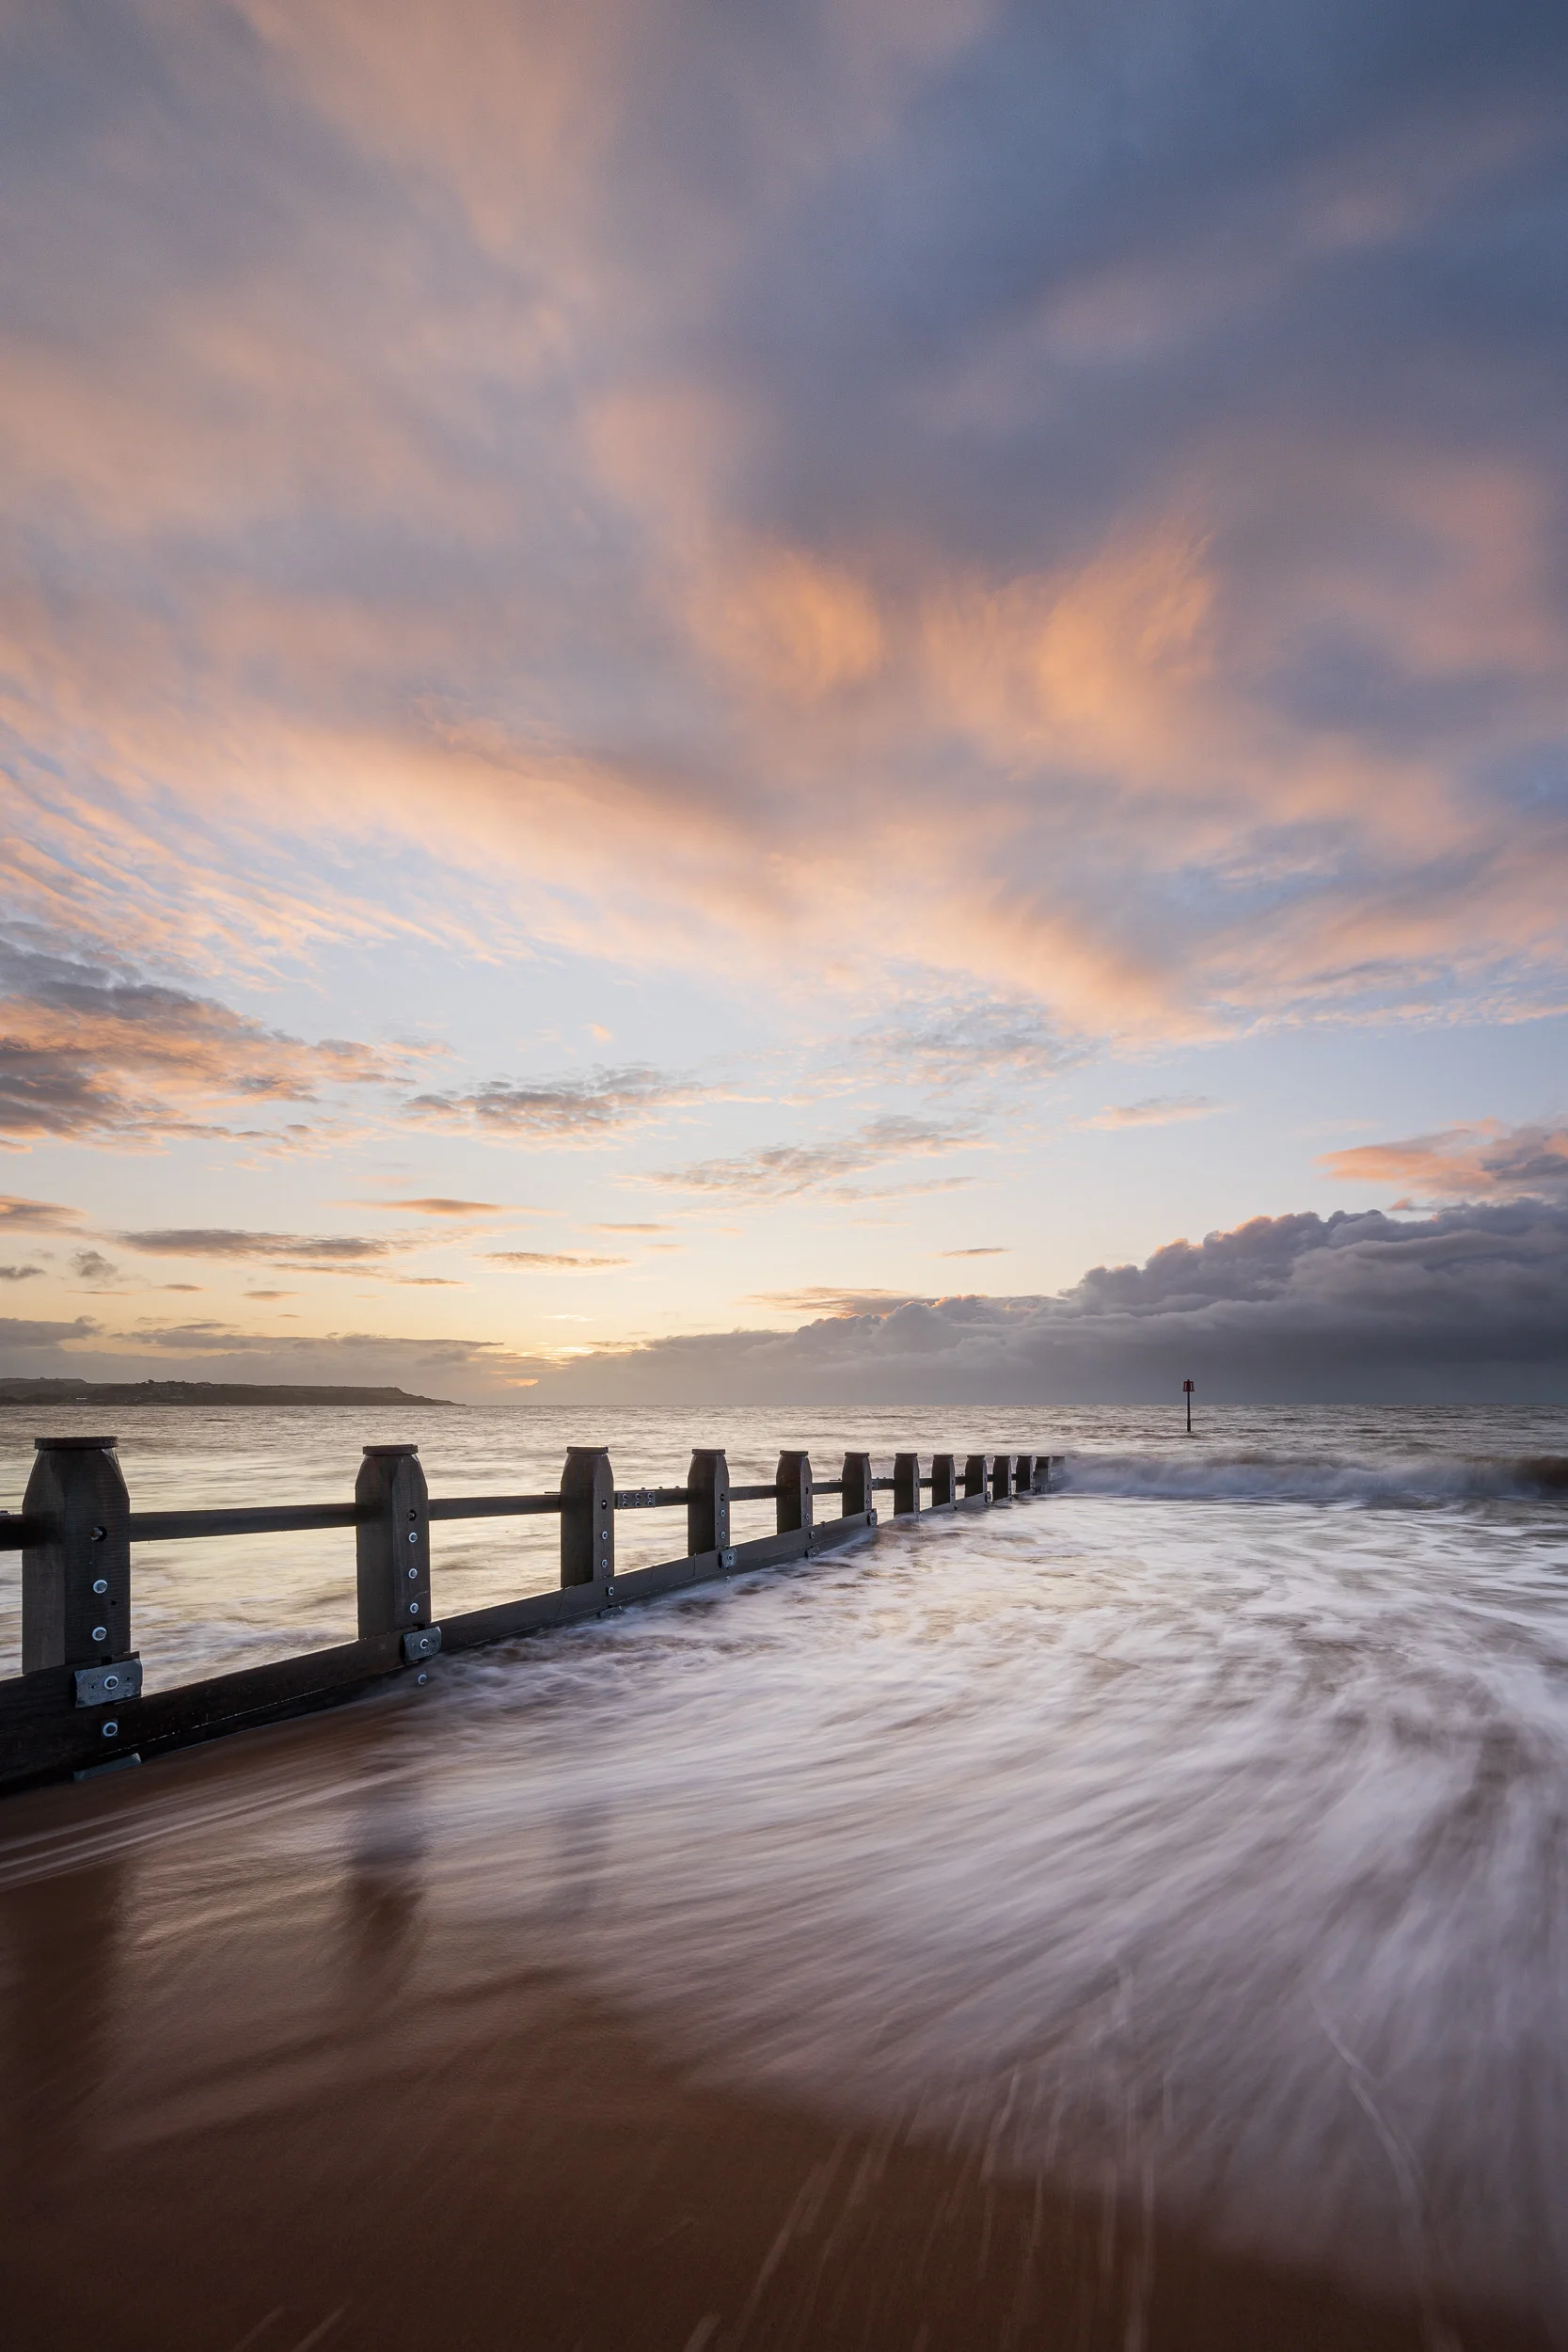


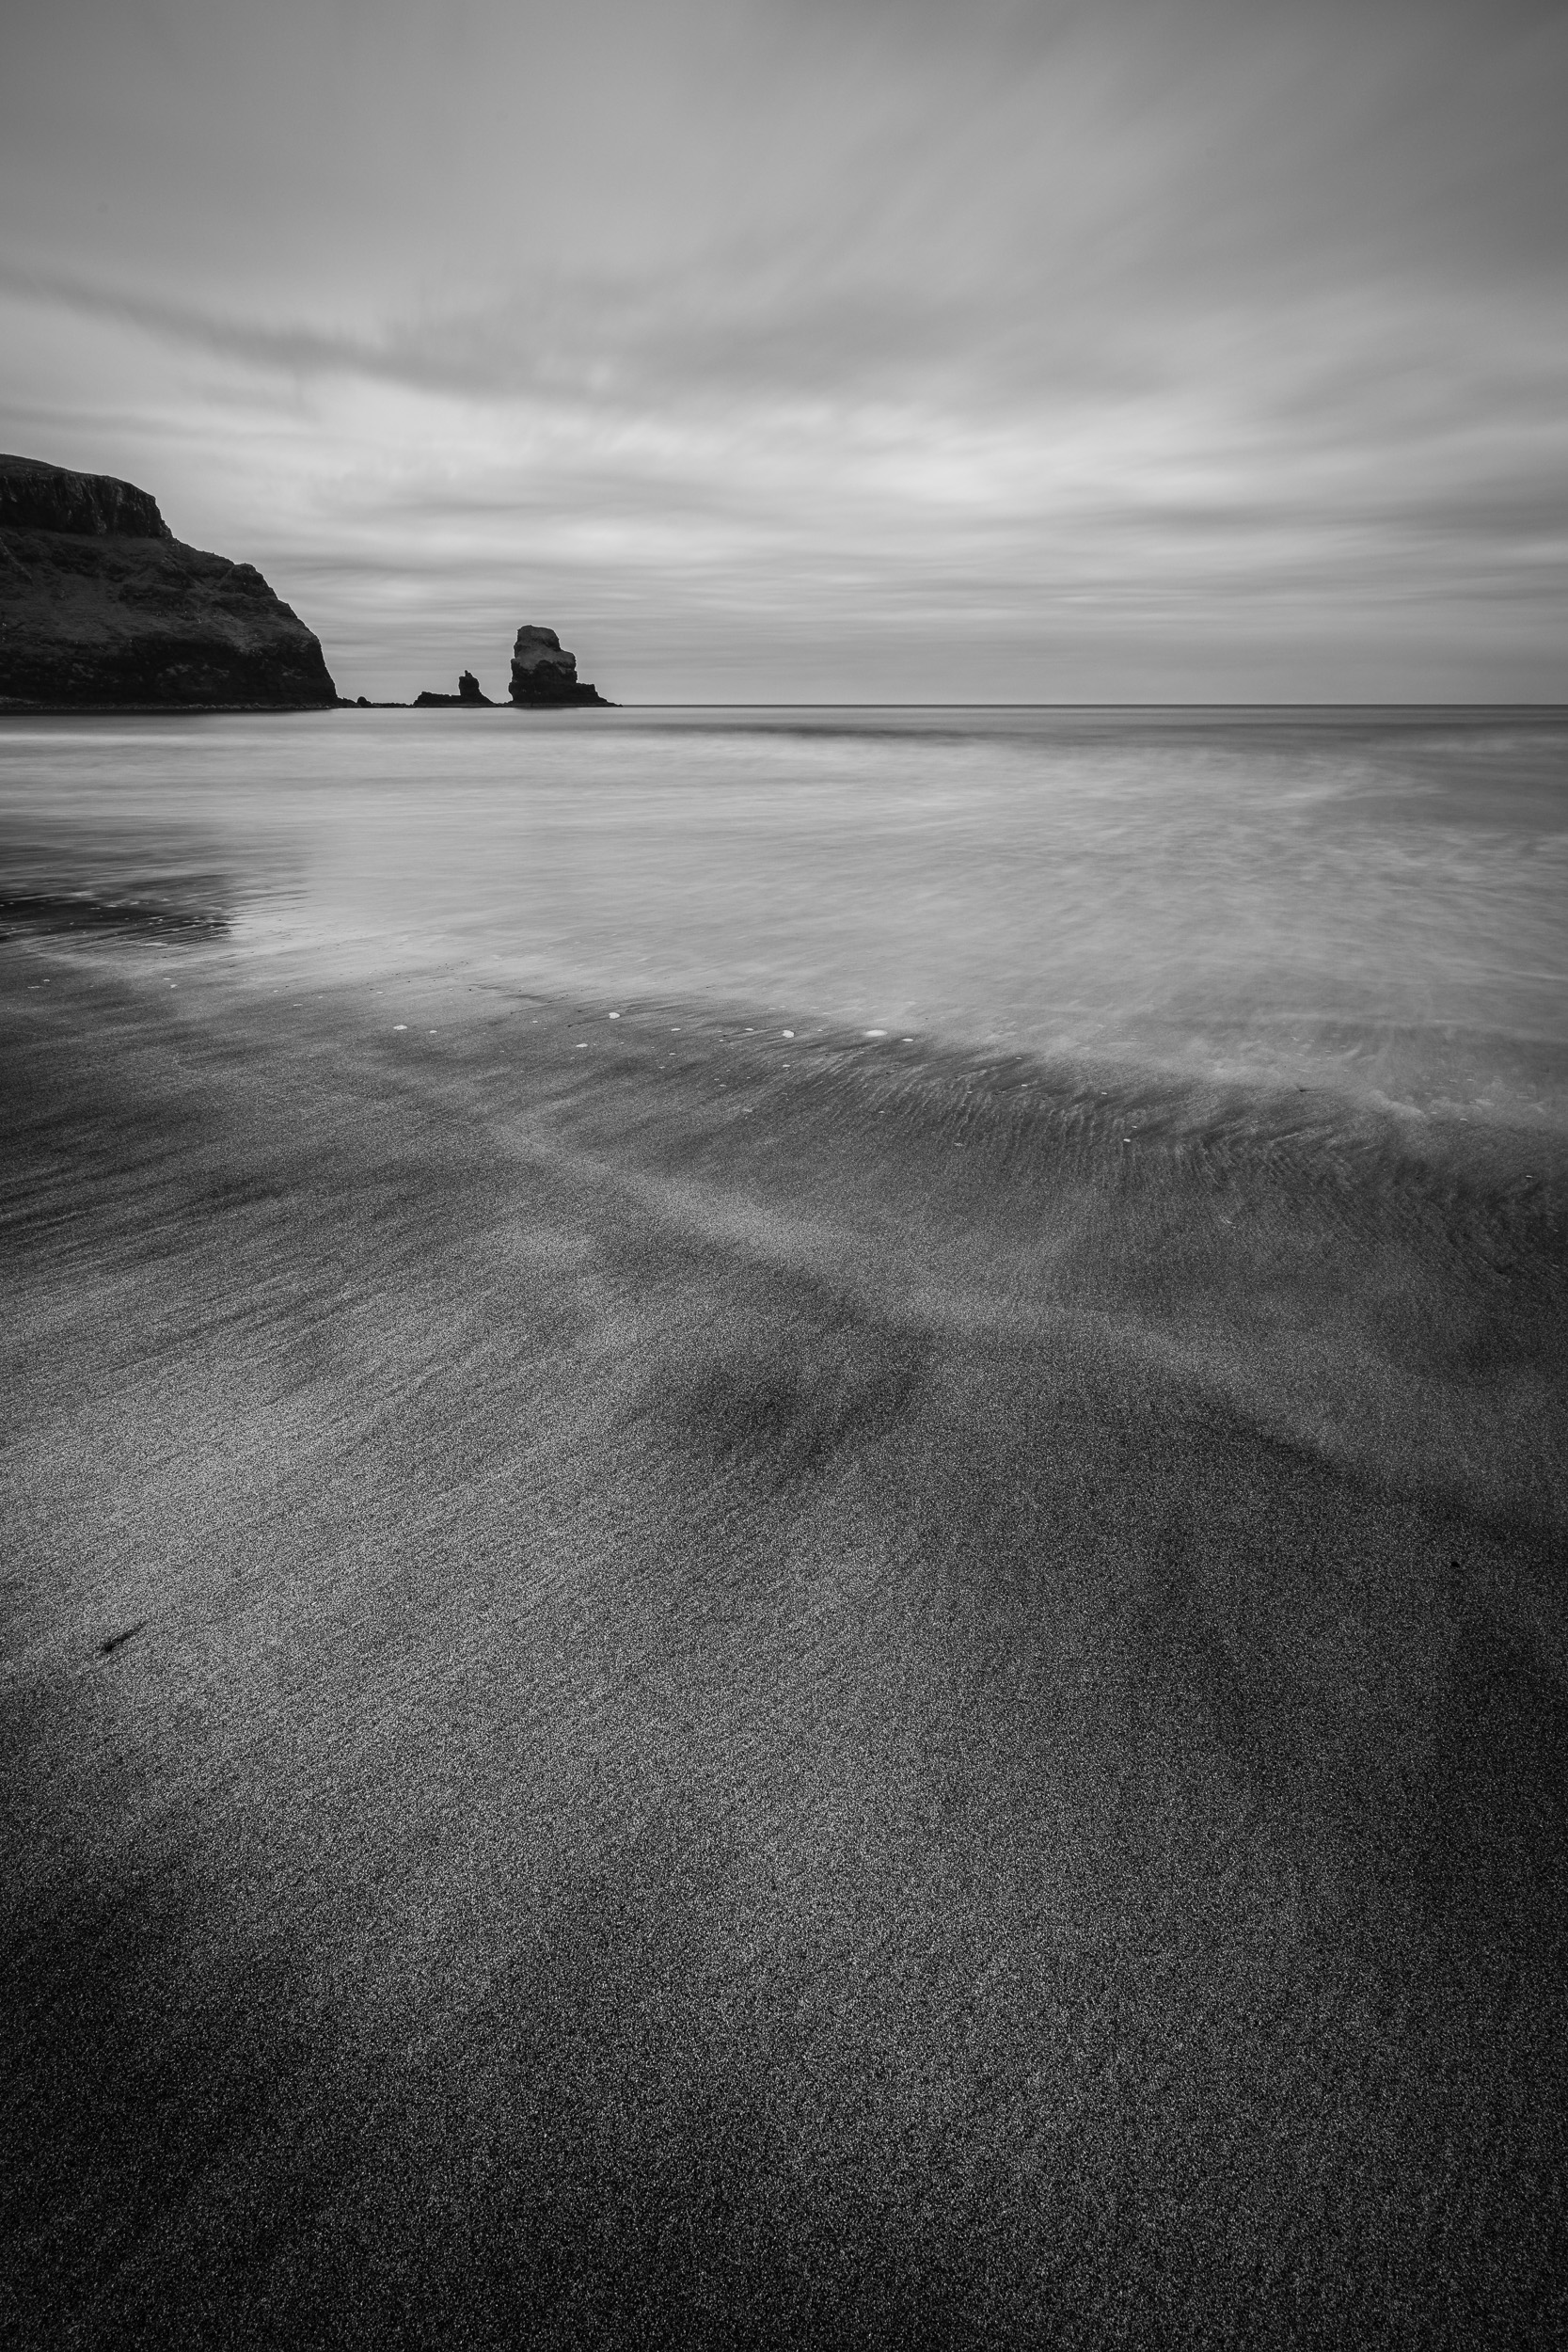
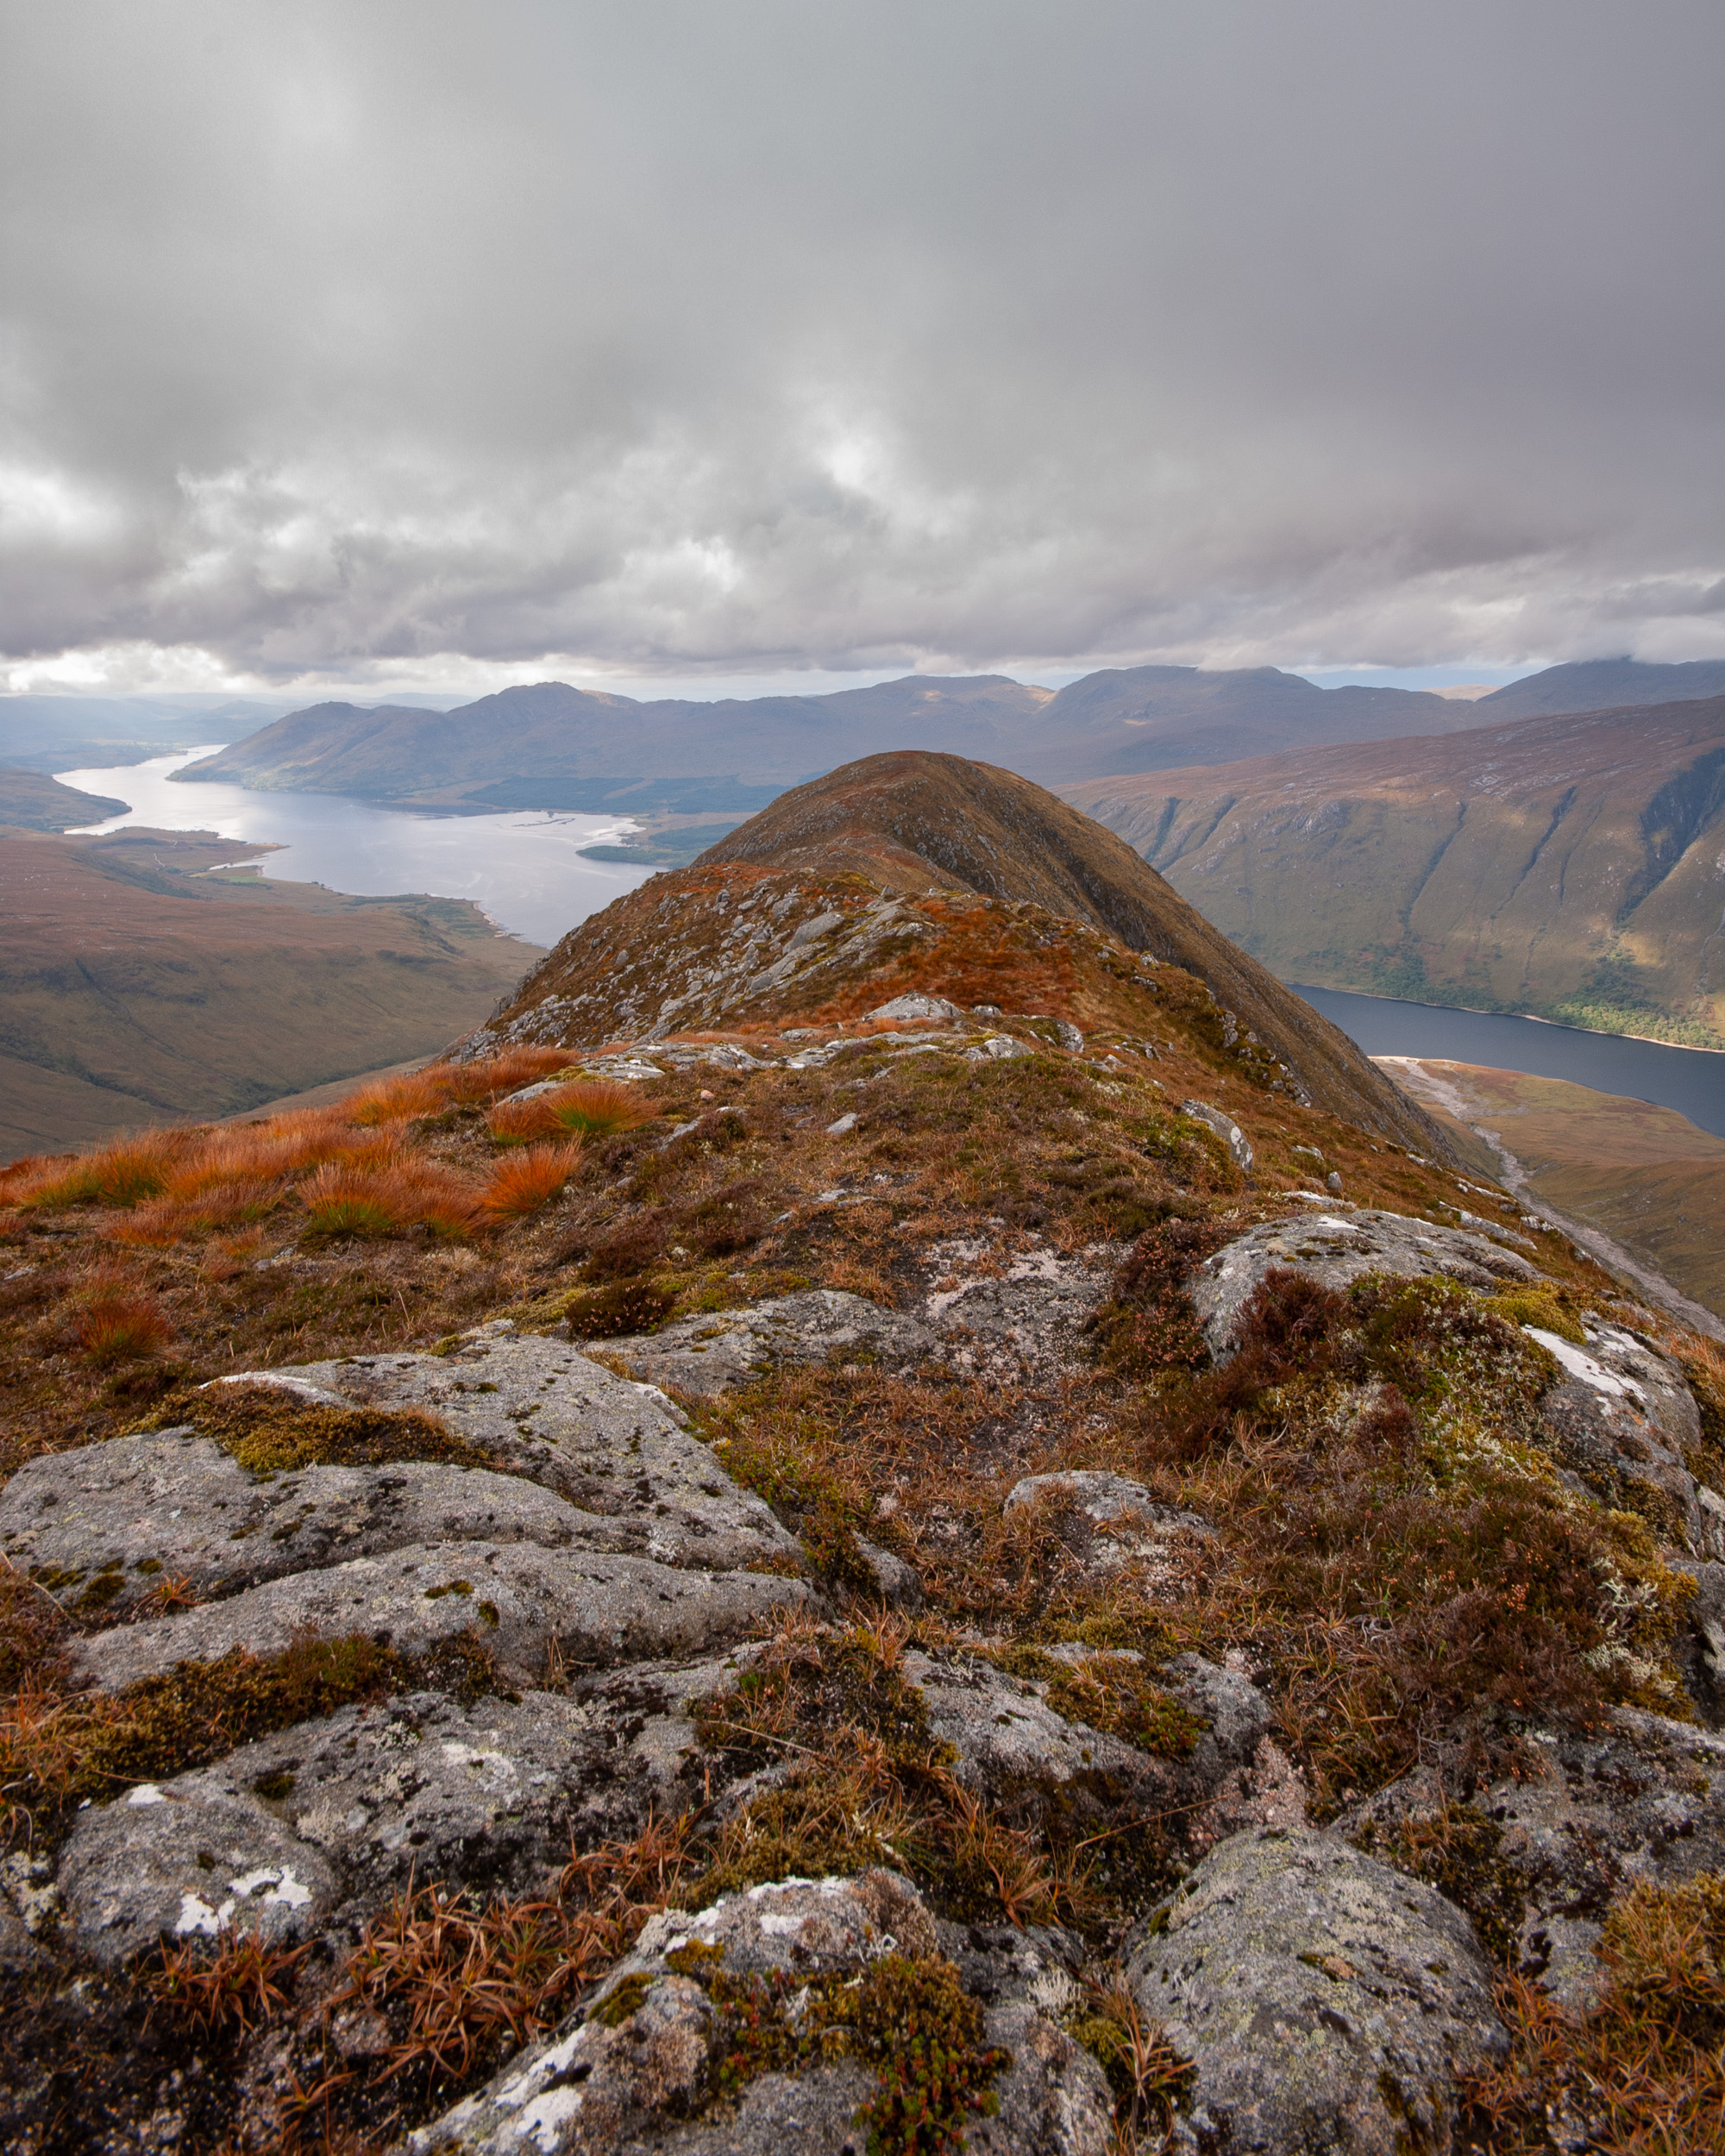
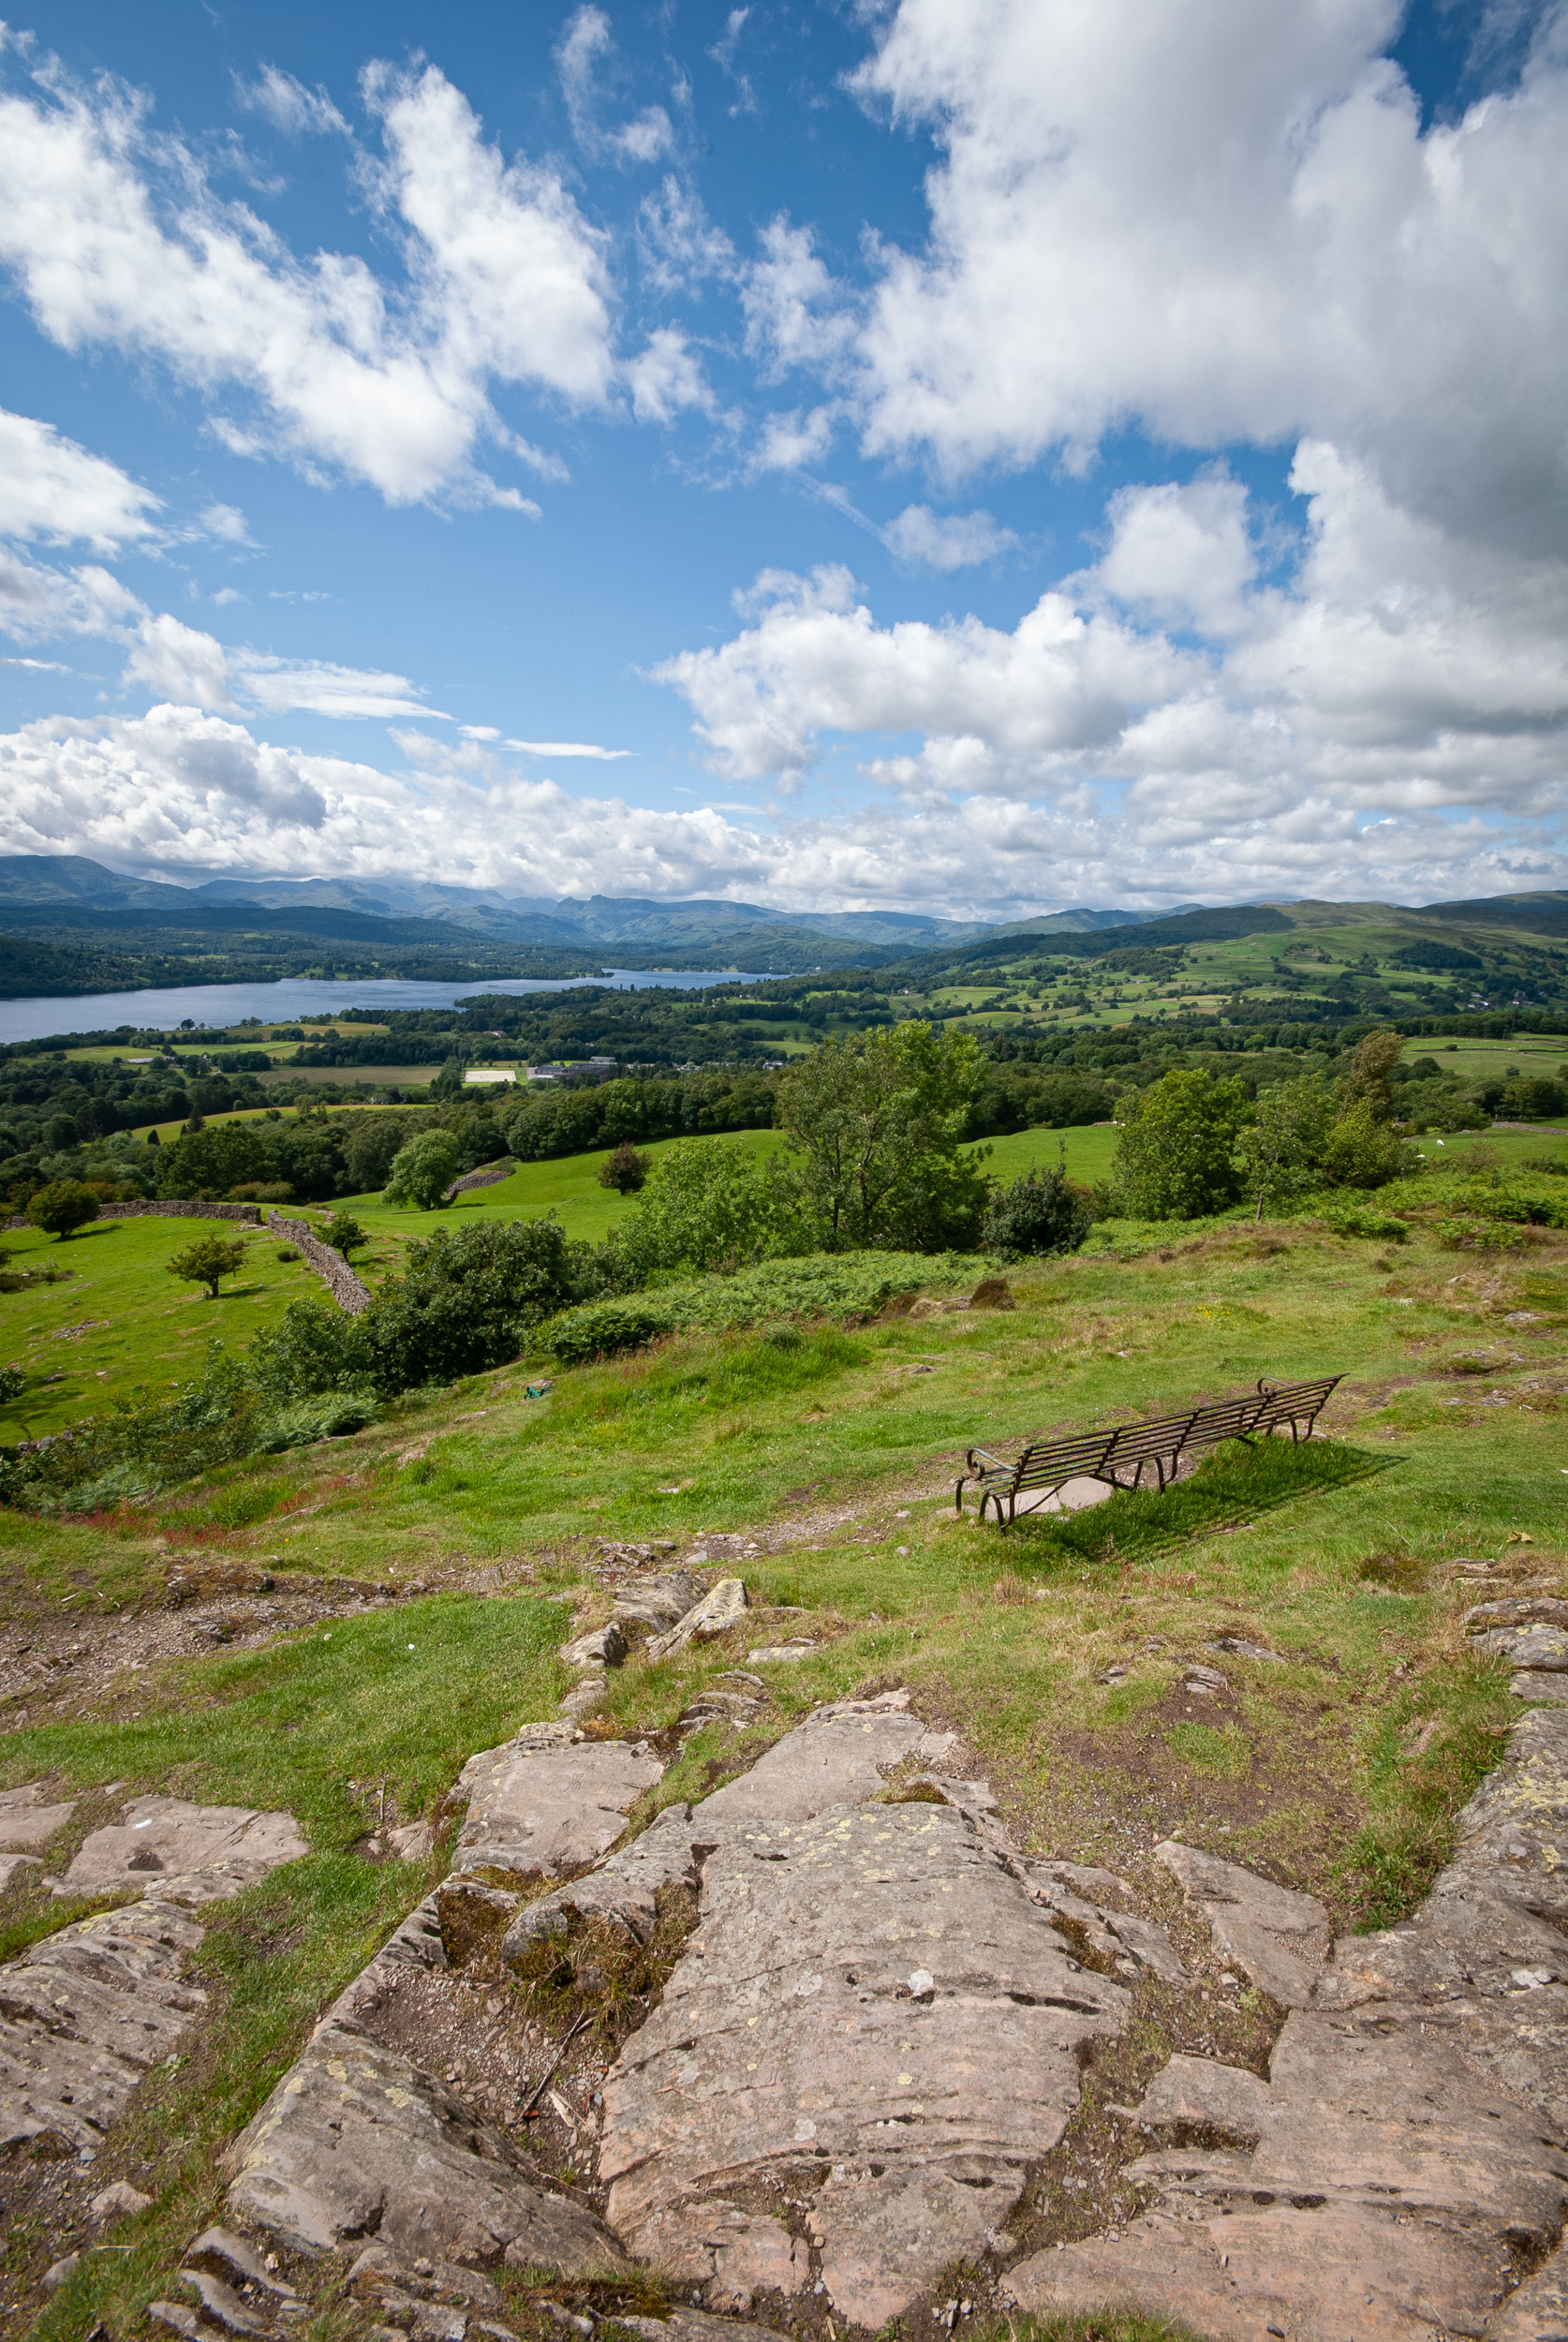
2010 to 2018 - An Image from Each Year
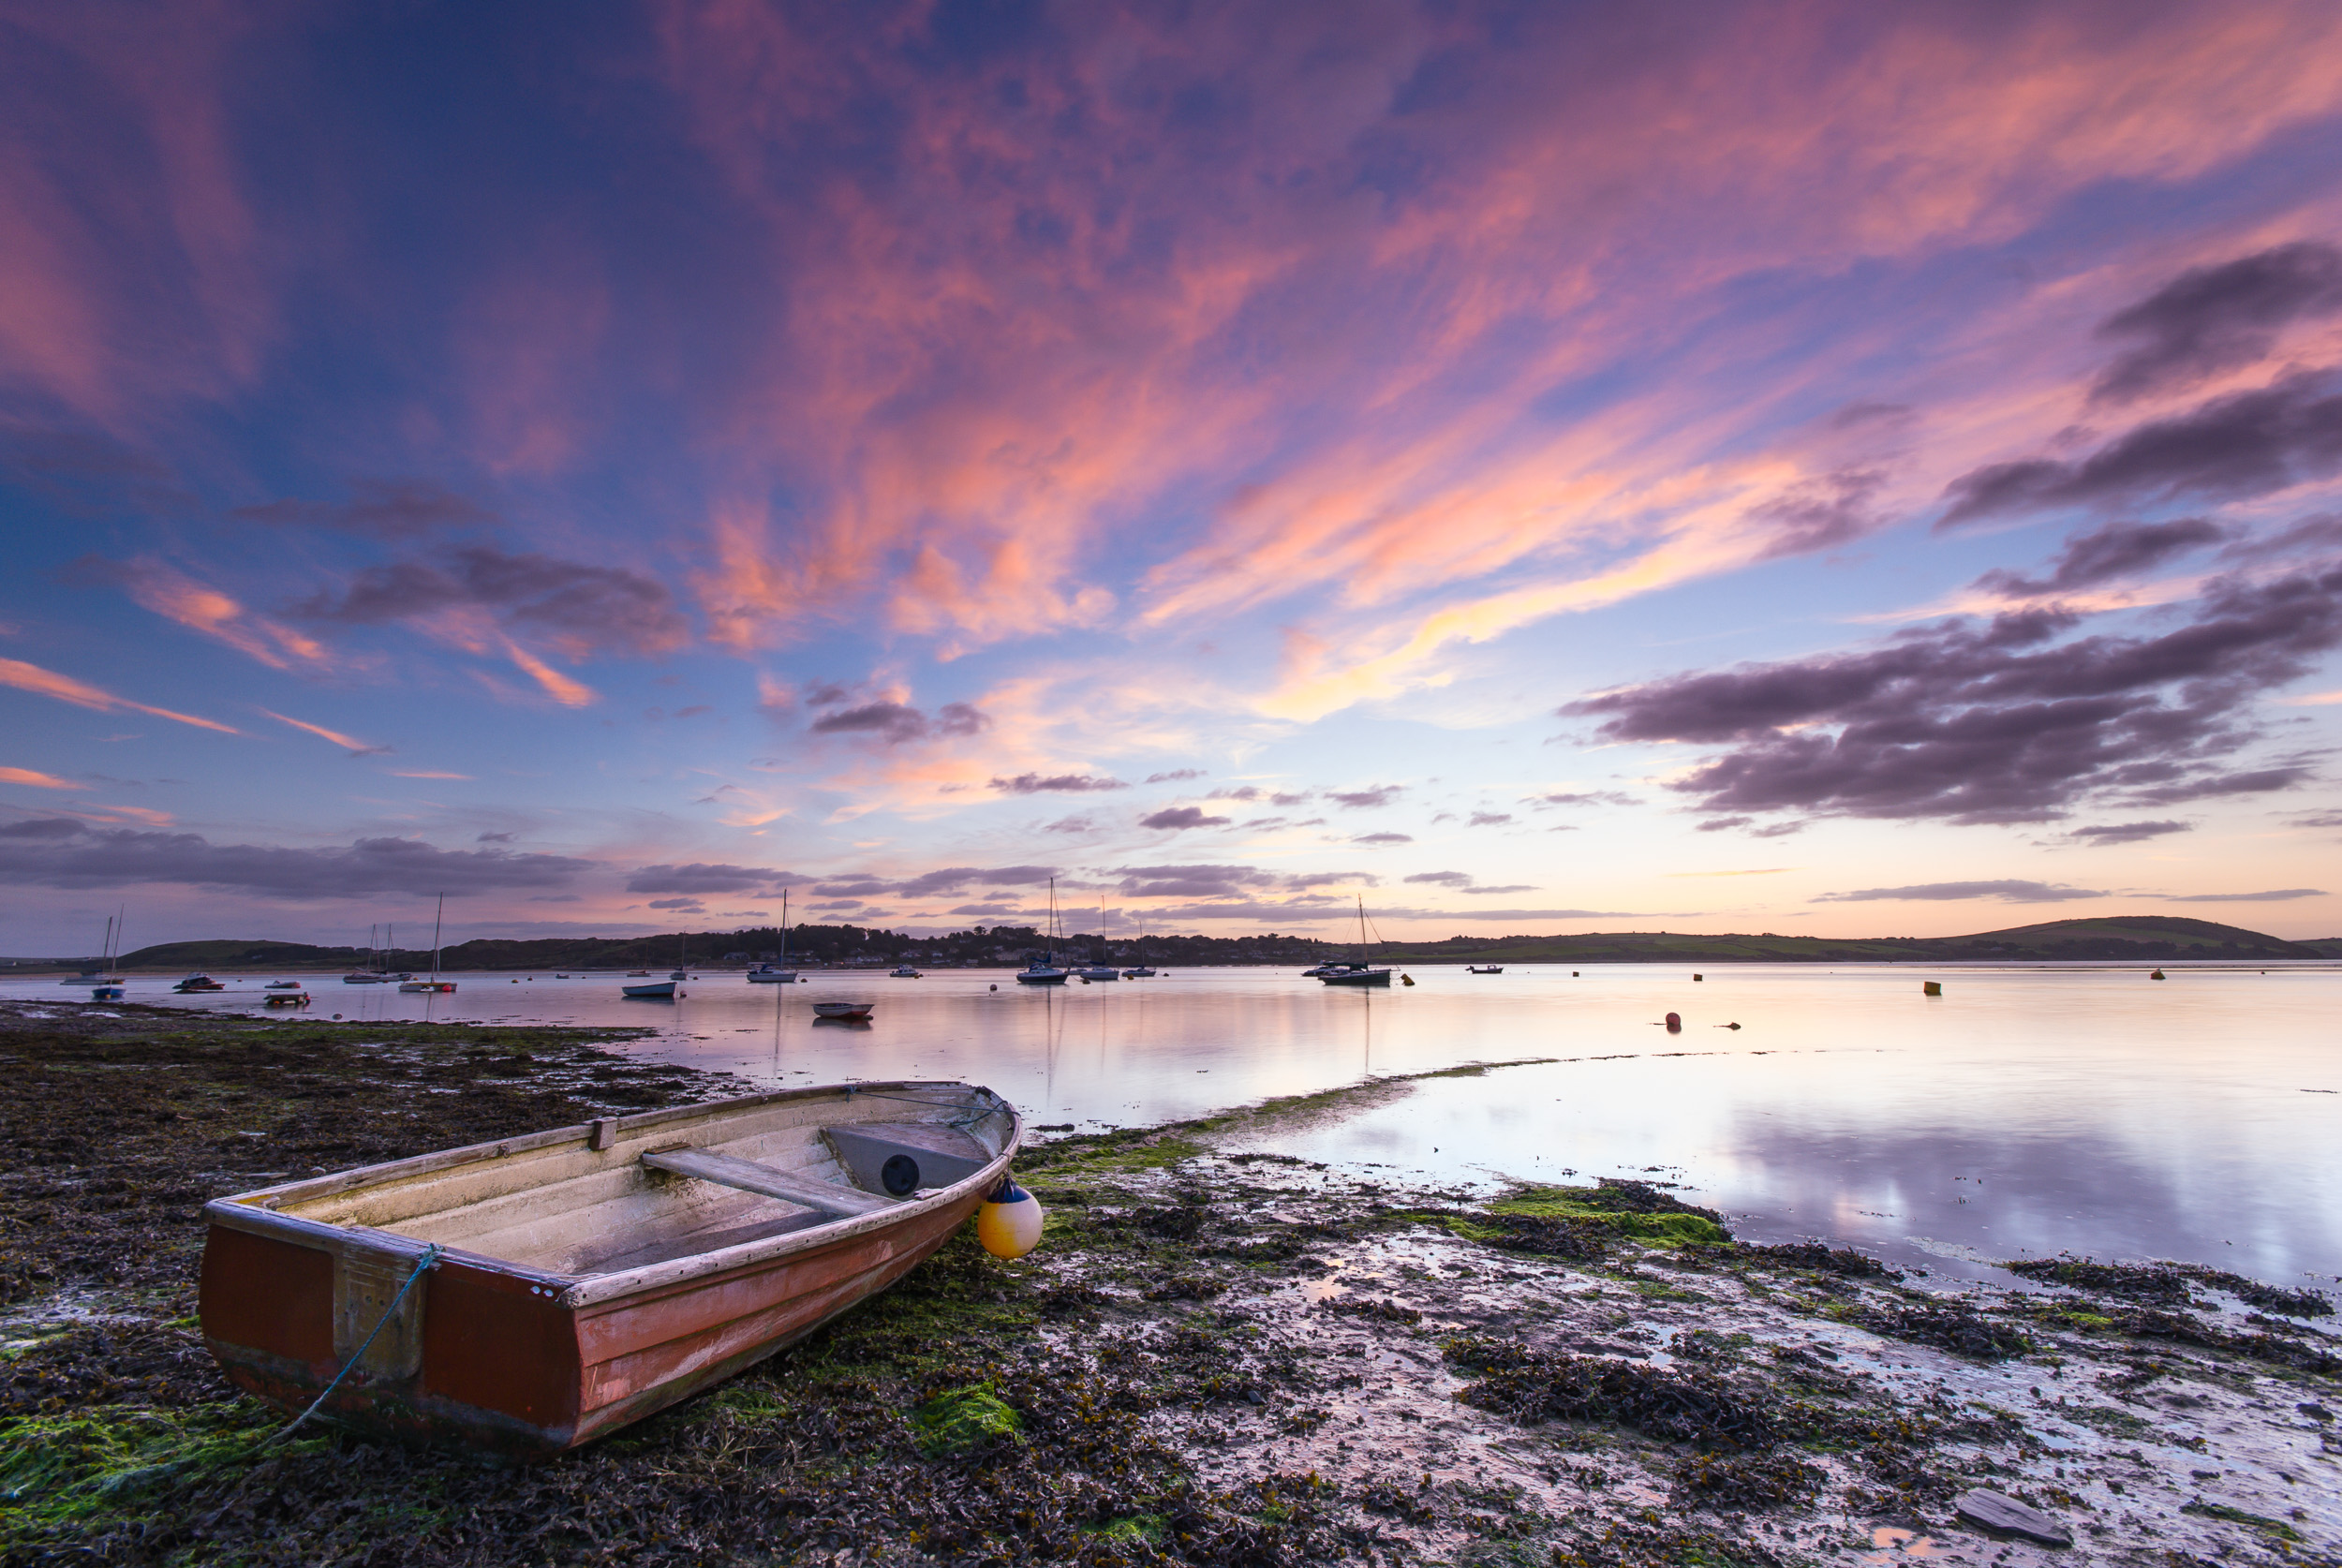
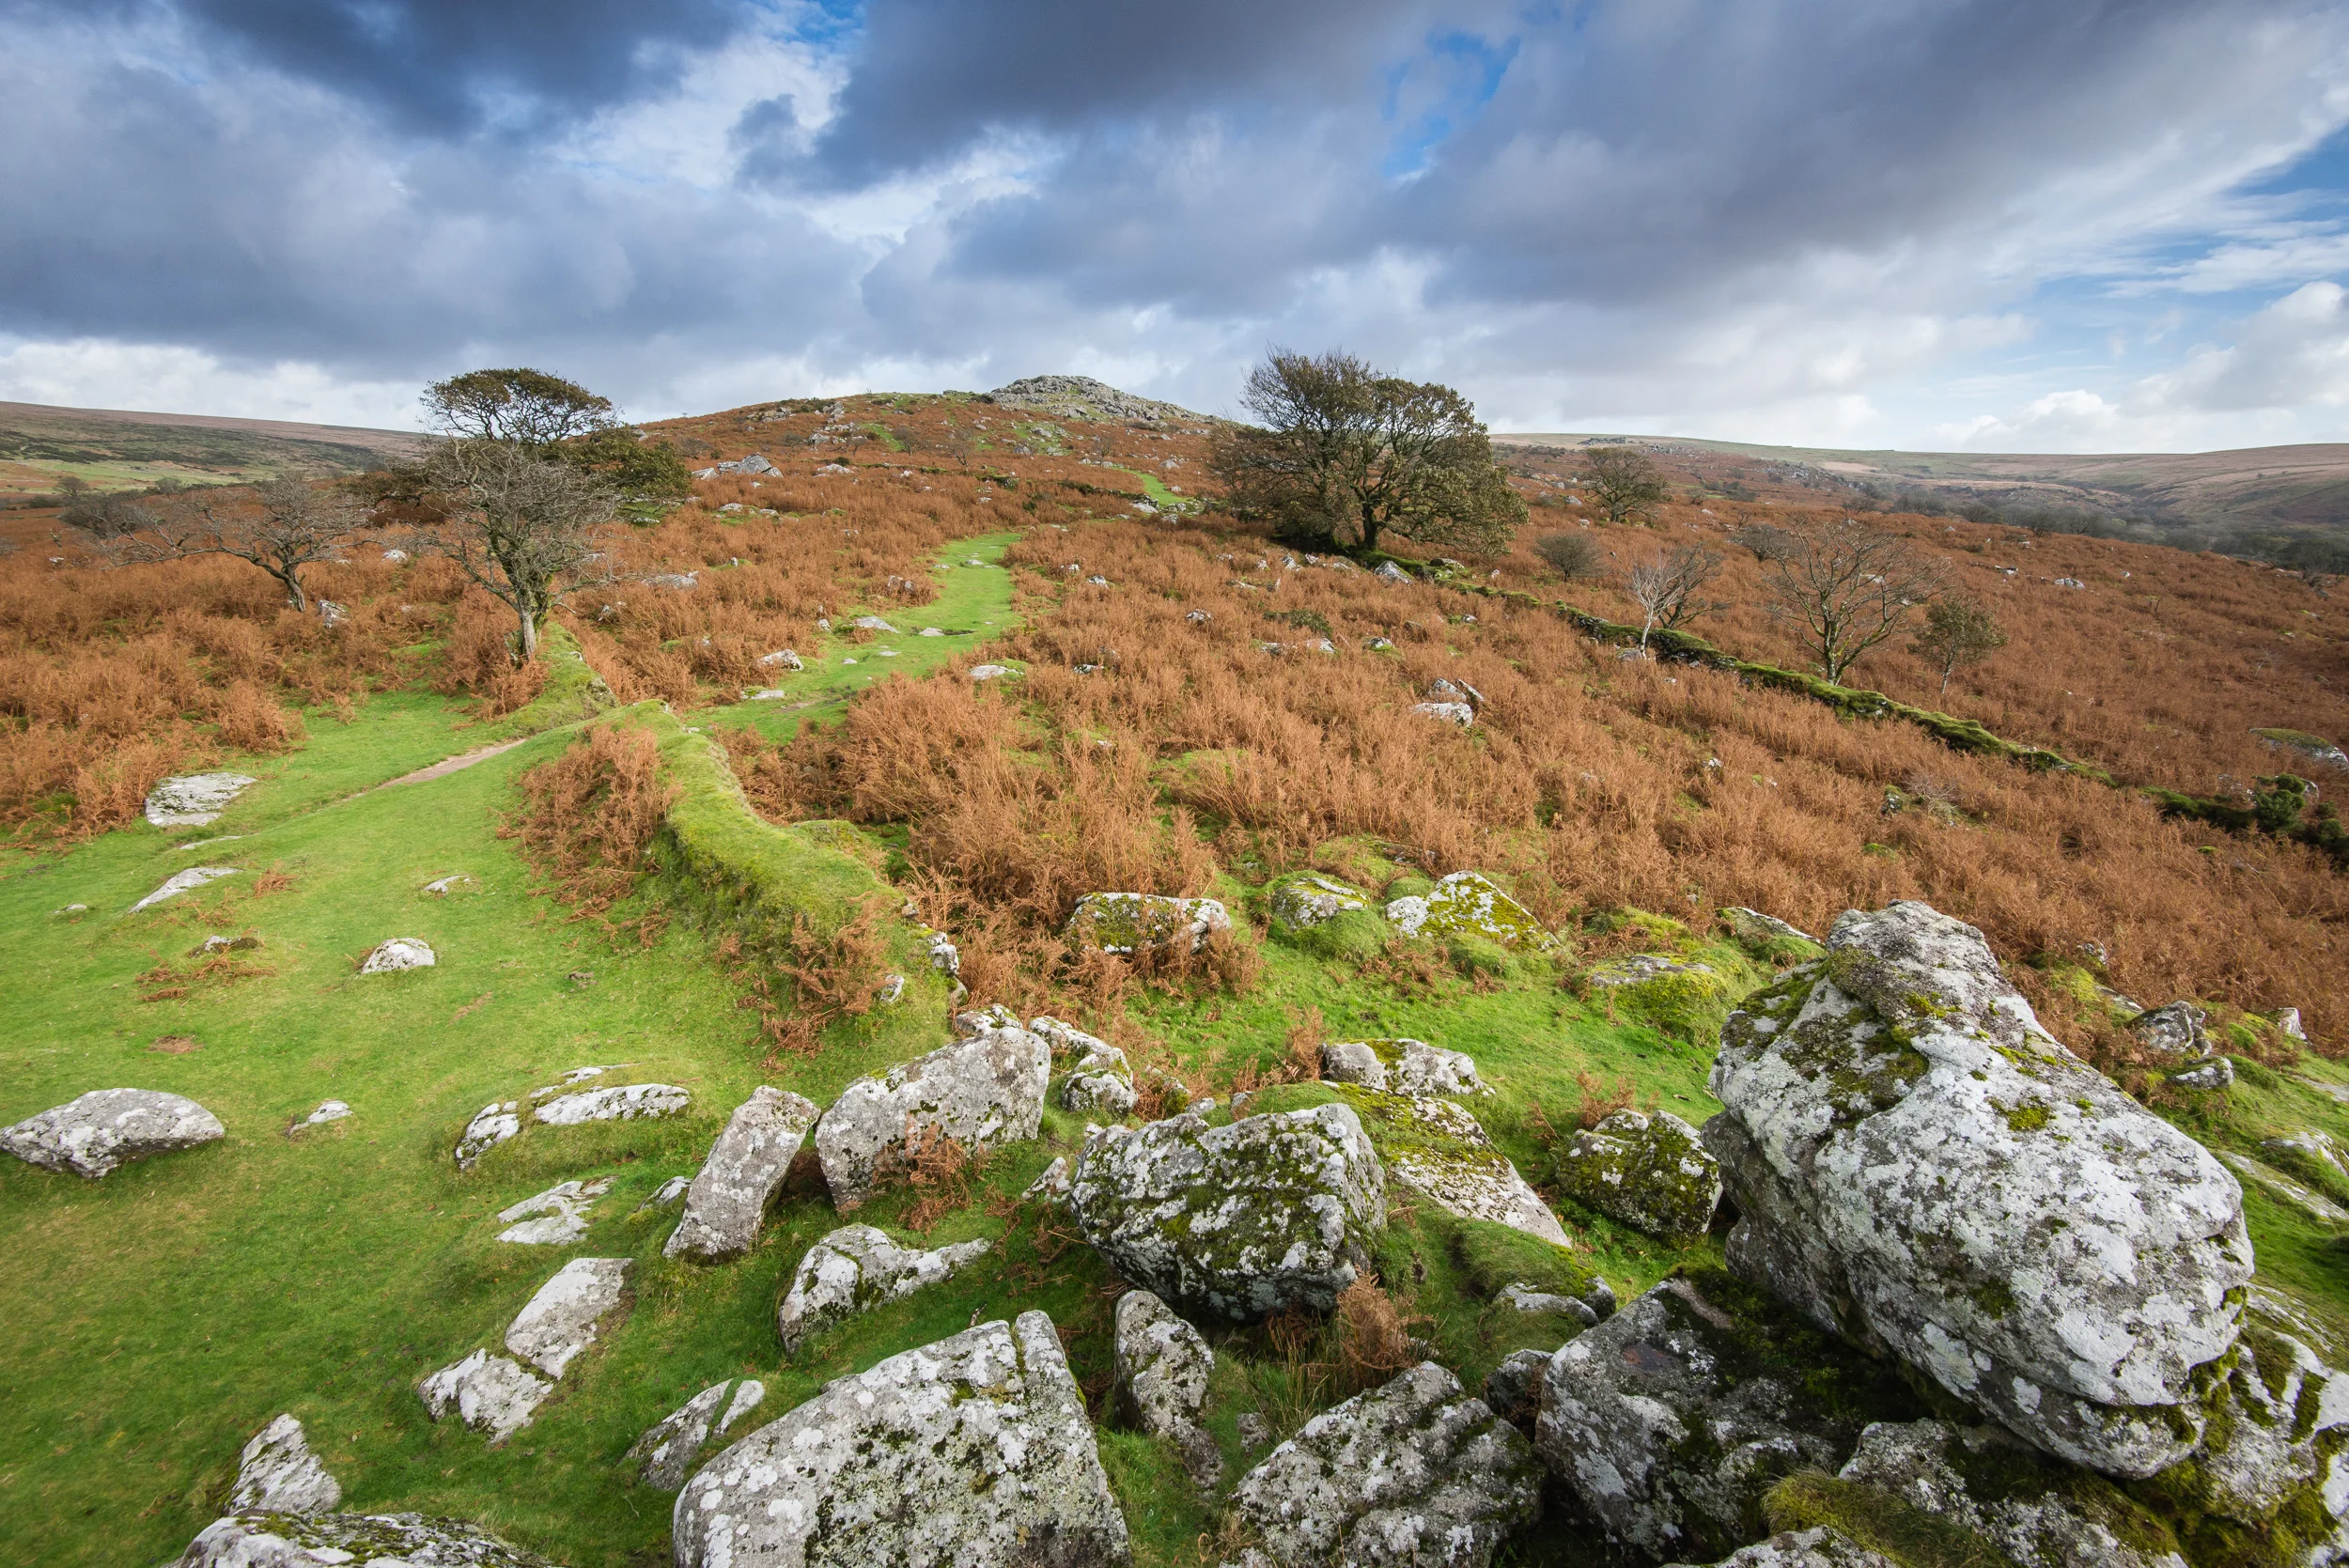
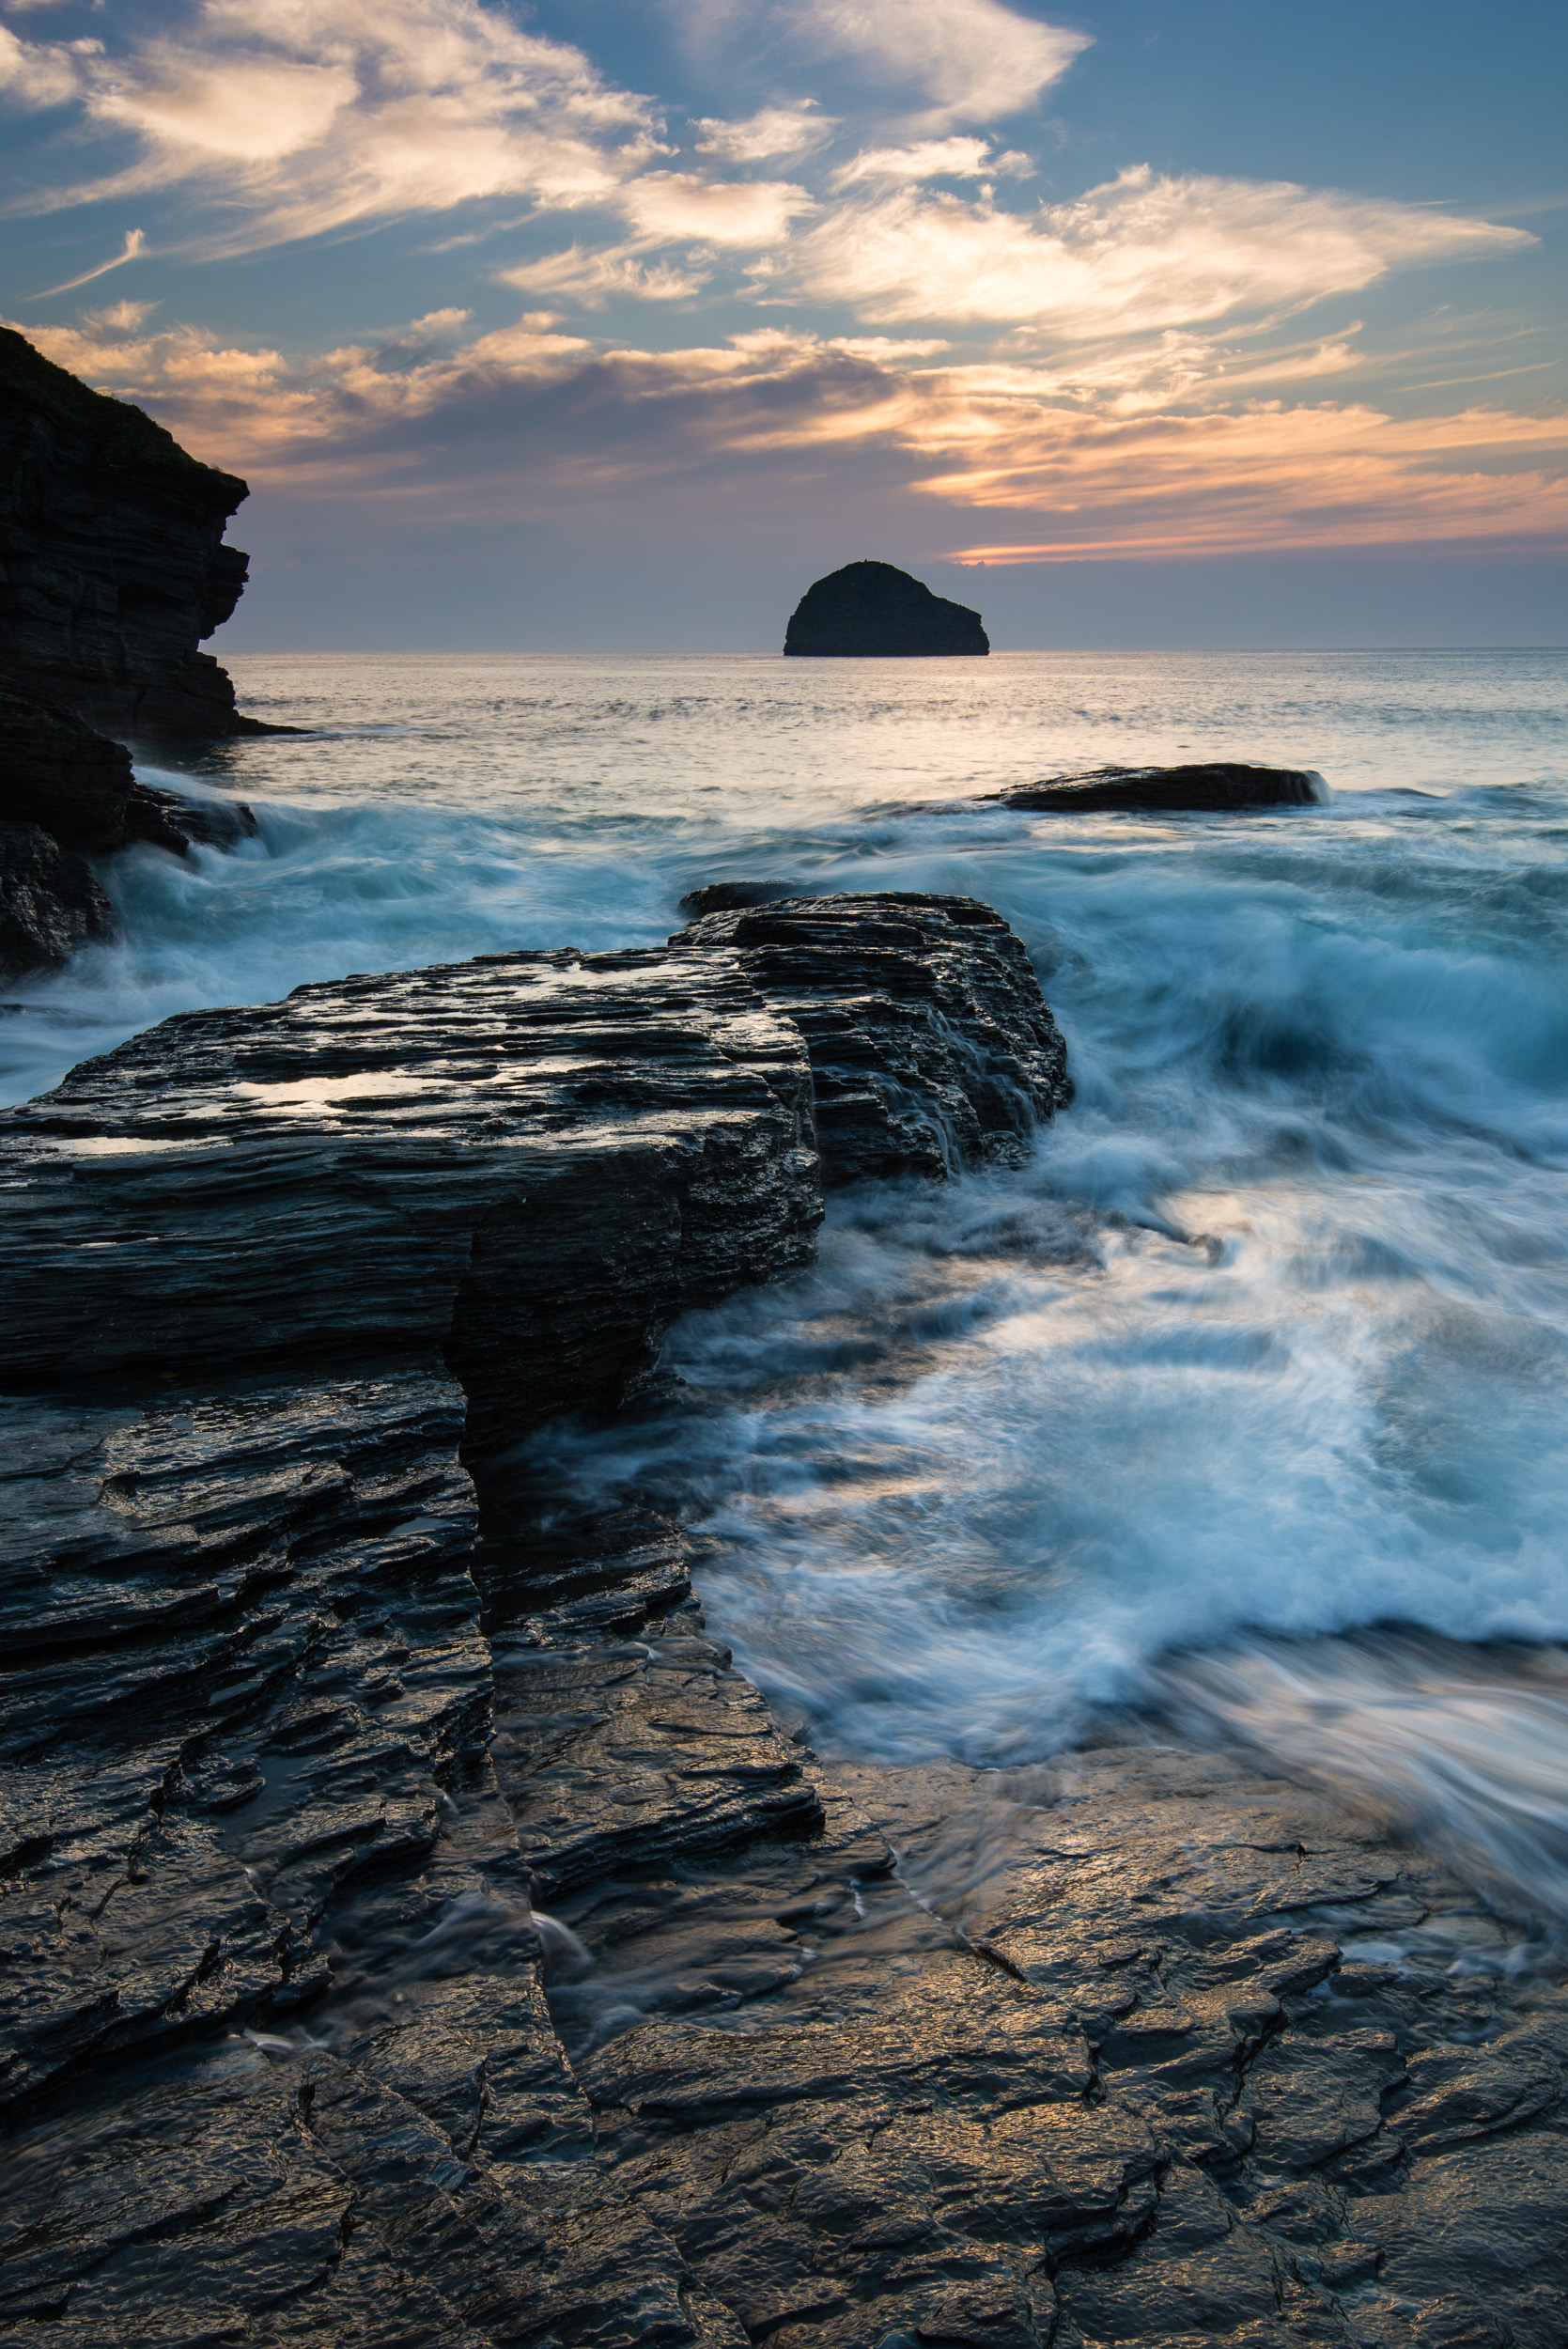
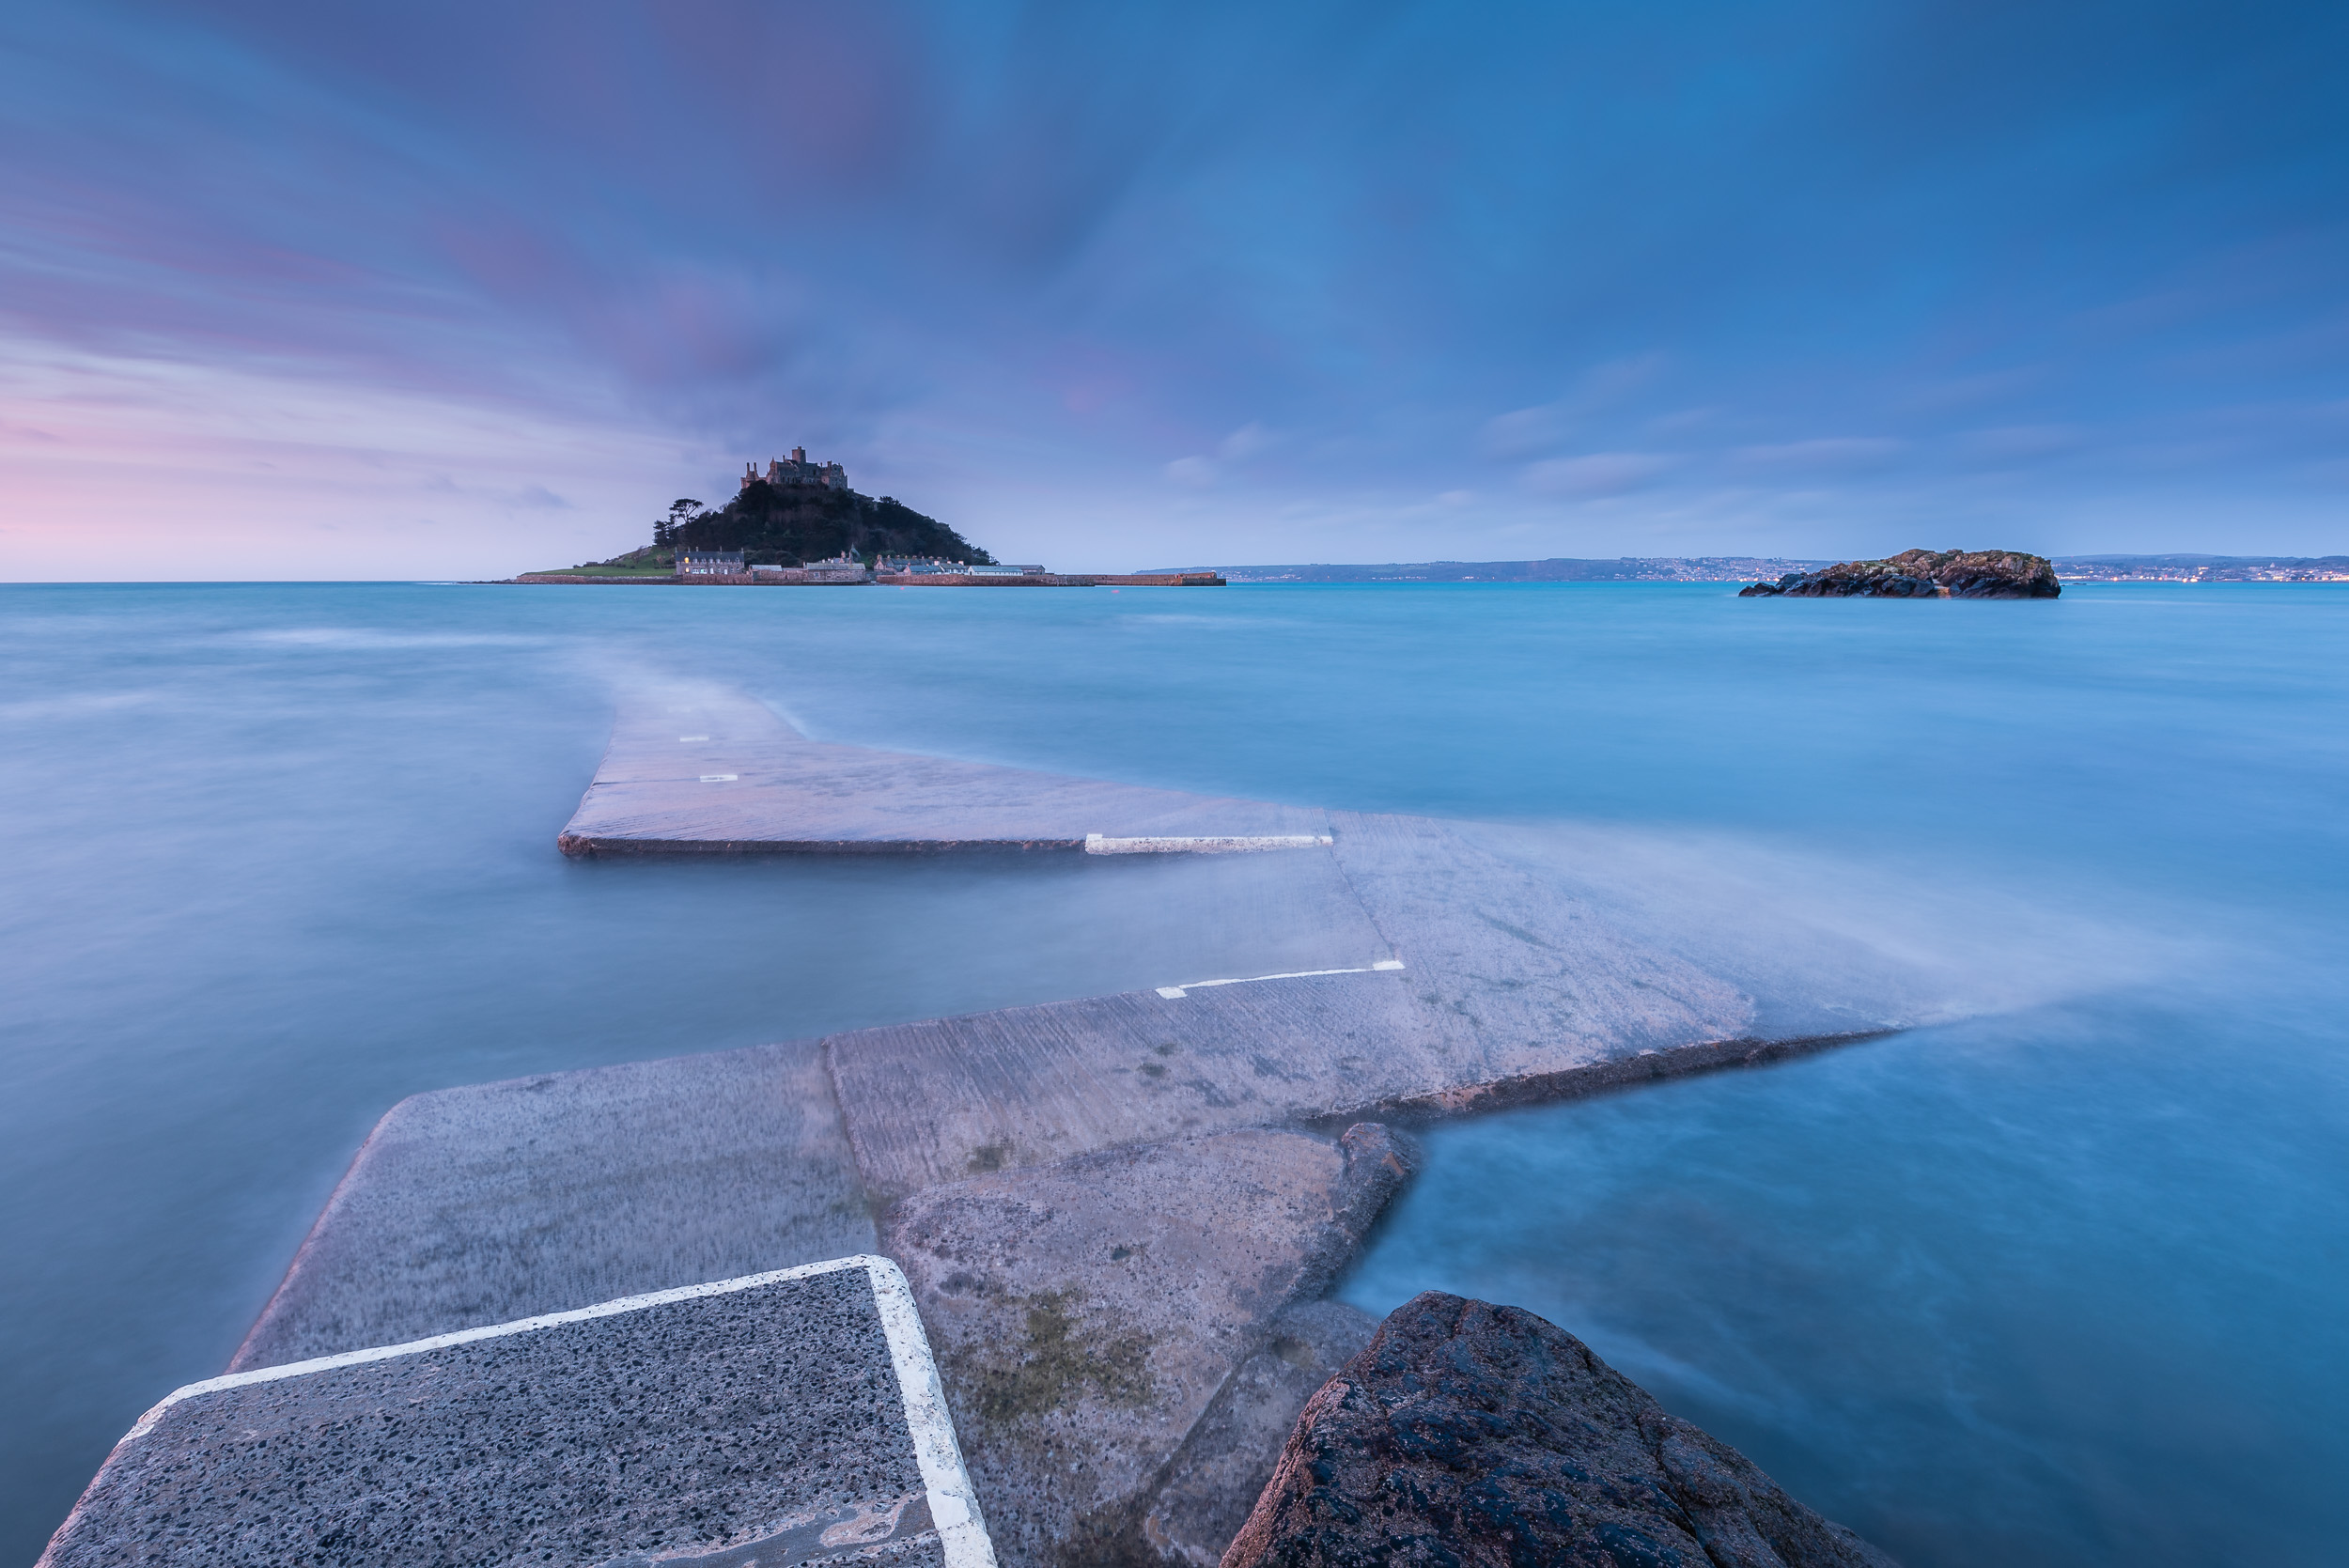
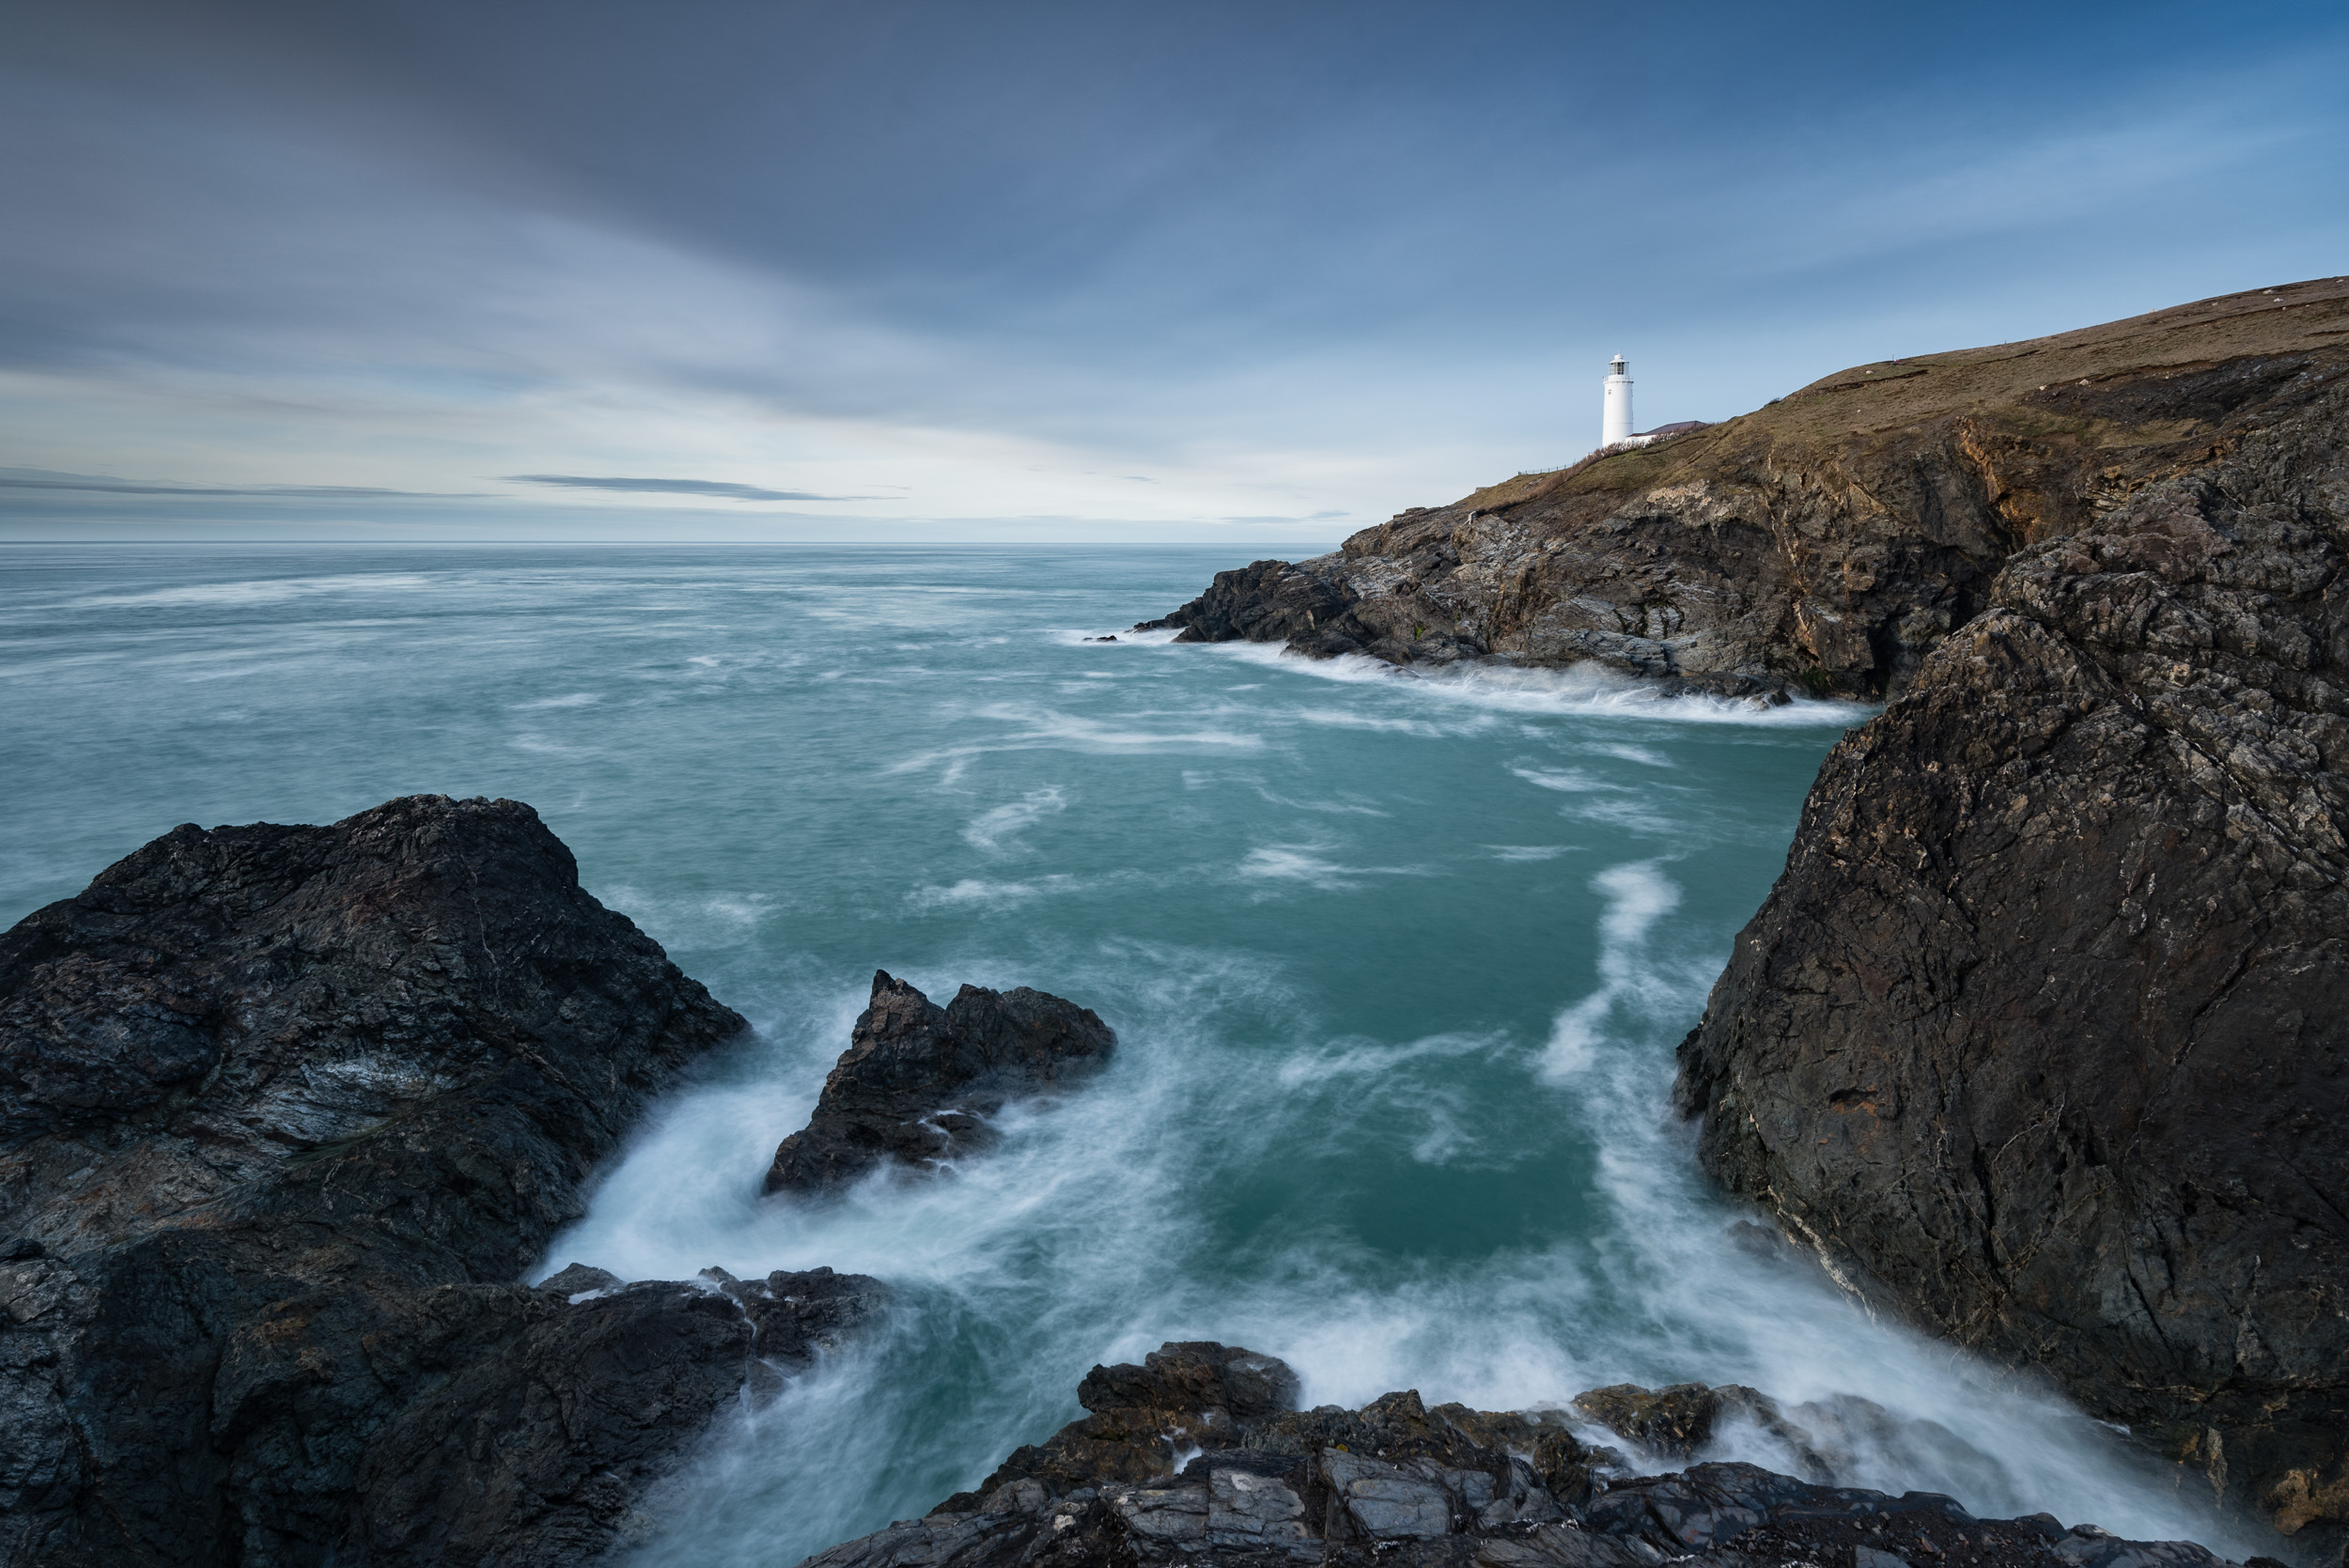
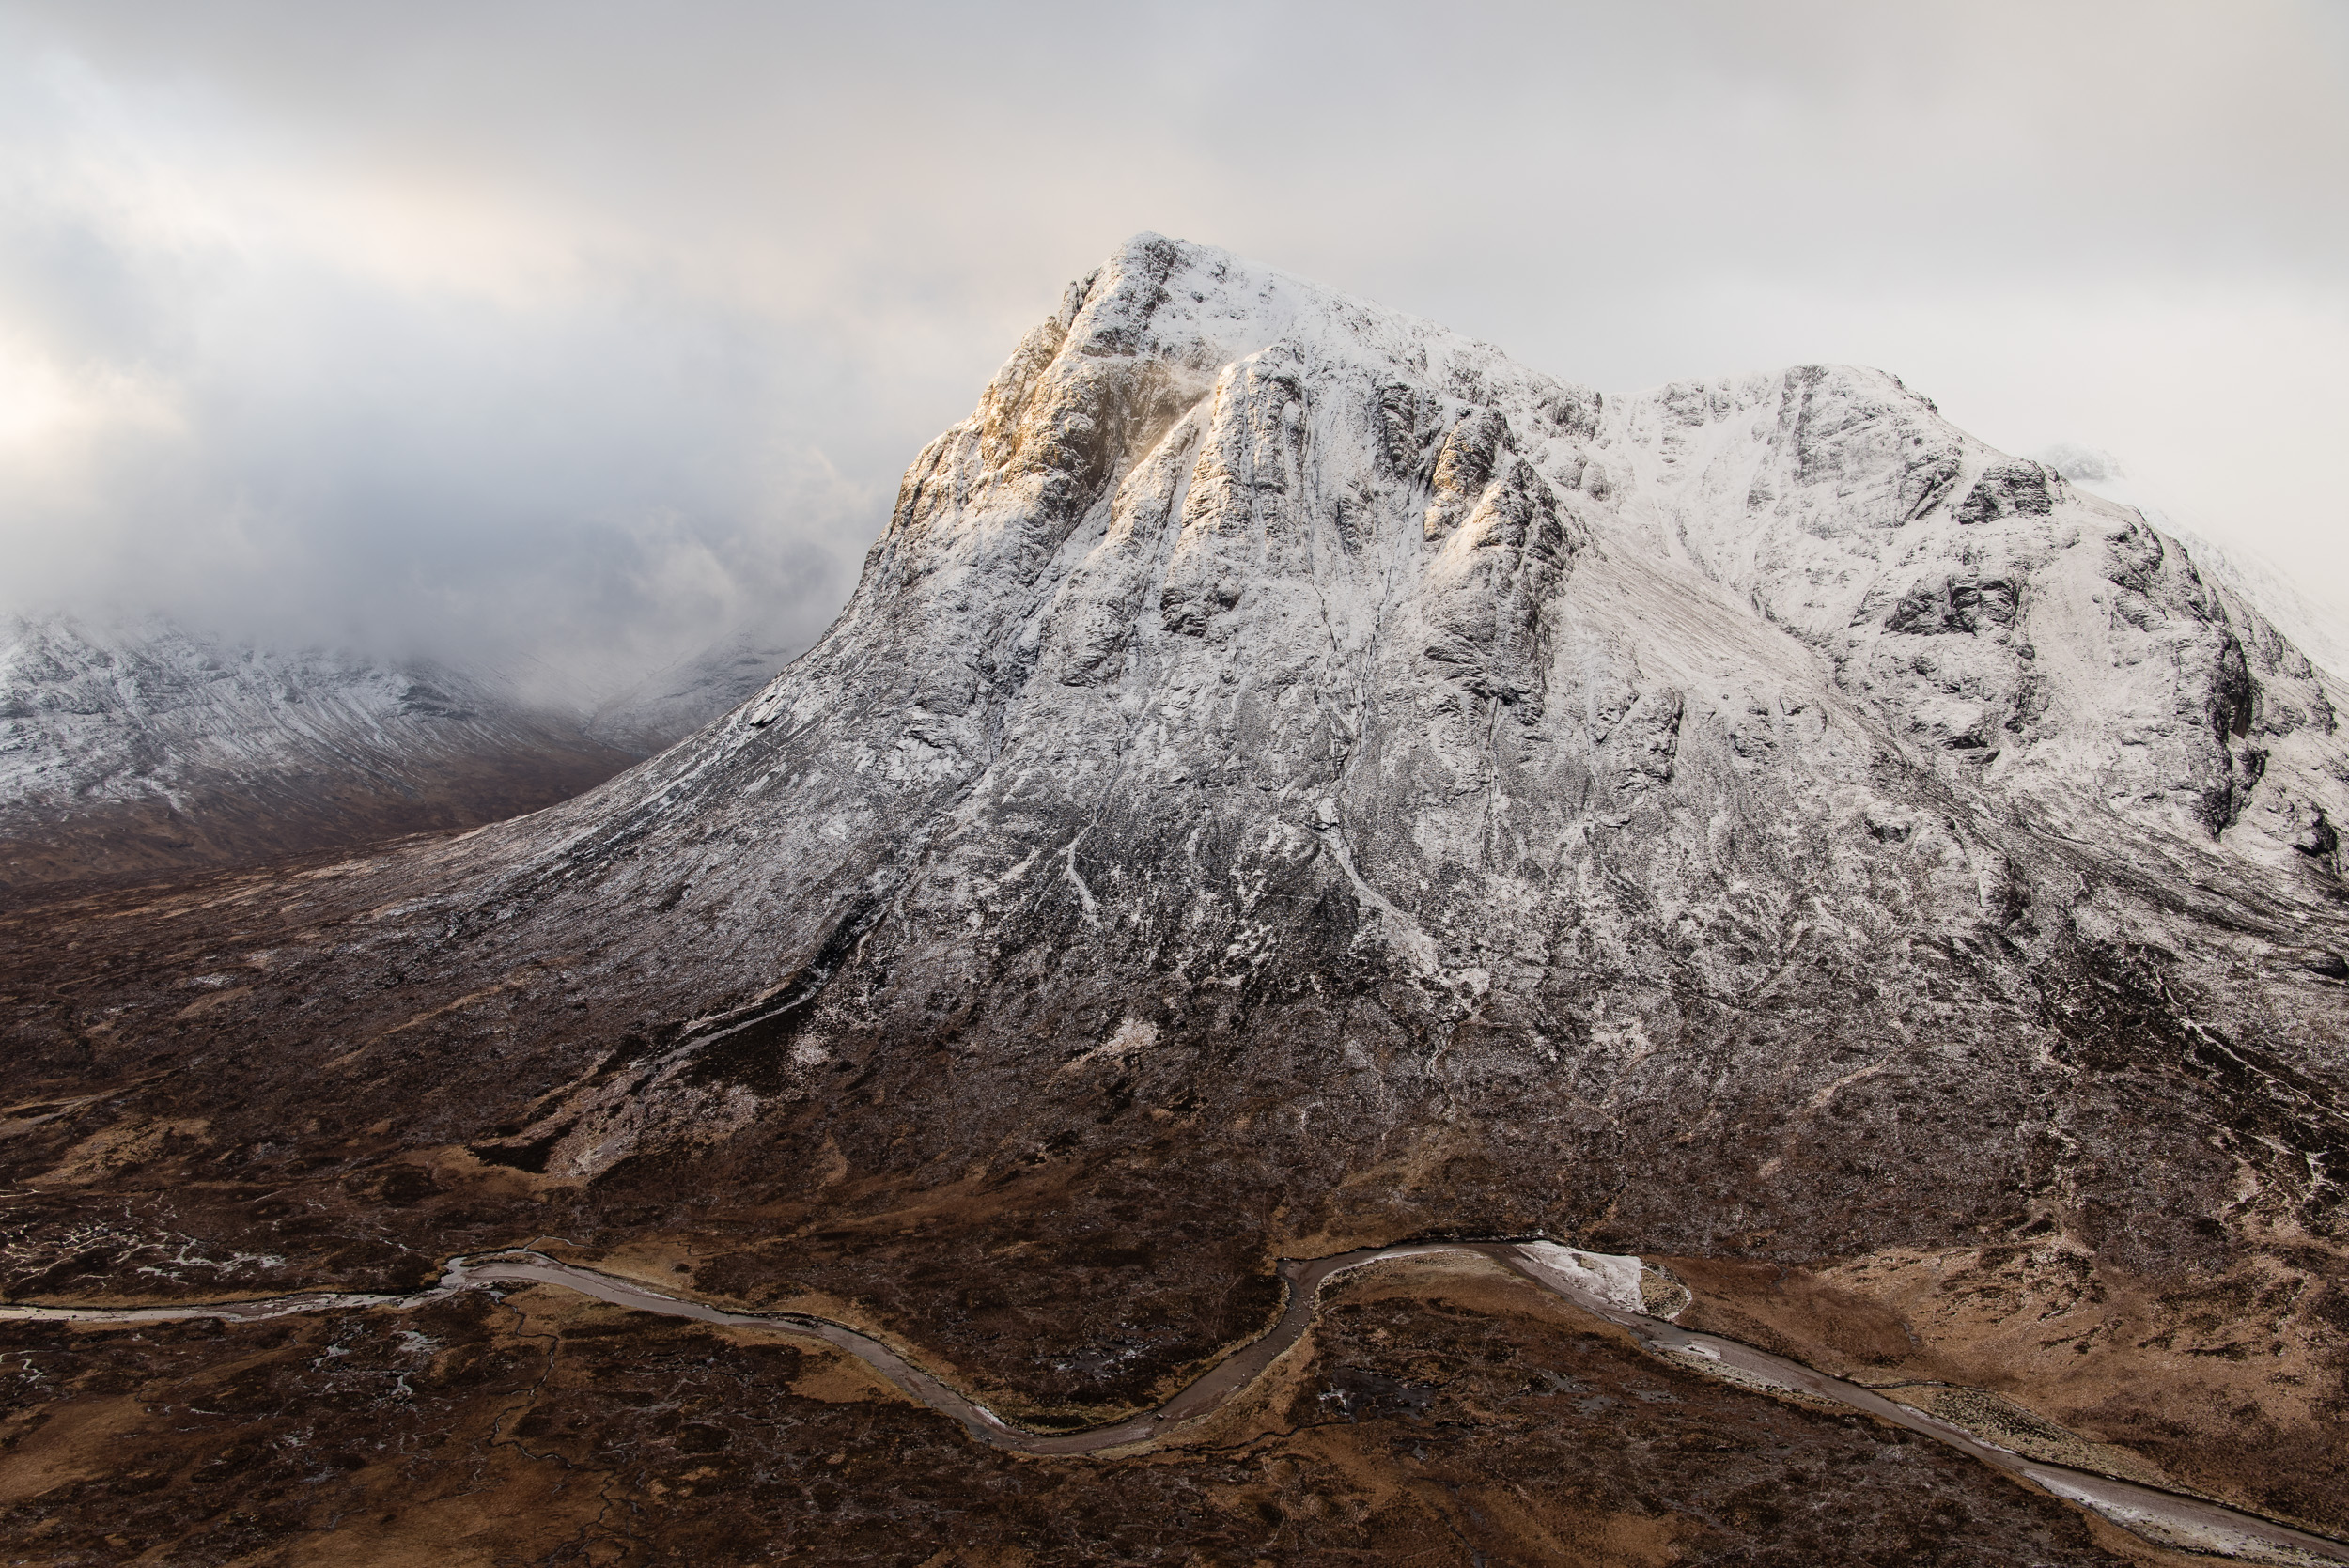
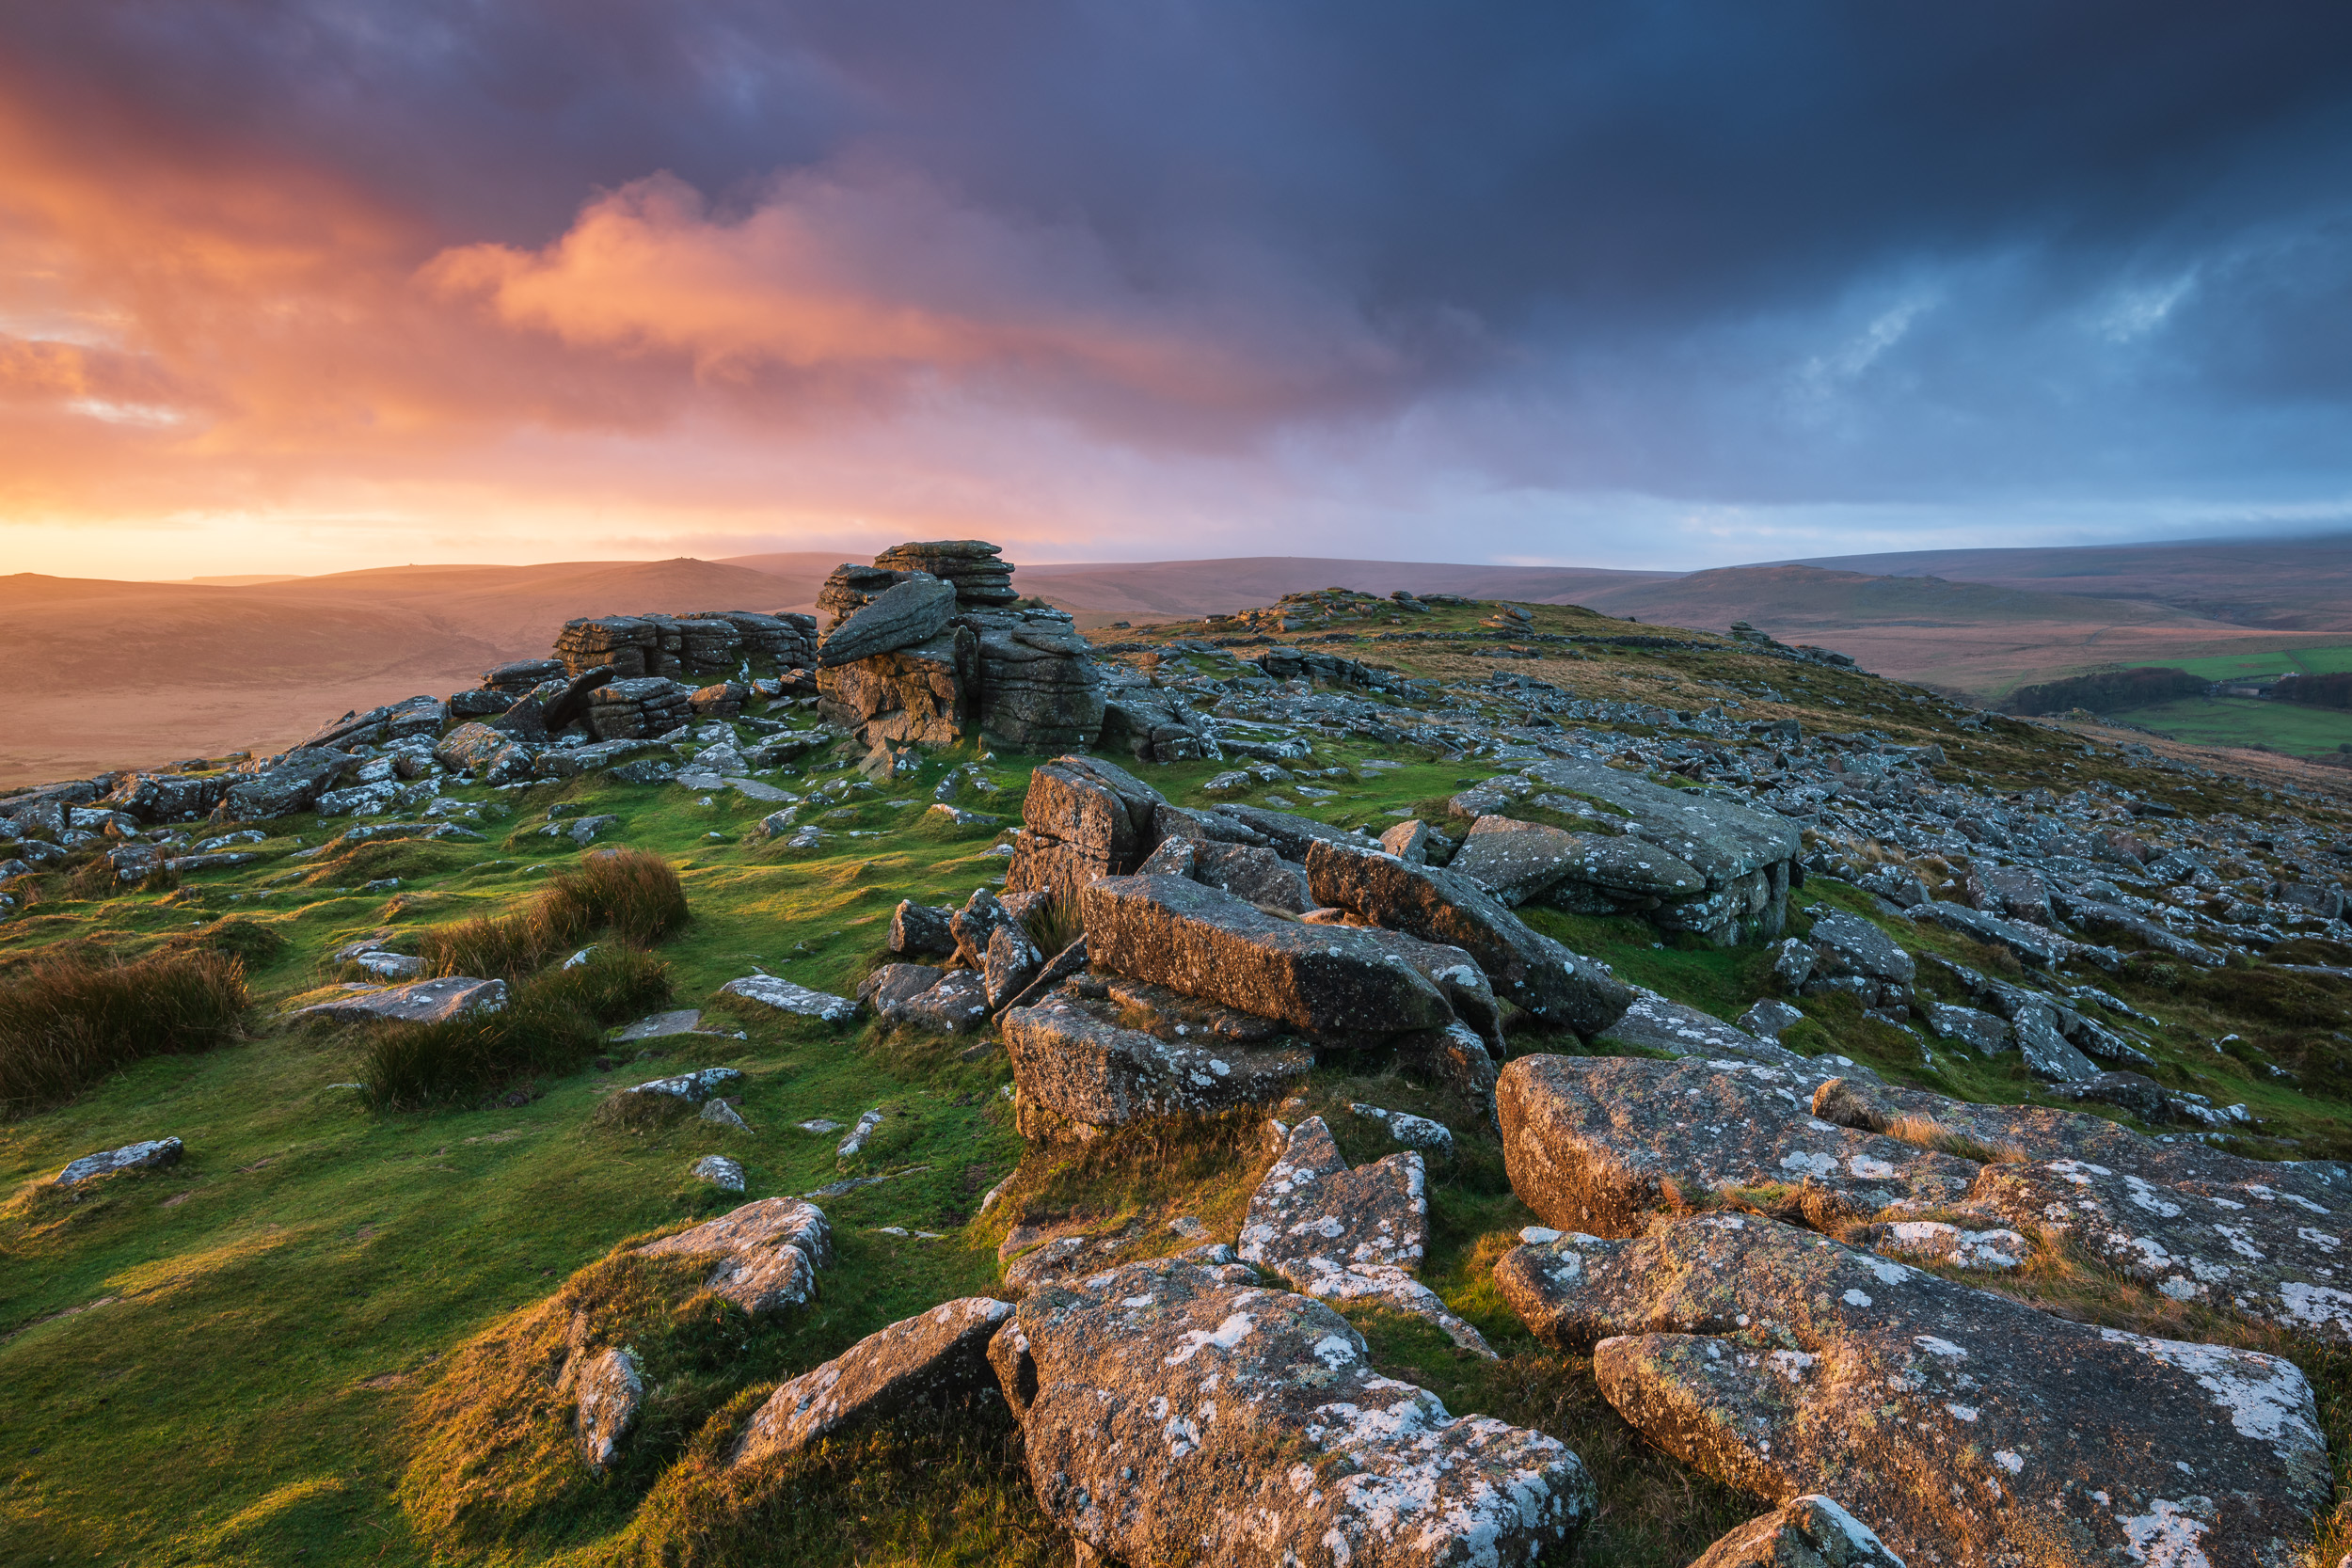

5 Things I Love About the Nikon Z 7
In my latest video I share with you the 5 things that I love most about the Nikon Z 7 mirrorless camera. I will also tell you about some of the things I don't like and show you some of the images that I've been capturing with the Nikon Z 7 over the last few months.
Another Nikon Z 7 Review
Does the world really need another review video about the Nikon Z 7? This is a valid question and one you may well be asking. After all, I purchased the Nikon Z 7 almost a year after it was first released so there is already a stack load of Z 7 review videos.
Unlike when I purchased the Nikon D850 though, I decided not to make any specific vlogs or blogs about my purchase of the Nikon Z 7. So rather than make a song and dance about changing cameras I just never directly mentioned it. However, you are an eagle-eyed lot and my change of camera didn’t go completely unnoticed. A few of you asked why I moved from the Nikon D850 and what I thought about the Nikon Z 7 and I was happy to provide my reasons.
Now that I’ve had the camera for a few months I’ve decided the time was right to share my thoughts on this camera with a wider audience. I’m not going to repeat too much of what I’m going to say in the video but this isn’t a full review and I’m not trying to convince you all to go mirrorless! This video is just about me sharing what I personally like about the Z 7, some things that I don’t like and share a few images.
Whichever camera system you have, and even if you don’t agree with my choice and reasons, I still hope you took some value from watching it. I’d be really interested to hear your thoughts on mirrorless cameras, the Nikon Z system, and the future of DSLRs. Why not leave me a comment below.
Nikon Z 7 Landscape Photographs
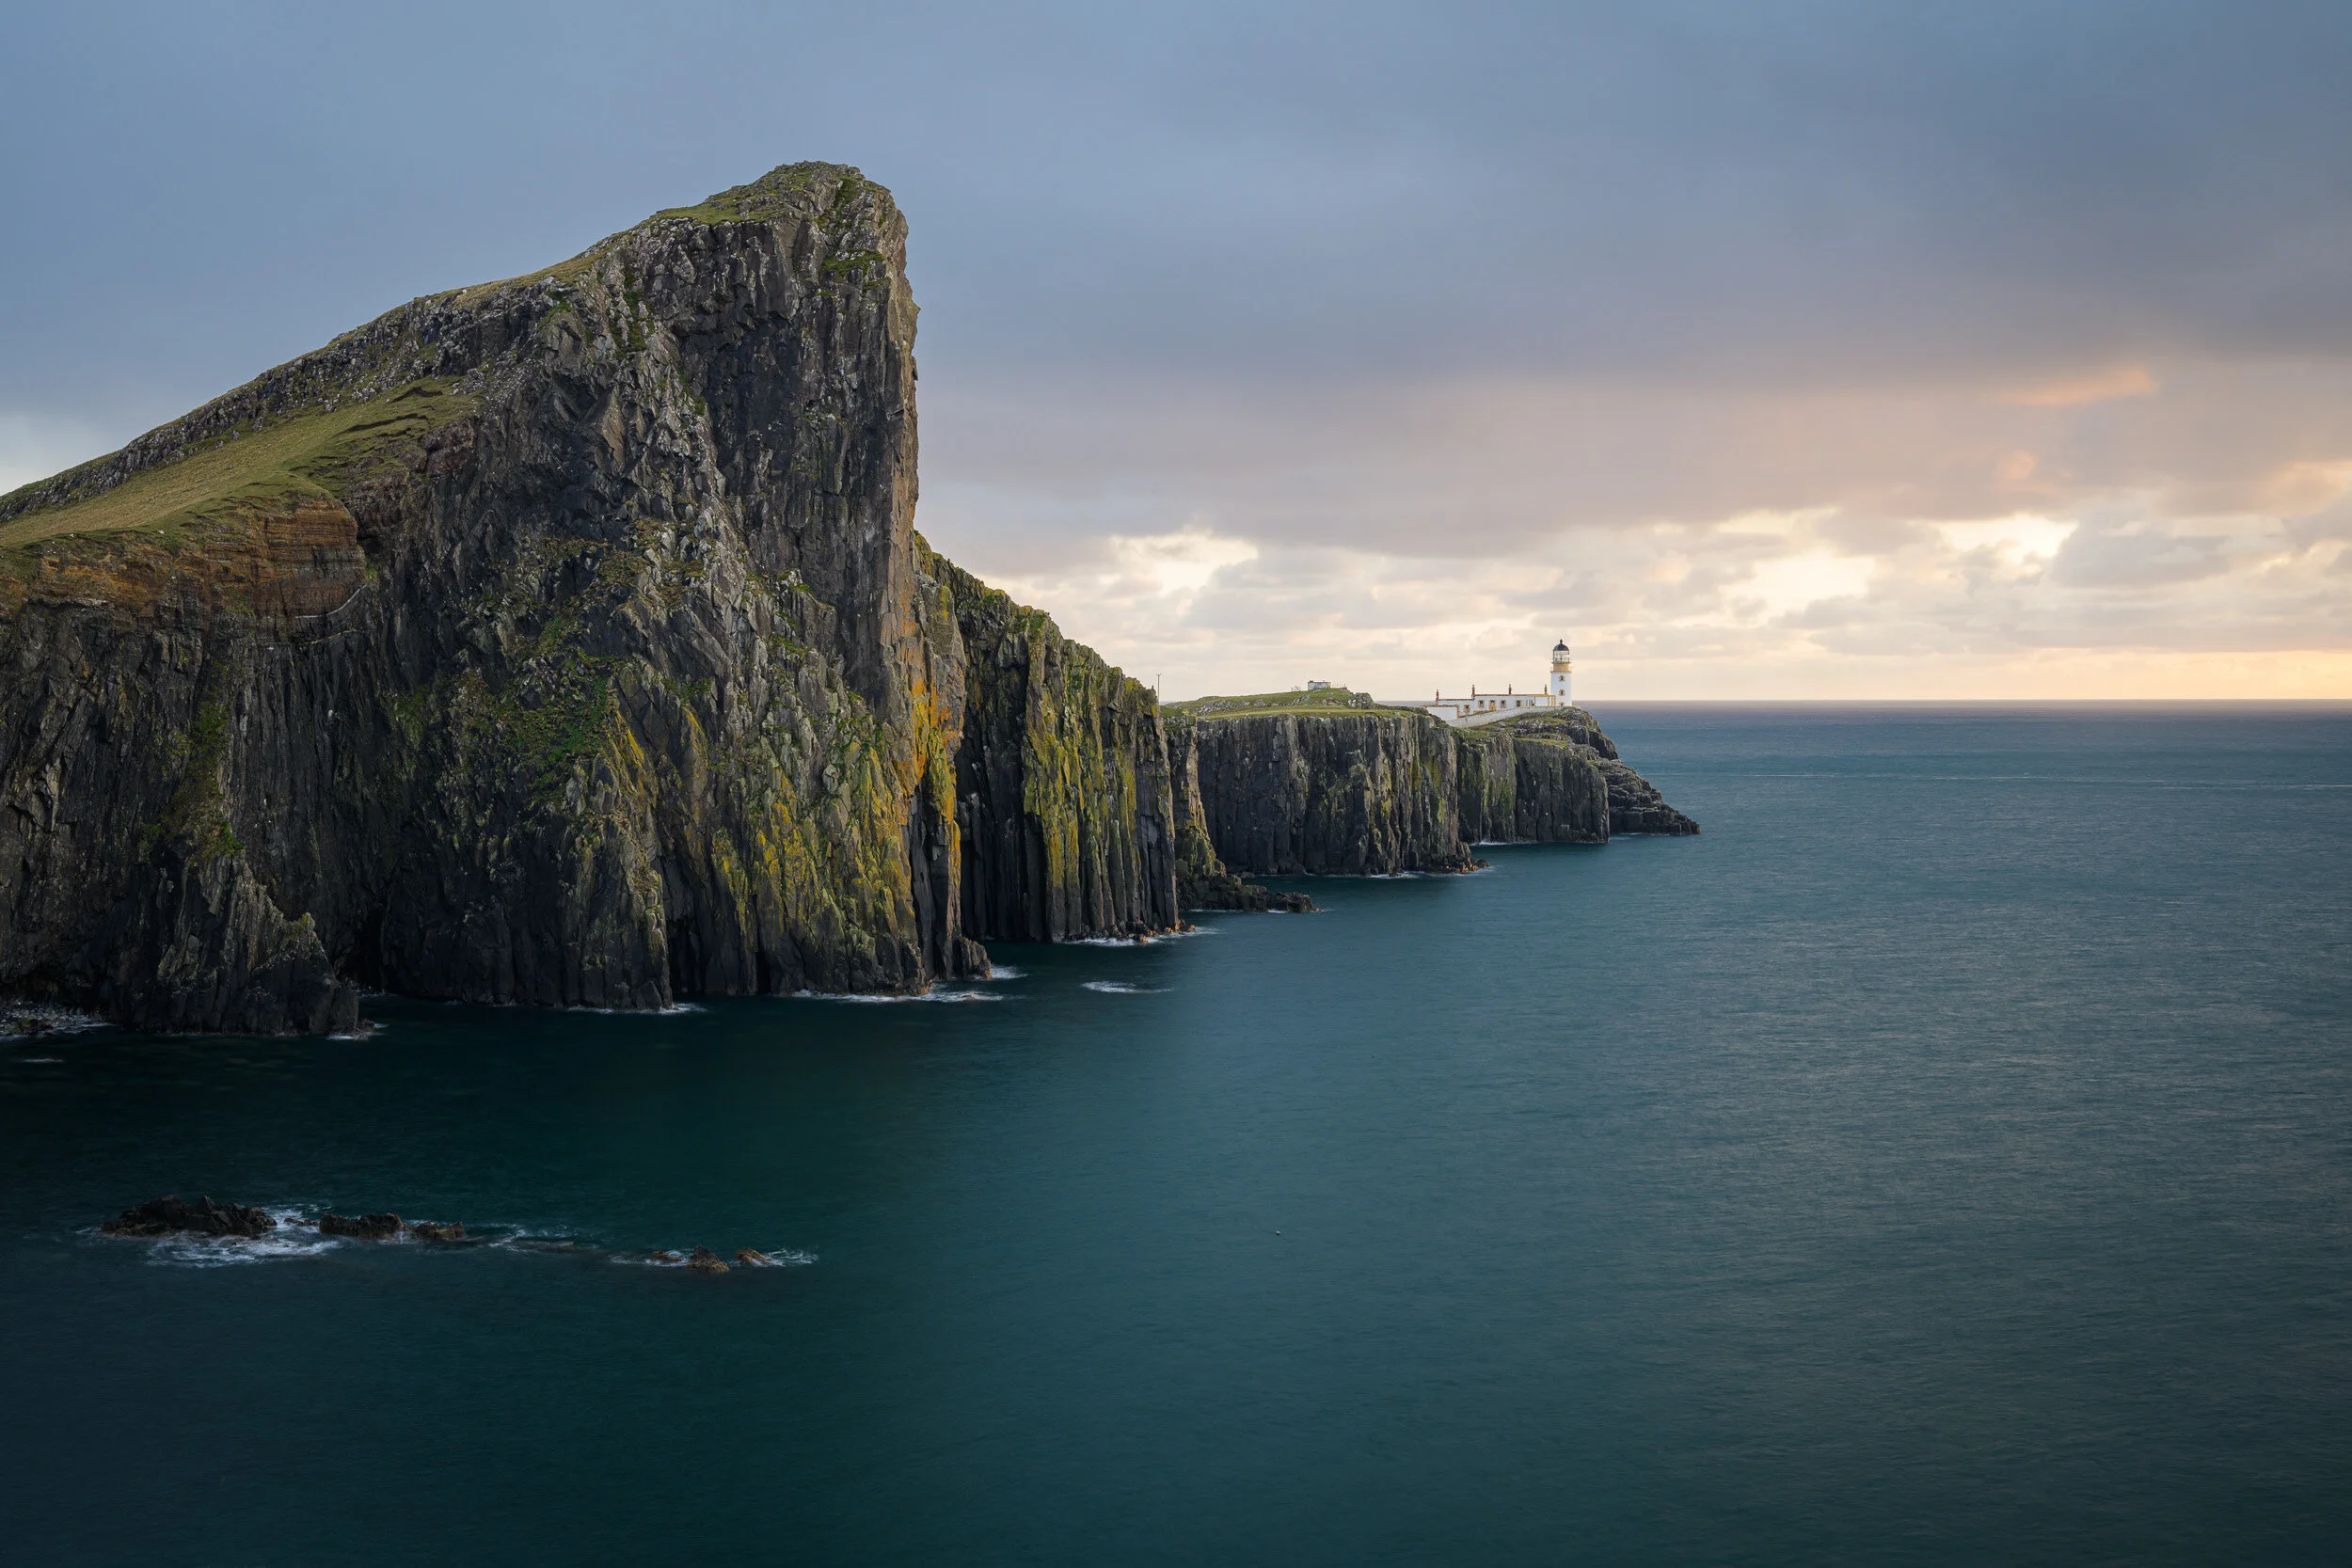
The video included a number of landscape photographs that I’ve captured with the Nikon Z 7 which I’ve included below along with some of the shooting information which I hope you find useful.




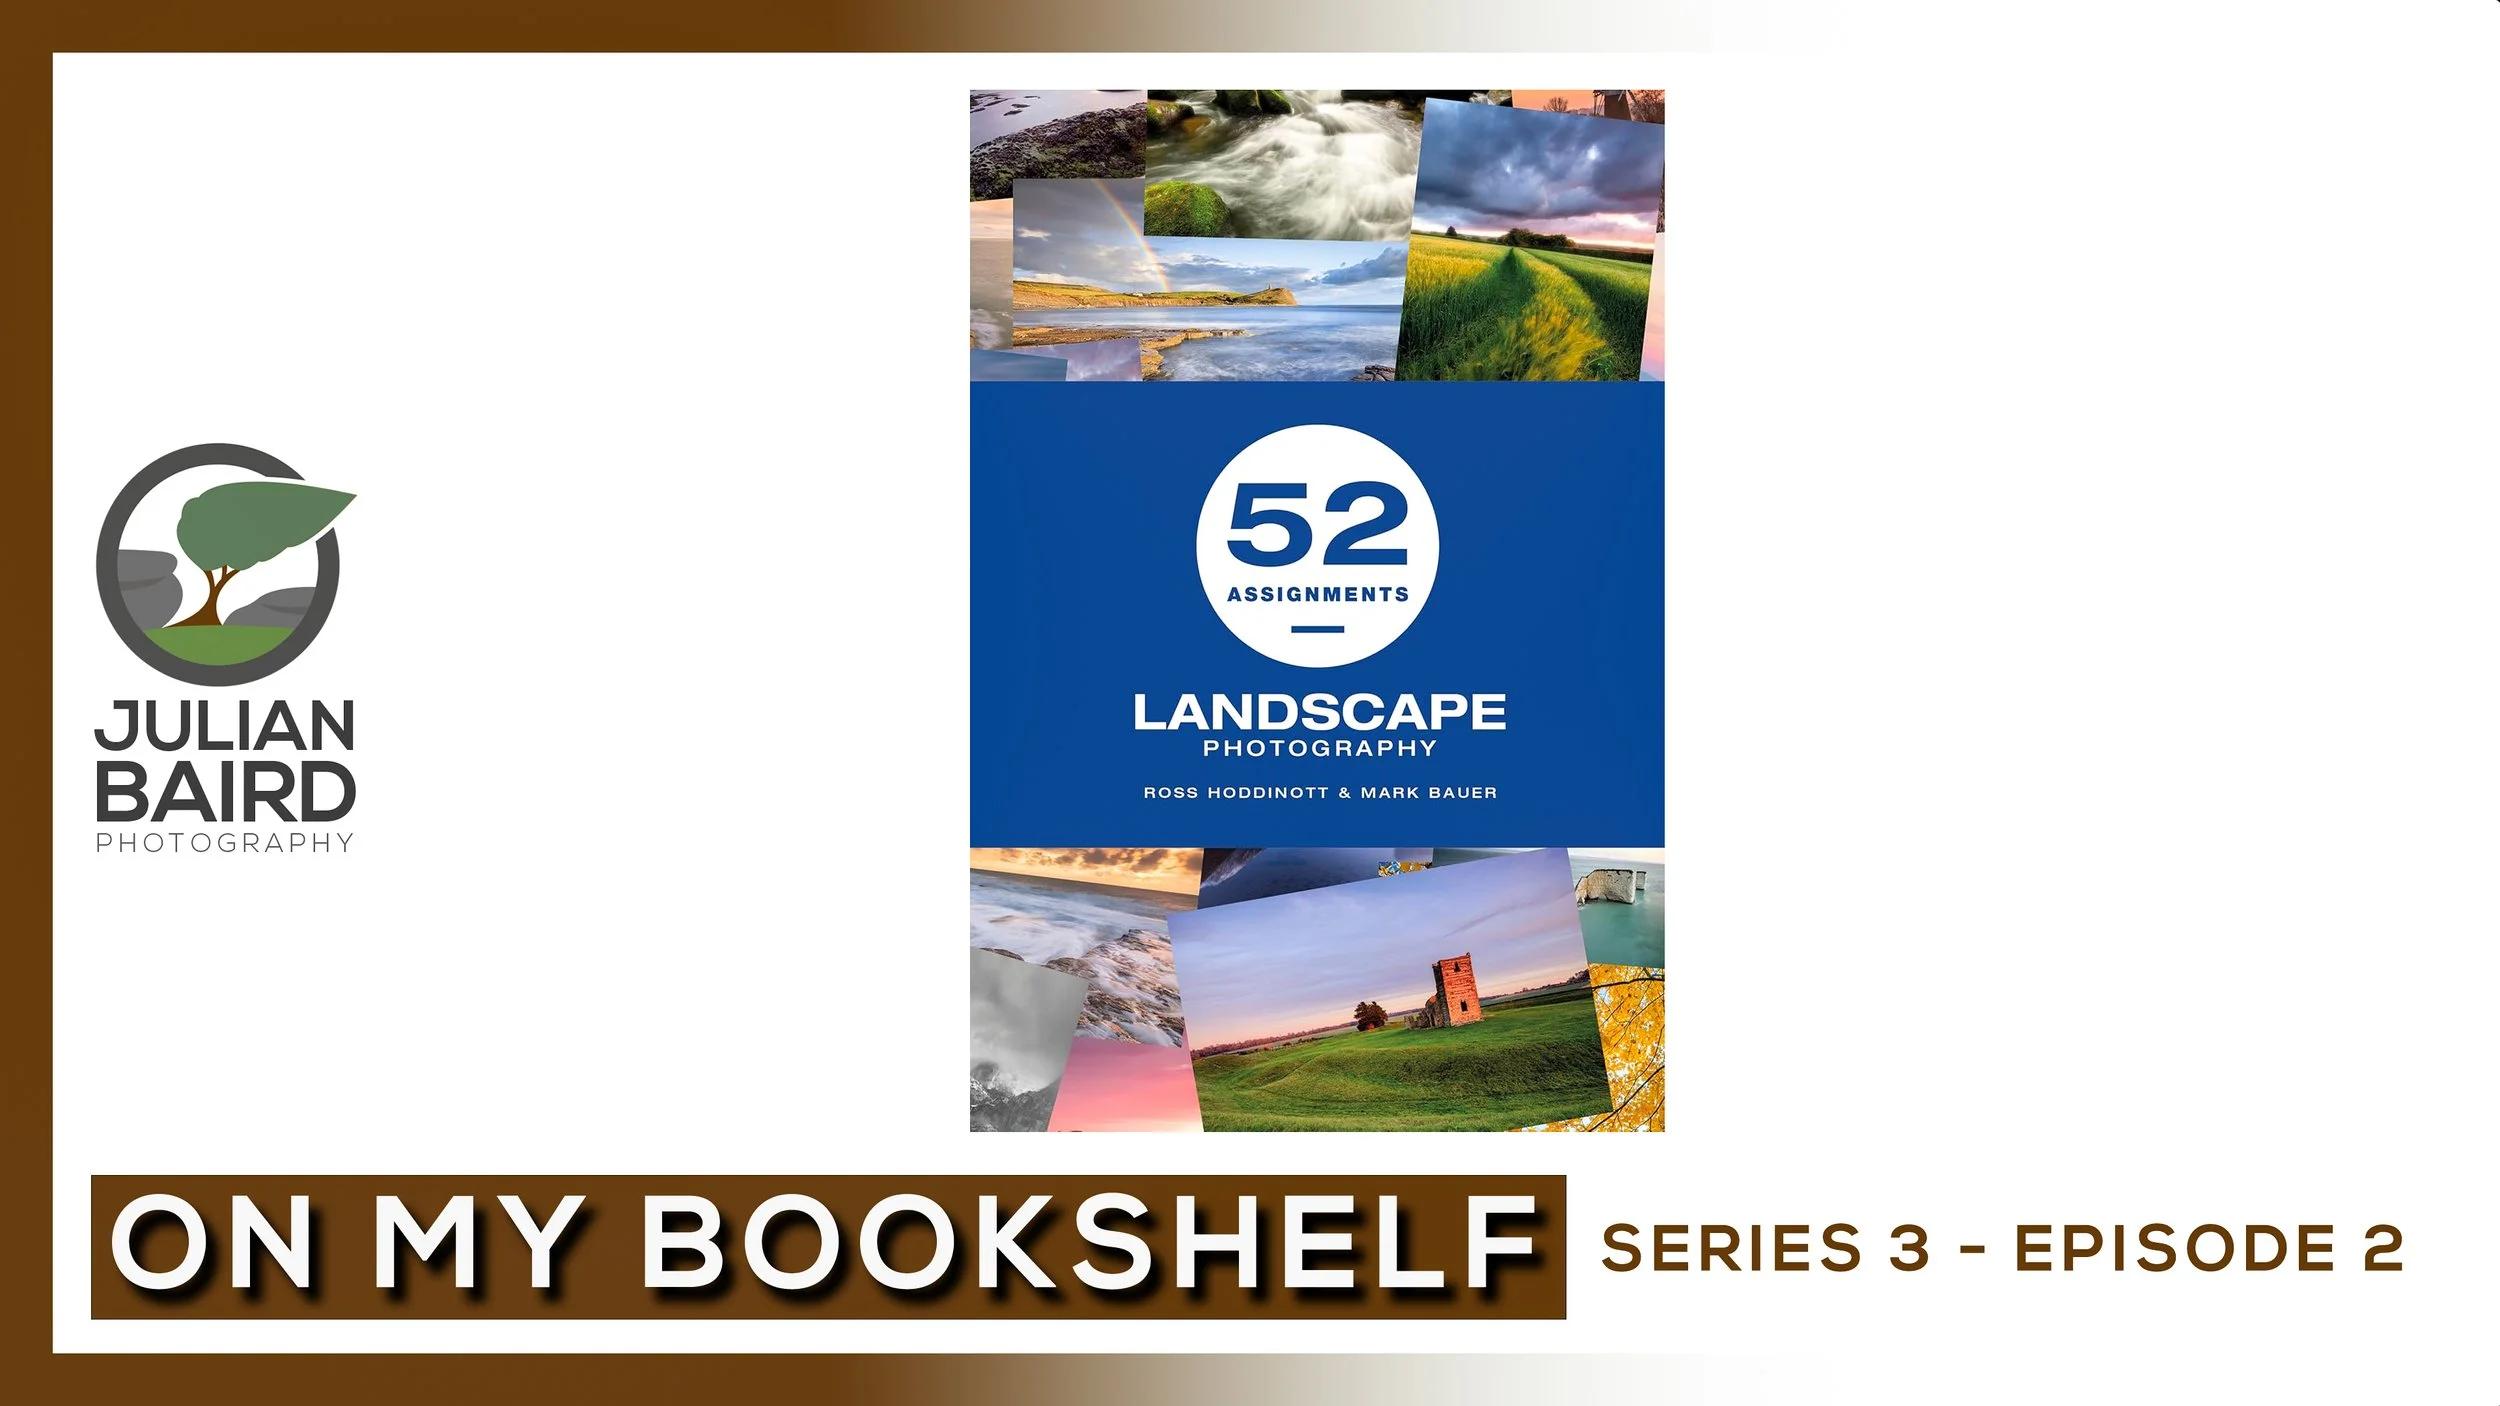
52 Assignments Landscape Photography by Ross Hoddinott and Mark Bauer - On My Bookshelf S03E02
Are you looking to kickstart your landscape photography in 2020? In this episode of On My Bookshelf, I'm taking a look at 52 Assignments for Landscape Photography by Ross Hoddinott and Mark Bauer. It's packed full of creative assignments but there's really only one way to see how good it is and that is to head out on location and give one of those assignments a try.
OMBS On Location
Most of the photography books featured in On My Bookshelf (OMBS) are normally enjoyed at home with a nice cup of coffee. Every now and again though I get a book that has a more practical element to it and I feel the best way to share my thoughts on it is to go on location with it. I adopted this approach last year when I met up with Nick Livesey to discuss his book Photographing the Snowdonia Mountains.
When I received my copy of 52 Assignments: Landscape Photography by Ross Hoddinott and Mark Bauer I knew straight away that this would be another book that would be best demonstrated on location. The only challenge I had was which of the 52 assignments should I pick!
So join me in the latest episode of OMBS as I share my thoughts on this book and head out to Dartmoor on assignment.
I really hope you enjoyed this episode of OMBS. Santa was good enough to bring me a book on landscape photography that I’ve had on my list for a while now and I hope to bring you that episode of OMBS in the near future.
What do you have planned for your photography in 2020? Do you give yourself any assignments or projects? How do you discover creative ideas and techniques? Let me know in the comments below.
The Photographs
As always, here are the images that you saw in the video. I can’t wait to get back to this location. Hopefully when the light is a bit better and the wind a lot lighter!
West Mill Tor #2, Dartmoor, Devon - Nikon Z7, Nikkor 14-30mm f/4 at 21mm, f/13, 1/8th second at ISO 400, CPL and ND Grad.
West Mill Tor #1, Dartmoor, Devon - Nikon Z7, Nikkor 14-30mm f/4 at 14mm, f/13, 1/3rd second at ISO 400, CPL and ND Grad.
West Mill Tor #3, Dartmoor, Devon - Nikon Z7, Nikkor 14-30mm f/4 at 21mm, f/13, 1/8th second at ISO 400, CPL and ND Grad.

Imperfect Panoramas
In the blog this week I head up to Belstone Common on Dartmoor to capture some panoramic images. However, the results aren't exactly perfect.
Ho Ho Ho!
First of all let me wish you a happy Christmas! No matter how or why you celebrate over the festive period I do hope you a good time doing it. Even though I've written this blog post before Christmas day I can feel pretty sure I had a good time at Christmas myself. It's fair to say I'm probably a little fatter but also a little happier for having spent some time with my family. Besides, a little time away from the camera can also be beneficial.
I didn't write this blog post just to tell you how fat I've got but rather to tell you about a recent trip to Dartmoor I had and how the images I captured didn't exactly work out. Don't worry though, it's not a long tale of disasters and epic challenges that will take you half an hour to read. I just thought I'd briefly share the story of that morning. I'll have you back to mince pies and brandy before you know it.
Creating Panoramic Images
The reason I was up on Belstone Common was that I was looking for new locations to capture panoramic images, with a view of creating a video to show how I got about capturing them. My original plan was to shoot the video when I was up in Scotland at the end of October, but rubbish weather put a stop to that. Never mind though, it's not as if Dartmoor doesn't have any locations worth visiting is it!
Belstone Common is one of my favourite places on Dartmoor to capture landscape photographs but I don't ever remember going up there to take panoramic images. As I was already familiar with the location capturing panoramic images would be easy, right? Well, I hadn't really given much thought as to how different it would be and so when I got up to the location an obvious panoramic composition didn't jump out to me as I thought it might.
Belstone Panorama #1, Dartmoor, Devon - Panasonic Lumix S1R, Lumix S 24-105mm f/4 at 28mm, f/13, 1.3 seconds at ISO 100, Kase Filters CPL. Seven vertical image panorama at 16:7.
What I was finding was that just because I had a viewpoint that would normally work well with a wide angle lens, that didn’t mean I could also make a panoramic out of it. The main challenge was that the locations where I would normally stand were close to some of the tors, but I couldn’t get far enough away to make a panoramic image work, without losing sight of the tors. This was going to be more difficult than I thought. Difficult but not impossible though.
As I was up there for sunrise the conditions were changing quickly so I got myself in a bit of panic as I struggled to find a suitable composition. This is where the problems can start. Being in a rush is never a good thing for photography. I kept second guessing myself as to where I should be so I would take my shots in a bit of a rush. In addition it was also freezing up on Dartmoor. There was a bit of a wind and I was trying not to wear gloves so I could use the camera more easily (and quickly).
Belstone Panorama #2, Dartmoor, Devon - Panasonic Lumix S1R, Lumix S 24-105mm f/4 at 65mm, f/13, 1/4th second at ISO 100, Kase Filters CPL. Seven vertical image panorama at 16:7.
So here lies the problem with the images you see on this blog post. While I know the compositions still need a little work, they are technically flawed. You might not even notice the flaws with the resolution you are looking at them but trust me they are a little bit "soft". This purely down to poor technique because I was rushing things. I should have taken into account the strength of the wind, and also let the camera settle down between frames. All stuff I already knew I had to do.
Why am I telling you this and sharing these imperfect panoramas? This blog has always been about sharing my successes and failures. We all get things wrong every now and again, and I'm no different. Photography isn't all about 5 star images. In fact sometimes it's not even about 2 star images! So don't worry if you've got something wrong and a shoot went badly. It happens to everyone and it's part of being a photographer.
Belstone Panorama #3, Dartmoor, Devon - Panasonic Lumix S1R, Lumix S 24-105mm f/4 at 25mm, f/13, 0.4 seconds at ISO 100, Kase Filters CPL. Seven vertical image panorama at 16:7.
So was my trip to Belstone a waste of time? No. Being outside to witness the start of a new day on Dartmoor is never a bad thing. Have you had any photography disasters? Have you been out on a shoot that just went wrong? Let me know in the comments below.

Holne Bridge - A 5 Minute Photo Adventure
In the blog this week I head to Holne Bridge with Panasonic Lumix S1R to capture the last of the autumnal colours on Dartmoor.
More Time with the S1R
If you a regular reader of my blog you'll know that I've had the Panasonic Lumix S1R on loan for the last few weeks. I've been putting it to good use and I've shot the autumnal colours at Fingle Bridge and produced a video called In The Footsteps of Colin Prior. With those bits of content produced I was ready to (sadly) send the camera back to Panasonic. However, the very kind folks at Panasonic Pro Services said I could keep it for a little longer.
Autumn at Holne Bridge
With the extra loan time I wanted to put the S1R to good use and make another video. As much as I'd loved to have produced another video on the scale of In The Footsteps of Colin Prior I'd have to produce something a little more close to home and within tighter time constraints. As I hadn't made one of my 5 Minute Photo Adventure videos for a while I thought this would be a perfect opportunity to do so. Though the best of the autumn colours were coming to an end I thought I might still be able to capture something interesting at Holne Bridge on Dartmoor.
Holne Bridge is one of my favourite locations to shoot autumnal colours and it was looking great when I visited there a few weeks before this trip (you can see the photos from that blog post here). I was a little unsure how the recent bad weather had impacted the leaves on the trees but fortunately for me local (and very talented) photographer Neil Porter drives through the area on a regular basis. He was kind enough to give me an update and as it was looking positive we both decided to meet up for spot of landscape photography.
A 5 Minute Photo Adventure
It was a great morning of photography and it was great to be joined by Neil. He knows a lot of good spots along the river there and he introduced me to a couple of new ones which I was very grateful for. Anyway, I don't want to spoil the video too much so here it is:
I hope you enjoyed the video and all the content I've made with the Panasonic Lumix S1R. I've really enjoyed using the camera and hope to use one again in the future. I also have to say that the folks at Panasonic Pro Services (who organised the loan) have been fantastic. Really friendly and easy to work with. Should I ever decide to purchase any of the S1 cameras it's good to know that Panasonic have the support services network in place.
I've got some exciting content coming up over the next few weeks including the return of On My Bookshelf, and some special new year videos, so stay tuned!
The Photographs
As always, here are the photographs from the video plus a couple of others that I captured after filming.
Holne Bridge at Autumn, Dartmoor, Devon - Panasonic Lumix S1R, Lumix S 24-105mm f/4 at 28mm, f/11, 1 second at ISO 200, Kase Filters CPL.
An Autumnal River Dart at Holne Bridge, Dartmoor, Devon - Panasonic Lumix S1R, Lumix S 24-105mm f/4 at 53mm, f/13, 1 second at ISO 200, Kase Filters CPL.
Downstream from Holne Bridge, Dartmoor, Devon - Panasonic Lumix S1R, Lumix S 24-105mm f/4 at 29mm, f/13, 0.8 seconds at ISO 200, Kase Filters CPL.
Upstream to Holne Bridge, Dartmoor, Devon - Panasonic Lumix S1R, Lumix S 24-105mm f/4 at 24mm, f/13, 1.3 seconds at ISO 200, Kase Filters CPL.

In The Footsteps of Colin Prior
Inspired by the landscape photographs I've seen in Colin Prior's book, Scotland's Finest Landscapes, I head to Loch Clair in Torridon to capture my own photographs of this stunning location. With only a few hours and typically Scottish weather, photography was always going to be a challenge!
Being Inspired
Inspiration for my photography comes from many different sources. Like most photographers, I look at a lot of photographs online using services such as Instagram and Flickr. For me though, one of the best sources of inspiration is the humble book. The bookshelf in my office is ever-expanding and I take a lot of joy in sharing my passion for photography books in my YouTube series, On My Bookshelf.
Last year I picked up a copy of Colin Prior's book, Scotland's Finest Landscapes and I thought it was amazing. I even did an episode of On My Bookshelf so if you want to hear my thoughts on this book in a bit more detail then click here. Even though I grew up in Scotland, and lived many of my adult years there, much of Scotland remains unexplored for me. Colin's book opened my eyes up to some of the amazing locations in Scotland and the photographic opportunities these wild locations could bring.
An Adventure to Scotland
As I browsed Colin's book I made note of all the places I would like to visit to capture my own photographs. The list was long! There aren't many negatives to living in Devon, but its distance from Scotland is definitely one of them. Trips back to the homeland are rare so if I was to tick off one of those locations from the list I would have to pick carefully and integrate it into whatever I was doing in Scotland on my next visit.
Fortunately for me, I had booked myself onto a photography workshop on the Isle of Skye with my workshop company of choice Dawn 2 Dusk Photography. The last time I went on a D2D workshop was Glencoe and I had an absolute blast. You can read about that adventure here. My trip to Skye was the perfect opportunity to spend a little extra time in the Highlands and visit one of the locations I saw in the book that had inspired me.
The Weather
As I was going to Skye I thought that one of the best areas I could visit was Torridon, an area of Scotland that I had not visited before. The images I saw in the book looked amazing and I was excited about capturing my own. I narrowed down the list and got ready for my trip to Scotland.
Arriving in Scotland I already knew that the weather wasn't going to be great and with only limited time before the workshop, I was going to have to work with what I had. What I really wanted to do was walk up one of the mountains to capture an epic vista but this was always going to be a bit of a challenge. Though I've bagged a few Munro's in my time, but these have mostly been fair-weather adventures. The weather forecast for the mountains when I was up was terrible. Way above my skill level!
Fortunately for me though, I had considered that the mountains might be inaccessible to me and I'd picked a few low-level locations as a backup. The night before I was due to head out I looked at my list and decided on Loch Clair near Liathach and Beinn Eighe. Would the low-level weather be kind to me? Would I get the opportunity to capture some amazing landscape photographs? Let's find out in my latest video, In The Footsteps of Colin Prior.
Landscape Photography Can be Hard
As you will have seen in the video, it was a challenging day. The weather conditions were variable, to say the least. It could be lashing with rain one minute, then you'd get howling winds, and then all of a sudden it would clear up. Typically Scottish really! There was no chance of reflections on the loch and I never saw the top of the mountains until I was finished for the day. While I knew the weather wasn't going to be great that day, I was hoping that it would break long enough to give me some dramatic light on the landscape.
Unfortunately, this never happened. While I did witness some amazing scenes such as incoming rain showers, crepuscular rays and rainbows, they were never really in the spots where I could have put them to good use in a composition. Despite the challenges of the photography I had a great time at Loch Clair. Yes it was cold, wet and windy at times but I had good clothing on so I was able to enjoy the wilderness and all it brings. I had a lot of time to look at the landscape while the weather was too wild to get the camera out and it looked amazing. It was just a pleasure to sit there and take it all in.
It was definitely a case of the adventure being more rewarding than the photography but I'm OK with that. Landscape photography can be hard but my love for the outdoors always means that I never consider my time wasted.
I do hope you have enjoyed this blog post and video. Who inspires your photography? Have you ever followed in the footsteps of one of your favourite photographers? Let me know in the comments below.
The Photographs
If you want to see the photographs from the video in a bit more detail you can see them below. They were all taken with the Panasonic Lumix S1R. Panasonic was kind enough to lend me this camera (and two lenses) to help me make this video. I have to say that the camera performed faultlessly despite the wild and wet conditions. I'm not planning on doing a full review of the camera but you can read some of my thoughts in this blog post.
Loch Clair Tree, Torridon, Scotland - Panasonic Lumix S1R, Lumix S 24-105mm f/4 at 24mm, f/13, 15 seconds at ISO 100, Kase Filters CPL.
Liathach from Loch Clair, Torridon, Scotland - Panasonic Lumix S1R, Lumix S 24-105mm f/4 at 24mm, f/13, 1/10th sec at ISO 100, Kase Filters CPL.
Loch Clair, Sgurr Dubh and Liathach, Torridon, Scotland - Panasonic Lumix S1R, Lumix S 24-105mm f/4 at 26mm, f/13, 1/15th sec at ISO 100, Kase Filters CPL.
Loch Clair, Liathach and Beinn Eighe, Torridon, Scotland - Panasonic Lumix S1R, Lumix S 24-105mm f/4 at 24mm, f/13, 40 seconds at ISO 100, Kase Filters CPL. Single image crop at 6:17
Loch Clair, Liathach and Beinn Eighe, Torridon, Scotland - Panasonic Lumix S1R, Lumix S 24-105mm f/4 at 24mm, f/13, 1/5th second at ISO 100, Kase Filters CPL.

Should YOU Photograph the Honeypot Locations?
Is there any point in capturing your own images from the landscape photography honeypot locations? With so many images captured from these popular locations you could be forgiven for giving them a miss. In this blog post I head to Glencoe in Scotland to photograph one of its most popular viewpoints and discuss why I think everyone should shoot a honeypot location.
They Are Honeypot Locations for a Reason
This is going to be a bit of a short blog post. There are a couple of reasons for this. Firstly, most of what I want to say is said in the video to go with this post, so there’s little point repeating it all here. I’m also a little short in time because I’ve got lots of exciting content to work on that I want to get ready before the festive period really starts.
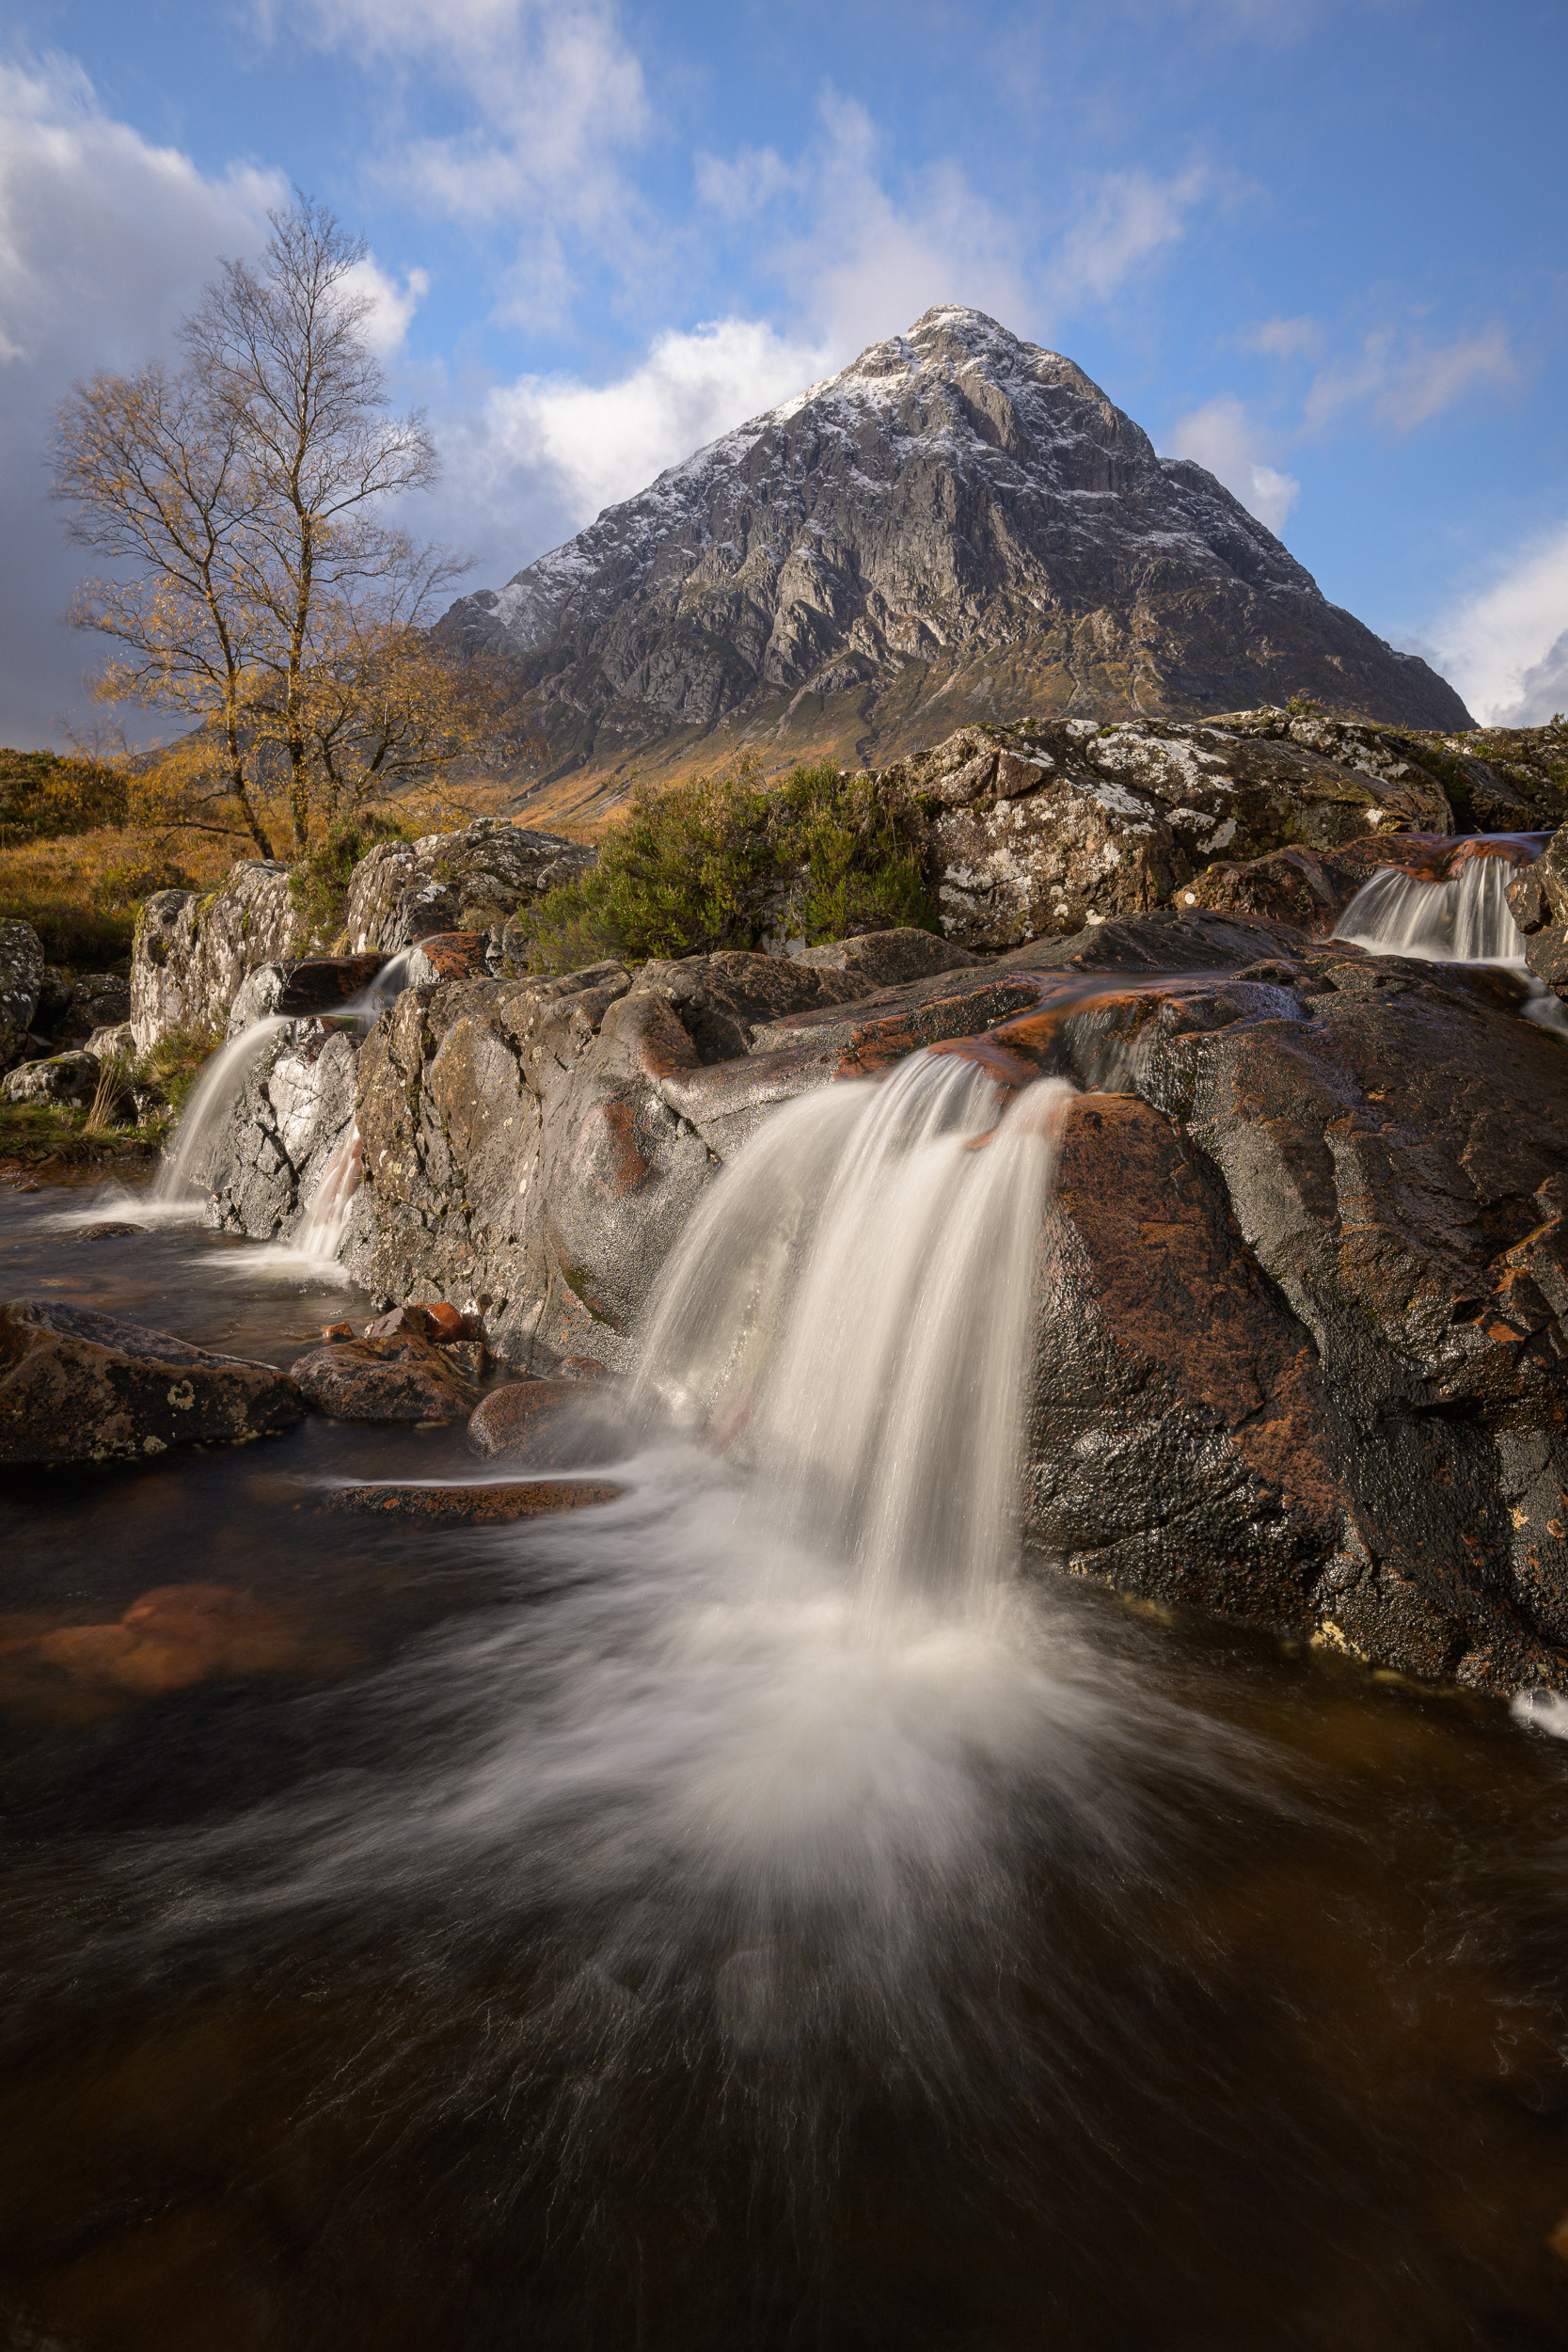
All that aside, I’ve been wanting to make this video for a while. My original plan was to shoot it down at Durdle Door but I never quite made it there this year. When I started making plans for my trip to Skye I knew I was going to stop off in Glencoe so I decided that I would make the video there. Glencoe is not short of a few honeypot locations but I settled on the viewpoint with the small waterfall (on the river Coupall) and Stob Dearg in the background. There can’t be that many of you that haven’t seen that viewpoint before!
It’s a stunning viewpoint and one that I can’t resist photographing every time I’m in Glencoe. These viewpoints aren’t called honeypot locations for no reason! However, in some circles, photographing these locations and viewpoints can be frowned upon. While it is true that getting something new from these locations can be tricky, I don’t think this is a reason to not shoot them.
If you want to know why I think you should shoot them, check out my video below:
I’m sure most of you have already shot a few honeypot locations and have enjoyed the experience of capturing your own images. If you haven’t though, I hope this video has inspired you to visit places like the Glencoe viewpoint in the video, or even Durdle Door.
Do you have a favourite honeypot location? Are there any honeypot locations you’d like to shoot? Let me know in the comments below.
One Location, Many Viewpoints
If you want to see the images from the video in a bit more detail you’ll find them below.
The River Coupall and Buachaille Etive Mor, Glencoe, Scotland - Nikon Z7, Nikkor 14-30mm f/4 at 22mm, f/13, 1 second at ISO 200, CPL and 3 stop ND.
River Coupall Falls, Glencoe, Scotland - Nikon Z7, Nikkor 14-30mm f/4 at 15mm, f/13, 1/8th at ISO 160, CPL.
The River Coupall and Stob Dearg, Glencoe, Scotland - Nikon Z7, Nikkor 14-30mm f/4 at 22mm, f/13, 4 seconds at ISO 160, CPL and 3 stop ND.

Autumnal Landscape Photography with the Lumix S1R
After a last minute change of plan I decide to shoot the autumnal colours at Fingle Bridge and I take the Panasonic Lumix S1R with me.
The Panasonic Lumix S1R
A couple of weeks ago in my blog post Return to Holne Bridge, I mentioned that I had a Panasonic Lumix S1R on loan. In that blog post I was out with the S1R to try and familiarise myself with the camera before putting it to use on the project I had planned for it. Having now completed filming for that project I was ready to return the camera to Panasonic but they very kindly asked if I wanted to keep it for another couple of weeks.
Plan A Becomes Plan B
With the camera on loan for a bit longer I had a few ideas on how I could put it to good use. My initial project for the S1R was to make a landscape photography video in Scotland, but I did also have a secondary project planned as well. Unfortunately though, the weather conditions were pretty awful in Scotland in the later part of my trip and so I never got the chance to shoot the 2nd video. This loan extension would be a great time to revisit that project and shoot it on Dartmoor rather than Glencoe.
My plan A was to head up to one of my favourite Dartmoor locations, Belstone Common. Checking the weather forecast the evening before I knew it was going to be a bit of a risk to go there because of the forecasted cloud cover. However I thought it was worth a punt and made my plan for a dawn shoot.
Arriving at Belstone Common the following morning it quickly became apparent that I had been a little too optimistic about the weather forecast, specifically the cloud cover. The cloud cover had even descended into the village of Belstone and by the time I had reached the parking area for Belstone Common it was looking very cloudy indeed.
Normally I wouldn’t necessarily let this put me off and I would risk ascending up to Belstone and hopefully wait for the cloud to clear. This clearing of the cloud can often lead to spectacular scenes but at the back of my mind I thought I’d probably be better going with plan B.
Fingle Bridge
Plan B was to go and shoot at one of my favourite autumnal Dartmoor locations, Holne Bridge or Fingle Bridge. I reckon either would have been good but given Holne Bridge is on the opposite side of Dartmoor from Belstone Common and Fingle Bridge just 15 minutes away the decision was easy.
When I arrived at Fingle Bridge I could see that I had made the right decision. The autumnal colours were looking great and even though it was a bit lighter the sky was still heavily overcast so staying at Belstone probably would have been a waste of time.
Fingle Bridge #1, Dartmoor, Devon - Panasonic Lumix S1R, Lumix S 24-105mm f/4 at 24mm, f/11, 10 seconds at ISO 100, Kase Filters CPL. Three horizontal image panorama at 16:7.
Though it was tempting to just create a short vlog of my time at Fingle Bridge, I decided just to concentrate on stills photography so I grabbed the Lumix S1R but left behind my Lumix G80 (my vlogging camera). As I walked along the riverside and admired the beautiful colours on the trees I was surprised not to see any other photographers or even dog walkers. I wasn’t complaining though. It was very relaxing, just me, a camera, the gentle noise of the flowing river and the wind blowing in the trees. What a way to start the day!
Fingle Bridge #2, Dartmoor, Devon - Panasonic Lumix S1R, Lumix S 24-105mm f/4 at 54mm, f/13, 10 seconds at ISO 100, Kase Filters CPL.
What I like About the S1R
As I said in my blog post Return to Holne Bridge, it is not my intention to review the S1R. There are lots of dedicated written and video reviews out there and they are done by people much more proficient at reviewing than I am. However, having used the camera for a few weeks I thought I would at least share some of my thoughts on this camera.
Things I liked:
47.3 megapixel sensor - no complaints with the image quality.
Dual card slots - dual xQD would have been nice though.
Good controls, knobs and dials - plenty of physical controls.
Focal length of the lens is displayed in the EVF.
Triaxle tilt LCD - you can even flip it out when the camera is in a vertical orientation…..very handy!!
Countdown down timer for long exposures (up to 60 seconds). Also very handy!
The 24-105mm f/4 lens I used. Great image quality and useful focal length.
Minor gripes:
Long exposures are limited to 60 seconds before you need to switch to bulb mode. This is better than most DSLRs and some mirrorless cameras, but not as good as cameras from FujiFilm (which can have exposures timed in minutes).
Size and weight - while some people prefer the feel of a bigger camera, the S1R is big for a full-frame mirrorless camera. It’s about the same size and weight as a Nikon D850 but bigger and heavier than a Nikon Z7. However, in some ways it has more features and controls than a Z7 so some additional bulk is probably necessary (e.g. dual card slots and great video features).
Though the S1R has one of the highest resolutions EVF on the market, I thought images looked a little low on resolution when reviewed. Don’t get me wrong, it’s not bad, but not as good as other mirrorless cameras I have used. I wonder if the embedded JPG preview of the RAW file is low resolution. The images when reviewed in Lightroom look amazing. The EVF looks great when viewing live.
No wide angle zoom lens at the time of loan. (A 16-35 f/4 is due in January 2020 though).
This is by no means a comprehensive list but these are some of the things I wanted to highlight when compared to other mirrorless cameras I have used. Minor gripes aside, there is little to dislike about this camera and anyone buying one is sure to be happy.
Fingle Bridge #3, Dartmoor, Devon - Panasonic Lumix S1R, Lumix S 24-105mm f/4 at 28mm, f/13, 10 seconds at ISO 100, Kase Filters CPL.
A note on the video features:
I know many of you don’t shoot video but for me some of the most stand out features of this camera are the video features. It can shoot up to 4k, 50 fps at 150 Mbps. The video quality is beautiful. I shoot and publish almost all of my videos in 4K but I don’t think anyone would notice much change in video quality if my bitrate jumped to 150 Mbps. On the other hand 50 fps does give me a few more creative options in post production.
As a bonus the S1R writes video to both cards which is definitely welcome. However, my one gripe is that if you have your camera set up for stills (shutter speed, ISO, and aperture) and then you switch to video mode, all the settings from your stills configuration carries over. The same applies when moving from video mode to stills mode. Given that you set the camera up very differently when shooting video and stills this seems a little annoying if you need to quickly switch between both modes.
Panasonic have also now released the Lumix S1H. This camera is a little more video centric and offers video modes such as 6K recording, 400 mbps bit rate (depending on mode), and HLG video. I can just imagine the creative options open to me with this camera if I did another series of Vignettes of Landscape Photography.
In case you are wondering, the video that I did have planned for the S1R has been filmed and is currently being edited. It should be ready in the next couple of weeks. I have also managed to shoot one of my 5 Minute Photo Adventure videos with the S1R so I hope to publish that in the next few weeks as well.
I hope you enjoyed this blog post and the images I capture from Fingle Bridge. Have you been out to capture some autumnal images? Have you considered or even bought an S1R or any of the cameras in the Lumix S1 range? Let me know in the comments below.
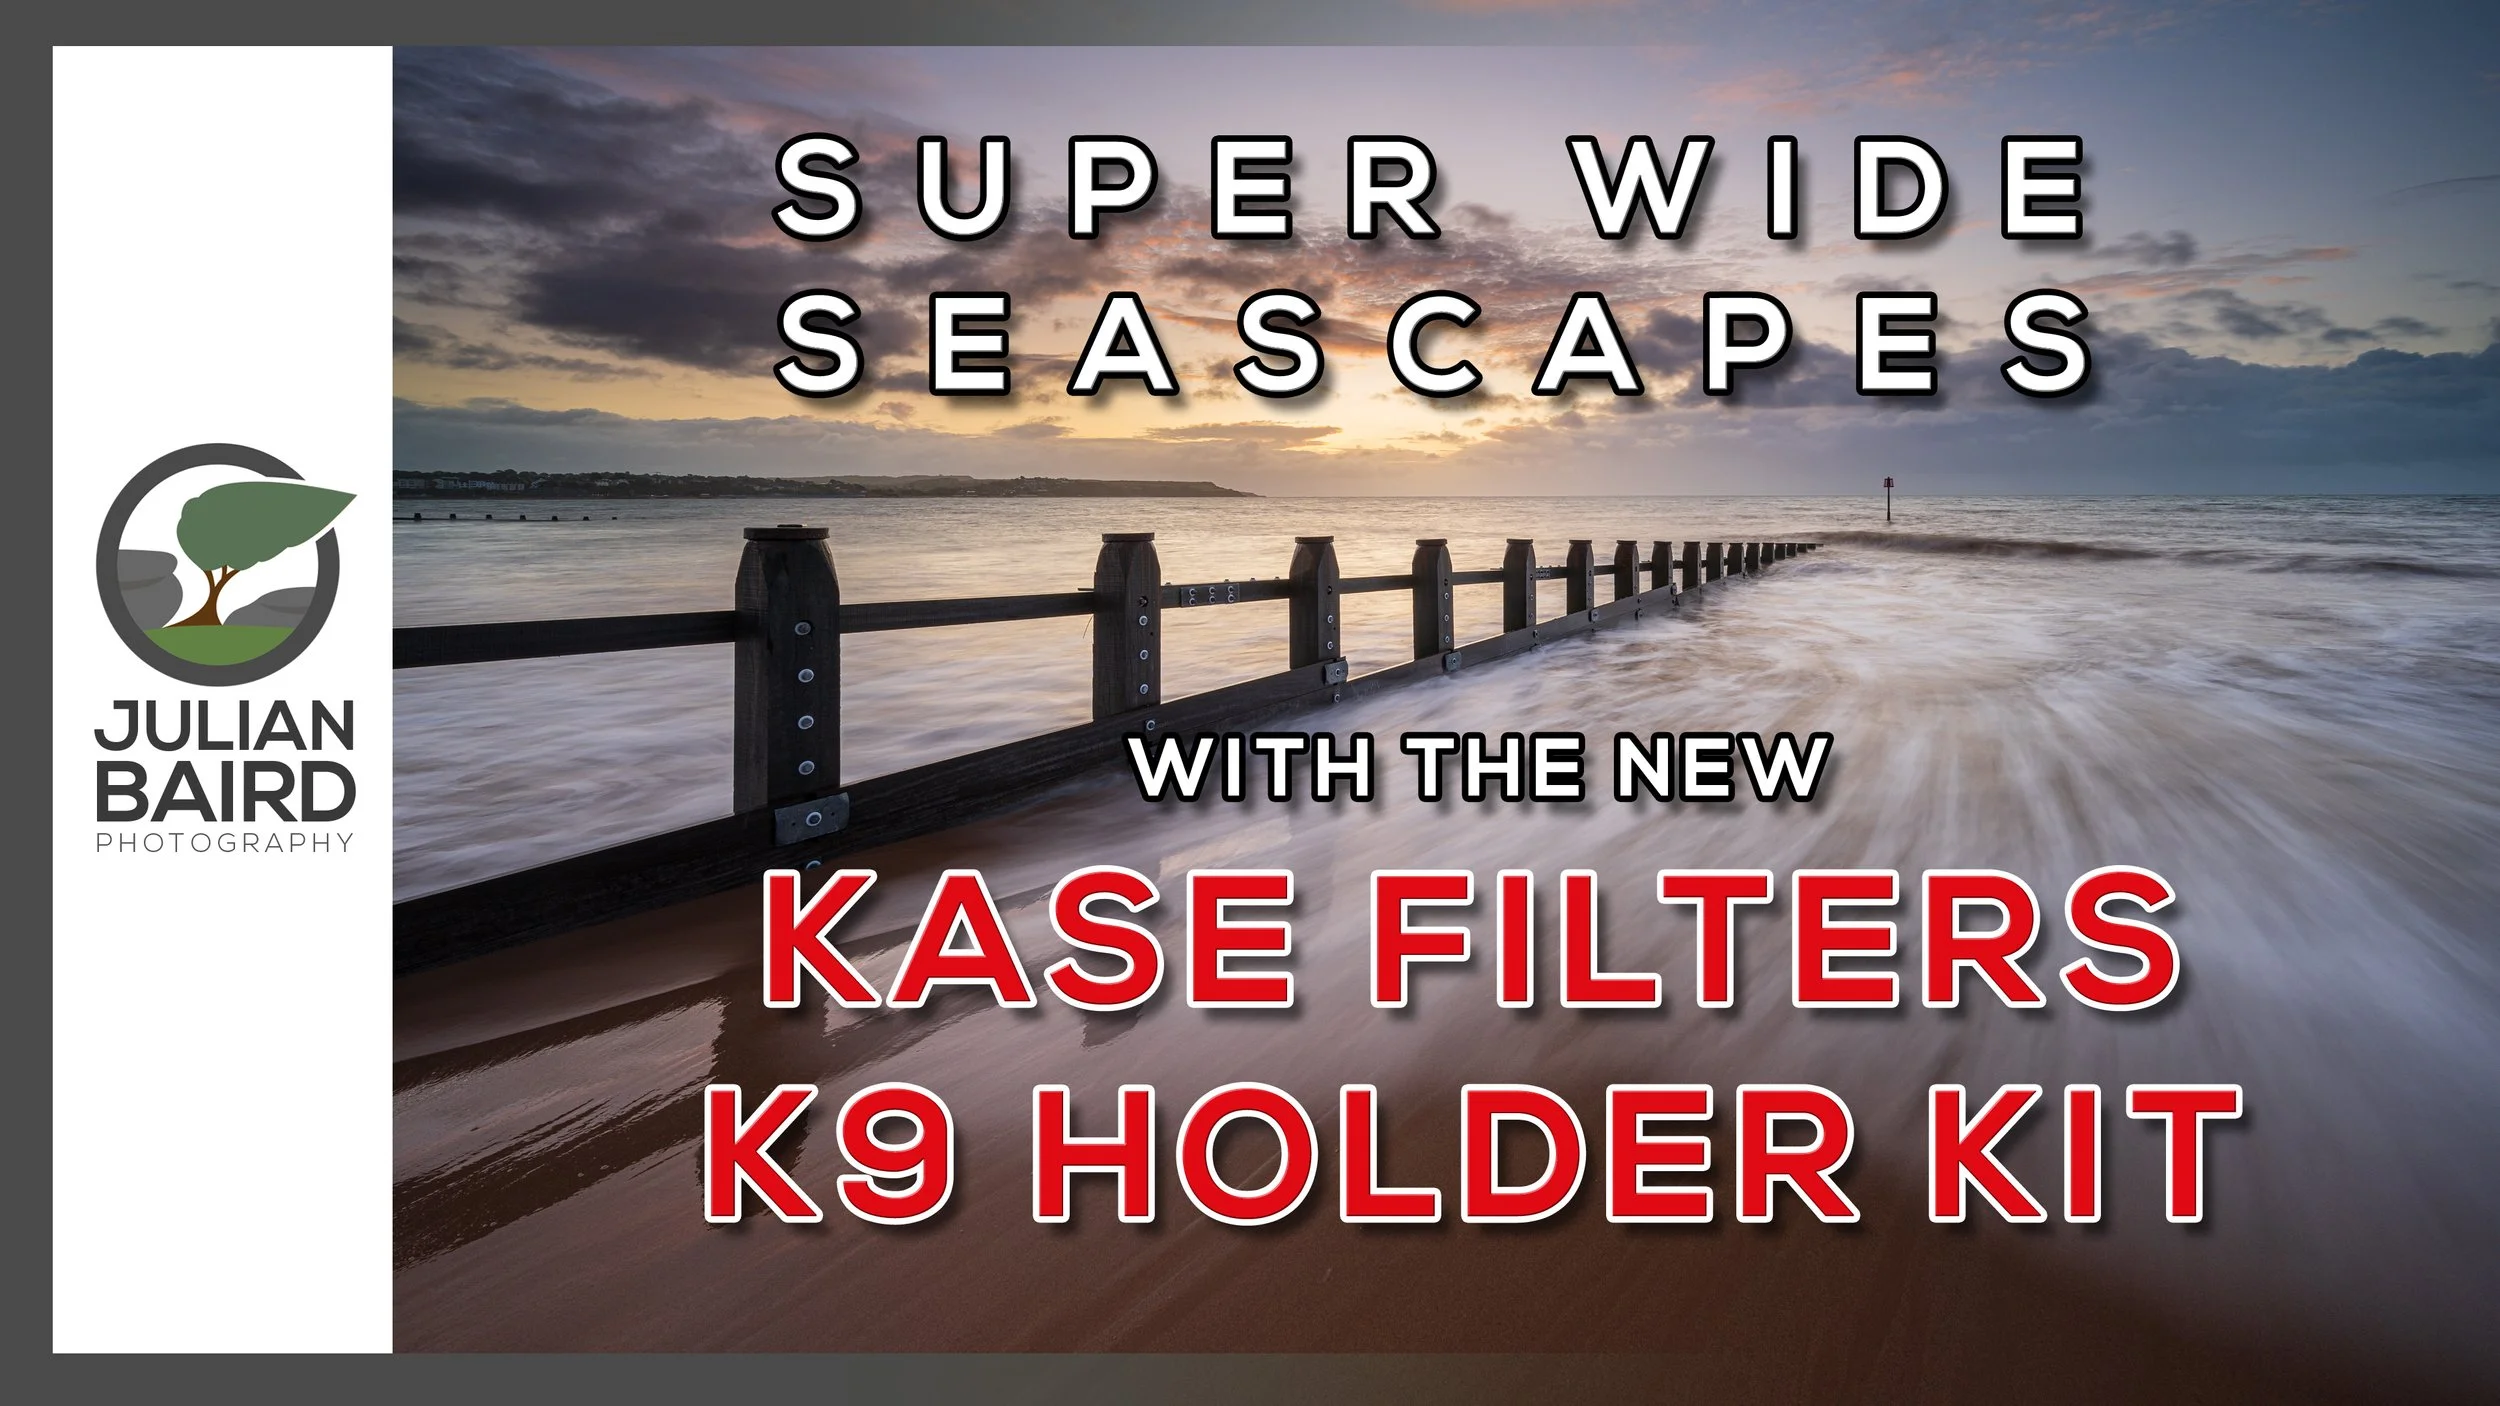
Super Wide Seascapes with the Kase Filters K9
In the blog this week I head out to one of my favourite coastal locations with the new Kase K9 filter holder and polariser to capture some super wide seascapes.
Switching to the Kase Filter System
Back in July I shared with you my thoughts on the Kase Filter system. I had made the switch from Lee Filters to Kase Filters back in late 2018, but I wanted to give them a proper test before I told you what I thought about them. If want to see that video and see the images of Boscastle harbour that I captured that beautiful summers evening then check out this blog post here.
Going from Kase K8 to the Kase K9 Filter Holder
As I said in that video, I was very happy with my Kase filter system including the K8 filter holder and slim polariser. I know nothing is perfect but I honestly didn't think there was room for improvement with the K8. That was all true until I picked up a Nikon Z7 with the Nikkor 14-30 mm f/4. With my previous wide angle lens, the Nikkor 16-35 mm f/4, you could happily shoot at 16 mm with the K8 and polariser with no vignetting. However, at 14 mm on the Nikkor 14-30 mm with the K8 and polariser, you could get a little bit of vignetting (the same applies for the Sony GM 16-35 mm.
So when the team at Kase Filters UK told me about the improvements they had made with the K9 and asked if I'd be interested in trying it out I jumped at the chance. I was keen to put this new K9 filter holder and polariser to the test but I needed a suitable location. Where could I shoot super wide angle images that need a polariser? Dawlish Warren beach of course!
Super Wide Seascapes
The removal of vignetting at 14 mm isn't the only improvement to the K9, there are a number of other minor, but very welcome improvements as well. If you want to know what they are, or if you should upgrade to the K9, then check out the video below:
When I got my Nikkor 14-30 mm f/4 lens I didn't think I'd notice that extra 2 mm or use it that often, but as it turns out I really appreciate it. Not only does it give me more creative options in certain scenarios, but the image quality and sharpness, particularly around the edges seems to be much improved over my trusty old 16-35 mm f/4. It's also good to know that I've also got a filter system that can make the most of those super wide angles and help me create images like this:
Dawlish Warren Sunrise #1, Devon - Nikon Z7 with Nikkor Z 14-30 mm f/4 at 14 mm, f/11, 1.6 sec at ISO 64, Kase Filters K9 holder, CPL, and ND grad.
Dawlish Warren Sunrise #2, Devon - Nikon Z7 with Nikkor Z 14-30 mm f/4 at 14 mm, f/13, 1 sec at ISO 64, Kase Filters K9 holder, CPL, and ND grad.
I hope enjoyed this quick look at the K9 and the images I captured that morning on Dawlish Warren. If you've got any questions about the Kase Filters system, the K9 or the images I captured let me know in the comments below.
A Quick Word on Moving to the Kase System

Since moving to the Kase Filters system a number of regular readers of the blog and viewers of my YouTube channel have asked about how easy it is to move from another filter system to Kase. Well, the good news is that if you are coming from another 100mm based system such as the Lee100 Filter System, most of your existing ND and ND grads should work just fine in the K9 or K8 holder.
The Lee Filters range of Stoppers, which have foam on the inner edge, need to be slotted in with the foam facing outwards (as shown in the image).
Kase circular polarisers (CPLs) are designed specifically for each of their filter holders so you probably won’t be able to use a CPL from another manufacturer. The good news is that the K8 and K9 filter holder kits come with the correct CPL for that holder.
I appreciate that changing filter systems can be costly and the need to gradually transition is an important one so I hope this information is useful for you. I would of course recommend you plan to replace your ND and ND grads with Kase equivalents as Kase filters have some useful benefits (which you can hear about in the video below).

Return to Holne Bridge
This week I return to Holne Bridge on Dartmoor to try out a new camera and to give my father-in-law a helping hand with his photography.
Almost Autumn on Dartmoor
Out of all the seasons to photograph I find autumn the most difficult. Despite the autumnal season lasting a few months, the colours are really only at their best for a few weeks. If there are a few windy days this can shorten that period even more. The result of this really short period is that I sometimes miss the best of autumn all together. Last year was one of the few years that I actually made it out when the colours were nearly at their peak. I was lucky enough to capture images from Fingle Bridge and Holne Bridge.
Encouraged by what I captured last year I was really keen to get out again this autumn. Though my primary plan was to head out when the colours were at their best, I thought it would be useful to also head out early on in the season as well. I wanted to do this for a number of reasons. Firstly, I promised to take my father-in-law out for a shoot as he was going on a Dawn2Dusk Photography workshop and wanted to refresh his skills before going. I also wanted to refresh my knowledge of Holne Bridge, which I think is a great location for shooting autumnal landscapes.
The final reason was I wanted to try out the Panasonic Lumix S1R. This camera was on loan to me and I was keen to familiarise myself with it before putting it to use on the project I had planned for it. Fortunately for me I was already used to the handling and interface thanks to my use of the Panasonic Lumix G80 (which is my primary vlogging camera). However, the S1R has a much richer set of features and configuration options compared to my G80 so there was still plenty to familiarise myself with.
Two Mirrorless Cameras
Even though I had the S1R with me, I also decided to take along my Nikon Z7. There wasn’t any special reason for this other than I had a 24-105mm for the S1R and a 14-30 mm for the Nikon Z7 and I wanted to cover a wide range of focal lengths. I’m not planning on reviewing or comparing the two cameras (that’s not really my thing) but if you do want to see how the photos compare I have included a couple of shots from each camera for you to have a look at.


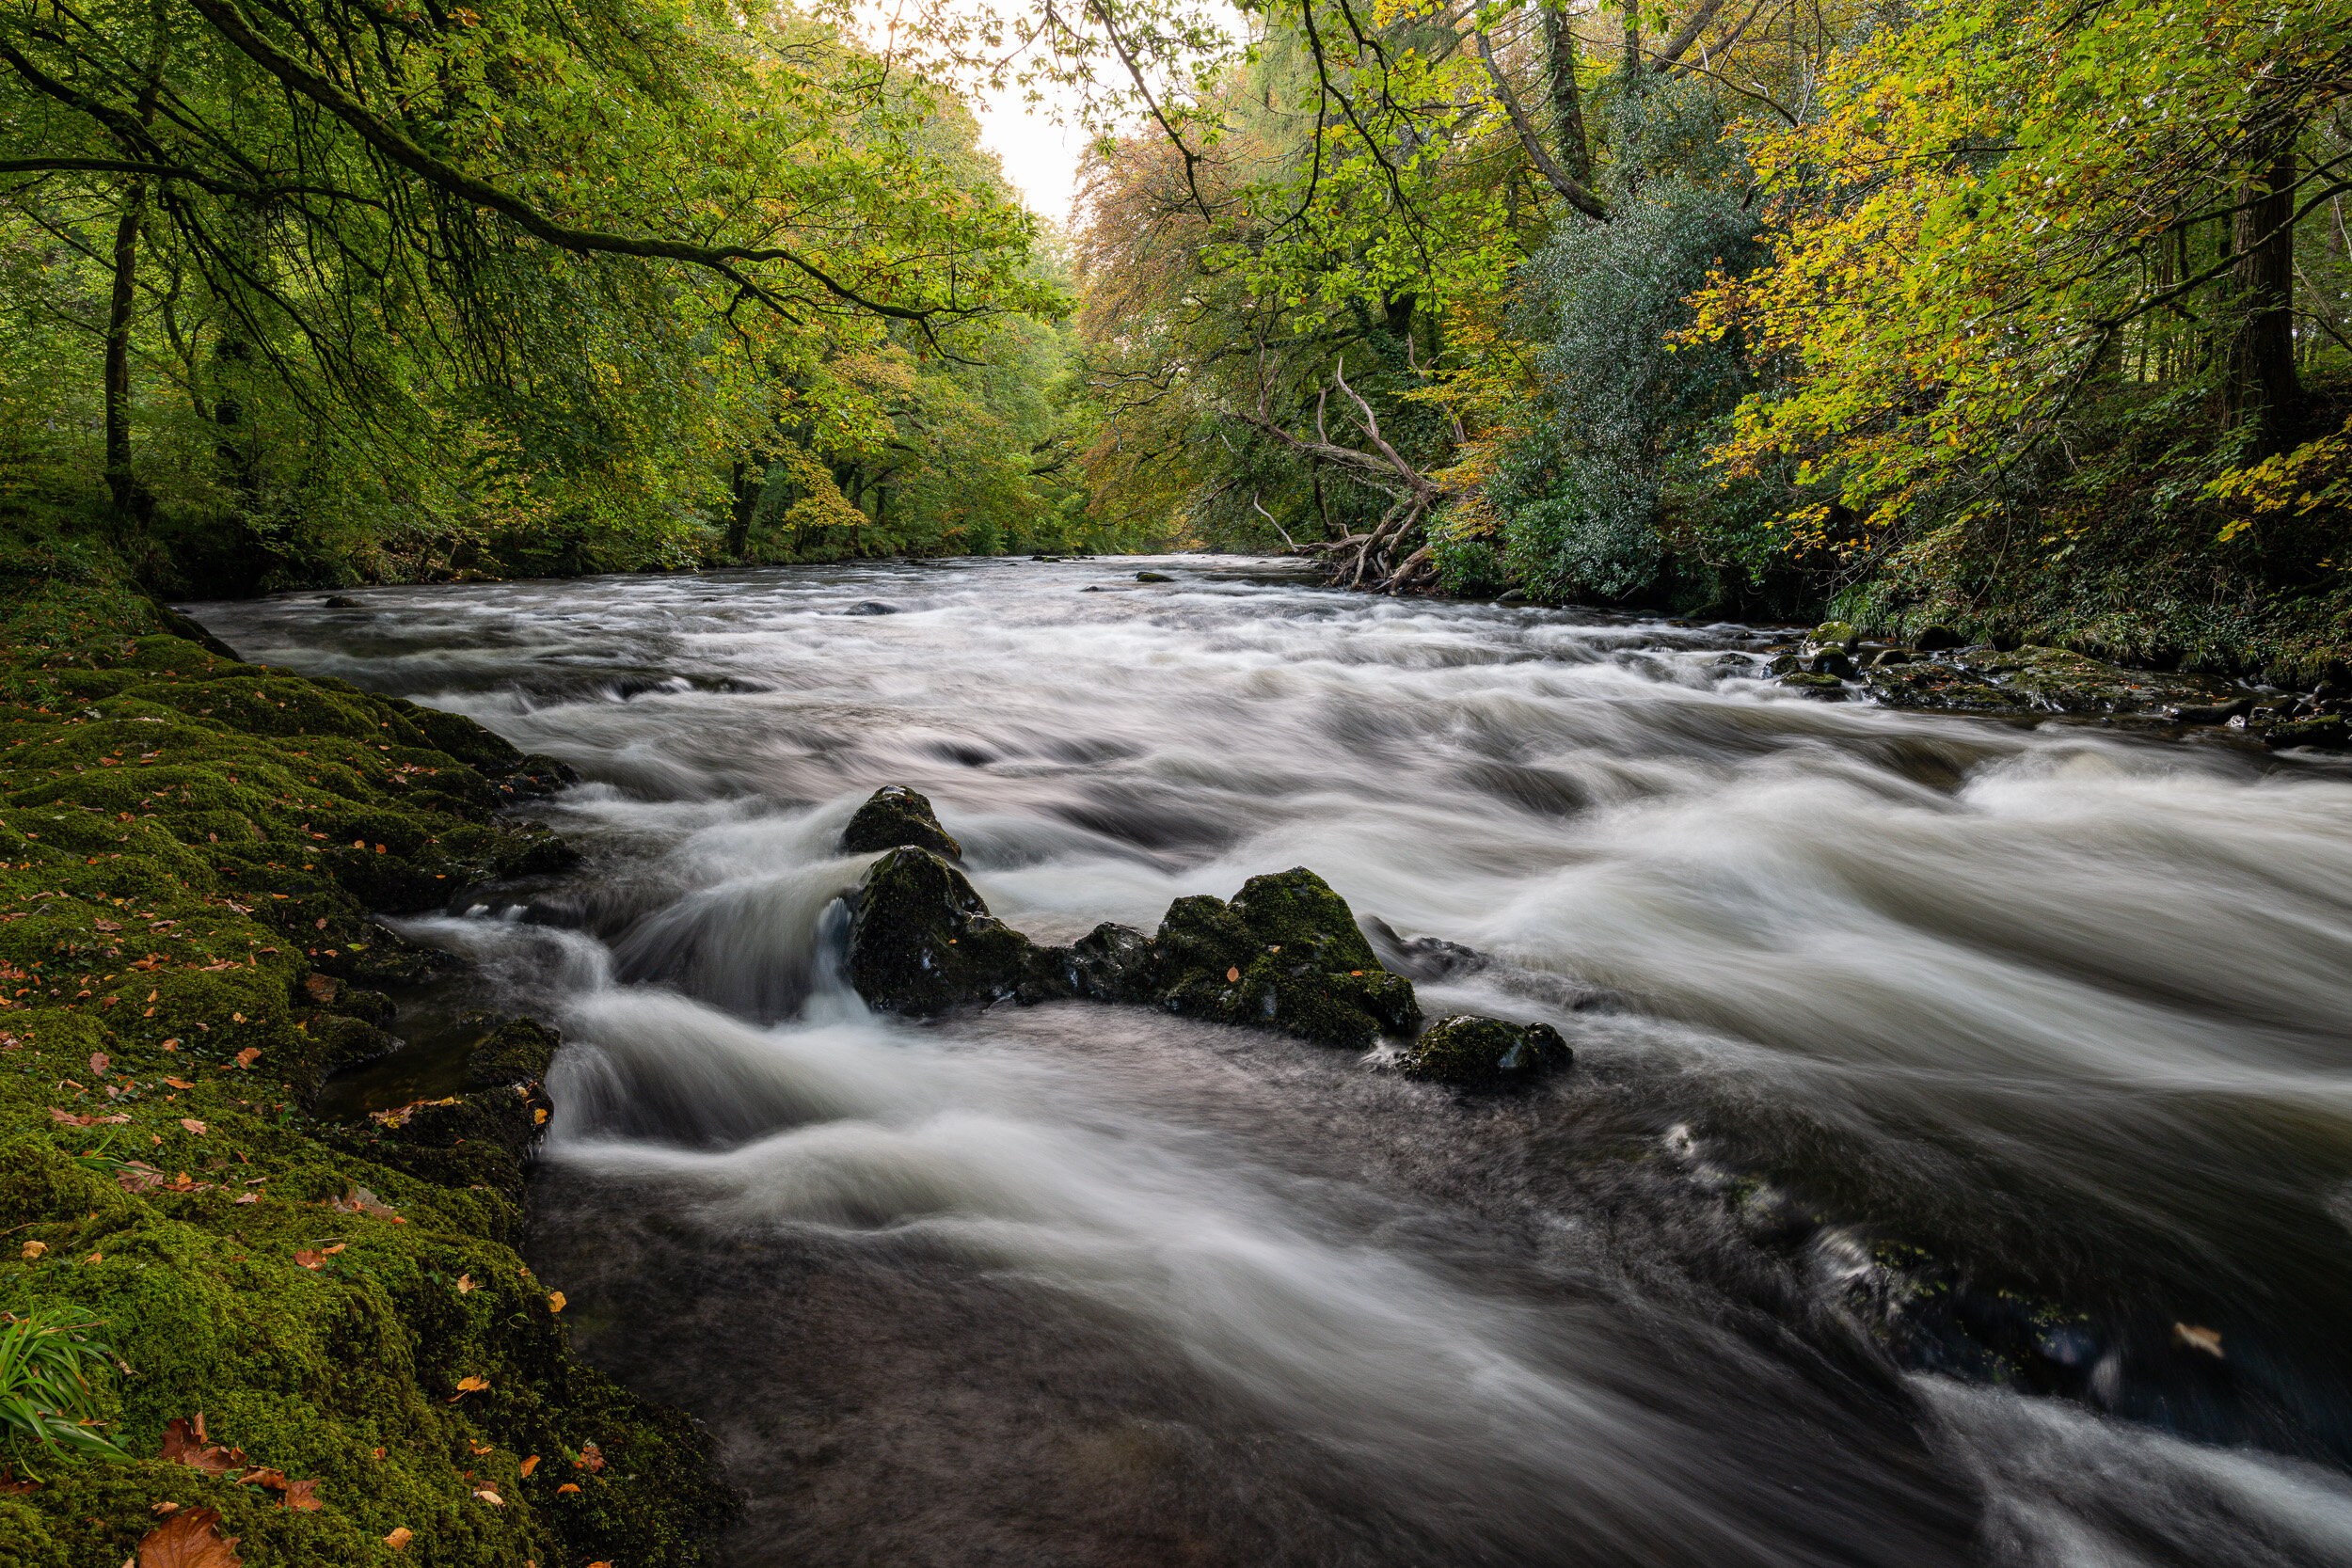
From my perspective the image quality from both cameras was superb and the only differences in the actual output are as a result of post-processing and focal length.
You’ll be able to see what I got up to with the S1R in a few weeks time so stay tuned!
Vibrant Colours
Moving away from gear and back to photography, even though I was a little early for peak autumnal colours the colours I did find were wonderful. There were splashes of yellow from the leaves but there was still a lot of green about which looked wonderfully vibrant.
Holne Bridge #5, Dartmoor, Devon - Nikon Z7, Nikkor Z 14-30mm f/4 at 14 mm, f/11, 2 seconds at ISO 400. Kase Filters K9 filter holder and CPL.
Despite the high water levels and the low light levels (we arrived a little to close to sunset), we both had a great time photographing this stunning Dartmoor location. I familiarised myself with the S1R and Holne Bridge, and more importantly, my father-in-law got himself into the swing of taking photographs again. Considering we were there for probably less than an hour we both felt it was a productive session.
Do you have plans for some autumnal photography? What locations do you like to shoot in the autumn? Let me know in the comments below.

The Worst Time to Try Woodland Photography
In the blog this week I head out to try my hand at woodland photography but I wasn't exactly prepared for success.
Too Tired
I've always considered myself to be a bit of a morning person. I enjoy getting up early, before it's dark, and heading out for a spot of landscape photography. I like the excitement of arriving at a location and not knowing exactly what is going to happen. There is always that sense of anticipation as you wait for your viewpoint to be filled with the light of a new day.
As I looked at the weather forecast I already knew that great morning light was out of the question so I decided that it was time to try something a bit different. For a long while now I've been wanting to try my hand at woodland photography. I've been very much inspired by the work of photographers such as Simon Baxter. Given the weather forecast, I thought this would be a good time to try my hand at some woodland photography and scope out a new location.
For reasons I can't remember I really didn't sleep well that night. I never sleep perfectly if I have to get up early, but this sleep was particularly unsettled. Normally I don't exactly wake up with a skip in my step but waking up that morning I knew I was tired. Really tired. Any sensible person would have gone back to bed but I was determined not to waste this opportunity so I jumped in the car and headed up to Dartmoor.
Too Dark
For a dawn shoot, I like to arrive around an hour before sunrise so I can get myself set up, pick out some compositions and get some of the pre-sunrise light that is often more attractive than sunrise itself. Arriving at my location thought I realised that it was too dark to go exploring and looking for compositions in a field of outdoor photography I had no real experience of. I decided that I'd wait for it to get a little lighter before heading out. I still felt incredibly tired and I ended up having a few power naps in the car.
As it got lighter I headed out to do a little exploring but I knew deep down I was still feeling tired and not very creative. However, I was here and I was going to give it a try. Try I did, but it was hard. Even if I wasn't feeling tired, trying woodland photography was going to be hard. Even with the light I did have, I was clearly here too early, especially as it was very overcast.
I wondered about looking for compositions but just got increasingly frustrated. I tried to visual some of the woodland photographs I had seen and the emotions they had invoked, but I just couldn't get myself started. I would have an idea, shoot it and then when I looked on the back of the screen I felt disappointed.
Dartmoor Woodland #1, Devon - Panasonic Lumix S1R, Lumix S 24-105/F4 at 47 mm, f/8, 0.5 seconds at ISO 100.
Too Short of Time
The other problem I had was time. I had to be home by a specific time so I was also rushing my photography. I wasn't taking the time to really have a proper look around the location and pick out compositions. This really wasn't working for me. The new location, new type of photography, flat light, being tired, and lacking creativity don't add up to a good photographic experience. It really was the worst time to try woodland photography.
Dartmoor Woodland #2, Devon - Panasonic Lumix S1R, Lumix S 24-105/F4 at 105 mm, f/8, 0.5 seconds at ISO 100.
As I headed back up the hill towards the car I looked back on the area I had been exploring. While I had been looking for simple compositions of individual tress and I hadn't paid much attention to wider woodland that stretched out in front of me. In an effort to salvage something of the morning I got my camera out and took a photograph of something that was a little more familiar to me.
Dartmoor Woodland #3, Devon - Panasonic Lumix S1R, Lumix S 24-105/F4 at 105 mm, f/8, 1/6th second at ISO 100.
It wasn’t my greatest morning of photography that was for sure. Has this put me of woodland photography? Of course not. Maybe next time I'll wait for better light and get a good nights sleep.

Dawlish Warren - Three in a Row
Is there any benefit to going to the same location three times in a row? In the blog this week I find out.
Let me start off by apologising. I know this is now the third blog post in a row to feature Dawlish Warren but because of some not very interesting reasons, it's the only place I've managed to get out to photograph recently. I also have a special blog post from Dawlish Warren to share with you in a couple of weeks time as well! However, I will be mixing things up over the next few weeks. I've got one more blog post on a local location before I head to Scotland for a week of uninterrupted photography, so expect plenty of interesting blog posts, photos and videos from that trip!
After last weeks blog post from Dawlish Warren where I talked about becoming complacent with my compositions, I was determined to try a little harder this time out. I wasn't sure what to make of the weather forecast. One weather forecast was predicting dry conditions and high clouds, while another was saying overcast and showers Regardless of the weather I thought this was going to be my only opportunity to get out with the camera this week so I decided to go for it anyway.
I arrived at Dawlish Warren a little earlier than normal so I sat in my car and enjoyed the cup of coffee that I had bought from the petrol station on the way there. You simply can't beat the feeling of that first cup of coffee in the morning, so as I walked towards the beach I already had a bit of a skip in my step. As I walked along the beach and breathed in the sea air I decided that this was indeed a fantastic place to watch the start of a new day.
Caffeine highs aside the weather was actually a mix of the two forecasts. There were some great looking patches of sky and some big rain clouds kicking about. However, as is often the way, there was a big bank of thick cloud on the horizon where the sun was going to rise. No vibrant morning light for me. Though I knew I probably wasn't going to get any amazing pictures, I thought I would use the time constructively and work on some compositions. This is all good practice. I'd rather work out some new compositions during average light rather than when the conditions are amazing. Better to practice when there is less pressure.
So was this third consecutive trip the most productive? I'm not sure, so I'd be interested to hear your thoughts. Here is the image from this week, plus the other two from the previous weeks.


I personally don't have a favourite. They all have different qualities and minor issues. For me at least, it's only by looking at them all together do they deliver in a completely different way. While no one image is a stand out image, by shooting the same location in 3 slightly different ways under 3 slightly different weather conditions I have increased my working knowledge of this location. I can see from the photographs which style of image works for a certain combination of gryone and weather. This means I can be more effective and efficient for future visits. I can use my knowledge of the location to create a composition that is suited to whichever groyne I'm shooting and the weather. Hopefully, this will result in me capturing better images.
I said at the start of this blog post that I wanted to apologise for the 3rd Dawlish Warren blog post in a row, but by writing this very blog post I've gained a new perspective and that’s something that I didn't expect.
I'll see you next week when I promise you that the blog post won't be about Dawlish Warren.

Get Your Camera Out!
With sunrises now being at a much more sociable time of the morning I decided to get myself back into the swing of early morning rises and head to my favourite local beach.
Summer Sunrises
I like to think I don't have much of a problem getting up early in the morning so I can capture sunrise images. During the summer months the shock of a 3 am alarm call is enough to shake the resolve of even the hardest landscape photographer. While I can and have got up at this time in the morning it often means a fairly difficult rest of the day.
The difficult part is when I return from the shoot. It would be lovely if I could just come home, have some breakfast and then have a nice little nap. For a couple of hours. In reality though I have to plough through the rest of the day as if I had just got up at 7 am. It's hard to function with little sleep and still behave like a normal human being. It is for those reasons that I will only get up for a 5 am sunrise if the weather is promising to be epic or I am meeting someone.
Winter Sunrises
As the nights start to draw in it's getting harder for me to get out to shoot sunsets, so as I sat at my computer the other day planning out my photographic week it suddenly dawned on me (excuse the pun), that sunrises are now at a much more sociable hour! With a 7 am sunrise I don't have to set an alarm until 5 am, maybe even 5:30 depending on the location.
To get myself back into the swing of early morning rises I decided that I would make life easy for myself and go somewhere I know and that is local. If you've been reading my blog for a while you'll know exactly the location I'm talking about. Yep, that's right, Dawlish Warren. I've created many videos and blog posts from this location. There are too many to list here, so if you want to see what I captured on previous trips just use the search box at the top of The Exposed Blog page and search for Dawlish Warren.
Dawlish Warren - 2015. Nikon D750, Nikkor 16-35 mm f/4 at 35 mm, f/13, 72 secs at ISO 100.
Get Your Camera Out!!
I was actually rather excited to be heading out for a dawn shoot at Dawlish Warren. Not only I had I not been on a sunrise shoot for a while but I also hadn't been to Dawlish Warren for some time. It was hard to tell exactly what the sunrise would be like from the weather forecast but I wasn't going to let that put me off.
I arrived at Dawlish Warren about 6 am, roughly an hour before sunrise. As I strolled along the beach I took in a big lung full of fresh sea air and decided that there was no place better to start the day. I was the only person there and it was wonderful.
When shooting the beach at Dawlish Warren I normally like to shoot past groyne 9. Dogs aren't allowed past groyne 9 at any time of year so there is no risk of jumping dogs and unwanted footprints in the pristine sand. As I got to groyne 9 I could see a heavy bank of cloud on the horizon where the sun would rise from. This could be a problem but I decided not to let it get me down and so I sat down on one of the sand dunes to see how things might pan out.
As I watched the waves roll in that pesky bank of cloud wasn't shifting. The sky above Dawlish Warren was looking good with plenty of breaks in the cloud which, if the sun could break the horizon, would light up nicely. The time for sunrise approached, arrived, and went, but no sign of the sun in the sky.
Sitting there I did think to myself that I might not even bother getting the camera out. It's not as if I'd never been here, or would never return, or that I didn't have any good shots from this location. Experience has taught me though that it is always worth getting the camera out! So I got my camera out and I have to say that I'm glad I did. As the sun finally broke above the bank of cloud the sky started to get interesting. Not amazing, but interesting enough for me to want to take some photographs. I soon found my creative juices flowing and I got busy with the job of creating photographs.
Dawn at Dawlish Warren, Devon - Nikon Z7 with Nikkor Z 14-30 mm f/4 at 14 mm, f/13, 99 sec at ISO 64, Kase Filters K8 holder, CPL, and 6 stop ND.
Do you shoot sunrises all year round or wait like me until the autumn and winter months? What is your favourite sunrise location? Do you always get your camera out or have you gone home having taken no pictures at all? Let me know in the comments below.

Burnham-on-Sea
This week I head to Burnhan-on-Sea to shoot the lighthouse. I's a location that I've been meaning to photograph for a long time!
I’ll Get There One Day
I have over 400 pins in my custom Google Map but most of them I have never visited. Some of them are in far-flung locations like Iceland and the Faroe Islands, while some of them are just up the road. One such location is Burnham-on-Sea but despite its close proximity to home I've never really photographed it before. I did go a few years ago to check out the location to see if it had potential, but I've never made it back.
From that initial visit I knew the type of conditions I wanted to shoot my image in. Sunrise, high (outgoing) tide, and broken cloud. The trouble with setting yourself specific conditions like that is that they rarely all come together at the same time. When you have limited opportunities to be out with the camera like me, then having very specific conditions really does limit you. So for well over a year I never actually made it back to Burnham-on-Sea.
Fortunately for me fellow photographer Andi Campbell-Jones is a bit of an expert on shooting the lighthouse at Burnham-on-Sea, so when he asked me if I wanted to join him one evening I couldn't say no. If it was going to be good enough for Andi, it would be good enough for me!
It was good to finally get out with Andi to do a spot of landscape photography. I'd got to know Andi through my use of Kase Filters and even though we'd managed to meet each other in person a couple of times we'd never quite managed to get out with our cameras. This is despite both of us living in the same town!
I Made It!
Arriving at Burnham-on-Sea the conditions were looking very favourable, particularly the tide height. I always knew a high tide would work best, but as Andi informed me it needed to be of a certain height before it would surround the feet of the lighthouse. This was very useful information for future shoots so as soon as I got home I added it as a note (along with some other handy hints) in the pin for Burnham-on-Sea location in my custom Google Map.
Burnham-on-Sea Lighthouse #1, Somerset - Nikon Z7, Nikkor Z 14-30 mm at 30 mm, f/13, 106 seconds at ISO 64, Kase Filters K8 filter holder, CPL and 10 stop ND.
With the tide now around the legs of the lighthouse I soon got to work on getting some compositions. This wasn't proving as easy as I first thought it might be. Andi's knowledge of the location was apparent as he seemed to know exactly what he was doing (which was later proved in the images he published. I think the main challenge for me was finding a balanced composition. There was some wonderfully heavy cloud in the sky which when shot at wine angles looked very impressive. However, shooting at the wide angles also revealed the much clearer patch of sky to the left. For me, this left the image feeling a little unbalanced, and this light patch was reflected in the water as well.
Burnham-on-Sea Lighthouse #2, Somerset - Nikon Z7, Nikkor Z 14-30 mm at 14 mm, f/13, 13 seconds at ISO 64, Kase Filters K8 filter holder, CPL and 6 stop ND.
One of the other challenges I had was exposure time. The lighthouse and beach is a scene that suits a long exposure. By smoothing out the sea the scene takes on a different tone reducing the distractions of the waves allowing the viewer to focus on other elements such as the lighthouse itself. I struggled to find an exposure duration that would flatten the water but not add to much blur to the clouds. I don't mind blurring the clouds, but if I do I want to make sure it looks intentional and not as a by-product of another decision I've made. I could have gone with a really long exposure but with the fading light and a lack in confidence of a single composition I didn't want to commit 4 minutes of my limited time.
Burnham-on-Sea Lighthouse #3, Somerset - Nikon Z7, Nikkor Z 24-70 mm at 24 mm, f/11, 2 seconds at ISO 64, Kase Filters K8 filter holder and CPL
While I did get some pleasing images from the shoot, my inexperience of the location was clear. This doesn't trouble me. After all, this is all part of the photographic experience. Going to new locations, trying out new things and learning. I gained a lot of knowledge of this location both from Andi and from actually shooting it! One thing is for sure I will be returning and armed with some local knowledge of my own now I'm sure it won't be long before I'm back.
Burnham-on-Sea Lighthouse #4, Somerset - Nikon Z7, Nikkor Z 14-30 mm at 14 mm, f/11, 30 seconds at ISO 64, Kase Filters K8 filter holder, CPL and 6 stop ND.
Back to Basics at Belstone
Just because I don’t have a Nikon camera at the moment, doesn’t mean I can’t go out and take pictures.
Better Out Than In
For reasons that I will explain in a future blog post/video, I am without a full-frame Nikon camera at the moment. Now, I could use this time to have a break from landscape photography but that’s not really the way I roll. Despite the lack of a D850 I didn’t want to pass up on a perfectly good opportunity to get out and take some pictures. Well, I say perfectly good opportunity but that wasn’t exactly accurate.
Checking the local forecast it was predicting clear skies. Not just a little clear, but totally clear. No clouds. Clear blue skies. Everywhere. Devon, Dorset, Cornwall, and Somerset. When it came to selecting where to go it seemed to make little difference. My instinct told me to head to the coast so I could make the most of the sunset (which had been consistently good over the past few evenings), but with the lack of a “big” camera, I had no way of using any of my filters. At a bare minimum I always want to shoot seascapes with a polariser, but this wasn’t an option. So I decided to head to a location that wasn’t too far away but still had far-reaching views.
There really was only one location to head to and that was Belstone Common on Dartmoor.
Don’t Let Your Camera Hold You Back
I am in the very fortunate position where I have access to a number of different cameras so even without my aforementioned Nikon camera I still had a couple of options to take with me to Belstone. Like most people I have a mobile phone that is capable of taking decent images but I don’t really like that form factor for anything other than taking snapshots. I also still have my old Sony RX100M4 which is a much better option than the phone. However, I decided to take my most recent camera, the Panasonic Lumix G80.
I’ve had the G80 for a little while now but it is almost exclusively used for vlogging. I rarely take any still images with it. The G80 is a more than capable stills camera and even though it might not be in the same league as my D850, there shouldn’t be any reason why I couldn’t put it to good use. The only real challenge for me would be that I wouldn’t be able to use any filters as I didn’t have an adaptor ring for the 12-60mm kit lens. Effectively it was back to basics for me. Just me, a tripod and a camera.
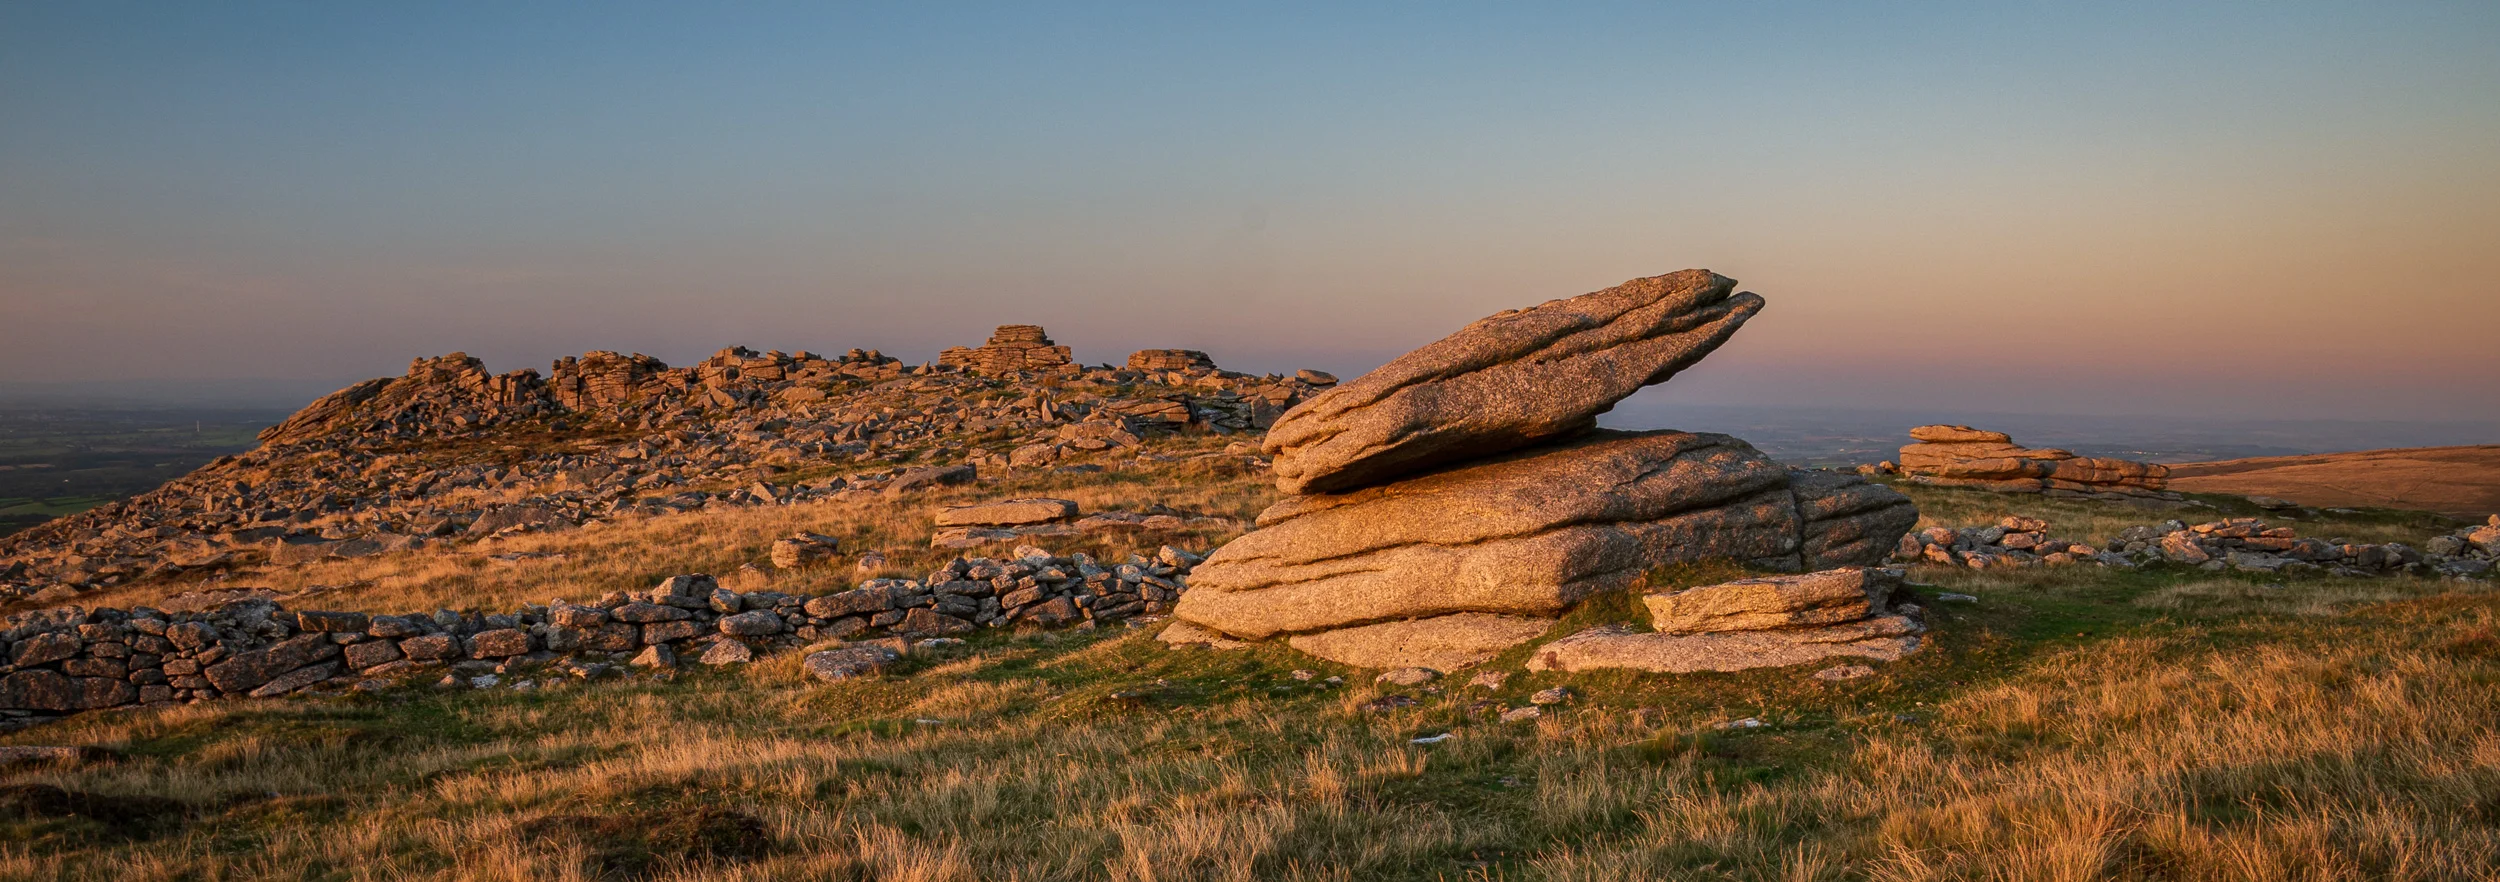
Oke Tor, Belstone Common, Dartmoor, Devon - Panasonic Lumix G80, 12-60 mm lens at 14 mm, f/11, 1/6th second at ISO 200.
I wasn’t going to let my minimal camera setup hold me back, but the weather conditions were a different challenge. Those bright blue skies aren’t my favourite thing to photograph, but as the sunset there was some nice soft golden light which allowed me to capture these images.
Belstone Commoon and Irishman's Wall, Belstone Common, Dartmoor, Devon - Panasonic Lumix G80, 12-60 mm lens at 14 mm, f/11, 1/6th second at ISO 200.
I hope you enjoyed this short blog post. I was reasonably happy with the images I captured. One thing was for sure, the camera wasn’t the limitation. Having access to to a polariser and some grads would have definitely been useful, but they weren’t the limiting factor. I always knew the weather conditions weren’t going to yield amazing results but sometimes just being outside and watching the sunset from Dartmoor is all the reward you need.