

The Nick Livesey Experience
How can you possibly make the experience of walking the mountains of Snowdonia National Park any better? Easy! You engage in the professional services of Mr Nick Livesey.
Discovery
I’ve discovered the work of other photographers in all sorts of ways from books, videos, personal recommendations and even by meeting them in person. However, after a few months, I rarely remember how I discovered them. This of course rarely matters and all that matters is that you do now know about them.
There is one photographer that is different. I still clearly remember watching My Mountain Healing by Nick Livesey and saying to myself this is a guy I need to meet. Rarely has a story of one man’s journey captivated and entertained me so much. With his passion for both the mountains and photography clearly apparent in the video I felt an instant connection with the man who had followed a dream and moved to the mountains.
A Book and an Opportunity
One of the many advantages of having a YouTube channel is that it can open doors for you. Soon after discovering Nick’s work he announced that he was publishing a book called Photographing The Snowdonia Mountains. My first thought was that I wanted to talk about the book in an episode of On My Bookshelf on my YouTube channel. However, I didn’t want to just sit in my office and record something like I normally do. I thought this would be the perfect opportunity to go out on location in Snowdonia and talk about the book there. I then thought to myself how good it would be to do that with the author himself.
So, I boldly sent Nick an email and to my delight, he replied saying he thought it was a great idea! After a little bit of planning and working of schedules, we got a date in the diary and I drove off to Wales to spend the day with My Livesey. It truly was a fantastic day.
Full Time Mountain Guide and Photographer
My time with Nick had left me eager for more adventure in Snowdonia, but as is often the way, life has a habit of getting in the way of the fun stuff. Fast forward to summer 2020 and Nick announces that he is going full time as a photographer and as a mountain guide. This announcement renews my desire to get back to Snowdonia and to engage Nick’s professional services as a guide.
With most of the world still suffering from the effects of the global pandemic organising such a trip wasn’t without its challenges though. We were both determined to make it work and we booked in a provisional date for a day in the mountains in October.
As October approached and I got more excited about my mini photography and walking holiday, parts of the UK started going into local lockdown and Wales looked like it might close.
One of the reasons I hire an expert like Nick is for the breadth of their local knowledge. When the Welsh government announced the Conwy (the part of Snowdonia where Nick lives) was in local lockdown I was sure that Nick would have a plan B. Worried that I wouldn’t be able to visit Snowdonia I dropped Nick a message and he quickly reassured me that he had plenty of routes he could guide me on in Gwynedd (which wasn’t in local lockdown but still part of Snowdonia).
That was all I needed to hear, and I jumped in the car and made my way up into north Wales, passing through Conwy (not stopping) and finally on to the beautiful village of Beddgelert in Gwynedd. I couldn’t wait to start my Snowdonia adventure the next day.
Snowdonia and The Nick Livesey Experience
The following day I met up with Nick and we drove (in separate cars) to Rhyd Ddu where we would start our ascent of Yr Wyddfa (Snowdon). Walking with Nick was like taking a stroll with an old mate. We’d barely got out of the car and we were chatting away like two mates who hadn’t seen each other in while. The time quickly passed as we ascended the Rhyd Ddy path and onto the Llechog ridge.
We were having so a good craic that we almost forget to get our cameras out to photograph the view. While I am certainly the first to bang on about the magical light of golden hour, I couldn’t help but be captivated by the rugged ridgeline that lay behind us. Despite the grey skies, I thought it was a fantastic view.
Llechog Ridge, Snowdon, Wales - Nikon Z7, Nikkor 14-30 f/4 at 17mm, f/11, 1/8th sec at ISO 64.
Our ascent carried on up the Llechog ridge and on towards the summit. As you might expect on any ascent to the summit of Snowdon there were a fair few walkers about. There was even some talk of queues forming to “touch” the summit. I’ve ascended Ben Lomond a number of times, and despite it being a very popular Munro I’ve never had to queue to get the top.
As I took in the view, Nick had started a conversation with a walker on his way down from the summit. At first, I thought they were just talking about the names of various mountain peaks, but it soon occurred to me that they were talking away in Welsh! I’ve always been impressed by how much Nick has not only embraced the area but also how he appreciates the local language and how important it is to the local community. For Nick, the language and culture of Wales are as important as the hills and mountains he enjoys.
Allt Maenderyn Ridge #1, Snowdon, Wales - Nikon Z7, Nikkor 14-30 f/4 at 16mm, f/11, 1/4th sec at ISO 64.
Though the final ascent involved a walk along a narrow ridge it was nothing to get worried about and we were soon on the summit. A few people were hanging around the summit visitors centre but there wasn’t a queue to get to the cairn at the top. I could have walked those last few meters of ascent to touch the cairn but to be honest, the walk for me wasn’t about getting to the very top to get a cheesy Instagram shot. I was quite happy to have a break, a sandwich and chat away to Nick. At this point, I would normally share a photograph of the magnificent view from the top, but given we were in complete cloud it would have been a very boring shot!
View from Allt Maenderyn Ridge, Snowdon, Wales - Nikon Z7, Nikkor 24-200mm f/4-6.3 at 34mm, f/8, 1/15th sec at ISO 64.
One of the benefits of having a knowledgeable and experienced guide with you is that you can change your plans at short notice or take a less well-trodden route. For our decent Nick suggested we descend via the Allt Maenderyn ridge instead of retracing our steps. We were soon below the cloud line again and as I took in the view, I had a moment that can only be described as complete relaxation. It wasn’t a big vista view, and it wasn’t a view that had me reaching for my camera but there is more to walking in the mountains that just have a great place to take photographs. It’s hard to describe how wonderful it is to stand on a high ridgeline looking far down into the valley below, but it is an experience I recommend to everyone.
Allt Maenderyn Ridge #2, Snowdon, Wales - Nikon Z7, Nikkor 24-200mm f/4-6.3 at 28mm, f/11, 1/6th sec at ISO 64.
We descended a little further down Allt Maenderyn ridge until we came to a small plateau which offered a little shelter from the westerly winds. As we enjoyed our break and a few refreshments, Nick spotted that the cloud cover was changing rapidly, and spots of light were racing across the ground. We needed no further encouragement and got our cameras out.
The light would come and then go again. As is the way in the mountains, the conditions were changing rapidly. One minute were were chatting away and the next we were shouting “look, over there” and running with our cameras to get a shot.
Nick had originally planned to descend further and then ascend Yr Aran but Nick suggested that staying where we were would likely yield the best results if we wanted to carry on shooting. Well, I wasn’t about to start disagreeing with a man of Nick’s experience!
Mynydd Mawr from Allt Maenderyn Ridge, Snowdon, Wales - Nikon Z7, Nikkor 24-200mm f/4-6.3 at 24mm, f/8, 1/4th sec at ISO 64.
Of course, he was completely right. Yr Aran remained in the cloud for the rest of the day and we enjoyed watching the ever-changing conditions of the mountains around us. Despite the cold, I was having a fantastic time, but so was Nick. As I had witnessed on my first meet up you can just tell by looking a Nick that he is completely at one with his surroundings. He is a man that absolutely loves what he does and by being in his company you can’t help but feel a just a little bit of what he feels.
As the sun dipped behind a distant mountain, we decided to start heading back to the car park. Soon our head torches were on and it got dark. It’s times like this that I was glad to have engaged the services of a mountain guide. If I’d been on my own, I would have had to have left that spot a lot earlier to get back to the car safely. With Nick there, all I had to do was follow the head torch in front and I would be back at the car!
Returning to the car, I reflected on what a cracking day I had. The day was always about more than just photography. It was about the walking, the experience of being in Snowdonia and of course the company of local legend Nick Livesey. It was a day not to be forgotten.
If you ever find yourself in Snowdonia National Park and are looking for a local, knowledgeable mountain guide who has a real passion for the area or for someone who will help you make the most of your photography (or a bit of both like me), then you won’t do any better than the services of Nick Livesey.
Personally, I can’t wait to go back and catch up with me old mate Nick.

Bite-Size Blog Post #10 - More Sandymouth
Eager to return to Sandymouth to start a photography project I get another difficult lesson on understanding tides.
A Tide Table Is Not Enough
Back in August, I wrote about my experience of not appreciating how high a high tide was at Sandymouth Beach. With most of the beach cut off because of the high tide, I was lucky to get the photographs I did. When I recently decided to return to Sandymouth beach to start a photography project I was keen not to repeat my previous mistakes.
While I captured images of the rocks on that last visit, I was eager to get images of the sandy part of the beach this time. I have shot this part of the beach before and the images I captured of the sand patterns and pools had inspired me to return.
I already knew that to get photographs of the sand it would need to be a low tide. What I hadn’t appreciated was how low it needed to be. If I’d done a simple check of the historical tide data from my last shoot of the sand, I would have noticed how low the tide needed to be.
When I arrived at Sandymouth I was surprised to see that the sandy part of the beach was already covered in water! The low tide I had looked up wasn’t that low for Sandymouth. As the tide was coming in the situation wasn’t going to change in my favour either. I was going to have to switch tactics. I decided that I would instead shoot the rocks that I’d shot previously. However, the tide was a bit far out for that!
So, it was back to square one for me and I had to do a little bit of exploring to see what else I could find. You can see the photographs I did manage to capture below. More important than the photographs was the lesson I learnt.
Tide tables only tell half the story. The tide at beaches like Sandymouth has a huge reach. When they are out, they are miles out and when they are in it can be up to the cliffs. From all my experiences of shooting at Sandymouth I have learnt that I need specific tide heights for specific subjects. Knowing if the tide is going in or out isn’t enough.
Next time I visit, I will pick a time where the tide is going to support my creative vision!
Sandymouth Rock Channels #1, Cornwall - Nikon Z7, Nikkor 14-30mm f/4 at 17mm, f/11, 0.5 seconds at ISO 64, Kase K9 CPL and ND Grad.
Sandymouth Rock Channels #2, Cornwall - Nikon Z7, Nikkor 14-30mm f/4 at 14mm, f/11, 3.0 seconds at ISO 64, Kase K9 CPL and ND Grad.
Sandymouth Rock Channels #3, Cornwall - Nikon Z7, Nikkor 14-30mm f/4 at 17mm, f/9, 1 seconds at ISO 200, Kase K9 CPL and ND Grad.
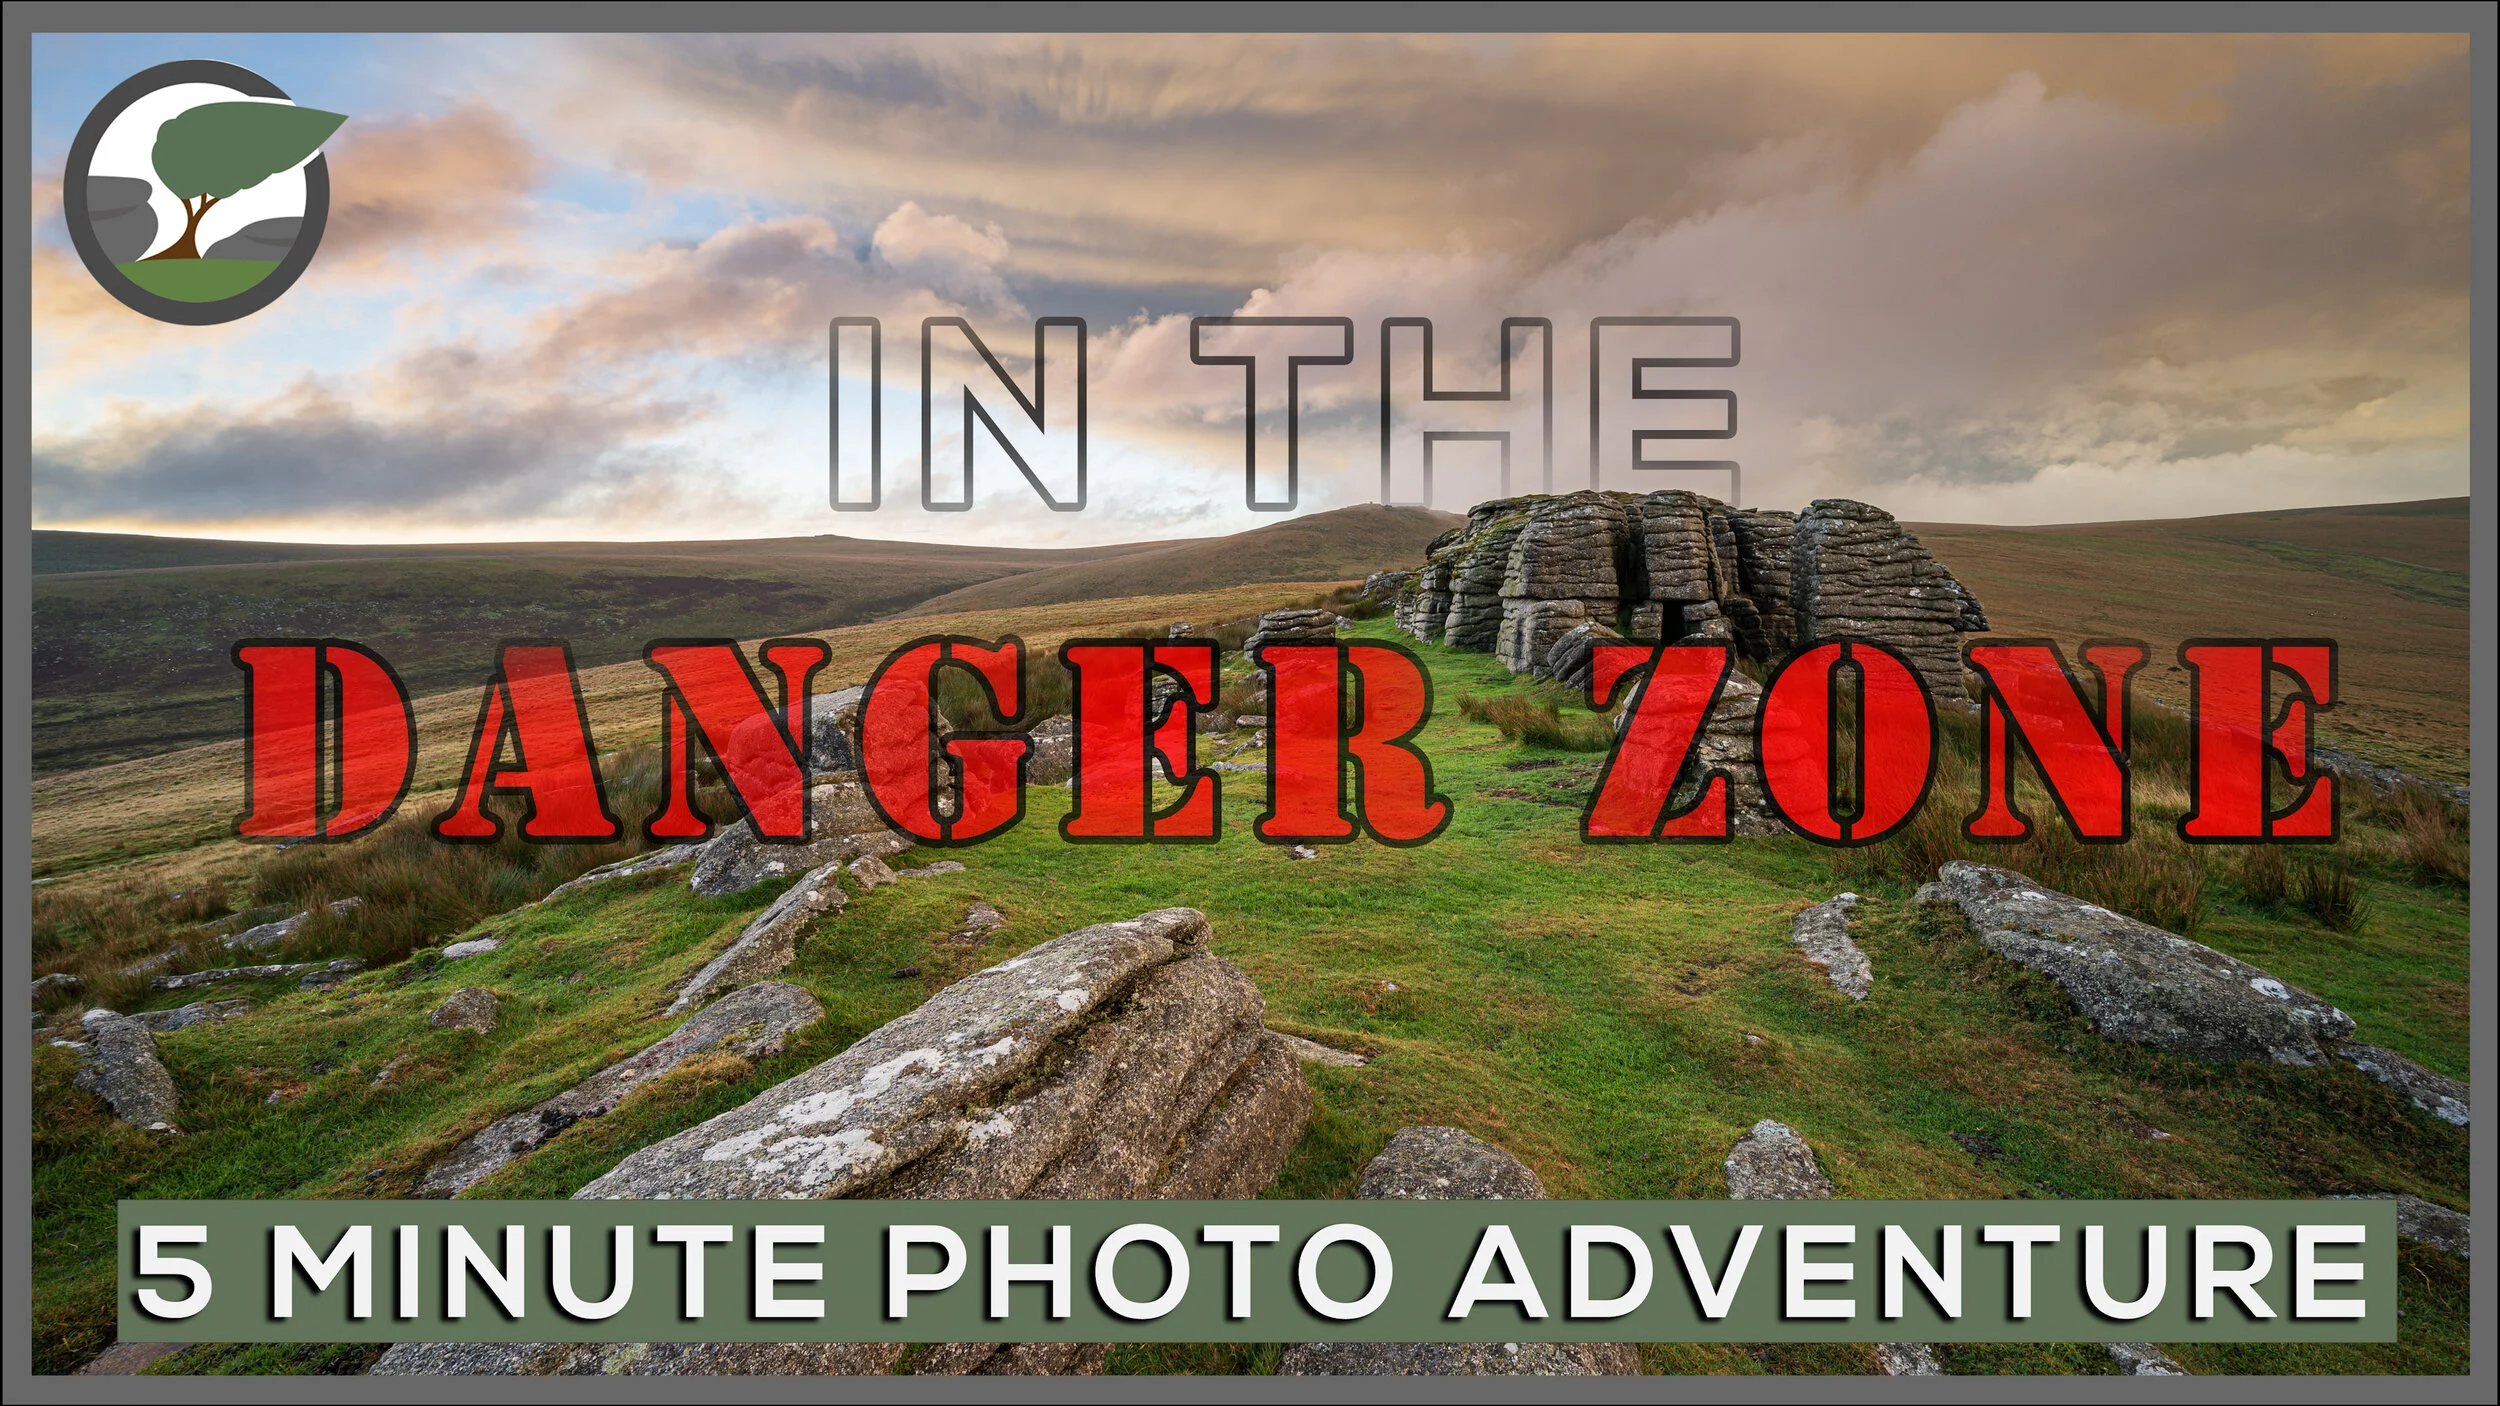
In the Danger Zone
In this 5 Minute Photo Adventure, I head further and deeper into Dartmoor National Park than I've ever been before. I leave civilisation and walk along open moorland for an hour until I reach the Danger Zone! There I find a new location to photograph and I experience some wild Dartmoor weather.
That Looks Interesting
Some days I have a clear plan of where and what I’m going to shoot. I go out with conviction and even though it might not turn out how I had hoped, I know I gave it my best shot. There are also days where I just sit in front of my computer scratching my head on what to do. This indecision is often caused by a weather forecast that doesn’t favour any particular location or scene.
It’s these times that I often look to try and go somewhere new. I’m taking a risk with the weather so I might as well take a risk on a new location. Though I’ve got plenty of locations on my custom Google Map that I haven’t visited, this time I decided to check through my back catalogue of Outdoor Photography magazines instead.
As I browsed my collection of magazines with a cup of coffee, a location called Oke Tor on Dartmoor caught my eye. I looked it up on OS Maps and saw that it was just a little bit further on from one of my favourite locations, Belstone Tor. I also noticed that Oke Tor was just inside the Okehampton military danger zone so I made sure to check if the zone would be inactive before making any further plans. Fortunately, no firing was planned so I made plans to enter the danger zone!
With plans made to visit a new location and with the weather forecast predicting anything from clear blue skies to heavy rain showers I thought it might be an adventure worth filming. While it is always nice to show a polished video with great images, I’ve always said that I wanted to show a realistic side of landscape photography on this blog as well.
While the video below is a bit rough and ready, and the photographs are not my best work, I wanted to share with you the adventure of going somewhere new for the first time, battling the weather and grabbing those early compositions. I hope you enjoy it!
Oke Tor (Dartmoor) Photographs
Oke Tor #1, Dartmoor, Devon - Nikon Z7, Nikkor 14-30mm f/4 at 14mm, f/11, 0.4 sec at ISO 64, Kase Filters K9 CPL and ND Grad.
Oke Tor #2, Dartmoor, Devon - Nikon Z7, Nikkor 14-30mm f/4 at 18mm, f/11, 1/4 sec at ISO 64, Kase Filters K9 CPL and ND Grad.
Oke Tor #3, Dartmoor, Devon - Nikon Z7, Nikkor 14-30mm f/4 at 15mm, f/11, 1/4 sec at ISO 64, Kase Filters K9 CPL and ND Grad.
Oke Tor #4, Dartmoor, Devon - Nikon Z7, Nikkor 14-30mm f/4 at 14mm, f/14, 1/3 sec at ISO 64, Kase Filters K9 CPL and ND Grad.
Oke Tor #5, Dartmoor, Devon - Nikon Z7, Nikkor 14-30mm f/4 at 14mm, f/11, 1/3 sec at ISO 64, Kase Filters K9 CPL and ND Grad.
Oke Tor #6, Dartmoor, Devon - Nikon Z7, Nikkor 14-30mm f/4 at 14mm, f/11, 1/3 sec at ISO 64, Kase Filters K9 CPL and ND Grad.

Bite-Size Blog Post #9 - Combestone Tor
Some locations require you to put in a bit more time than usual before you start to get the most from them. For me, Combestone Tor is one of them.
A Slow Burner
For a long time, I had ignored Combestone Tor. I’m not entirely sure why. Maybe it was because the couple of casual visits that I gave it previously hadn’t been that successful and I wrote it off. However, when I visited Combestone a few months ago I captured some images that I was unexpectedly pleased with. It could have been the weather conditions, the light, the colour, but whatever it was it had sparked my interest in this location again.
A few weeks ago, I decided to make another visit. The conditions were quite different from my last visit, but I still felt that there were photographs to be captured. I wanted to capture some different images this time and despite the variety of views at this location I still found it hard to pick out compositions.
Looking back at the images I captured on this most recent of visits I’ve concluded that this location is a bit of a slow burner. It’s one of these locations where you really must put in the time to get the most out of it. While I’m happy enough with the images I captured I feel I have still to find the very best that Combestone has to offer.
This is not a bad thing though. With autumn just around the corner, I’ve got a feeling Combstone is going to come alive over the next couple of months and I’m looking forward to returning already.
Combestone Tor #1, Dartmoor, Devon - Nikon Z7, Nikkor 14-30mm f/4 at 14mm, f/8, 0.6 secs at ISO 64, Kase Filters K9 CPL and ND Grad.
Combestone Tor #2, Dartmoor, Devon - Nikon Z7, Nikkor 14-30mm f/4 at 14mm, f/11, 1.6 secs at ISO 64, Kase Filters K9 CPL and ND Grad.
Combestone Tor #3, Dartmoor, Devon - Nikon Z7, Nikkor 14-30mm f/4 at 30mm, f/11, 1 sec at ISO 64, Kase Filters ND grad, 5 image panorama cropped to 6:17.
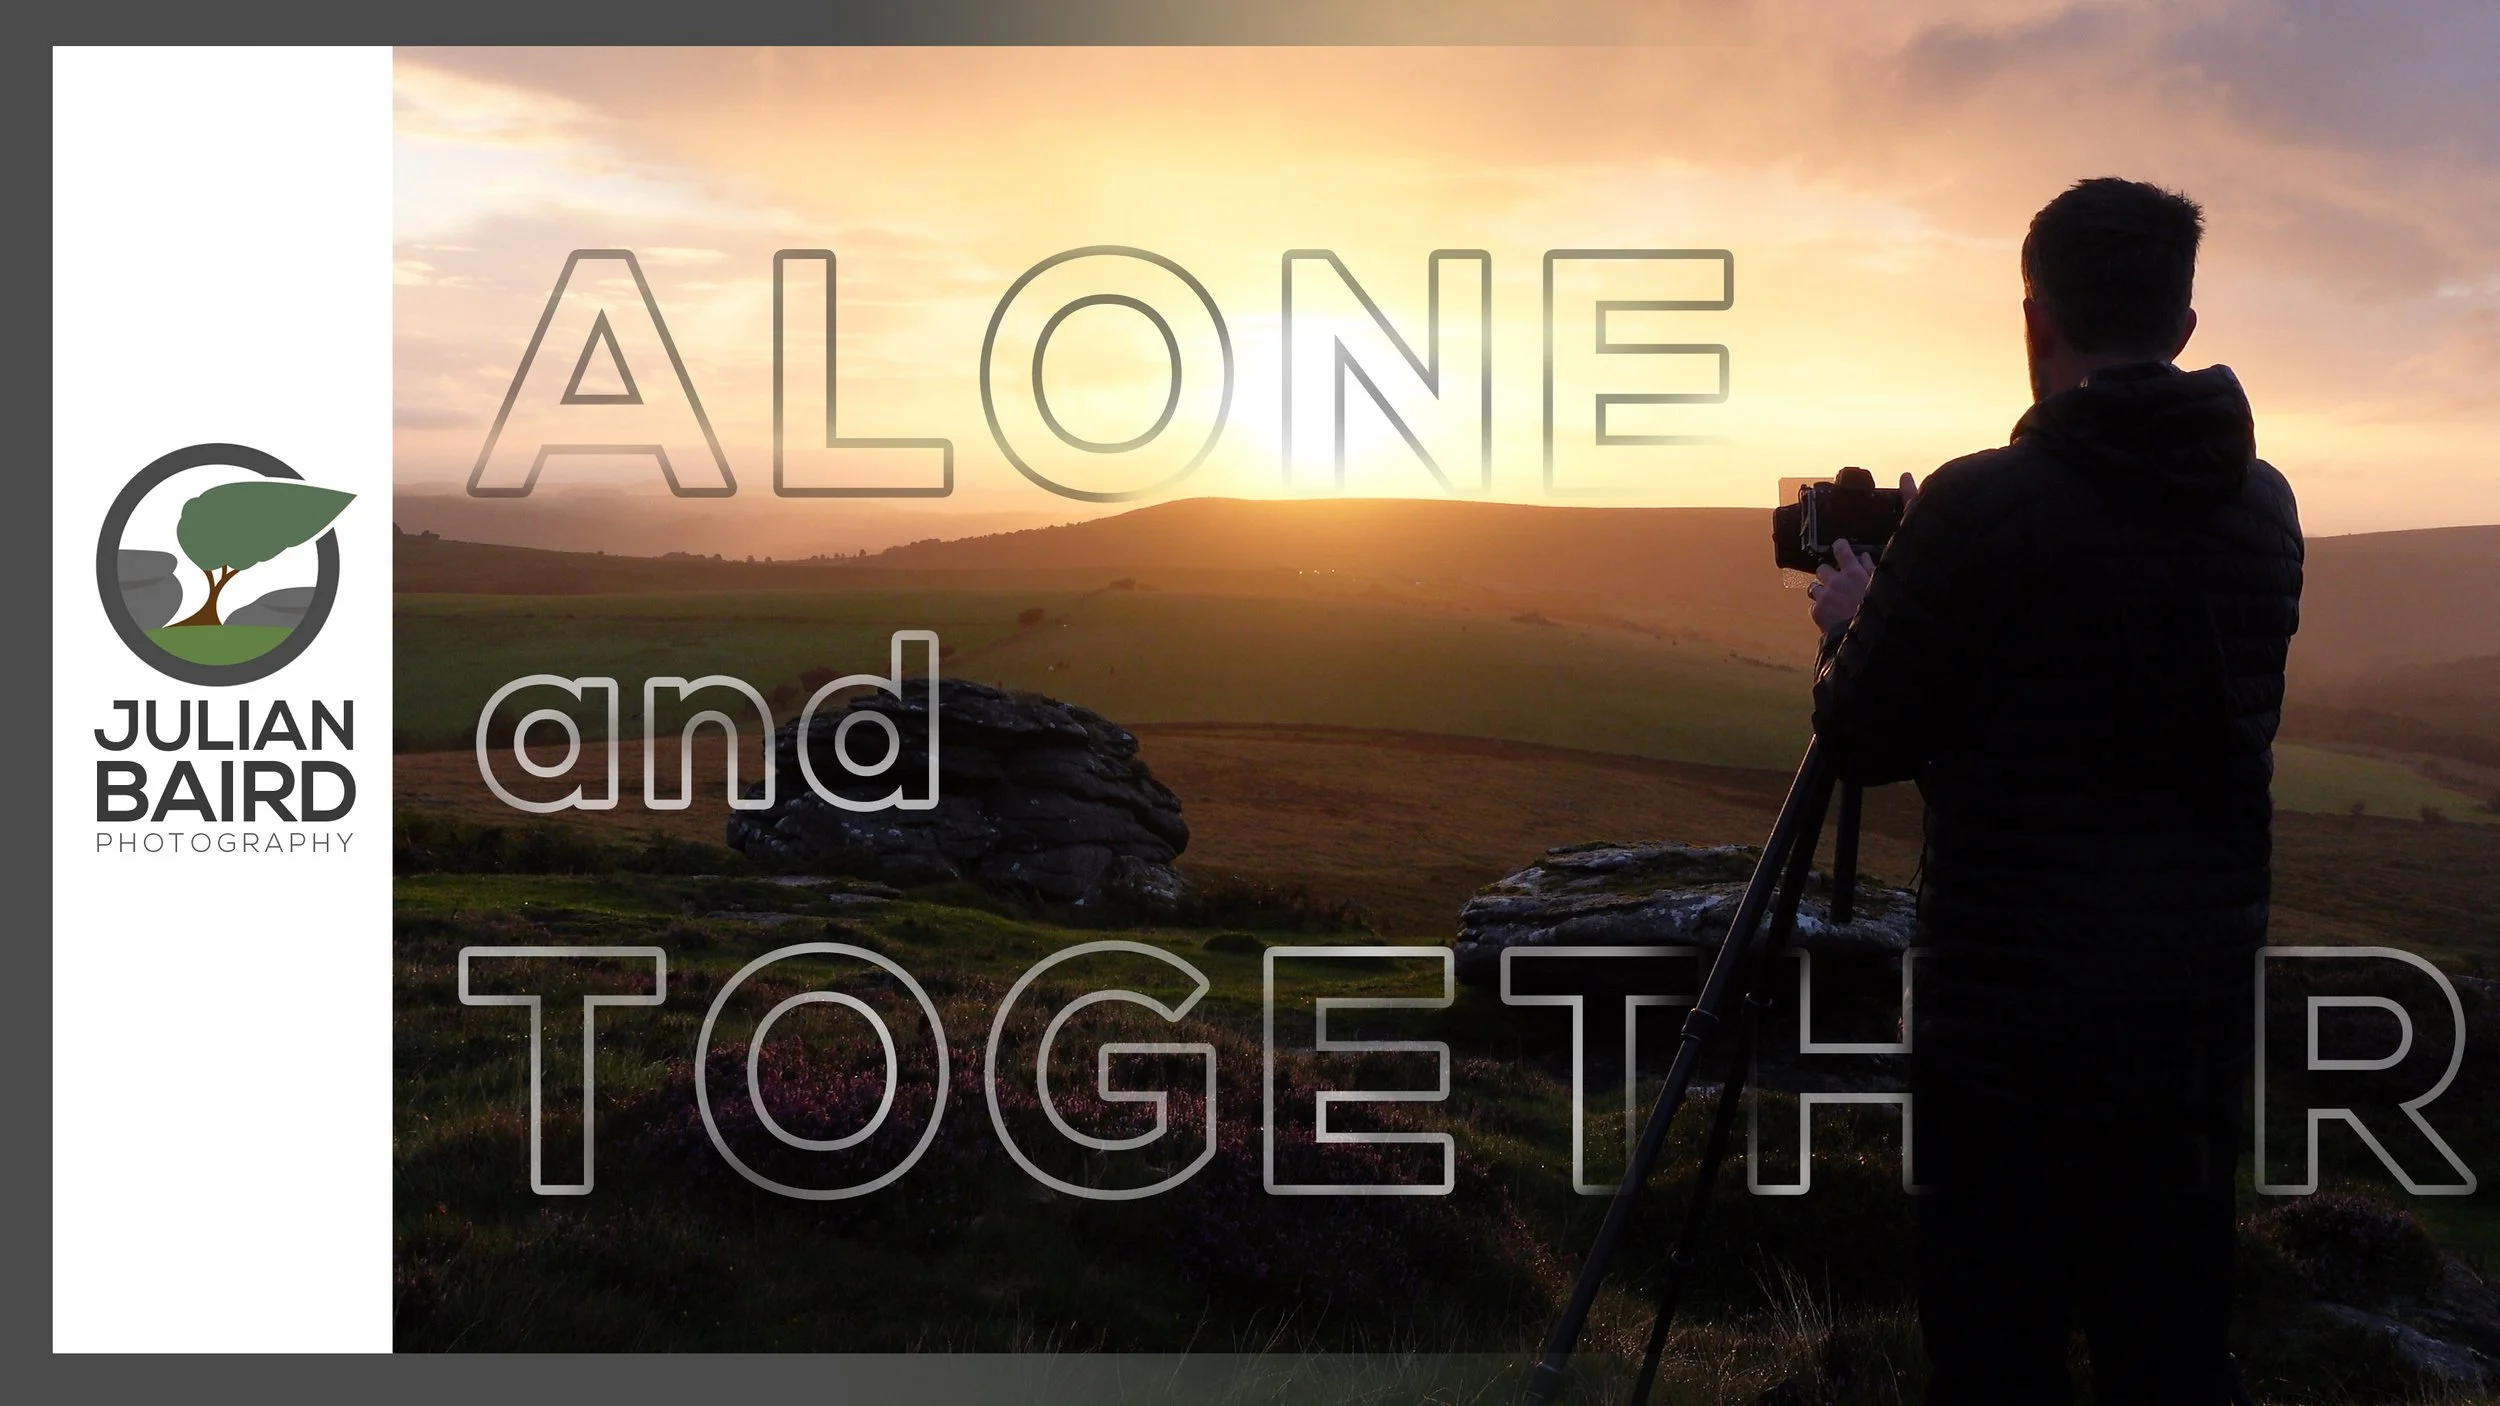
Alone and Together
Landscape photography can be a solitary endeavour and while I truly do appreciate that alone time, it is in the sharing of those images that brings me the greatest satisfaction. Like many photographers, I share my images online, but after reading an article in Outdoor Photography magazine I was inspired to create a new image and print, then give it to someone in my audience. I wanted to create a moment of togetherness.
Landscape Photography on Dartmoor
I have a bit of a love-hate relationship with photographing Dartmoor. The conditions up on the moor can be miserable, sometimes even a little cruel for the landscape photographer. If it’s not clear blue skies it’s grey, overcast, and wet. It’s rare for that perfect mix of weather conditions to be present at the right time. Well, it doesn’t happen very often when I’m there.
All that said, when the conditions are magical it is a proper treat to be photographing Dartmoor. It’s exciting, demanding and most of all enjoyable. I don’t always have the video camera along with me when things do go well on Dartmoor but in a rare moment of luck, I had it with me when I got some great conditions up on Chinkwell Tor recently.
In the video below, I share with you the experience of capturing the photographs in this blog post and I select one of those images to create a print. I also tell you that I want to do something special with that print. Want to know what that is? Well, it is all to do with the theme of Alone and Together, but you’ll have to watch the video to find out more.
Chinkwell Tor Photographs
Here are the photographs you saw in the video in a bit more detail. Enjoy!
A Chink in the Sky, Chinkwell Tor, Dartmoor, Devon - Nikon Z7, Nikkor 14-30mm f/4 at 15mm, f/13, 1.3 seconds at ISO 64, Kase Filters ND grad.
Chinkwell Tor Sunrise #2, Dartmoor, Devon - Nikon Z7, Nikkor 14-30mm f/4 at 26mm, f/11, 0.8 seconds at ISO 64, Kase Filters ND grad and CPL.
Chinkwell and Honeybag Tor #1, Dartmoor, Devon - Nikon Z7, Nikkor 14-30mm f/4 at 20mm, f/11, 0.6 seconds at ISO 64, Kase Filters ND grad and CPL.
Chinkwell and Honeybag Tor #3, Dartmoor, Devon - Nikon Z7, Nikkor 14-30mm f/4 at 16mm, f/13, 1/5th second at ISO 64, Kase Filters ND grad and CPL.
Widecombe Rainbow #2, Dartmoor, Devon - Nikon Z7, Nikkor 14-30mm f/4 at 14mm, f/13, 1/3rd second at ISO 64, Kase Filters ND grad and CPL.

Bite-Size Blog Post #8 - Friends, Dartmoor and Breakfast
In a rare treat I get to show my friend and fellow photographer Chris Sale one of my favourite Dartmoor locations.
Friends
It’s not often that I get to catch up in person with my good friend and fellow photographer Chris Sale. I live in Devon and he lives in the Lake District, so we aren’t exactly on each other’s doorsteps. When Chris mentioned he was making a trip to Cornwall he suggested we meet up. I was expecting Chris to select a nice coastal location in Cornwall but when he asked if I would take him somewhere on Dartmoor, I knew exactly where to go.
Dartmoor
Of all the locations I’ve photographed on Dartmoor, I think Belstone Common must be one of my favourites. I’ve taken a ton of photos here, published many blog articles and filmed a few videos from this location. Unless the weather is truly awful there is normally something to shoot. The 360-degree views provide lots of opportunity for shooting anything from wide-angle landscapes to telephoto landscapes.
That doesn’t mean its necessarily an easy place to shoot but it can be rewarding. Chris must have had luck on his side when we went up though. The weather forecast was looking a bit stormy but these are exactly the conditions that can work well up on Belstone.
We were treated to some excellent conditions. We had to work hard though as the light came and went very quickly, but it’s mornings like this that I live for as a landscape photographer.
Belstone Cloudy Sunrise #1, Dartmoor, Devon - Nikon Z7, Nikkor Z 14-30mm f4 at 14mm, f/11, 1.3 seconds at ISO 64.
Belstone Cloudy Sunrise #2, Dartmoor, Devon - Nikon Z7, Nikkor Z 14-30mm f4 at 14mm, f/11, 1 second at ISO 64.
Belstone Cloudy Sunrise #3, Dartmoor, Devon - Nikon Z7, Nikkor Z 14-30mm f4 at 14mm, f/11, 1/4th seconds at ISO 64.
Belstone Cloudy Sunrise #4, Dartmoor, Devon - Nikon Z7, Nikkor Z 14-30mm f4 at 14mm, f/11, 1/4th seconds at ISO 64.
Belstone Cloudy Sunrise #5, Dartmoor, Devon - Nikon Z7, Nikkor Z 14-30mm f4 at 18mm, f/11, 1/6th seconds at ISO 64.
Breakfast
It was a fantastic morning. Great photographs and great company. The other thing that makes Belstone one of my favourite locations to go to is a visit to the Whitehouse Restaurant on the way back. They do a great breakfast and both Chris and I felt it was well deserved treat!
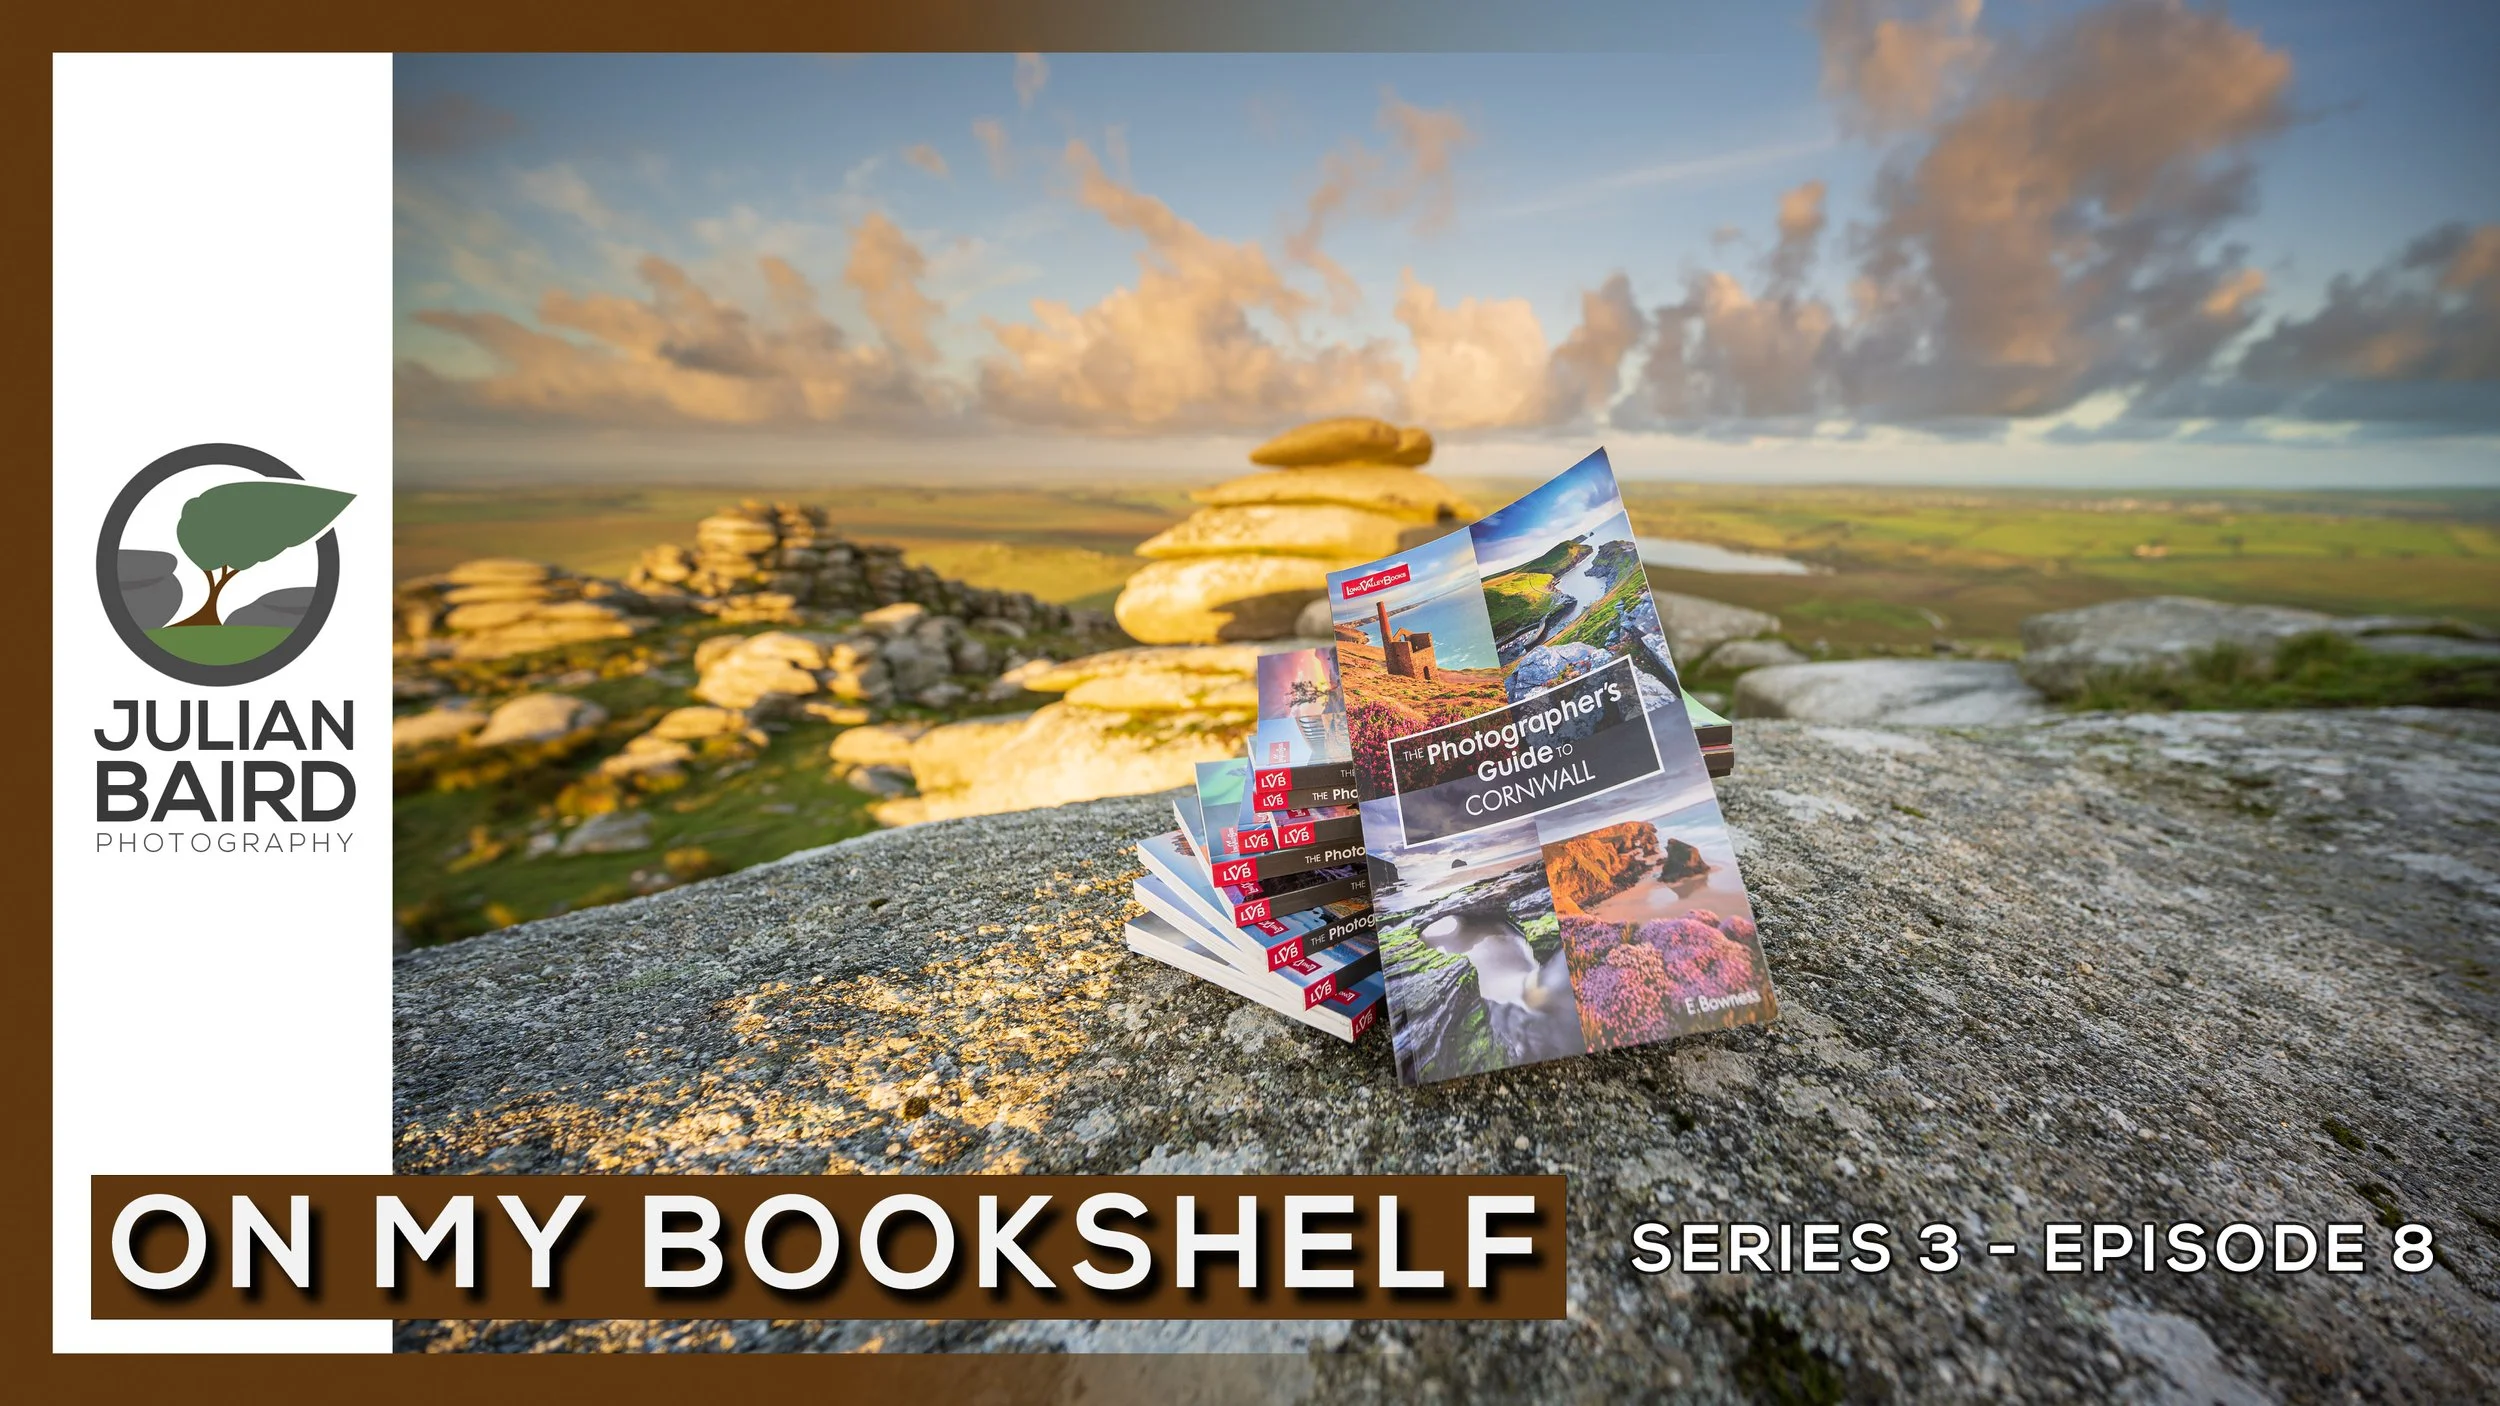
The Photographer's Guide Series by Ellen Bowness (Long Valley Books) - On My Bookshelf S03E08
Looking for new locations to inspire your landscape photography? Visiting a new area? Want to get the most out your photography trip? Location guidebooks can help answer these questions. In this episode of On My Bookshelf, I'm looking at The Photographer's Guide series of books.
On My Bookshelf on Location in Cornwall
Over the three years that I’ve been producing episodes of On My Bookshelf (OMBS) I’ve covered a wide range of photography books. While I shoot most episodes in the comfort of my home with a nice cup of coffee, there are some books that require a slightly different approach. One such category of book is the photography location guidebook.
When I decided to look at The Photographer’s Guide series of books, I knew that the video would need to include a segment filmed on location. Fortunately for me one of the titles in the series is called The Photographers Guide to Cornwall and the book had several locations I’d never been to. As much as I’d like to have visited one of the locations in the Iceland book, I’m afraid the OMBS budget doesn’t stretch that far!
In this episode of OMBS not only do I talk about the series of books, but I also visit one of the locations in the Cornwall book. There is no better way to test the quality of the information in a location guidebook than to visit the location!
I hope you enjoyed this on location episode of OMBS. I’ve included the photographs I captured on my visit to Rough Tor below, and if you want to pick any of the books in The Photographer’s Guide series of books then just click here.
Rough Tor Sunrise #1, Bodmin Moor, Cornwall - Nikon Z7, Nikkor 14-30mm f/4 at 22mm, f/11, 1/3rd sec at ISO 64, Kase Filters ND Grad.
Rough Tor Sunrise #2, Bodmin Moor, Cornwall - Nikon Z7, Nikkor 14-30mm f/4 at 14mm, f/16, 1/13th sec at ISO 64, Kase Filters ND Grad, two image exposure blend, custom crop ratio.
Rough Tor Sunrise #3, Bodmin Moor, Cornwall - Nikon Z7, Nikkor 14-30mm f/4 at 17mm, f/11, 1/3rd sec at ISO 64, Kase Filters ND Grad.

Bite-Size Blog Post #7 - A Journey into Macro Photography
In this bite-size blog post I take a journey into the world of macro photography!
Learning Macro Skills
As you might have guessed this blog post is not going to contain landscape photographs but is instead going to be focused on the wonderful world of macro photography. Regular readers of this blog will know that I’ve been dabbling in macro photography for a while now. It started last year when I went out with a friend to photograph some butterflies and continued when I bought my macro lens a few months ago.
I promised myself that when I purchased a macro lens, I would also spend some money on getting myself some 1-2-1 tuition as well. You can learn a lot from fellow photographers, books and YouTube videos, but it’s hard to beat the value you can get from a 1-2-1 session with a professional.
For 1-2-1 tuition I’ve always valued the services of Ross Hoddinott. Ross has been paramount in my development as a landscape photographer and fortunately for me, he is also a highly-skilled, award-winning, close-up photographer as well. I had no hesitation in booking a 1-2-1 session with him.
Though I had some basic skills already, there was much for me to learn. Not only were there specific camera techniques to learn, but I also needed to learn how to find and identify insect species. And then when I found them, not scare them off with sudden movements!
It was a wonderful day, and even though I know my camera well, learning a whole new set of camera skills with was demanding. I managed to capture some images that I was happy with. They aren’t particularly unique or outstanding, but that wasn’t the point of the day. The point was that I learnt loads, got some images I was happy with, and I had a great day out.
I now feel I at least have the fundamental knowledge to head out into the wilderness myself and capture macro photographs.
Nikon Z7, Laowa 100mm f/2.8 2x Ultra Macro
Nikon Z7, Laowa 100mm f/2.8 2x Ultra Macro
Nikon Z7, Laowa 100mm f/2.8 2x Ultra Macro
Nikon Z7, Laowa 100mm f/2.8 2x Ultra Macro
Nikon Z7, Laowa 100mm f/2.8 2x Ultra Macro
Nikon Z7, Laowa 100mm f/2.8 2x Ultra Macro - shame about the distracting background on this one!
Nikon Z7, Laowa 100mm f/2.8 2x Ultra Macro - and this one!
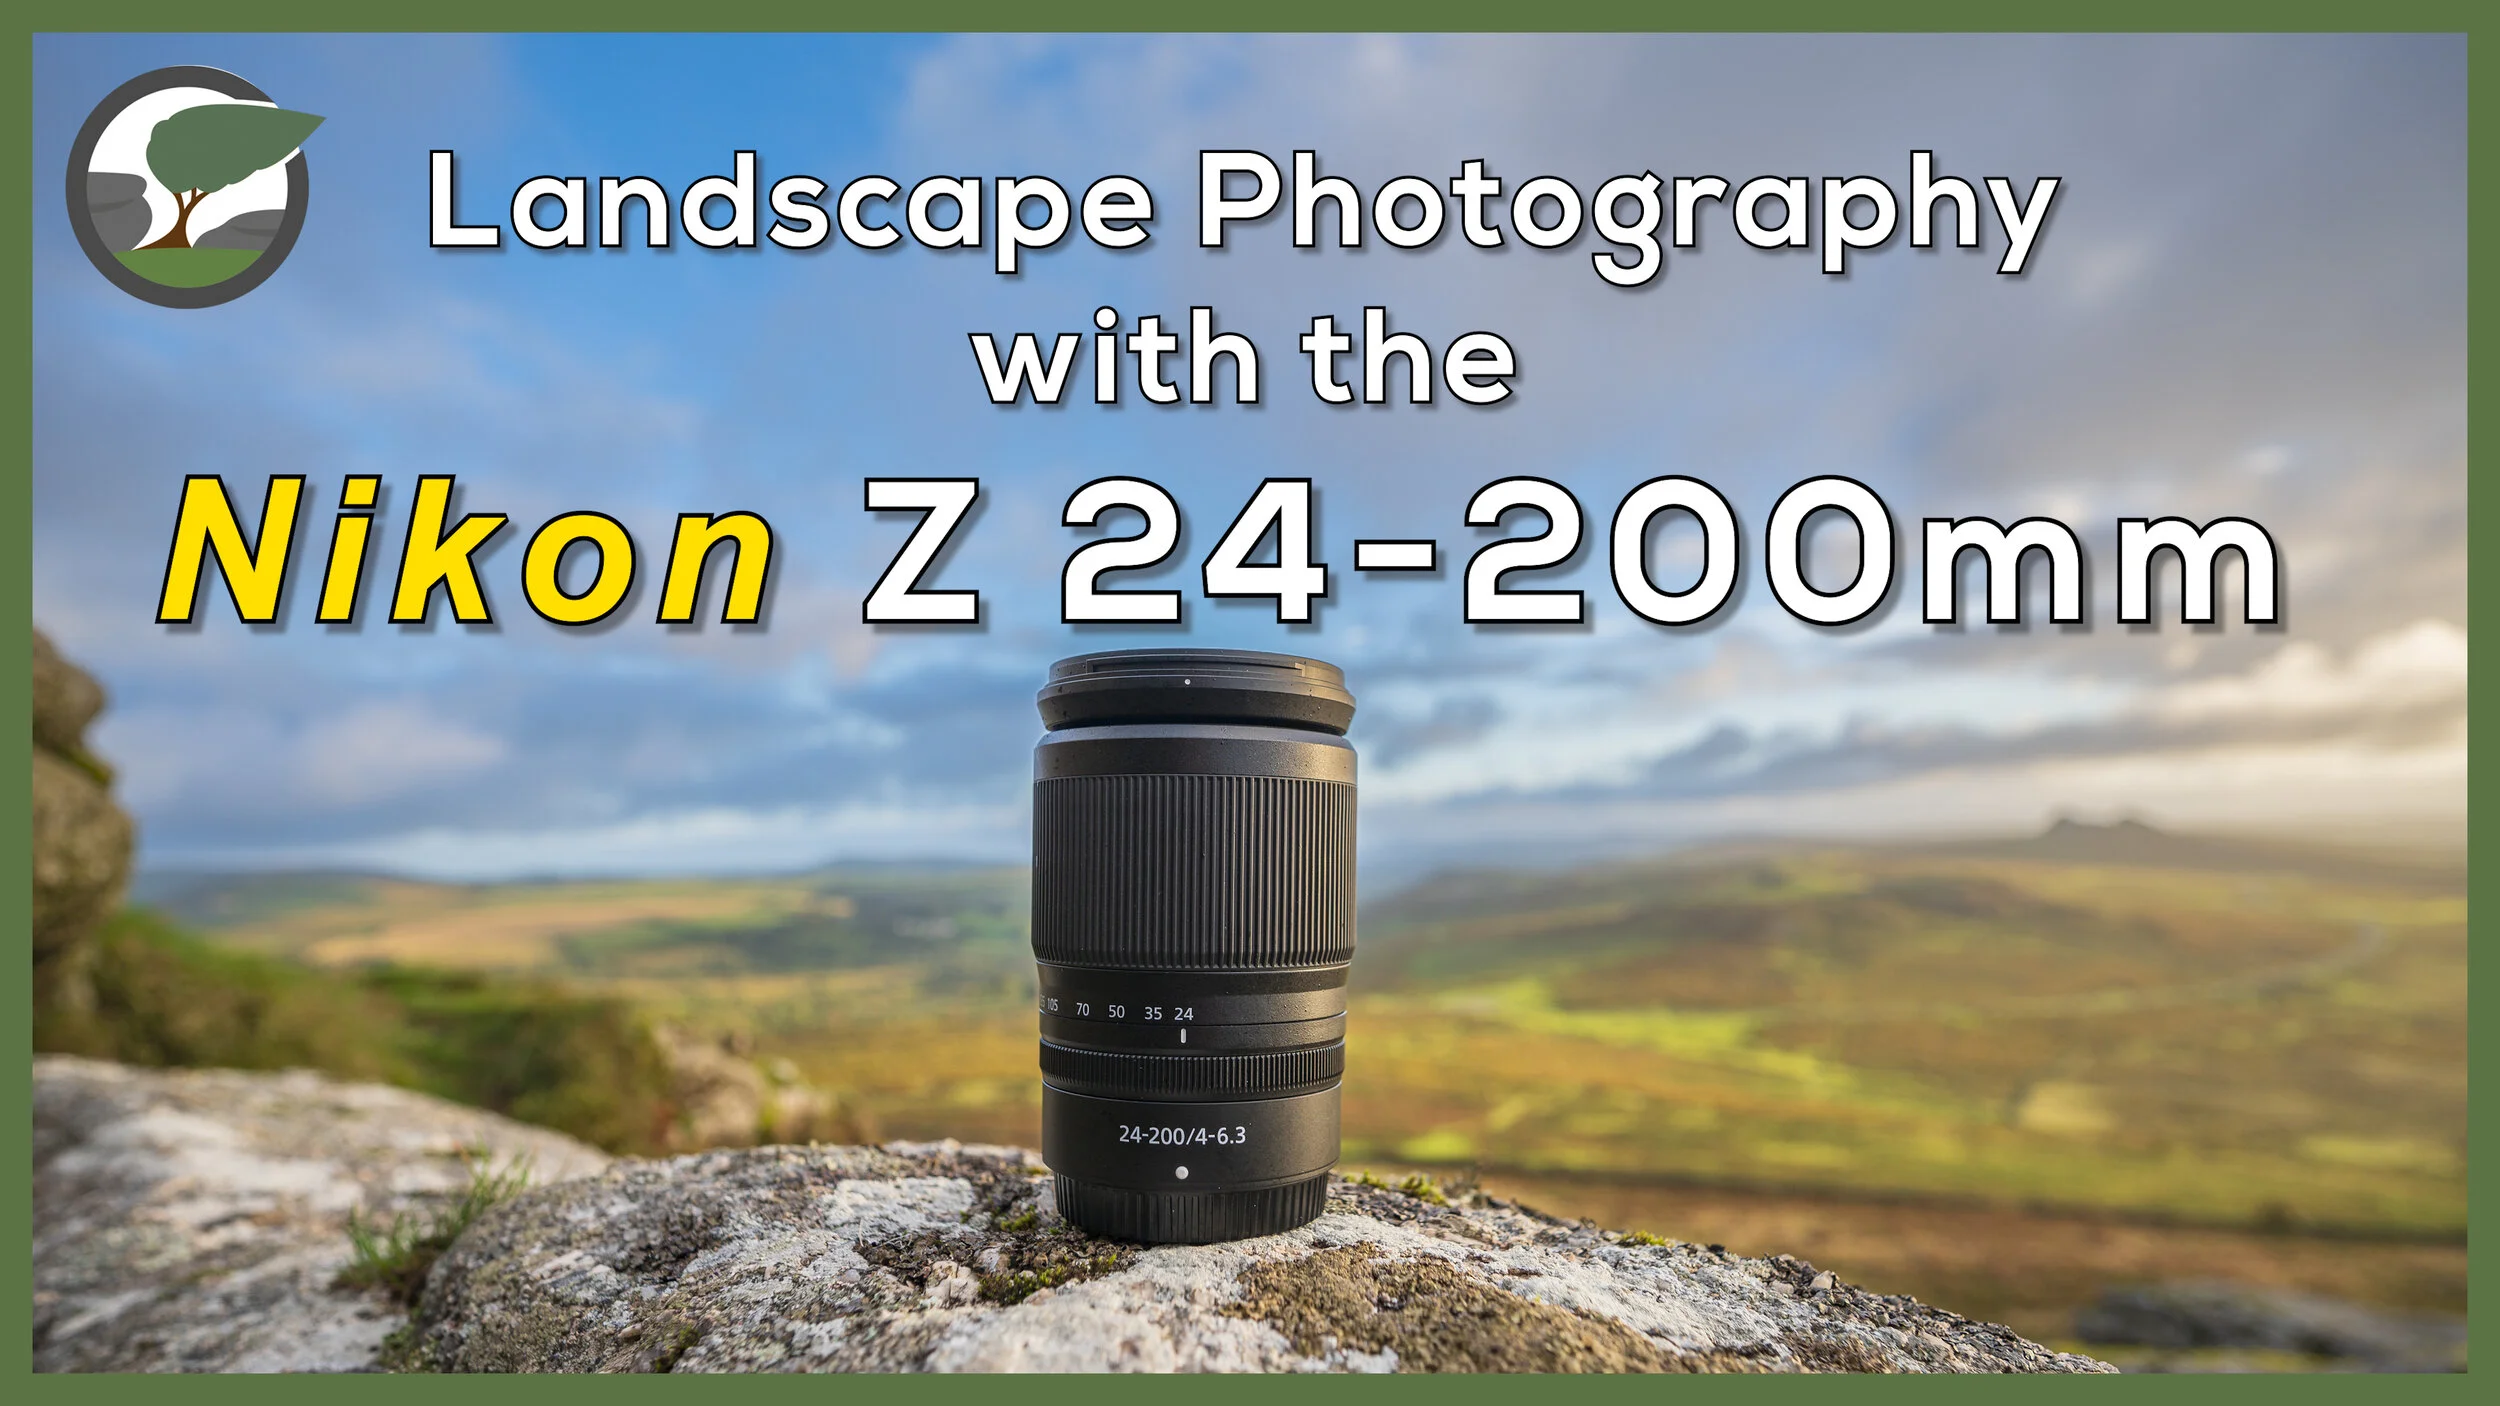
Landscape Photography with the Nikkor Z 24-200mm
I’ve purchased the Nikkor Z 24-200mm f/4-6.3 for landscape photography and this blog post you can watch a video of me putting it to good use and see some sample images.
A Good Choice for Landscape Photography
I try not to create too many videos on gear. There are lots of channels out there that are dedicated to such things and they can often provide a much more comprehensive review and set of tests. I tend to only make videos about gear if it’s for an item that I have personally paid for and will be in my kit bag. Even then, my videos tend not to be reviews but more about sharing my experience with a bit of gear.
The latest bit of gear I’ve purchased is the Nikkor Z 24-200mm f/4-6.3 and in the video below I tell you why I purchased it and most importantly I go out on location to take some photographs with it. I then also return home to show you the images and to make some prints with them. So, it’s not so much a review but more a video on my personal experiences with the lens.
Even though I wouldn’t class this video as a review, I do help you found it useful if you are considering purchasing this lens. If you have any questions, please let me know in the comments below.
Nikkor Z 24-200mm f/4-6.3 Sample Images
Rising Sun over Rippon Tor #2, Dartmoor, Devon - Nikon Z7, Nikkor Z 24-200mm f/4-6.3 at 32mm, f/13, 1/5th sec at ISO 64. Kase Filters ND grad.
Rising Sun over Rippon Tor #1, Dartmoor, Devon - Nikon Z7, Nikkor Z 24-200mm f/4-6.3 at 24mm, f/13, 1/6th sec at ISO 64. Kase Filters ND grad.


Chinkwell Tor Sunrise #1, Dartmoor, Devon - Nikon Z7, Nikkor Z 24-200mm f/4-6.3 at 24mm, f/11, 1/100th sec at ISO 400. Kase Filters ND grad.
Widecombe Panorama, Dartmoor, Devon - Nikon Z7, Nikkor Z 24-200mm f/4-6.3 at 83mm, f/8, 1/40th sec at ISO 64, panoramic stitch with 6:17 crop.
Widecombe from Chinkwell Tor, Dartmoor, Devon - Nikon Z7, Nikkor Z 24-200mm f/4-6.3 at 145mm, f/8, 1/20th sec at ISO 64. Kase Filters ND grad.

Bite-Size Blog Post #6 - Dartmouth Sea Stacks
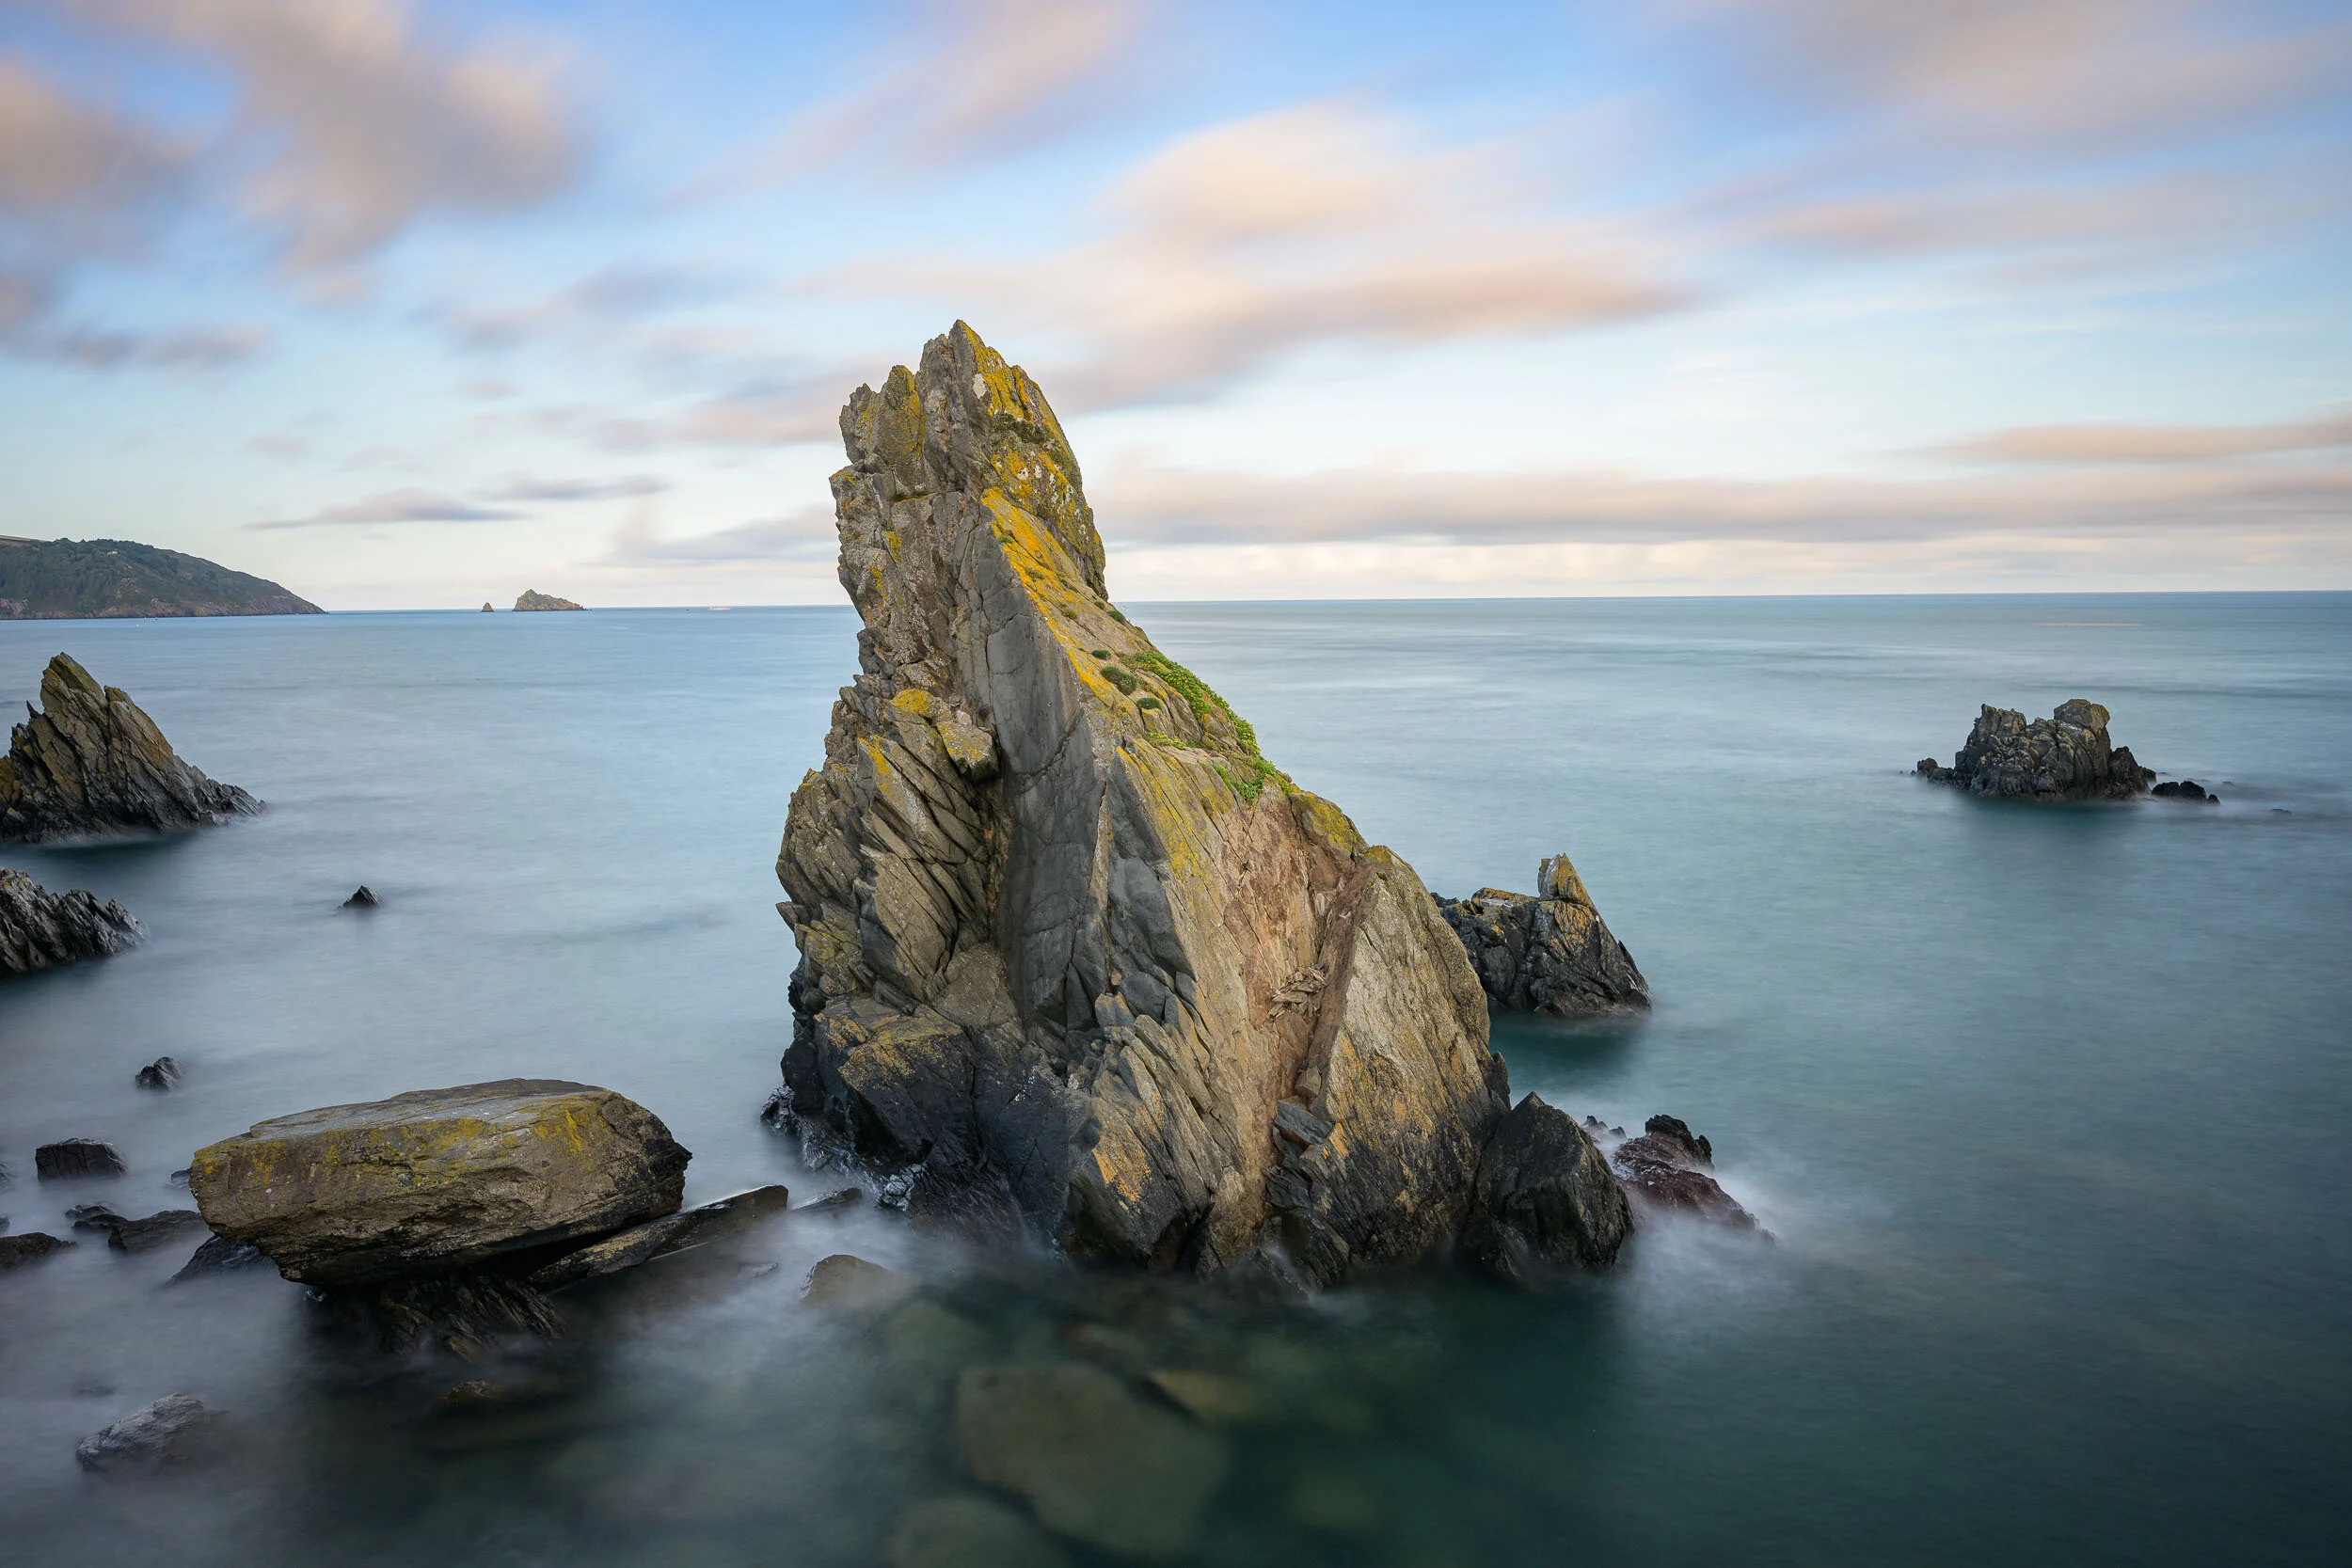
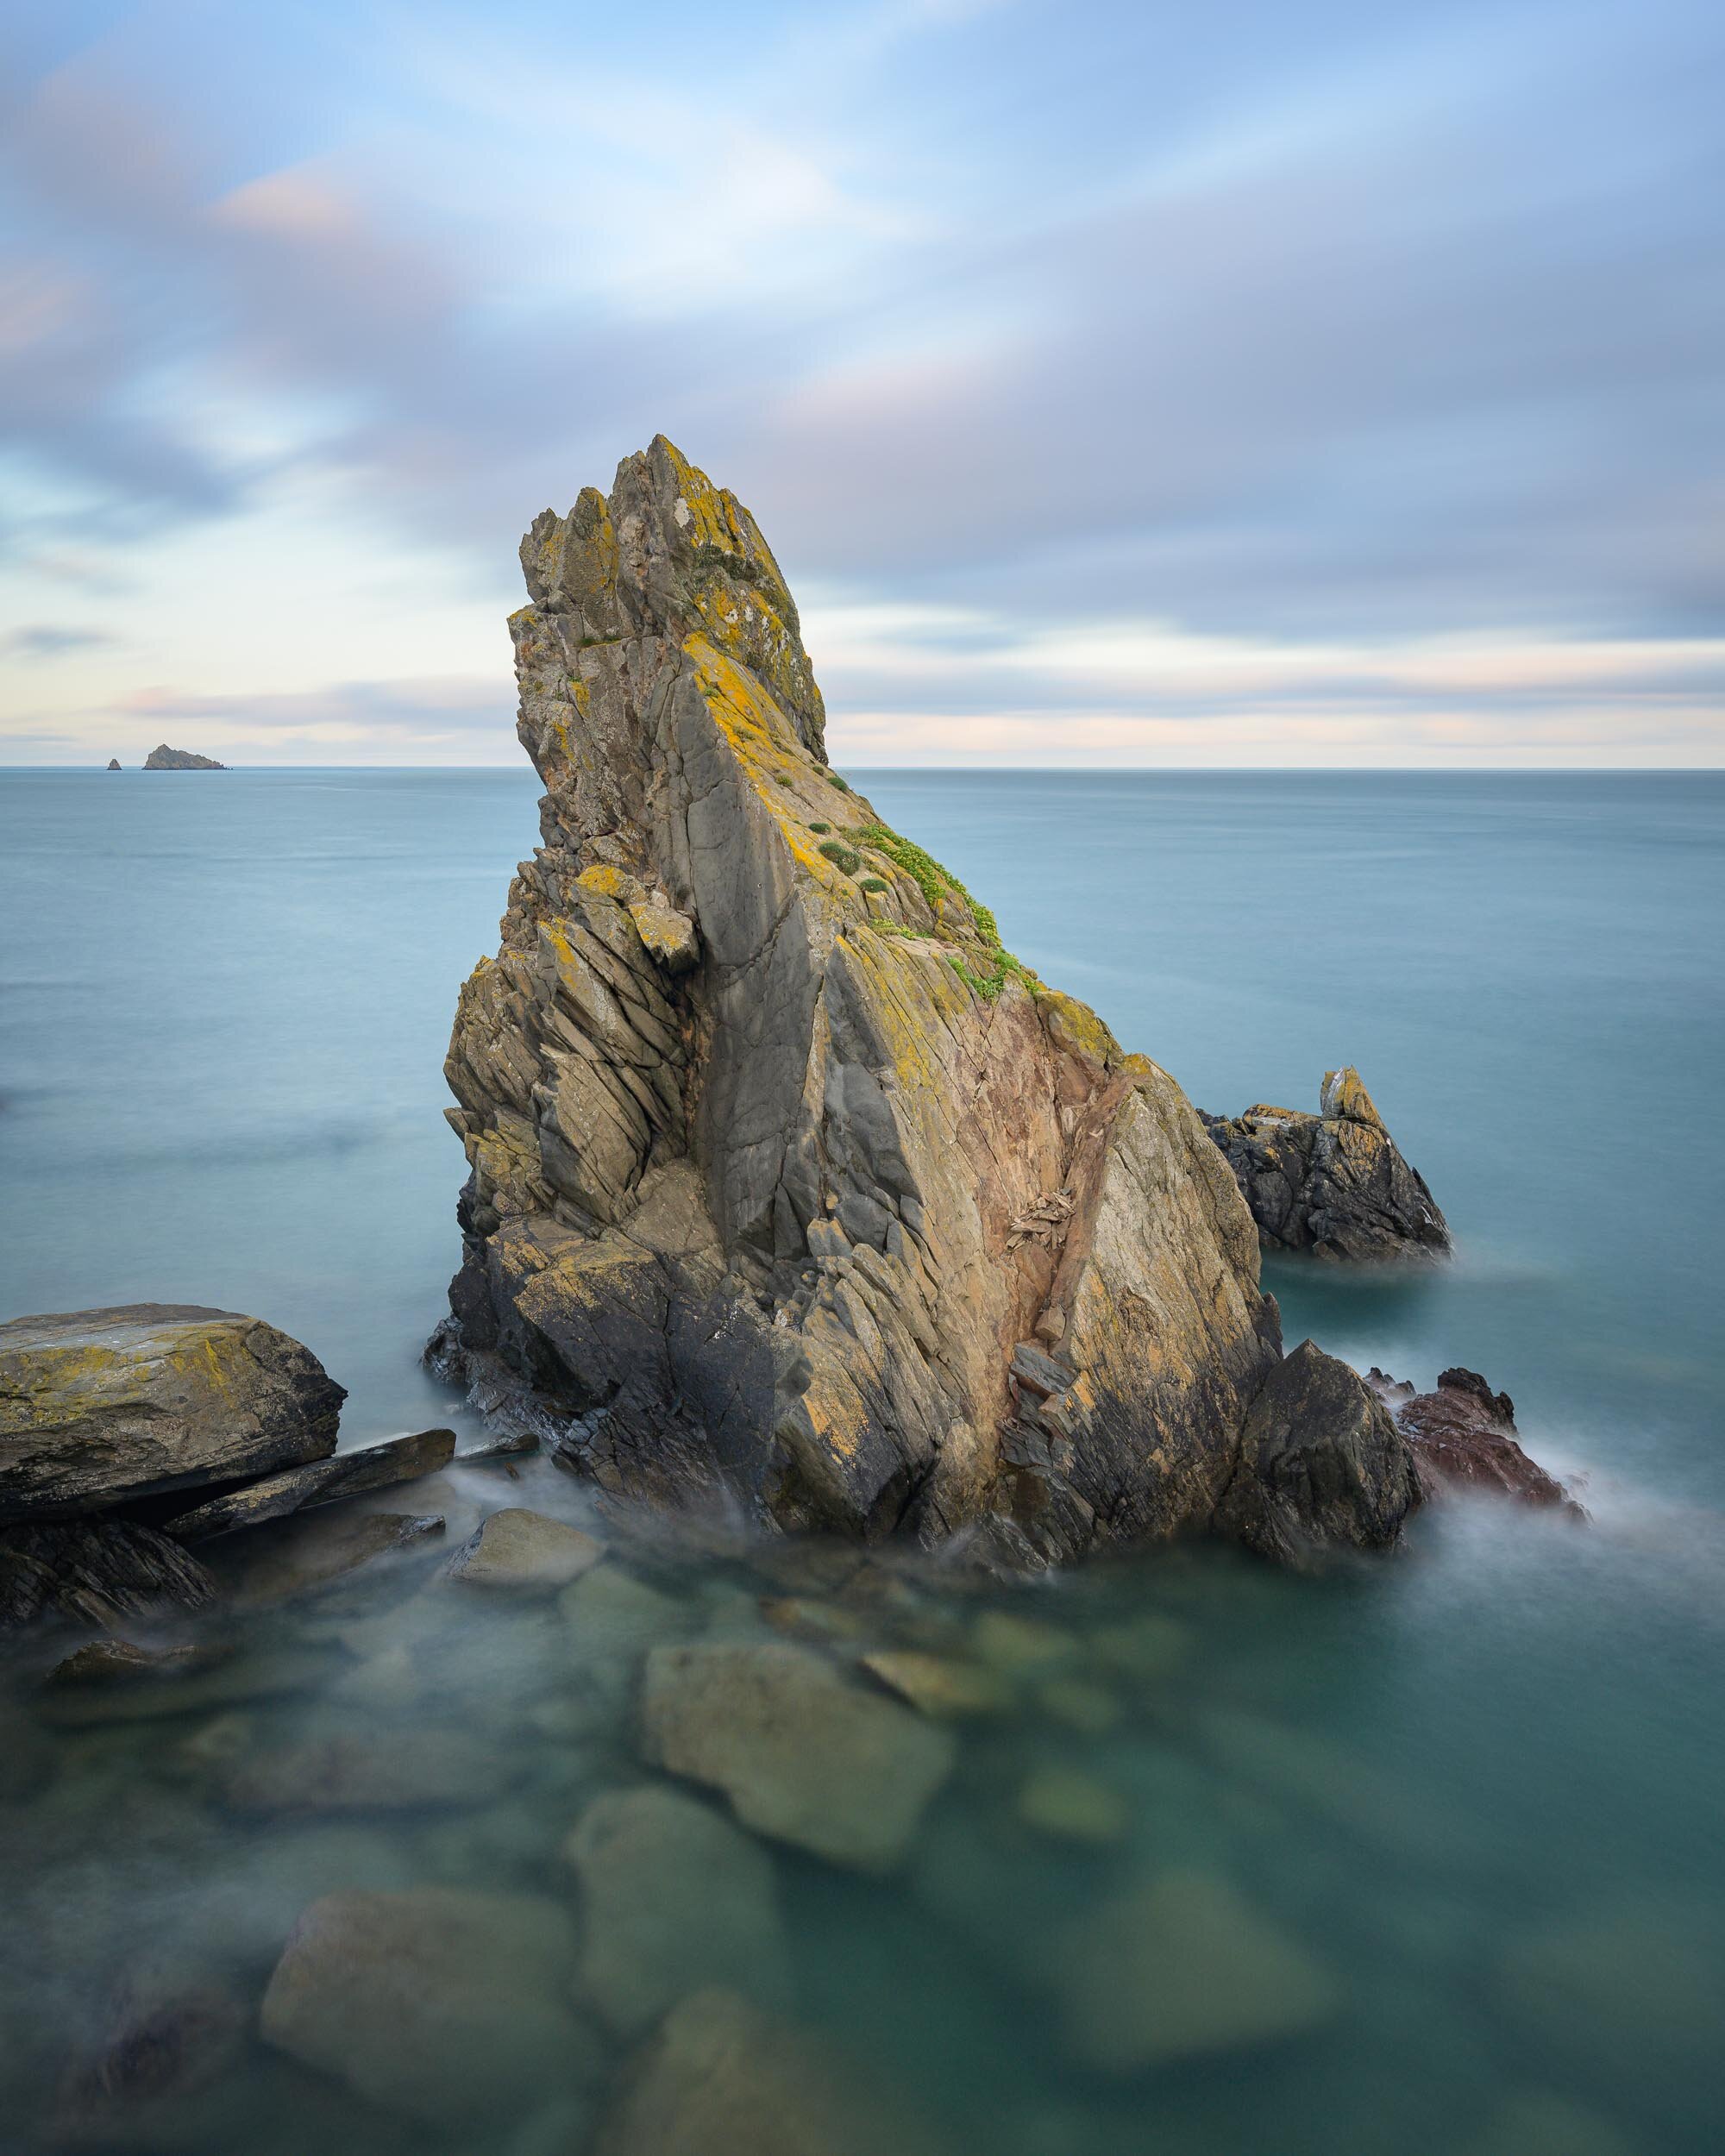
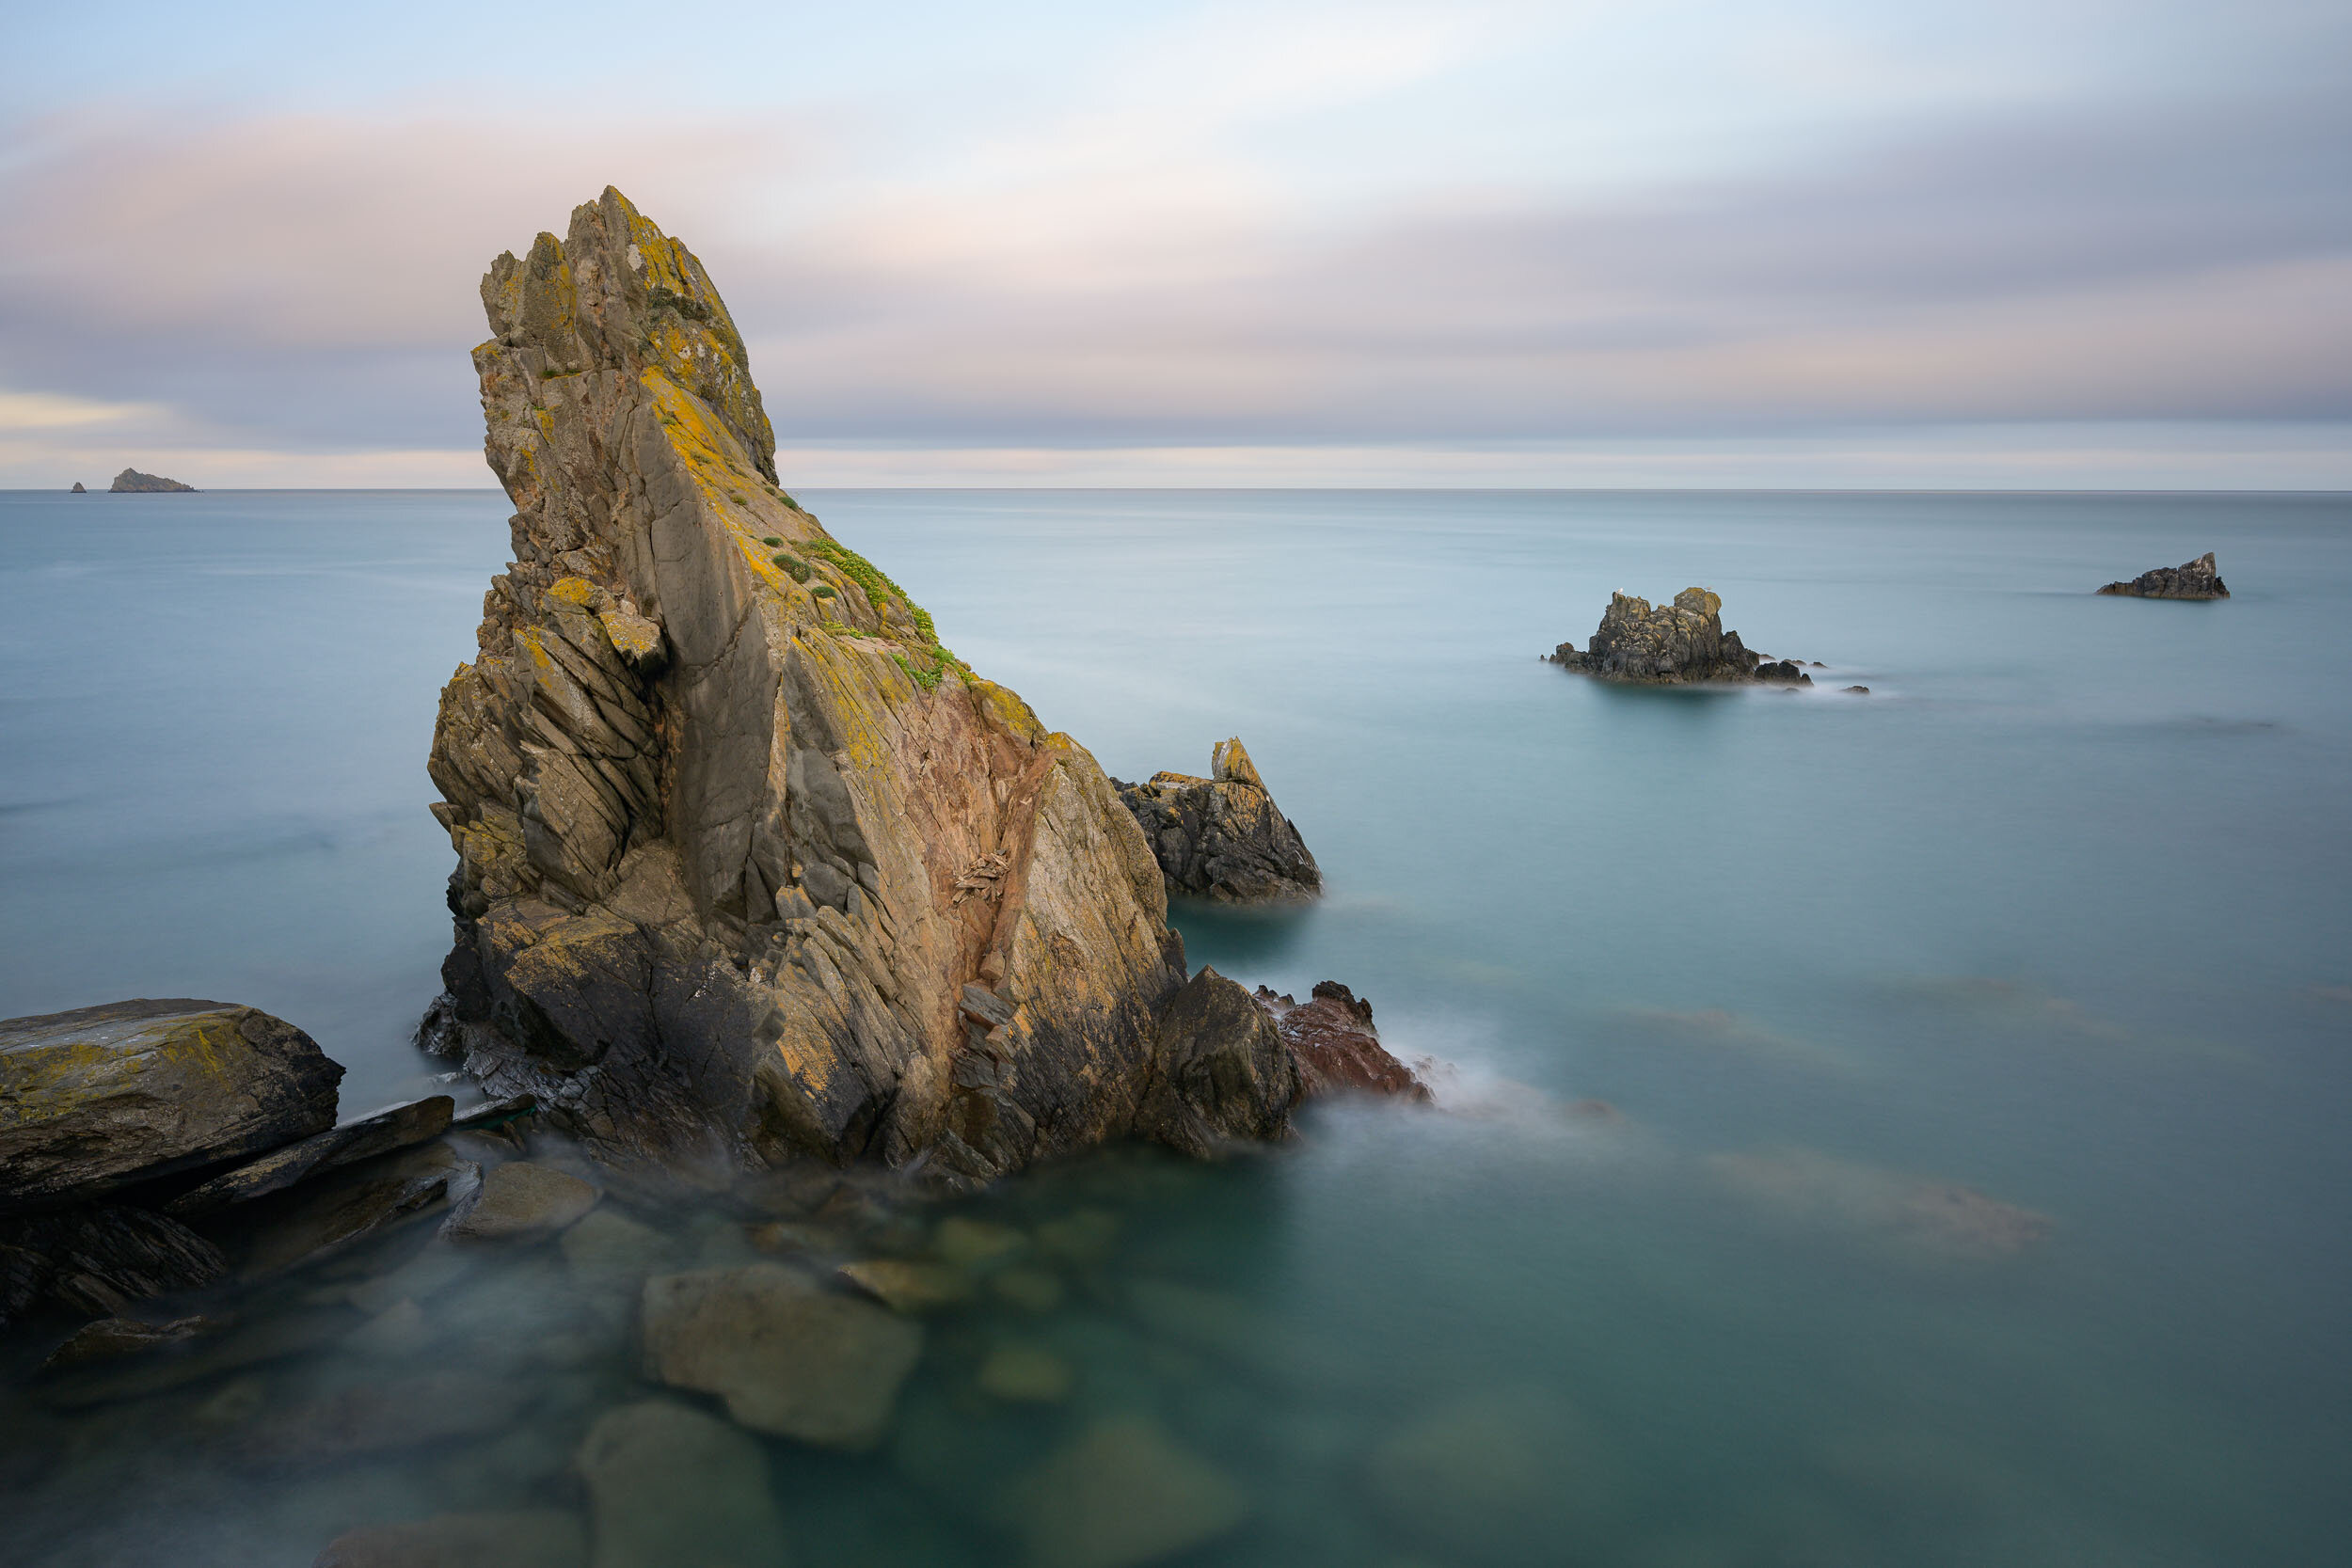
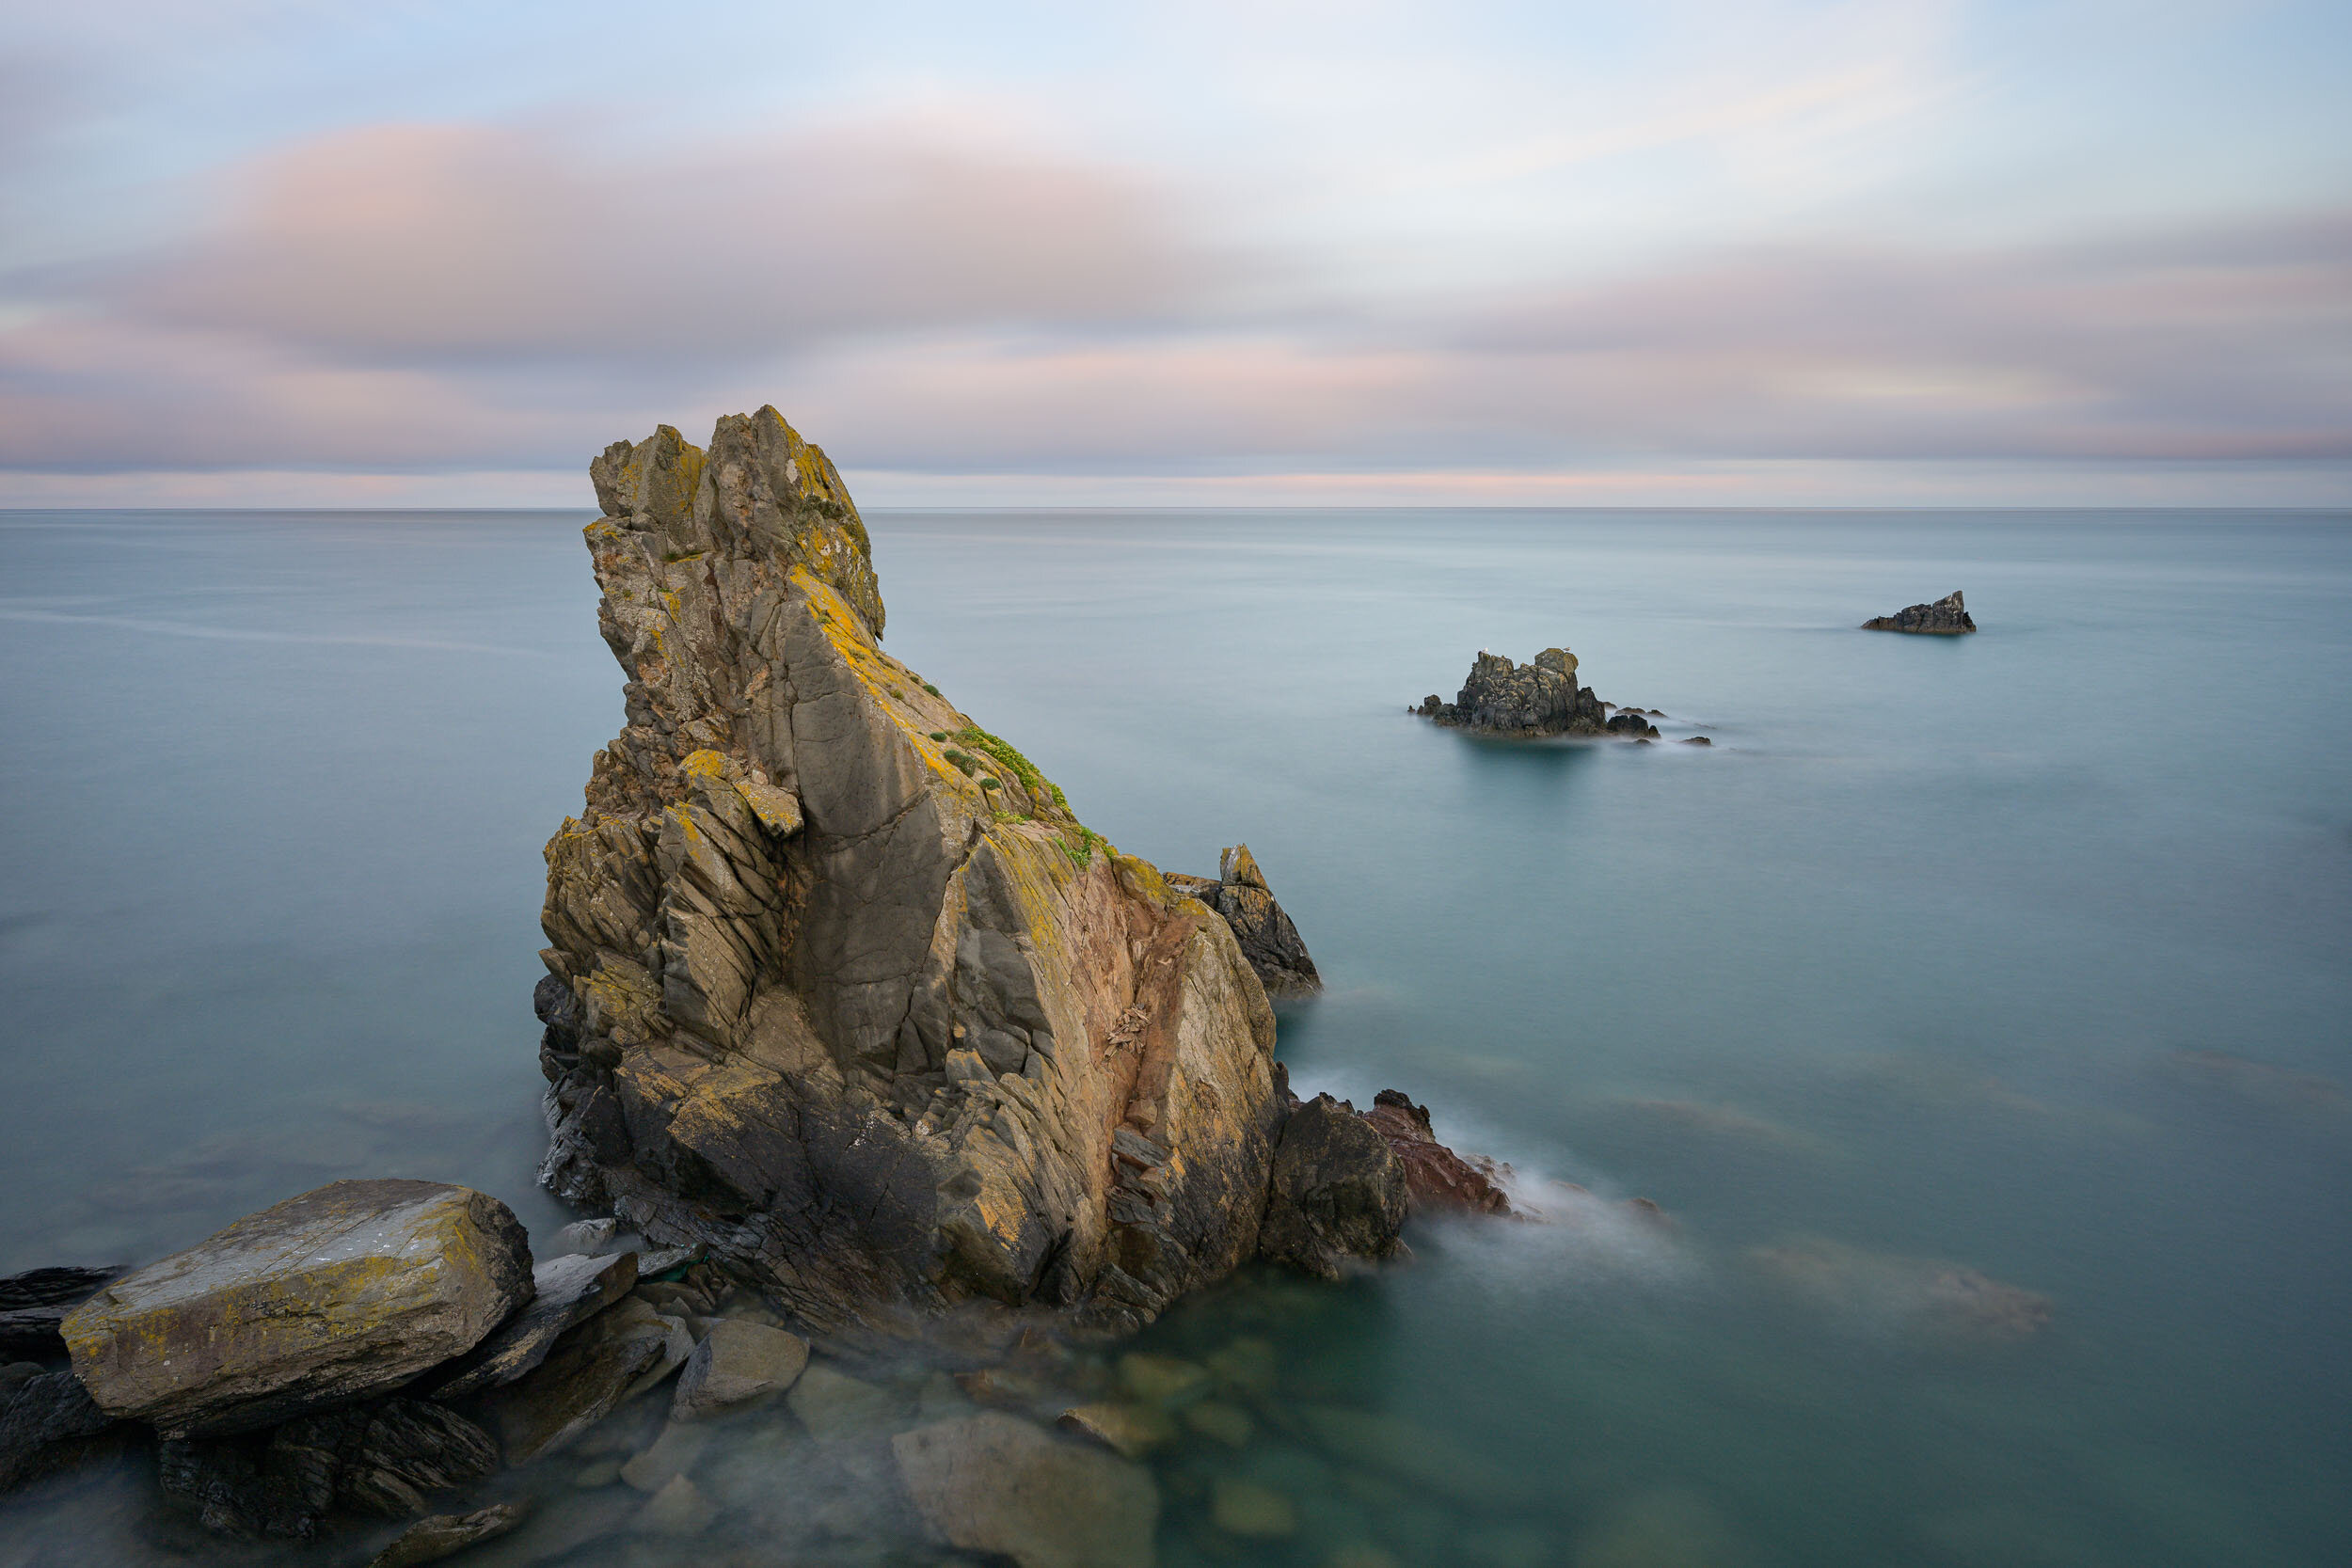
In this bite-sized blog post, I head to the coast near Dartmouth in Devon to check out a sea stack.
Long Exposure Seascapes
Unusually this summer I’ve spent a lot more time photographing Dartmoor than the coast. The summer month not only brings better conditions, but the extended hours of daylight allow me to travel further afield to places like Cornwall. I just love photographing the Cornish coast as you can see from all these blog posts.
I think lockdown knocked me out of my normal yearly routine and so I’ve spent more time closer to home which in turn means I’ve been spending more time up on Dartmoor. However, the coast is never far from my thoughts, so I decided that a visit to my local coastline was long overdue.
There is a sea stack near Dartmouth that I’ve been eager to revisit for some time now. I believe it needs a specific set of conditions to make the most of it. A high tide is one of them and while on this visit the tide was high, the weather was calm and the skies blue.
I knew I wasn’t going to come away with any photographs that I was going to get excited about so this trip was very much another reconnaissance mission to check out compositions. Despite this being my 2nd or 3rd visit, I still struggled to find a composition I am happy with. Maybe the calm conditions weren’t helping, or I simply need to work harder at getting the composition right.
So, while these photographs aren’t anything amazing, I’m happy to share them with you. After all, not every trip out with the camera results in a portfolio image. Some trips out with the camera are all about preparation for the next trip.
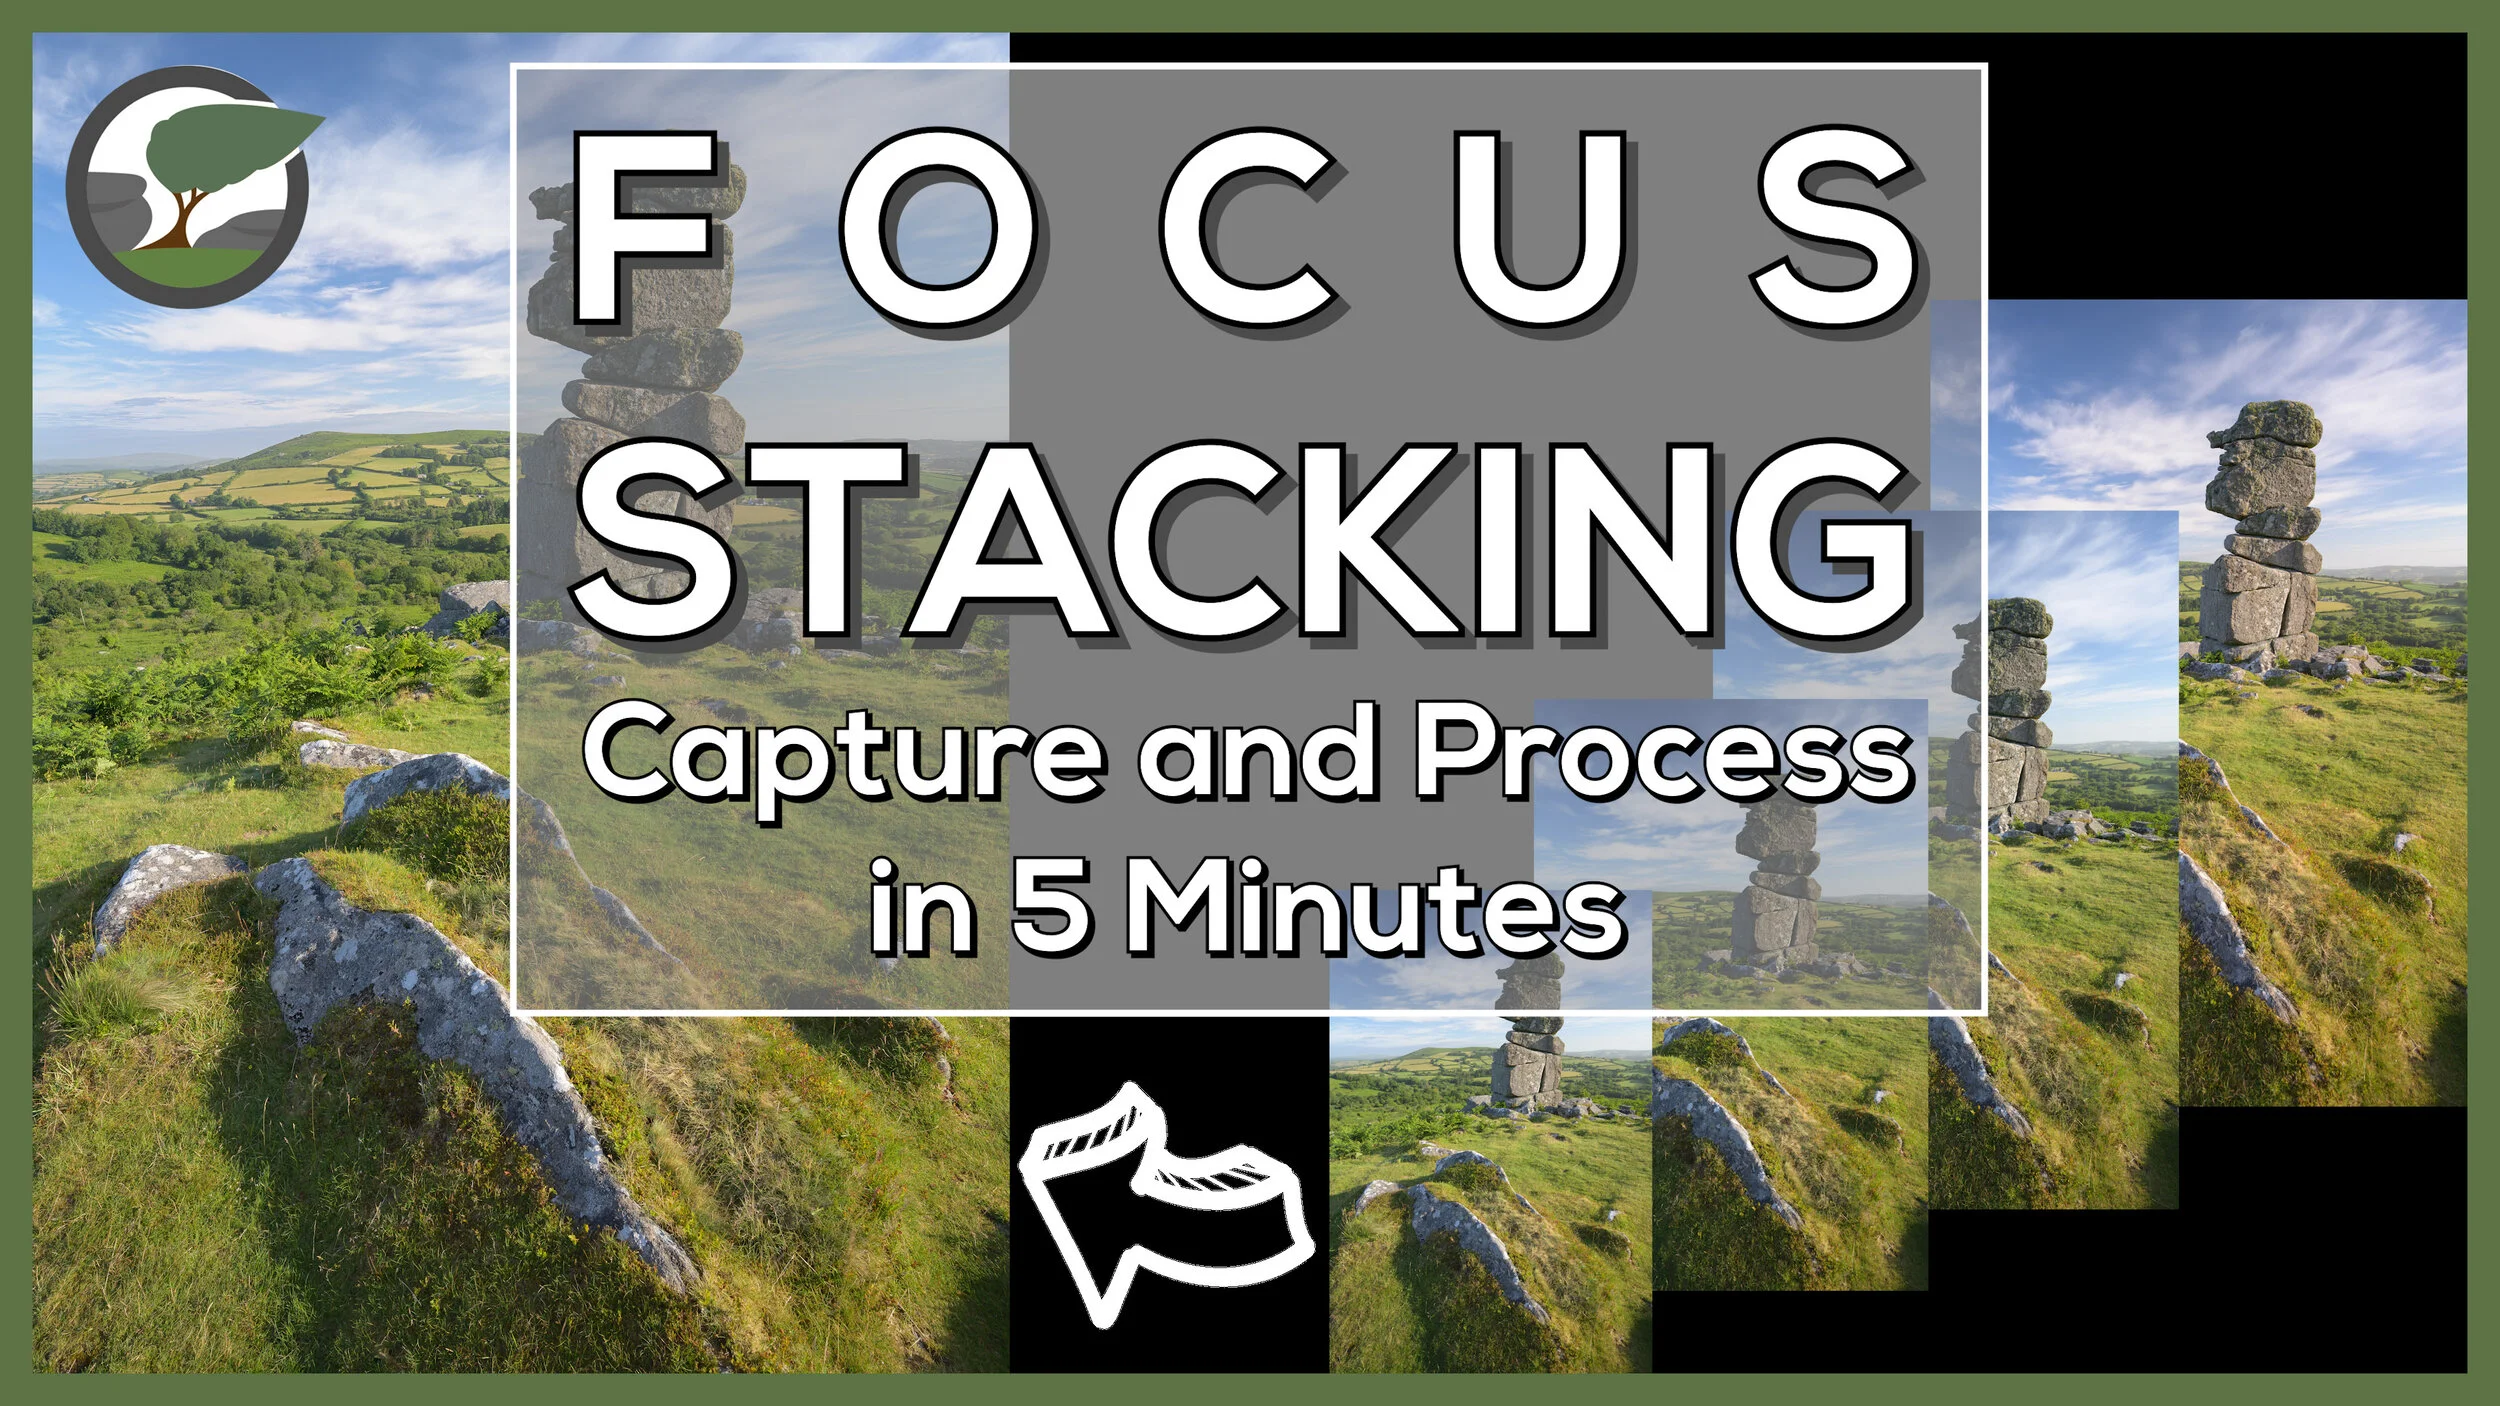
Focus Stack a Landscape Photograph in 5 Minutes
Focus stacking a landscape photograph needn’t take a long time. In this video, I’ll show you how to capture and process a focus stacked landscape photography in 5 minutes.
Focus Stacking - Capture and Process
When you first start to learn how to focus stack it can seem a bit overwhelming. It seems to be a bit complicated and not worth the effort. However, the complexity of the focus stack is very much dependent on the subject being photographed. Macro subjects are trickier to focus stack correctly.
What if you want to focus stack a landscape photograph though? I’m pleased to say the process is much easier and quicker. Despite the relative simplicity of the focus stacking process for landscape photographs, it’s not something I do that often. Sometimes it’s just not needed, and a single shot will yield sufficient sharpness, but when you do need it, you'll be glad you have the skills in your toolbox.
In the video below I aim to show you how straightforward to process can be to capture and process a focus stacked landscape photograph. You will rarely need more than four frames, but if you do the process remains the same. Once you can do it with a small number of frames, you have all the principle skills to allow you to do it with a larger number of frames.
Bonus Tips
To keep the content in the video concise and short I decided to only cover topics that were related to the process of creating the focus stack. For the readers of the blog though I’ve decided to give you a little extra value add by giving you a few extra tips.
The image with the finger - you will have seen in the video an image in the Lightroom film strip with my finger pointing up. What is this for? This image reminds me that the following images are part of a sequence. I use “finger up” for a focus stack sequence and “finger right” for a panoramic sequence. If you’ve captured lots of images, having these “finger” shots allows you to quickly pick out sequences of images in Lightroom.
Edit images before or after merging? - Should you apply your edits before you import the images to Photoshop, or after you have saved the stacked image? Personally, I make some very basic global edits before I load the images into Photoshop. Remember, if you change one image you will need to sync the changes to all the images you are going to use in the focus stack. After the photo merge in Photoshop, I will apply some local adjustments and any local/global sharpening.
Large files - depending on the number of images in the stack and size of the source files you may get a warning message from Photoshop when you save the file telling you that it is bigger than 2 TB. While you can save the file as a PSB I recommend selecting all the layers and flattening the image. This will make the resulting file much smaller but you won’t be able to modify the masking areas later without doing the focus stack again). It’s rare that I ever want to edit those masking areas again.
To Photoshop or Not - There are a number of dedicated focus stacking tools such as the excellent Helicon Focus but for most landscape focus stacks Photoshop does a good job. There’s no doubt that Helicon Focus is much faster and accurate, but this tends to only be a benefit with complex focus stacks (such as macro subjects).
Lightroom catalogue management and image editing - If you are interested on how I manage and edit my images in Lightroom, then check out my video on Lightroom Catalogue Management and Lightroom Image Editing.
That Focus Stacked Image
Here is the final image from the video so you can take a closer look.
Bowerman’s Nose Sunrise #7, Dartmoor, Devon - Nikon Z7, Nikkor Z 14-30mm f/4 at 17mm, 1/25th sec at ISO 64, f/8, Kase Filters K9 Polariser, 4 image focus stack.
Want a More Detailed Tutorial?
If you'd like to watch a more detailed video on focus stacking, and how to use the focus shift feature found in recent Nikon cameras, and deal with more complicated post processing scenarios, then check out my other video on focus stacking which you can see here.

Bite-Size Blog Post #5 - Two Tors
In the blog this week I visit Dartmoor to photograph one of my regular locations and to photograph somewhere new.
Two Tors
Thanks to the weather, the long days and the company of a good friend I managed to make a few trips to photograph Cornwall. I love shooting the Cornish coast. There’s just so much variety and there always seems to be somewhere new to discover and photograph.
As much as I love Cornwall, I don’t want to completely ignore my local area. In this bite-size blog post, I’m going to share with you some of the photographs I’ve been capturing from Dartmoor. There is a panoramic image from a new location, Bell Tor, and a couple of images from an old favourite, Belstone Tor.
My eyes have been opened to Bell Tor, and the surrounding area and I hope to make a video from this location soon. It has a lot of potential and I’m excited about the possibility of sharing it with you in a bit more detail. In the meantime, though please enjoy the photographs I captured.
Bell Tor
Bell Tor Panorama, Dartmoor, Devon - Nikon Z7, Nikkor Z 14-30mm f/4 at 19mm, f/8, 1/20th sec at ISO 64, 8 image panorama cropped at 6:17.
Belstone Tor
Belstone Tor Sunset #4, Dartmoor, Devon - Nikon Z7, Nikkor Z 14-30mm f/4 at 14mm, f/13, 0.6 sec at ISO 64.
Belstone Tor Sunset #2, Dartmoor, Devon - Nikon Z7, Nikkor Z 14-30mm f/4 at 18mm, f/13, 1.3 sec at ISO 64.
Belstone Tor Sunset #3, Dartmoor, Devon - Nikon Z7, Nikkor Z 14-30mm f/4 at 22mm, f/13, 1.6 sec at ISO 64.
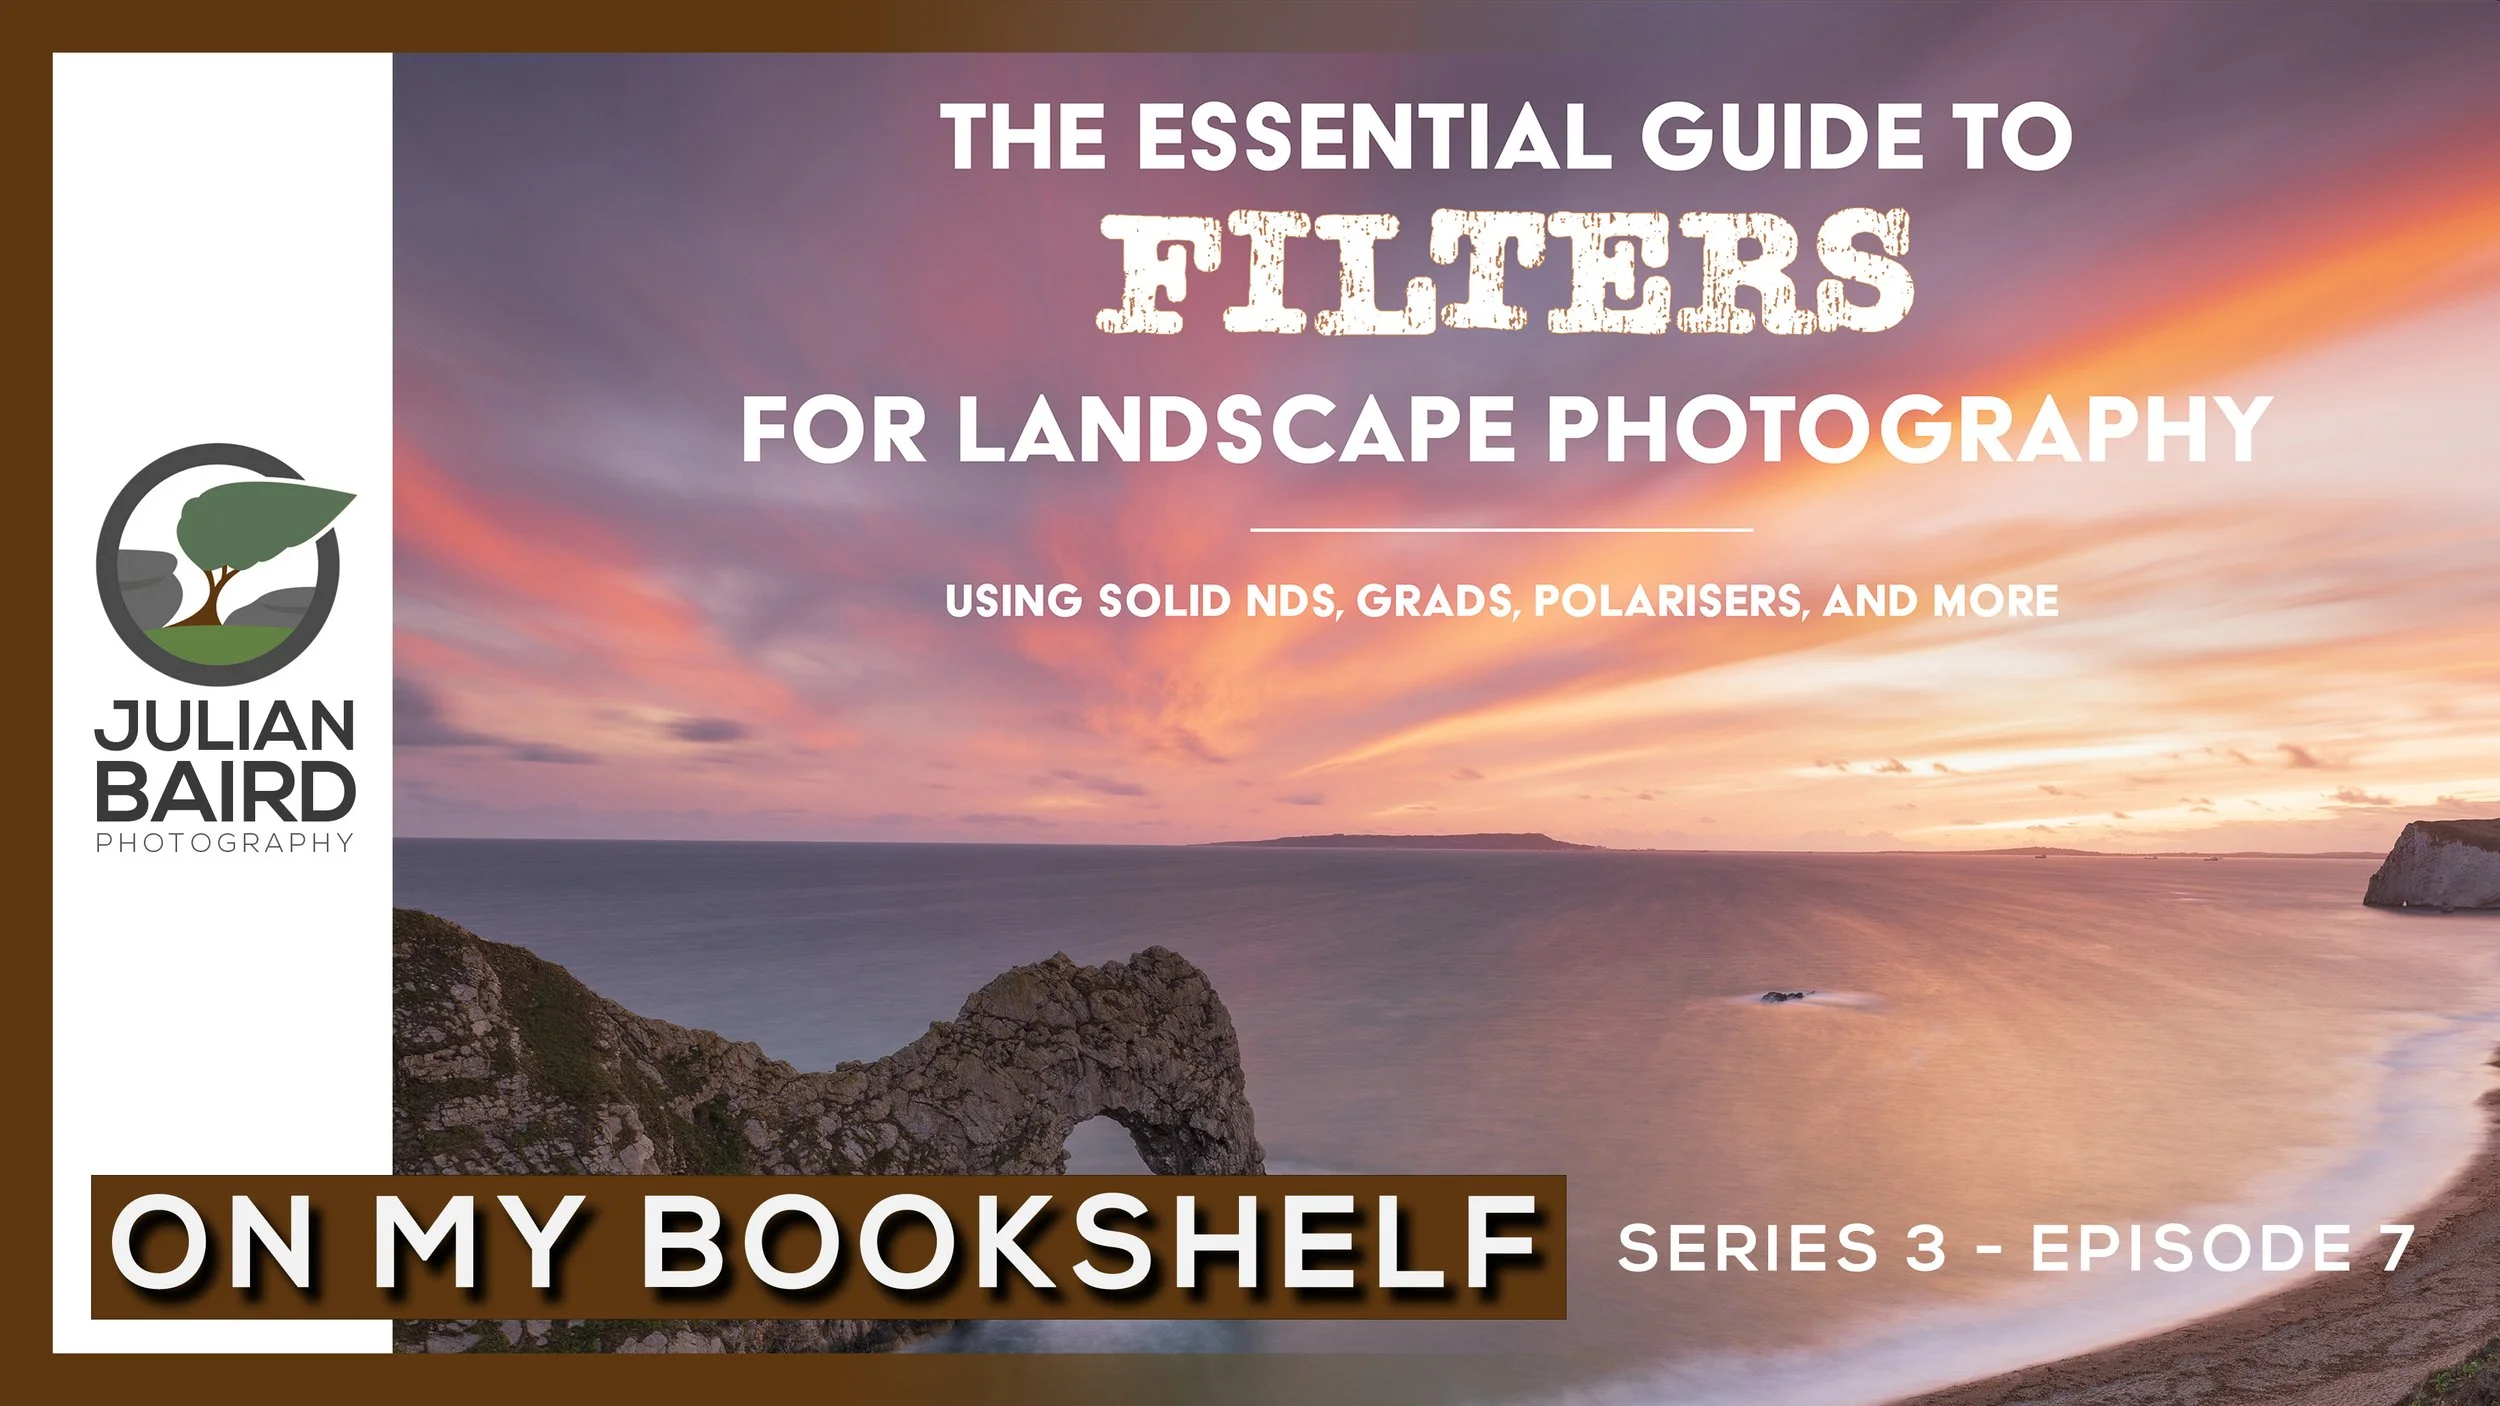
Essential Guide to Filters for Landscape Photography by Hoddinott & Bauer - On My Bookshelf S03E07
What are filters? Do I need filters? Which filters should I buy? How do I use filters? If you need answers to any of these questions, then the latest book to hit my virtual bookshelf could be the answer.
What Filters Should I Use for Landscape Photography?
Questions about filters is the one topic I get asked about more than any other. What filter kit should I buy? What filters do I need? All good questions and I do try and take the time to provide answers. However, I only use the Kase Filter system (which is very good by the way!) and a handful of filters so my experience of other brands and other types of filters is somewhat limited.
Up until now, there hasn’t really been a single, up to date, and comprehensive resource on filters for landscape photography. It would be nice to send people to a single resource where they can get all the information they need on which filters to buy and how to use them.
When Nature TTL announced that they were publishing a book by established photographers and renowned authors Mark Bauer and Ross Hoddinott, I knew I wanted to get a copy. After reading the book and seeing how comprehensive it was I knew I needed to feature it in an episode of On My Bookshelf so you could see for yourself if it might be a title for your bookshelf.
I hope you enjoyed this episode of On My Bookshelf. I thought it was an excellent book on filters for landscape photography and it will be a book that I will now recommend to anyone that has questions about filters. You can get a copy of the book right here.

Bite-Size Blog Post #4 - Day Out on Dartmoor
One day, three locations! There is plenty to photograph when you have a full day to spend on Dartmoor.
Dartmoor
I’m no stranger to photographing Dartmoor. You’ll often find me arriving first thing in the morning before the sun is up or waiting near a tor for the sun to set. What doesn’t happen very often is that I spend the day photographing Dartmoor.
A few weeks ago I was asked by a fellow photographer if I wanted to join him for the day and participate in a shoot for a magazine. When an opportunity like this is presented to you the only answer should be yes!
Though shooting during the middle of the day isn’t normally my favourite time of day for landscape photography it was actually a good experience. Given the right conditions and light, there are still plenty of great photographs to be had.
We visited Bowerman’s Nose, Emsworthy Tor and Brentor. I hope you enjoy the photos!


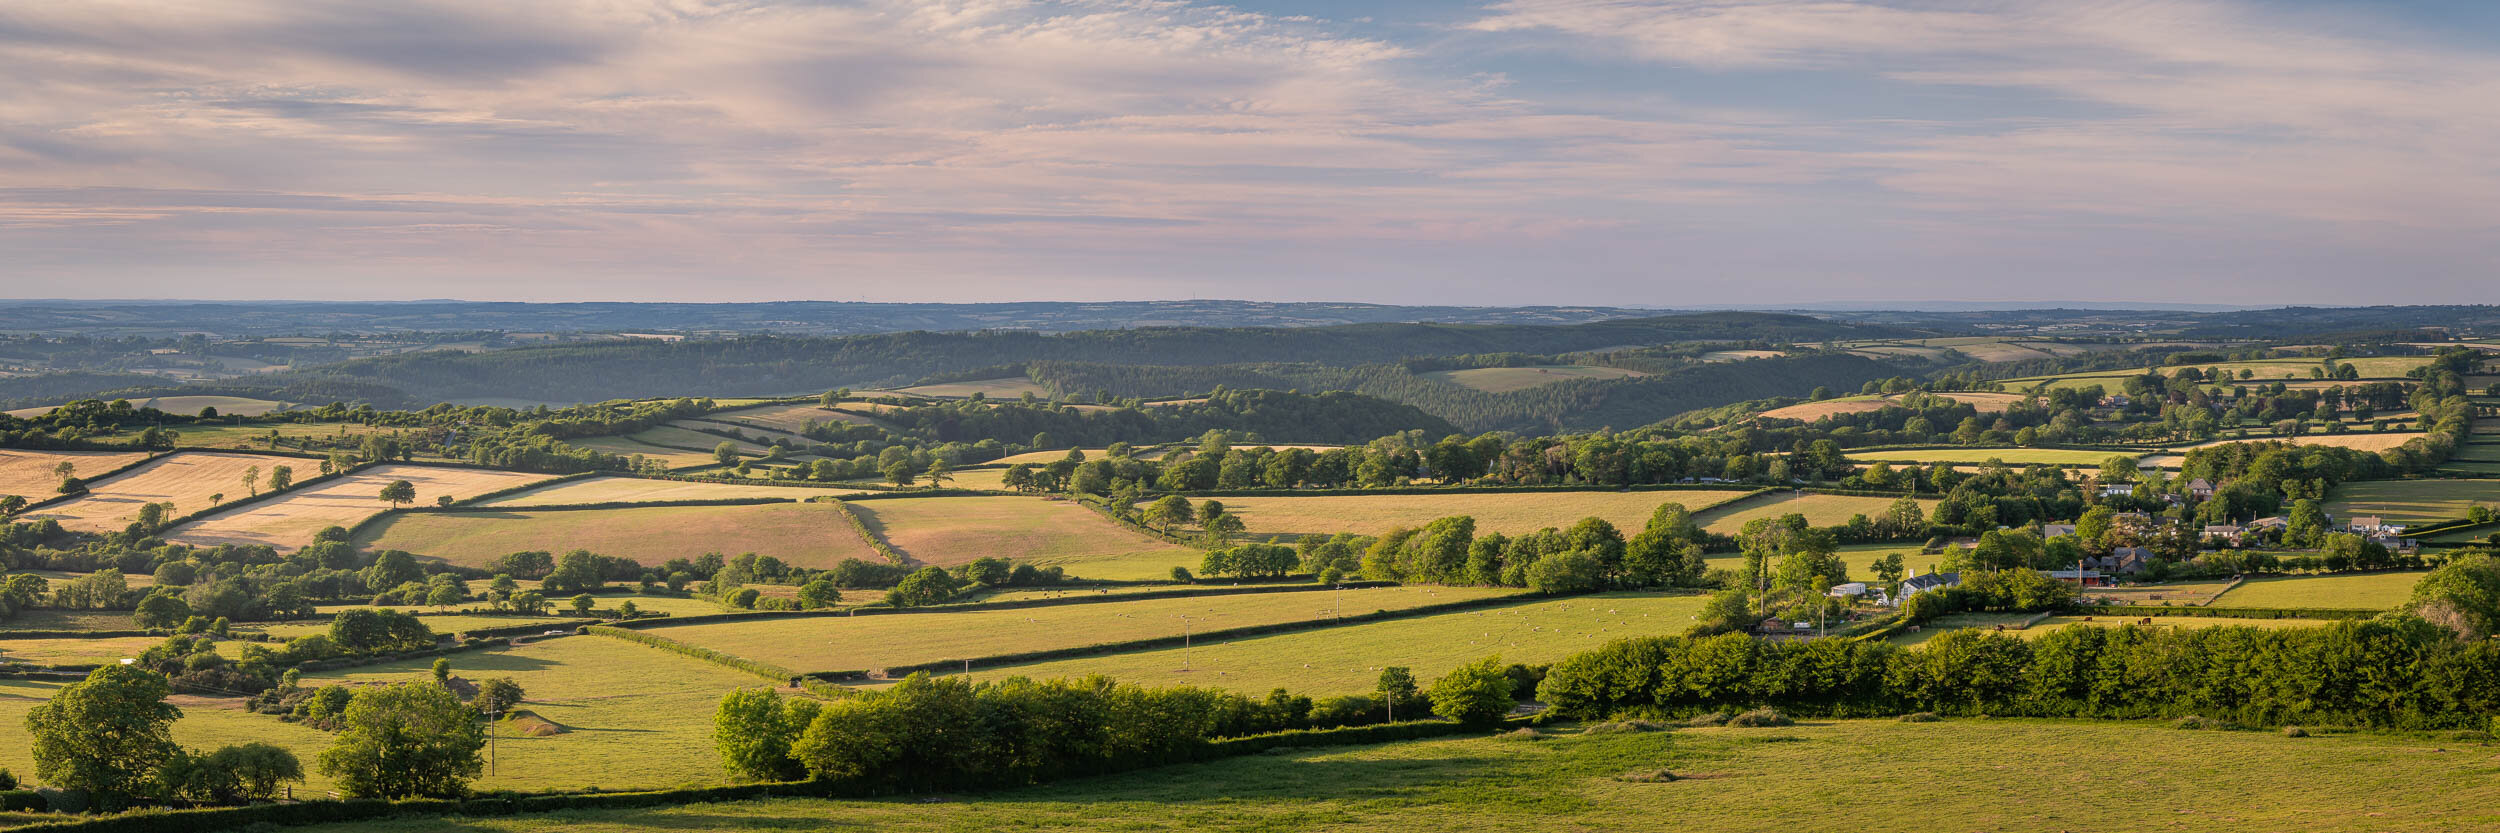


Bite-Size Blog Post #3 - Sandymouth
In this Bite-Size Blog post I share with you the photographs I captured after a near disastrous trip to Sandymouth Beach in Cornwall.
Sandymouth Beach, Cornwall
Yes, another week, another Cornish Beach to photograph. However, this trip was almost a disaster! My original plan was to go there and photograph the patterns in the sand that sometimes get left by the receding tide. Like my previous visits that you see here and here.
With high tide at 7:30 pm and sunset around 9:30 pm I thought my timing would be perfect. The only thing I thought I had to worry about would be people walking all over the freshly washed sand. How wrong was I! When I arrived at 7:30 pm I realised just how high the tide gets there. There was no beach to photograph. Even with two hours to go before sunset I still wasn’t sure there would be anything to photograph.
I stuck with it and as 9 pm came around some of trock formations started to make an appearance. I wouldn’t be photographing the sand pools that I was hoping for, but these lines of rock might just save the day. The forecast was for clear skies but just as I was able to access the beach the sun disappeared behind a bank of cloud. I wasn’t going to let that put me off though and I got to work capturing these images.
I have since made a note in my location library for Sandymouth not to visit at high tide!
Sandymouth Rocks #1, Cornwall - Nikon Z7, Nikkor 14-30mm f/4 at 18mm, f/13, 1.6 seconds at ISO 64, Kase Filters K9 Circular Polariser, ND Grad and ND.
Sandymouth Rocks #2, Cornwall - Nikon Z7, Nikkor 14-30mm f/4 at 18mm, f/13, 1.3 seconds at ISO 64, Kase Filters K9 Circular Polariser, ND Grad and ND.
Sandymouth Rocks #3, Cornwall - Nikon Z7, Nikkor 14-30mm f/4 at 14mm, f/13, 1.3 seconds at ISO 64, Kase Filters K9 Circular Polariser, ND Grad and ND.
Sandymouth Rocks #4, Cornwall - Nikon Z7, Nikkor 14-30mm f/4 at 15mm, f/13, 4 seconds at ISO 64, Kase Filters K9 Circular Polariser, ND Grad and ND.
Sandymouth Rocks #5, Cornwall - Nikon Z7, Nikkor 14-30mm f/4 at 19mm, f/13, 2.5 seconds at ISO 100, Kase Filters K9 Circular Polariser, ND Grad and ND.

Bite-Size Blog Post #2 - Porthcothan
In this Bite-Size Blog post I share with you the photographs I captured while wandering the beach at Porthcothan in Cornwall.
Porthcothan Beach, Cornwall
Welcome to the 2nd Bite-Size Blog Post and this week I bring you images from Porthcothan Beach in Cornwall. In case you don’t know what my Bite-Size Blog Posts are then why not check out Bite-Size Blog Post #1.
My evening at Porthcothan is what you might describe as typically Cornish! The weather started fairly settled but as sunset approached the clouds rolled in and it got a little stormy. This doesn’t mean the photography stops though! Some of the best pictures can be captured during this time. There was no way I was leaving the beach early so I carried on shooting until it got dark! It’s evenings like that when I appreciate living so close to the coast. While many photographers dislike summer because of how green everything looks. I, on the other hand, look forward to spending more time at the coast.
I hope you enjoy the photographs and they inspire you to the head to the coast.
Porthcothan Beach #1, Cornwall - Nikon Z7, Nikkor 14-30mm f/4 at 15mm, f/13, 2 sec at ISO 200, Kase Filters K9 Circular Polariser and ND Grad.
Porthcothan Beach #2, Cornwall - Nikon Z7, Nikkor 14-30mm f/4 at 16mm, f/13, 2 sec at ISO 400, Kase Filters K9 Circular Polariser and ND Grad.
Porthcothan Beach #3, Cornwall - Nikon Z7, Nikkor 14-30mm f/4 at 14mm, f/13, 3 sec at ISO 400, Kase Filters K9 Circular Polariser and ND Grad.
Porthcothan Beach #4, Cornwall - Nikon Z7, Nikkor 14-30mm f/4 at 19mm, f/13, 1 sec at ISO 64, Kase Filters K9 Circular Polariser and ND Grad, single image pano crop (6:17)..
Porthcothan Beach #5, Cornwall - Nikon Z7, Nikkor 14-30mm f/4 at 14mm, f/13, 2 sec at ISO 200, Kase Filters K9 Circular Polariser and ND Grad.

Bite-Size Blog Post #1 - Perranporth
In the first of my Bit Size Blog posts I share with you the images I captured on a trip to the beach at Perranporth in Cornwall.
What are Bite-Size Blog Posts?
Welcome to the first Bite Size Blog Post! So, what are they I hear you ask? Simply put they are very short blog posts. They allow me to share some of the photographs I have recently been capturing without writing lots of associated text. Don’t worry though, this doesn’t mark the end of my normal blog posts.
I’ve decided to do this now as I’m just about to go on my summer holidays and I’d like to have some content to share with you while I’m away or just after I get back. It’s unlikely that I’ll do any serious photography while I’m away and I don’t want to have nothing to share with you the first weeks after I get back.
I hope you won’t mind the odd Bite Size Blog Post and that you will find the picture heavy posts interesting or inspiring. Let me know your thoughts in the comments below.
Perranporth
For the first Bite-Size Blog Post, I would like to share with you some of the photographs I captured from Perranporth Beach in Cornwall. This trip out with the camera marked the start of the recovery of my photographic mojo (something you can read about here). Both my friend and I were initially doubtful that it would prove to be a fruitful evening. How wrong we were! After spending the first hour walking along the beach chatting it suddenly fell silent as we scrambled to make the most of the evening light.
It was a long drive to Perranporth, but I hope you agree that it was worth it.
Perranporth Beach #1, Cornwall - Nikon Z7, Nikkor 14-30mm f/4 at 14mm, f/13, 1/3rd sec at ISO 64, Kase Filters K9 Circular Polariser and ND Grad.
Perranporth Beach #2, Cornwall - Nikon Z7, Nikkor 14-30mm f/4 at 14mm, f/13, 1/3rd sec at ISO 64, Kase Filters K9 Circular Polariser and ND Grad.
Perranporth Beach #4, Cornwall - Nikon Z7, Nikkor 14-30mm f/4 at 16mm, f/13, 1 sec at ISO 64, Kase Filters K9 Circular Polariser and ND Grad.
Perranporth Beach #4, Cornwall - Nikon Z7, Nikkor 14-30mm f/4 at 14mm, f/13, 1 sec at ISO 64, Kase Filters K9 Circular Polariser and ND Grad.

Stormy Combestone
After a day procrastinating on where to go I decide to head to Combestone Tor where they weather turns out to be a little stormy!
Procrastination
I keep saying to myself that I need to be a little more spontaneous with the locations I shoot but I struggle to let go of the side of me that likes to plan. For me, a plan is a recipe for success, or at the very least, a way to maximise the chances of success. I do like the longer days that spring and summer bring as this allows for more sunset shoots, but this has the downside that it gives me the whole day to procrastinate on where I should be going!
The evening I took these pictures was no different. I had been scanning my map trying to decide if I should go to the coast, or head up to Dartmoor. Even after deciding, I couldn’t make up my mind to go somewhere I knew or venture to a new location. I was feeling a little indecisive!
After checking maps and weather forecasts for what felt like hours, I decided that I would pay a visit to Yar Tor, a location that I had not visited in any capacity before. I’d seen a few photos of it on Flickr and I thought it looked interesting enough to warrant some investigation. The weather forecast was looking unsettled, but this could work in my favour.
Flying Visit or Final Destination
As I planned my route there, I noticed that I would drive by the car park for Combestone Tor. I had visited this location briefly in February, but the conditions were foul, and l left without taking the camera out. I had a bit of spare time so I decided that I would stop there first and give it another look.
When I arrived at Combestone I left my camera bag in the car and went to have a look around. I was surprised how differently I was seeing this location compared to my previous visit. I still wasn’t convinced that I was going to get any great shots from Combestone that evening, but I was sure it was worth heading back to the car to get my camera.
My attention was focused on the hawthorn trees rather than the tor itself. There are a few of them dotted around the area of the tor and each one was distinctly different from the other. The light was still quite harsh but if I waited closer to sunset, I could end up with some nice soft side lighting. I, therefore, had a choice to make. I could either wait it out at Combestone to see what would happen or carry on to Yar Tor.
Combestone Hawthorn #1, Dartmoor, Devon - Nikon Z7, Nikkor 14-30mm f/4 at 23mm, f/8, 1/30th sec at ISO 64, Kase Filters K9 circular polariser.
As I looked at the incoming stormy weather, I decided that to change my visit to Combestone from flying visit to my final destination.
Stormy Weather
One of the great things about being up on Dartmoor is you can often see the weather approaching. This is especially true when a storm front is coming in to replace clear skies. You can often see the tops of the incoming cumulonimbus cloud and they look hugely impressive. These big storm clouds will also bring heavy rain showers which you can also watch travel over the landscape.
Combestone Hawthorn #3, Dartmoor, Devon - Nikon Z7, Nikkor 14-30mm f/4 at 22mm, f/8, 1/160th sec at ISO 800, Kase Filters K9 circular polariser.
The storm clouds were transforming the look of the landscape and I was very much enjoying the process of integrating them into my compositions. I wasn’t sure how long I was going to be able to enjoy this weather though. I could already see that the sun was going to disappear behind the clouds well before sunset and I was sure to get a soaking before too long.
Combestone Hawthorn #2, Dartmoor, Devon - Nikon Z7, Nikkor 14-30mm f/4 at 20mm, f/8, 1/13th sec at ISO 64, Kase Filters K9 circular polariser.
With the weather moving in quickly I had to work fast to make the most of the interesting weather. Unlike my previous visit in February I was more inspired to seek out compositions. I still wasn’t feeling inspired by the tor itself. I just couldn’t seem to find a pleasing composition. I found the hawthorn trees far more interesting and I like the way I could integrate them into the compositions along with the weather.
Combestone Hawthorns - Approaching Storm, Dartmoor, Devon - Nikon Z7, Nikkor 14-30mm f/4 at 18mm, f/8, 1/25th sec at ISO 64, Kase Filters K9 circular polariser, 8 vertical image panorama.
It wasn’t long before the rain started and when it did it was heavy! Fortunately, the walk from the tor to the car park is only a few meters so I escaped a soaking. By the time I was back in the car, the rain was bouncing off the bonnet. As I started the drive home with the windscreen wipers working furiously, I was excited to get home and start processing. After all my procrastination earlier in the day I was glad that I’d made the effort to get out with my camera.

A Detour to Daymark
A sudden change of plan finds me visiting one of my favourite locations but with dreary grey conditions, was it worth the diversion?
A Last-Minute Change of Plan
If you are a long-time reader of my blog, you’ll know that I can be a little indecisive at times. I spend a lot of time procrastinating on where to go next. A few weeks ago, I found myself being a little more assertive and made some definite plans to explore a new location along the south Devon coast. That decision went right out of the window as I reached the end of M5 and started heading up Haldon Hill.
As I was driving along the final few miles of the M5 I suddenly remembered that I hadn’t photographed Daymark Tower this year. As I’d been in lockdown for much of spring many of my seasonal favourites had passed me by this year. I prefer to photograph Daymark Tower just before the crops are due to be harvested and as I was driving along it suddenly dawned on me that I might not be too late to catch the crops.
I could have carried on to my original destination, but I thought this could be my first and last chance to shoot Daymark with the crops so I made a left turn instead of a right turn. I hadn’t checked the weather for Daymark Tower, but I didn’t think it would be any worse than the forecast at my original destination, so I had nothing to lose.
A Macro Lens for Landscapes?
After parking the car and walking along the path to the tower I was pleased to see the crops hadn’t been cut and this wasn’t going to be a wasted trip. The weather was looking a bit overcast and the chances of getting any nice evening light were slim. However, I thought this would be a wonderful opportunity to try and be a little bit more creative.
My go-to composition at Daymark is a wide-angle shot of the tower from the path near the gate. This works well when you have good light from behind but as that wasn’t an option, I decided that some longer lens shots would be in order. My only problem was that the 70mm end of my 24-70mm wasn’t long enough, and I’m still waiting for delivery of my 24-200mm lens. I did, however, have the foresight to pack my Laowa 100mm macro lens. Just because it’s a macro lens doesn’t mean it can’t shoot landscapes!
Daymark Tower #1, Devon - Nikon Z7, Laowa 100mm f/2.8 2x Macro at f2/.8, 1/50th of a second at ISO 64.
Without the evening light to provide contrast to the foreground, and a surprising lack of tractor lines in the crops I decided that the only subject worth focusing on was the tower. I decided, therefore, to open the aperture on the lens to f/2.8 and focus just on the tower, effectively throwing most of the foreground out of focus. This had the effect of simplifying the scene and though I prefer my compositions of Daymark that have the light on them, these shots work well considering the conditions. What do you think? Let me know in the comments.
Daymark Tower #2, Devon - Nikon Z7, Laowa 100mm f/2.8 2x Macro at f2/.8, 1/50th of a second at ISO 64.
Just a short blog post from me this week. I’m having a little time off from everything to spend it with the family. Don’t worry though, I’ve got another blog post ready to go for next week where I tell you about how some stormy weather produced some unexpectedly pleasing images.

Back to Bowerman's Nose - Part 2
In part two of my two-part blog from Bowerman’s Nose, I return to capture my planned images of sunrise.
Sunrise at Bowerman’s Nose
In part one of this two-part blog from Bowerman’s Nose, I talked about returning to one of my favourite locations, planning for a sunrise shoot and sharing with you some of the images I took that evening. In part two I’m going to share with you the story and images from my sunrise shoot at Bowerman’s Nose.
At first, I wasn’t sure if the forecast conditions were going to be worth the 03:30 alarm call. As much as I love sunrises rise there is still something about a 03:30 alarm call that still fills me with dread. I’m much happier to take a risk on a 5 am alarm call, but anything alarm call that starts with 3 am needs to carefully be considered. Without a clear and concise weather forecast, I should have just postponed for another day but the images I had captured in part 1 had inspired me to take a risk. I set my alarm for 03:30 and crossed my fingers.
The alarm went off and by the time I was in my car with a large, strong cup of coffee, I was surprisingly upbeat and excited. Even before I set off, I could see the sky was looking interesting so I was hopeful that my early alarm call might pay off.
Around Sunrise
Even though I had explored the area at sunrise to try and work out where I would want to shoot from at sunrise, there was still an element of working out on the fly. You can plan and visualise all you want but sometimes it’s not until you are there, and you can see what the light is like that you can work out what your compositions are going to be for that particular trip.
Bowerman's Nose Sunrise #1, Dartmoor, Devon - Nikon Z7, Nikkor 14-30mm f/4 at 16mm, f/13, 5 secs at ISO 64, Kase Filters K9 circular polariser.
I don’t mind having this unknown element in my plans. It adds a little excitement to the adventure! As the sun rose the colours and the light continually changed forcing me to move around the location trying out different compositions.
Bowerman's Nose Sunrise #2, Dartmoor, Devon - Nikon Z7, Nikkor 14-30mm f/4 at 20mm, f/11, 0.4 secs at ISO 64, Kase Filters K9 circular polariser.
One of the main changes between shooting the tor at sunrise is that it becomes possible to photograph it from the other side. The side I show in these photographs would typically be in shadow at sunset. I found it interesting to see how different the tor looked at this angle.
Bowerman's Nose Sunrise Panorama #1, Dartmoor, Devon - Nikon Z7, Nikkor 14-30mm f/4 at 20mm, f/11, 1/6th secs at ISO 64, Kase Filters K9 circular polariser, 7 image stich panorama.
After Sunrise
After capturing my sunrise images, I packed my back and intended to go home. I had been exploring the hill behind the tor and as I descended back down the hill, I began to wonder what some of my sunset composition would look like with the light coming from a different direction. As I had plenty of time to spare, I decided to hang around a little longer and wait for the sun to get high enough to illuminate the areas of the ground currently in shadow.
Bowerman's Nose Sunrise #3, Dartmoor, Devon - Nikon Z7, Nikkor 14-30mm f/4 at 17mm, f/8, 1/30th secs at ISO 64, Kase Filters K9 circular polariser, 4 image focus stack.
It took a little longer than I thought for the light to reach those areas and I was starting to get concerned that the light would then be too harsh. Fortunately, even though it was an hour after sunrise, the light remained soft and golden, illuminating the foreground nicely. Though the compositions are like those that I might take at sunrise, I like the way the light from the rising sun makes them subtlety different.
Bowerman's Nose Sunrise #4, Dartmoor, Devon - Nikon Z7, Nikkor 14-30mm f/4 at 15mm, f/11, 1/80th secs at ISO 64, Kase Filters K9 circular polariser.
After taking those images I felt I’d had a successful morning and I’d captured some nice images. At the very least I felt that the 03:30 alarm call was well justified. Even without the photographs, it was a beautiful morning up on Dartmoor. With light winds and warm (for Dartmoor) temperatures, it was one of those mornings where is just fantastic to watch the start of the day.
As I left Bowerman’s Nose, I started to feel tired and hungry but also delighted that I’d made the effort to get up early. I love the buzz you get when you just know you’ve got some images on your memory card that are going to process well.
One thing is for sure, I will be returning to Bowerman’s Nose for another sunrise shoot. I won’t, however, be looking forward to that very early alarm call!