
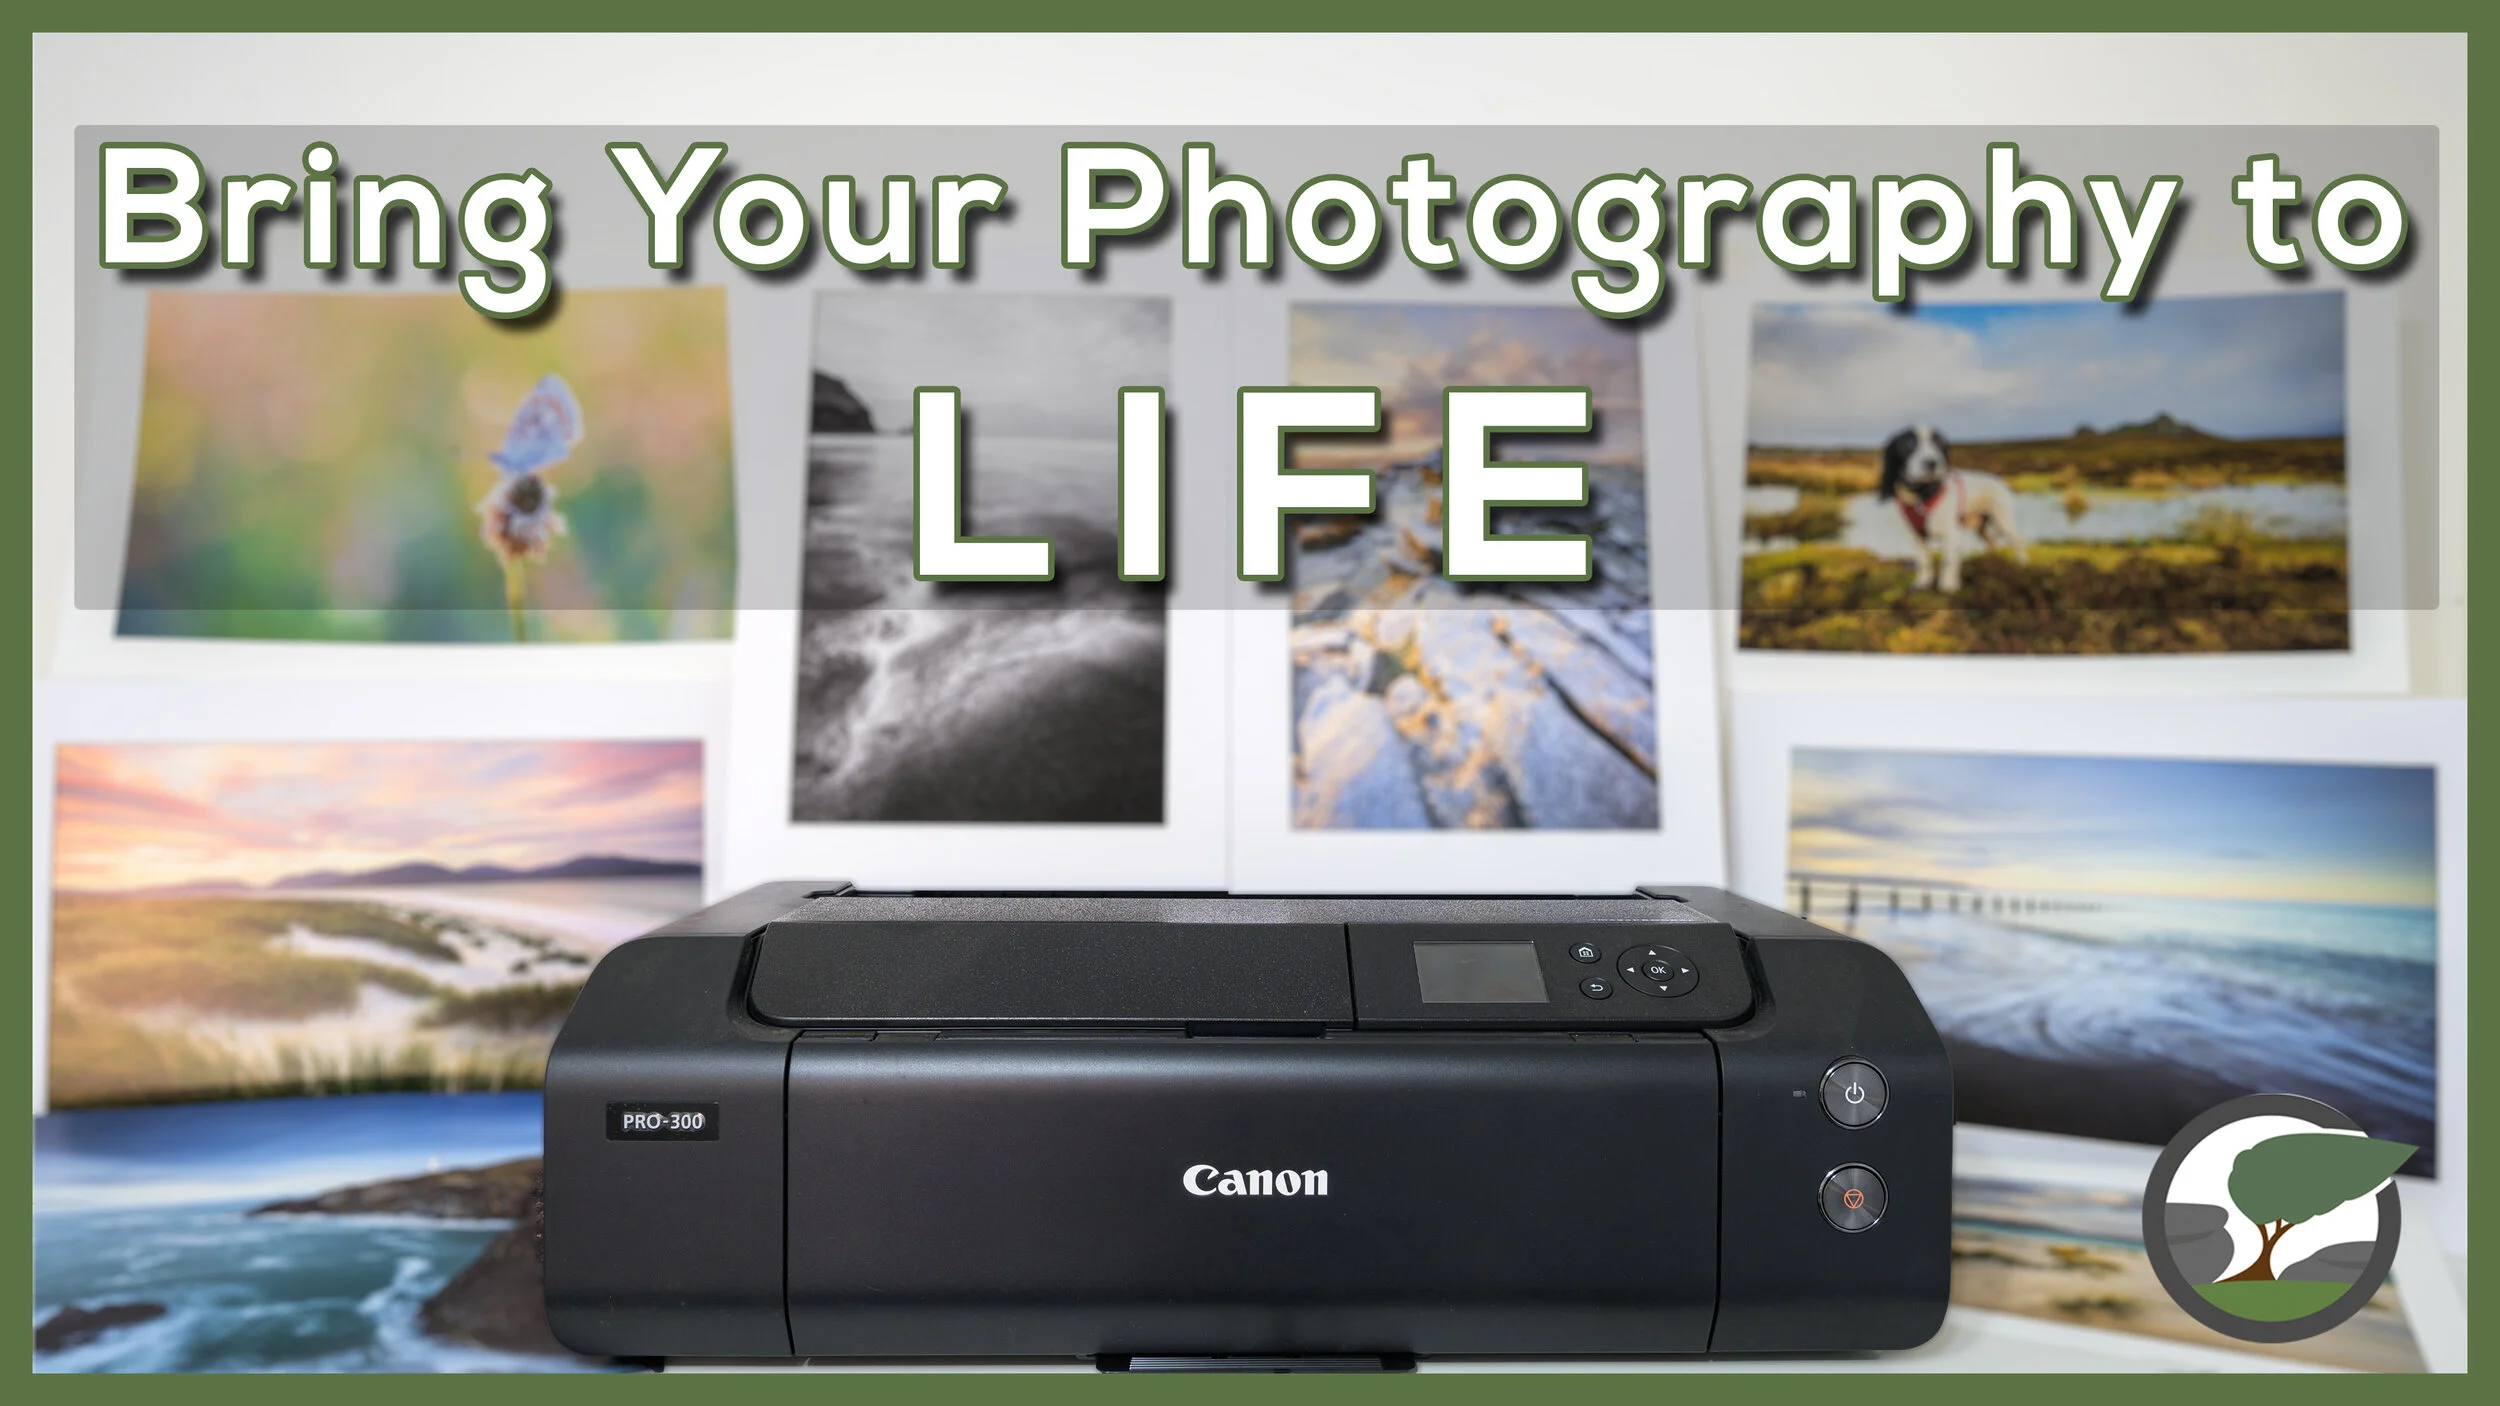
Bring Your Photography to LIFE with the Canon imagePROGRAF Pro-300
If you're not printing your photographs, then you are missing out on an important part of the photography experience. In my latest video I look at what the Canon imagePROGRAF Pro-300 printer with Fotospeed papers could do for your photography.
Print Your Photography!
If you’ve been reading my blog for a while, you’ll know how passionate I am about printing my photography. For me, the photographic process isn’t complete until I’ve made a print! There is something hugely satisfying in watching one of your photographs come to life as it feeds out the printer.
When I took delivery of a Canon imagePROGRAF Pro-300 printer I thought it was an excellent opportunity to share a video that not only looks at the technical aspects of this printer but also show why printing your photographs is so important. Most of all I wanted to show that printing can be fun and rewarding.
It’s a jam-packed video and rather than repeat the content in text form here, I’ll let you enjoy the video.
Links, Products and Other Videos
I mentioned a lot of blog posts, videos, and products in my video, so I’ve decided to list them below for your convenience.
You can buy the Canon imagePROGRAF PRO-300 from Fotospeed here.
Here are the Fotospeed papers I used in this video:
I purchased my mounts and frame from Picture Frames Express
Here is a list of the other videos I mentioned:
Here is a list of the links I mentioned in the video:

Bite-Size Blog Post #14 - Lost in the Woods
In this bite-size blog I head to a local forest to capture some woodland images.
Lost in More Ways Than One
I follow the work of a number of photographers who either specialise in or produce woodland photography. It’s a genre of photography that amazes me. I can appreciate the art form and the skill required to not only technically capture the image, but to also find the composition.
I know that mastering woodland photocomposition is a skill because I try it myself every now and again and fail miserably. The photographs that feature in this bit-size blog are example of how I struggle with the art of woodland photography.
Haldon Forest #1, Devon - Nikon Z7, Nikkor 24-200mm f/4-6.3 at 33mm, f/4.8, 1/400th sec at ISO 2500.
Until lockdown kicked in at the start of January, I had been visiting Haldon Forest to walk my dog, Monty. Through my exploration of this extensive woodland, I came across several views that I thought might make for a good photograph.
When I returned with the camera though I was presented with the harsh reality of how hard it is to turn a nice woodland view into a compelling photograph. If I consider this problem, it’s no different from turning up to a big wide-open vista on Dartmoor and not knowing how to create a photograph from it. It’s just that I have a little more skill and practice with capturing that type of photograph.
Haldon Forest #2, Devon - Nikon Z7, Nikkor 24-200mm f/4-6.3 at 170mm, f/6.3, 0.6 sec at ISO 64.
I’m not foolish enough to think that I can just swan up to a woodland and start capturing amazing images. Like any form or genre of photography, it requires an investment in time to become proficient and I certainly haven’t spent anywhere near enough time practicing my woodland photography.
Haldon Forest #3, Devon - Nikon Z7, Nikkor 24-200mm f/4-6.3 at 130mm, f/6.3, 1/5th sec at ISO 64.
While the “practice” images in this blog post will not win me any awards they do remind me of the fun I had capturing them. There are many things I love about photography but perhaps the most rewarding thing is just being outdoors and experiencing nature. I just hope I can get back to nature soon.

Bite-Size Blog Post #13 - A Little Bit of Dartmoor
In this bit size blog I share with you the last of my pre-lockdown Dartmoor photographs.
Greator Rocks
Last year (2020) I spent a lot of time capturing photographs around the Haytor area. It’s an area full of wonderful locations but as the year ended, I was starting to think that I had photographed them all. Now, that’s not to say that I was done with the locations I had visited. Far from it. Many of these locations will continue to deliver amazing photography opportunities and new compositions. It’s hard to get bored of Dartmoor. Especially with the changeable conditions that only Dartmoor can deliver.
That all said, I’m still on the lookout for new locations or locations I’ve only visited briefly. As I looked on my locations map, I spotted Greator Rocks. It’s a location that I have walked to a few times, but I only remember photographing it once (and unsuccessfully). I thought it was time for a return visit with the camera.
I was excited about visiting Greator Rocks again, but for some reason, I lost my mojo when I got there. I just couldn’t get into the flow. I’m not sure if it was the location, the conditions, or I simply wasn’t in the zone that morning. It happens. Anyway, here is a couple of shots from that morning.
Greator Rocks Sunrise #1, Dartmoor, Devon - Nikon Z7, Nikkor 14-30mm f/4 at 17mm, f/11, 1/13th sec at ISO 64.
Greator Rocks Sunrise #2, Dartmoor, Devon - Nikon Z7, Nikkor 14-30mm f/4 at 15mm, f/11, 1/10th sec at ISO 64.
Great Staple Tor
We finish of this bit-size blog post with an image I captured from Great Staple Tor. While it’s far from one of my best images, I’ve decided to share it because it’s the last photograph I will be sharing from Dartmoor for a little while. The reason won’t come as any surprise. Lockdown. Unfortunately, until the current restrictions are reduced, I am unable to visit Dartmoor to photograph it. I miss it greatly, but I take comfort in the fact that it will still be there, cold, wet, and windy, when sprint arrives
Don’t panic though! This isn’t the end of the blog. I’ve still got some pre-lockdown photographs to share with you and some new videos in the works, so stay tuned!
Great Staple Tor, Dartmoor, Devon - Nikon Z7, Nikkor 14-30mm f/4 at 14mm, f/11, 1/15th sec at ISO 64.

A Day Out to Kynance Cove in Cornwall
In the blog this week I explore the area around Kynance Cove.
Deep into Cornwall
During the spring and summer months, you’ll often find me making journeys down the A30 into Cornwall. With the increased number of daylight hours that these seasons provide I can venture further into Cornwall and explore the nooks and crannies of this most beautiful part of the South West Coast Path.
Even with those longer days, getting deep into the south-west corners of Cornwall for landscape photography is still a challenge for me. Well, I say it’s a challenge, but the biggest problem is with me and my willingness to travel that far. It’s a case of risk vs reward. With some locations being 2 to 2.5 hours drive, I have to be very certain that the effort (and cost) or driving there is going to yield worthwhile results. Unfortunately, the weather forecast is rarely that concrete.
A Winter Excursion
Saying all that though, sometimes all you need is a bit of extra encouragement. In this case, it came from a good friend of mine who also happens to be a photographer. He was also looking to do some exploration of the south-west area of Cornwall so when he suggested we head down towards Kynance Cove one day in December I jumped at the chance. Even if the photography turned out to be poor it would be a fantastic opportunity to catch up with a mate.
Dawn
After a long drive in the dark, I met my friend in the Kynance Cove car park. We chatted through our car windows (UK tiering restrictions were in place at the time) and wondered if we had done the right thing coming all this way. It was cold and wintery and neither of us fancied getting out of our nice warm cars.
This reluctance to get out of the car didn’t last long though and soon enough we were walking along the South West Coast path to find the first of our photography viewpoints.
Kynance Cove #1, Cornwall - Nikon Z7, Nikkor Z 24-70 f/4 at 29mm, f8, 4 sec at ISO 64, Kase Filters K9 CPL and ND.
The views were stunning, but the conditions less so. The wind and rain I can cope with, but flat grey light is always a challenge. That’s not to say you can’t get a photograph in those conditions, but you do have to work that bit harder to make it work. I’m not sure I managed it with that first image.
Kynance Cove #2, Cornwall - Nikon Z7, Nikkor Z 24-70 f/4 at 34mm, f11, 1 sec at ISO 64, Kase Filters K9 CPL.
I much prefer the result of the second photograph. Though the photograph would benefit from light and some interest in the cloud, the drama of the sea as it crashes around the coastline make for a pleasing image.
With no sign of the weather improving, we continued to explore the area making notes of any viewpoints that we might want to return to that day or at a later date.
Daytime

Landscape photography is demanding work!
After any dawn shoot, there is nothing better than grabbing a cooked breakfast and a cup of coffee and that is exactly what we did when we drove onwards to Lizard. As we ate breakfast, we discussed what we might do next and which other locations we might explore. As this was December, we didn’t have many daylight hours to work with so the more we discussed it the more we decided to keep it simple.
As we were in Lizard it seemed sensible to head to Lizard Point to see what we could see. We had a good walk about the area but couldn’t get inspired so decided to head to one of the cafes and have an oversized piece of cake!
The more we discussed what to do next, the more it became apparent that we should head back to Kynance Cove. The time between 2 pm and sunset would soon fly by and we felt it was best not trying to cram too many locations in and find ourselves in a hurry.
Kynance Cove #3, Cornwall - Nikon Z7, Nikkor Z 24-70 f/4 at 31mm, f8, 1.3 sec at ISO 64, Kase Filters K9 CPL.
Returning to Kynance Cove around 1;30pm I captured the image above and as it turns out, my favourite of the day. Though shooting in the middle of the day is rarely my favourite time, the combination of light, movement in the seas and the big clouds in the sky make it my favourite photograph of the day. I was glad we had returned to Kynance Cove and things were looking positive for sunset.
Sunset
Sunset was fast approaching when moved further south down the coast to see what else we might photograph. The conditions were more favourable than those we experienced at dawn, and despite some dramatic skies, I did find myself struggling.
Kynance Cove #4, Cornwall - Nikon Z7, Nikkor Z 14-30mm f/4 at 14mm, f13, 4 sec at ISO 64, Kase Filters K9 CPL and ND.
I’m relatively pleased with the image above. The side light from the setting sun has added depth to the foreground, and there is an impressive storm cloud in the sky, but for me, the image is lacking something. Perhaps it has too much contrast or there simply isn’t a strong focal point. Maybe it’s an image I need more time with. Not all photographs are instant winners!
Kynance Cove #5, Cornwall - Nikon Z7, Nikkor Z 14-30mm f/4 at 24mm, f13, 2 sec at ISO 64, Kase Filters K9 CPL.
I have similar feelings and reservations about the last of my photographs as well. It’s not a bad photo but I feel it is lacking something that would make it a great photo.
As the sun set, we packed up, walked back to the car park, and discussed the day. For me, it was a difficult day. Sometimes you go out with the camera and you know as soon as you take a photograph that you will be happy with the result. Other times like on this trip, it isn’t until you process a few images that you realise that you managed to capture a couple of good images. That image I captured during the day was the saving image of the day. I was pleasantly surprised by that one.
Overall, though, I had a fantastic day. Exploring Kynance Cove was a joy, but what made the day was spending time with a mate chatting, eating, and drinking. If I hadn’t had the company of a friend I don’t think I would have spent the drive home feeling it had been a good day out. Landscape photography can be a solitary past time, but never underestimate the power of company to turn a challenging day into a fun day.
Capture or Editing - Which Has the Biggest Influence on Landscape Photography?
How much of a photographer’s vision is realised in post processing? Is the look of a landscape photograph fixed at the point of capture? Can one raw file produce two different photographs? In this post, I aim to answer this question by editing another photographer’s raw file in Lightroom.
Virtual Collaborations
Collaborations can be a great way to discover more about your photography. They can also be a lot of fun. That being said I don’t do them that often. I tend to only do them with photographers I know and trust, and when the idea is unique or interesting. They require a fair bit of planning and coordination, but they can be rewarding if they benefit everyone involved in the collaboration.
Time is perhaps the biggest enemy of collaborations, but in recent months it’s been a very different issue. I don’t need to go into too much detail here. I’ll just mention the word “lockdown” and you’ll know exactly what I mean.
With travel not possible I found myself a bit stuck for collaboration ideas when I was chatting to my mate and fellow photographer Chris Sale the other day. We were both looking for something we could do together that didn’t involve travel. I’ve worked with Chris a few times on various projects, such as the documentary I made about him recently, but whatever we’ve done, we’ve normally done it in person.
How Important is Post-Processing?
As I chatted with Chris, I came up with the idea of editing each other’s raw files. This would be something we could do without meeting up, but it would still hopefully prove to be interesting. Neither of us would normally let someone else edit one of our raw files, but we’ve been friends for a while now so we both felt we could trust each other with our precious digital negatives.
The question we were aiming to answer in our collaboration was how much influence does post-processing have on the final image? If you give one raw file to two different photographers, how different will the results be? Is the output of the image fixed at the time of capture, or does the photographer's post-processing style have a significant impact on the output? You get the idea!
In the videos below you’ll find Chris editing one of my raw files, and me editing one of Chris’ raw files. At the end of each video, we’ll present our results back to each other, and compare them to the photographer's original edit. How different will the photographs look? Find out below.
Did the results surprise you? Would you ever let someone edit one of our raw files? Let me know in the comments below
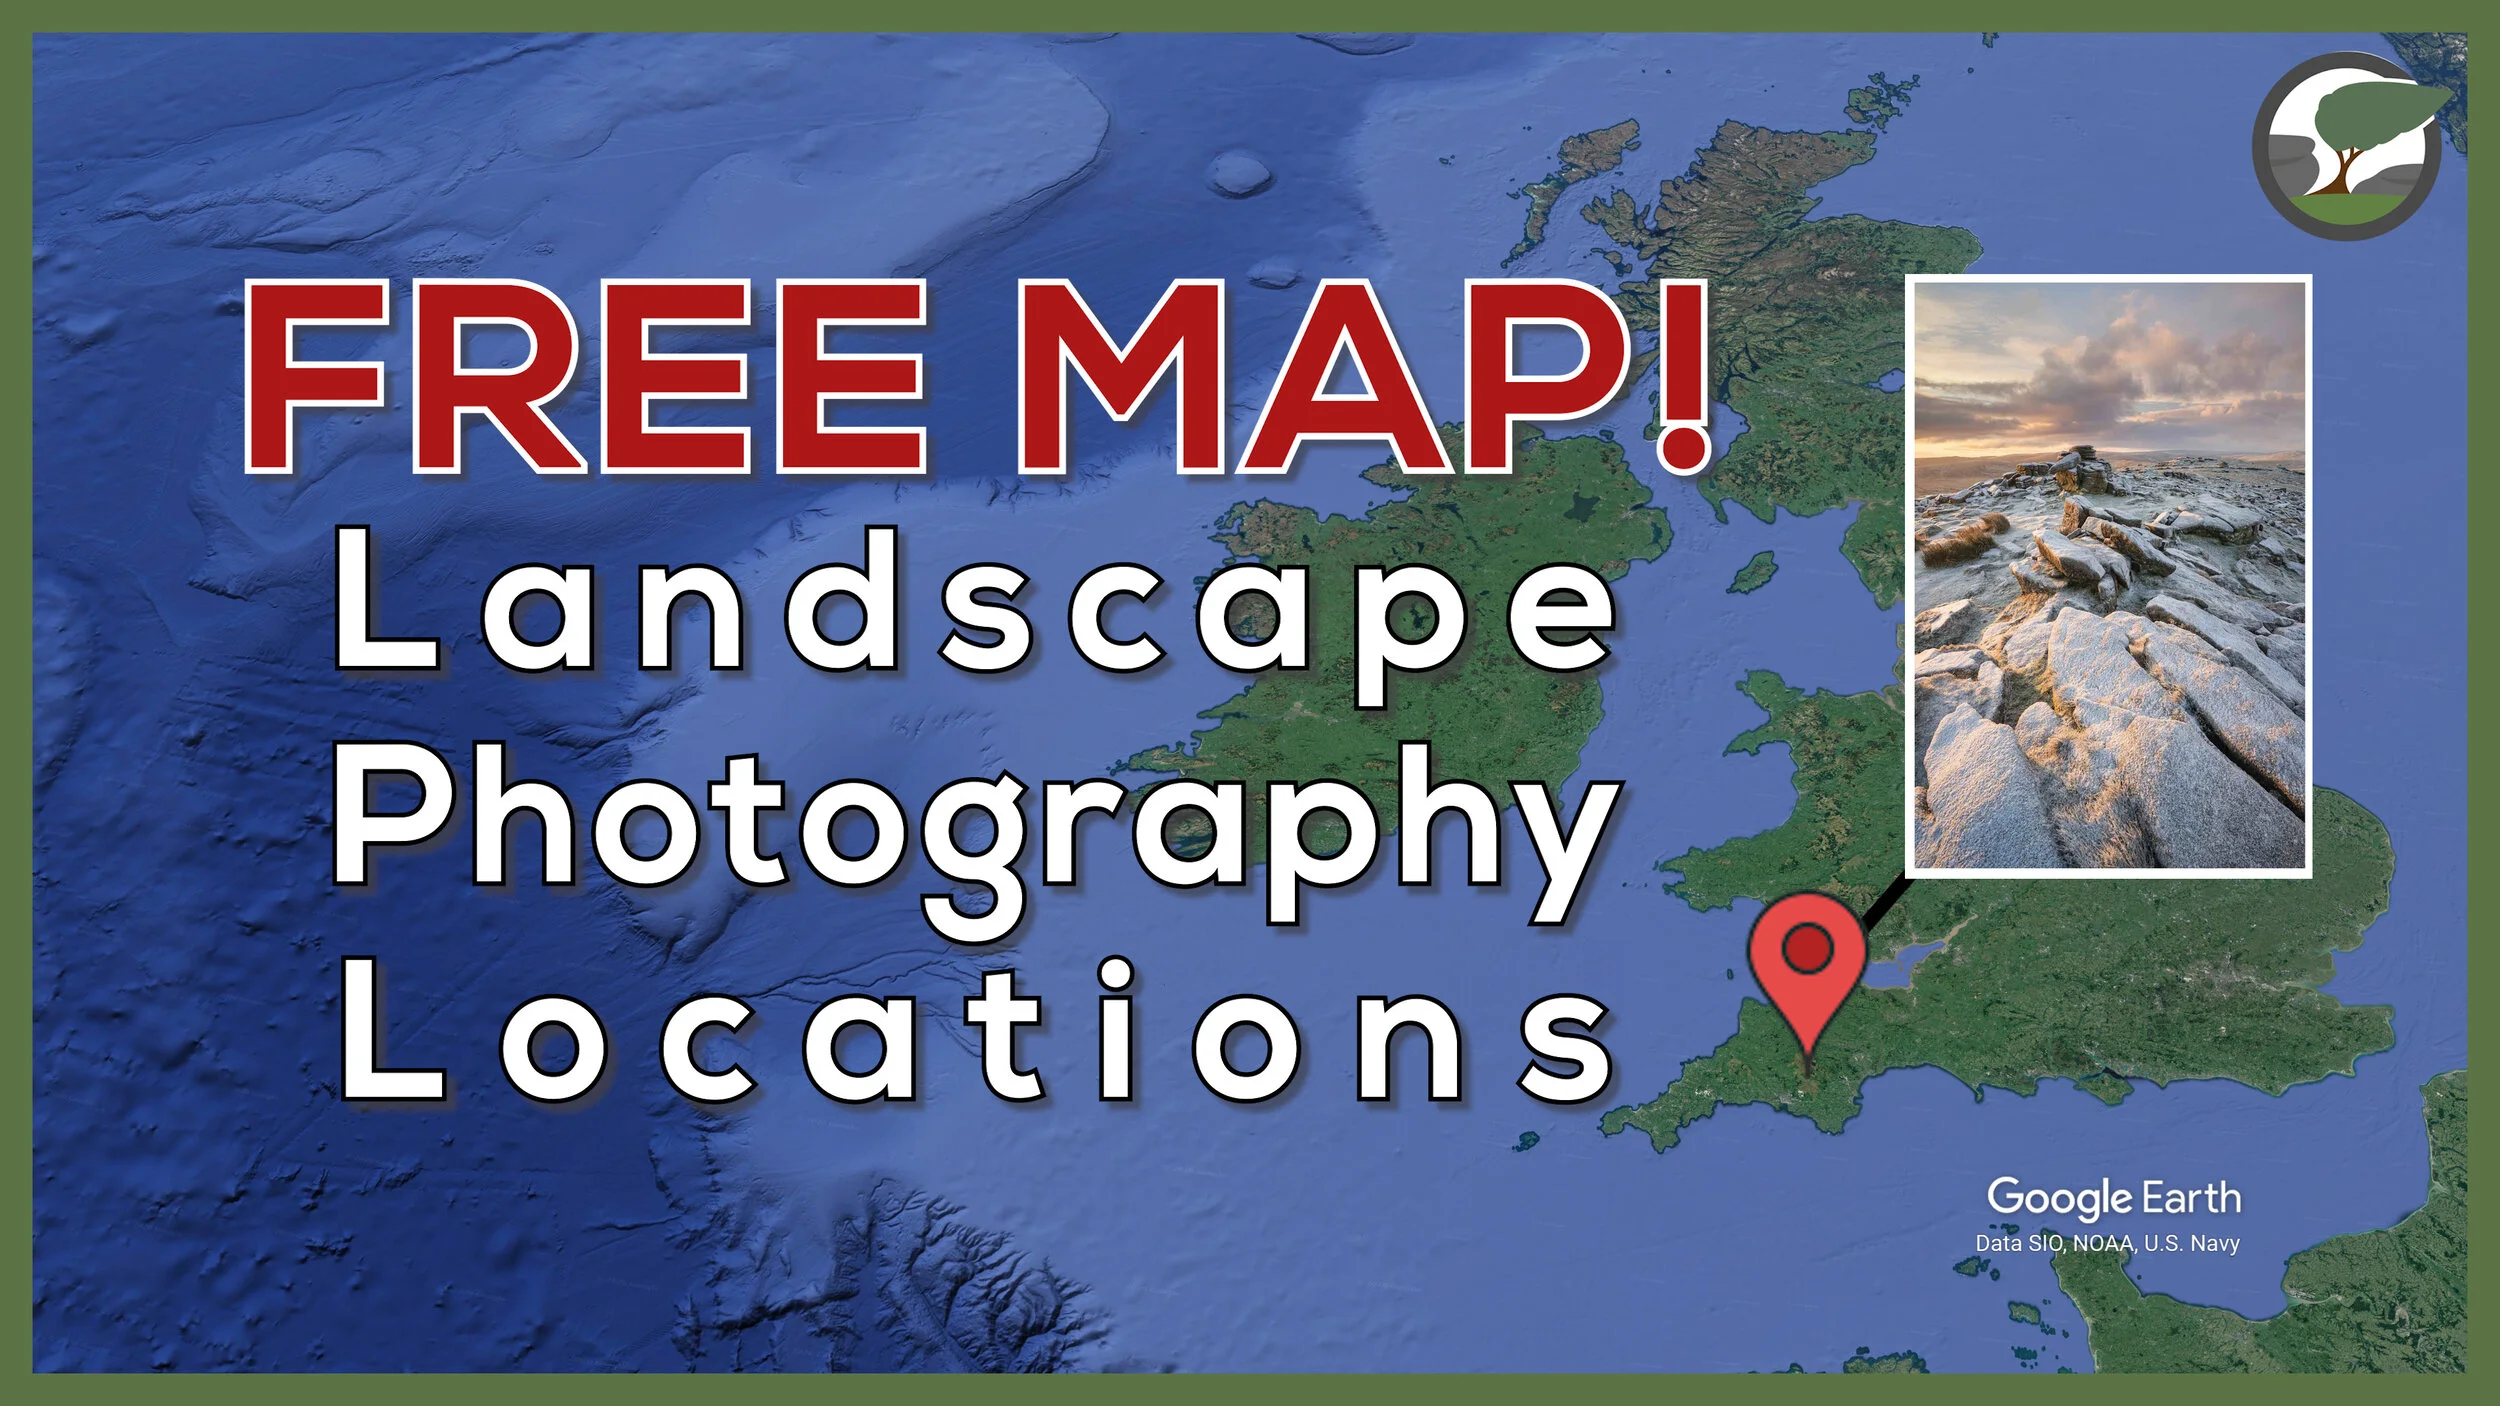
My FREE Landscape Photography Locations Map
What will your next landscape photography location be? Are you looking for a little bit of inspiration for your next adventure? In this video, I share with you my FREE landscape photography locations map.
A Map of My Blog
When I started this blog back in 2016, I committed myself to publishing regular posts of my photography adventures. I’m proud to say that I have kept that commitment and now my blog is packed full of stories, adventures, photographs, and videos.
With so much content for even me to navigate I decided to create a custom Google Map with pins in all the locations I have photographed and written about. Once it was complete it occurred to me that it would a wonderful thing to share with the people that regularly visit my website!
In the video below I talk more about my map of landscape photography locations and how to use it. So, if you’ve ever wanted to know where to shoot on Dartmoor, or you are just looking for some photography inspiration I hope you will find the map useful.
Subscribe and Get Access
As I said in the video it’s really easy to get access to my locations map. All I ask that you do is subscribe to my newsletter. As soon as you confirm your subscription you will receive a link to the map in your email.
Thanks for your support, it is very much appreciated.
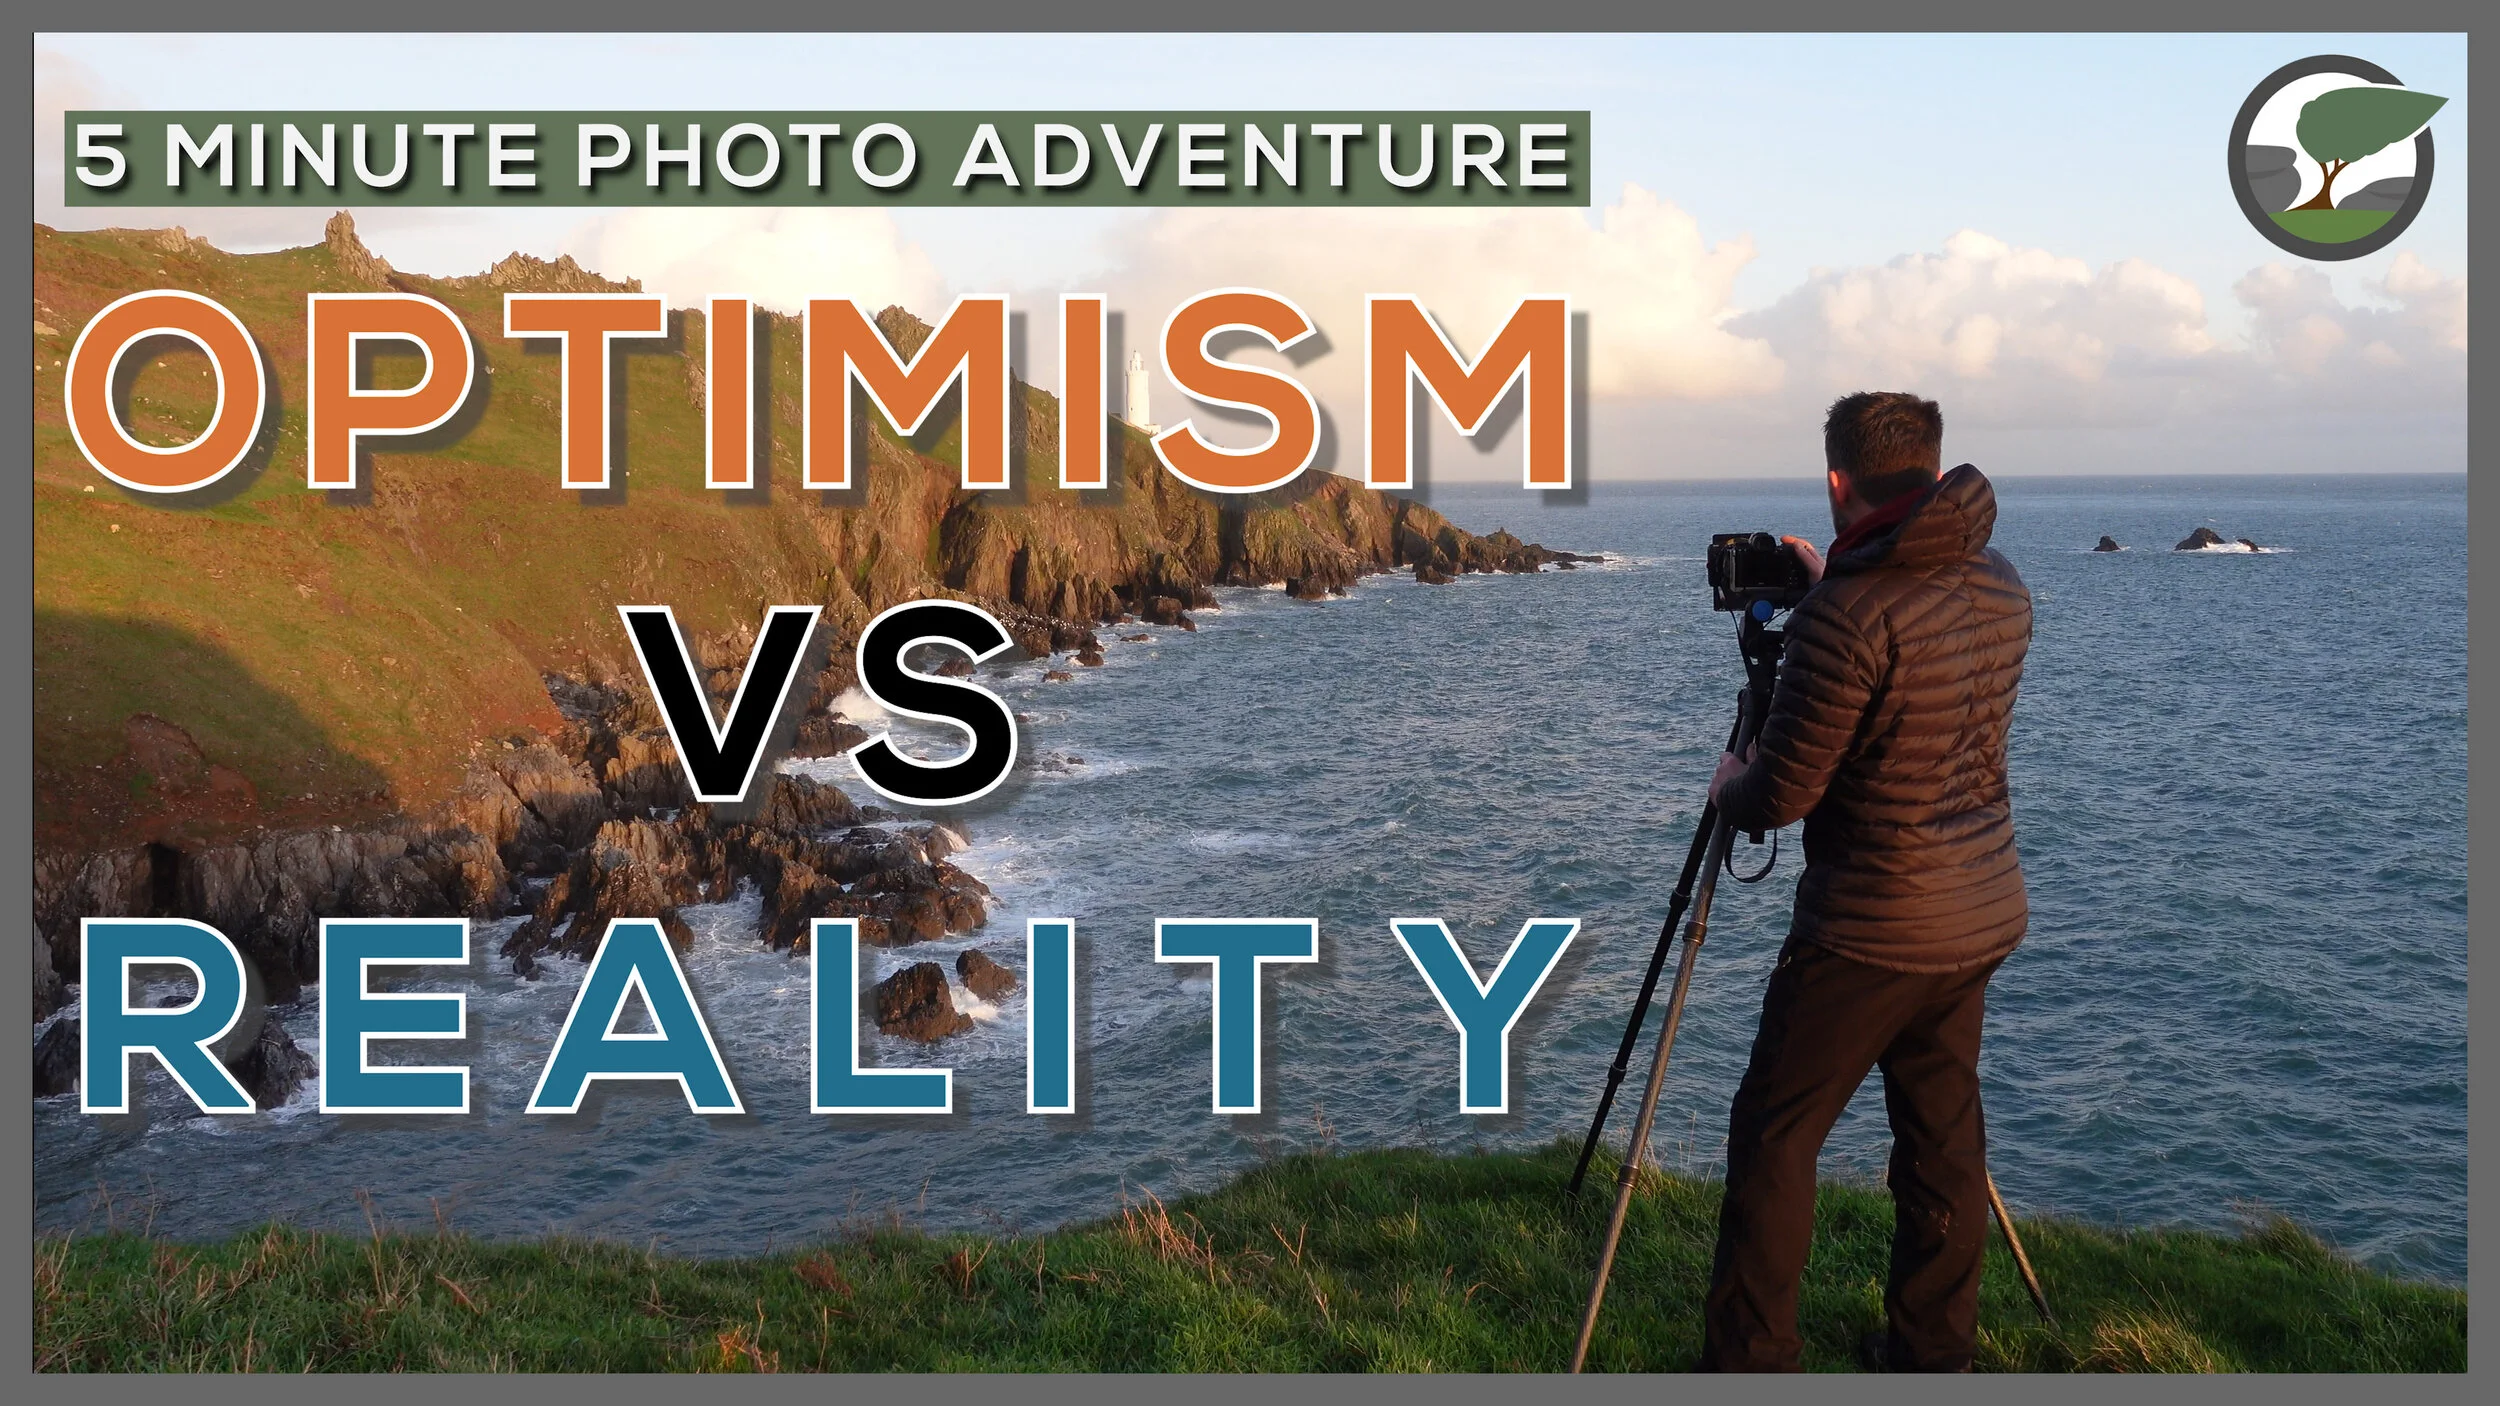
Start Point - A 5 Minute Photo Adventure from the South West Coast Path
Grab yourself a cup of coffee because it's time for another 5 Minute Photo Adventure! In this episode, I head to one of my favourite South West Coast Path locations, Start Point Lighthouse in south Devon.
The Challenge of Getting There
There’s only one problem with going to photograph Start Point on the south Devon coast and that’s the effort required to get there. It’s not so much the 50-mile driving distance (37 miles as the crow flies), but more with the time it takes to get there. The journey time for me takes around 90 minutes and while I’m no stranger to making such journeys for the benefit of my landscape photography, it’s the roads that make the journey more challenging.
Once I leave the A38 and start driving towards Kingsbridge the quality and width of the roads start to reduce. Nothing to bad (for Devon standards) but after Kingsbridge things get dull. Lots of small villages with low-speed limits and that last five miles just seems to take an age. It’s not so bad when you are shooting sunrise as there is a lot less traffic, but during the day when you can get caught behind a tractor or a broken-down cement truck and it all becomes very boring.
However, all those complaints about the roads all disappear when you park your car and step out to one of the finest views along the South West Coast Path. Once I’m there, breathing in that glorious sea air I couldn’t care less about how long it took me to get there.
Risk vs Reward
With the apparent extra effort it seems to take to get to Start Point, I don’t go there as much as I might like to. Unlike some other coastal locations where I’ll just take a punt, I’m always looking for favourable conditions before I commit to the drive. Even with a good forecast, there is no guarantee of interesting conditions. There is always an element of risk vs reward. This is especially true when the conditions are a bit stormy or unsettled. In terms of capturing photographs, heading out in these types of conditions is risky, but the rewards can be amazing.
Back in December, I decided that I wanted to return to Start Point and capture some photographs looking at the peninsula from the west. I had checked out this viewpoint a couple of times, but the forecast was predicting some unsettled weather and the opportunity to capture this location with setting sun and some big clouds were too tempting to ignore.
Knowing very well that I could spend 3 hours in the car to end up with not a lot to show for it at the end, I packed my camera bag and set off regardless. Here is how I got on.
I hope you enjoyed my 5 Minute Photo Adventure to Start Point. While the conditions weren’t as dramatic as I might have hoped, I still came away with some images that made the trip worthwhile.
Do you have any locations that seem to be “harder” than others to get to? Let me know in the comments below.
Start Point Photographs
As always here are the photographs you saw me capture in the video. Enjoy!
Sunset at Start Point #1, South West Coast Path, Devon - Nikon Z7, Nikkor 24-200mm f/4-6.3 at 44mm, f/11, 1.6 secs at ISO 64, Kase Filters K9 CPL and ND.
Sunset at Start Point #2, South West Coast Path, Devon - Nikon Z7, Nikkor 24-200mm f/4-6.3 at 39mm, f/11, 2 secs at ISO 64, Kase Filters K9 CPL and ND.
Sunset at Start Point #3, South West Coast Path, Devon - Nikon Z7, Nikkor 24-200mm f/4-6.3 at 44mm, f/11, 13 secs at ISO 64, Kase Filters K9 CPL.

Winter Landscape Photography On Dartmoor and Vallerret Gloves
In my latest video I head to Belstone for some Dartmoor snow and to capture some wintery landscape photographs. I’ll also tell you all about my new Vallerret photography gloves.
Dartmoor Snow
There can’t be many landscape photographers who are familiar with Dartmoor National Park that don’t excited about the possibility of snowfall. I’m certainly one of them and this was confirmed a few weeks ago when I found myself checking the weather forecast a lot more than usual! The forecast had been predicting varying levels of snowfall but it always seem that at the last minute, the forecast would change.
This went on for a few days. After spending days looking at my packed camera bag, I finally decided enough was enough, and to hell with the forecast, I was going to head out the following morning. I didn’t necessarily need a complete blanket of snow to capture the images I was hoping to get. I just needed Dartmoor to look a bit wintery.
Belstone Common
The forecast for the following morning was for light snow showers, but more importantly than that were the forecasted sub-zero temperatures. To maximise my chance of getting those wintery conditions I needed to go somewhere on Dartmoor that had an elevated viewpoint. For me, Belstone Tor at 479 m is a great balance between elevation and journey time (driving and walking time).
In the video below you can see how I got on and how I went about capturing the photographs you can see in this blog post.
Vallerret Skadi Zipper Mitt Review
In the video, you will have also seen me talk about an essential item of photography gear for winter, the Vallerret Skadi Zipper Mitt. I’ve always suffered from cold hands and these gloves have been a welcome addition to my kit bag, especially on frosty Dartmoor mornings! As it was such a wintery morning when I was shooting this video, I thought it was a good time to share my thoughts on them.
If you’d like to pick up a pair of these gloves, then just click the link here.
Dartmoor Landscape Photographs
Below you will find the photographs I captured in the video. As a bonus, I’ve also included the first image I captured just before sunrise, so you can see the difference the morning light from the sun makes. I have to say though, even without the golden light I still really like that first photography.
A Snowy Dawn at Belstone, Dartmoor National Park, Devon - Nikon Z7, Nikkor 14-30mm f/4 at 20mm, f/11, 0.5 seconds at ISO 64, Kase Filters K9 CPL and ND grad.
Sunrise and Snow at Belstone #1, Dartmoor National Park, Devon - Nikon Z7, Nikkor 14-30mm f/4 at 19mm, f/11, 1/4 seconds at ISO 64, Kase Filters K9 CPL and ND grad.
Sunrise and Snow at Belstone #2, Dartmoor National Park, Devon - Nikon Z7, Nikkor 14-30mm f/4 at 16mm, f/11, 1/4 seconds at ISO 64, Kase Filters K9 CPL and ND grad.
Improve Your Landscape Photography Skills
Over the years I’ve done several things that have helped improve my landscape photography. In this blog post, I share with you what some of those things are.
Things I’ve Learnt on My Way to Becoming a Better Photographer
How do you become a better photographer? It’s not an easy question to answer, and to make things more complicated there certainly isn’t just one answer. Everyone follows a different path and importantly that journey never ends. No matter what level of experience you are at with your photography there will always be ways to improve.
In the video below I share with you some of the things that worked for me. This isn’t a prescriptive video in which I’m saying you must follow every idea. It is more about providing you with some suggestions. People learn and improve in different ways so not all these tips will be suitable for your photography journey. Hopefully though one or two of my suggestions will be useful and you might put them to the test to see if they can help you.
Useful Links I Mentioned in the Video
For 1-2-1 tuition and workshops take a look at:
Try these YouTube channels and podcasts:
The Art of Photography - YouTube channel by Ted Forbes
Sean Tucker - YouTube channel
A Beautiful Anarchy Podcast - David Duchemin
Check out all my printing videos in this playlist.
Snowdonia Landscape Photographs
Aberglaslyn Pass, Snowdonia National Park, Wales - Nikon Z7, Nikkor Z 14-30mm f/4 at 14mm, f/13, 1/8th sec at ISO 64, Kase Filters K9 CPL.
Afon Glaslyn from Pont Aberglaslyn, Snowdonia National Park, Wales - Nikon Z7, Nikkor Z 24-200mm f/4-6.3 VR at 51mm, f/13, 1/4th sec at ISO 64, Kase Filters K9 CPL.
Waterfall near Cwm Bychan, Snowdonia National Park, Wales - Nikon Z7, Nikkor Z 14-30mm f/4 at 18mm, f/11, 1/8, 0.4 sec at ISO 64, Kase Filters K9 CPL.
Lake District Landscape Photographs
Derwent Isle, Lake District National Park - Nikon Z7, Nikkor Z 24-70mm f/4 at 37mm, f/11, 1/8, 30 sec at ISO 64, Kase Filters K9 CPL and 6 stop ND.
Derwent Water from Crow Park, Lake District National Park - Nikon Z7, Nikkor Z 24-70mm f/4 at 29mm, f/8, 0.5 sec at ISO 64, Kase Filters K9 CPL, 9 image panoramic cropped at 6:17.
Strandshag Bay, Lake District National Park - Nikon Z7, Nikkor Z 24-200mm f/4-6.3 VR at 200mm, f/8, 0.8 sec at ISO 64, Kase Filters K9 CPL, 9 image panoramic cropped at 6:17.
Rippon Tor - A 5 Minute Photo Adventure on Dartmoor
In the blog this week I head up to Rippon Tor to shoot sunrise and I also share with you what I think the key to making a successful landscape photography video is.
Rippon Tor, Sunrise and Fog
There are few better ways to start the day than by grabbing your camera and heading up to one of your favourite viewpoints on Dartmoor to watch the sunrise. Fortunately, at this time of year sunrise is at a time where it doesn’t feel unnatural to be awake. I think back to some of the early alarm calls I had this summer to get up for sunrise. No one should be waking up at 3:30 am!
I’m fortunate to live close to Dartmoor so when the weather conditions don’t turn out how I expect them, I don’t feel I’ve wasted a lot of time. Even then, any morning up on Dartmoor is a positive experience regardless of how the photos turned out. My most recent visits to Rippon Tor hadn’t yielded the types of images I wanted to get from this location so when I saw fog was forecast one Sunday morning that was all the encouragement I needed to return.
I’d seen forecasts of fog for the Haytor area before but thanks to those micro-climates you find on Dartmoor, I’d often arrive there to find none. My most recent visit was slightly different though as there was a thick bank of fog in the valley below Emsworthy Tor. As exciting as this was, it wasn’t really in a position where I felt I could take a good photograph. If the conditions hadn’t looked more favourable up on Rippon Tor, I might have taken a risk and done some exploring.
As I approached the summit of Rippon Tor, I could see another bank of thick sea fog that would prevent me from getting the light just as the sun broke over the horizon. I had made the poor choice of leaving too early from Rippon Tor last time there was a lot of cloud and fog out at sea, only for the sun to break through as I descended. I wasn’t going to make the same mistake this time.
In this 5 Minute Photo Adventure, you can see how I got on on my latest visit and I also share with you what I think the secret is to creating a successful landscape photography video. Enjoy!
Do you find it difficult to get accurate fog forecasts? What’s your favourite type of foggy photograph to take? Let me know in the comments below.
Rippon Tor Photographs
Here are the images you see me capture in the video. Enjoy!
Rippon Tor at Dawn #1, Dartmoor, Devon - Nikon Z7, Nikkor 14-30mm f/4 at 28mm, f/11, 1.6 seconds at ISO 64, Kase Filters CPL, 4:5 crop.
Rippon Tor at Dawn #2, Dartmoor, Devon - Nikon Z7, Nikkor 14-30mm f/4 at 25mm, f/11, 1.3 seconds at ISO 64, Kase Filters CPL.
Rippon Tor at Dawn #3, Dartmoor, Devon - Nikon Z7, Nikkor 14-30mm f/4 at 15mm, f/11, 1 second at ISO 64, Kase Filters CPL, 4:5 crop.
Rippon Tor at Dawn #4, Dartmoor, Devon - Nikon Z7, Nikkor 14-30mm f/4 at 15mm, f/11, 1/5th second at ISO 64, Kase Filters CPL, 16:9 crop.

Tides and Tempests by Rachael Talibart and Published by Kozu Books - On My Bookshelf S03E11
In this episode of On My Bookshelf I take a look at Rachael Talibart’s Tides and Tempests.
Sirens
Though I was familiar with Rachael’s work, it wasn’t until I saw her talk at The Photography Show in 2019 that I became a bit of a fan. Listening to her talk about her life, her journey from solicitor to photographer and most importantly her photographs, changed the way I viewed her work. Sometimes there is nothing like engaging with a photographer on a personal level to gain a deeper understanding and appreciation for their work.
In the presentation, Rachael talked a lot about her body of work called Sirens. Though these aren’t the type of photographs I might capture, I found them fascinating. There is always something to learn from other people’s work. One of the things Rachael talked about was how her pictures lacked a sense of place. In other words, they could have been taken anywhere. This is perhaps why Rachael’s photographs have such a wide appeal. This is a complete contrast to my work which is very much about where the photograph was taken.
With my interest in Sirens very much sparked I decided to purchase a copy of the book. Unfortunately for me I was a little late to the party as it was completely sold out. I was disappointed for sure, but I had a feeling that since Sirens had been such a success Rachael would look to publish another book in the future. Fortunately for me I wouldn’t have to wait too long.
Tides and Tempests
Fast forward to December 2020 and my pre-ordered copy of Rachael’s new book Tides and Tempest has finally arrived. This book and Neil Burnell’s Mystical are the two books I have been most excited about getting this year. Was Rachael’s book worth the wait? Is it a book for your bookshelf? Let’s find out.
I do hope you enjoyed this episode of On My Bookshelf. If you’d like to purchase a copy of Tides and Tempests you can do so directly from Kozu Books here. Go on, treat yourself!

Why I'll Never Bore of Dawlish Warren
In this blog post, I share my latest photographs from Dawlish Warren and tell you why I don't think I'll ever get bored of photographing this wonderful south Devon coastal location.
How Many Times?
Searching through this blog I can count more than 15 posts that feature photographs from Dawlish Warren. To be honest this is more than I even thought there were and given that I’d been photographing Dawlish Warren even before I started the blog 4 years ago, I hate to think how many times I’ve been to this beach on the south Devon coast.
I say hate, but there is obviously something special about Dawlish Warren that makes me keep coming back.
Dawlish Warren Sunrise #2, Devon - Nikon Z7, Nikkor 14-30mm f/4 at 19mm, f/11, 1.3 seconds at ISO 64, Kase Filters K9 CPL and ND Grad.
Every Visit in Unique
The one factor that keeps me coming back is that every visit is unique. Unlike many locations, the seasons don’t have a direct impact on what you photograph there. Apart from what time sunrise is, it doesn’t matter if it’s spring, summer, autumn, or winter at Dawlish Warren. The two factors that make it so variable are the weather and the tides.
The tide levels and times might be predictable, but every high tide resets the beach. Each time the tide comes in and then goes out the sand and the layout of the beach is subtly different. Sand patterns, stones, and debris all come and go. Even how the wet the groynes are results it a vastly different look for incoming tides compared to outgoing tides.
The weather delivers the most variety though. Wind and air pressure can impact the effect of the tides and the strength of the waves. This can change your whole approach to your photography for that visit. Making a choice between a shorter exposure time to capture movement or going for a longer exposure to smooth out the water is a creative decision but how the water is behaving can limit or extend your creative options (depending on how you look at it).
To add into the mix, you’ve got ever-changing cloud coverage. Even on overcast days, there are shots to be had but it is perhaps when the sun just rises above the horizon that excites me the most. It’s a special moment when the reds and oranges of the morning light catch the water and the sides of the groynes.
All these variables mean that I’ve never looked through the viewfinder and thought this looks familiar.
Dawlish Warren Sunrise #4, Devon - Nikon Z7, Nikkor 14-30mm f/4 at 16m, f/16, 1 seconds at ISO 64, Kase Filters K9 CPL and ND Grad.
More to Discover
With 15 groynes there is a lot to photograph. I’ve probably only photographed a third of them and given that each groyne can be photographed from two sides, I’ve barely scratched the surface.
But there is more to Dawlish Warren than the groynes. Immediately behind you are the dunes is the nature reserve. The nature reserve is well known for its birds, but I’m far from a wildlife photographer. The dunes, however, are well worth a visit. I’ve only recently started photographing them, but with long grasses, fences, big views, and sweeping dunes they are well worth photographing.
At the top of the beach are the colourful beach huts. Having only photographed these once I must spend a bit more time with them. I’m sure there are some interesting compositions to be made there.
Dawlish Warren Sunrise #1, Devon - Nikon Z7, Nikkor 14-30mm f/4 at 23mm, f/13, 1.6 seconds at ISO 125, Kase Filters K9 CPL and ND Grad.
Different Styles
Finally, I’ve discovered that Dawlish Warren beach is a good location for trying something a little different. When I captured the images in this blog post I was with my friend and fellow photographer Neil Burnell and he was capturing images using ICM and multiple exposure techniques. These aren’t techniques that have previously excited me but seeing the results Neil was getting certainly changed my mind.
I gave both techniques a try, and while I found ICM tricky, the effect of multiple exposures has inspired me to give this technique further work. The beach, with its constantly changing view, seems the ideal location to use this technique. While I did capture some multiple exposure photographs on this visit, I don’t think they are worth sharing here. It is a technique I will continue with next time I’m at Dawlish Warren and this will open even more creative opportunities as this varied and much-loved location.
For all these reasons, this is why I will never bore of photographing Dawlish Warren.
Dawlish Warren Sunrise #6, Devon - Nikon Z7, Nikkor 14-30mm f/4 at 28mm, f/10, 0.4 seconds at ISO 64, Kase Filters K9 CPL and ND Grad.

Celebrate YOUR Photography by Creating a Landscape Photography Calendar
I want to inspire you to celebrate YOUR photography in 2021 creating your very own landscape photography calendar. I'll take you through the process of how I created my calendar, share my thoughts on the final product and tell you why you should also make one.
A New Photography Project
Not all photography projects need to be about going out and capturing new images. Some projects can be about celebrating the images that you already have in your library. There are many ways to do this, but I think one of the most rewarding things to do is to make prints of your photographs. Why spend all that time (and probably money) capturing wonderful photographs for them to end up sitting on a hard drive somewhere.
I’ve printed my photographs in a variety of different ways from single prints, home galleries and by creating a book. It was while creating the book that I had the idea of making a calendar. I was using the services of Saal Digital to create my book when I noticed that they also printed calendars and so I made a note to make one towards the end of the year.
Celebrate YOUR Photography
As the end of 2020 approach, I decided it was time to start that project to create a calendar. The idea of creating a calendar was exciting and I thought that if I were excited then I was sure other people would feel the same. Not excited about my calendar that is, but excited about the idea of creating YOUR own calendar! What better way to celebrate your photography than by creating a calendar?
So, in the video below I share with you the process of how I created my calendar with Saal Digital. The purpose of the video isn’t to sell you my calendar but to inspire you to create one yourself! Aside from selecting which 12 images to include in the calendar, the process of putting it together is relatively straight forward. What better way to travel through each month of 2021 by marveling at one of your own images!
A Very Limited Edition
While I have mentioned that I used Saal Digital to create my calendar, I did pay for my own calendars. It’s also not my goal to sell my calendars. This is very much a personal project for me. While I didn’t order hundreds of calendars, I did order two. One is for me to hang on my wall and the other is to giveaway to someone like you. Someone in my community. Details of how you can win this very limited edition calendar are all in the video.
I’ll be doing another photography publishing project early next year so stay tuned to the blog!

Bite-Size Blog Post #12 - Dartmoor Mini Adventures
In this bite-size blog post, I share with you some of the photographs I have captured on my recent ramblings around Dartmoor.
Exploring Dartmoor Locations New and Old
When autumn arrives and the number of daylight hours shrinks, I’m forced to focus my photography on local locations like Dartmoor. Well, I say “forced” but let’s face it, photographing Dartmoor isn’t exactly a hardship!
Now that autumn is over I thought it would be a good opportunity to look back on the Dartmoor locations I have photographed recently. I tried to balance my time between locations I know well and those that I know less well.
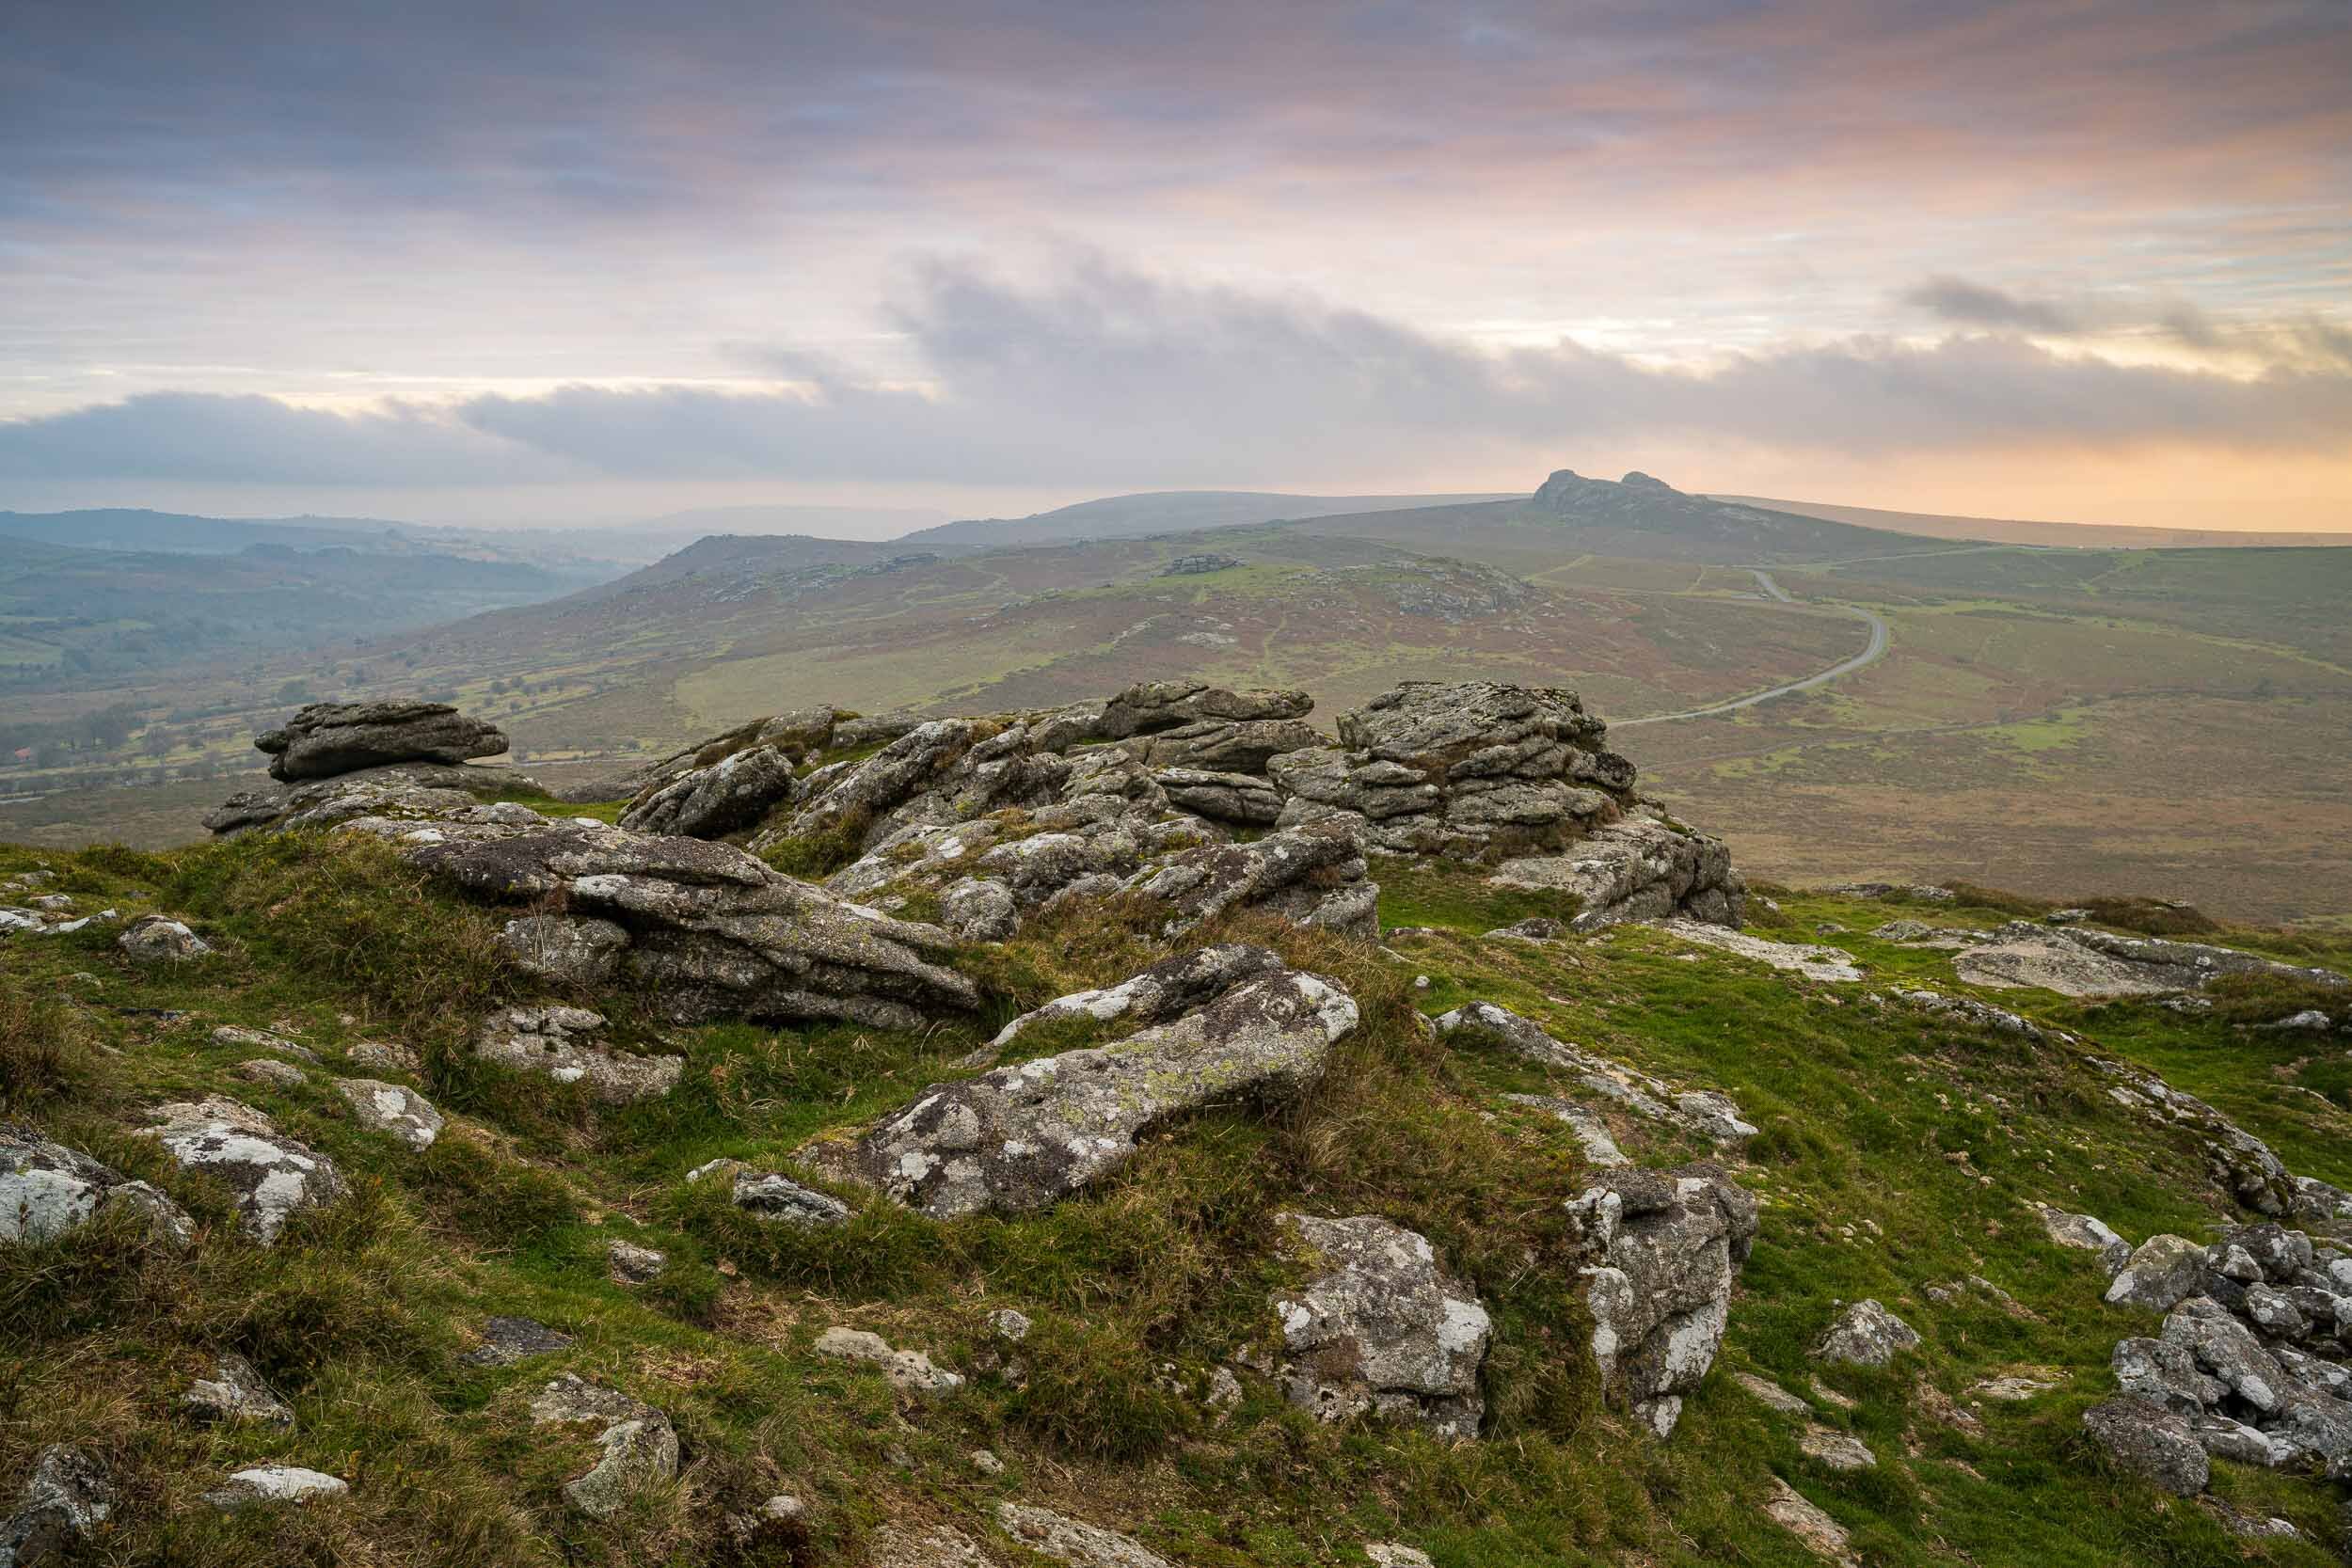
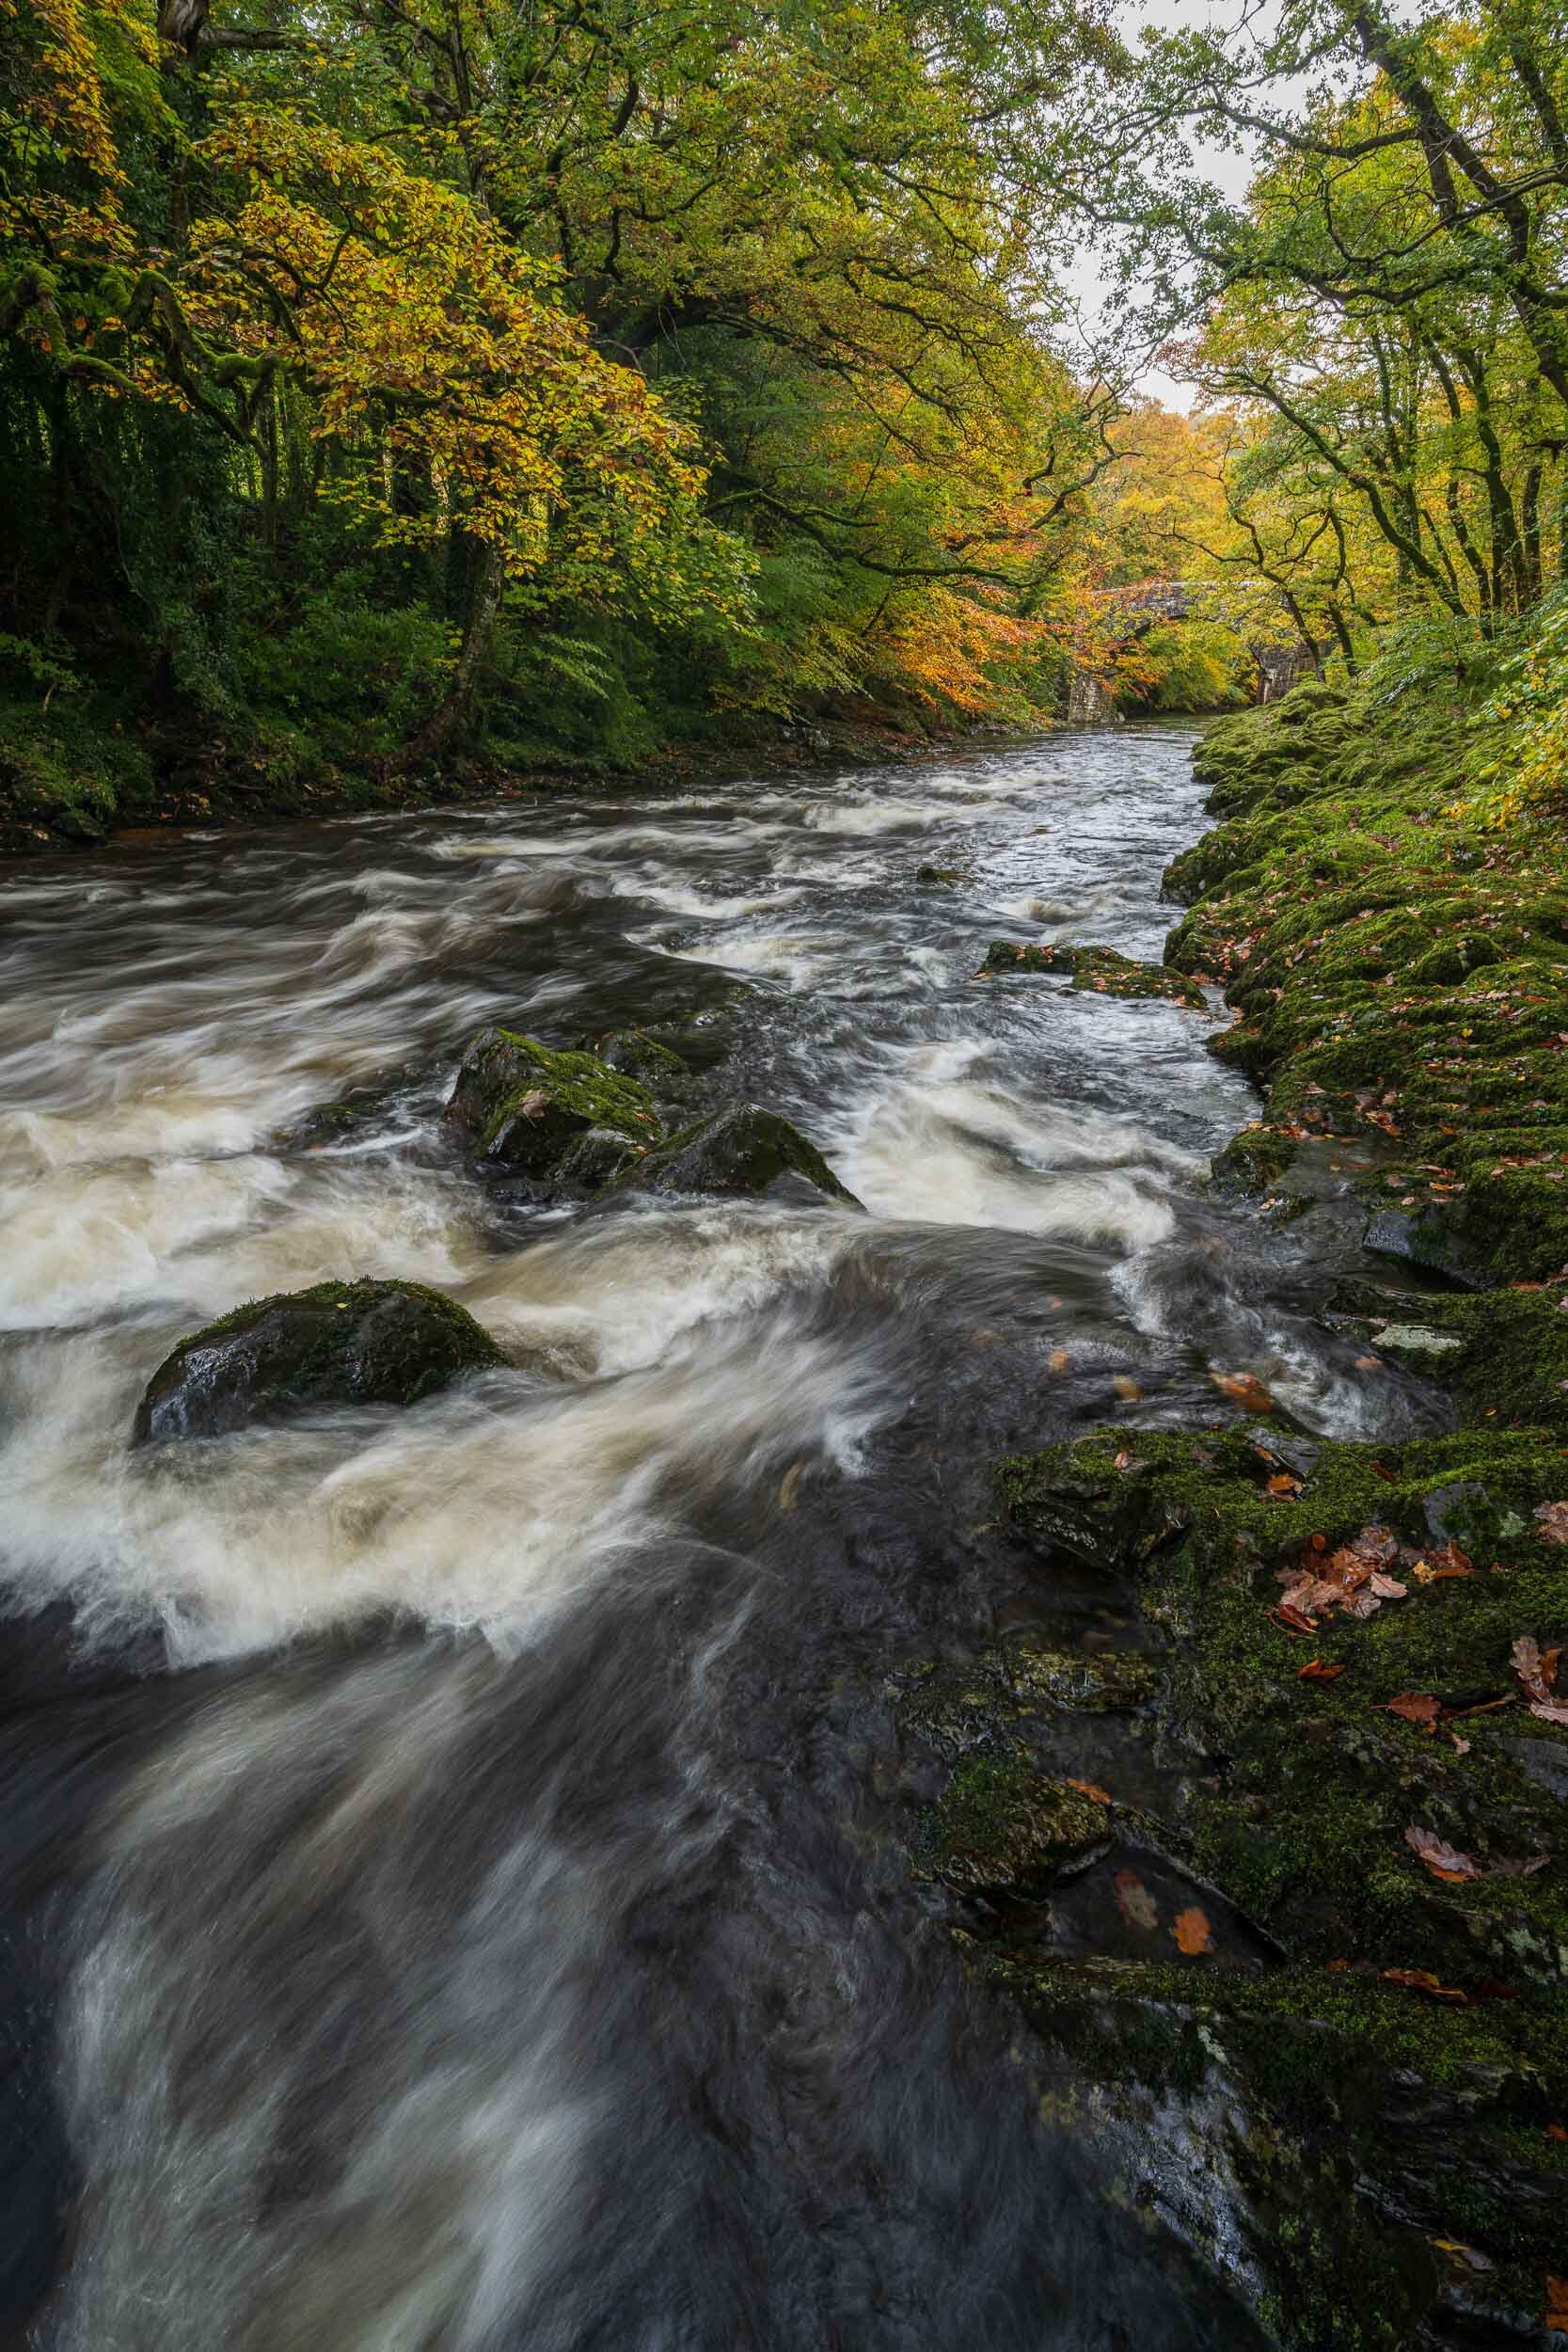
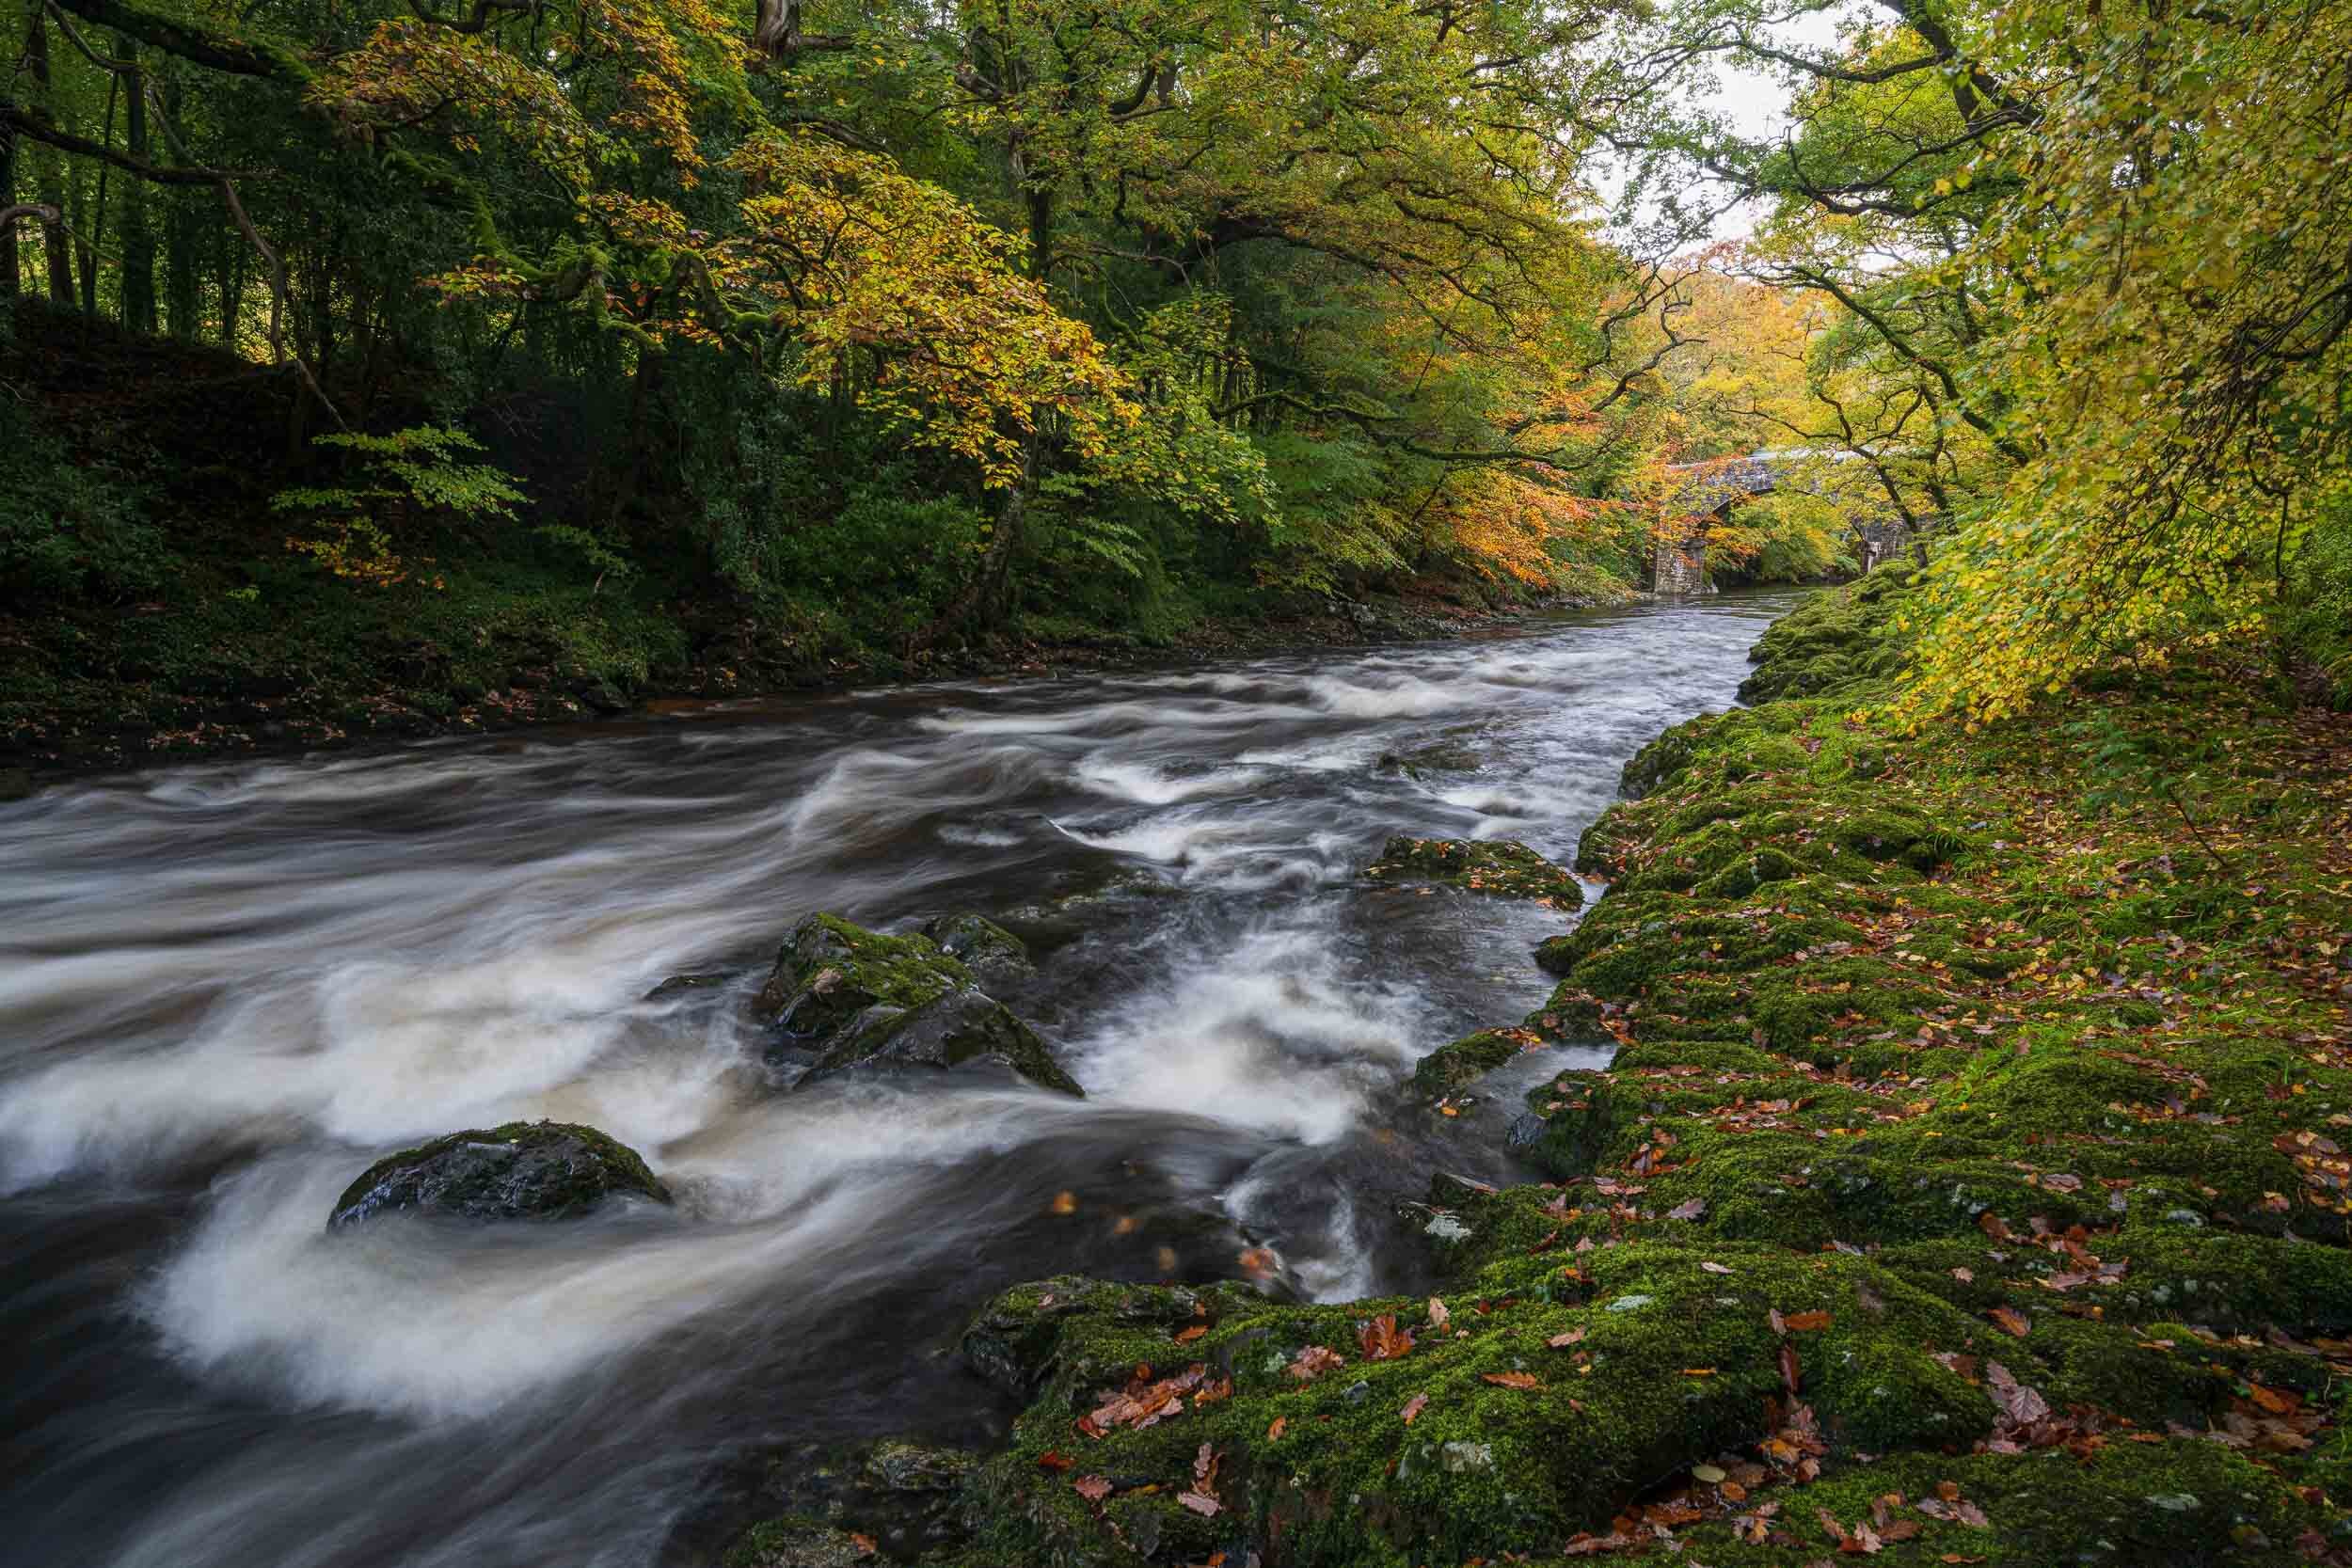
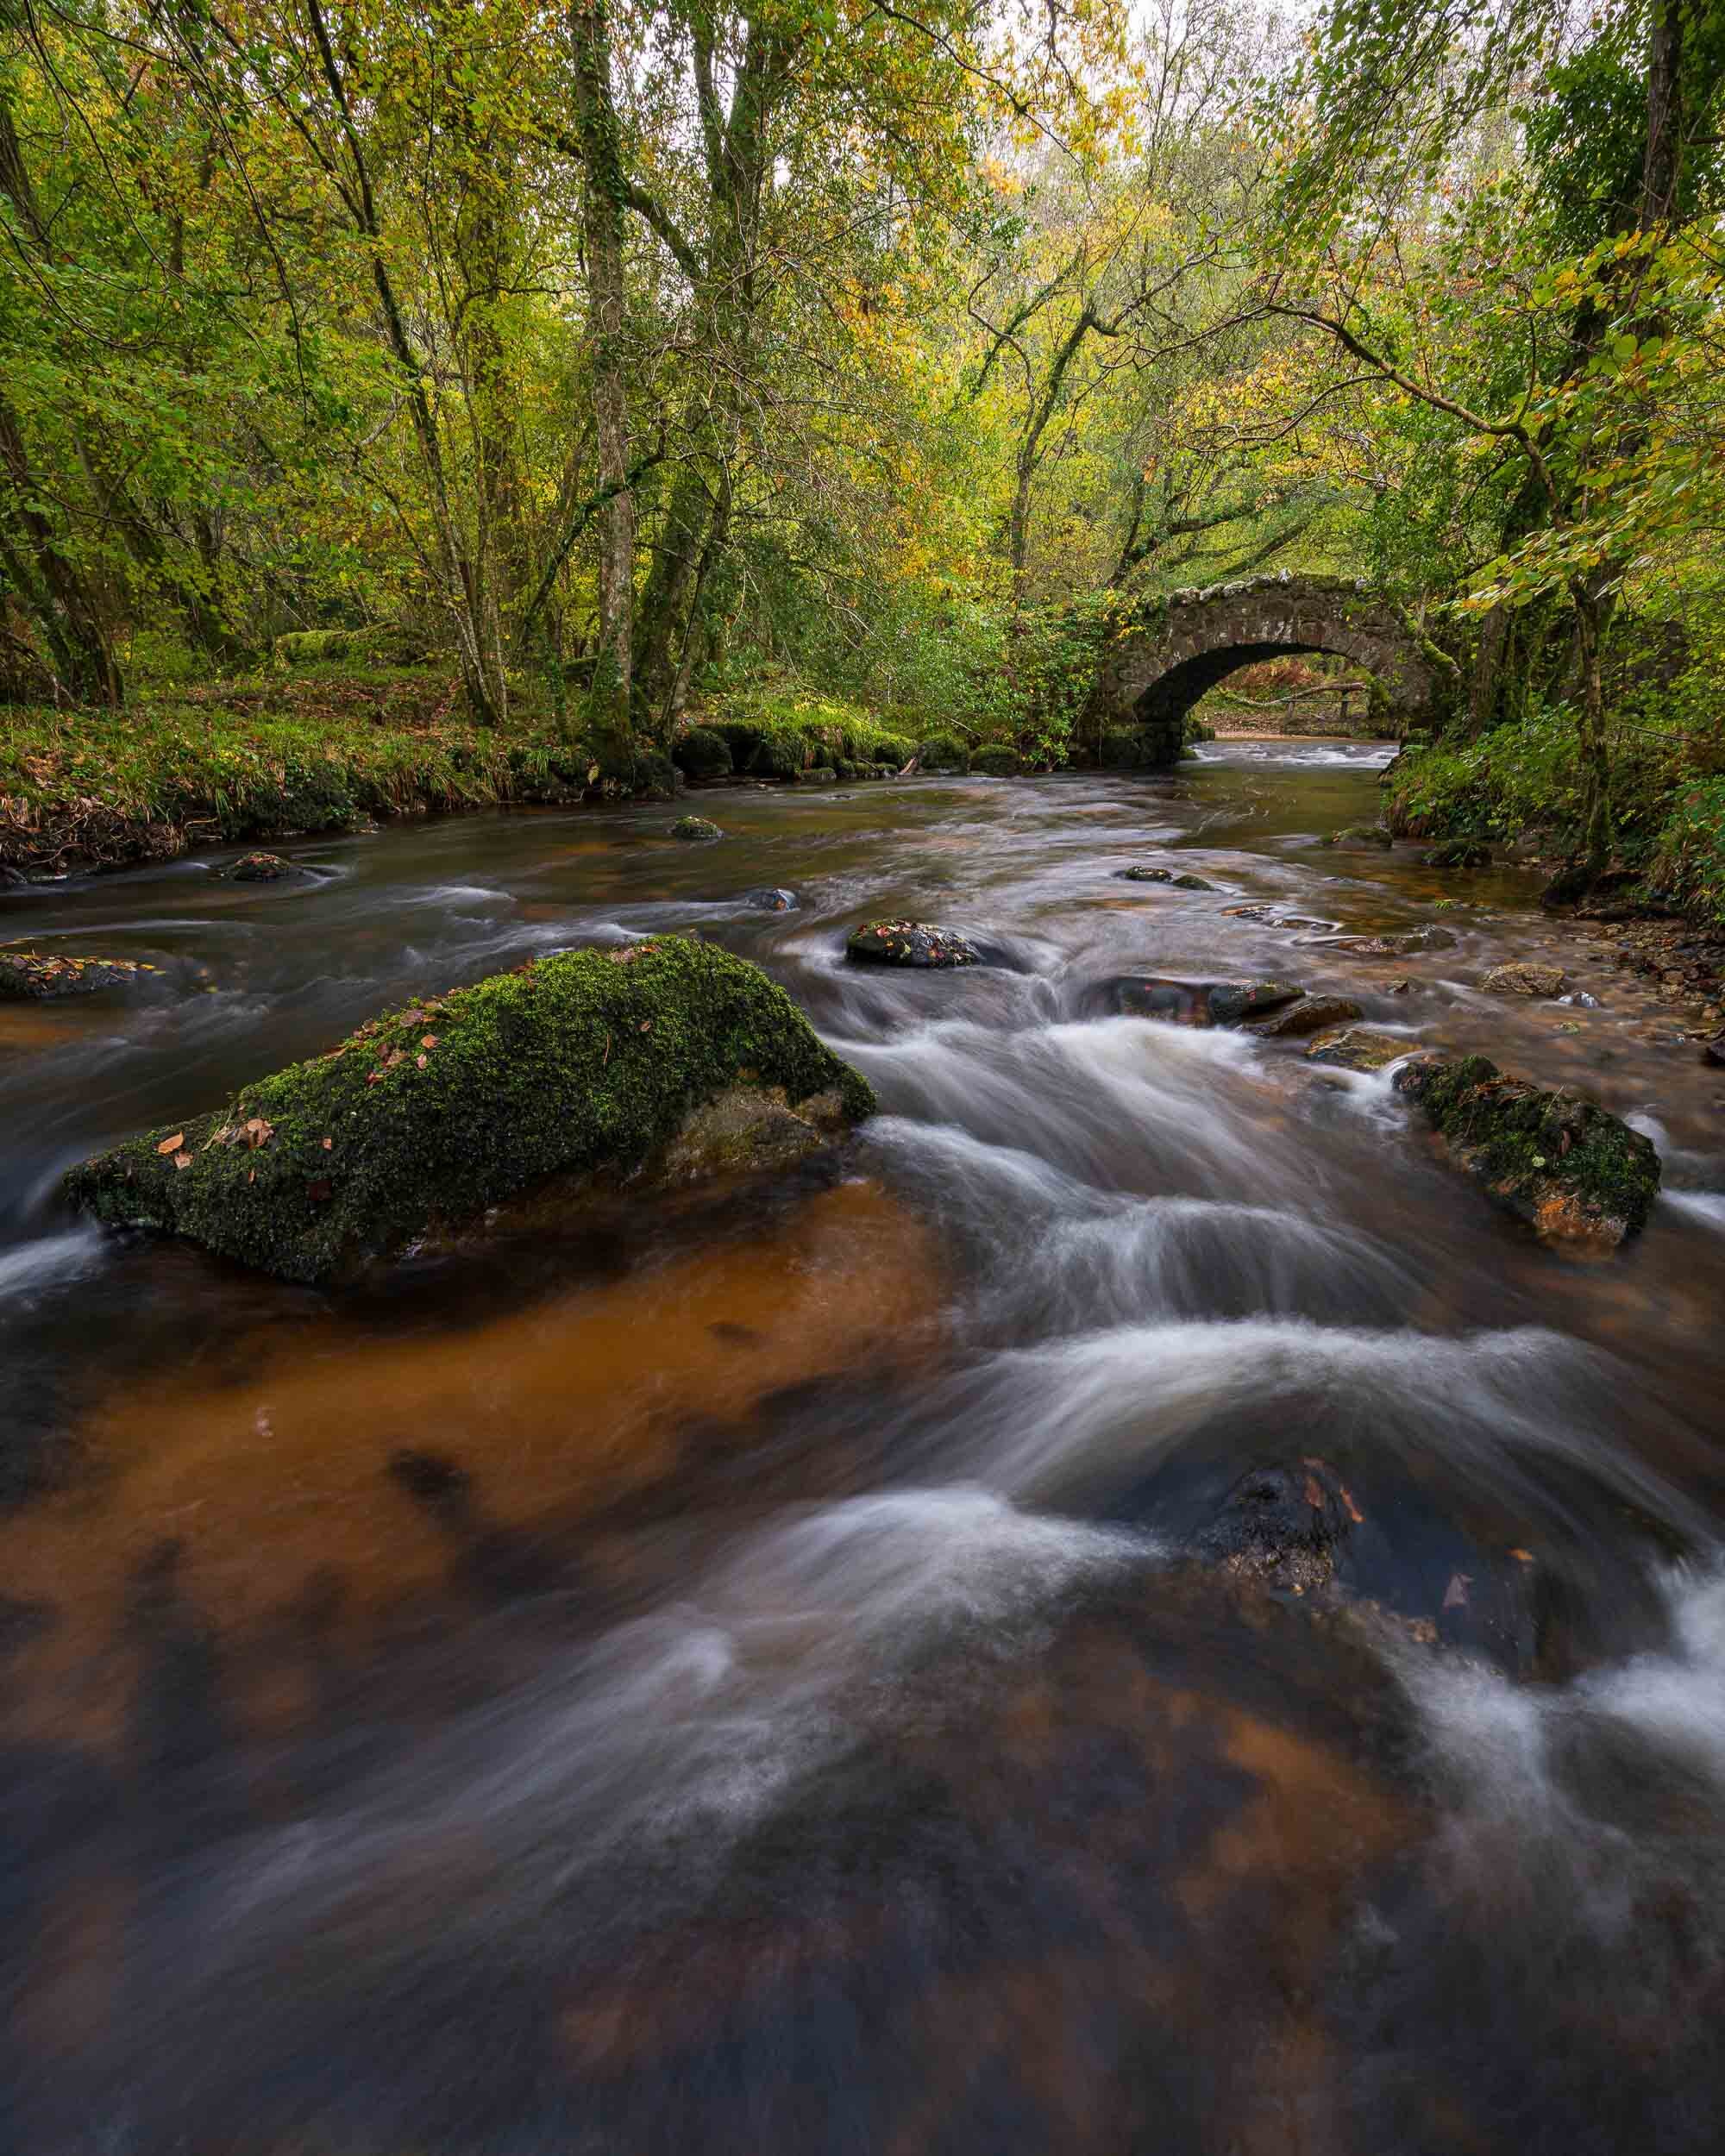
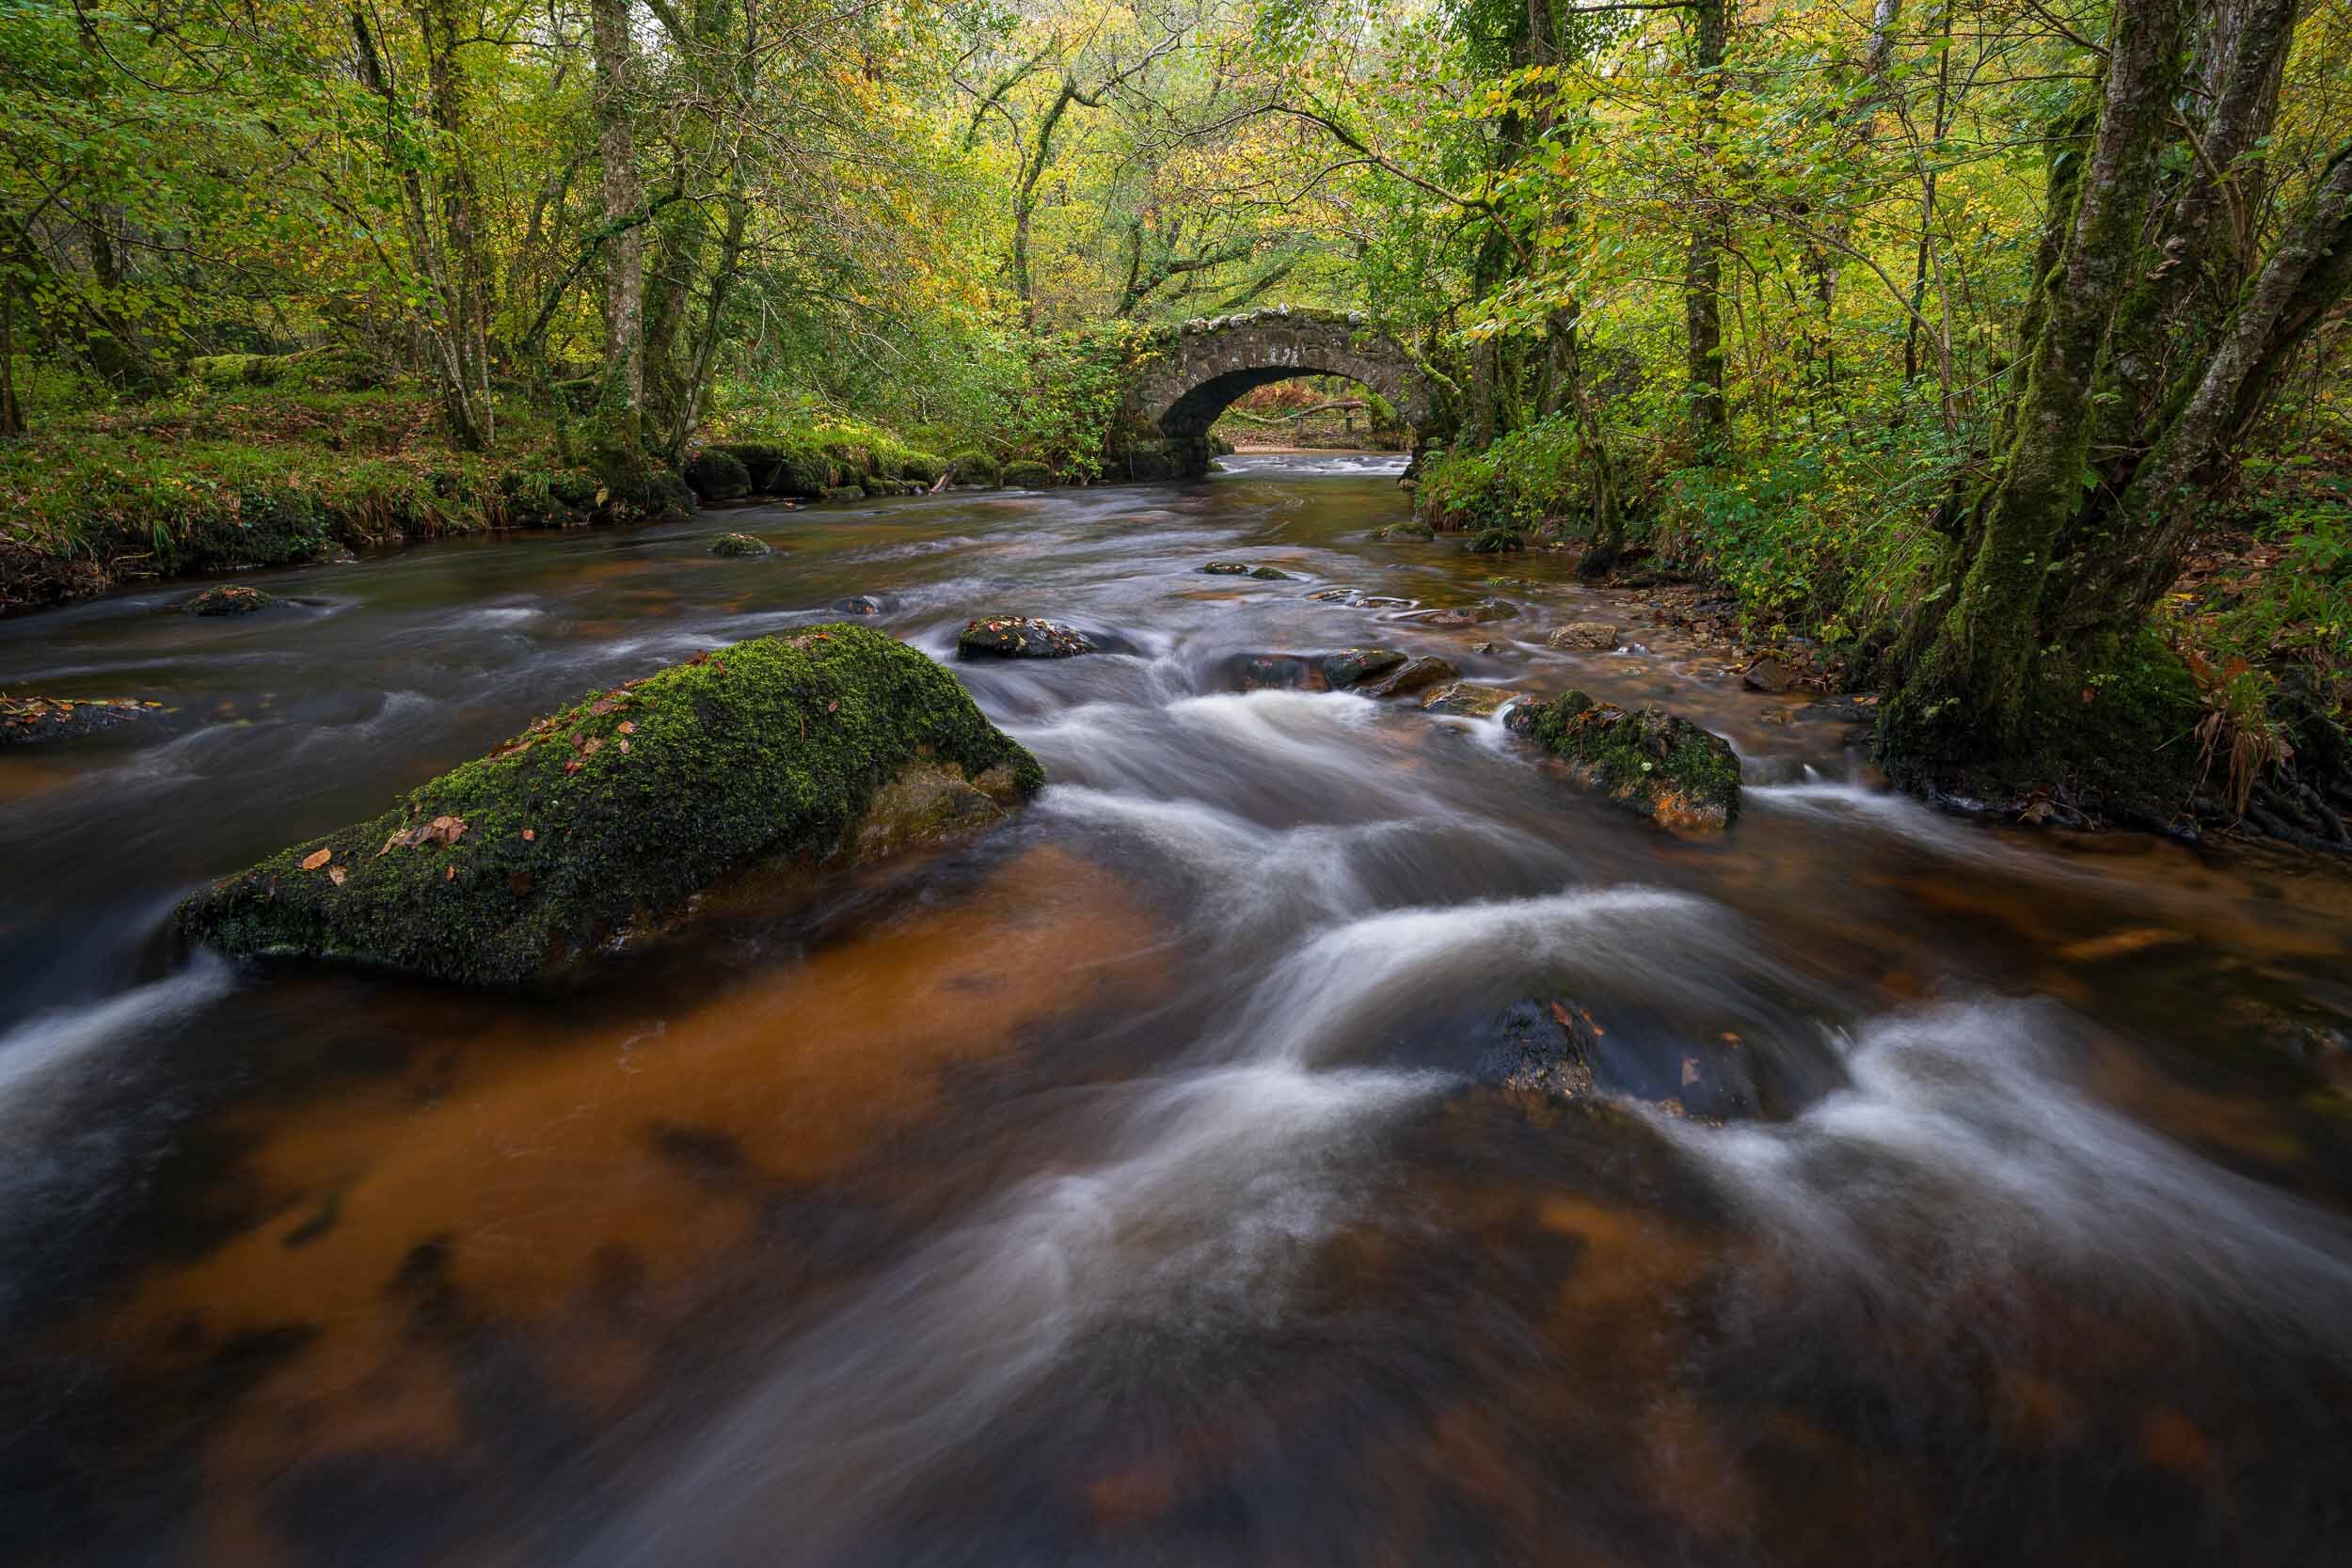
Of the locations I know, I’ve featured photographs from Rippon Tor and Holne Bridge. I haven’t captured anything spectacular or new from these locations, but they are firm favourites for me so I can’t resist the temptation to photograph them. Especially Holne Bridge. It’s such a nice location during autumn!
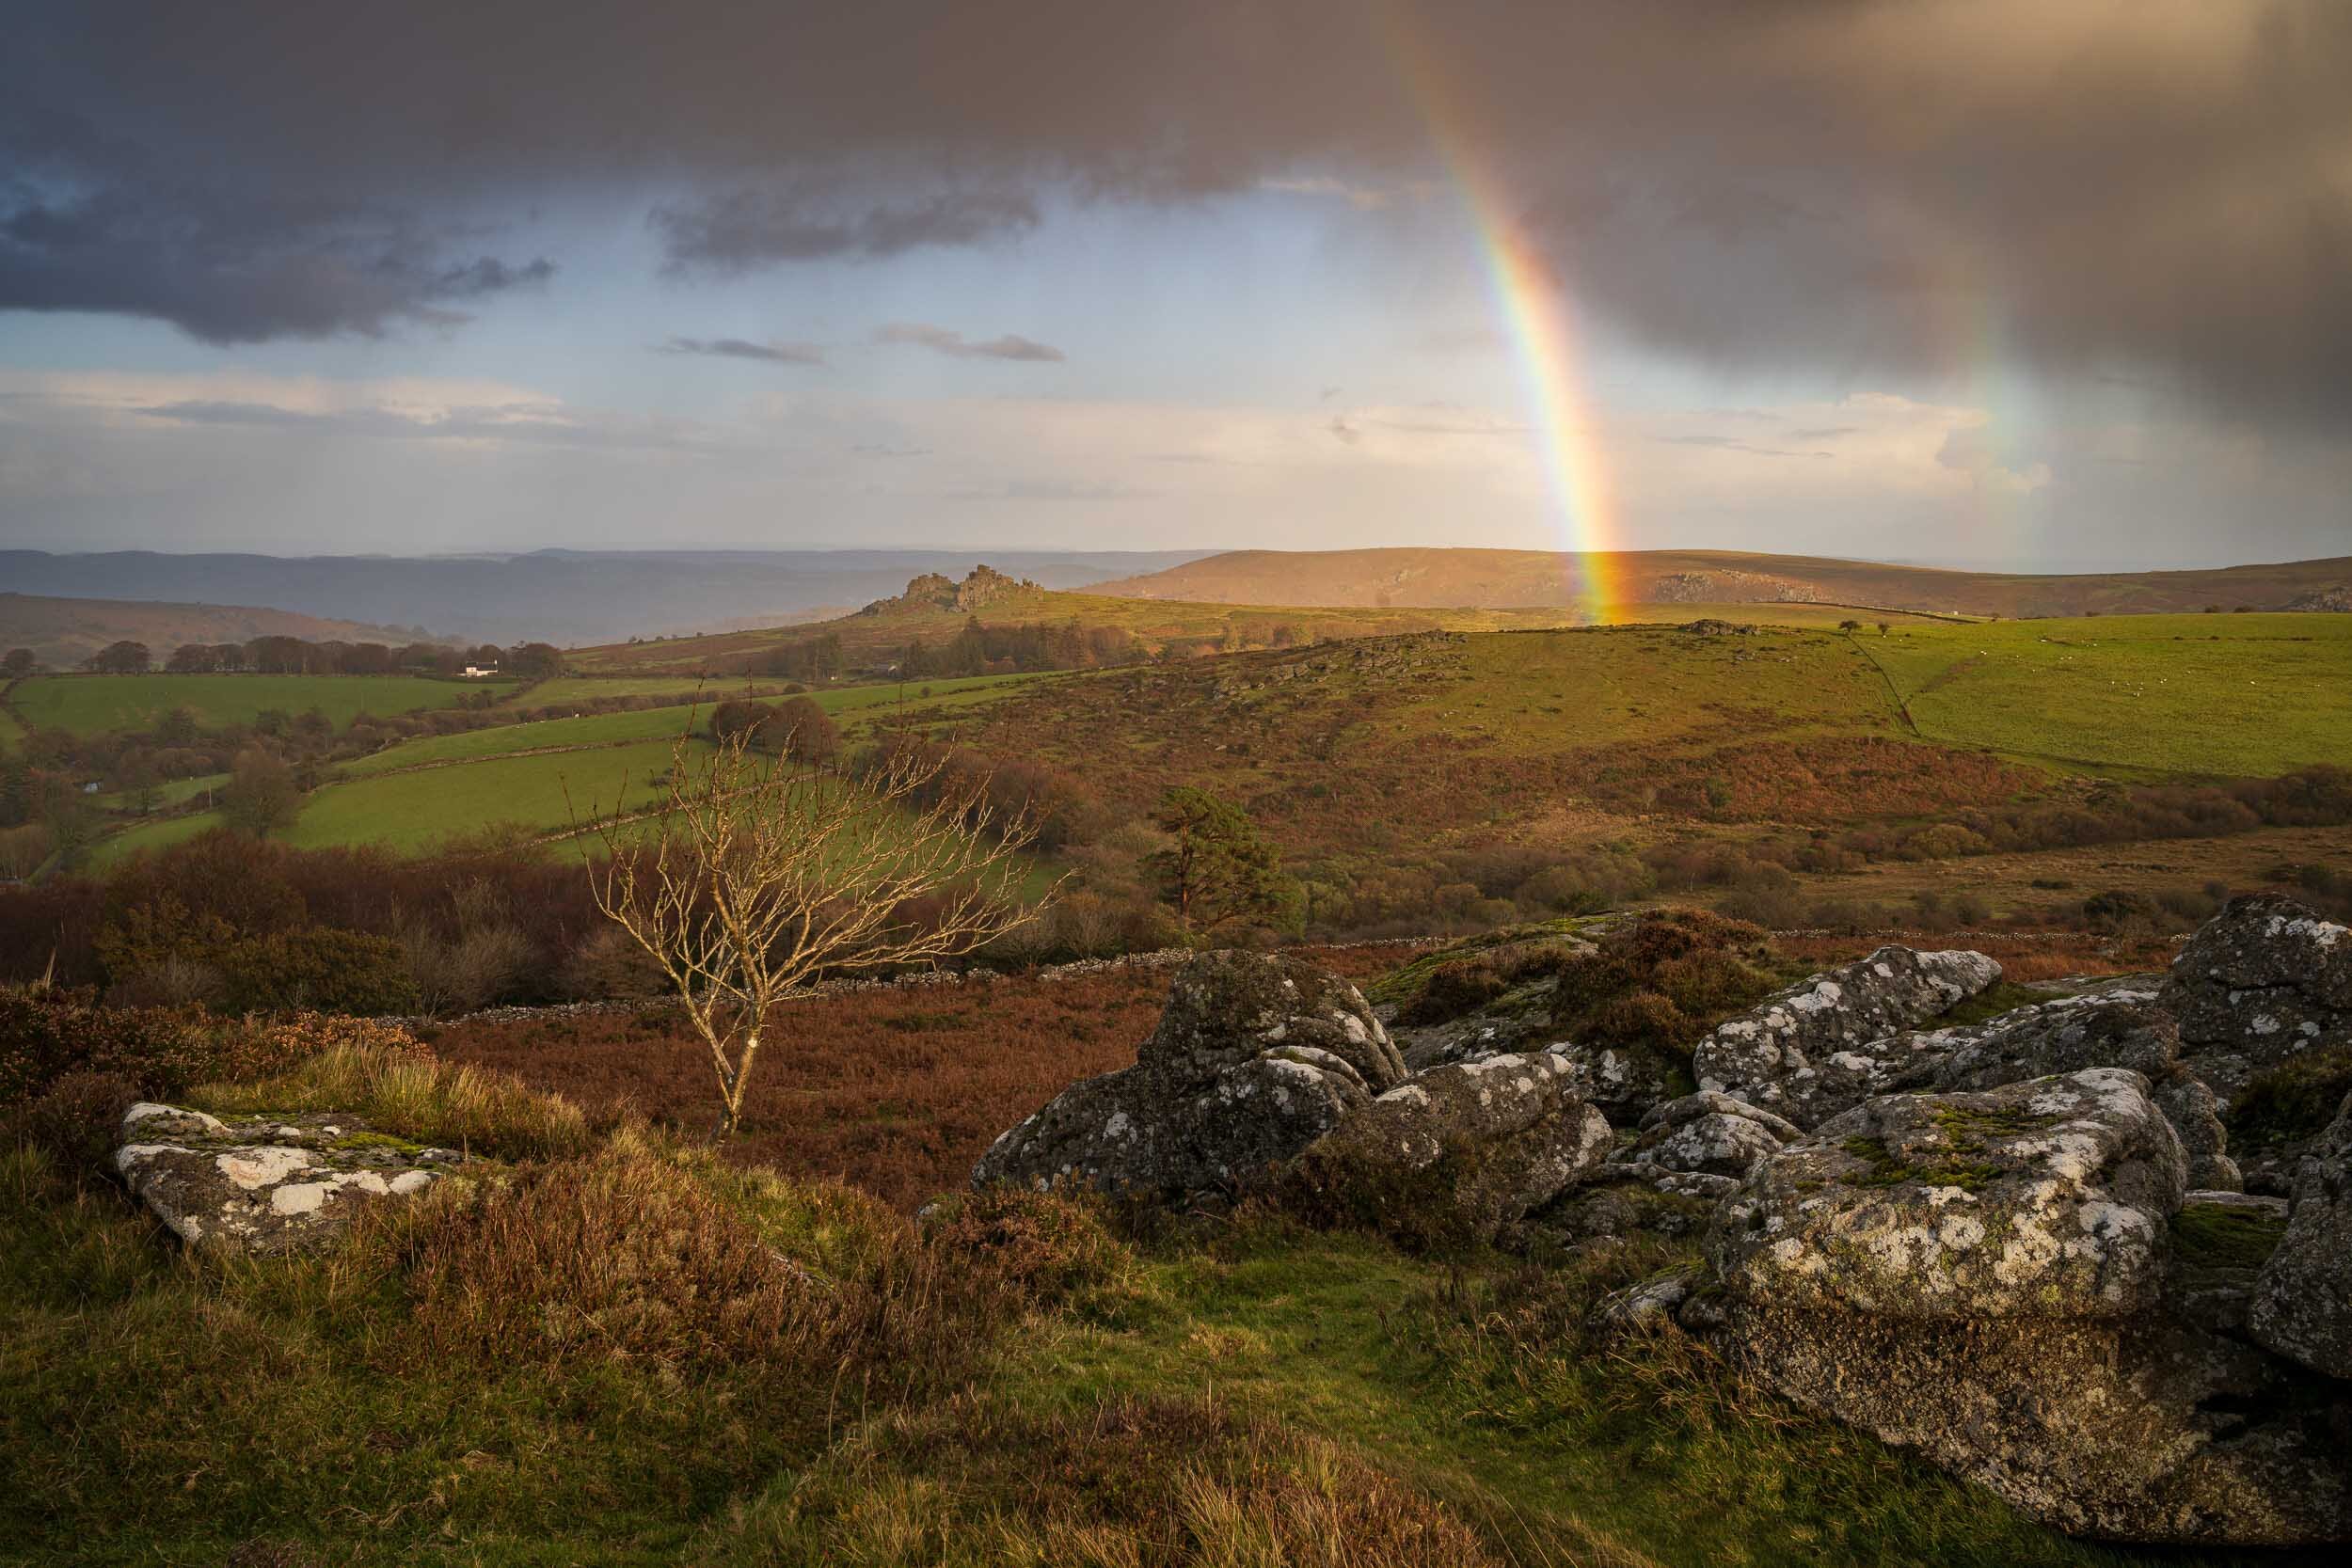
There are also some photographs from locations that I haven’t previously explored. Tunhill Rocks look like it could be a location worth exploring again. I think in the right conditions and light it could yield several good compositions. Bench Tor and Honeybag Tor are like Tunhill Rocks in that they will be worth visiting again.
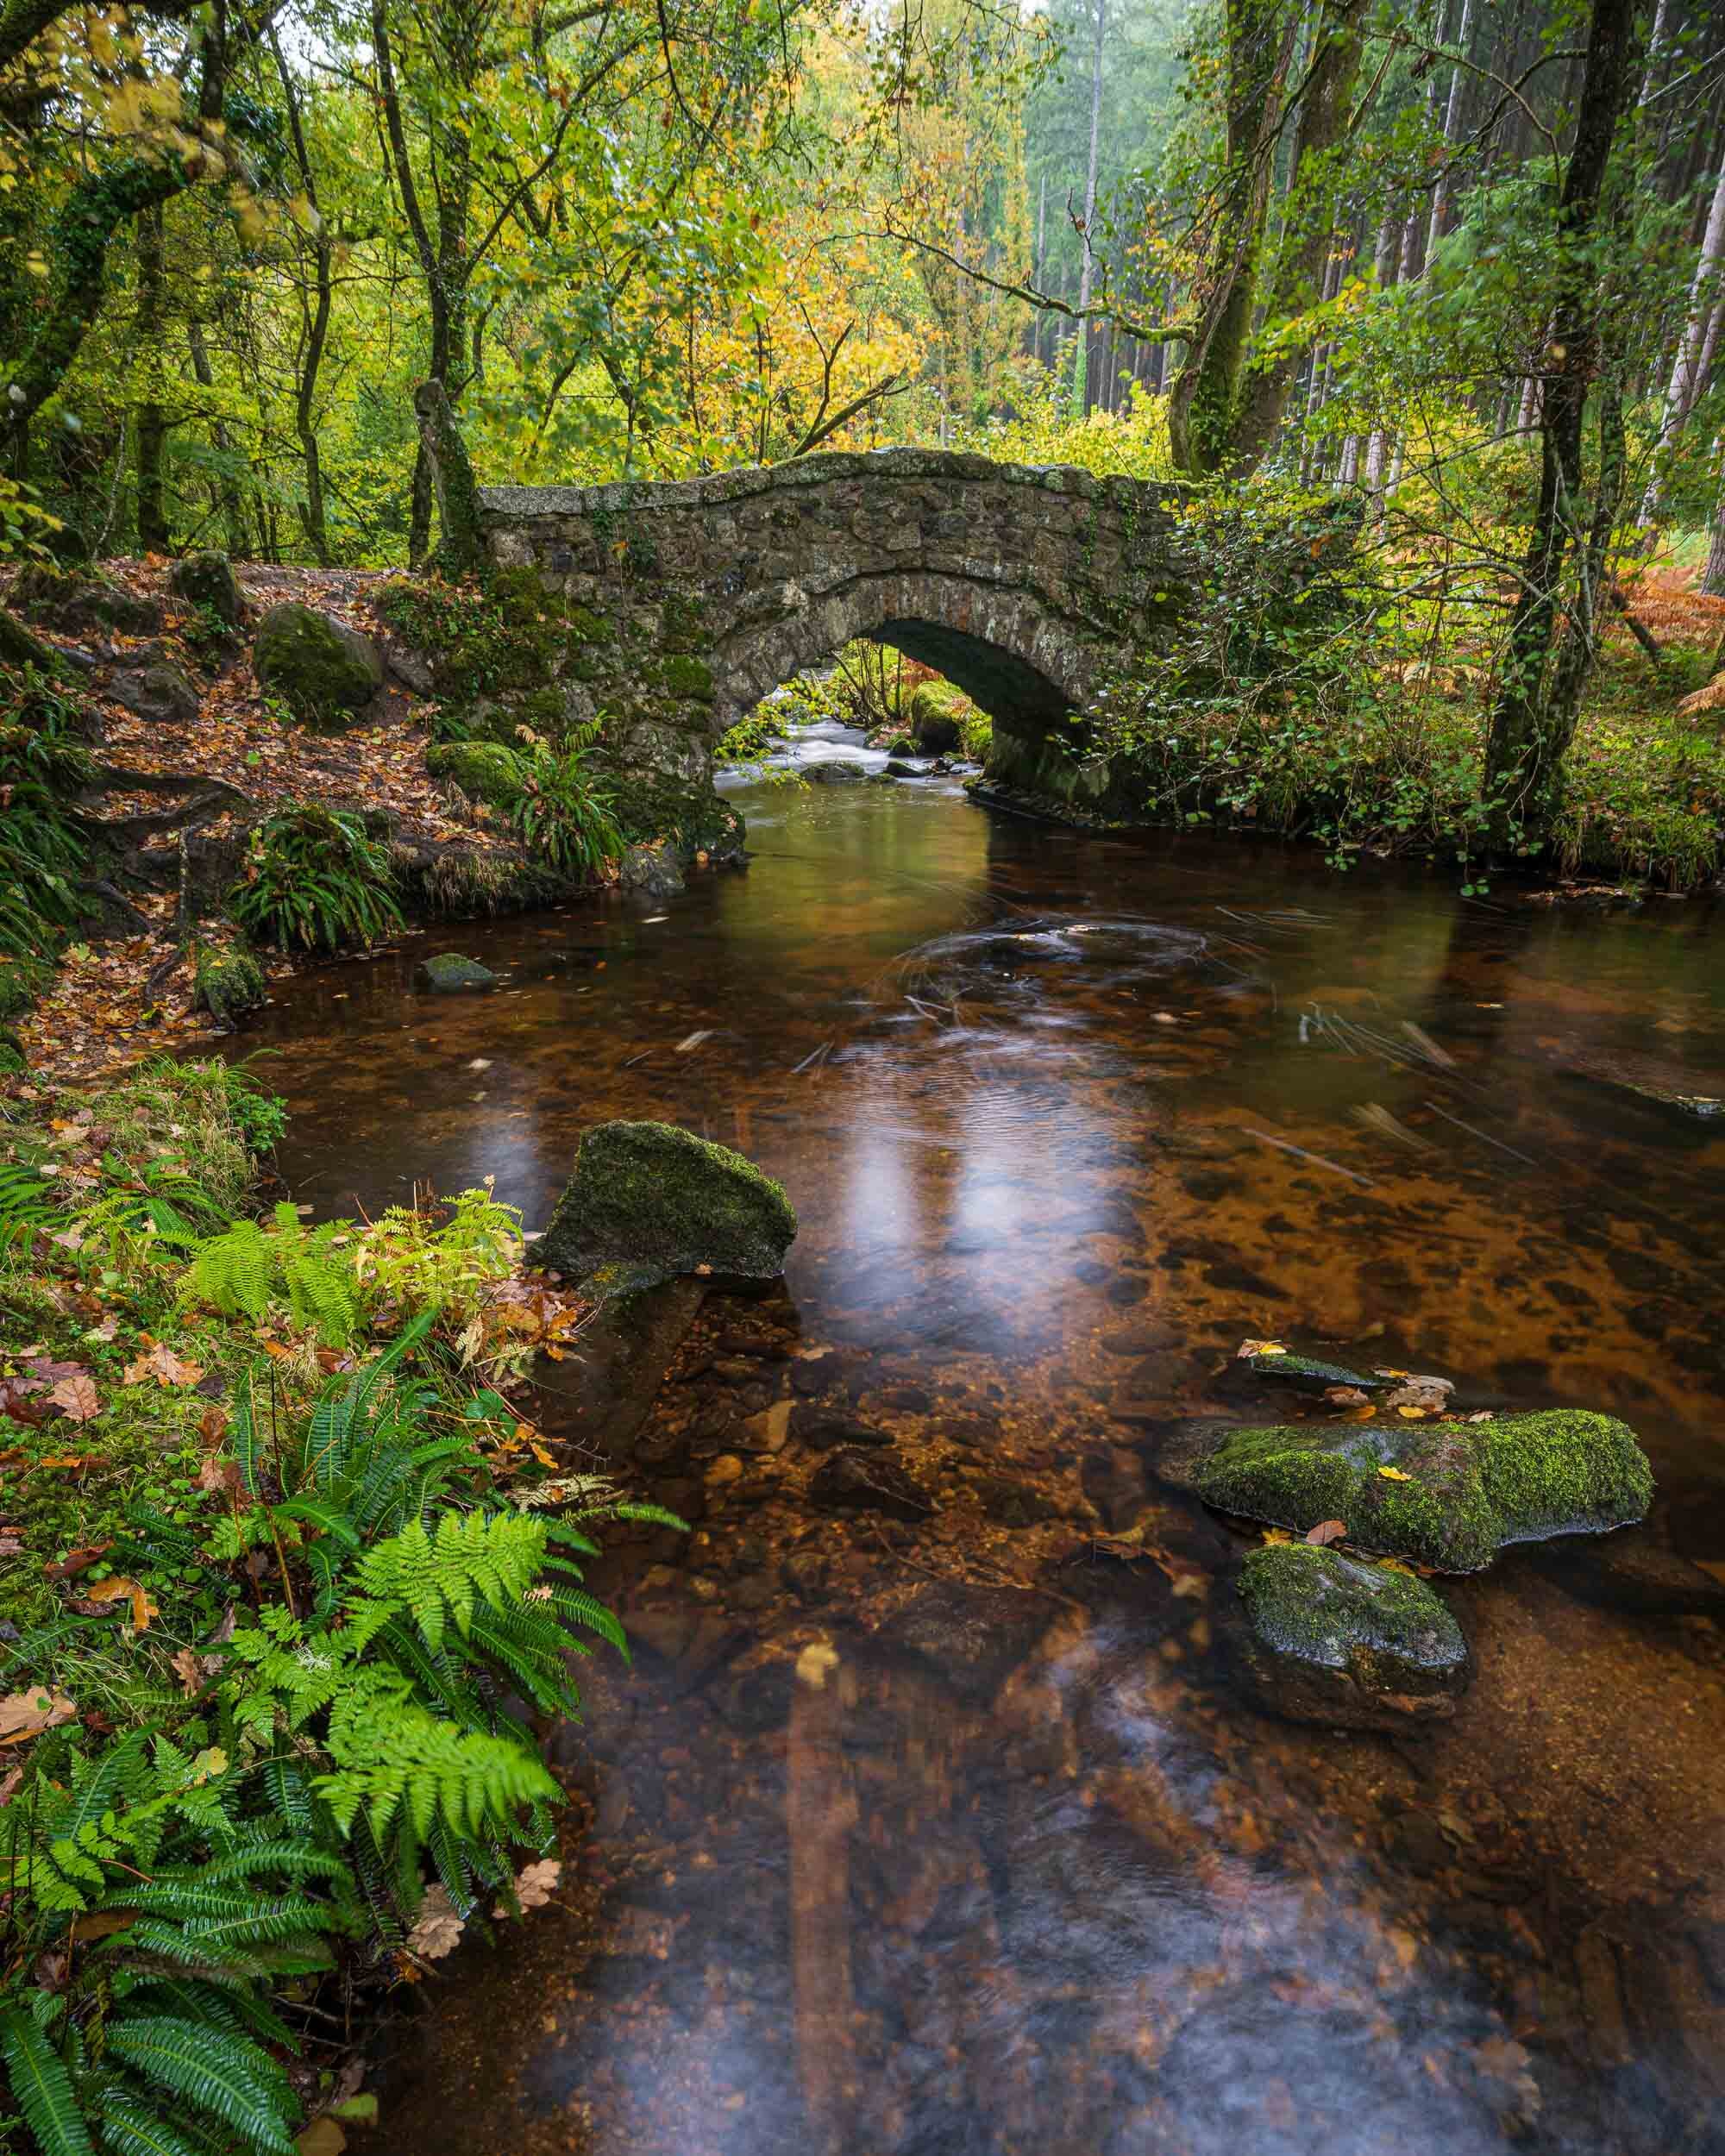
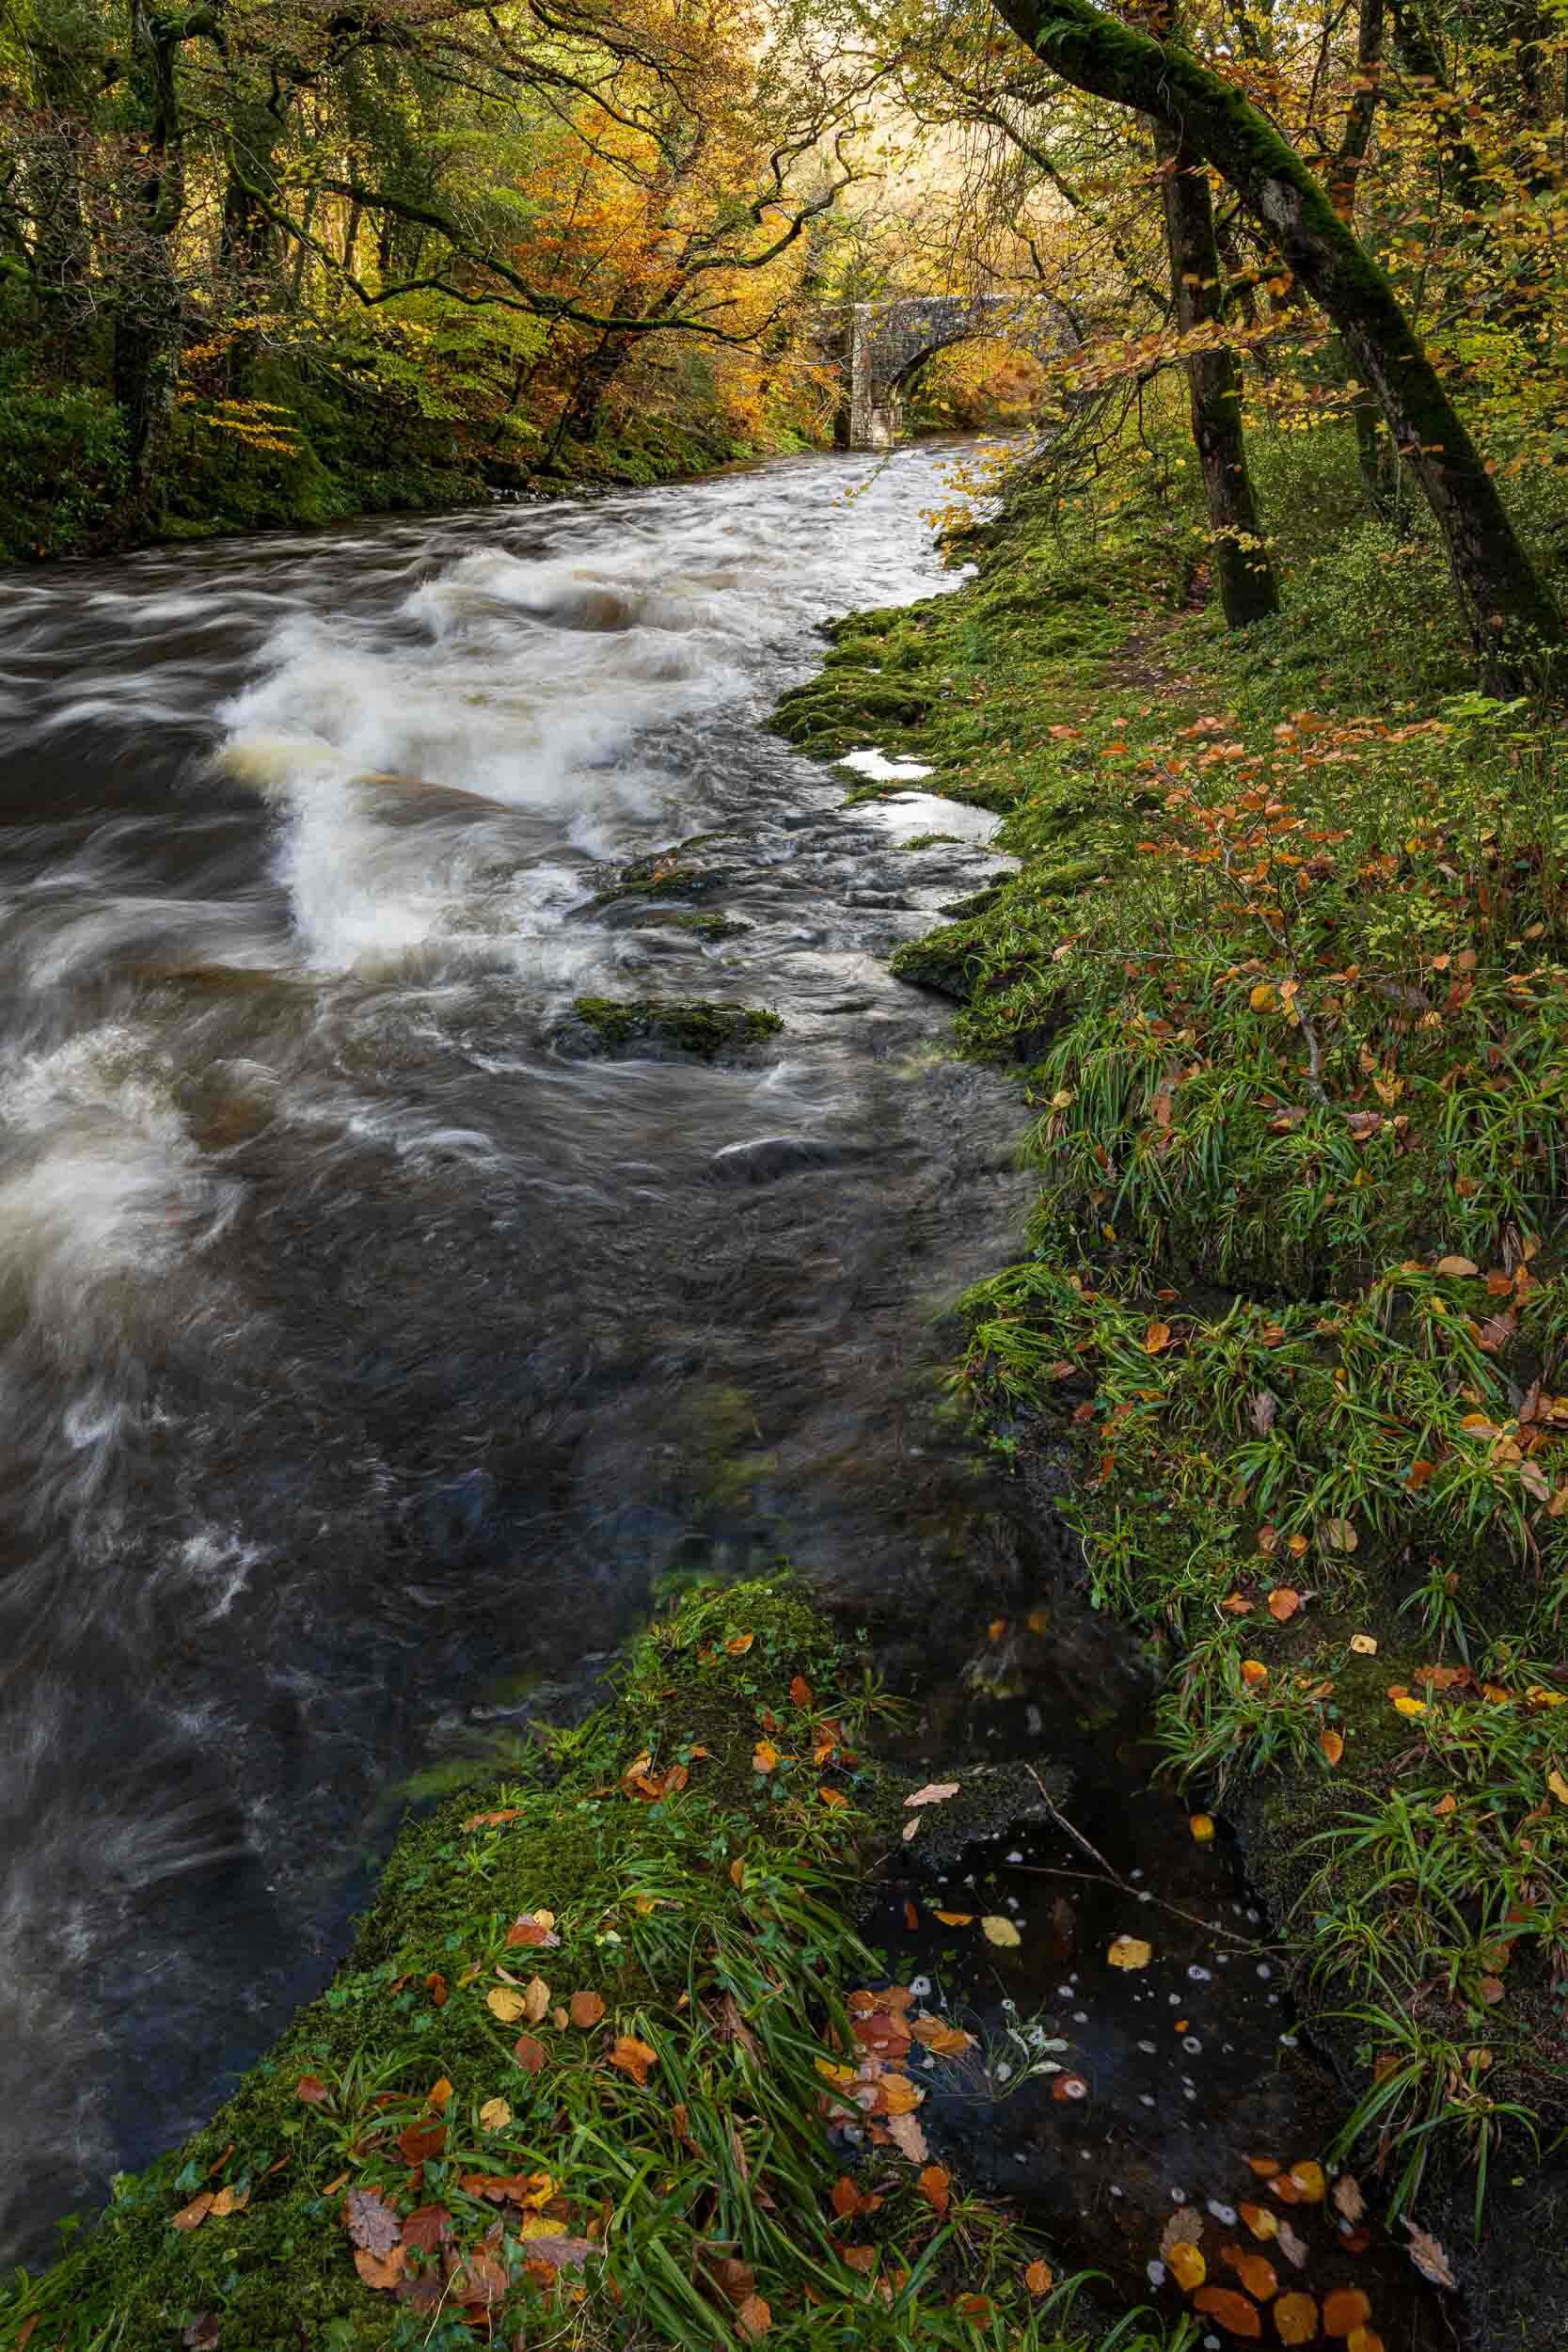
Perhaps one of the most exciting locations I have visited recently is a new one for me and that is the area around Trendlebere Down. My first visit to the area was to walk the dog and it wasn’t my intention to check it out for photography. That visit coincided with the autumnal colours coming through and as I wandered about it soon became apparent that could be an excellent location for a spot of photography. The photographs below feature the stone bridges I found but the view higher up looking down on the woodland has plenty to offer as well.
Through my mini adventures around Dartmoor I’ve visited both old and new locations, but it’s the area around Trendlebere Down that I’m most looking forward to photographing next autumn.
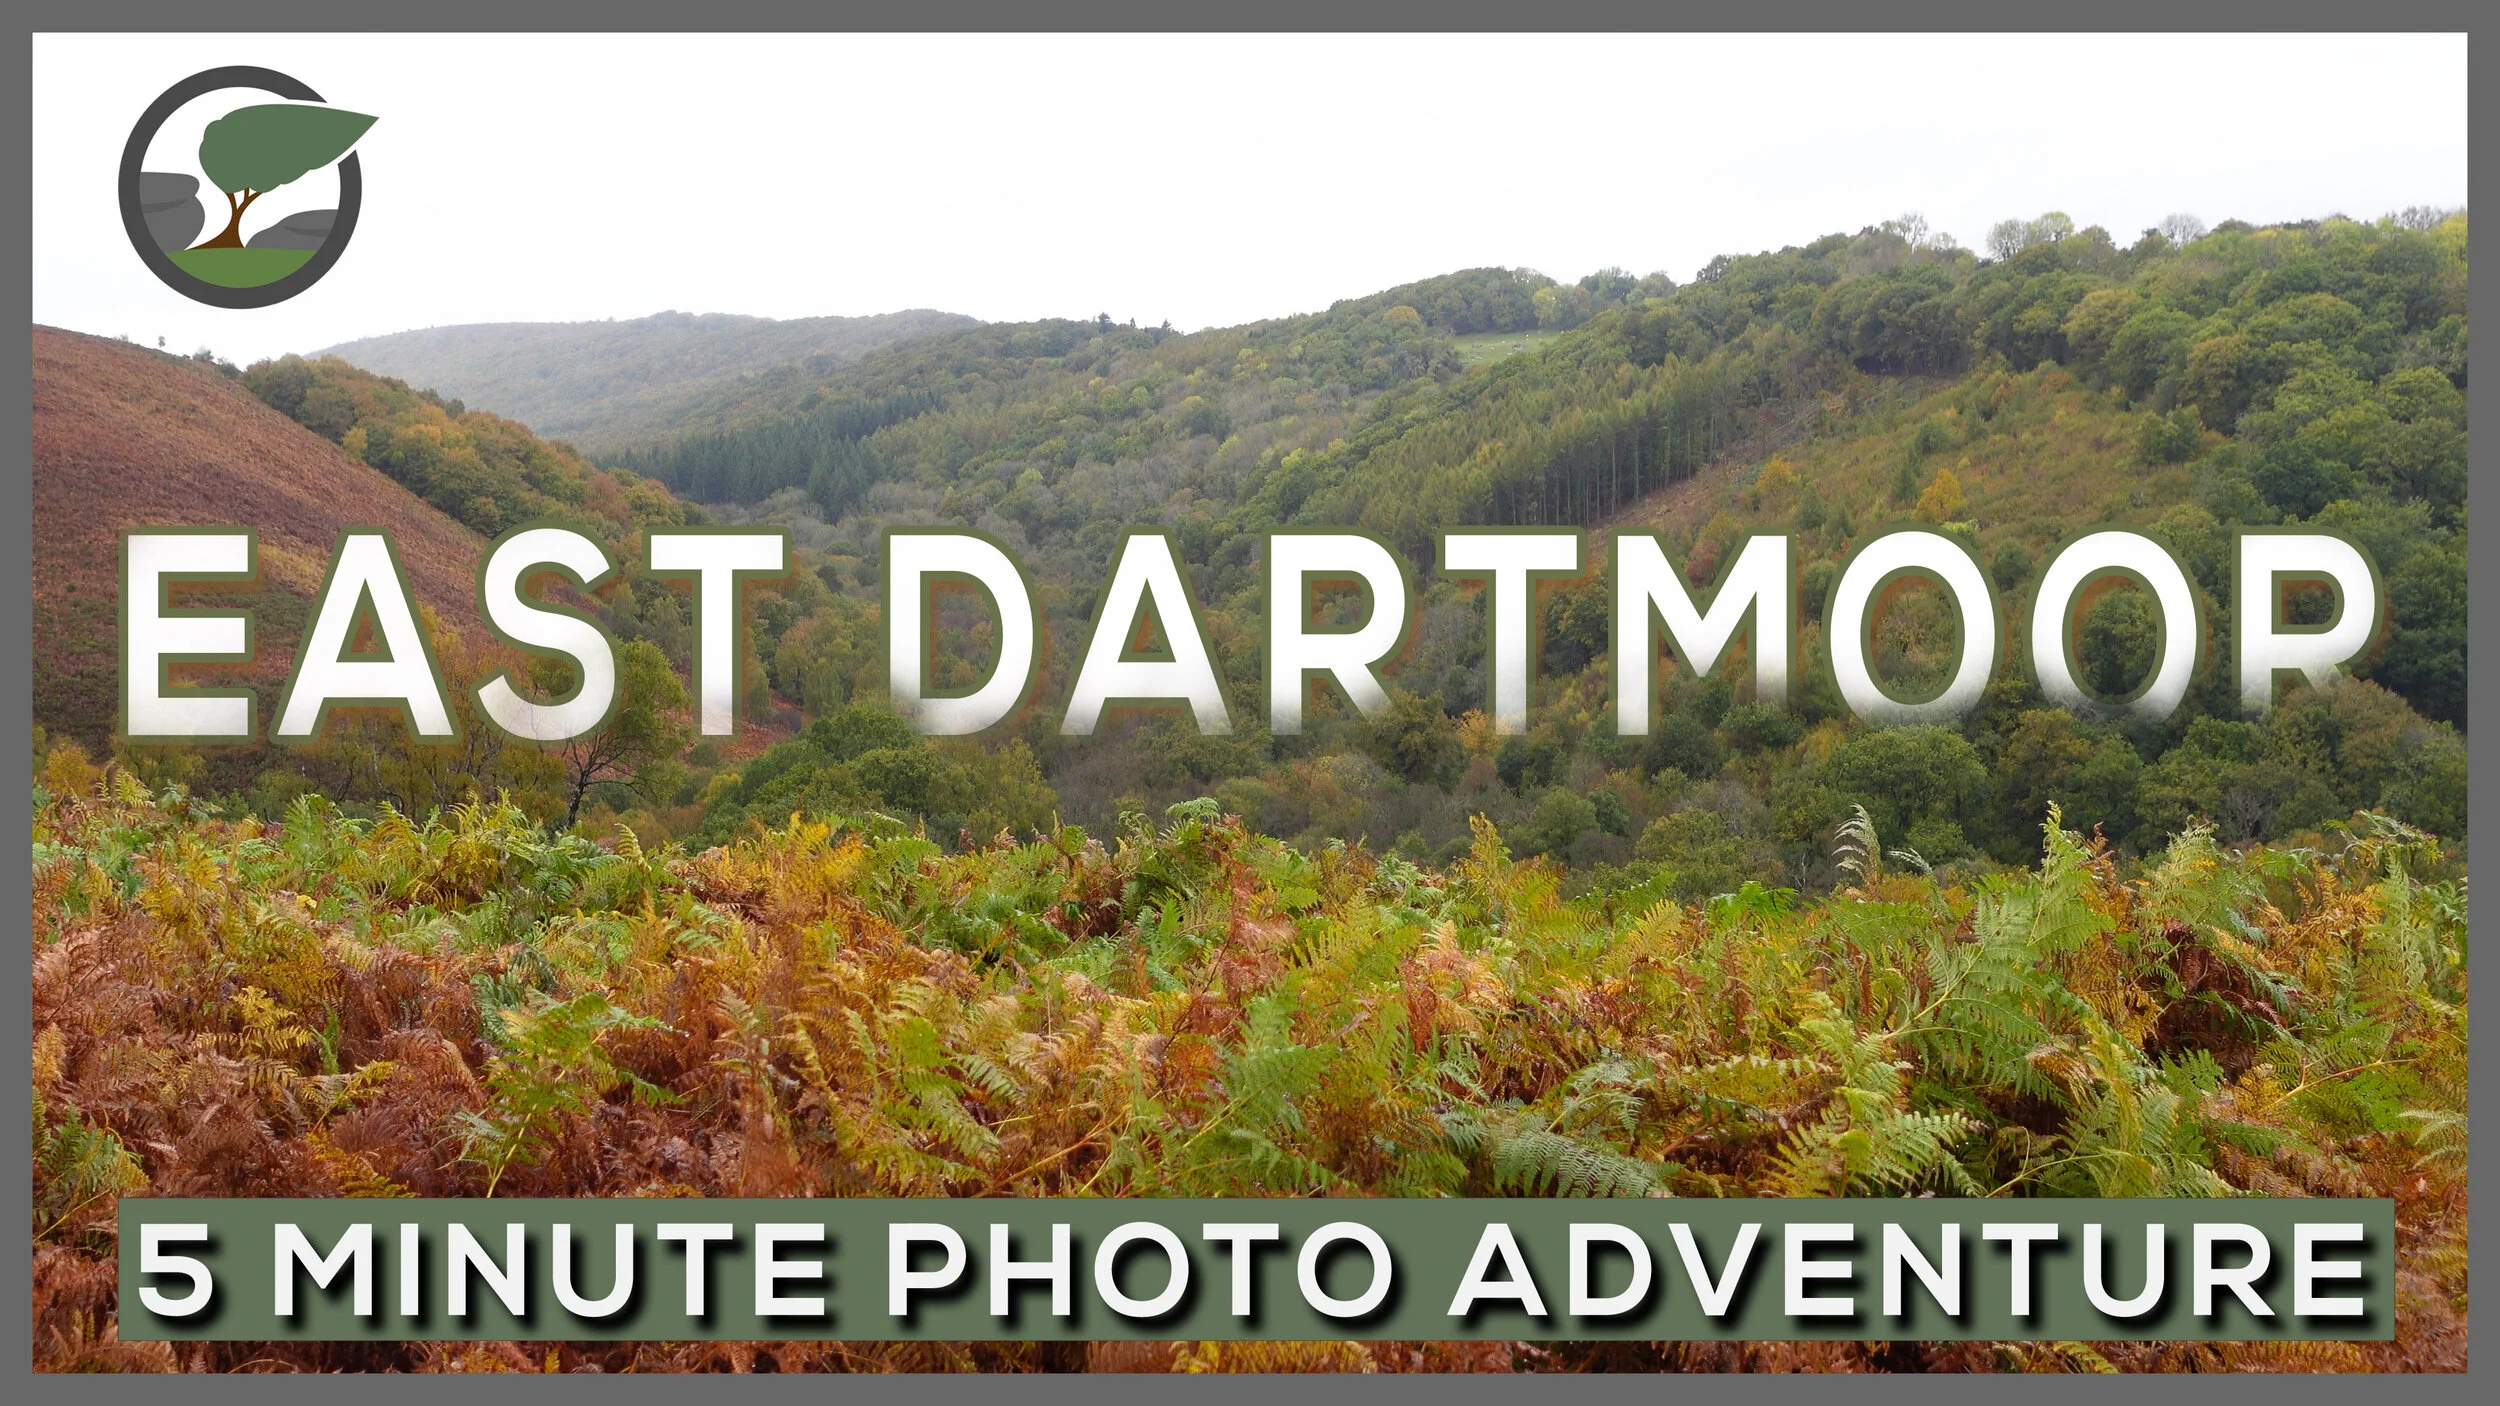
East Dartmoor - A 5 Minute Photo Adventure
In this 5 Minute Photo Adventure I head out to east Dartmoor to capture some autumnal landscape photographs.
Discovering Dartmoor
I’ve been photographing Dartmoor for many years and yet I’ve barely scratched the surface when it comes to exploring this amazing national park. There are some areas that I have yet to visit and some that I have explored and photographed numerous times. One of the locations that falls into the latter category is Haytor. There are many locations around the Haytor area worth photographing including Emsworthy Tor where I undertook a project to photograph it every month for a year (click here to see how I got on).
Just a short distance from Haytor is an area known as Trendlebere Down. I discovered this area of east Dartmoor while looking for some new locations to walk my dog. On my first visit, I was instantly captivated by this beautiful location and it was made even more stunning by the vibrant autumn colours. How did I not know about this place before? I knew I would have to return with the camera.
Over the autumn period, I visited this location numerous times and I was also inspired to create one of my 5 Minute Photo Adventure videos. While filming the overcast and windy conditions made the photography challenging but I still wanted to share a small portion of what this location has to offer.
I hope you enjoy this 5 Minute Photo Adventure video and it will inspire you to look more closely at an area you know well. You never know what you might discover.
Autumn on Dartmoor Photographs
Here are the photographs you saw in the video. Enjoy!
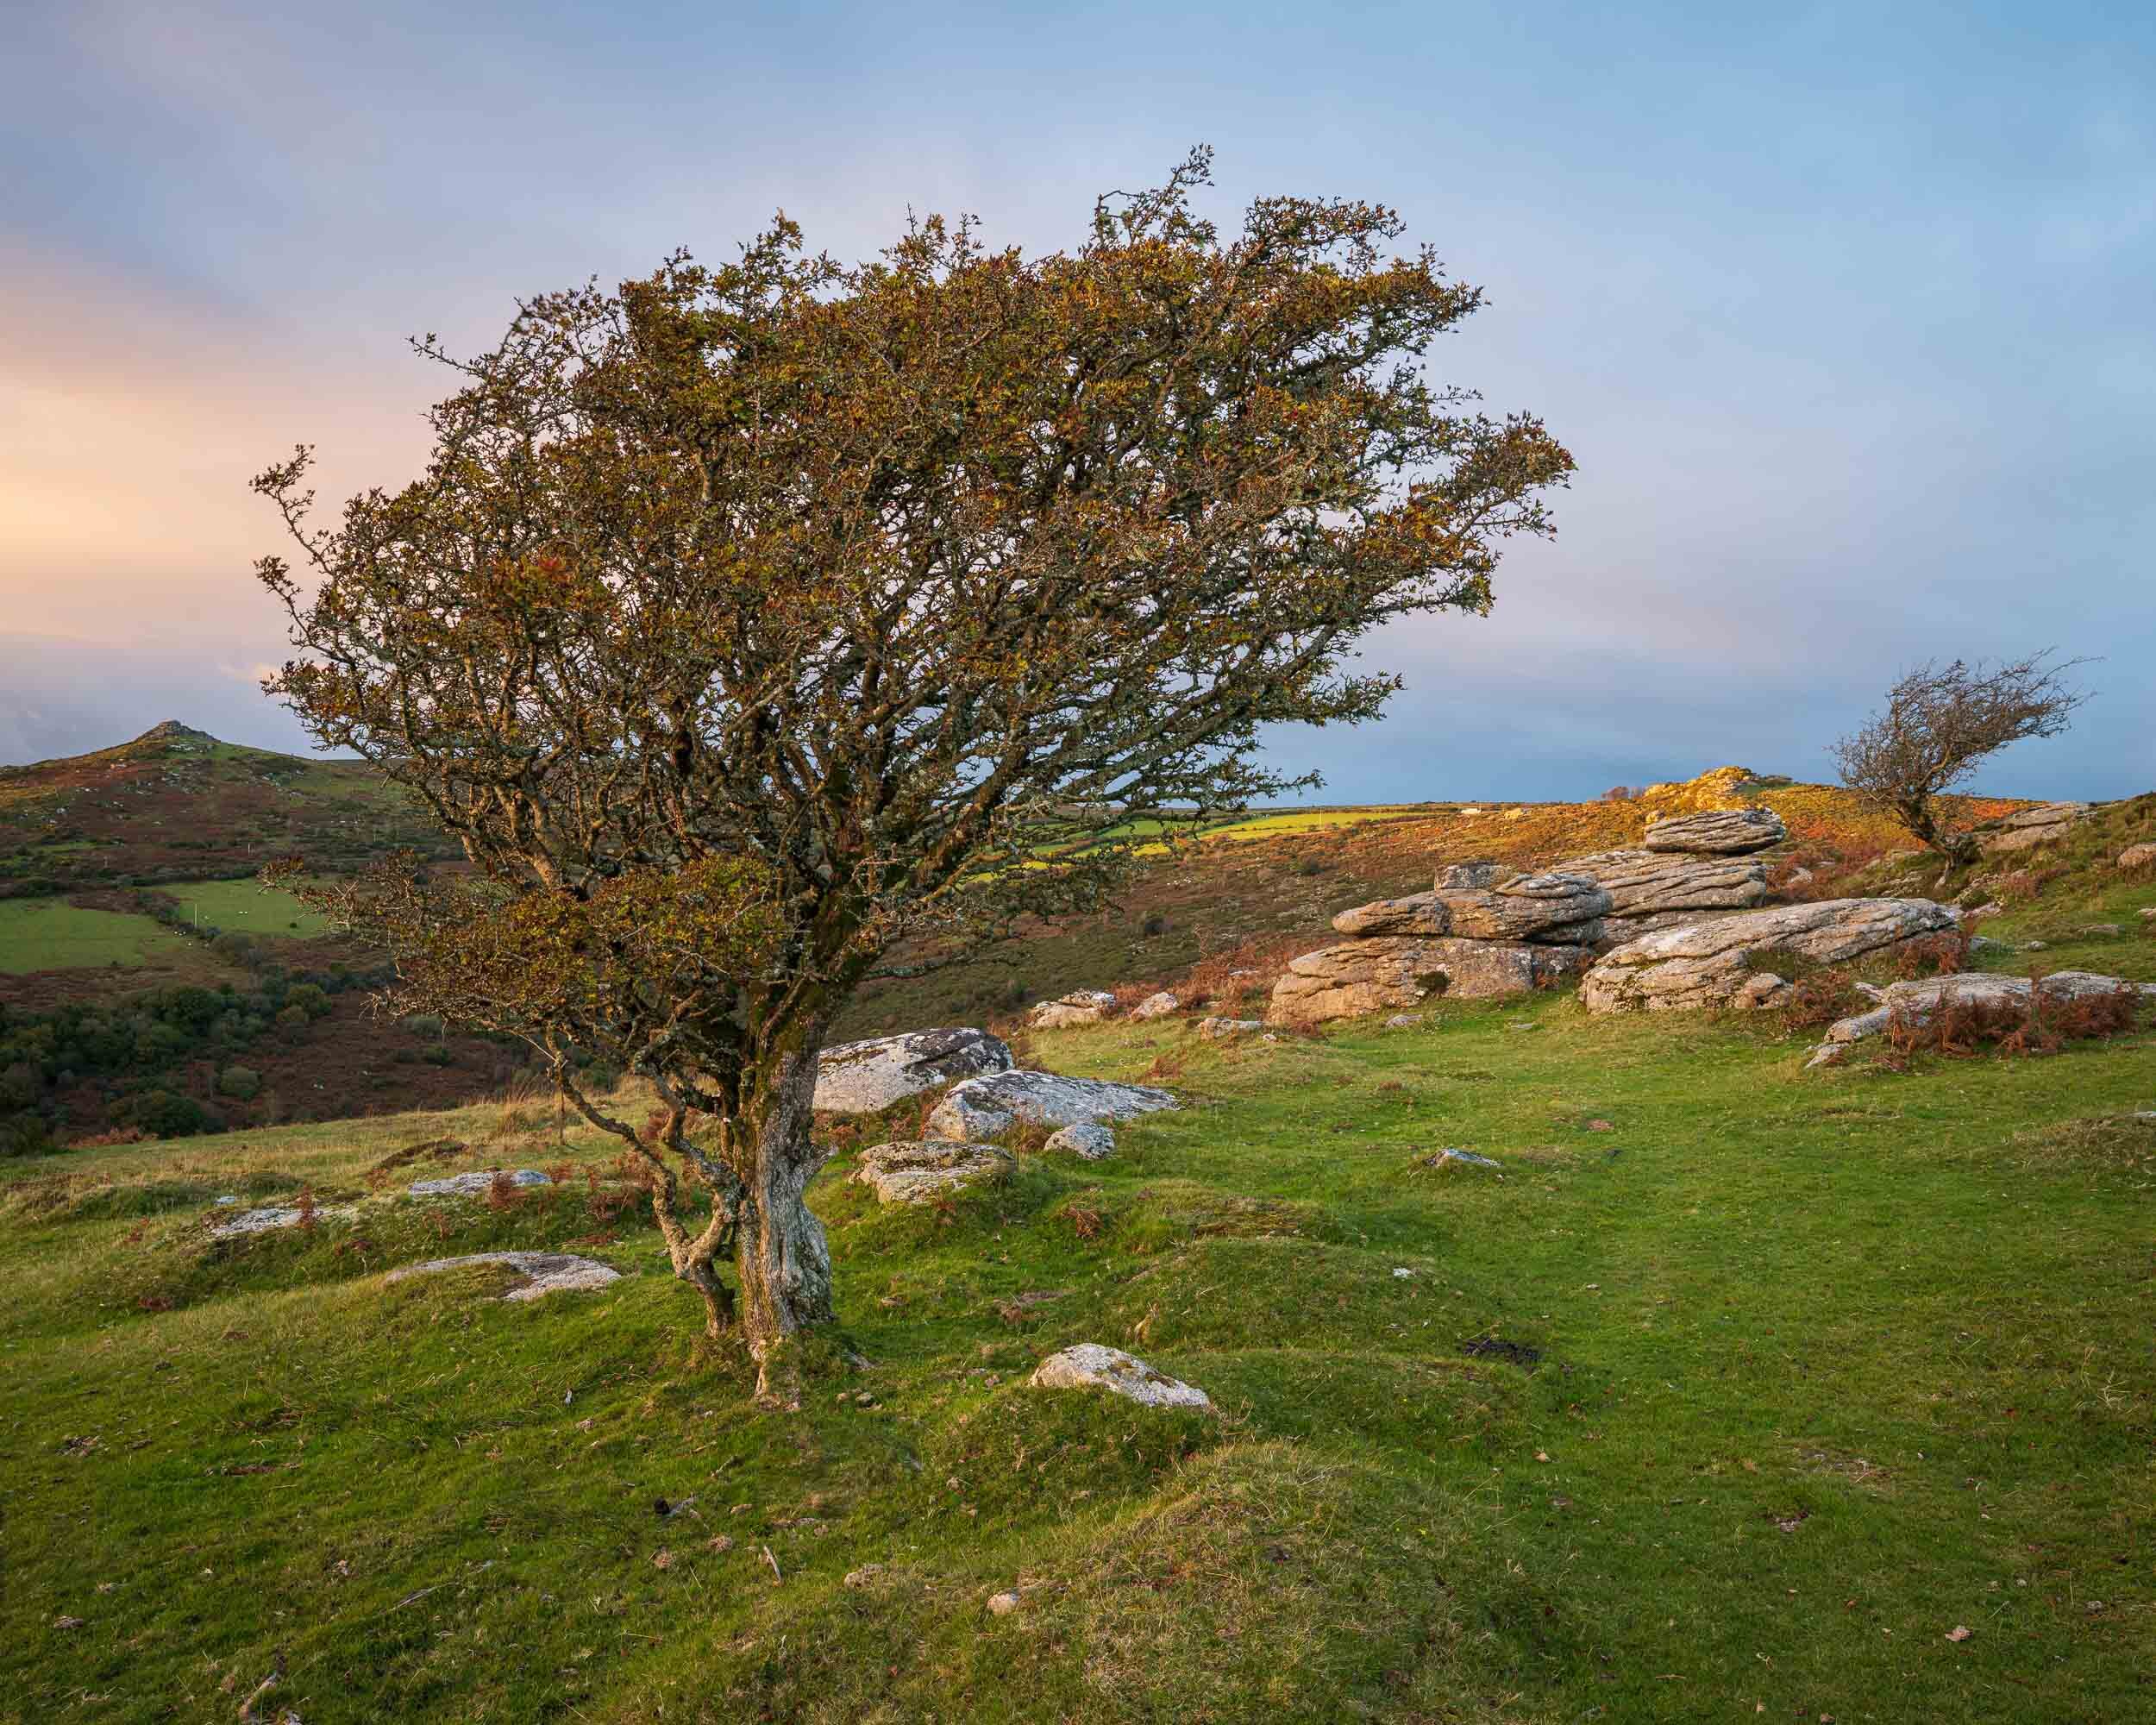
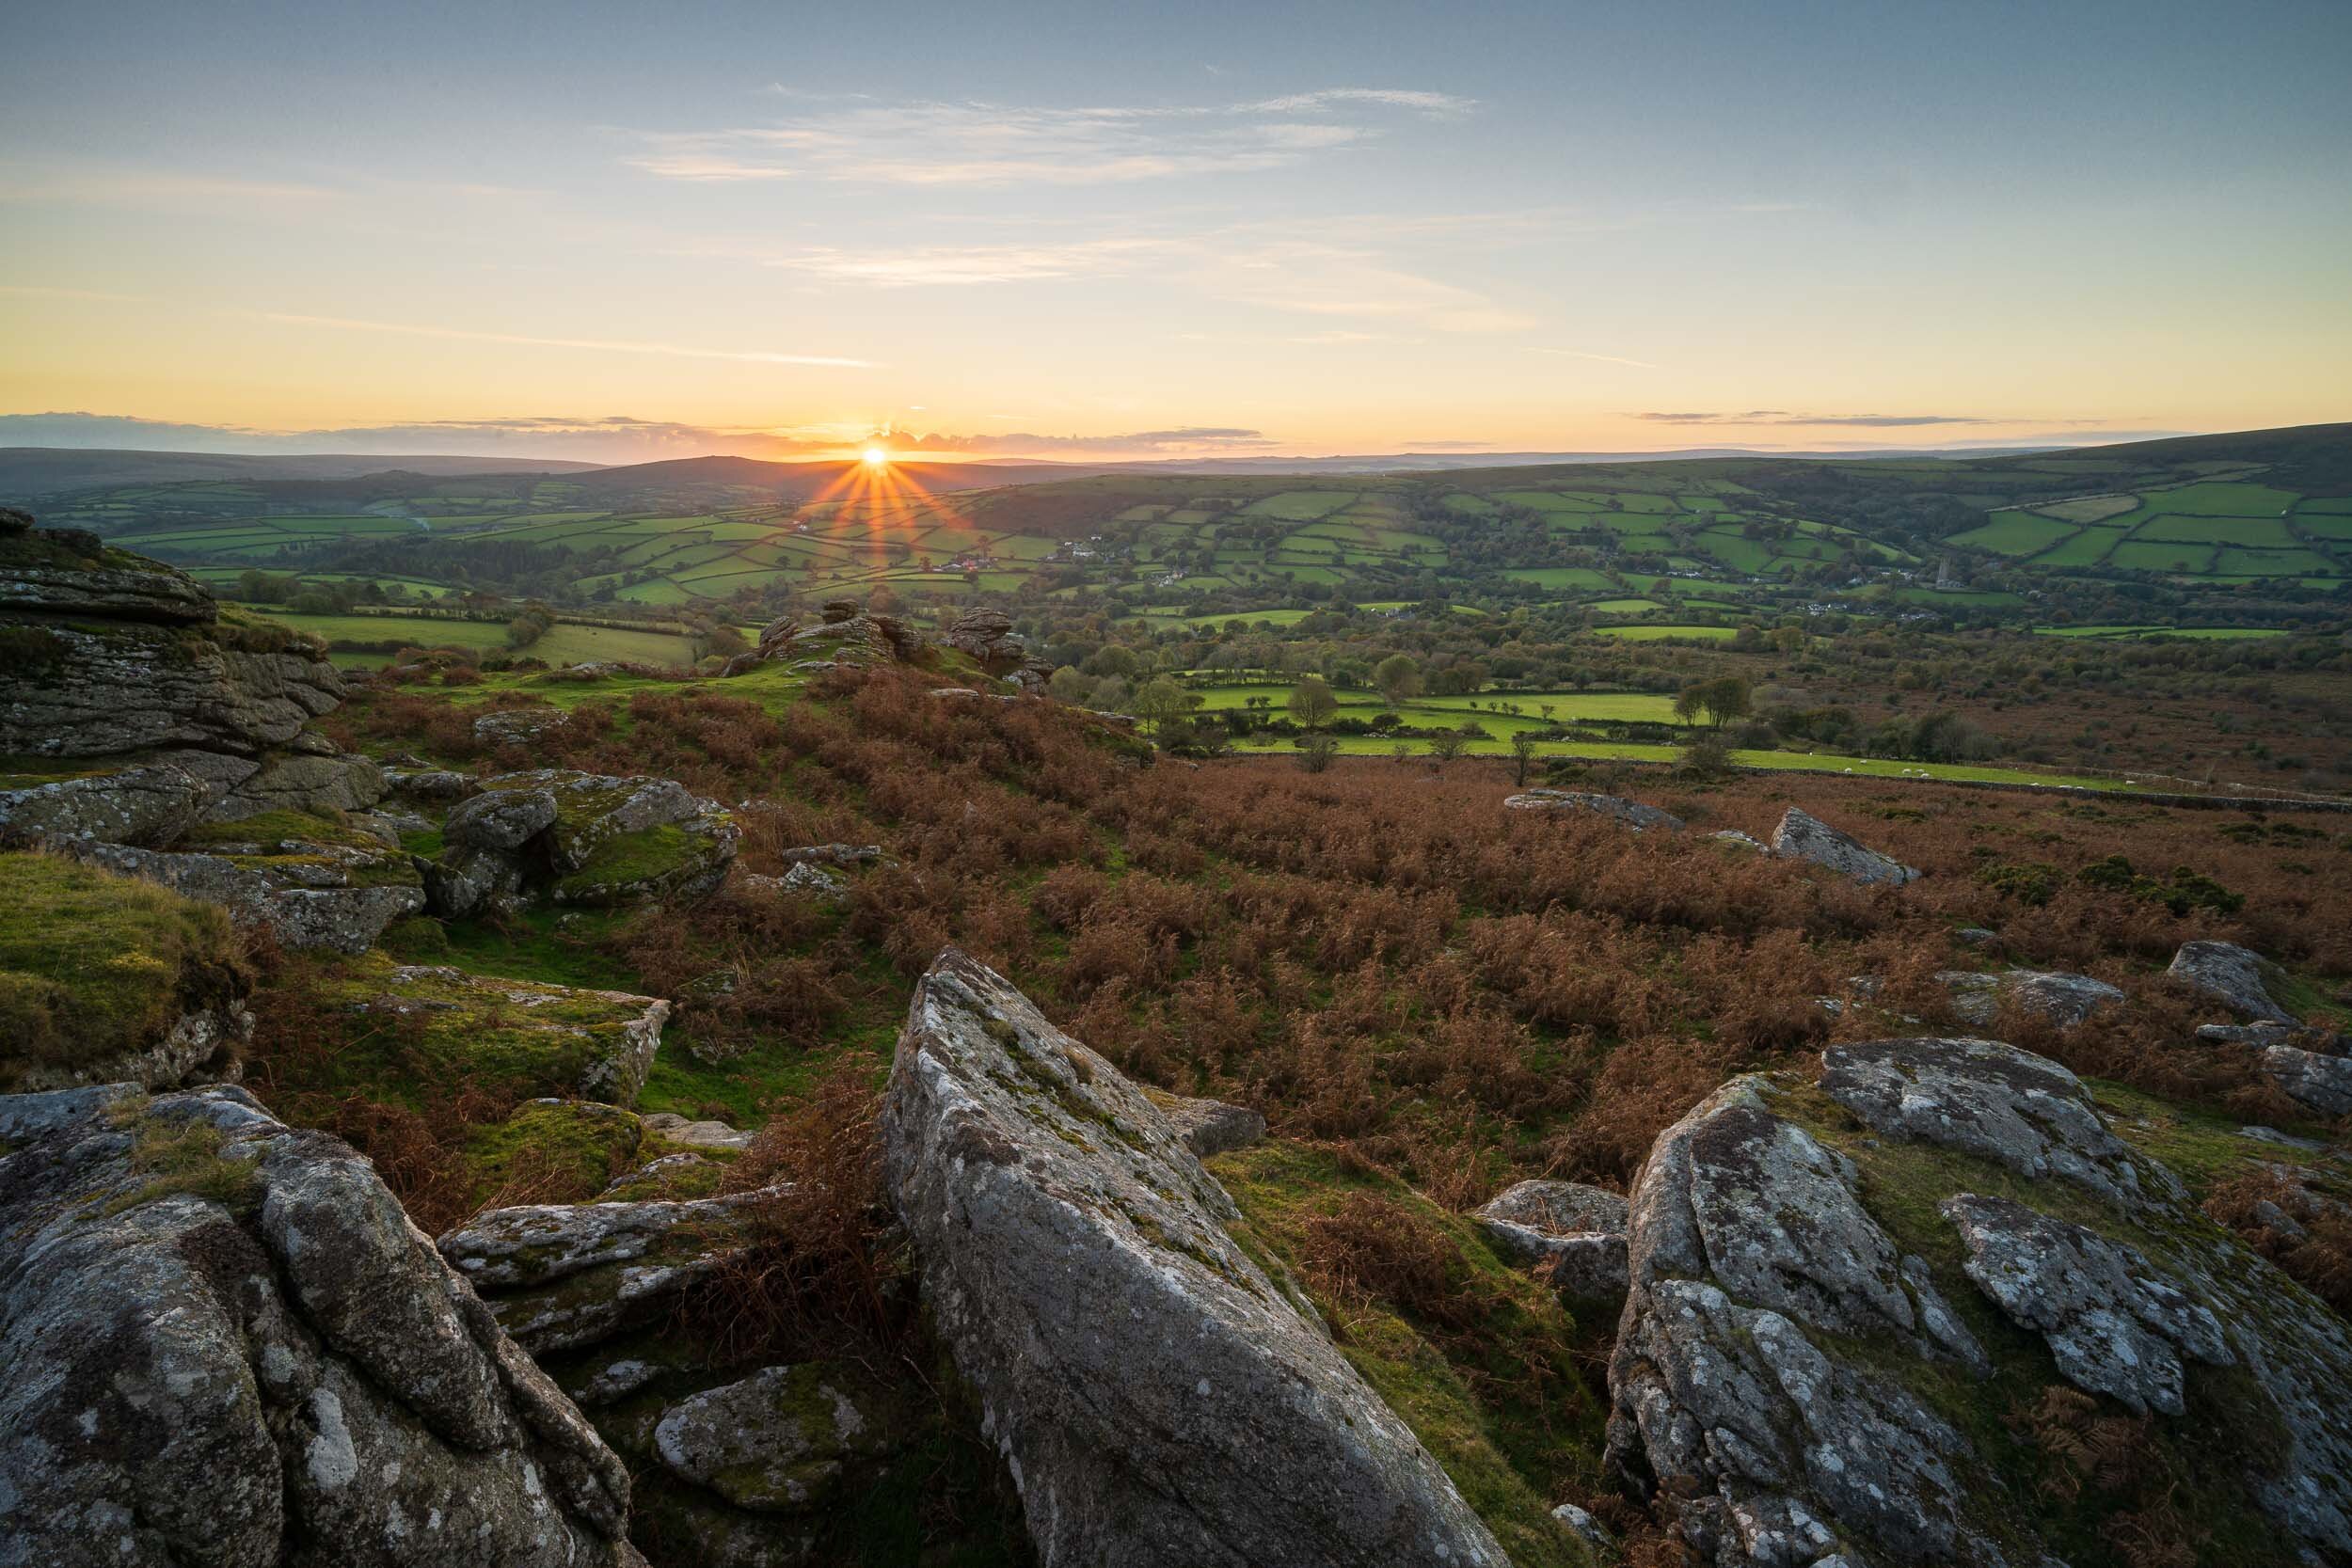
Bridge Over the Bovey #1, Dartmoor, Devon - Nikon Z7, Nikkor 14-30mm f/4 at 17mm, f/8, 2.5 seconds at ISO 64.
Bridge Over the Bovey #, Dartmoor, Devon - Nikon Z7, Nikkor 14-30mm f/4 at 17mm, f/8, 0.5 seconds at ISO 400.
Autumn on Trendlebere #2, Dartmoor, Devon - Nikon Z7, Nikkor 14-30mm f/4 at 20mm, f/6.3, 1/4 seconds at ISO 800.
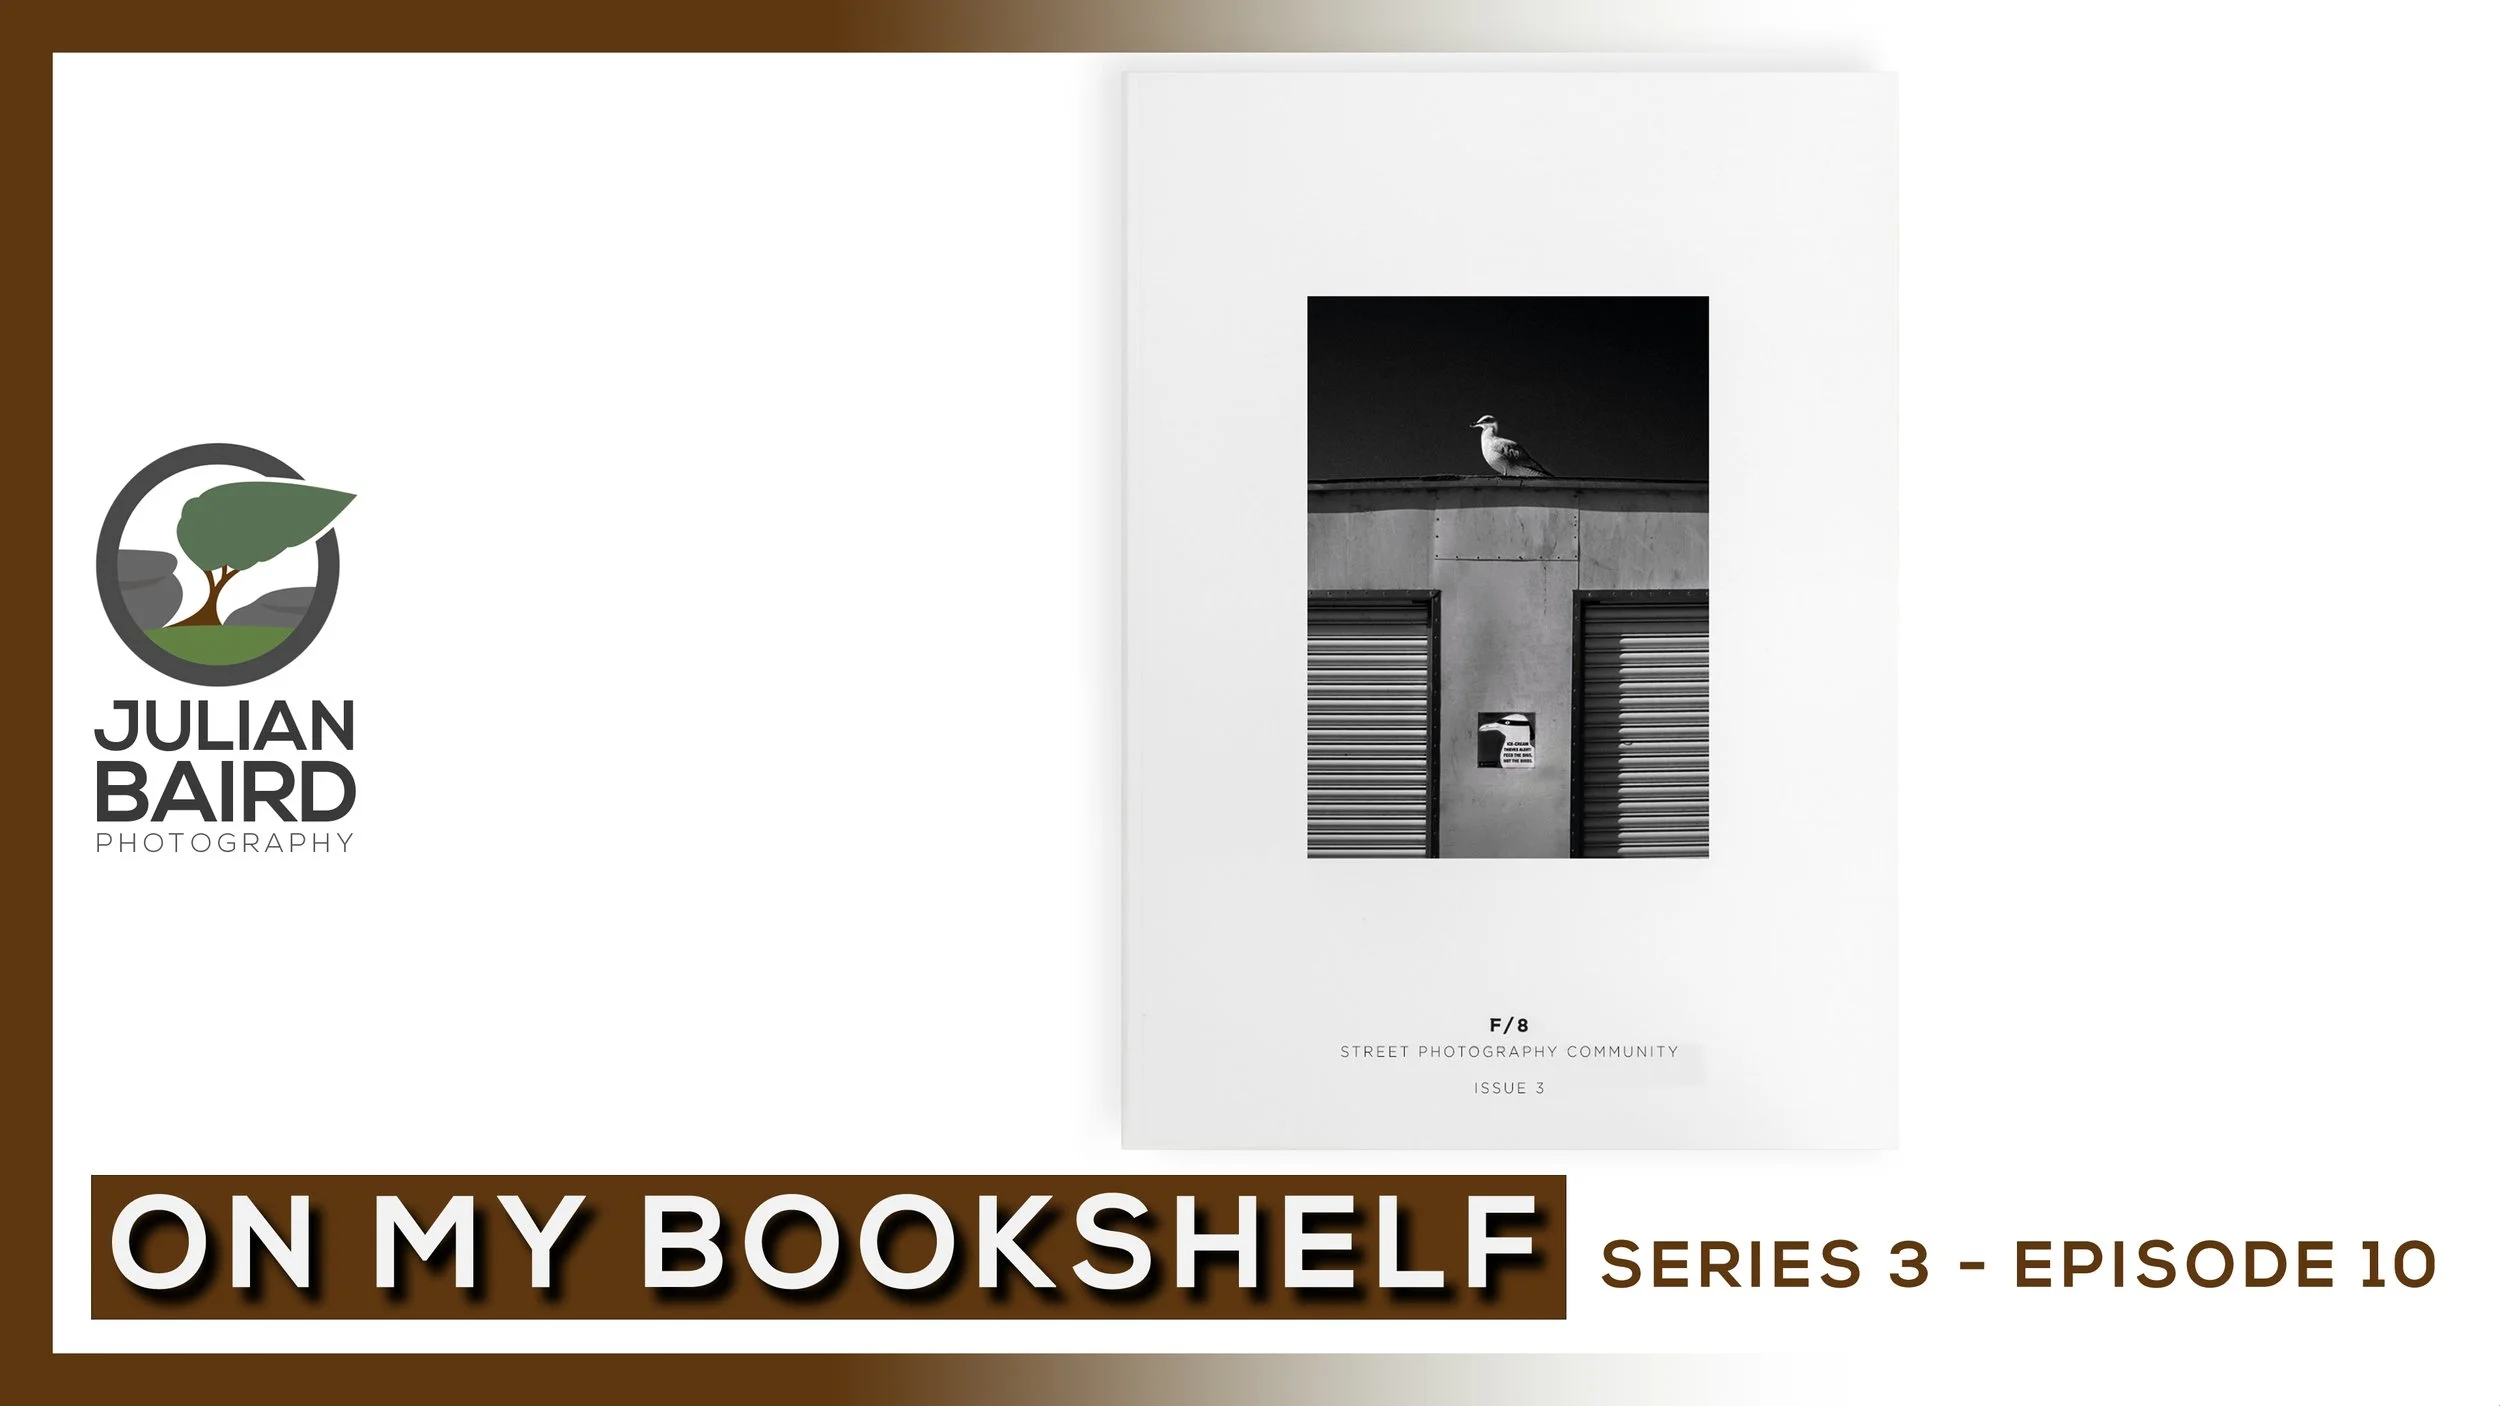
F/8 Street Photography Magazine by Gareth Danks - On My Bookshelf S03E10
My bookshelf has always had more than just landscape photography books on it but this is the first time I'm looking at something from the street photography genre.
Not Just Landscapes
Over the years I’ve bought lots of books on photography. They are a great source of inspiration and education. If you were to look at my bookshelf you would of course see a lot of books on landscape photography, but you would also see books from different genres of photography. Though landscape photography is my passion, I’m a firm believer that I can still develop my own photography by looking at photographs from all genres.
Saying that though there is one genre of photography that has been missing from my bookshelf and that’s street photography. There’s no particular reason for that but when I heard Gareth Danks was self-publishing a new magazine on street photography, I knew I should take a look and dip my toe into street photography publications.
Street Photography
In this episode of On My Bookshelf, I’m looking at issues one and two of F/8 Street Photography magazine. A magazine isn’t something I’d normally consider making an episode of On My Bookshelf for but what makes this magazine interesting is that it features a lot of community content. Plus, unlike many of the magazines that you might see in a newsagent the print quality is a noticeable step above the rest. Let’s take a look.
I hope you enjoyed this episode of On My Bookshelf. Regardless of your level of interest in street photography, F/8 Street Photography magazine is well worth checking out.
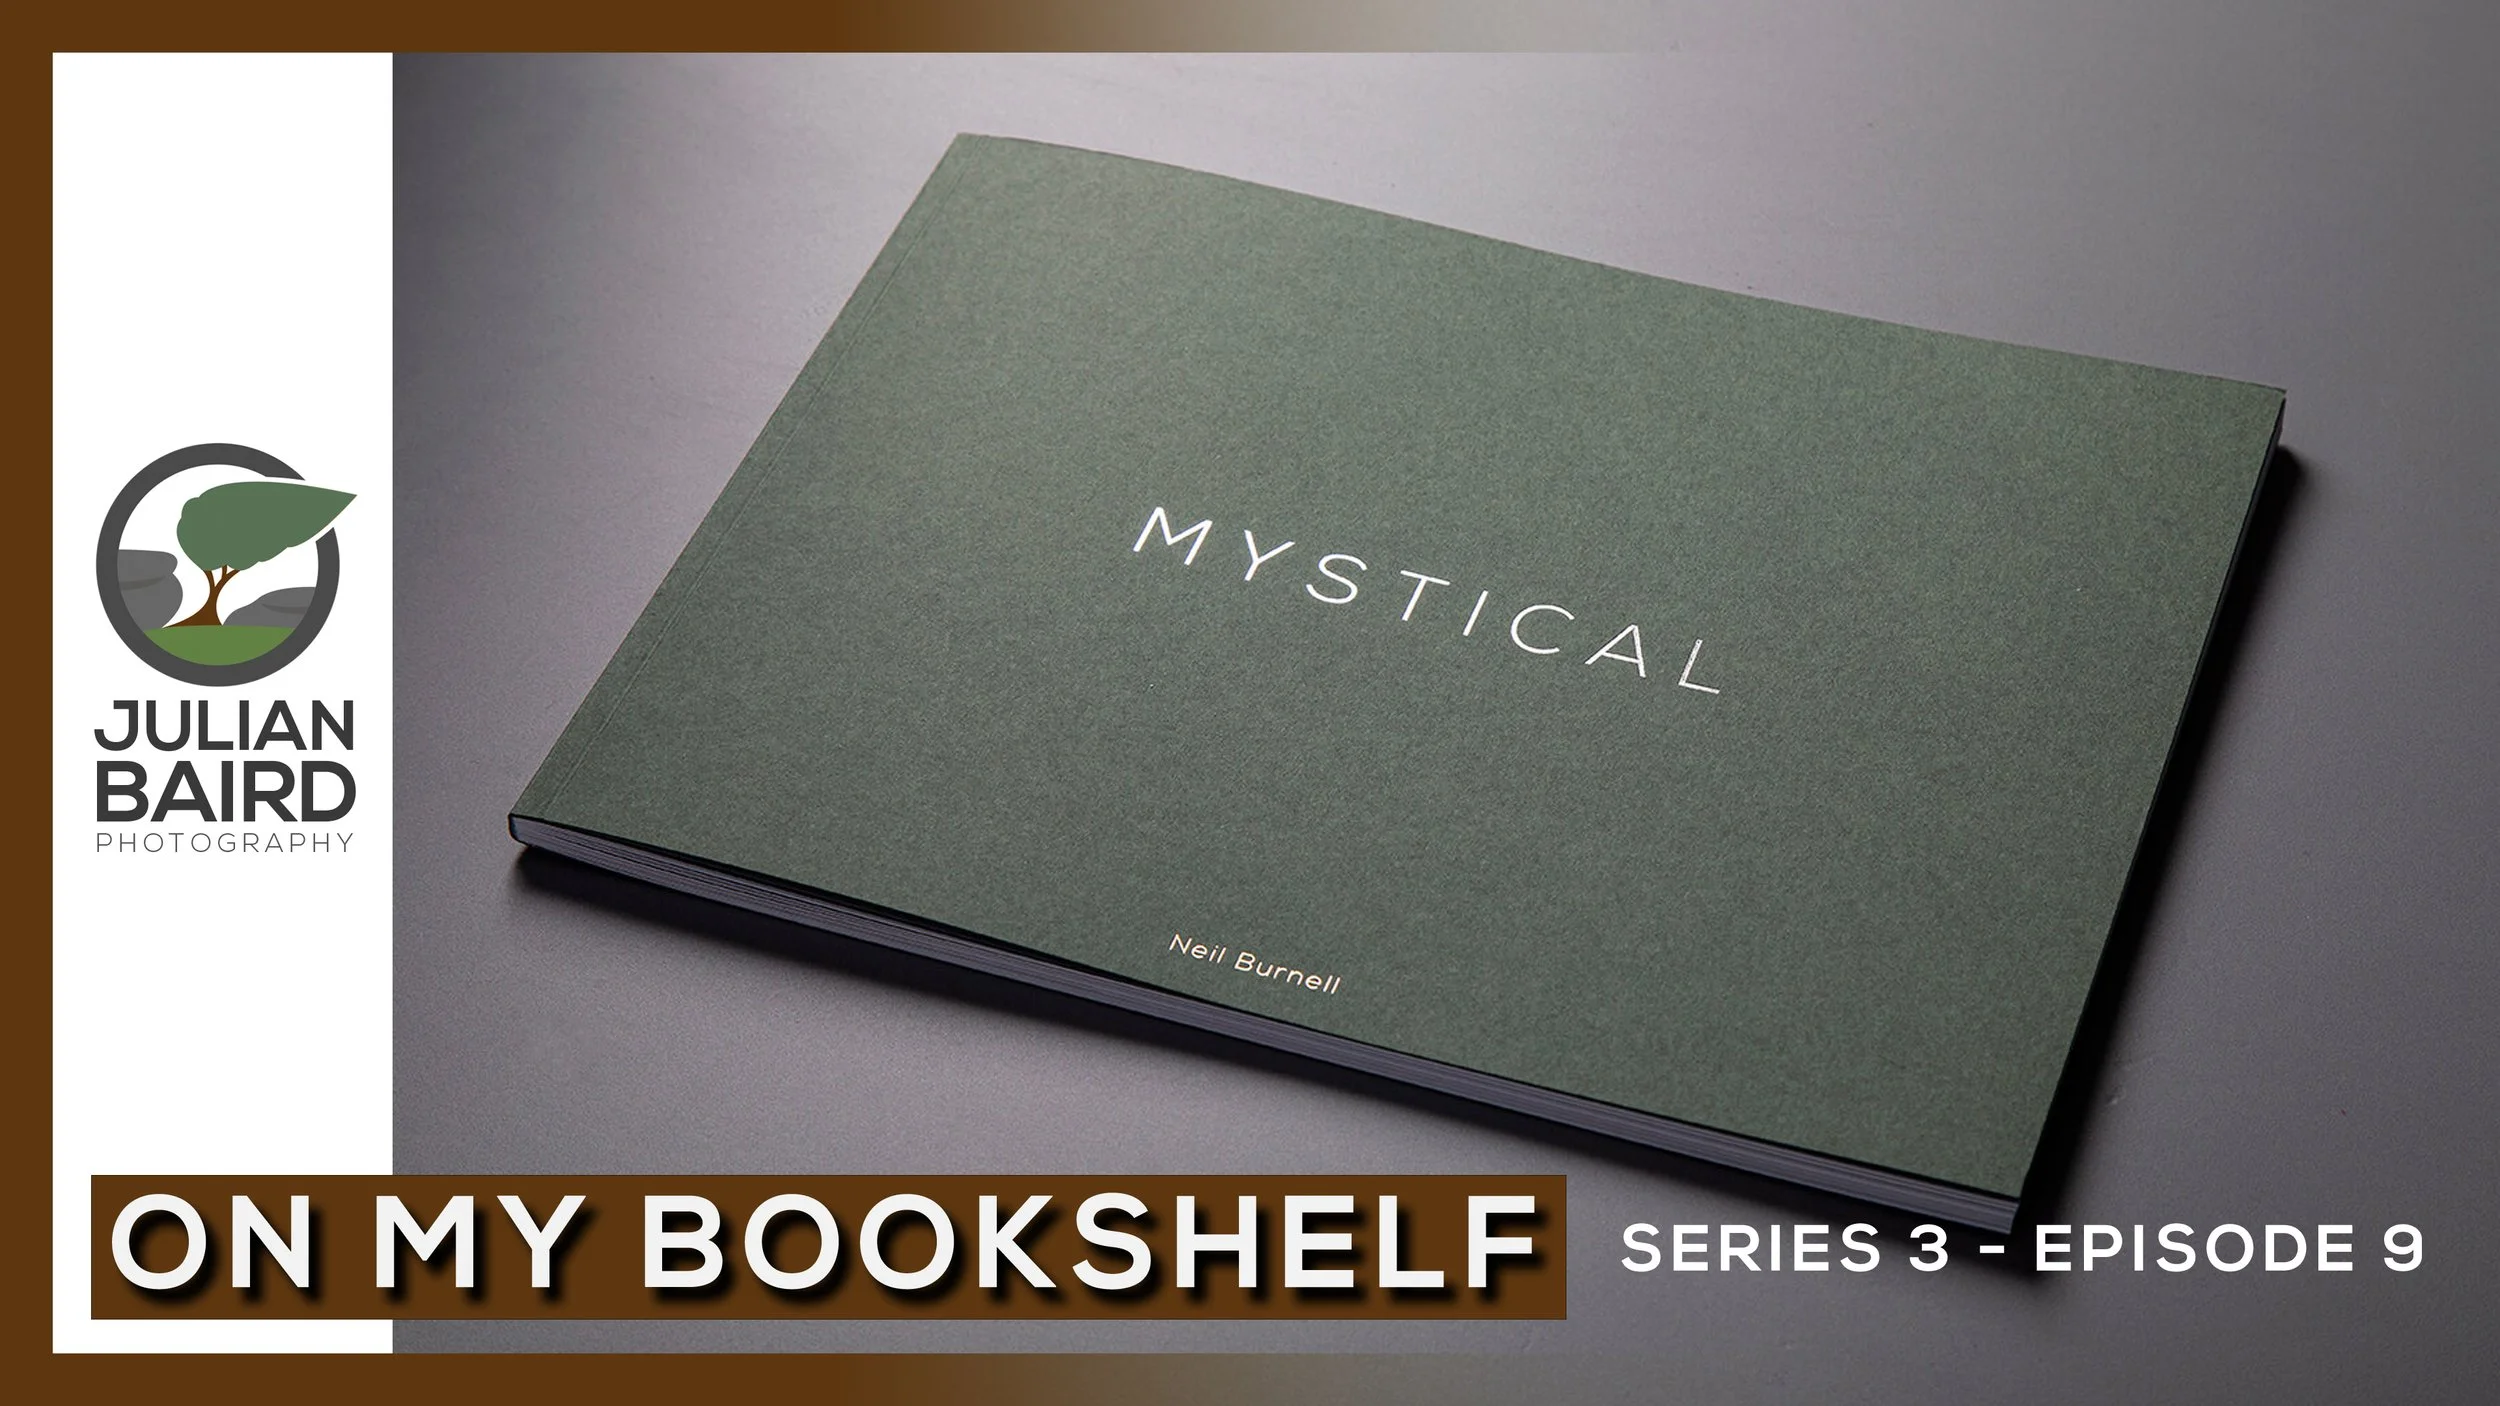
Mystical by Neil Burnell - On My Bookshelf S03E09
In this the 20th episode of On My Bookshelf I look at Mystical by Neil Burnell.
A Mystical Journey
It’s always nice to see a local photographer do well, particularly one you know. In Neil Burnell’s case, he’s been doing very well. He’s already had one book published and his list of awards continues to grow, including a category win in LPOTY this year. The recognition of his work is completely justified though. Just look at his website and you’ll understand why. His work stands out in a crowded Instagram feed as I’ve often found myself scrolling through the feed only to be stopped in my tracks by an image that I already know is Neil’s, such is the strength of his style.
I first found out about the Mystical collection of photographs when Neil gave me a sneaky look at the video below.
I was impressed by not only the quality of the images but also the style and consistency. I’ve tried (and failed) to create a series or collection of images before and it’s REALLY hard. To create such an extensive body of quality work takes lots of dedication and time.
Neil had already started selling prints from the Mystical collection, so it was only a matter of time before he was going to produce a book. As soon as he said he was doing so I knew I wanted a copy! So just like everyone else I ordered and paid for my copy. (I think it’s important to support your fellow photographers whenever you can, even if you know them).
I’m pleased to say that I now have my copy of the book and I’m also one of the lucky ones who managed to get hold a first edition (which is now sold out). Don’t worry though, you can order the 2nd edition here, but I suggest you order one soon as these will sell out quickly. If you need a little more convincing, then why not check out the episode of On My Bookshelf below.
Celebrating 20 Episodes of On My Bookshelf
Finally, I just want to highlight that this episode of On My Bookshelf is the 20th episode! When I filmed the very first episode of On My Bookshelf, I never thought that I’d get to twenty episodes. While the episodes are a bit of niche market in the content that I produce I still love making them. There are few things better than sitting down to read a good photography book on a cold and wet Sunday afternoon. Judging by the comments these videos get I appear to not be the only one.
Thanks to everyone who has watched an episode and left a comment. Just for fun, here is the first episode I made.

A Day in the Life of Chris Sale, Professional Landscape Photographer - Documentary and Interview
Many photographers dream of turning professional, but what is it REALLY like to be a modern-day professional landscape photographer? Is it a dream job or a NIGHTMARE? To find out, I spent the day with Chris Sale and filmed a typical day in his life.
What’s It Really Like to Be a Pro Photographer?
Chris Sale and I used to lead similar lives. We both had senior jobs in corporate IT and our spare time was dominated by our passion for photography. In fact, it was that love for landscape photography and for producing YouTube videos that we became good friends. Over the years since we’ve been friends, we’ve met up for numerous shoots and even produced a few videos together.
Twelve months ago, Chris made to decision to leave his job in IT to become a full time, professional landscape photographer. Without a doubt, this was a major decision by Chris and a risky one at that. However, as risky as it was, Chris didn’t just wake up one morning and decide to turn pro (as you’ll find out in the film). I thought it was an incredibly exciting decision and I was keen to try and support Chris where I could.
Chris’ transition to professional photographer follows a path that might be quite different from a lot of other photographers, particularly those who have a more established presence in the industry. It’s those key differences in both Chris’ journey and the way he runs his business that gave me the idea of producing this documentary.
As I try to be as supportive of Chris, so he is supportive of me. When I proposed the idea of creating this documentary, he was more than willing to support me and most importantly offer me his trust. The trust element was particularly important as he was going to let me film him for a day, and then edit that down to a short film.
We were hoping to make the film earlier this year, but a certain pandemic put an end to that plan. We still thought it was a great idea, so as soon as it was safe to travel and meet up again, we put a new date in our plan.
I am now absolutely delighted to share the film we have made. I hope that by viewing it you not only get a good idea of what it is like to be a professional landscape photographer, but you also learn about Chris’ interesting journey. Most of all I hope you enjoy it!
Do you have an interesting or compelling photography story that could make for a good film? Let me know in the comments below.

Bite-Size Blog Post #11 - No More Sandymouth
For the last time this year (probably), I head to Sandymouth to see if I can finally kick start a project I’m working on.
What Is It About Sandymouth Anyway?
It’s not unusual for me to write about a location I’ve visited before but what makes this post about Sandymouth different is that it is the 3rd one in a relatively brief period of time. While I was happy with the images I shared in blog posts Bite-Size Blog Post #3 - Sandymouth and Bite-Size Blog Post #10 - More Sandymouth I still had the need to return.
My return to Sandymouth for a 3rd time was nothing to do with a lack of inspiration or imagination but the desire to start a new photography project. I’ve had the idea for the project for a long time now but have failed to find a location that will give me what I’m looking for. Though I had visited Sandymouth a couple of years before it was the 1st of my recent visits that potentially gave me what I was looking for.
Charged and inspired I returned for a 2nd visit only to find I had completely misjudged the tides. I still managed to capture images I was happy with but not what I needed. I, therefore, planned for a 3rd and final visit. I say final because sunset times were getting earlier and soon I wouldn’t have time to make the 90-minute drive to Sandymouth before I lost the light.
I was full of optimism for my 3rd visit but I already knew it was going to be very tight with the tide height for the shots I wanted. Unfortunately for me, I had pushed my luck too far and the tide was still a little too high to allow me to capture the shots I needed before it was dark.
I’m not saying the trip was a right off. Far from it! I got some images I was pretty happy with. They just weren’t what I needed for my project. You might be wondering what the project is? Well, I’ll tell you all about it very soon….hopefully.
Into the Blue #1. Sandymouth Beach, Cornwall - Nikon Z7, Nikkor 14-30mm f/4 at 15mm, f/13, 1 second at ISO 64, Kase Filters circular polariser and ND grad.
Into the Blue #2. Sandymouth Beach, Cornwall - Nikon Z7, Nikkor 14-30mm f/4 at 18mm, f/13, 6 seconds at ISO 64, Kase Filters circular polariser and ND grad.
Into the Blue #3. Sandymouth Beach, Cornwall - Nikon Z7, Nikkor 14-30mm f/4 at 17mm, f/13, 13 seconds at ISO 64, Kase Filters circular polariser and ND grad.
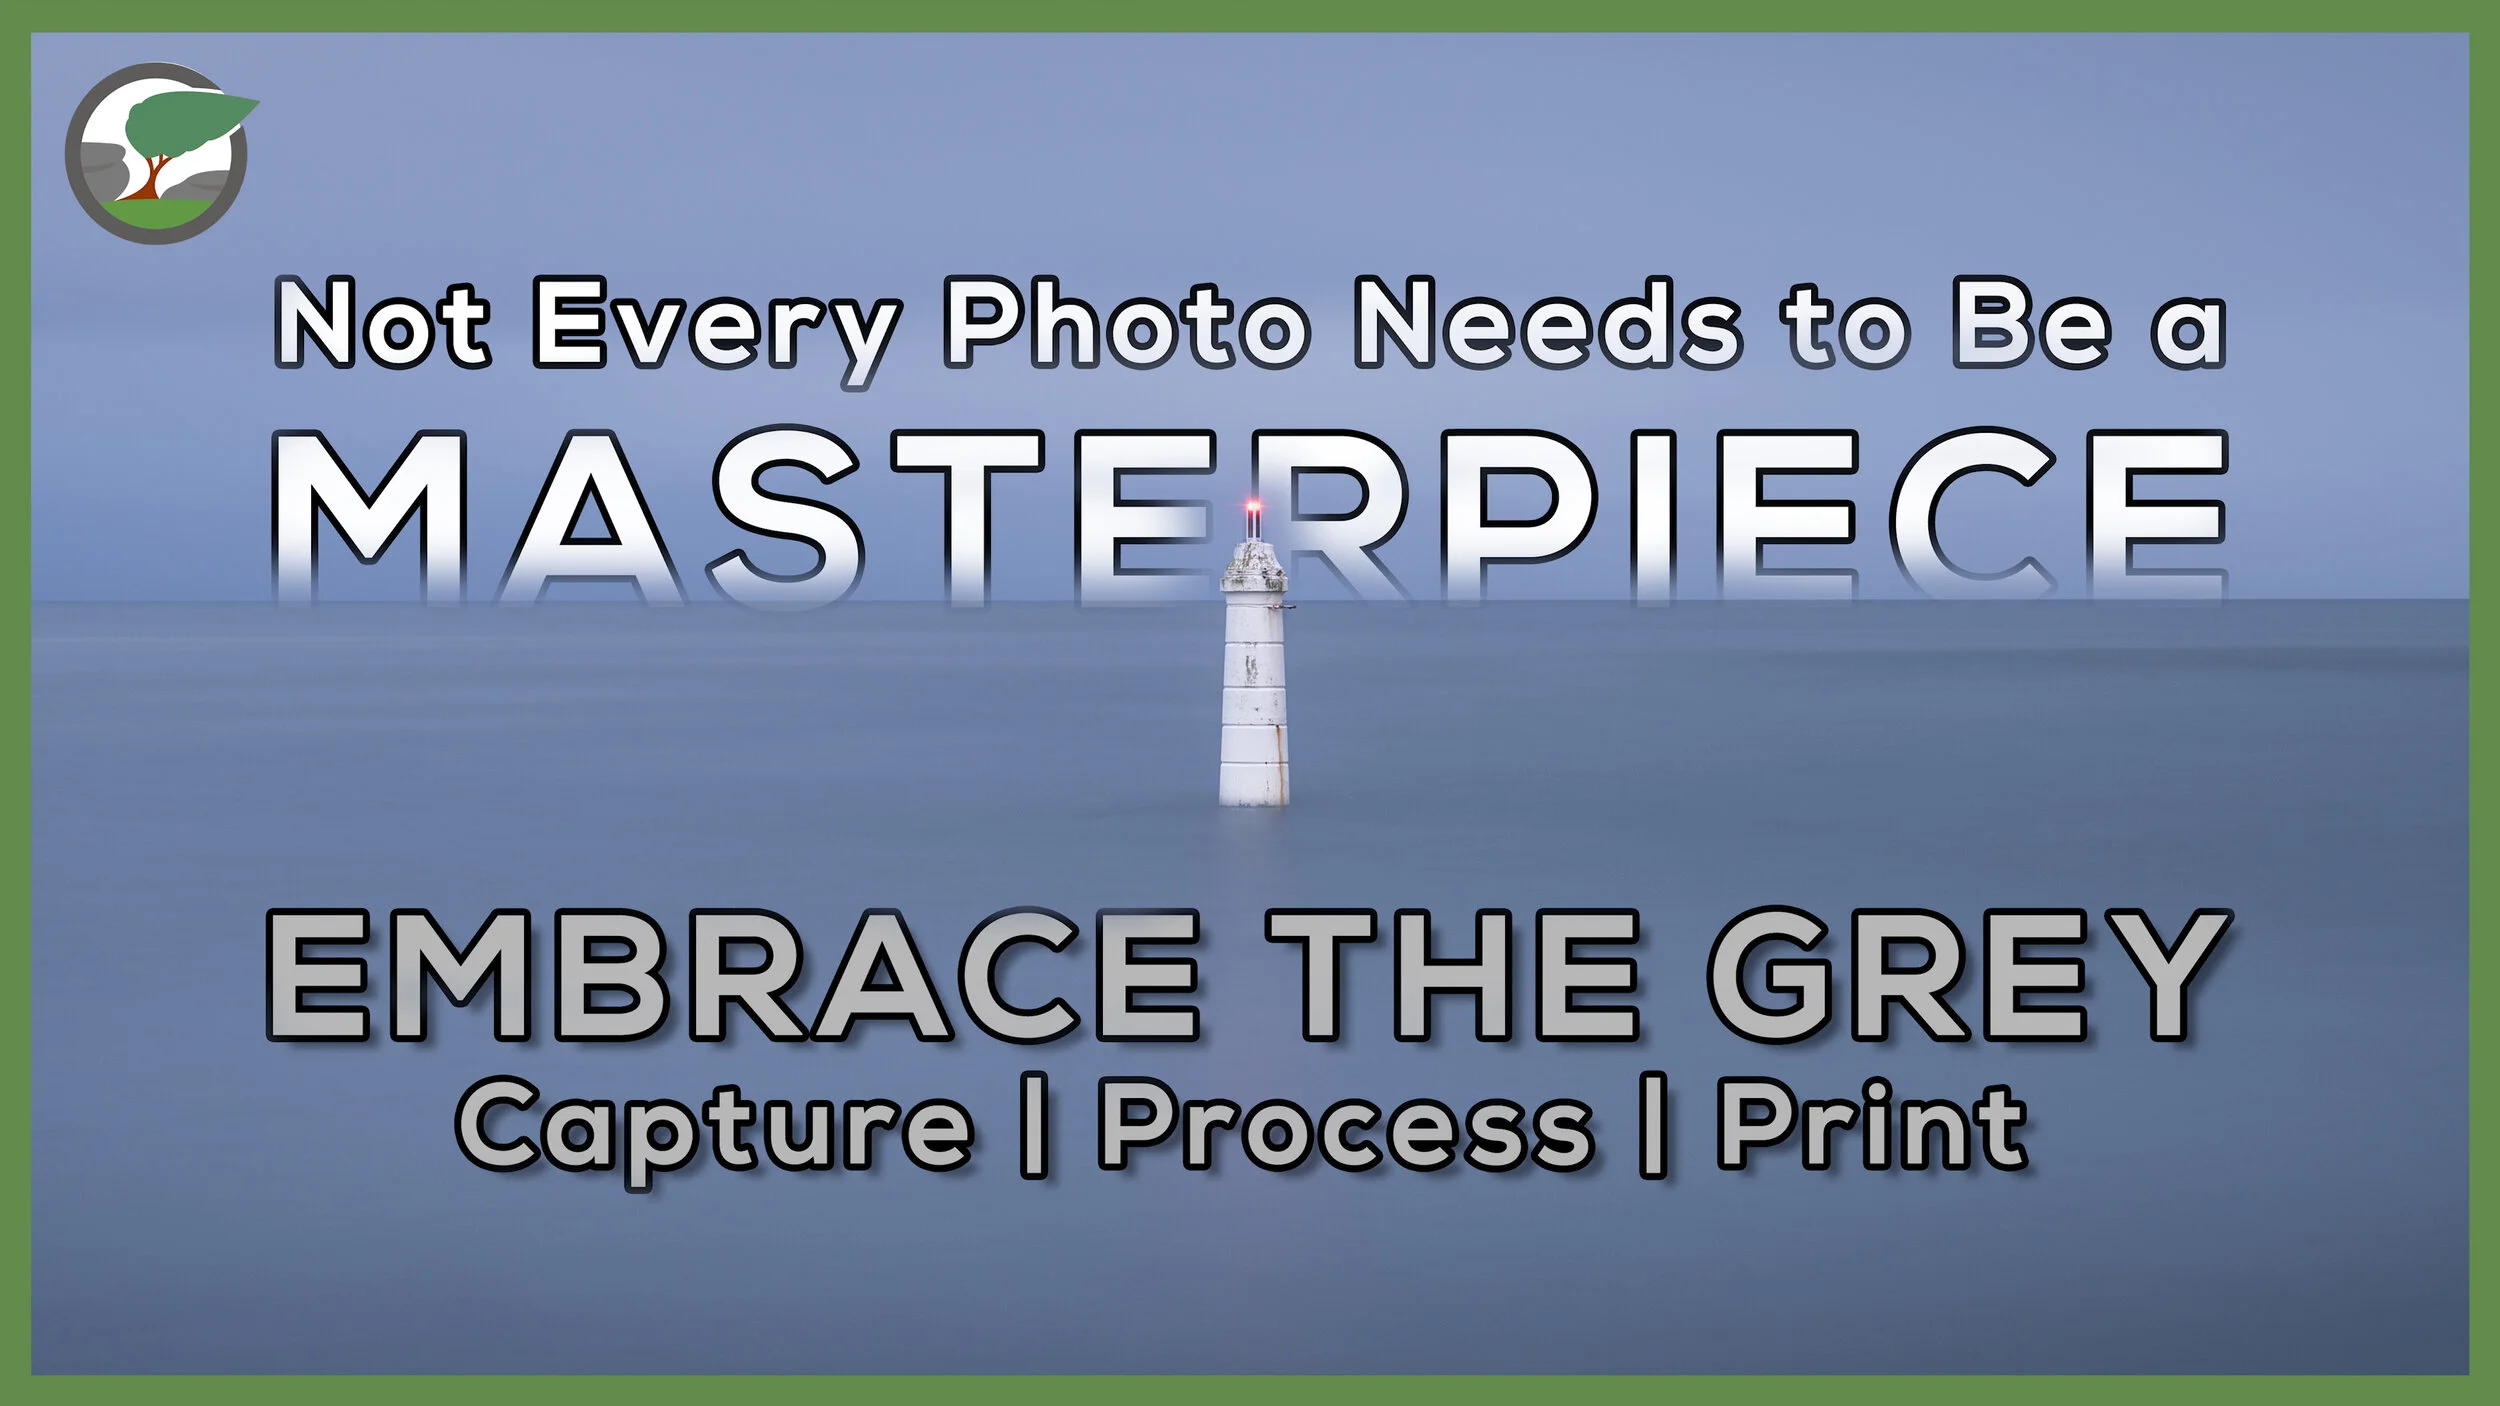
Not Every Photograph Needs to be a Masterpiece
As a landscape photographer I'd like every shoot to result in a portfolio class image, but this is an unrealistic expectation. Sometimes you just need to take joy in the experience of capturing an image and learning from it.
Embrace the Grey Once Again!
I’ve made several videos on the theme on embracing the grey and because I live in an area where overcast days aren’t exactly unheard of it might not surprise you that I’ve decided to do another one. For me, the key to a successful shoot in grey and overcast conditions is to find the right subject (as I discussed in this video).
There’s been a location near to home that I’ve been wanting to photograph for a while and that’s the Philip Lucette Light near Teignmouth. I found out about this interesting location from an image I saw from Neil Burnell and a video from Lynne Luxon-Jones. It looked like an interesting subject to photograph and I thought it would make for a great #EmbracetheGrey subject.
In the video below you can follow me along as I photograph this location for the very first time. I also show you how I edit the image to give me a specific look and feel, and I of course make a print of the image. I also discuss in the video the importance of just going out to take pictures, and not to worry about every shot being a masterpiece. After all, we should love the art of taking a picture first and foremost.
Enjoy!
Philip Lucette Light #2, Shaldon, Devon - Nikon Z7, Nikkor 24-200mm f/4-6.3 at 48mm, f/8, 214 seconds at ISO 64, Kase Filters CPL and 10 Stop ND