Focus Stack a Landscape Photograph in 5 Minutes
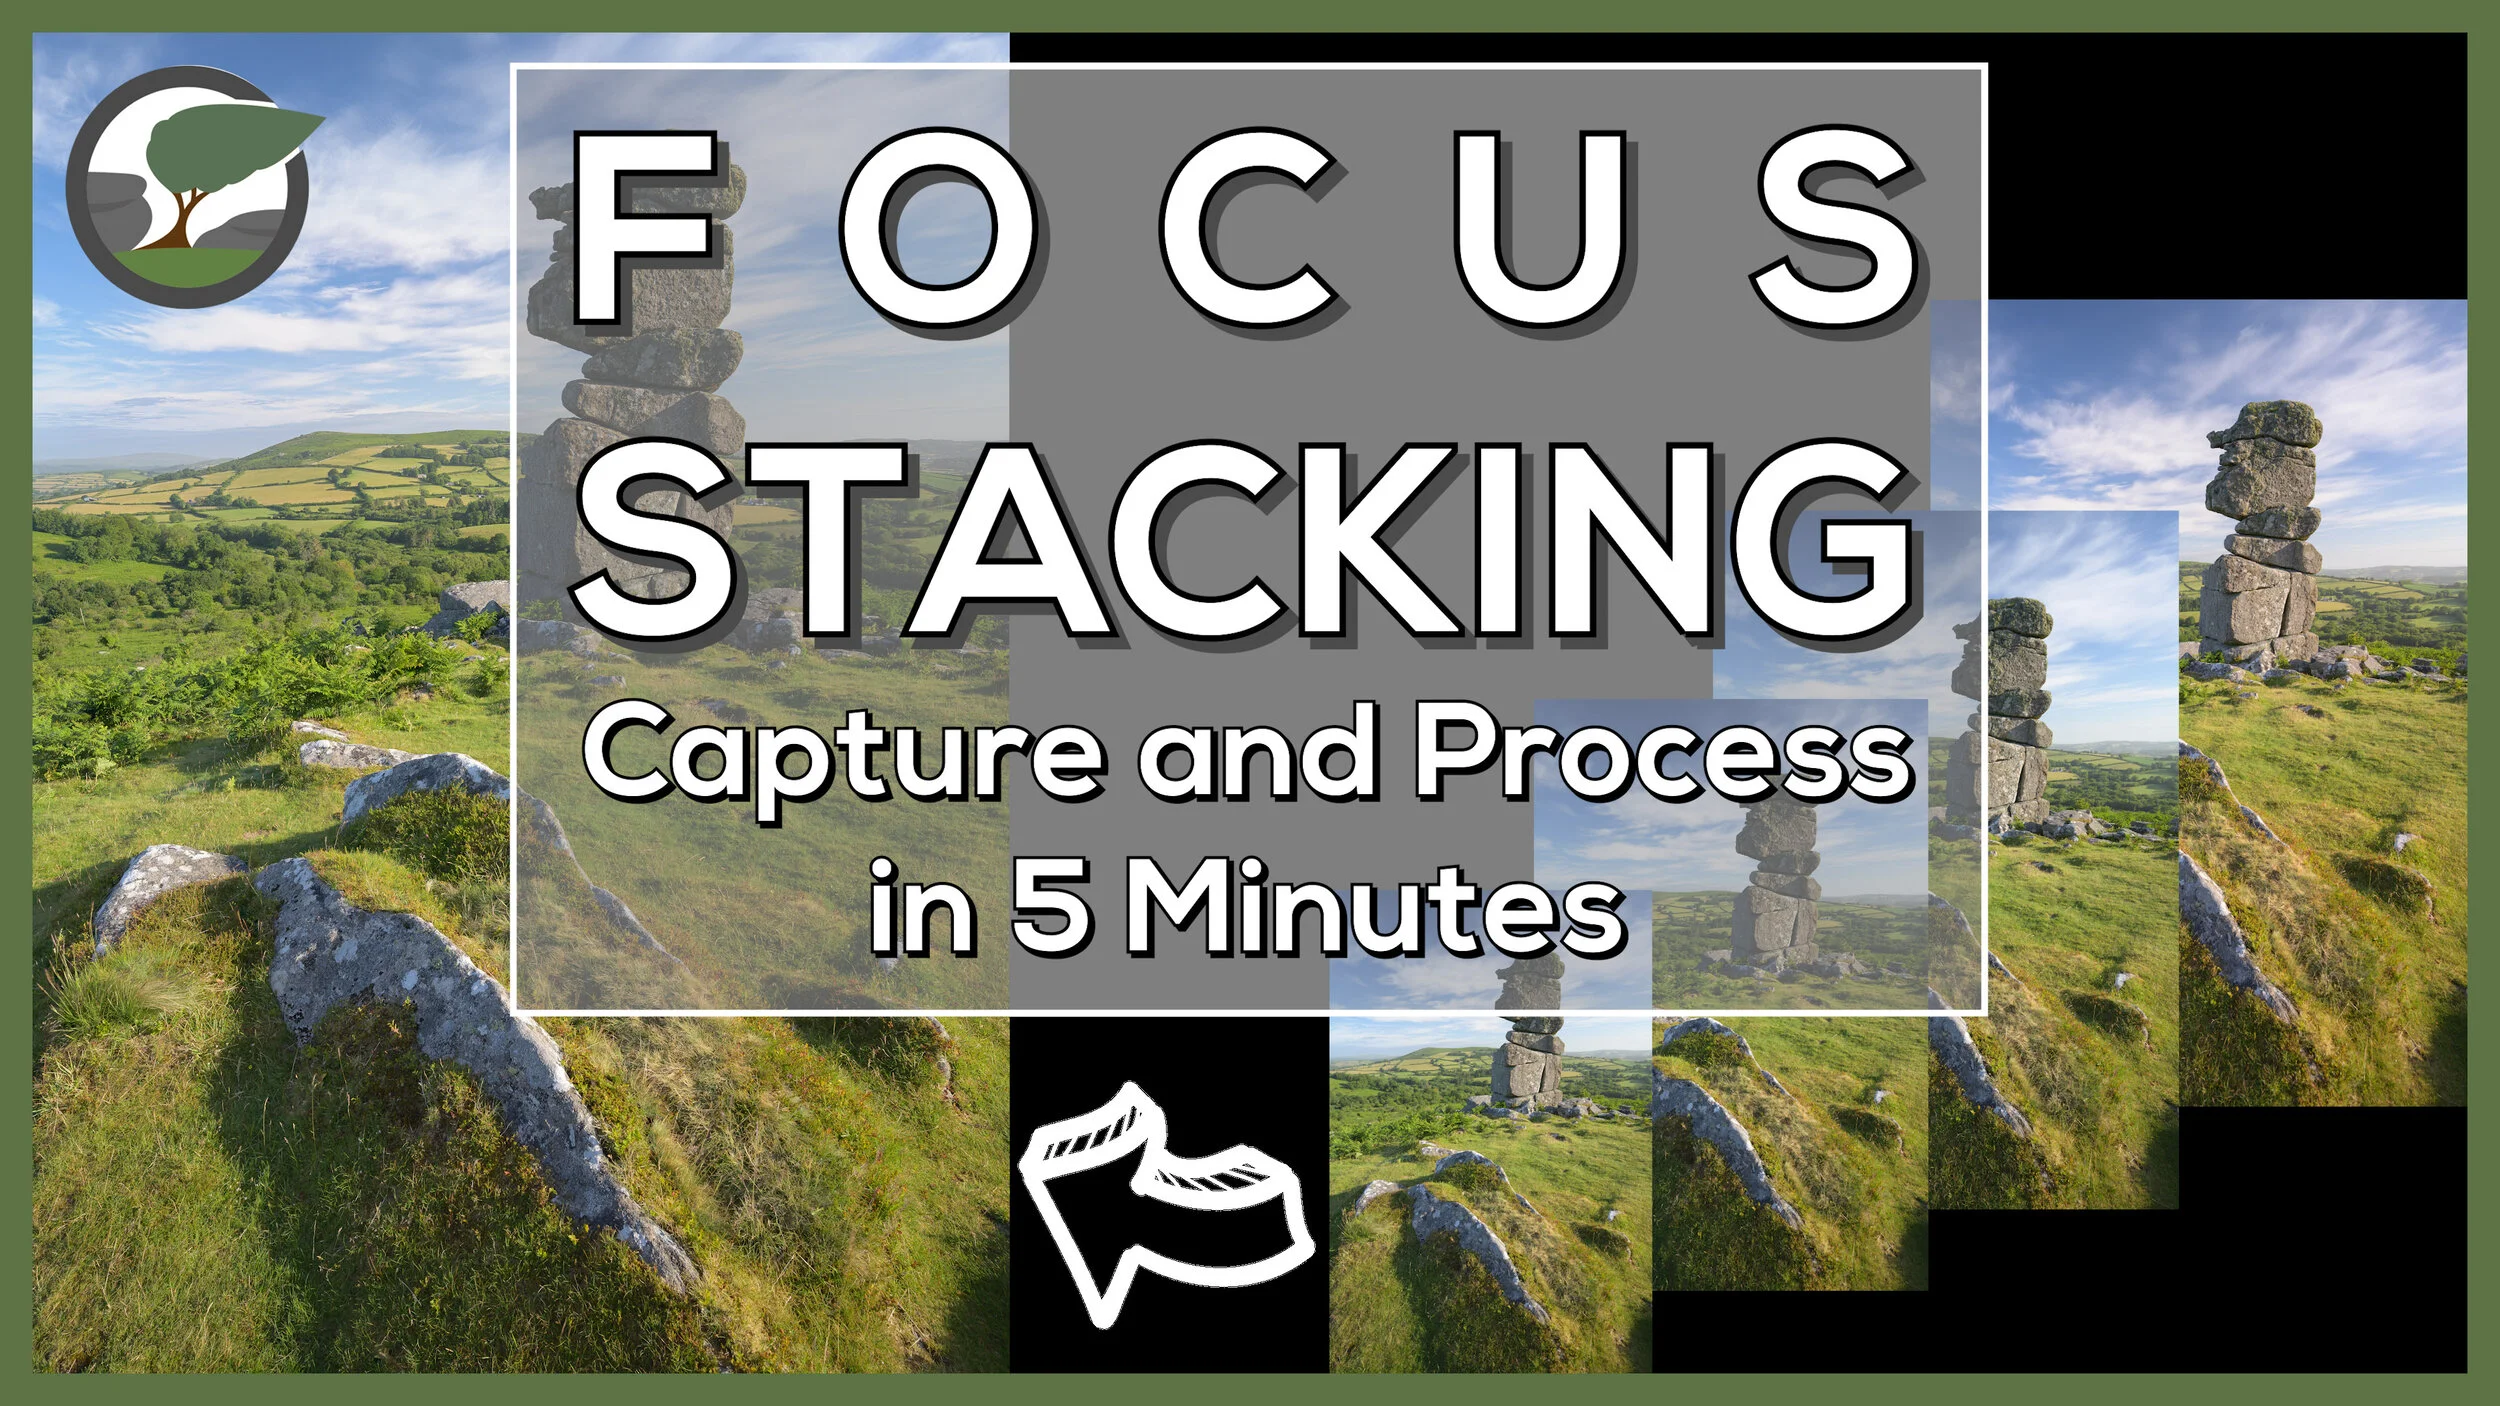
Focus stacking a landscape photograph needn’t take a long time. In this video, I’ll show you how to capture and process a focus stacked landscape photography in 5 minutes.
Focus Stacking - Capture and Process
When you first start to learn how to focus stack it can seem a bit overwhelming. It seems to be a bit complicated and not worth the effort. However, the complexity of the focus stack is very much dependent on the subject being photographed. Macro subjects are trickier to focus stack correctly.
What if you want to focus stack a landscape photograph though? I’m pleased to say the process is much easier and quicker. Despite the relative simplicity of the focus stacking process for landscape photographs, it’s not something I do that often. Sometimes it’s just not needed, and a single shot will yield sufficient sharpness, but when you do need it, you'll be glad you have the skills in your toolbox.
In the video below I aim to show you how straightforward to process can be to capture and process a focus stacked landscape photograph. You will rarely need more than four frames, but if you do the process remains the same. Once you can do it with a small number of frames, you have all the principle skills to allow you to do it with a larger number of frames.
Bonus Tips
To keep the content in the video concise and short I decided to only cover topics that were related to the process of creating the focus stack. For the readers of the blog though I’ve decided to give you a little extra value add by giving you a few extra tips.
The image with the finger - you will have seen in the video an image in the Lightroom film strip with my finger pointing up. What is this for? This image reminds me that the following images are part of a sequence. I use “finger up” for a focus stack sequence and “finger right” for a panoramic sequence. If you’ve captured lots of images, having these “finger” shots allows you to quickly pick out sequences of images in Lightroom.
Edit images before or after merging? - Should you apply your edits before you import the images to Photoshop, or after you have saved the stacked image? Personally, I make some very basic global edits before I load the images into Photoshop. Remember, if you change one image you will need to sync the changes to all the images you are going to use in the focus stack. After the photo merge in Photoshop, I will apply some local adjustments and any local/global sharpening.
Large files - depending on the number of images in the stack and size of the source files you may get a warning message from Photoshop when you save the file telling you that it is bigger than 2 TB. While you can save the file as a PSB I recommend selecting all the layers and flattening the image. This will make the resulting file much smaller but you won’t be able to modify the masking areas later without doing the focus stack again). It’s rare that I ever want to edit those masking areas again.
To Photoshop or Not - There are a number of dedicated focus stacking tools such as the excellent Helicon Focus but for most landscape focus stacks Photoshop does a good job. There’s no doubt that Helicon Focus is much faster and accurate, but this tends to only be a benefit with complex focus stacks (such as macro subjects).
Lightroom catalogue management and image editing - If you are interested on how I manage and edit my images in Lightroom, then check out my video on Lightroom Catalogue Management and Lightroom Image Editing.
That Focus Stacked Image
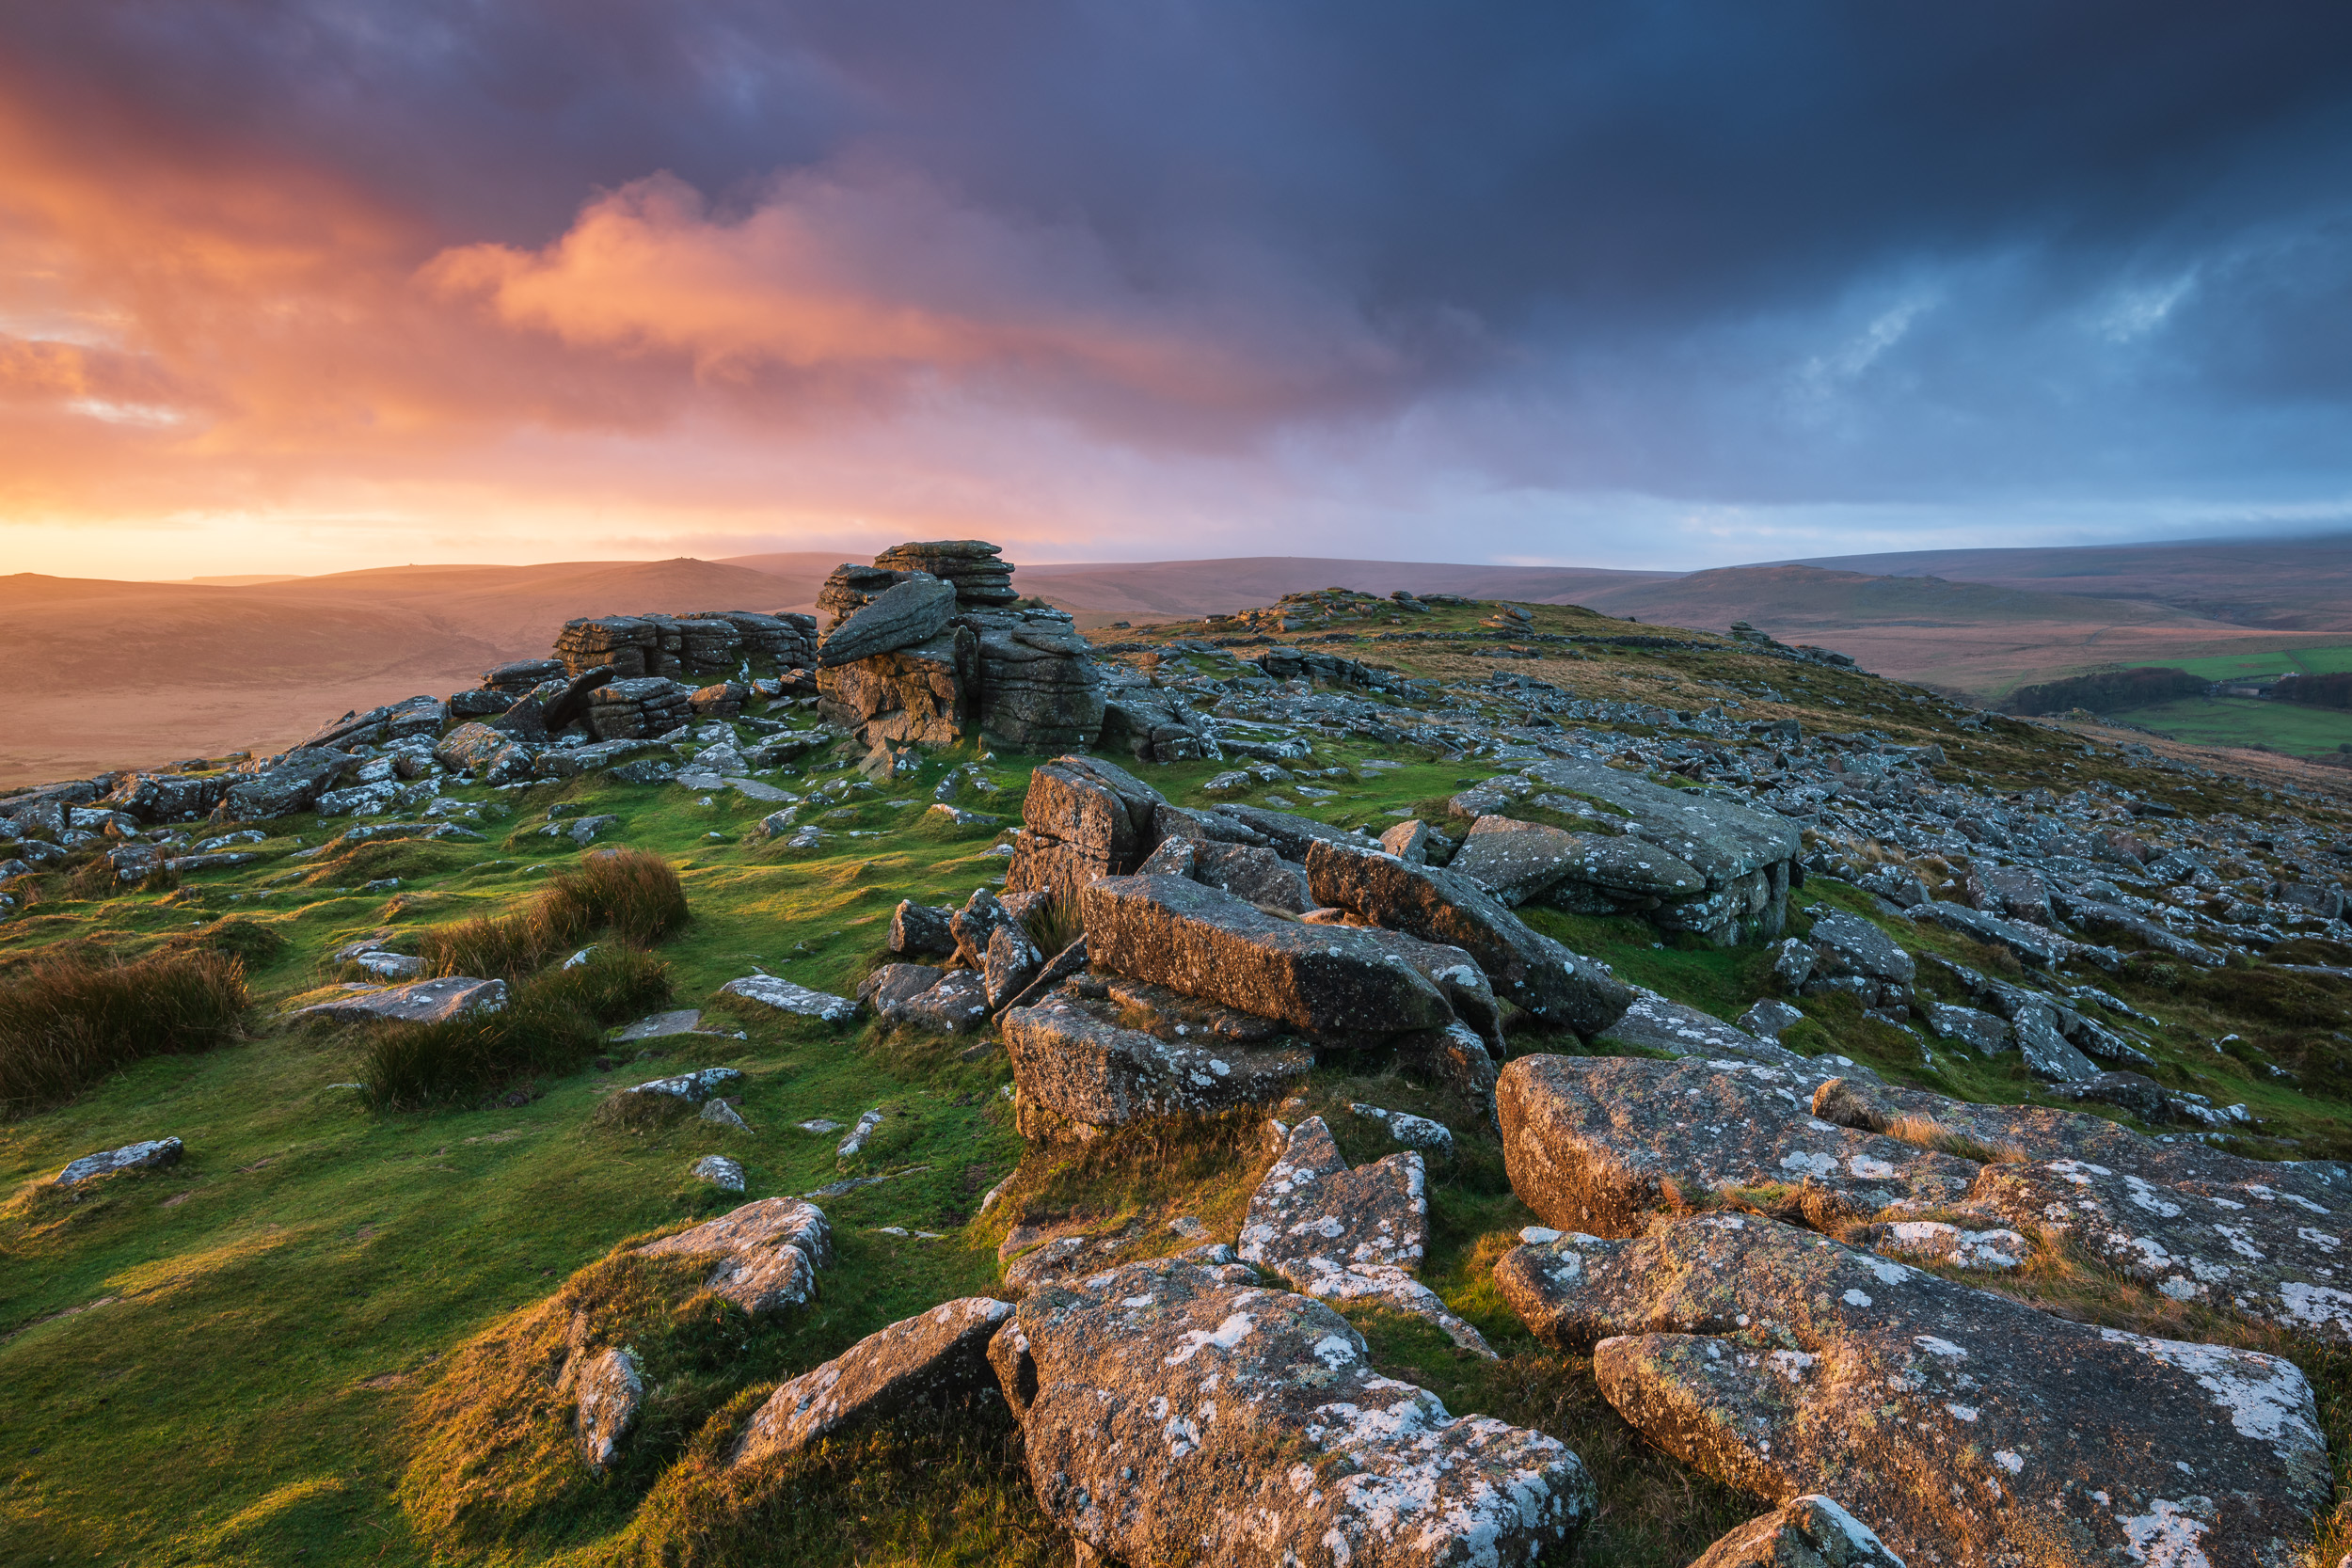
Here is the final image from the video so you can take a closer look.
Bowerman’s Nose Sunrise #7, Dartmoor, Devon - Nikon Z7, Nikkor Z 14-30mm f/4 at 17mm, 1/25th sec at ISO 64, f/8, Kase Filters K9 Polariser, 4 image focus stack.
Want a More Detailed Tutorial?
If you'd like to watch a more detailed video on focus stacking, and how to use the focus shift feature found in recent Nikon cameras, and deal with more complicated post processing scenarios, then check out my other video on focus stacking which you can see here.
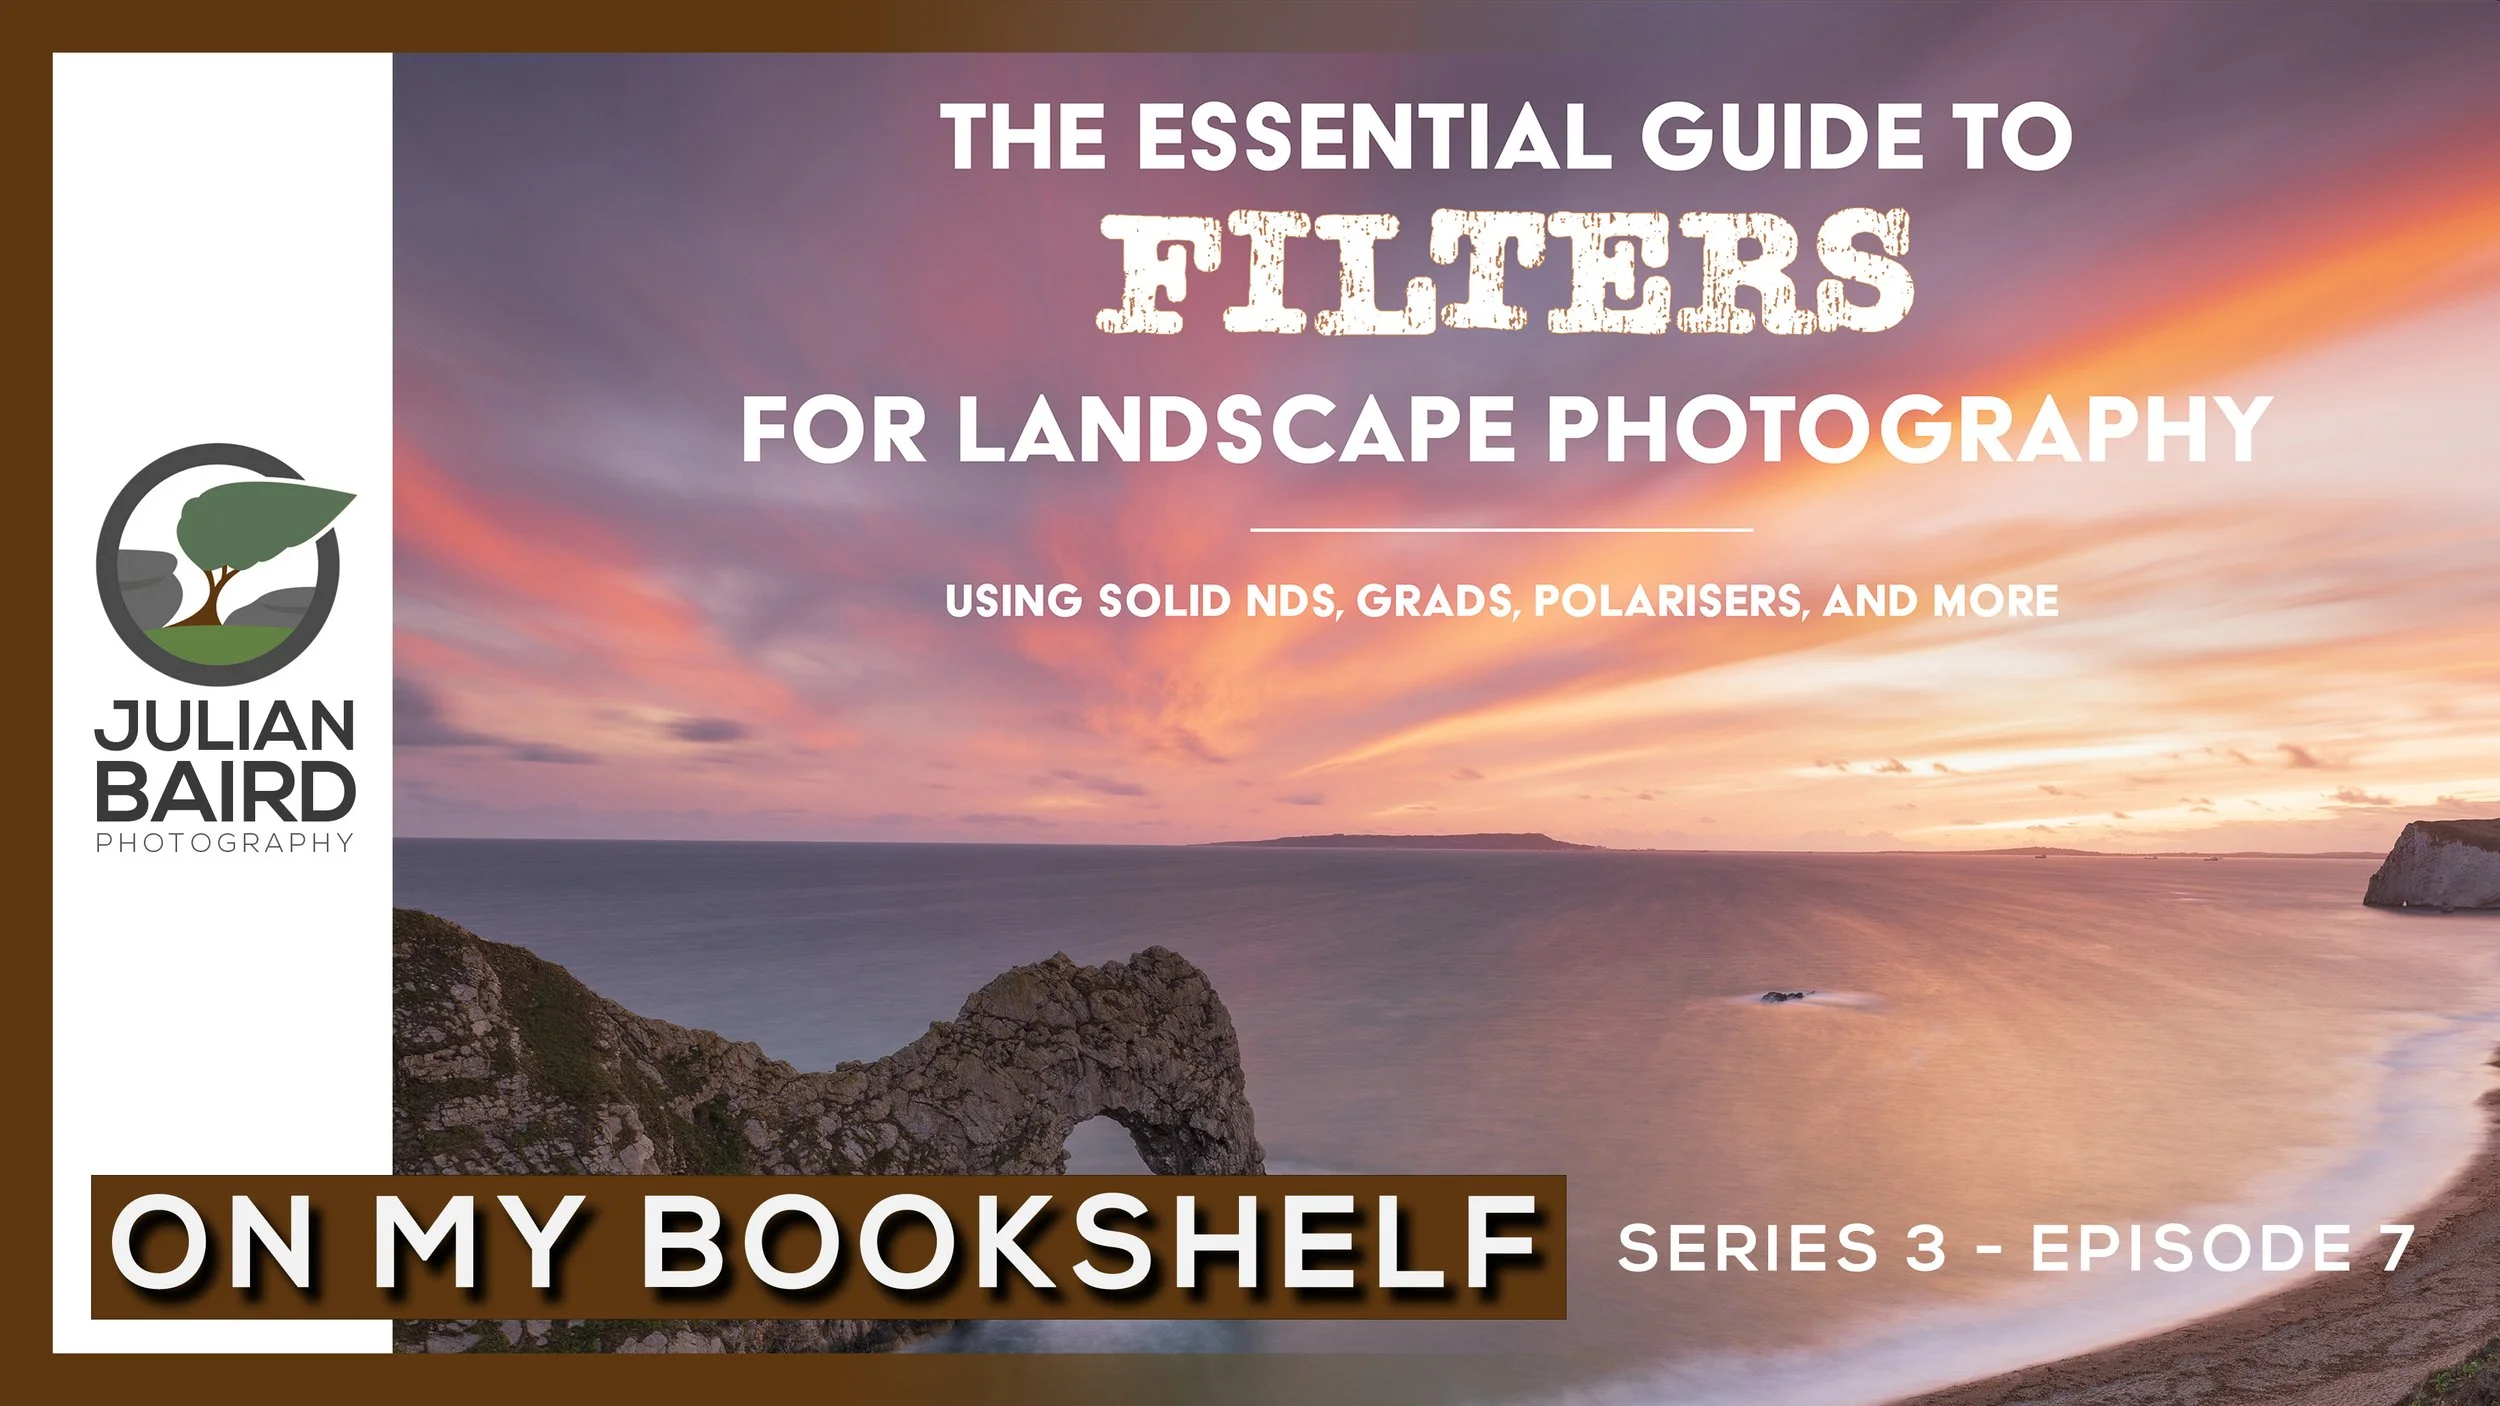
Essential Guide to Filters for Landscape Photography by Hoddinott & Bauer - On My Bookshelf S03E07
What are filters? Do I need filters? Which filters should I buy? How do I use filters? If you need answers to any of these questions, then the latest book to hit my virtual bookshelf could be the answer.
What Filters Should I Use for Landscape Photography?
Questions about filters is the one topic I get asked about more than any other. What filter kit should I buy? What filters do I need? All good questions and I do try and take the time to provide answers. However, I only use the Kase Filter system (which is very good by the way!) and a handful of filters so my experience of other brands and other types of filters is somewhat limited.
Up until now, there hasn’t really been a single, up to date, and comprehensive resource on filters for landscape photography. It would be nice to send people to a single resource where they can get all the information they need on which filters to buy and how to use them.
When Nature TTL announced that they were publishing a book by established photographers and renowned authors Mark Bauer and Ross Hoddinott, I knew I wanted to get a copy. After reading the book and seeing how comprehensive it was I knew I needed to feature it in an episode of On My Bookshelf so you could see for yourself if it might be a title for your bookshelf.
I hope you enjoyed this episode of On My Bookshelf. I thought it was an excellent book on filters for landscape photography and it will be a book that I will now recommend to anyone that has questions about filters. You can get a copy of the book right here.
I Lost My Enthusiasm for Photography
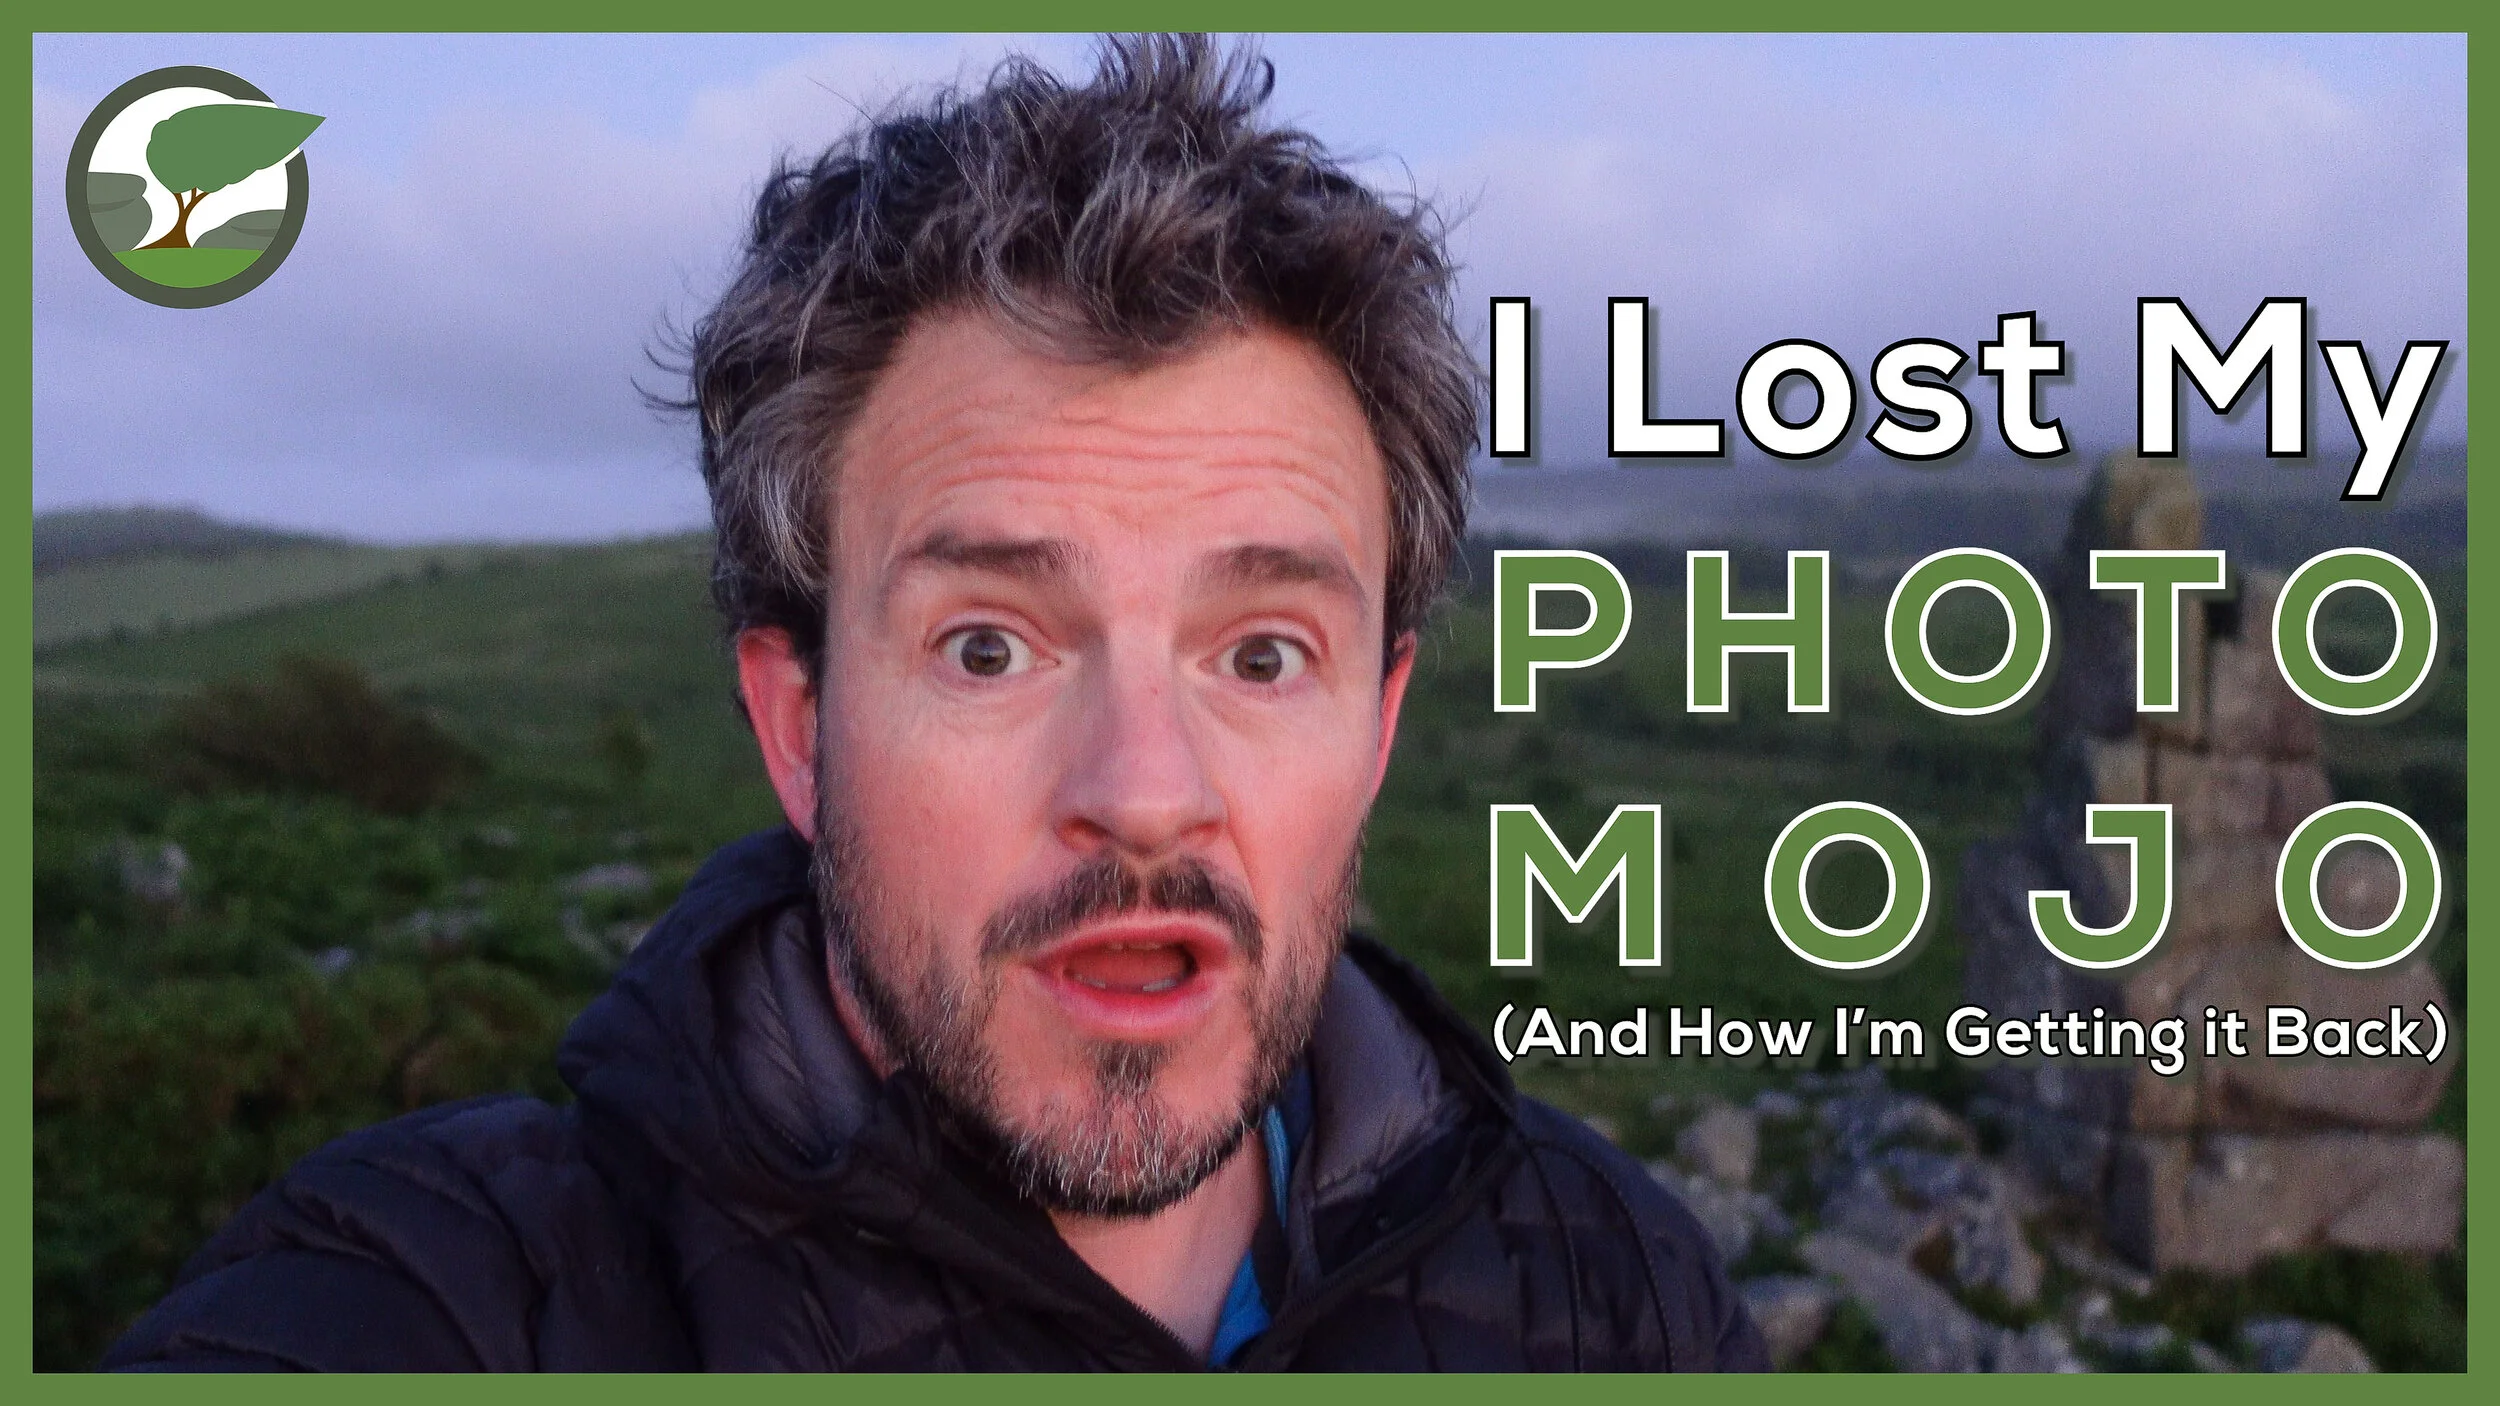
Have you ever lost your passion for photography? In this blog post, I tell you why I’ve lost some of my enthusiasm and passion for landscape photography, but more importantly, how I’m getting it back.
Photography Mojo - Lost and Found
This is going to be a short blog post. Well, short in terms of text! Most of what I’ve got to say is all in the video below. I’ve recently found that I’ve lost a little of my passion for photography. It took a little bit of time for me to work out the reasons why but as soon as I did, I knew how I was going to get my photography mojo back. I was sure I wasn’t the only photographer that had or will suffer from this, so I thought I’d make a quick video to share my thoughts. I hope the content of the video will resonate with a few of you.
Bowerman’s Nose
Some of you will recognise the location I made that video. It is, of course, Bowerman’s Nose on Dartmoor National Park. While I was filming the video, I naturally spent some time capturing landscape photographs. I hope they provide you with a little inspiration.


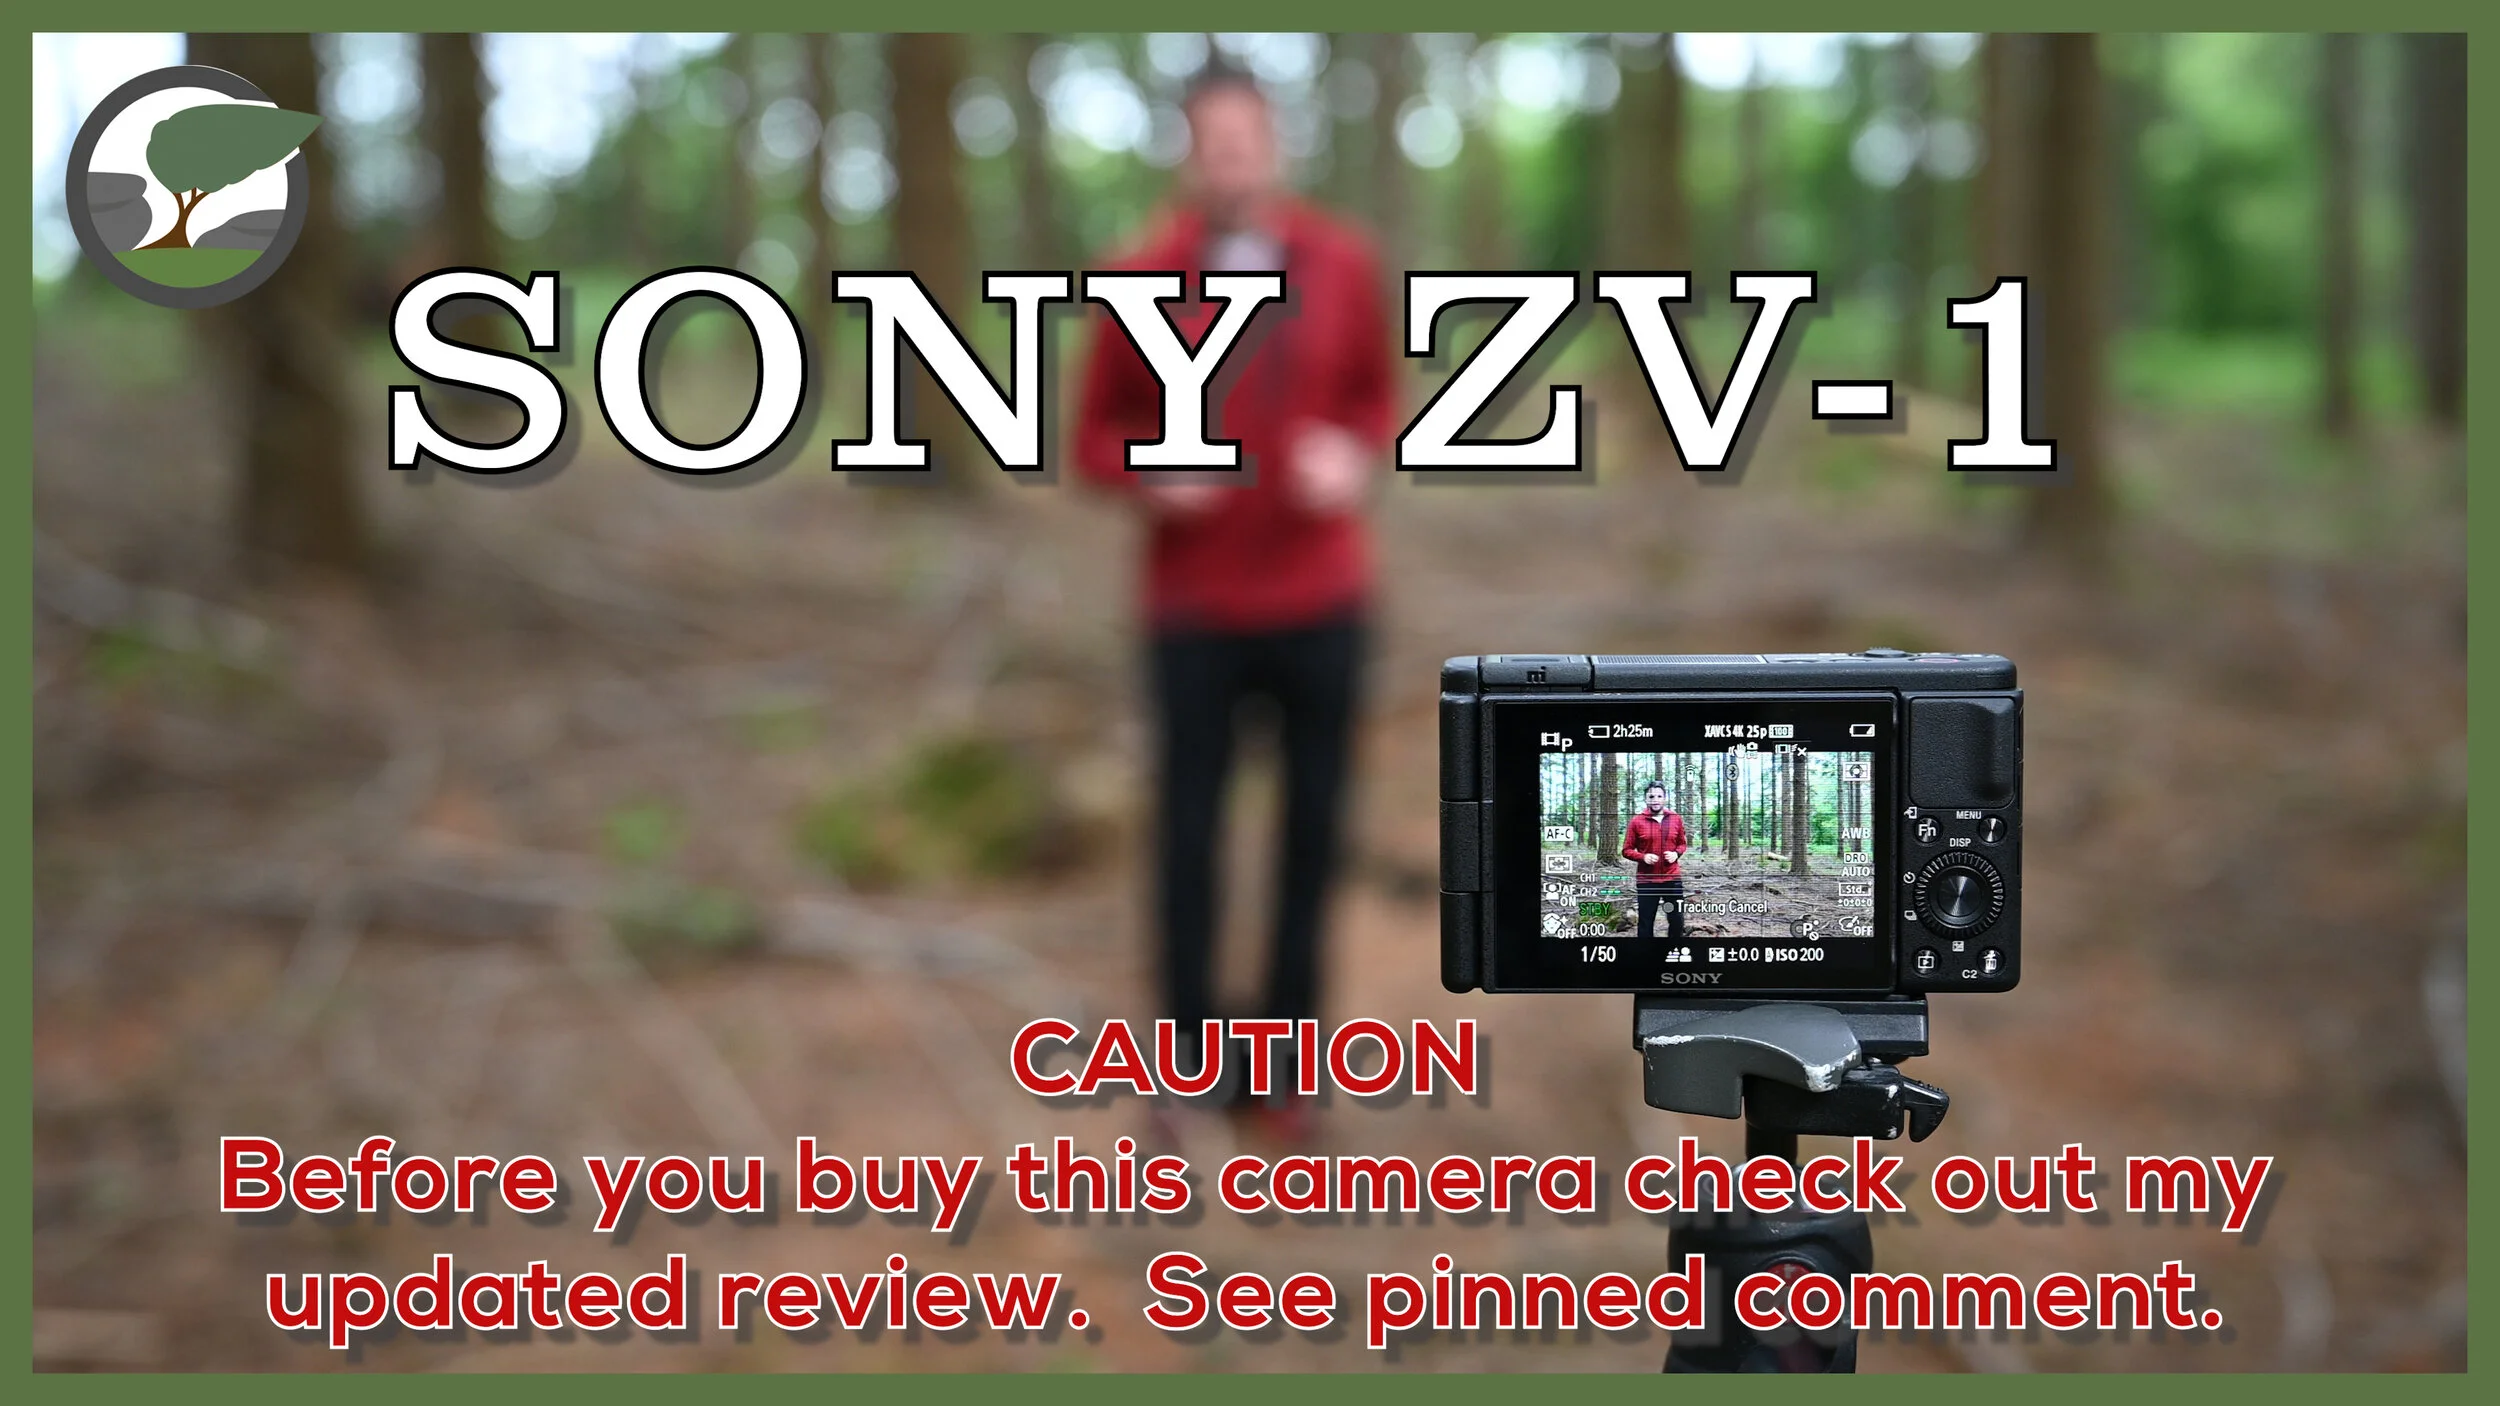
Sony ZV-1 - The Best Vlogging Camera for Photographers?
Is the Sony ZV-1 the perfect vlogging camera for your photography channel? In my latest video I will tell you the best features of the ZV-1 and show you how it could help you make amazing photography videos.
An Update to My Review
I’ve now published an update to my Sony ZV-1 review. Please read this blog post for my latest thoughts on this camera.
Why I Bought the Sony ZV-1
YouTube is awash with Sony ZV-1 reviews. In fact, even before the camera become commercially available to the public there were plenty of videos describing its capabilities. I know this because I watched a great many of them! I did this because I was very interested in getting this camera.
When I first started vlogging for my YouTube channel I used a Sony RX100 M5. That was until I got bored of having to use an external audio recorder. The RX100 (at the time) didn’t have a mic port so I was forced to choose a different camera. Switching to the Panasonic G80 was fantastic. It was newer, had more features, and more importantly had a microphone port. However, I really missed that compact body of the RX100. You really could fit it in your pocket.
When Sony released the Sony RX-100 M7 with a microphone port I must admit I was tempted but I couldn’t justify the steep price tag just to downsize. Then along comes the ZV-1. Not just a cheaper RX100 but a video-focused camera as well. Looking at all the preview videos on YouTube I knew it wasn’t going to be the perfect vlogging camera, but it met most of my requirements. I knew enough to pre-order the camera.
Now that I have ZV-1 in my hands, and I’ve spent time with it, I’m happy to share with you all the things I love about this camera (and some of the things I don’t). I don’t often do “gear reviews” and when I do, I try to keep it to bits of equipment that I personally own and think my readers/viewers would be interested in. Even less frequently will I talk about the video gear that I use but with an increasing number of you considering starting your own channel or you might already have one, I thought this review might be useful.
While my video review will still go over many of the same features as other video reviews, I will be looking at this camera with the viewpoint of how good it is for those of you who might be considering one to document your own photography adventures. My main photography genre is outdoor/landscape but I’m sure my requirements aren’t unique and will apply to other genres of photography like street photography.
I hope you enjoyed the video and it proves useful. No worries if this blog post doesn’t float your boat as I’ll be back next week with my normal service of landscape photography adventures and photographs.

Creating My Biggest Ever Landscape Photography Book
In the blog this week, I create my BIGGEST ever landscape photography book! This retrospective look at my photography from the last decade takes over one hundred of my favourite landscape photographs and publishes them in one big book.
Creating Photo Books
If you’ve been reading my blog for a while or watching my YouTube channel, you’ll know how important it is for me to create something physical from my photographs. For me, the photographic process isn’t complete until I have made a print. I just love printing! You can beat the experience of watching one of your images take physical form.
Printing individual images for me is quick, easy, and reasonably inexpensive. I can also be spontaneous with my decision to print a photograph. Photography books are much more of a commitment, both in terms of preparation, time, and cost. It’s not that I’ve necessarily shied away from creating a book, it’s just that I’ve never felt the need.
That was all true until earlier this year when I created my first landscape photography book using the images that I’d captured from the Isle of Skye the year before. It was fantastic to see a collection of my images in a book. It hasn’t changed my attitude towards printing at home but it has given me another way to output my photography. I could definitely see the benefit of printing a collection of images in a book format. There is something even more permanent and physical with a book.
This Is Fun, Let’s Do Another
After my experience of creating my book of Skye photographs, I knew I would want to create another book at some point. I wasn’t planning to do one so soon but then I saw an advert from Saal Digital UK offering a £100 voucher against the cost of one of their Professional Line books. I’d never used Saal before and I thought this would be a great opportunity to not only try their services but also to create another book. I applied for the voucher and was incredibly pleased when my application was accepted. (I will add that the voucher came with no conditions other than a use-by date.)
From the outset, I knew this was going to be a much bigger book than my last one. I wasn’t exactly sure of the scope to start with, and it took me a little while to get myself started, but once I was going it turned out to be a fantastic project.
Like I did with my Skye book I decided to make a video of my experience of creating this book. In the video, I talk about how I selected my photographs, my experience of using the Saal designer software and my thoughts on the final printed book. You can check out the video below:
Will I Do Another?
There’s no doubt that having photography books printed can be a costly exercise, especially if you are just printing one book for personal use but I do firmly believe it is worth doing. With that in mind, I have made a personal commitment to producing another book.
Unless anything else comes up between now and the end of the year that requires a book, my next book will feature my best or favourite photographs from 2020. If that book turns out to be a positive experience it will be something, I will want to do every year. I’m also going to look at some of the additional options that Saal offer such as gift boxes, different covers and paper types. I will, of course, be creating a video for that so you can share the experience with me.
I hope you enjoyed this video and blog post. Do you create your own photography books? Do you sell your books? Let me know in the comments below.

5 Things To Do When Entering Photographic Competitions
Do you think you could be the next Landscape Photographer of the Year? Are you thinking about entering any photography competition? In this video, I share with you 5 things that you should do when you enter any photographic competition. I've also got a few tips from Wex Photographer of the Year, Andi Campbell!
Fail to Prepare, Prepare to Fail
Photography competitions are fickle things. There is an element of luck in any competition and you could have the most amazing image and still not get placed. While controlling what the judges feel and see in your images is something you can’t control, there are aspects of entering a photography competition you can control.
Sand, Wind and Time - Commended award in Scottish Landscape Photography of the Year.
Last week I found out that my image “Sand, Wind and Time” was given a commended award in the Scottish Landscape Photographer of the Year competition. This spurred me on to finish selecting my final entries for Landscape Photographer of the Year. I was discussing this with my good friend Chris Sale and he reminded me of the tips on photo competitions that I had shared with him over the years and so he suggested I make a video about them all. Well, that’s just what I did. So here are the 5 things I do when I enter a photographic competition:
As you will have noticed in the video, most of the things I do are fairly logical and process-based, but they are still critical in being successful in a competition. The old saying, “fail to prepare, prepare to fail” is very true here.
Before I go I must thank Andi Campbell for sharing his tips for entering photography competitions. Winning Wex Photographer of the Year is far from easy so I know you will be most impressed with his work when you visit his website.
Just a short blog post from me this week, but I hope enjoyed it and you picked up a couple of tips. Are you entering a photography competition this year? Are you planning on entering LPOTY? Do you have any tips of your own? Let me know in the comments below.
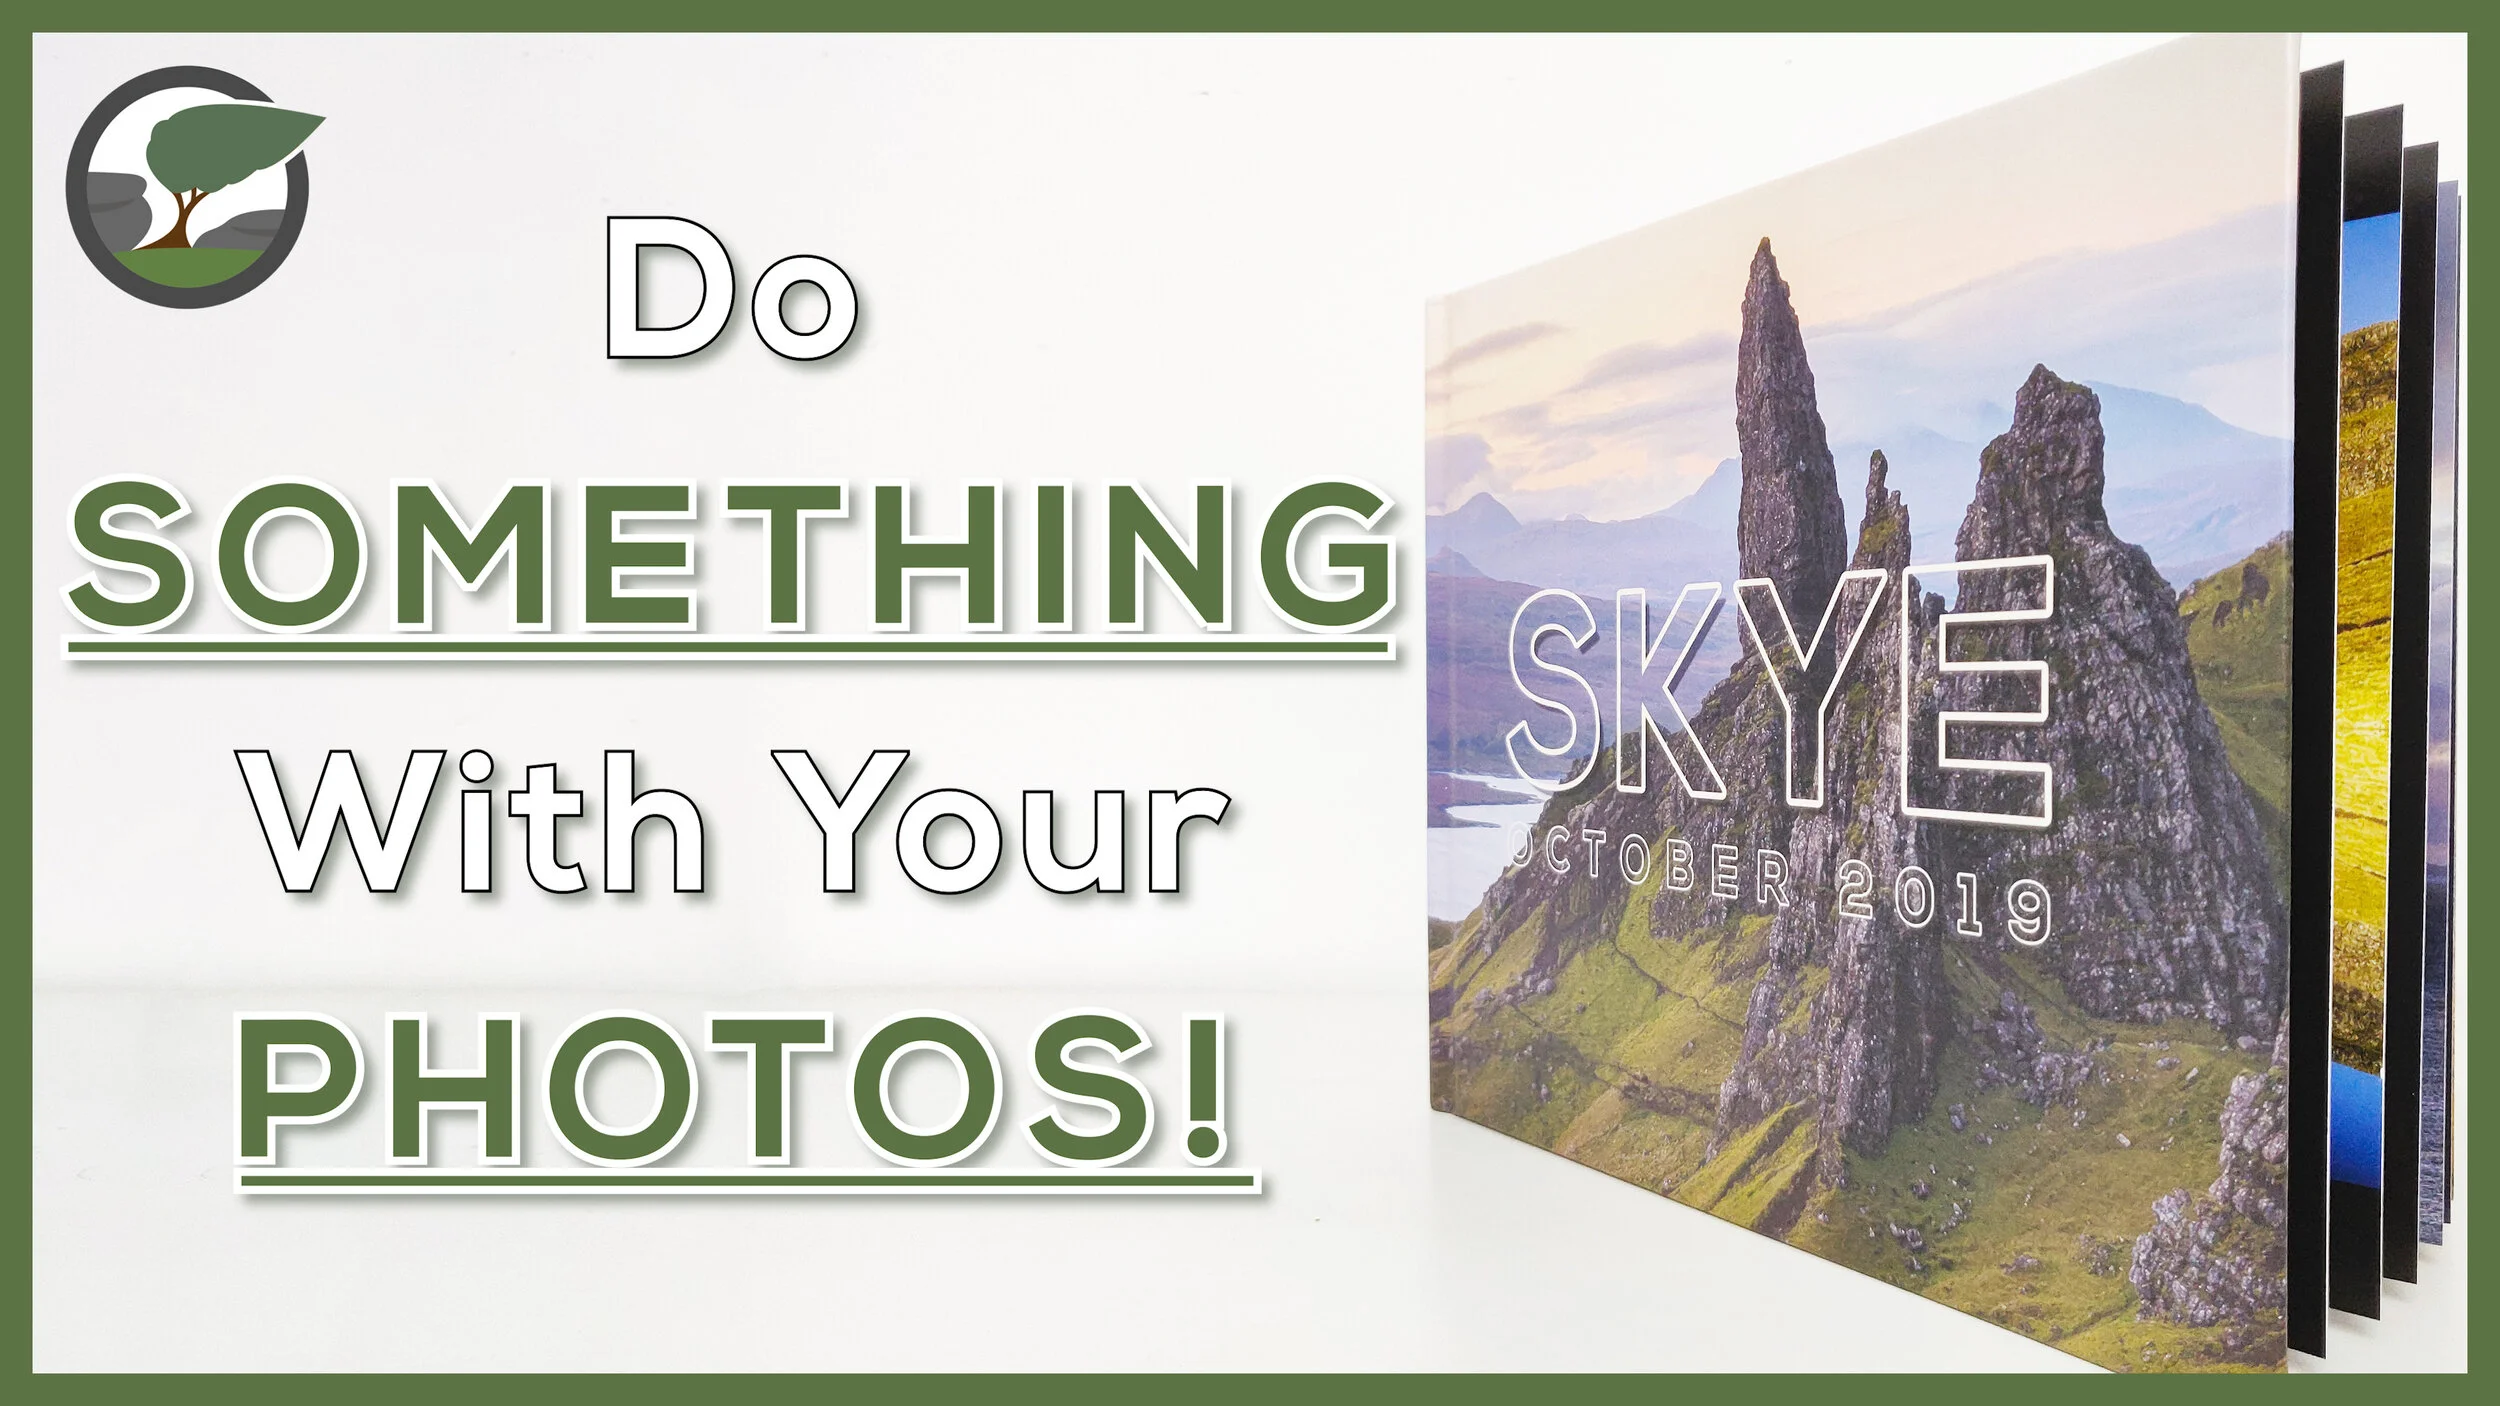
Your Photos Matter - Create a Photo Book
I completely forgot about a collection of images I had so I decided to do something with them!
Don’t Forget to Publish Your Photos!
In October of last year, I went on a photography bucket list trip to the Isle of Skye. This wasn’t a last-minute trip but one that I had probably started to organise some 18 months prior to departure. Over that 18 month period, I had a lot of time to get excited about the trip. Needless to say that when the trip did finally come around my levels of excitement were through the roof.
With all that planning and excitement I find it odd that I left the photographs I captured just sitting on my hard drive. What was the point in spending all that time and money on capturing these images and doing nothing with them! So I decided the best and most interesting way to publish these photographs was with a photo book. If you a regular reader of the blog you’ll know how keen I am on creating something physical from my photographs. This time though, rather than print them myself I would create a photo book.
You can see how I went about it in the video below:
I hope you enjoyed the video and it has inspired you to dig about your catalogue of images, print some of them, or even create a photo book yourself. If you do, please let me know in the comments below.
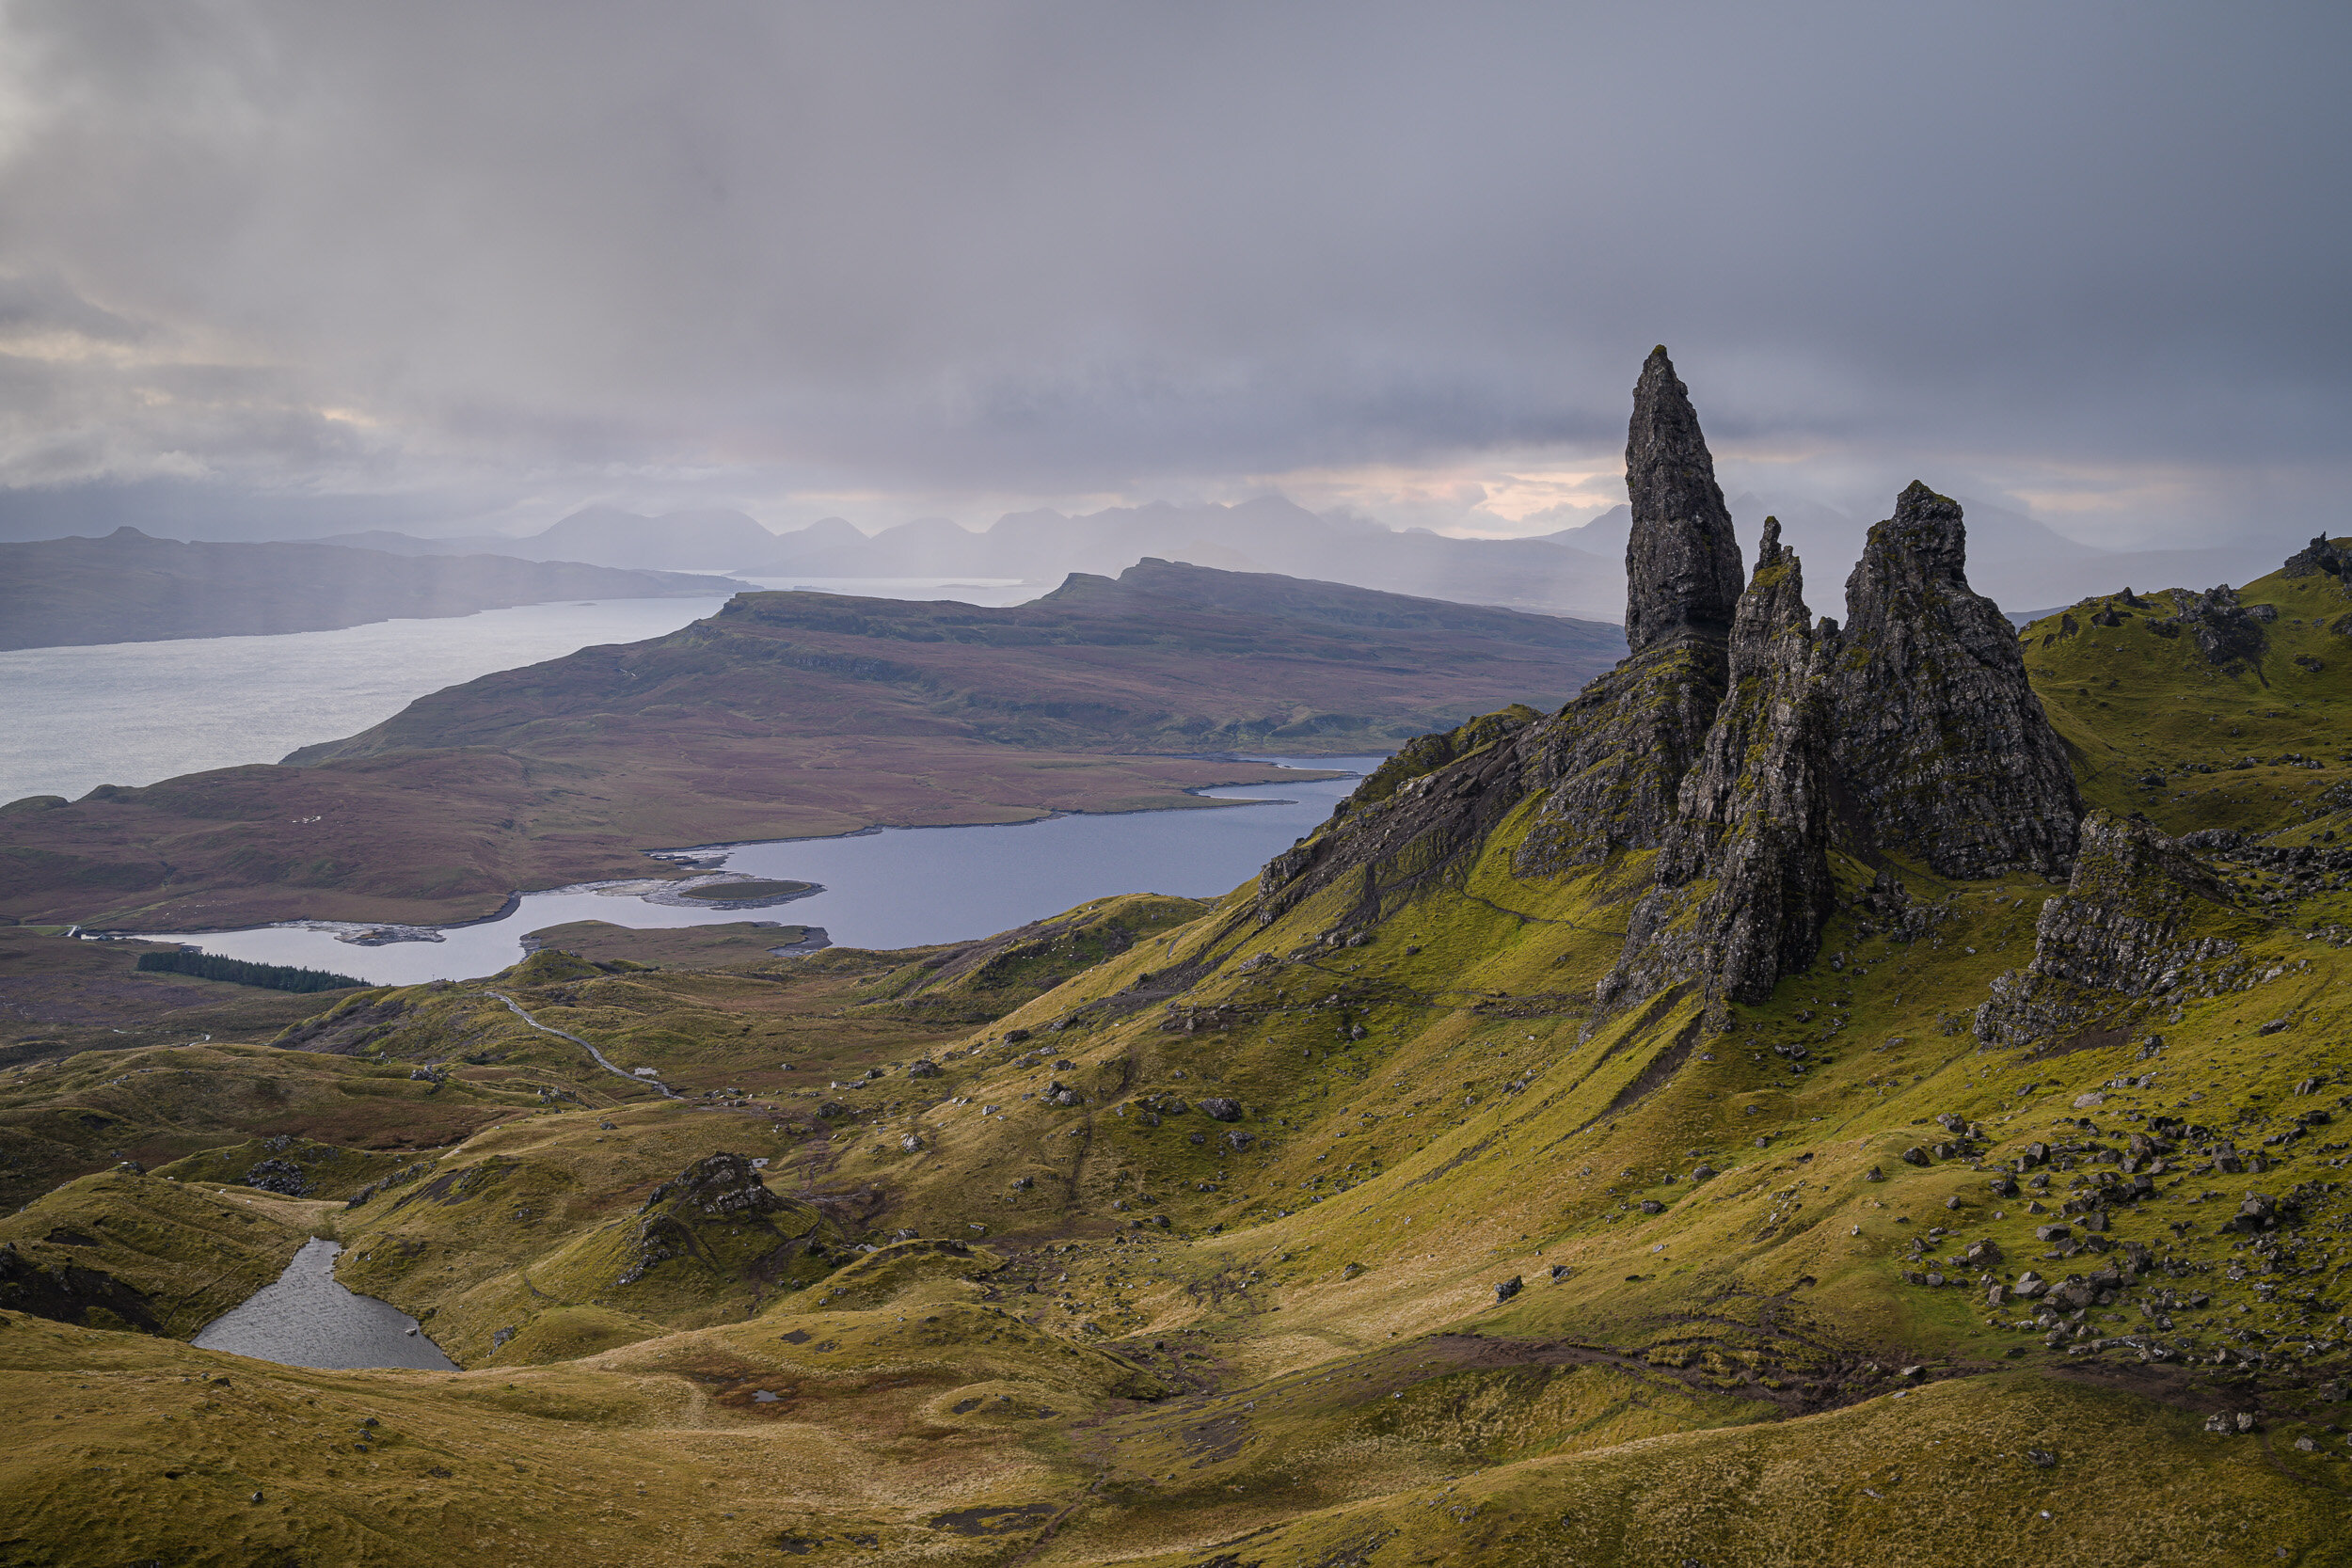
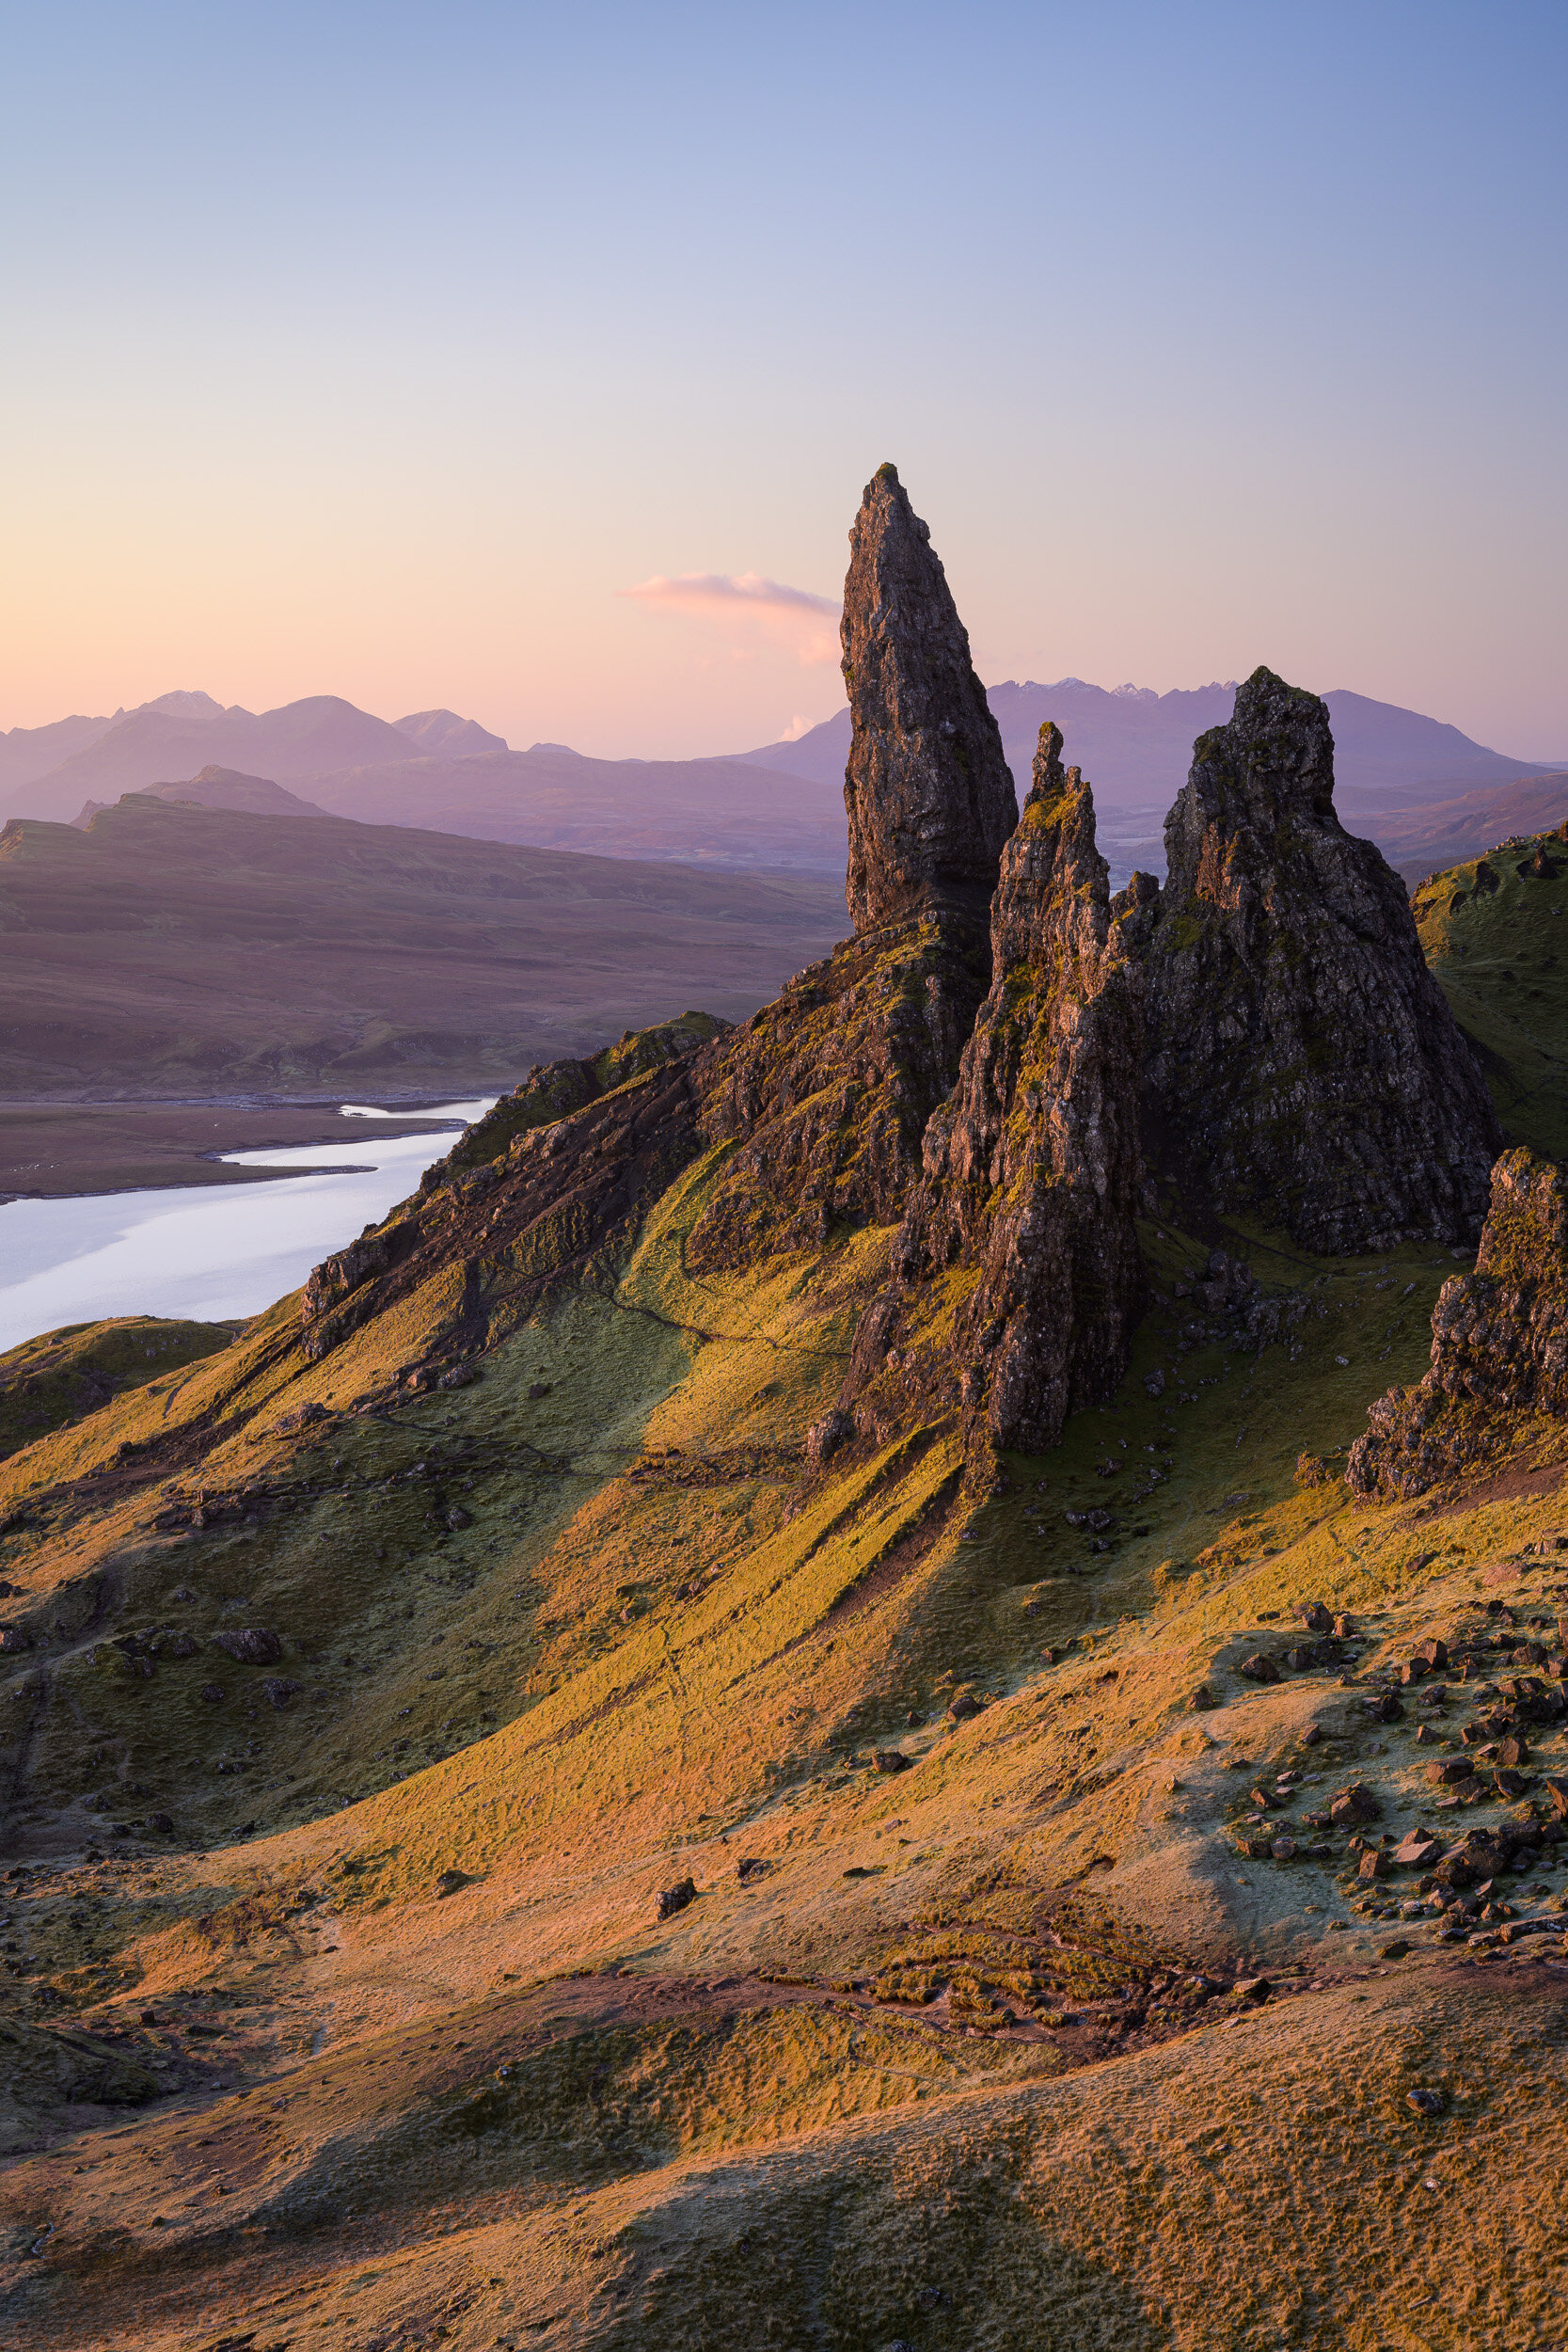
My Isle of Skye Photographs
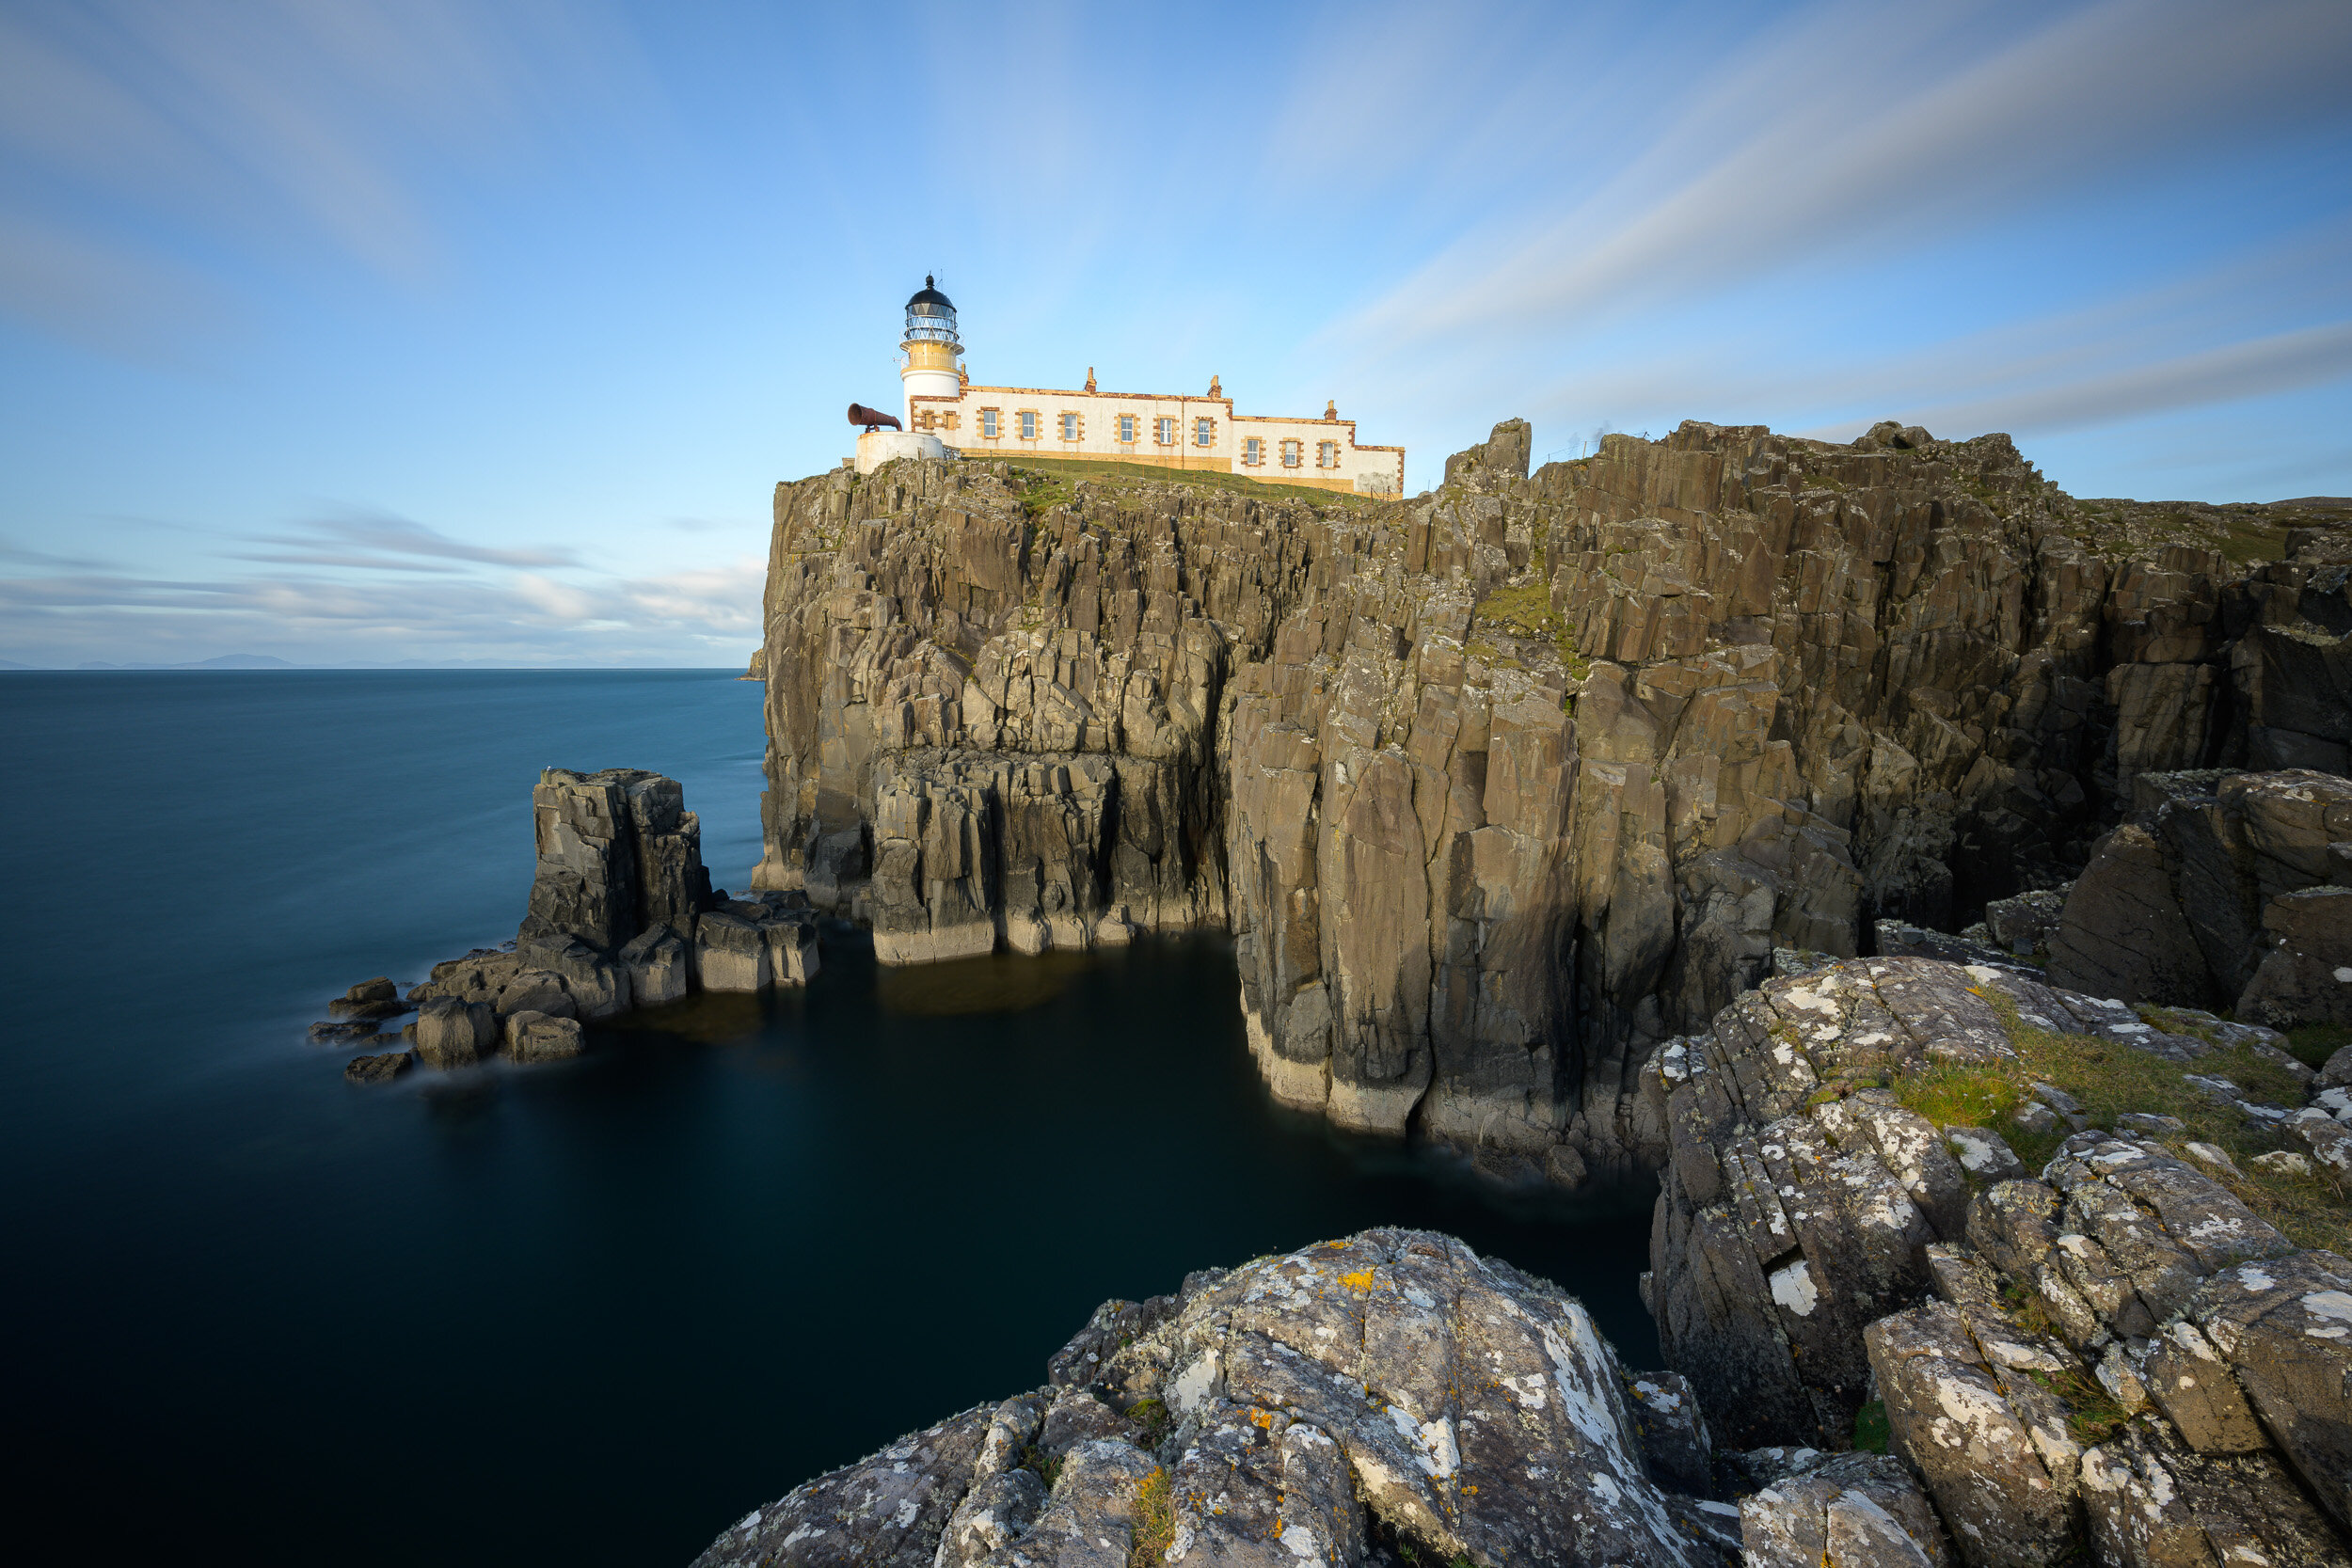
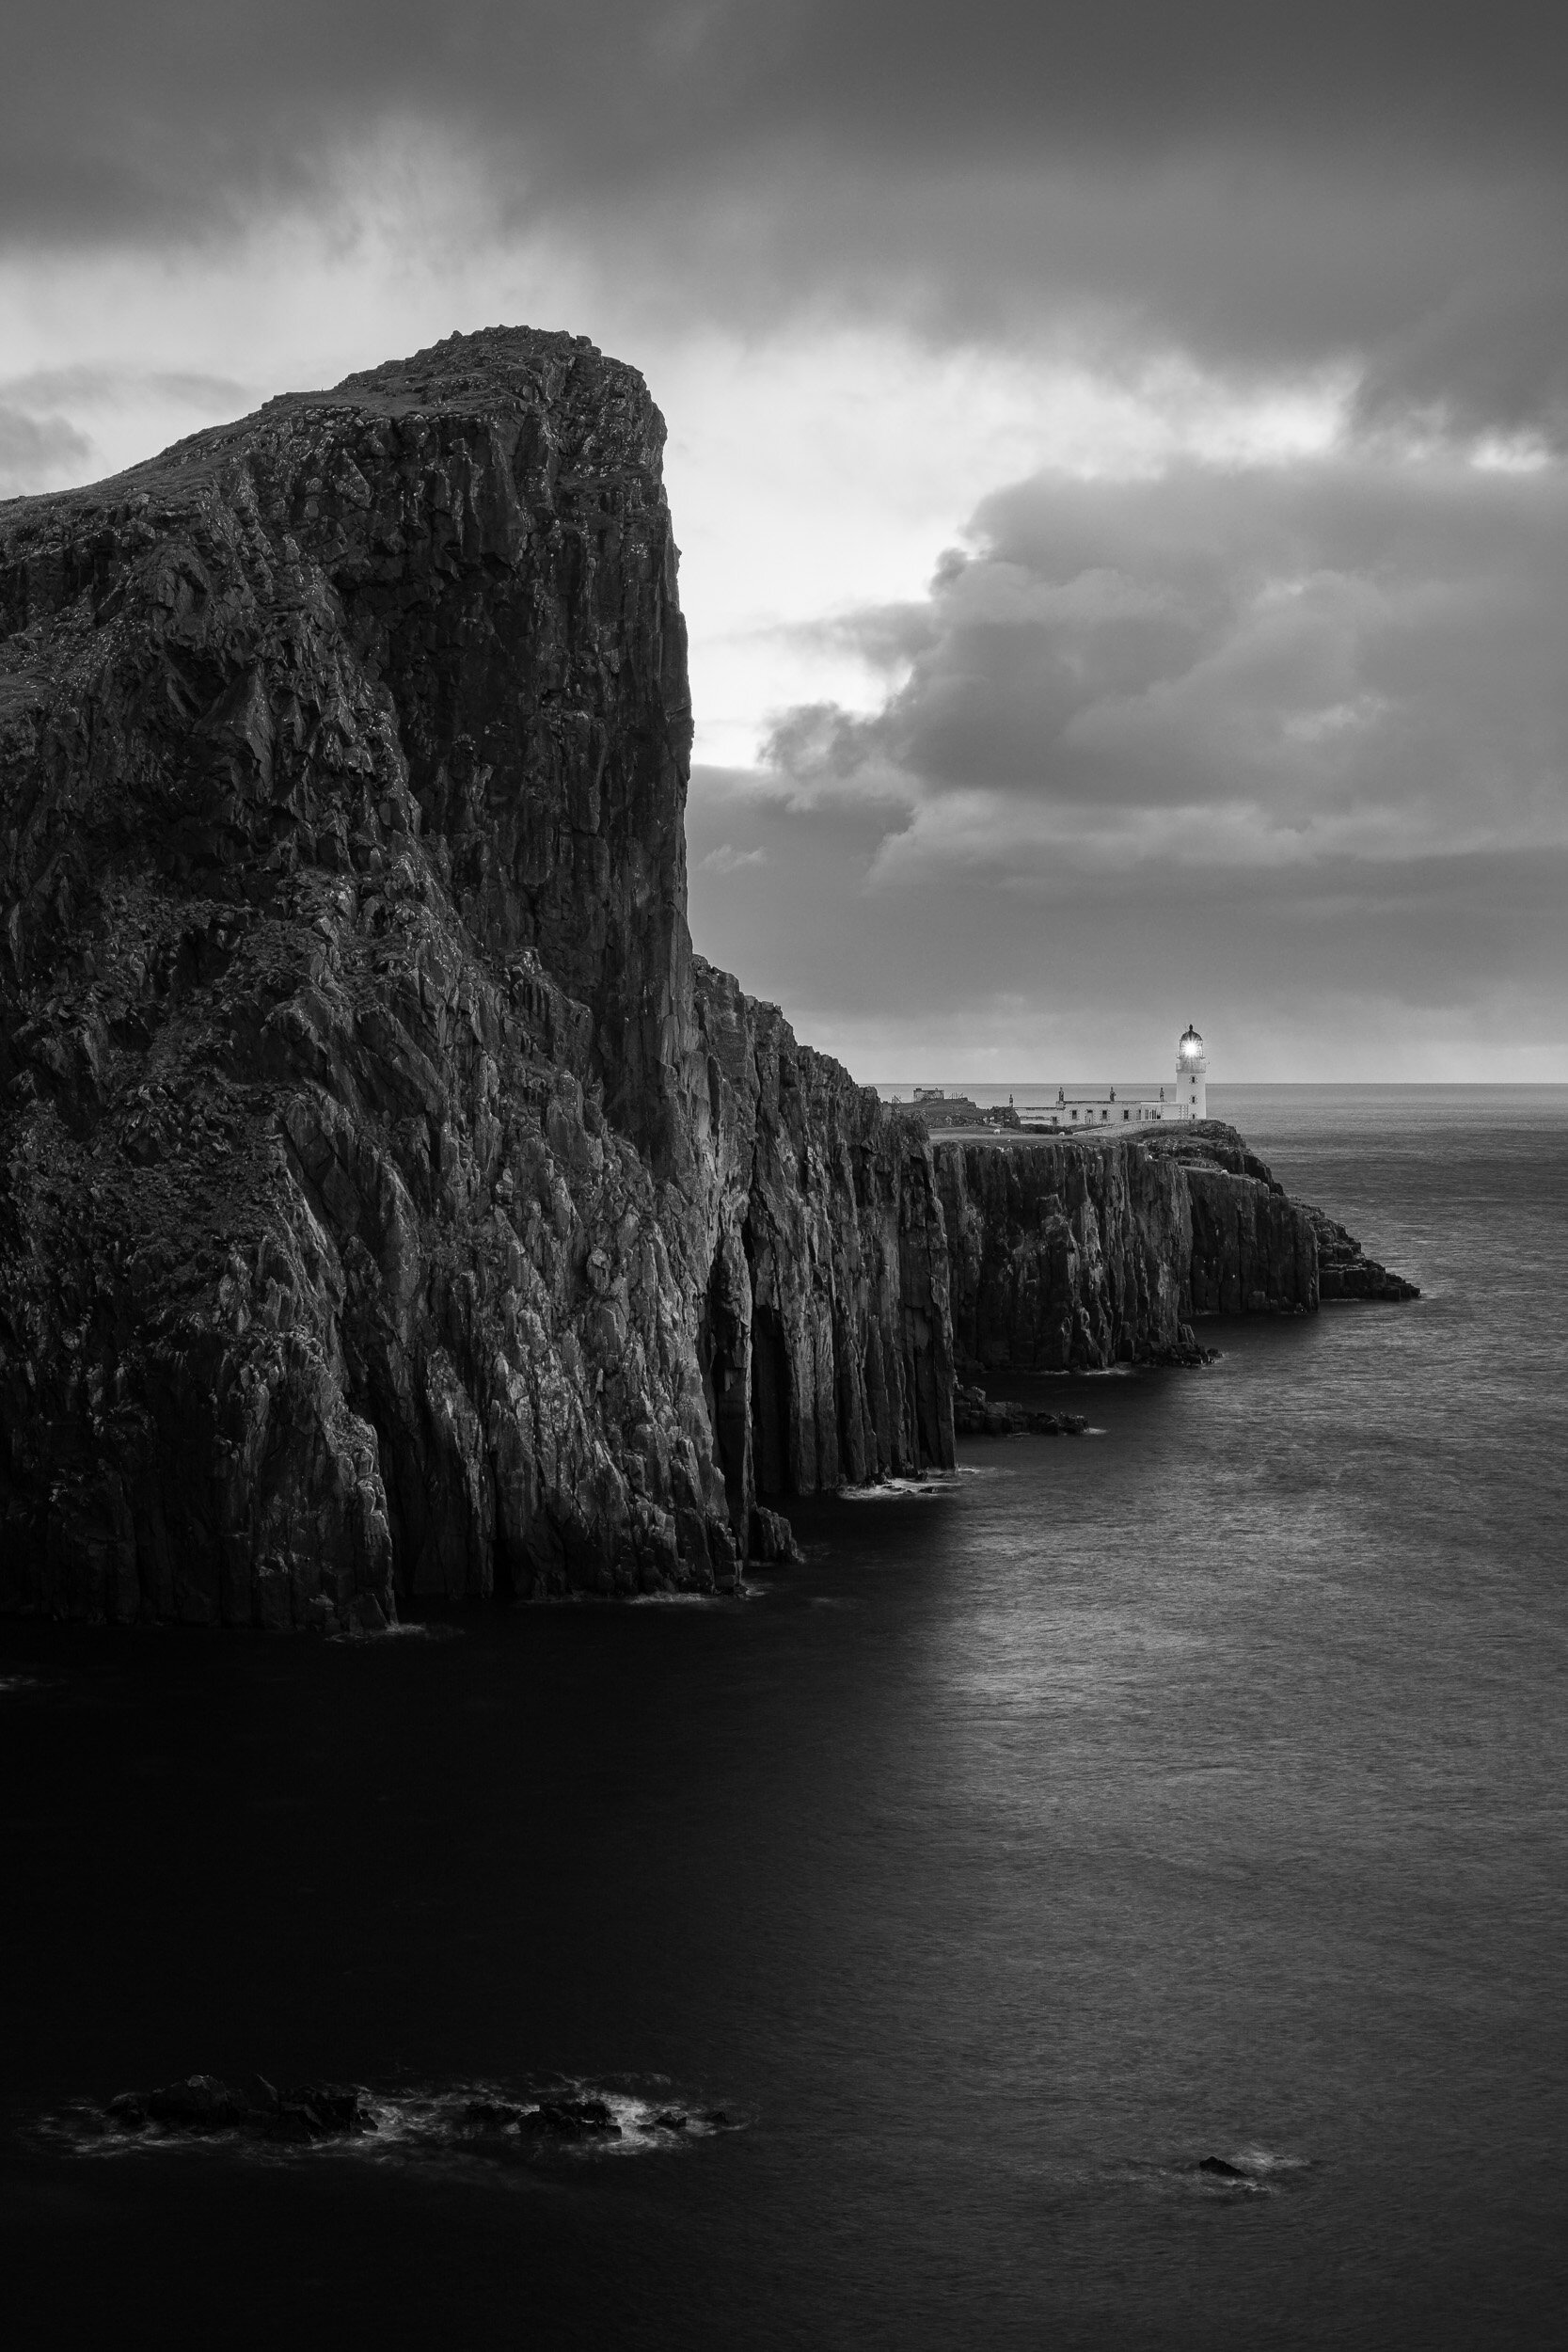
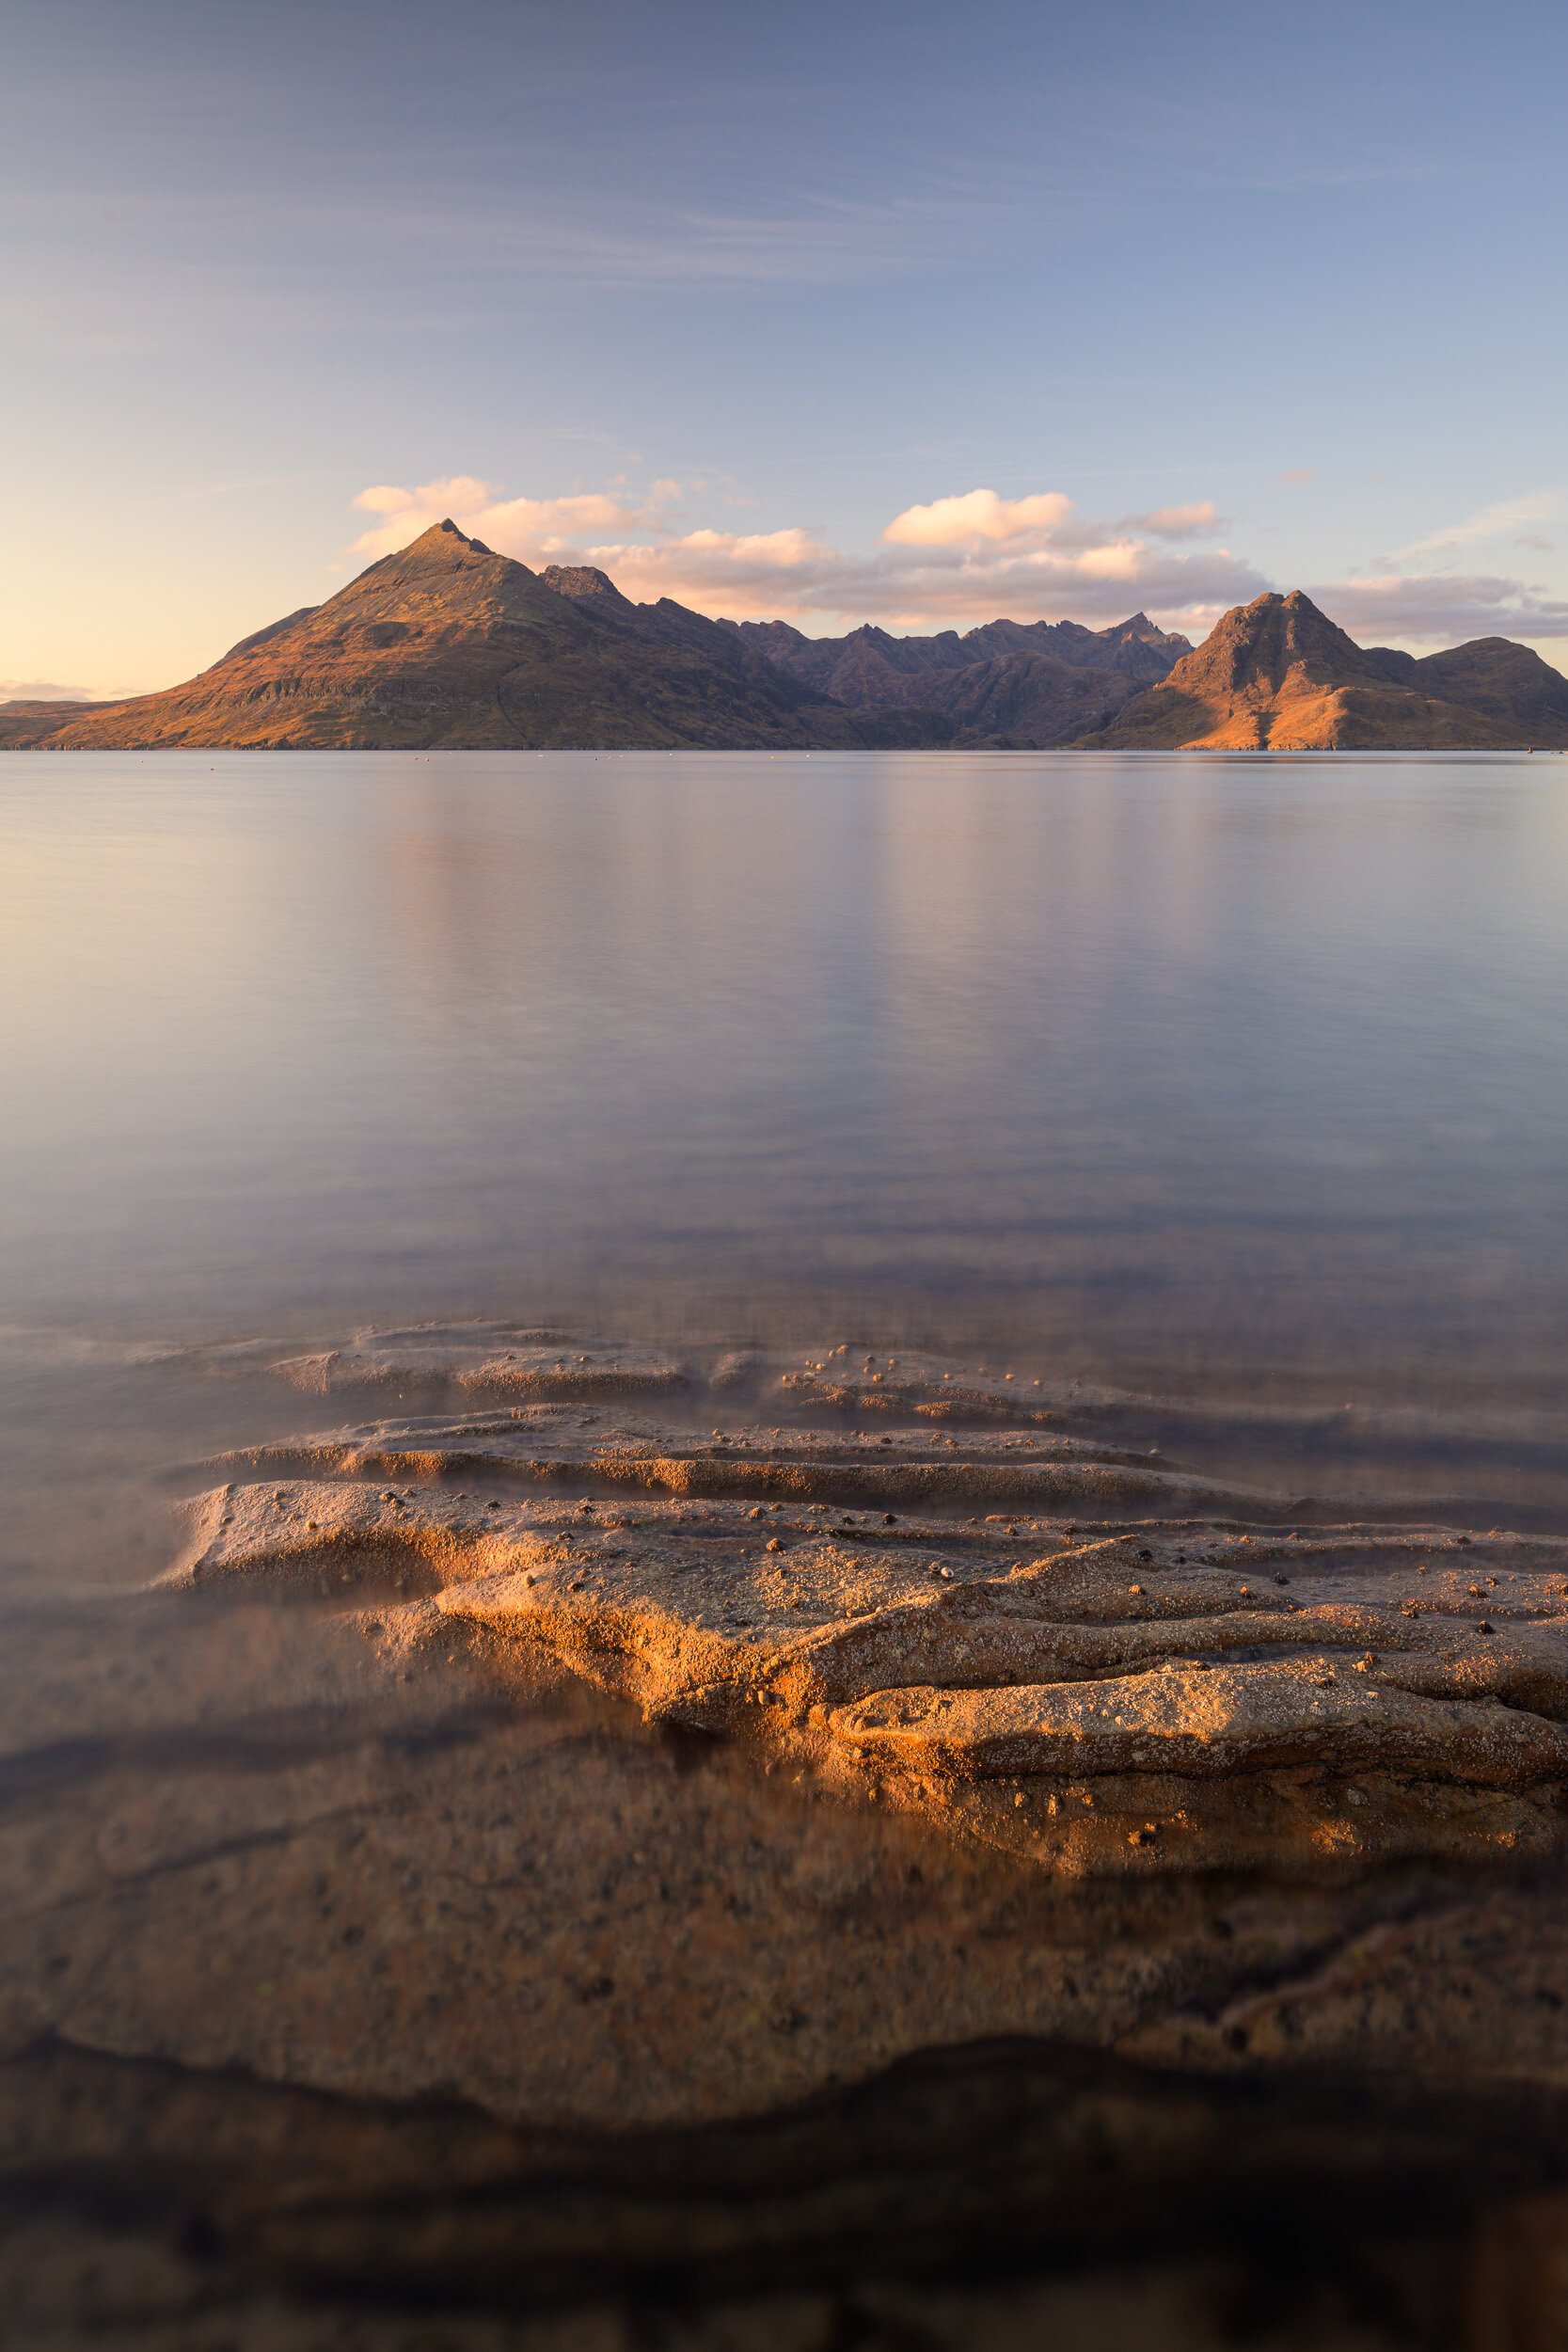
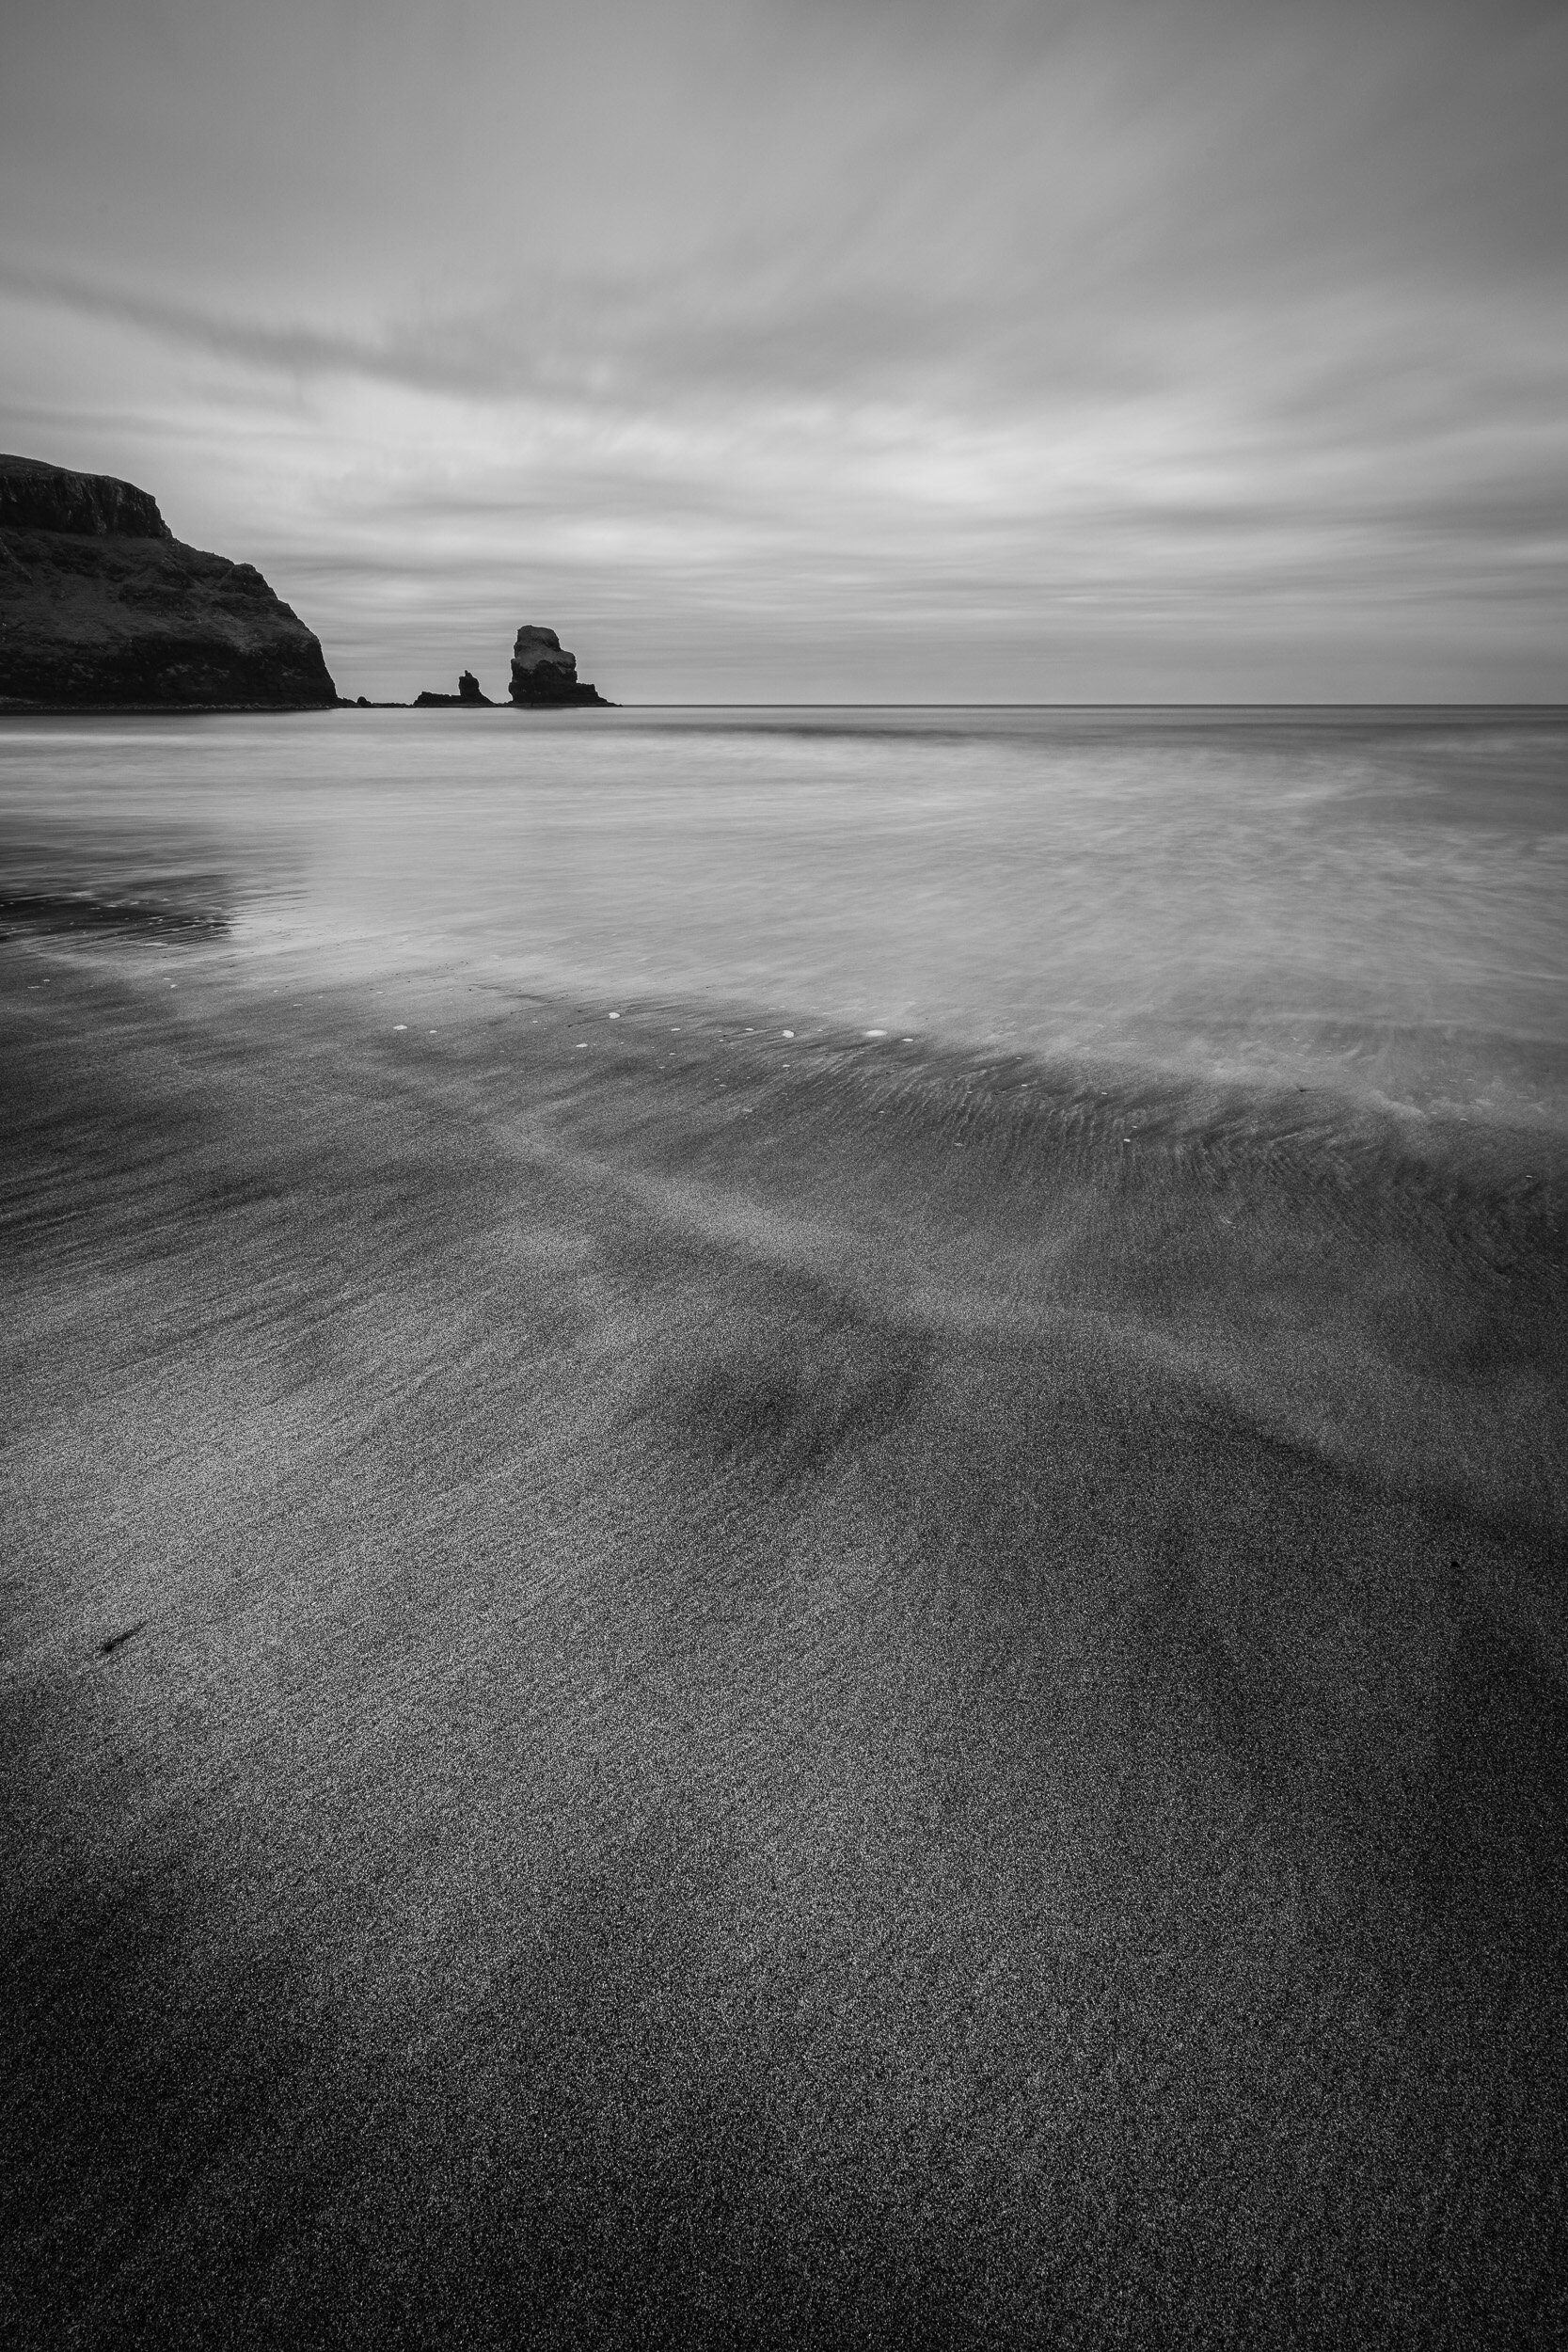
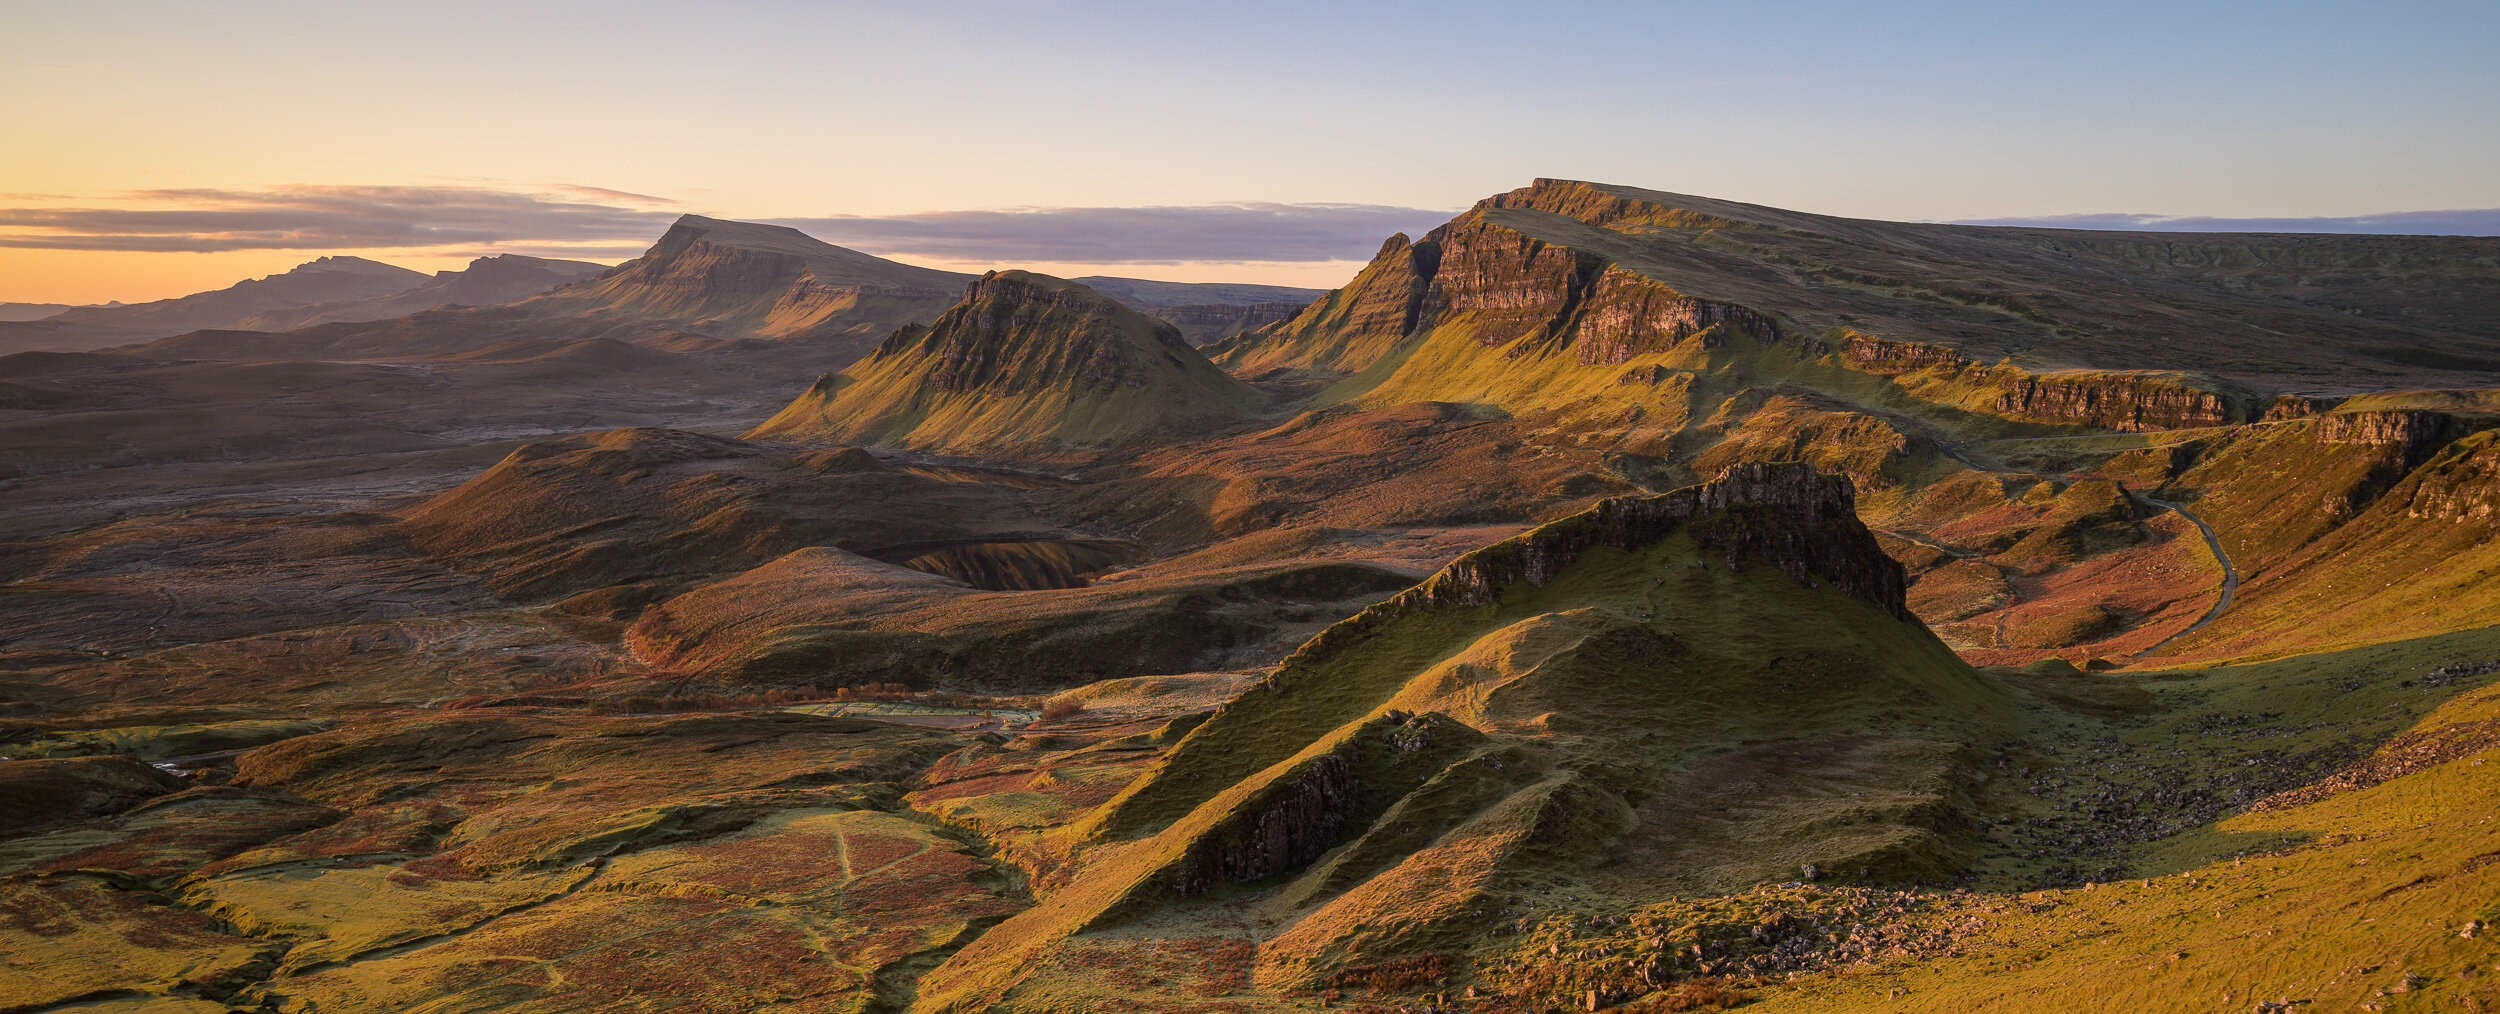
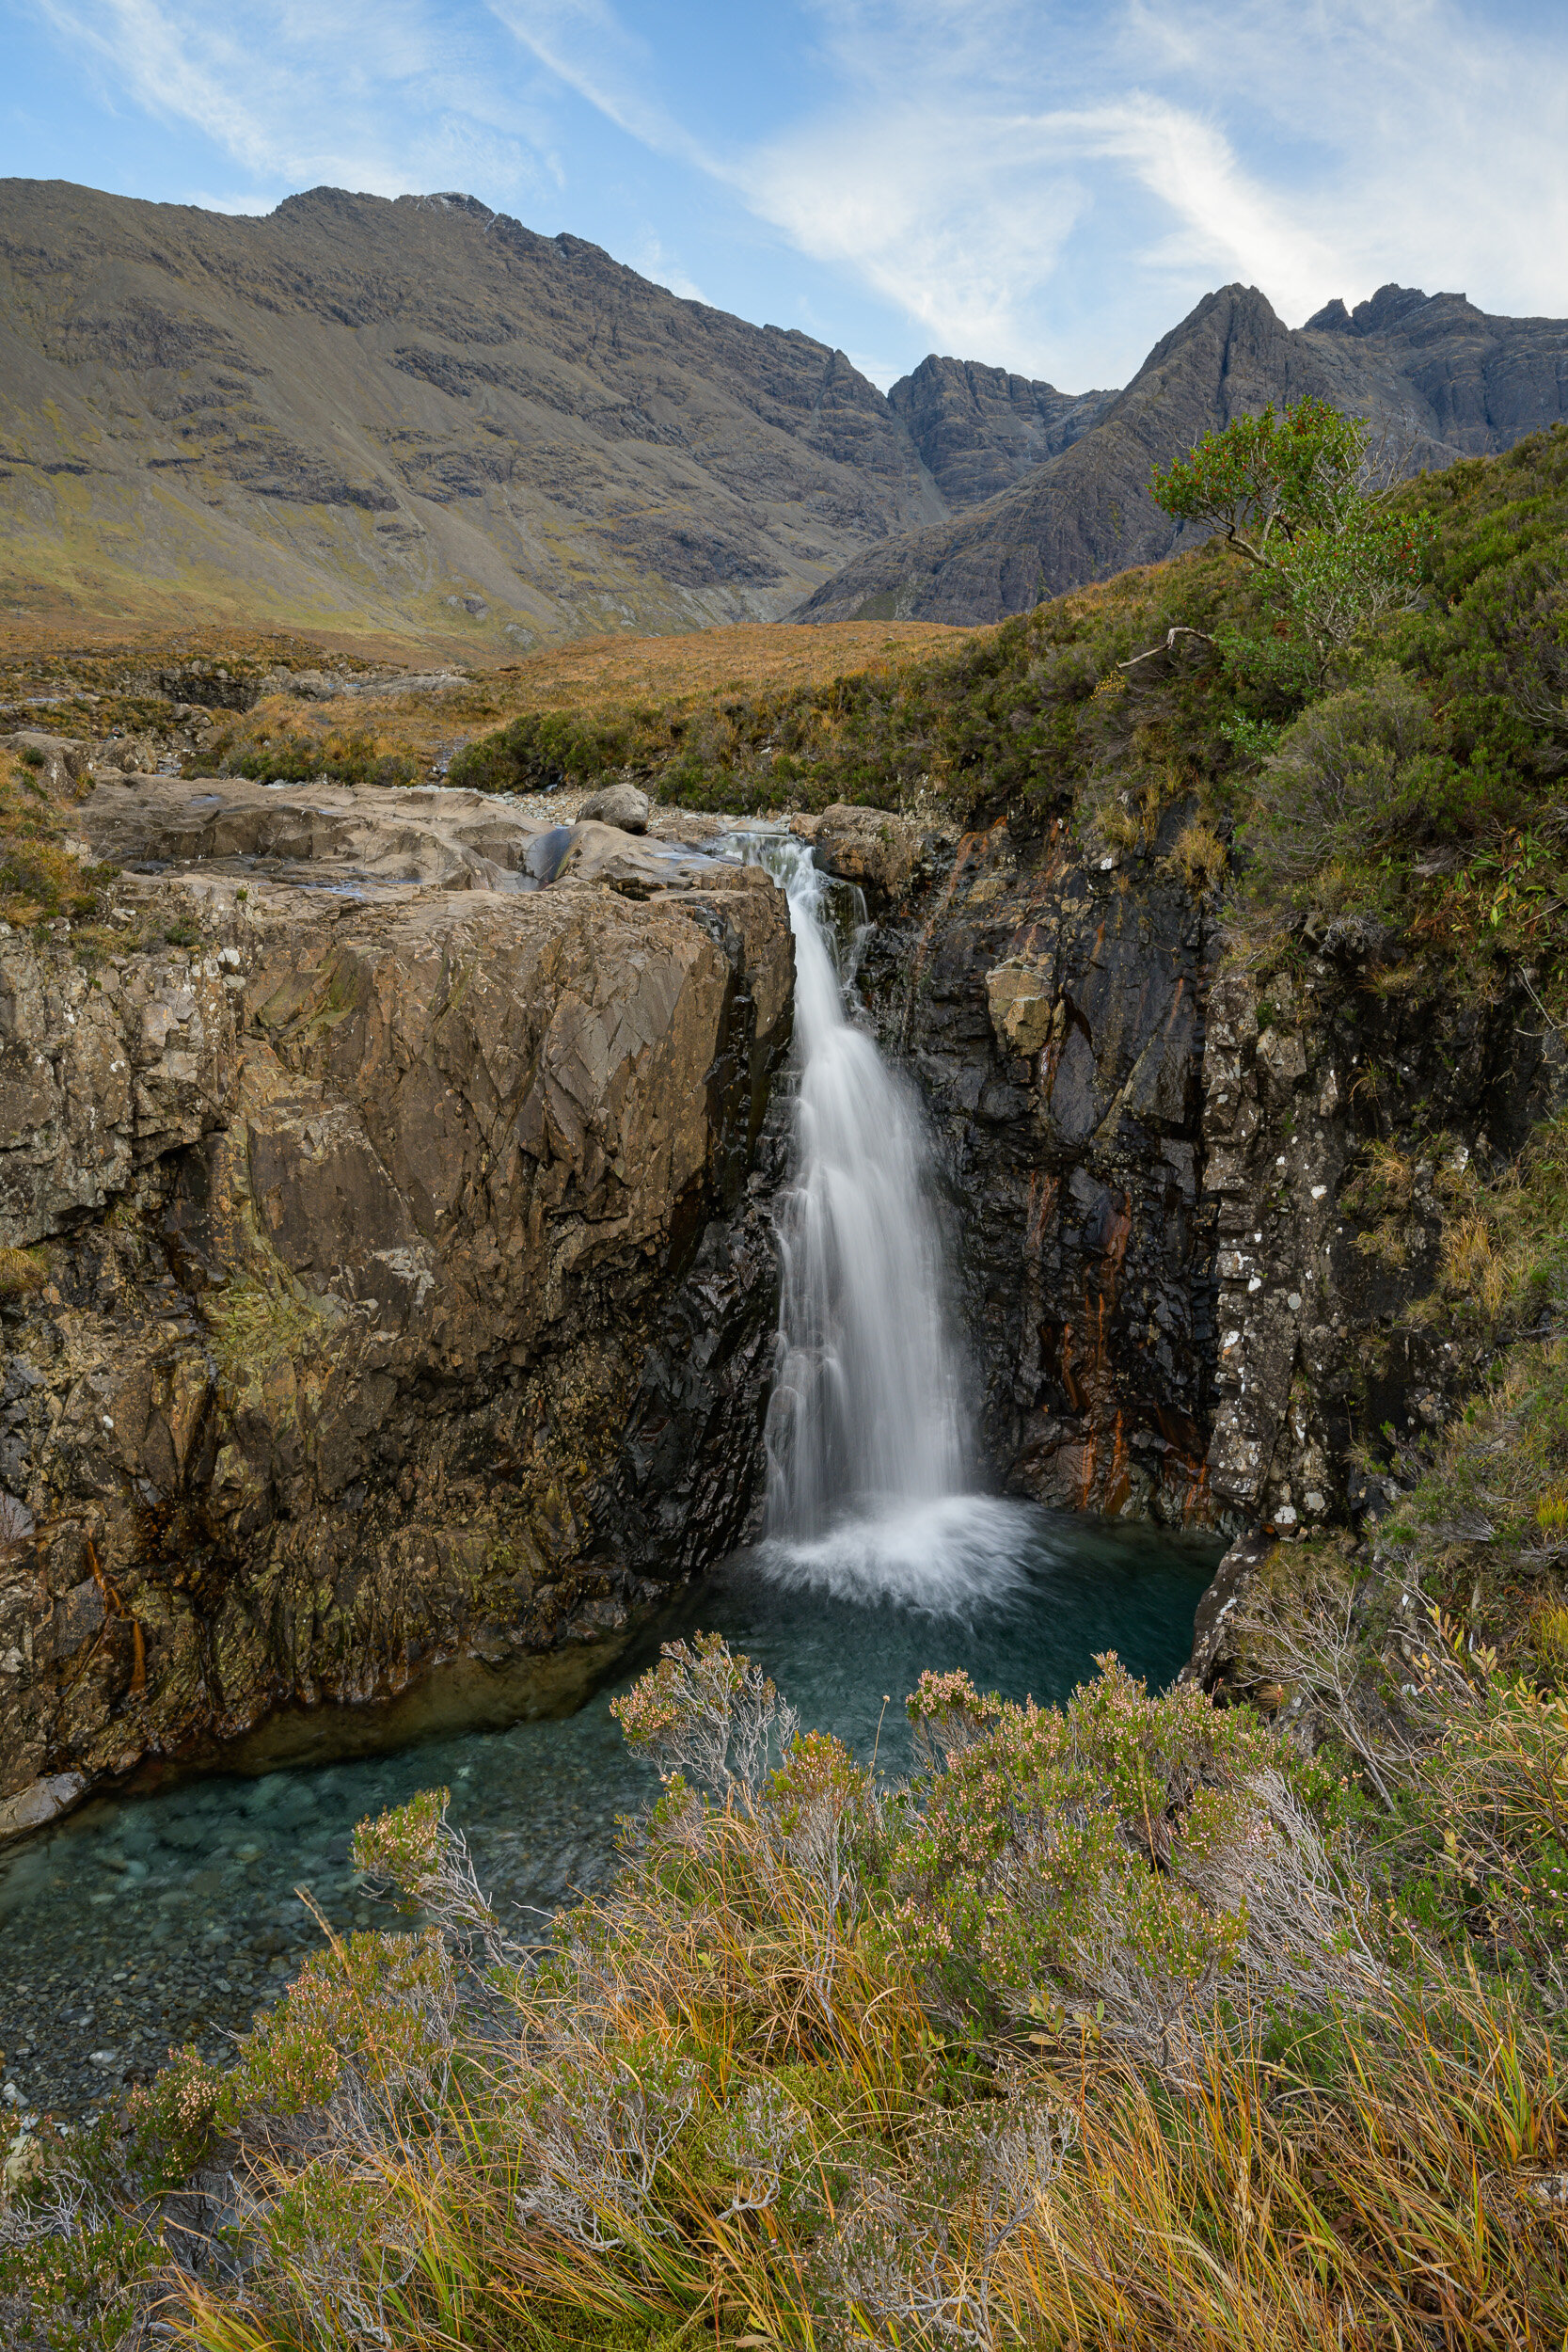
I hope you enjoy the collection of photographs that I placed in my book. Just click on a thumbnail to view the image full screen and see all the shooting information.












Practising Landscape Photography and Risk vs Reward
Is there value in practising your landscape photography? Do you consider risk vs reward? In the blog this week, I head to Belstone on Dartmoor National Park to capture some landscape photographs and to answer those questions.
The Value of Practising Landscape Photography
In the blog last week I spoke about the need to practise landscape photography. That trip to Dawlish Warren beach was my first trip out to capture landscape photographs in over a month. I certainly felt a little rusty so I was keen to keep the momentum going so I decided to head out again as soon as I could.
I decided I would head out a couple of days later and instead of shooting the coast again I opted to head up onto Dartmoor. The weather conditions weren’t exactly ideal for landscape photography. The forecast was predicting 100% clear skies (everywhere) and sub zero conditions.
Despite the weather forecast I was committed to going out and getting some practise in with the camera. Practising photography became really important to me after watching this video by John Free. I know John is a street photographer but the message is clear. It’s probably one of the most important photography videos I’ve ever watched.
Risk vs Reward
While the goal of my trip to Dartmoor was to practise my photography, I was still hoping to get some good photographs. This is where the risk vs reward bit comes in. It’s rare that the weather forecast is 100% accurate or the conditions are predicted to be perfect for landscape photography (whatever perfect might be), so there is always an element of risk.
Sometimes the risk is part of the excitement though. If you always knew what the the conditions were exactly going to do then some of the joy of landscape photography would be lost. While the forecast conditions wouldn’t necessarily yield a great photography, if I didn’t take the risk of going I might miss something special.
So did my trip to Dartmoor pay off? You find out in the video below where you will see the images I took and hear me talk more about the value in practising photography and risk vs reward. Enjoy!
I hope you enjoyed that 5 Minute Photo Adventure <insert playlist URL>. Do you practise your landscape photography? How do you measure risk vs reward? Let me know in the comments below.
The Photographs
As always here are the photographs from the video.
Dawn at Belstone #1, Dartmoor National Park, Devon - Nikon Z7, Nikkor 14-30mm f/4 at 14mm, f/13, 1/4 sec at ISO 64, Kase Filters CPL.
Dawn at Belstone #2, Dartmoor National Park, Devon - Nikon Z7, Nikkor 14-30mm f/4 at 18mm, f/13, 1/13 sec at ISO 64, Kase Filters CPL.
My Year Long Landscape Photography Project on Dartmoor
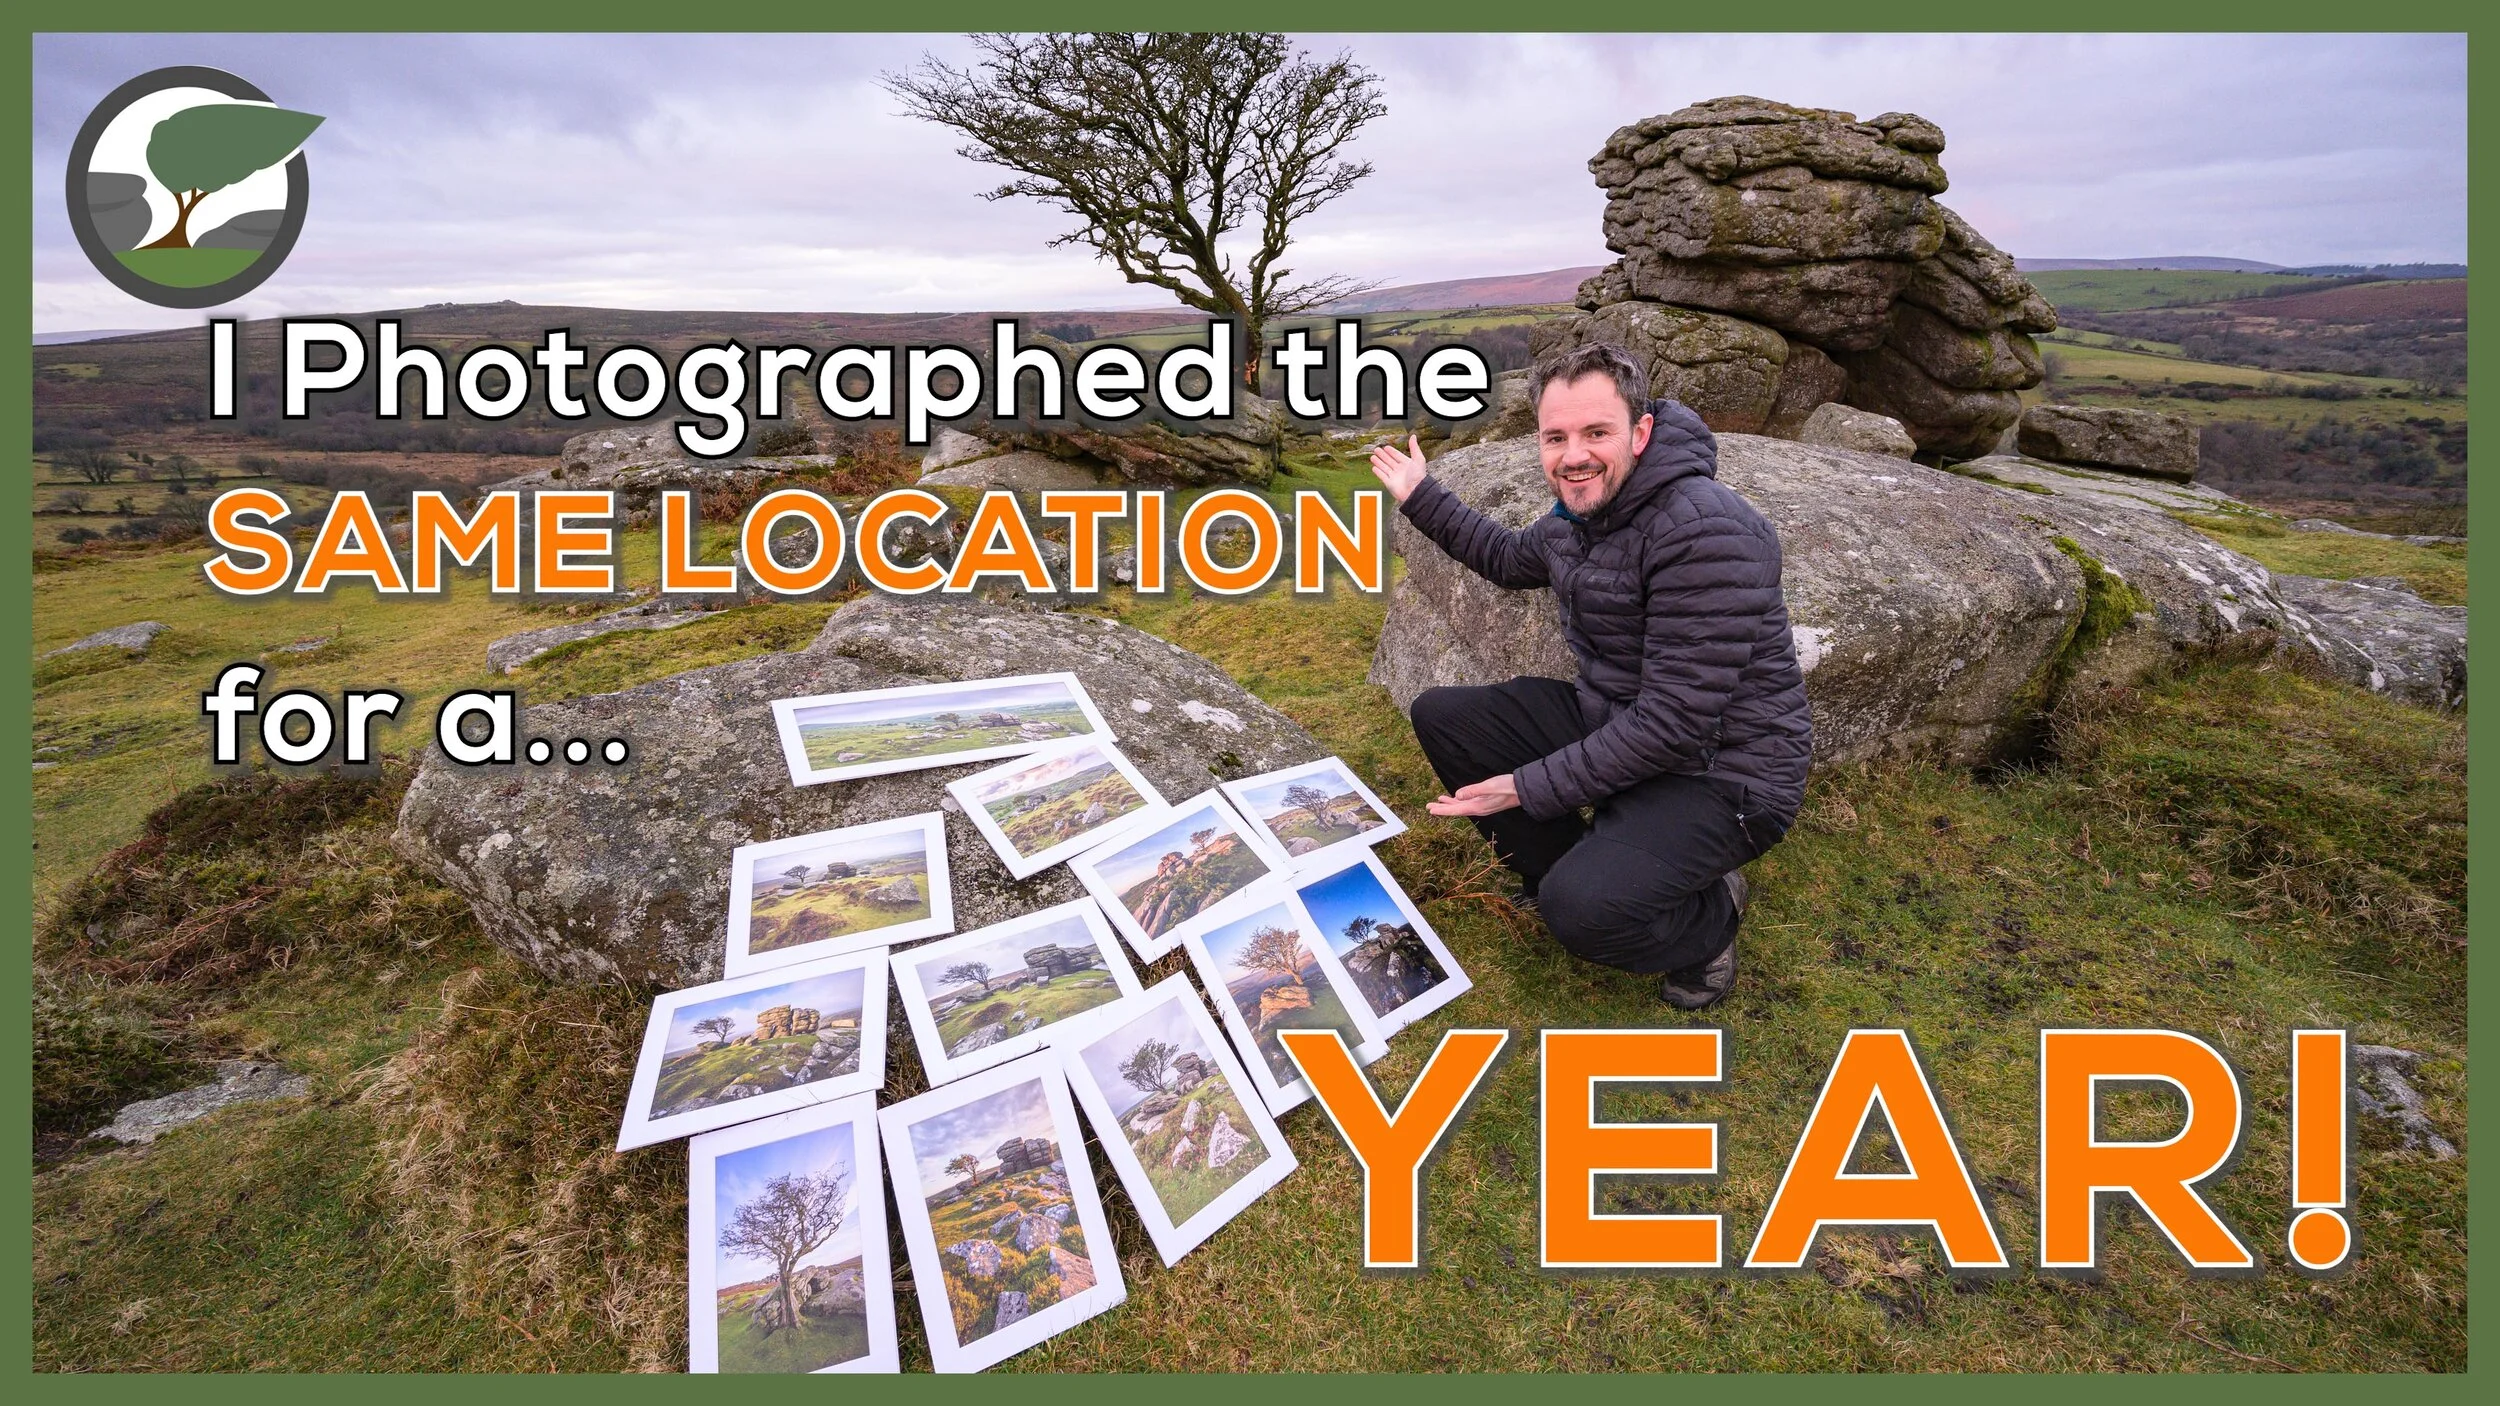
What happens when you photograph the same location for a year? In the blog this week I share with you the results of my year-long landscape photography project on Dartmoor.
One Year, One Location, Twelve Photographs
I’m going to keep this blog post really short as everything I would talk about here is contained in the video below. So rather than write a lot of text here I hope you’ll be able to find the time to watch my longest ever landscape photography video. I’ve actually tried to keep it as short as I can, but the video does contain a year’s worth of work so I hope you can excuse the length. So grab yourself a coffee or a drink and enjoy!
I do hope you enjoyed the video. Have you ever undertaken a similar project? Which image was your favourite? Please let me know in the comments below.
My Emsworthy Collection
Finally, here are all the photographs I took during the project and that you saw in the video. If you want to see the technical information for a photograph just click on it.


Every Photographer Should Do This
What's the one thing that every photographer should do?
The Annual Image Review
I wrote about the importance of doing an annual review at the end of 2017 and the following year shared with you my favourite images from 2018. Naturally now that we are now in 2020 it’s time to look back at 2019 and undertake the annual image review.
In the video below I not only talk about the reasons for me wanting to review my images from 2019, but I also talk about why I think it’s something every photographer should do.
Have you reviewed your images from 2019? Has my video encouraged you to do so? Have you published your favourite images? Let me know in the comments below.
Want to Know How to Find Your Best Images?
Here is the video I made at the end of 2017 that shows you how I go about using Lightroom to find my best images.
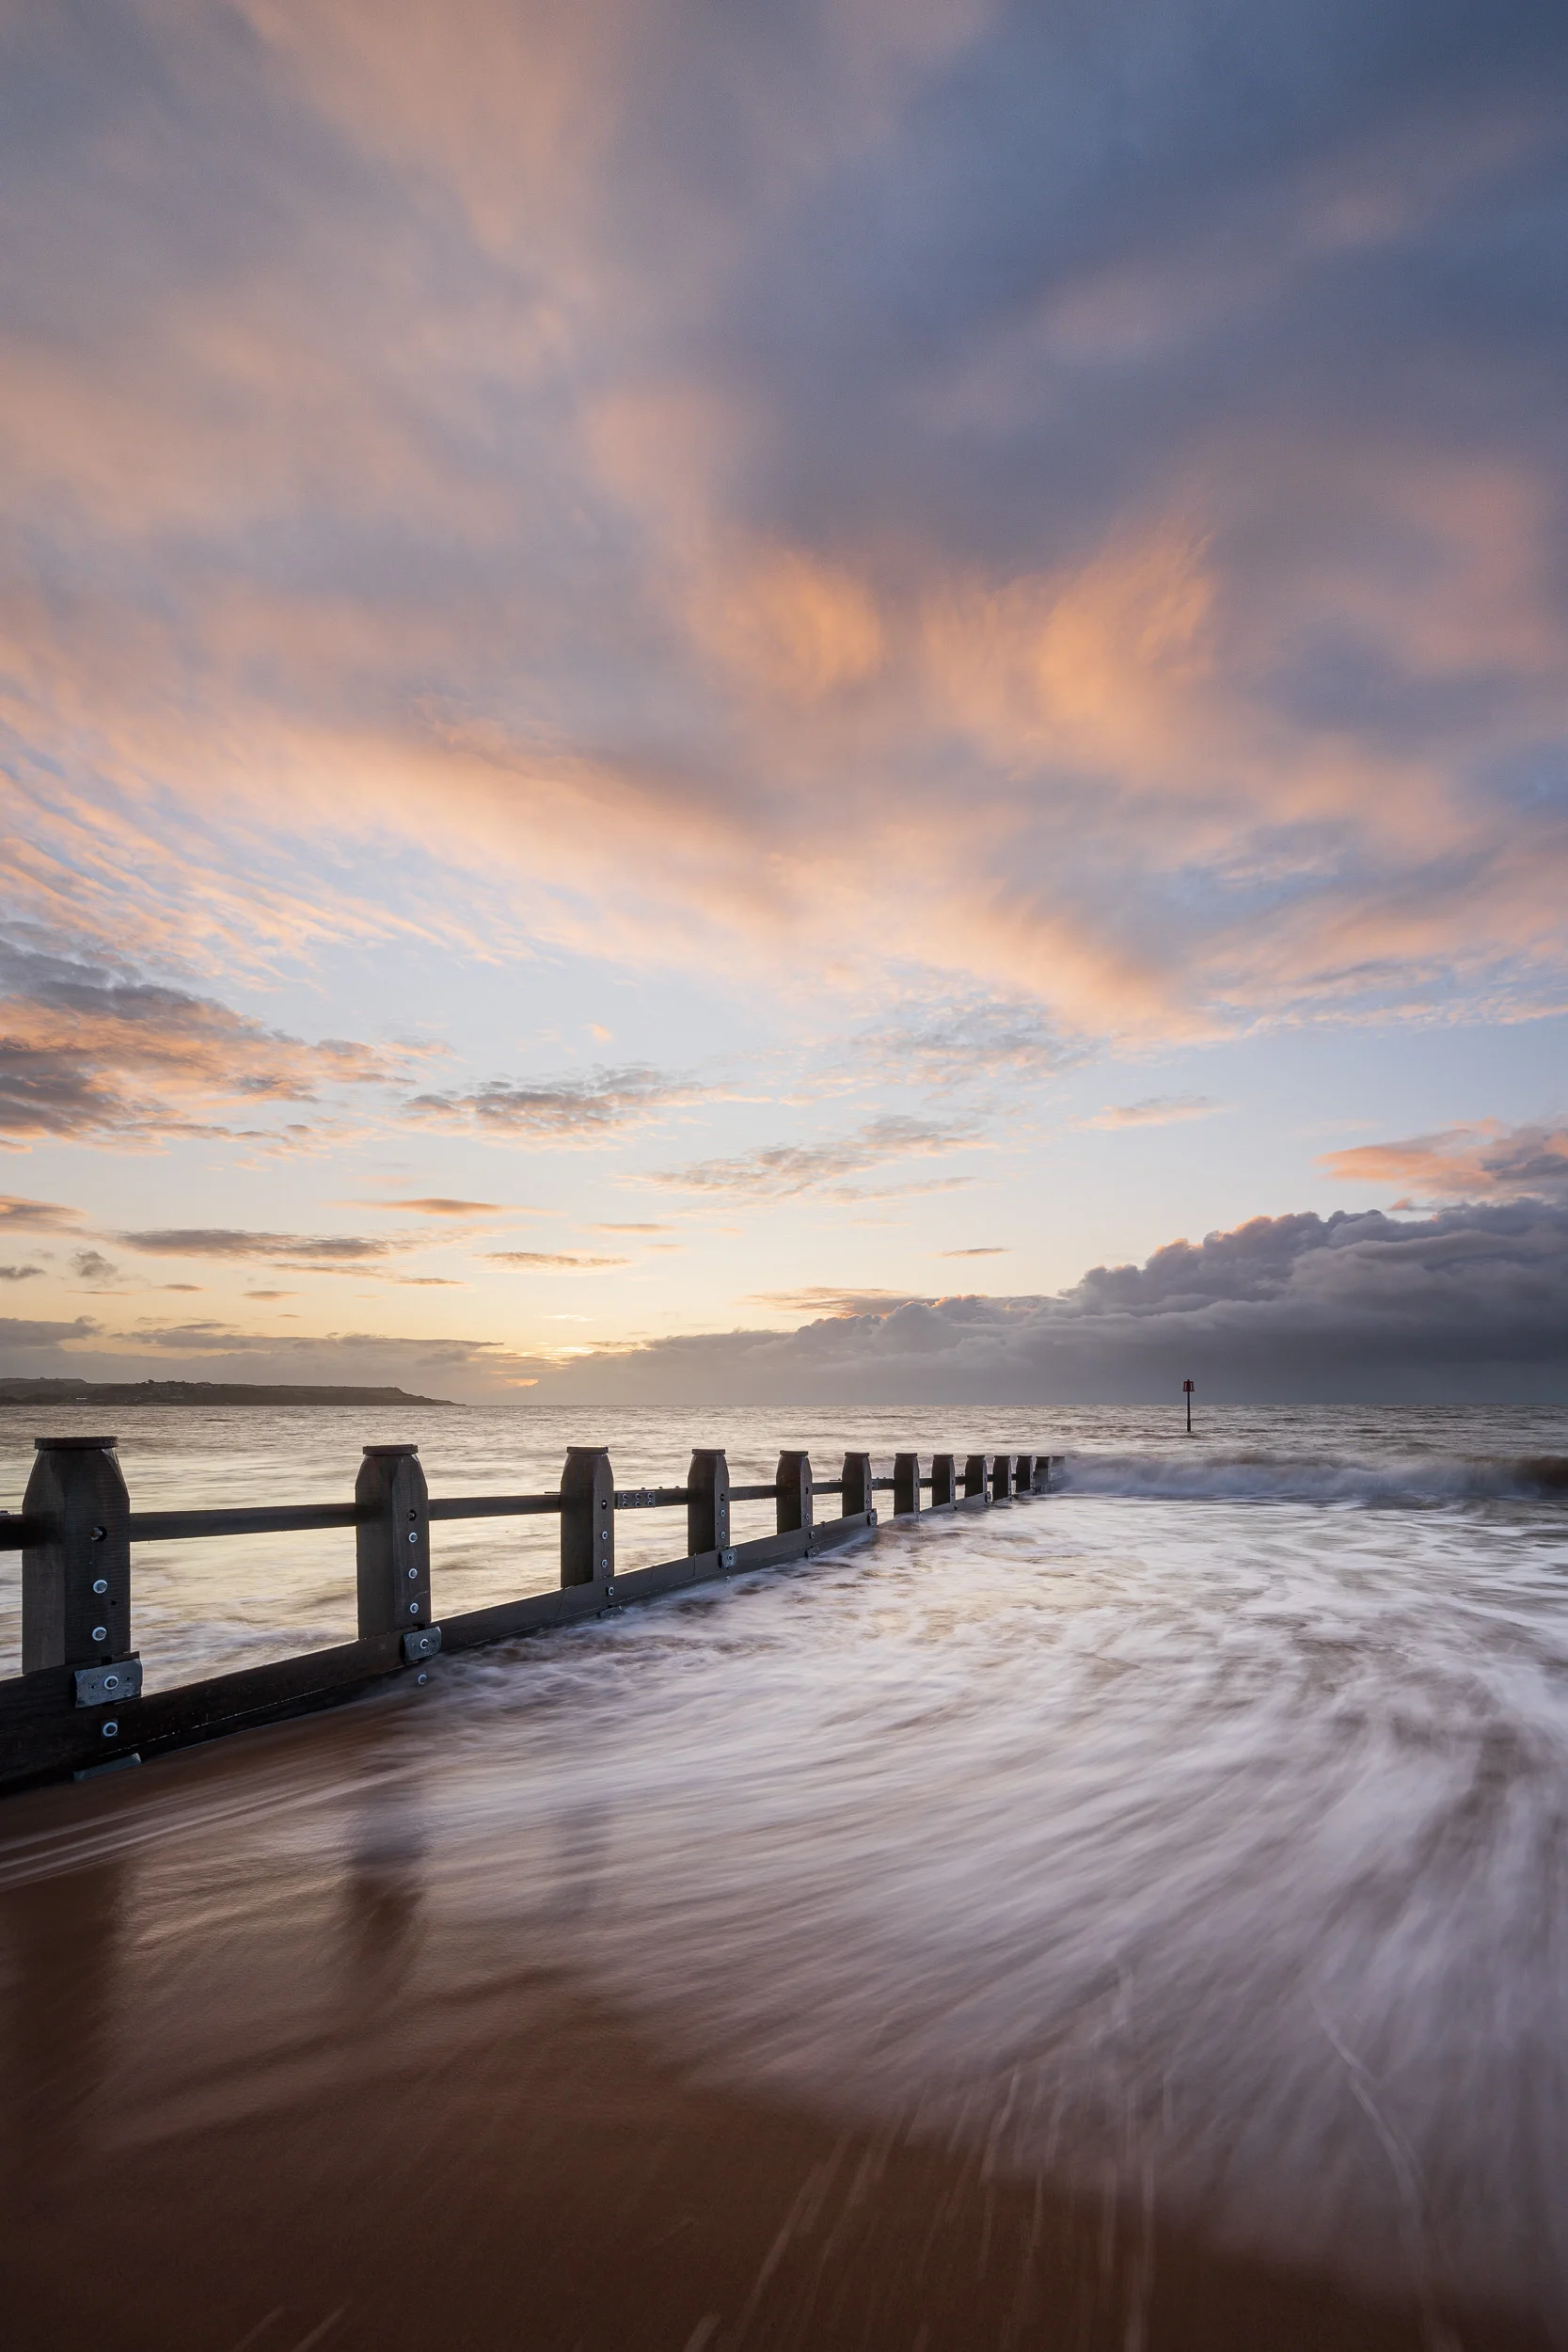
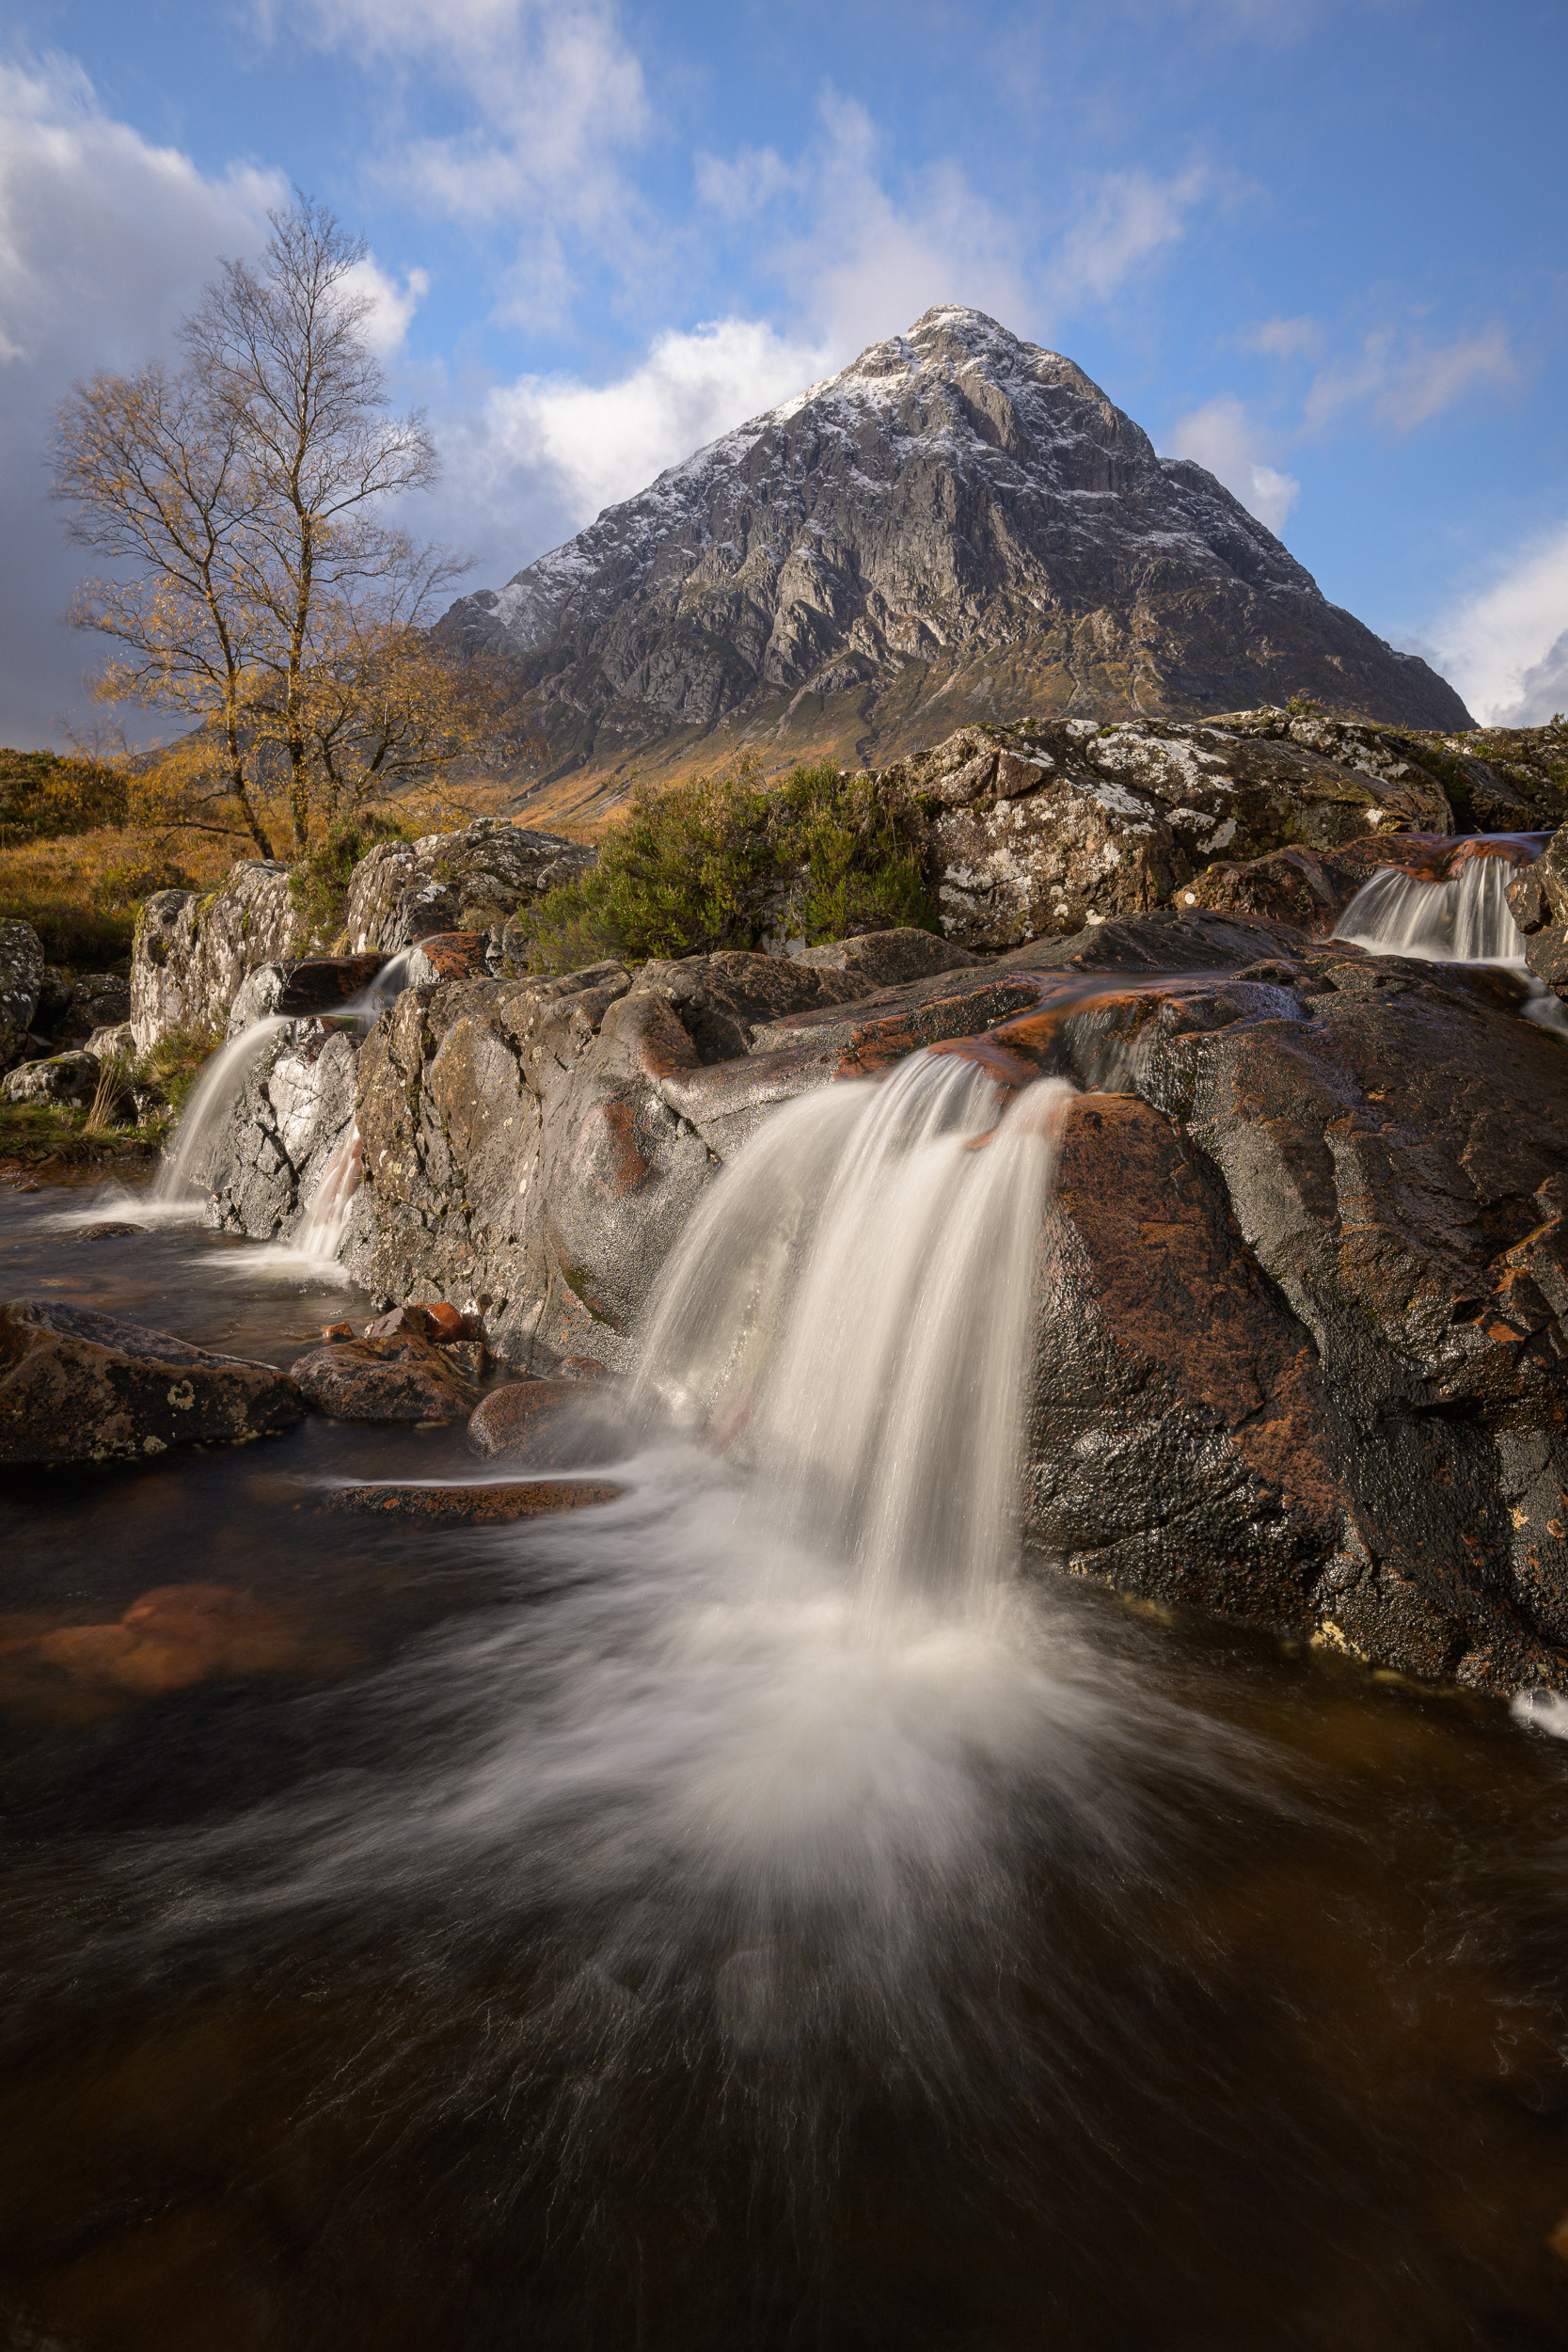
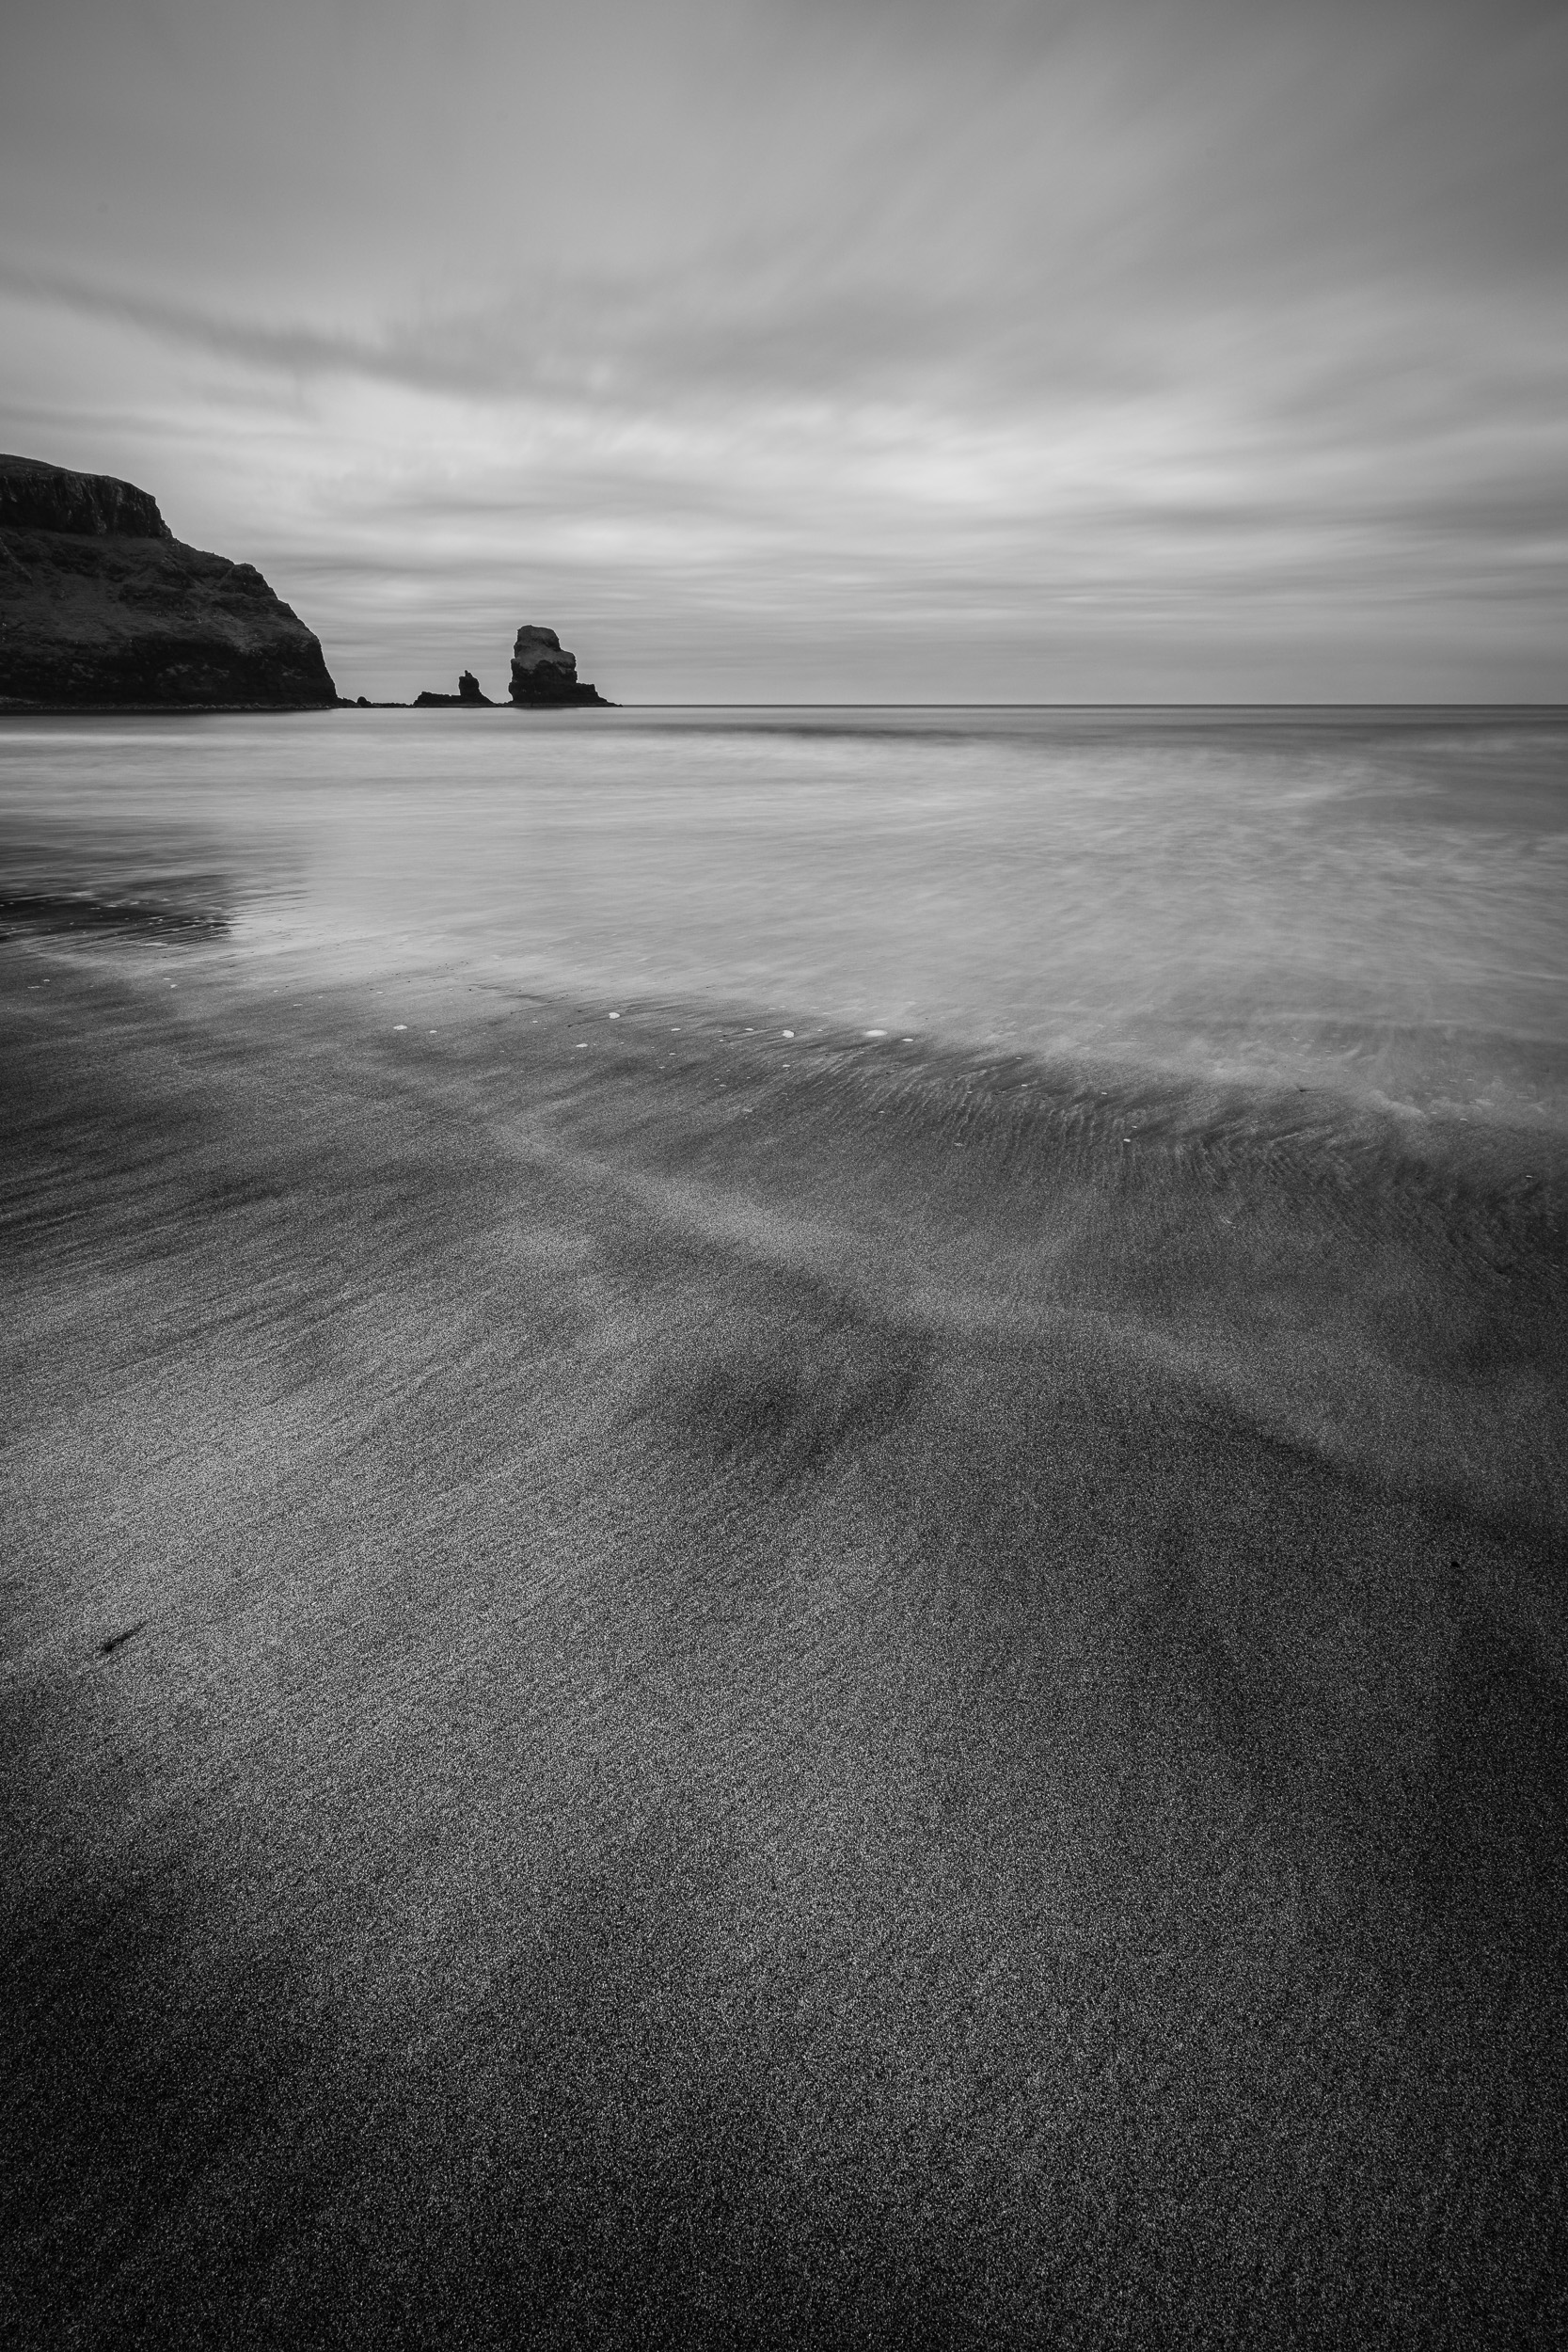
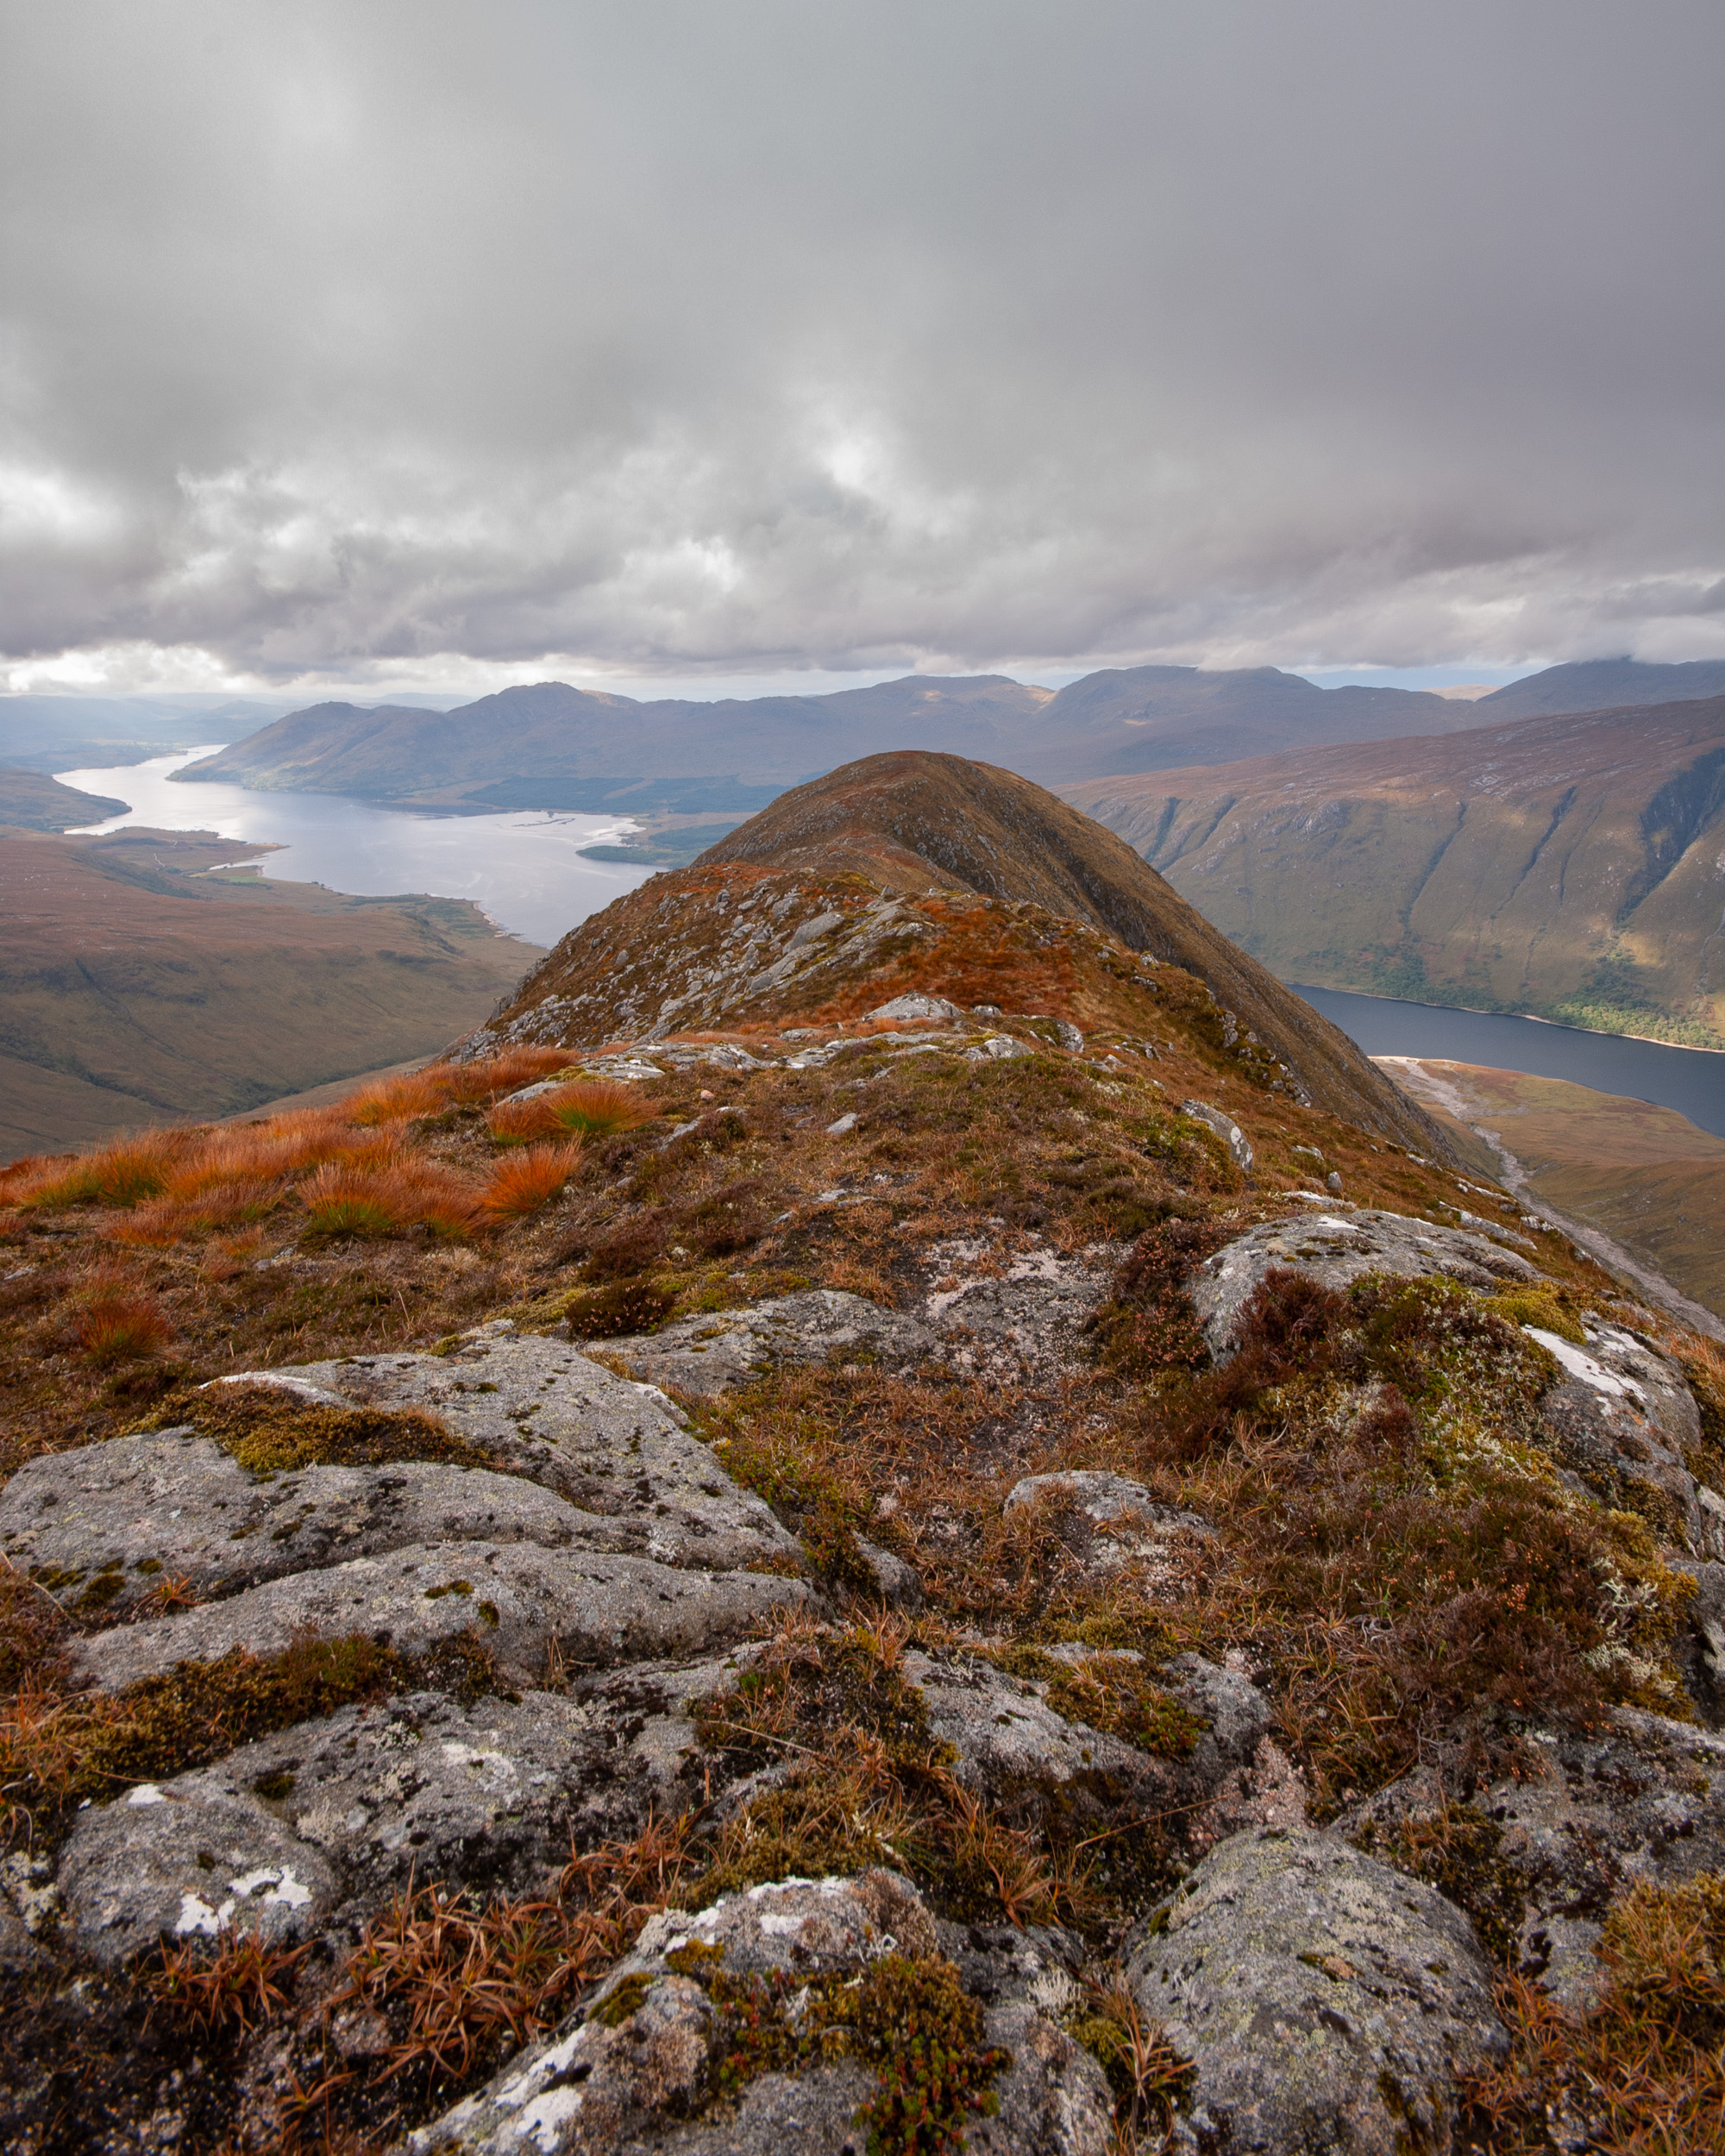
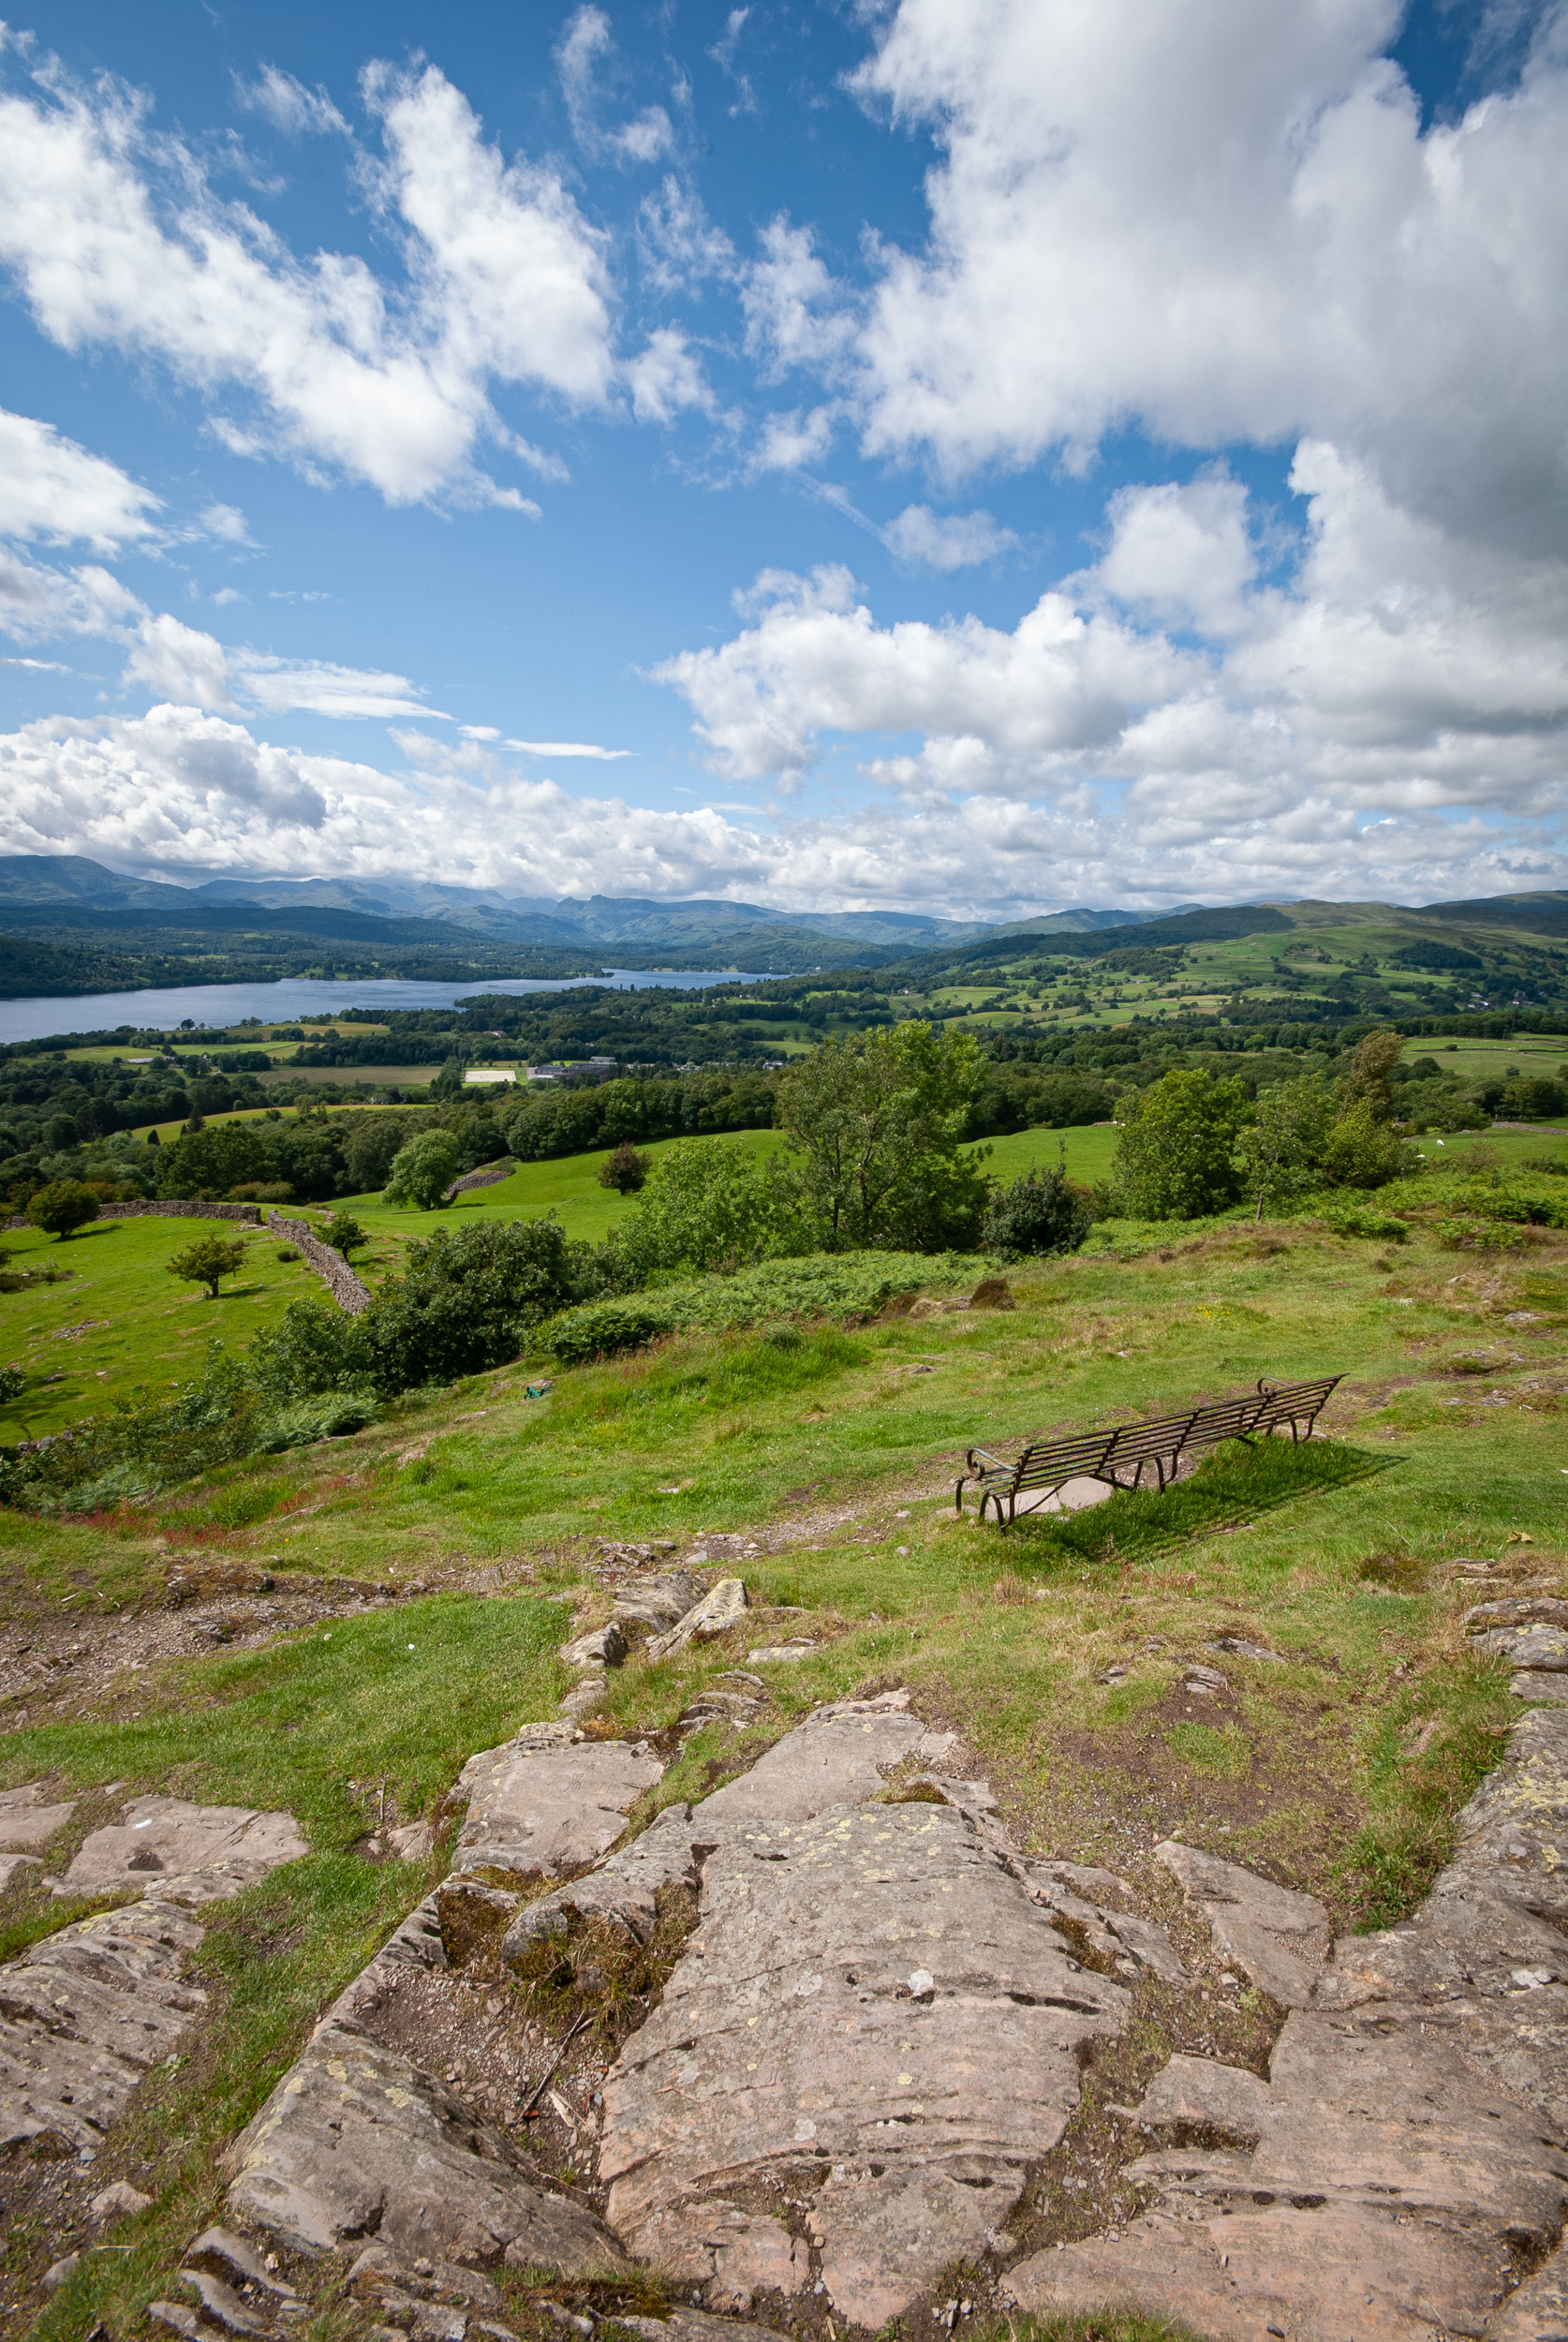
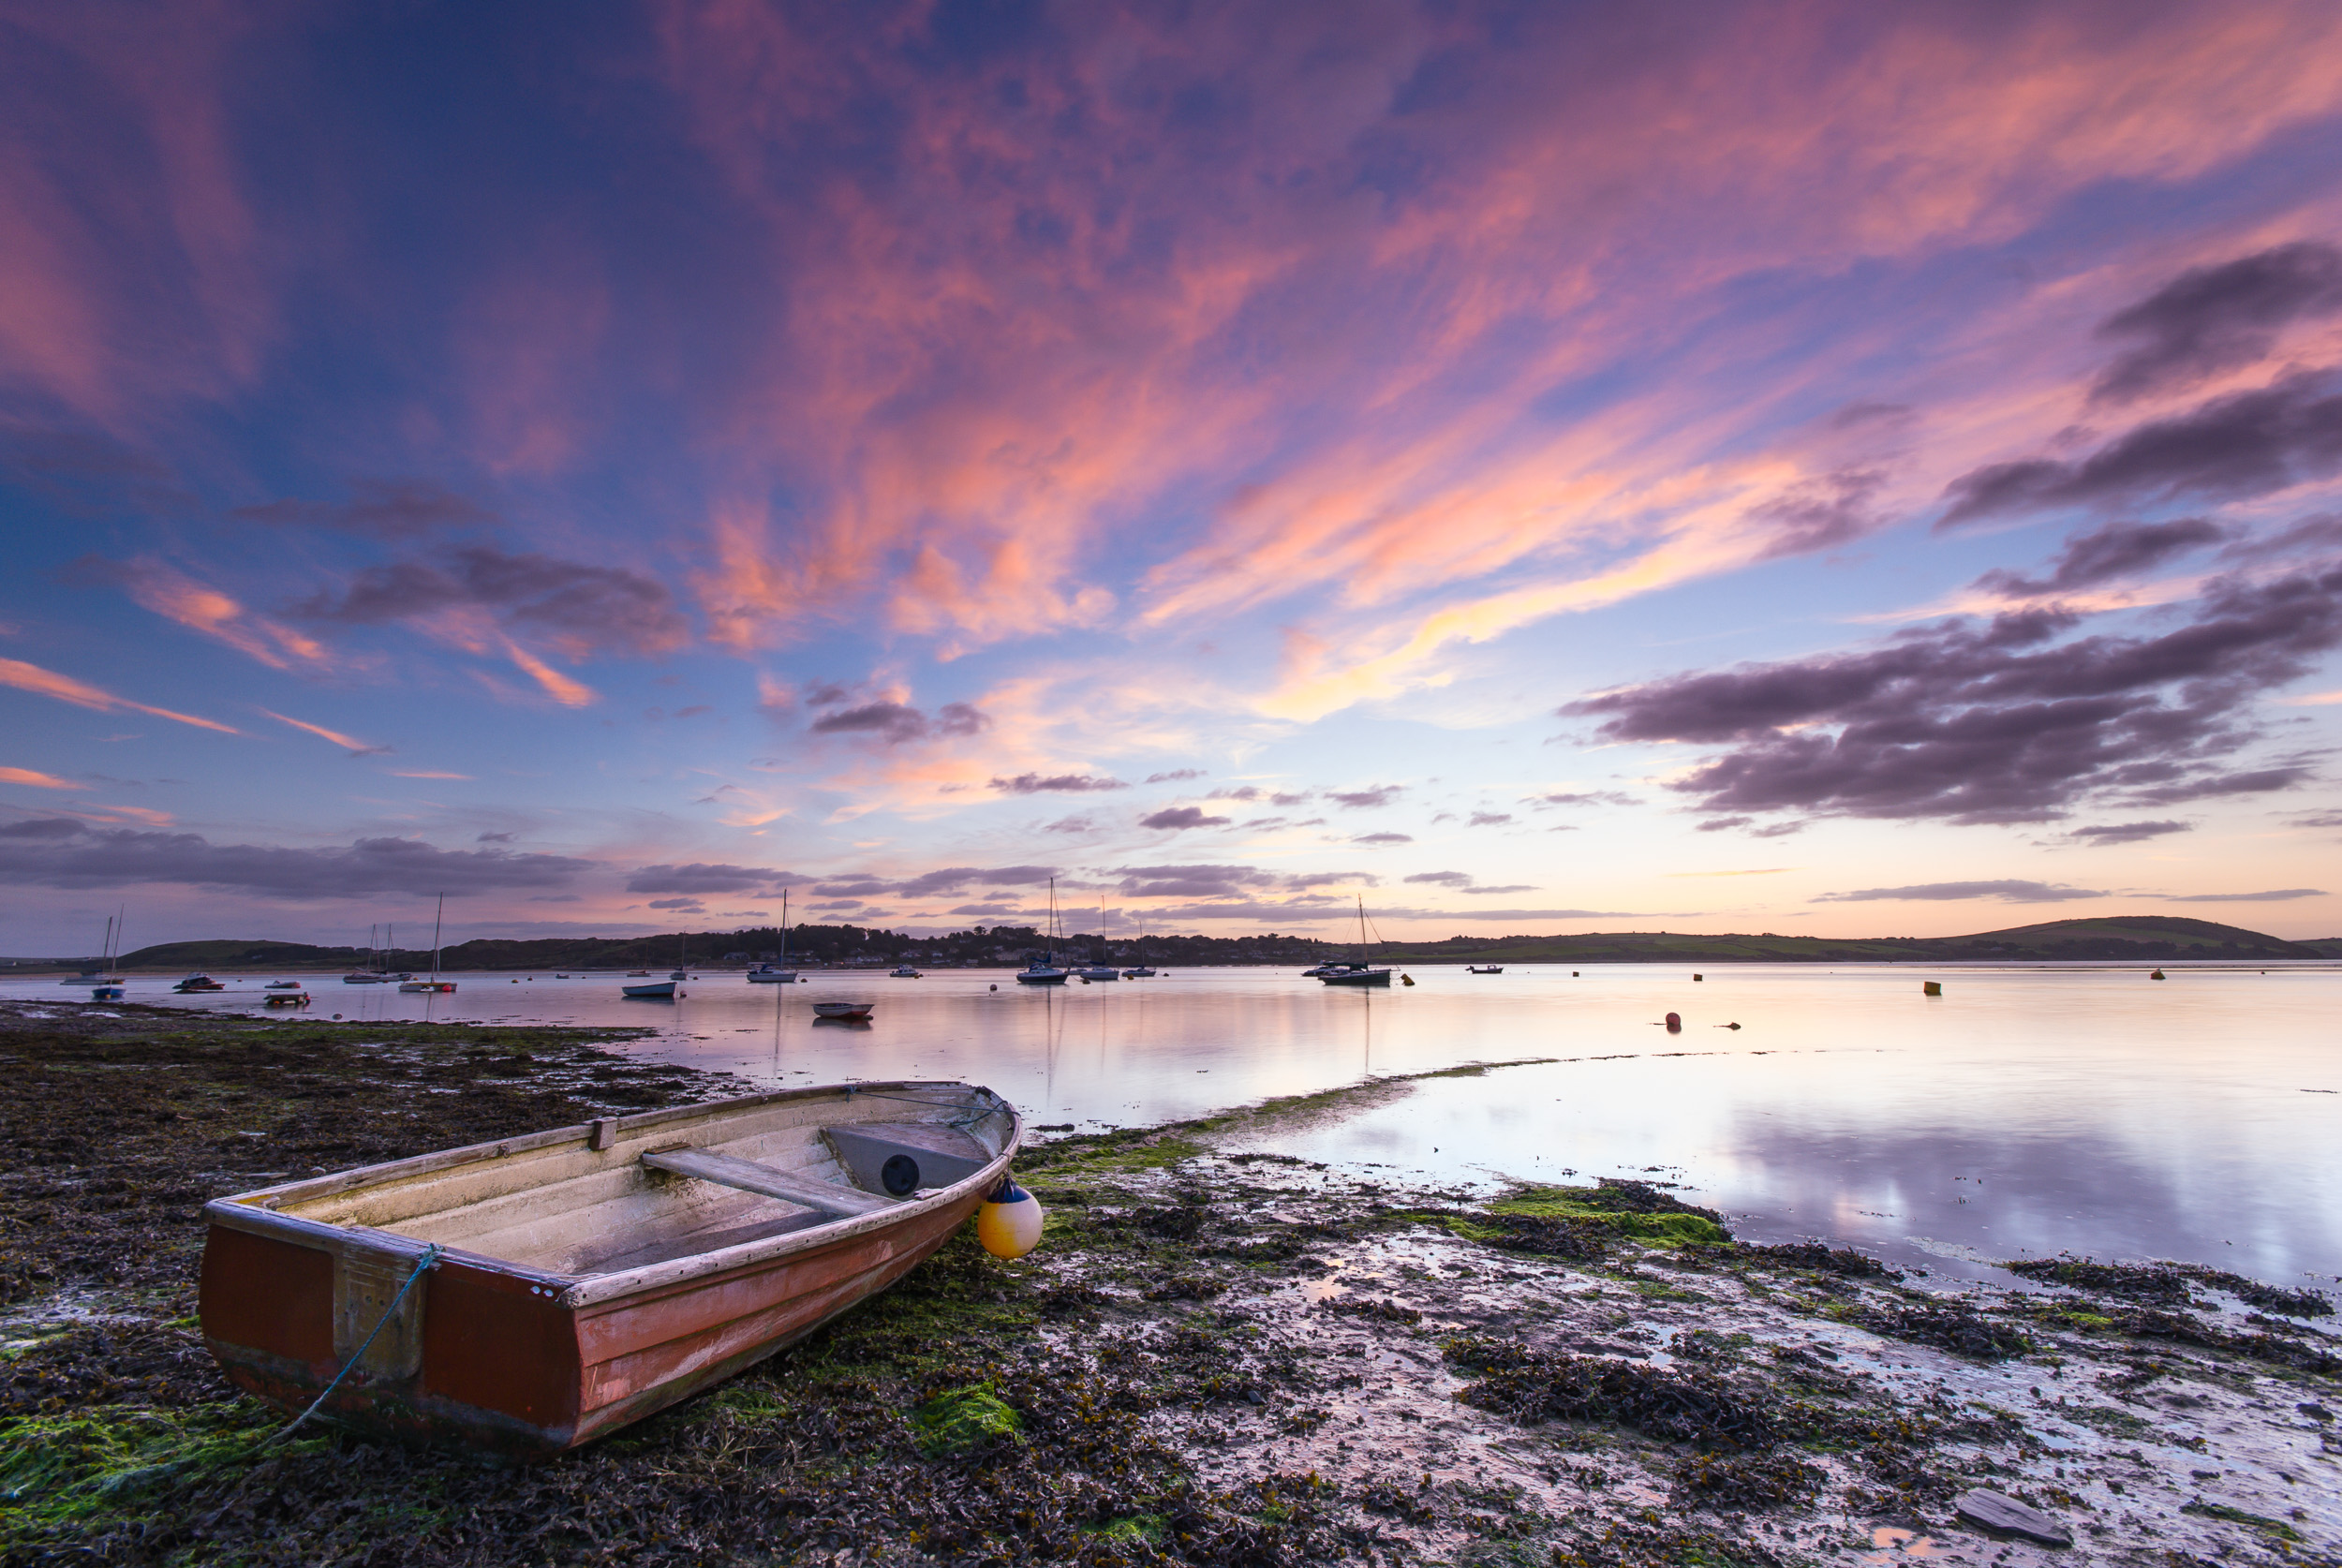
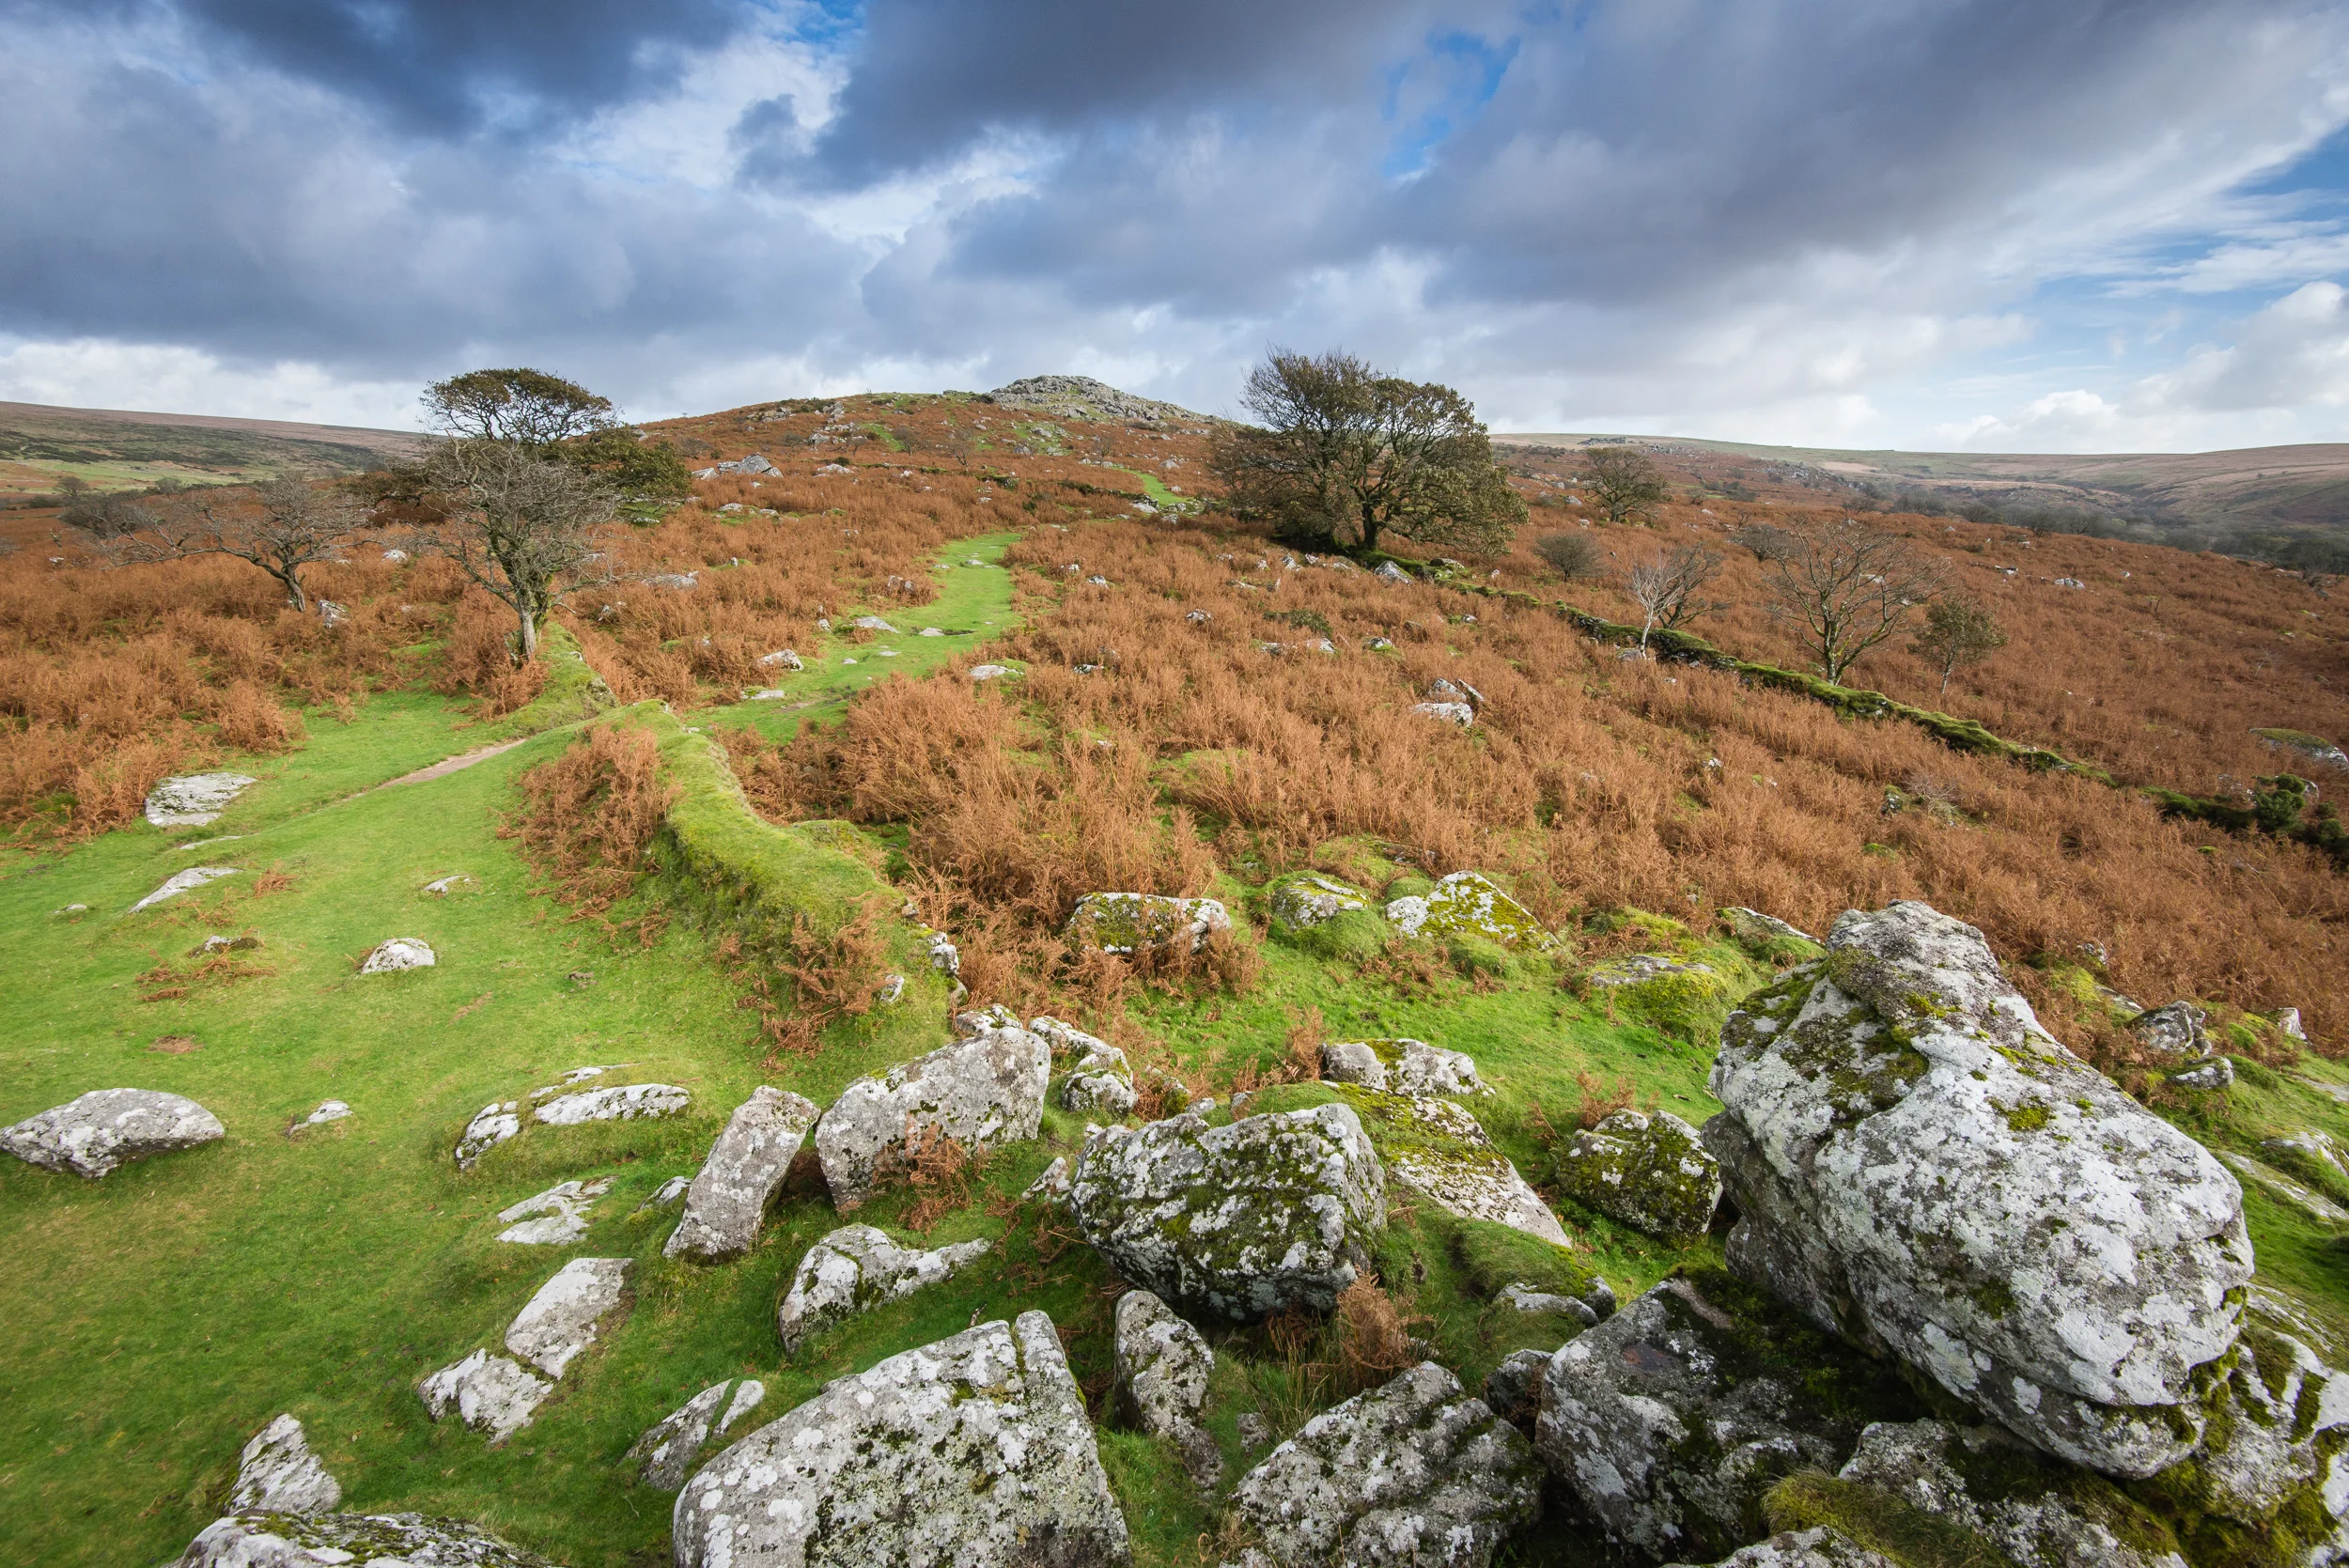
My Favourite Images from 2019




2010 to 2018 - An Image from Each Year
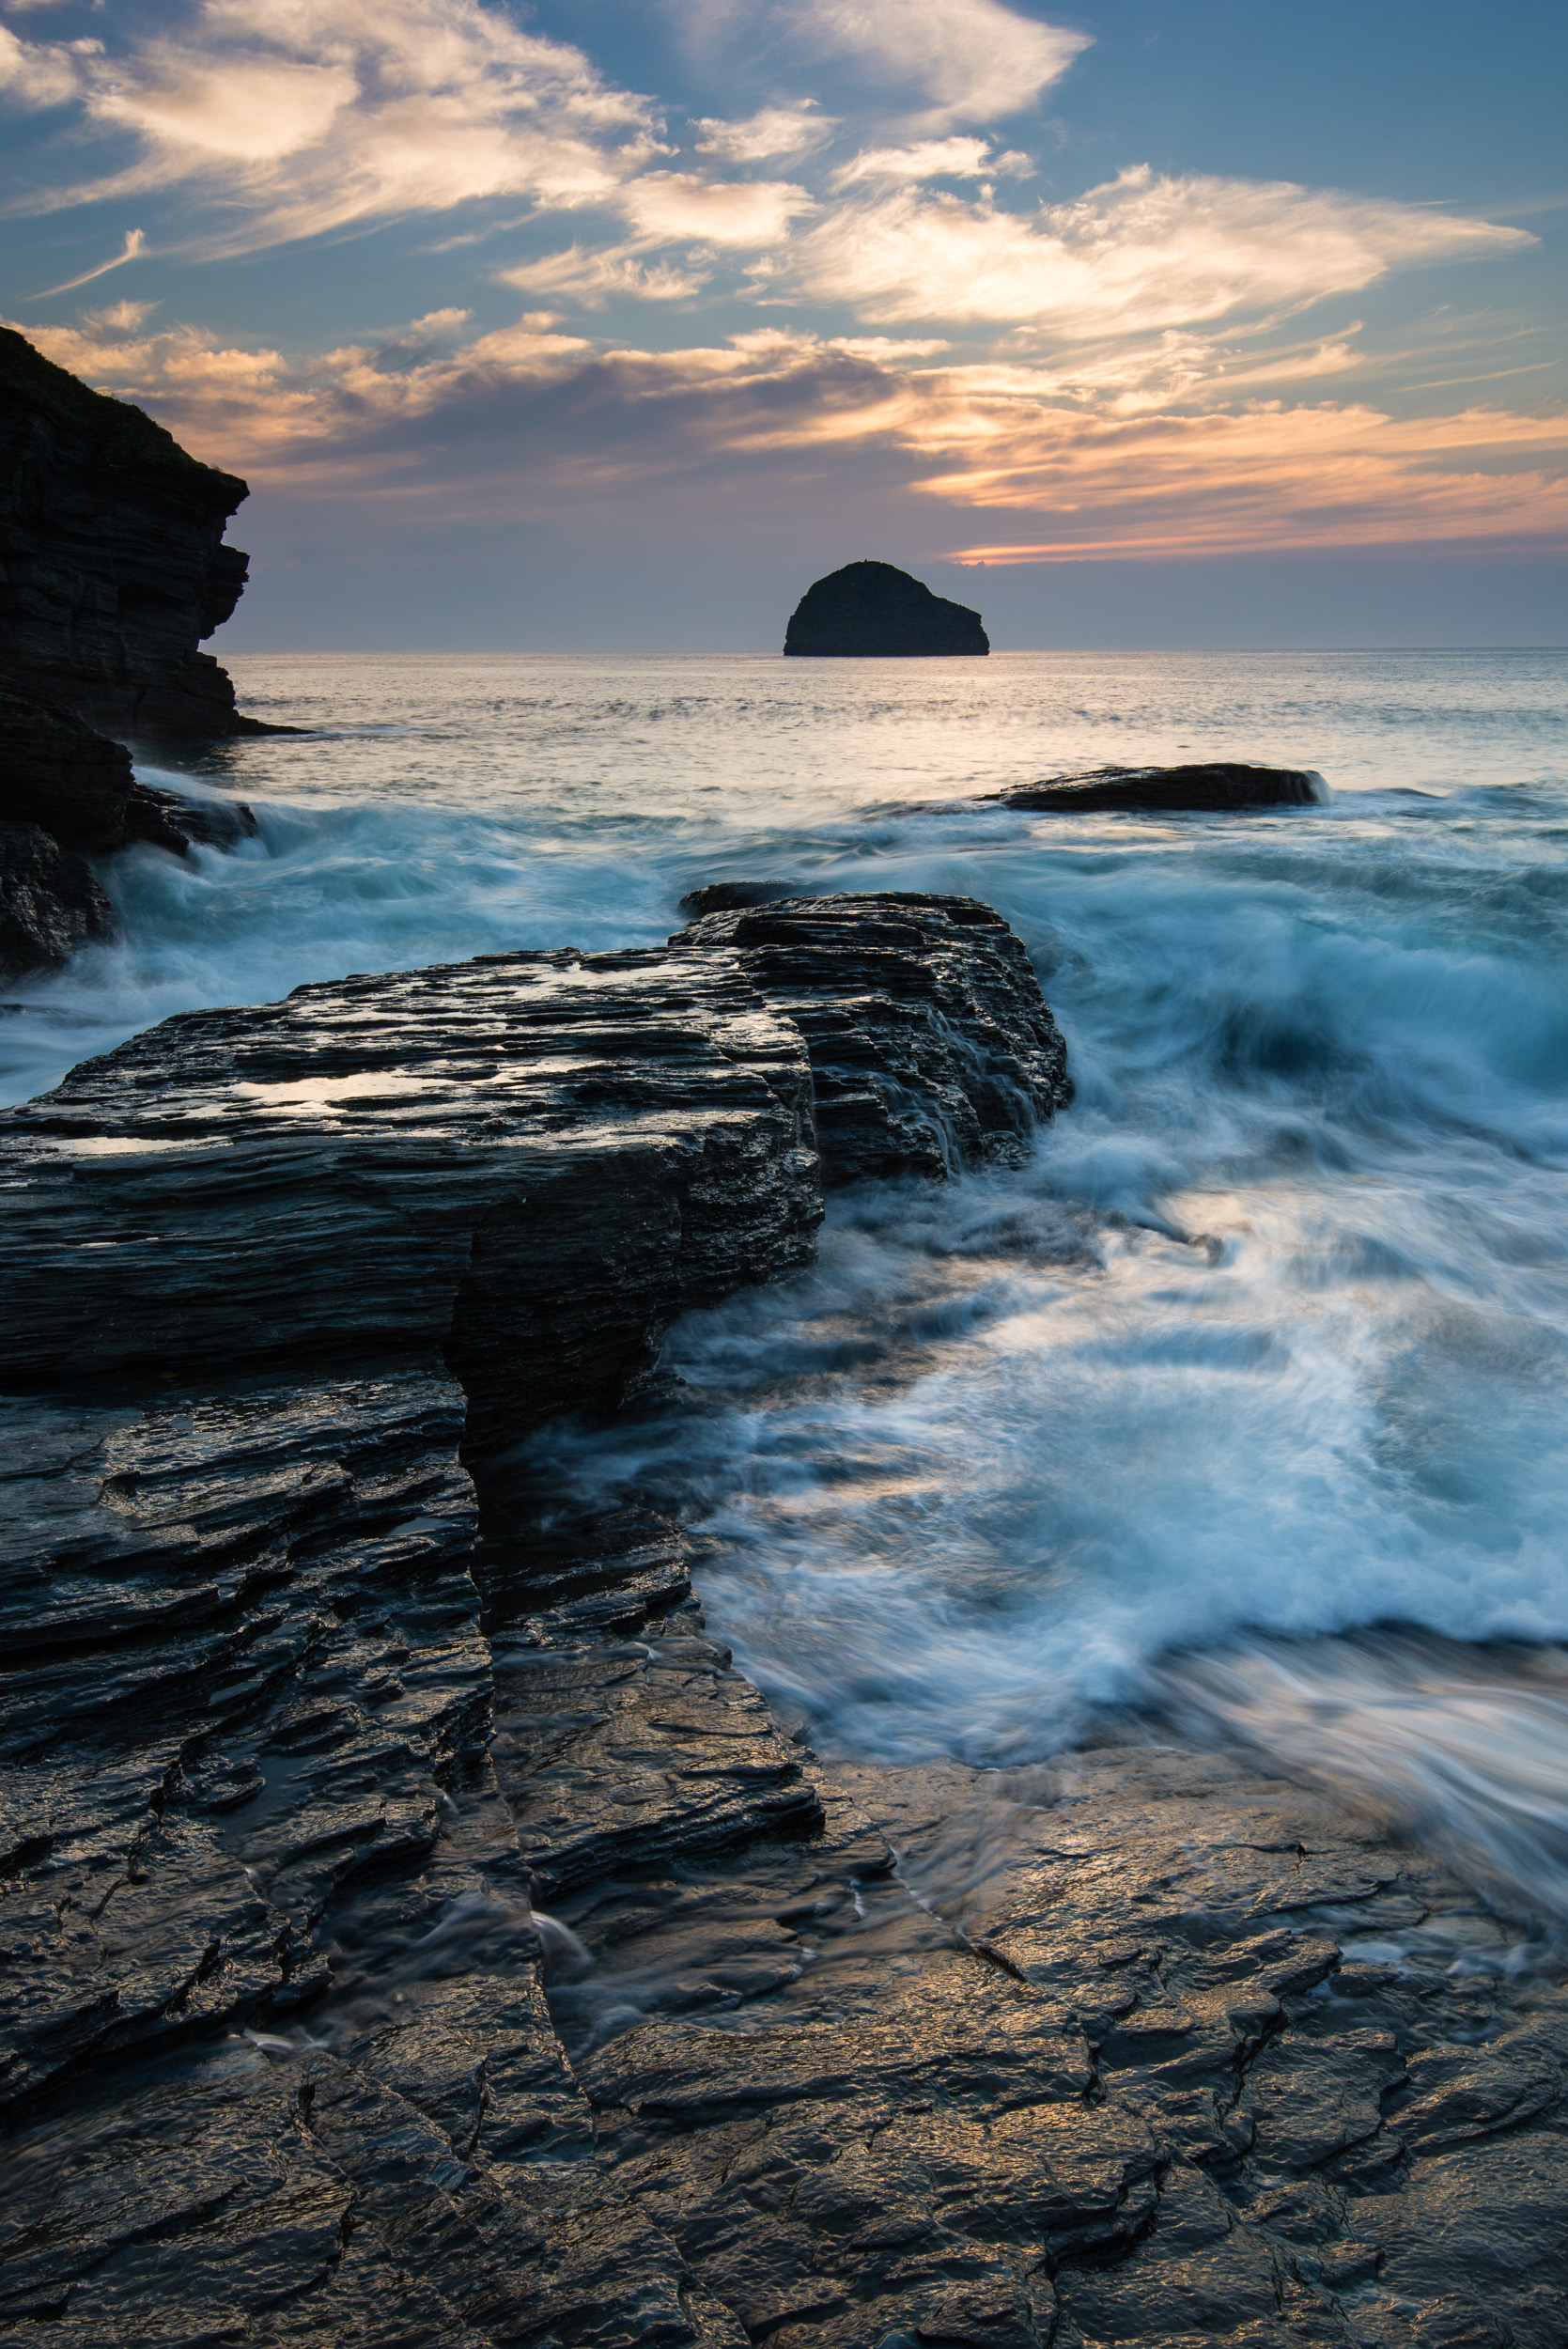
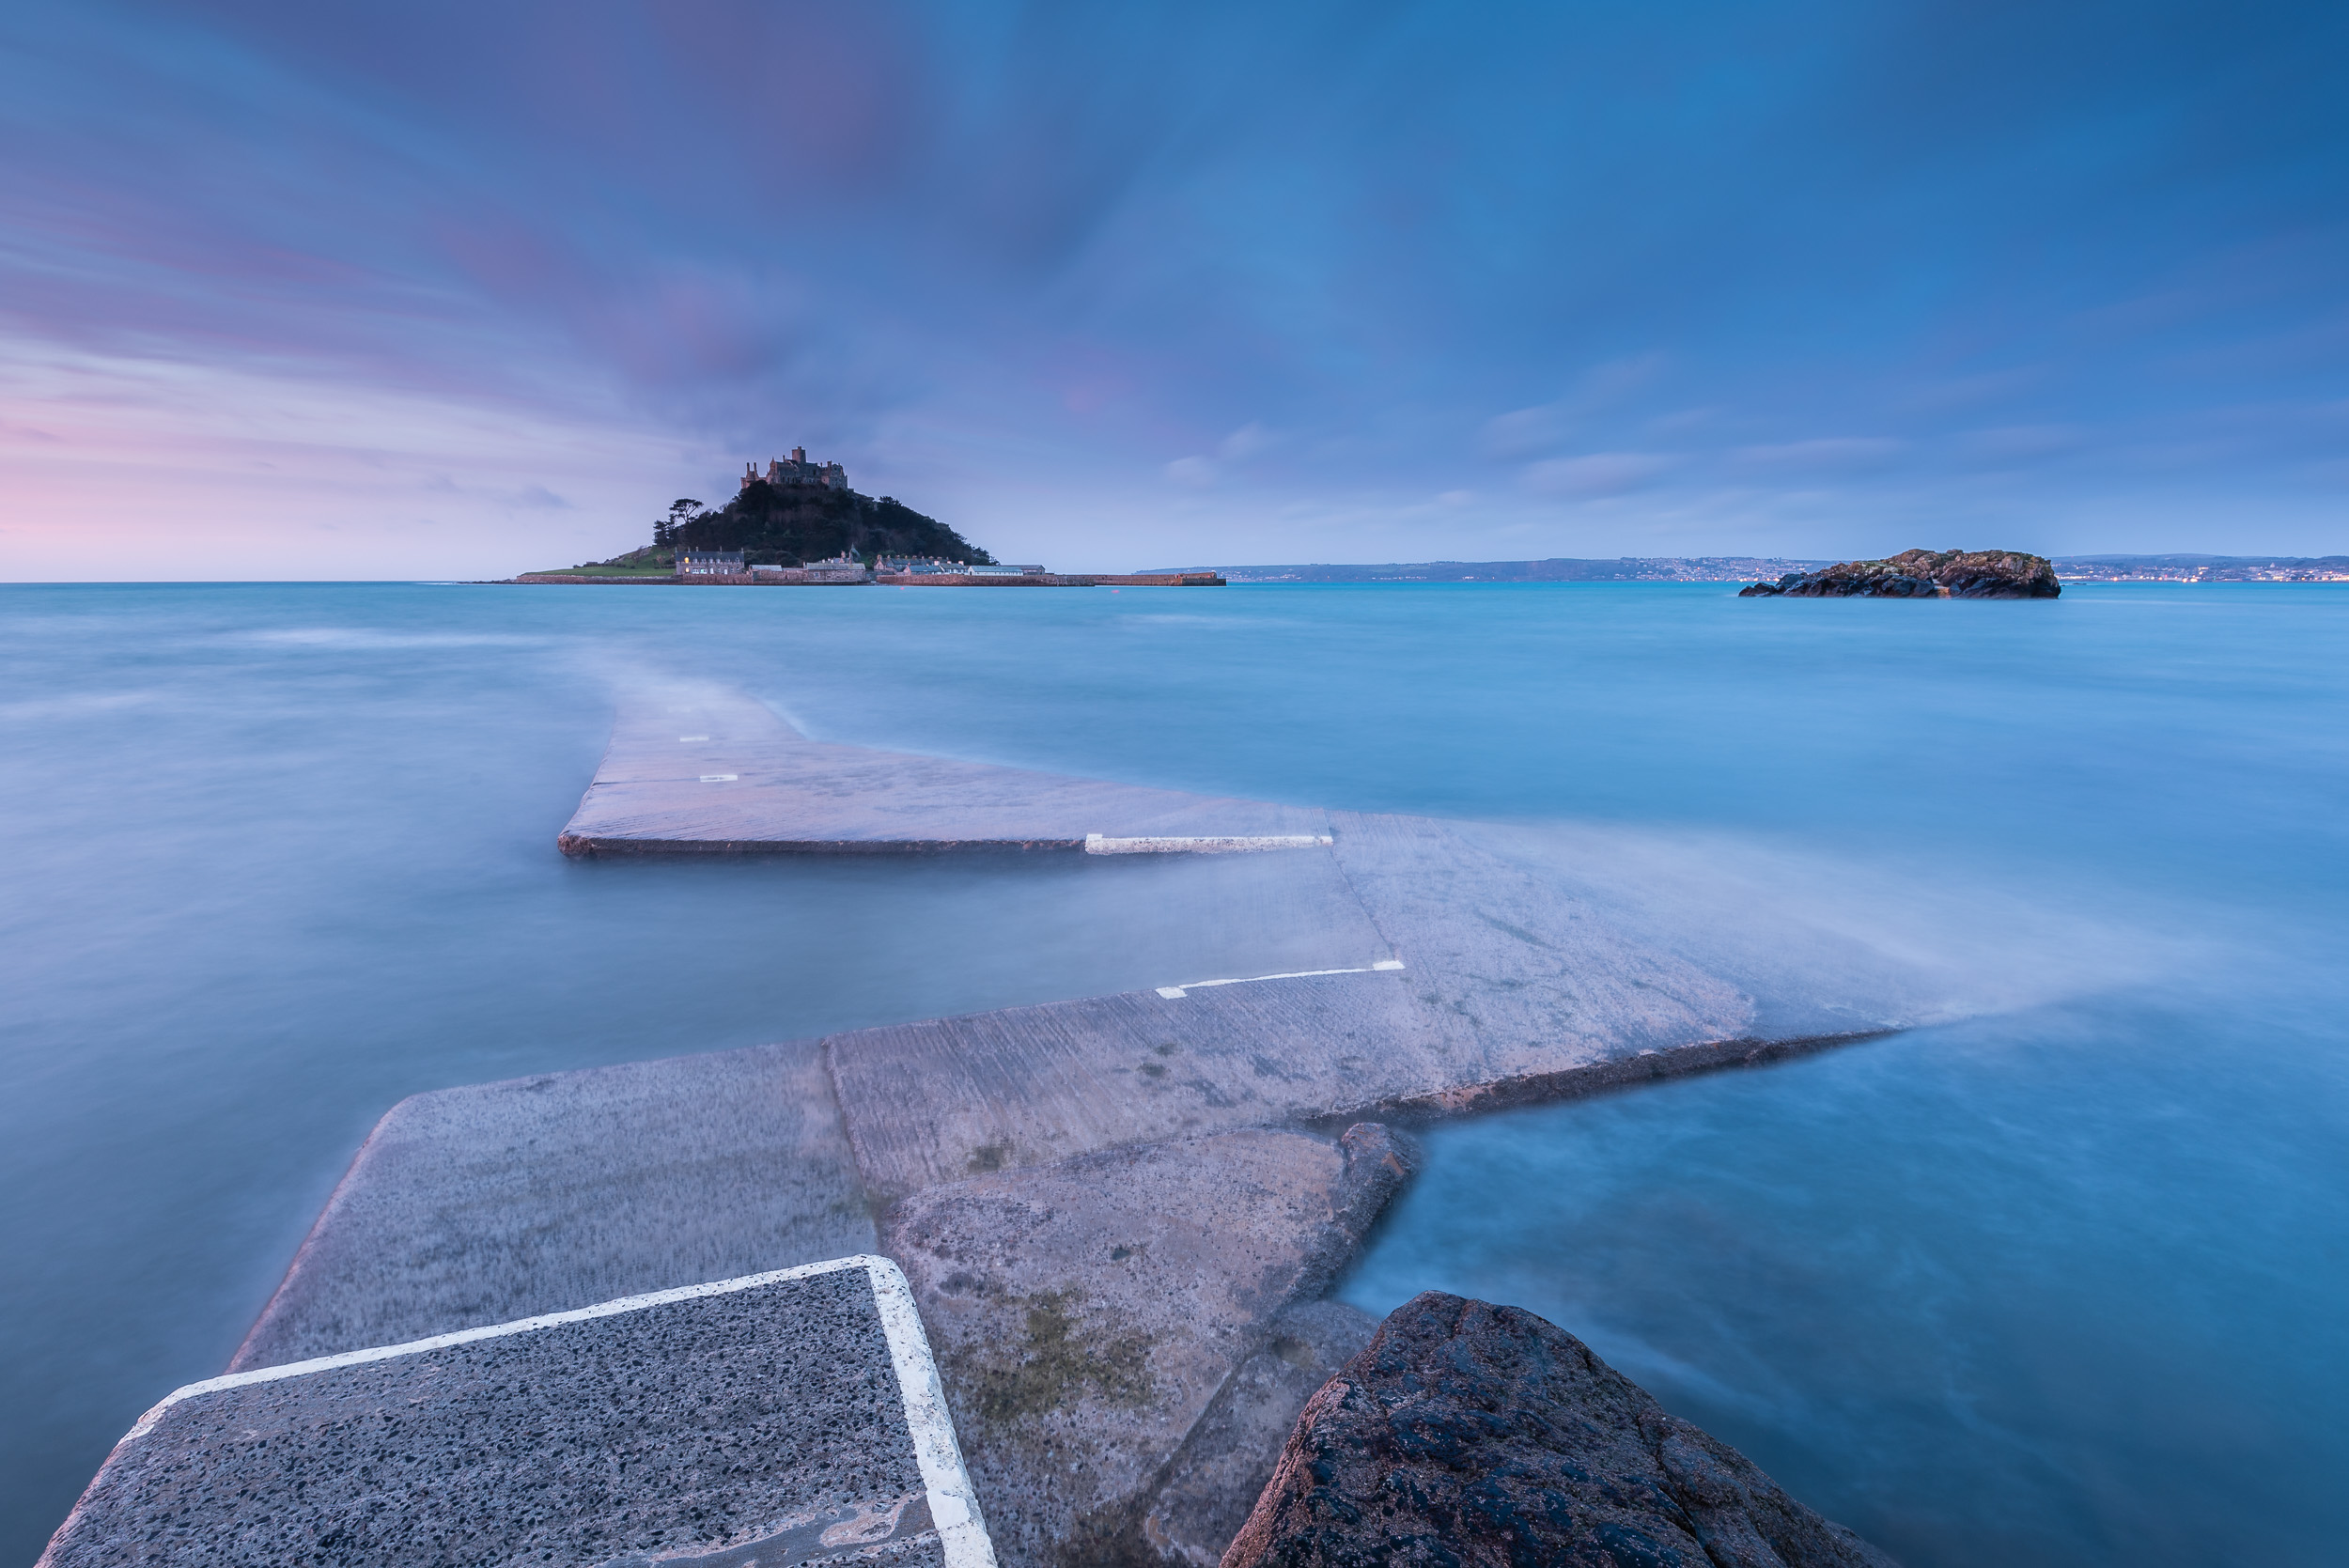
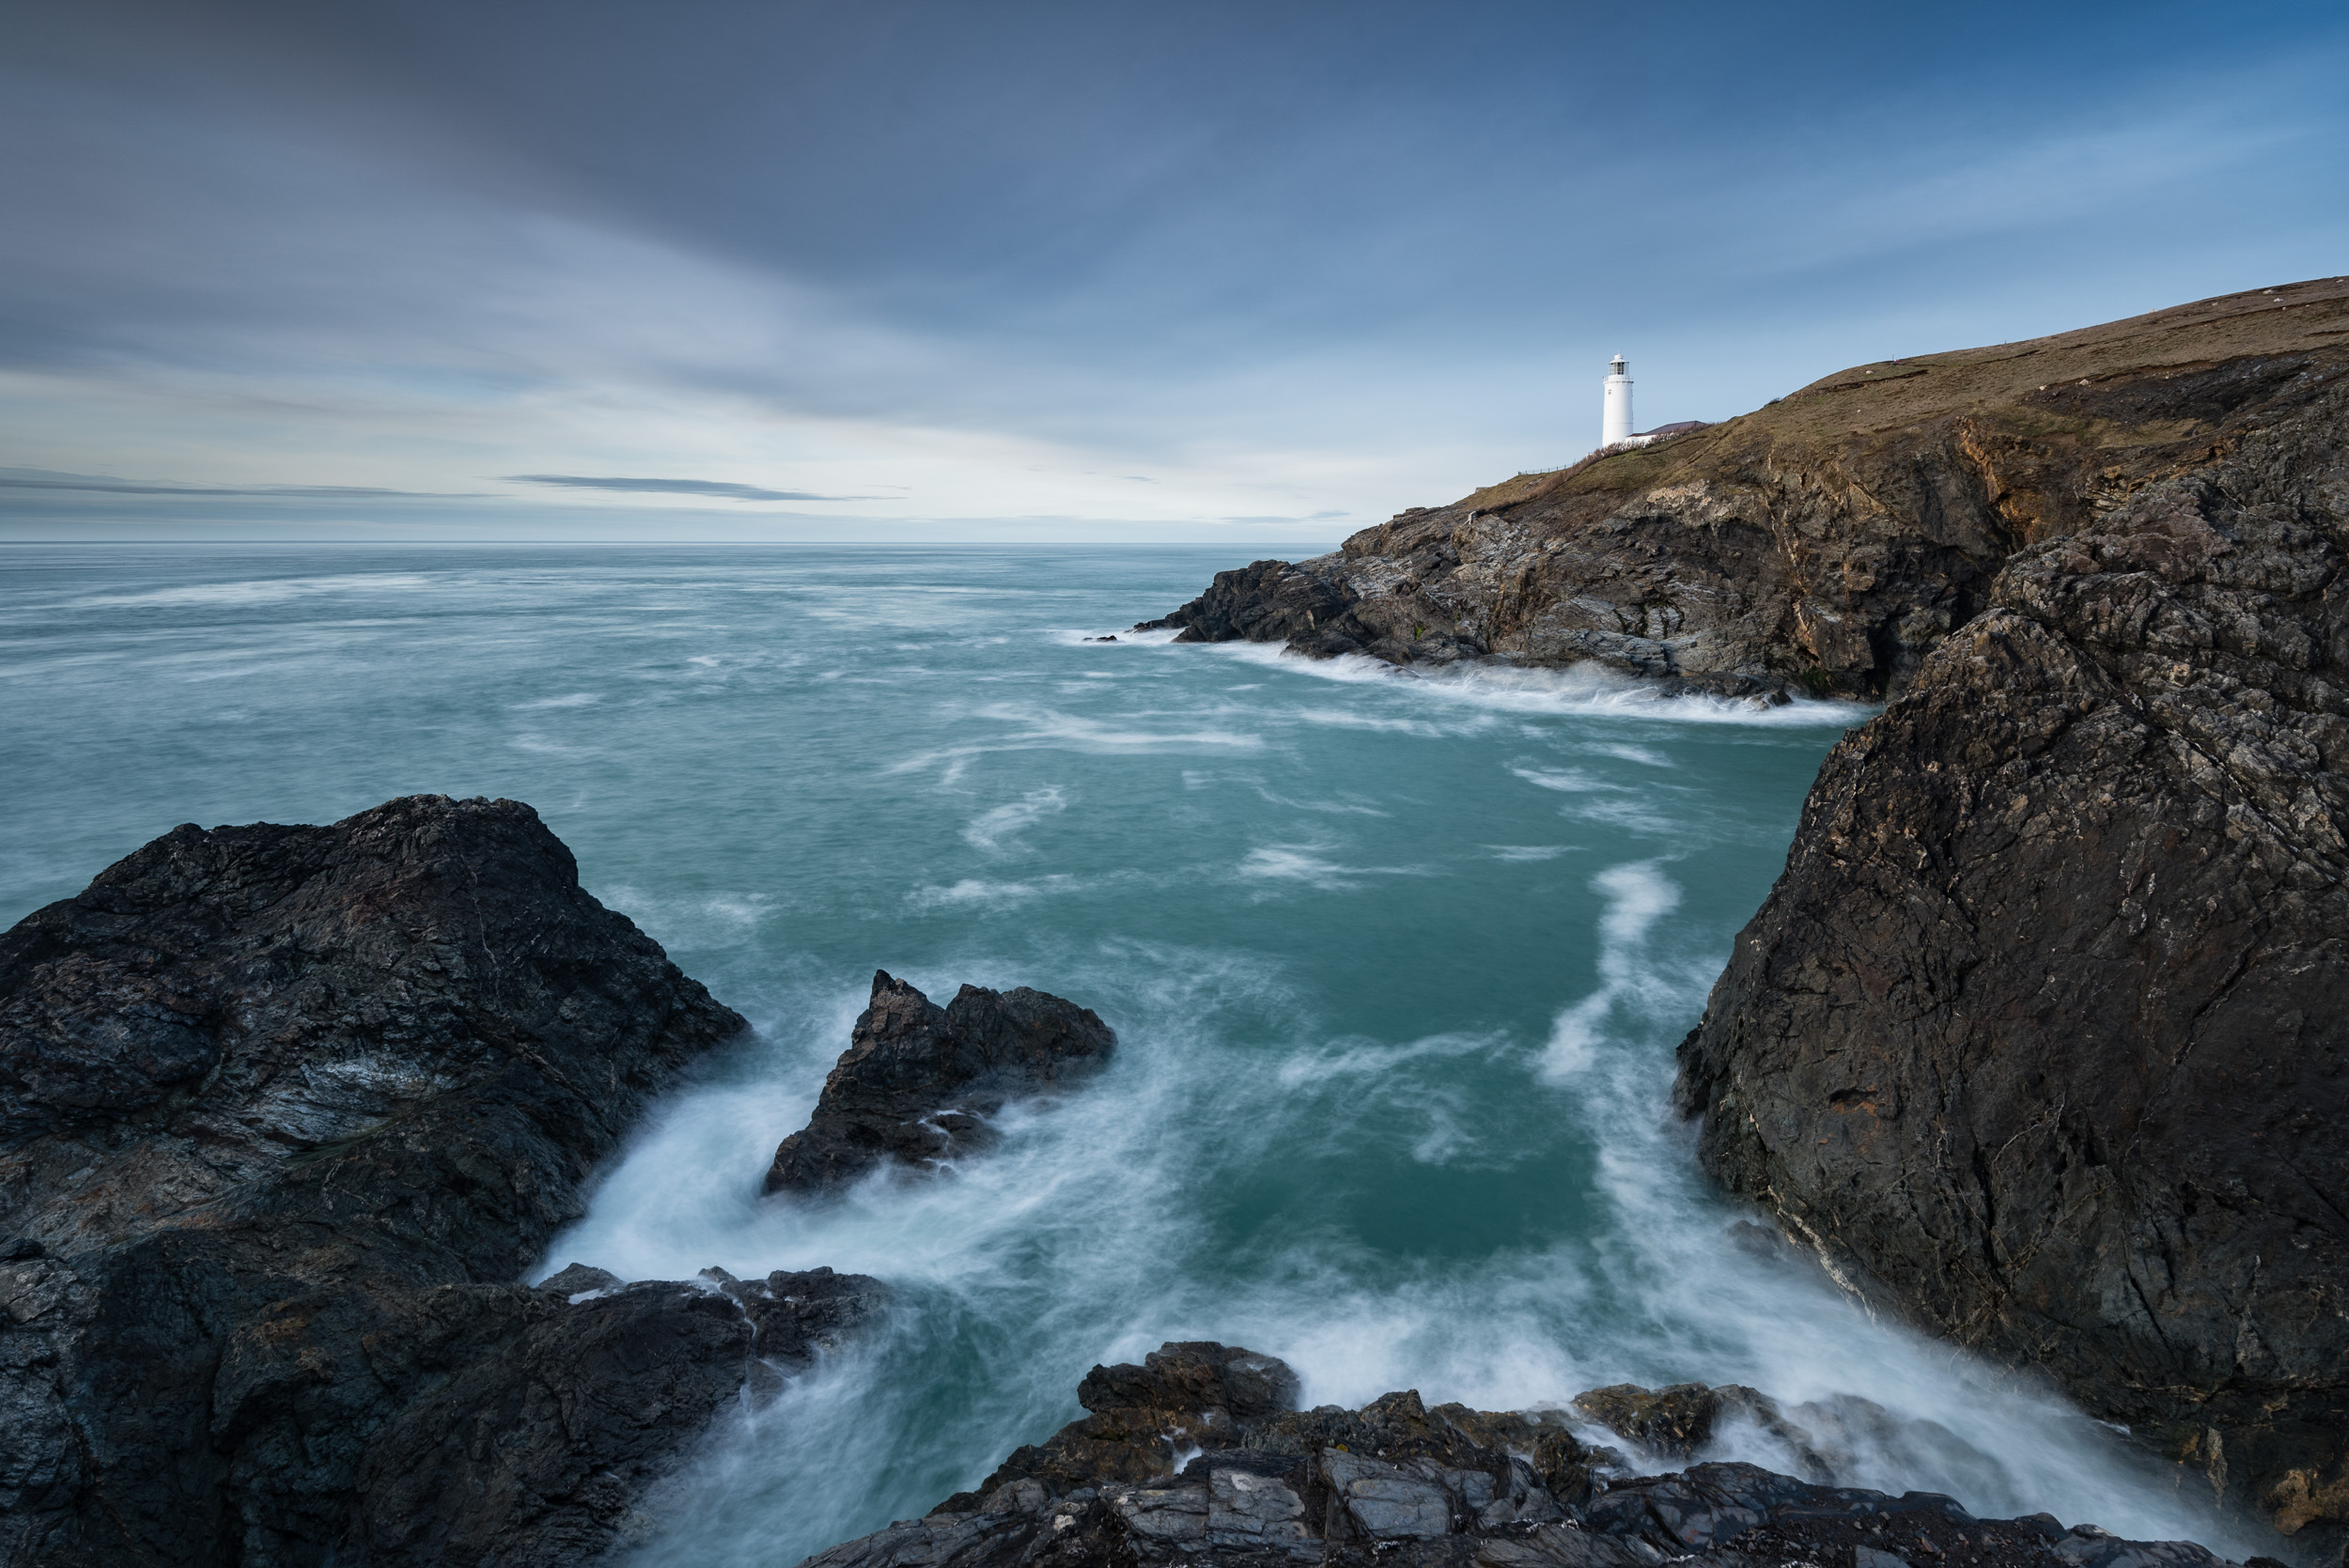
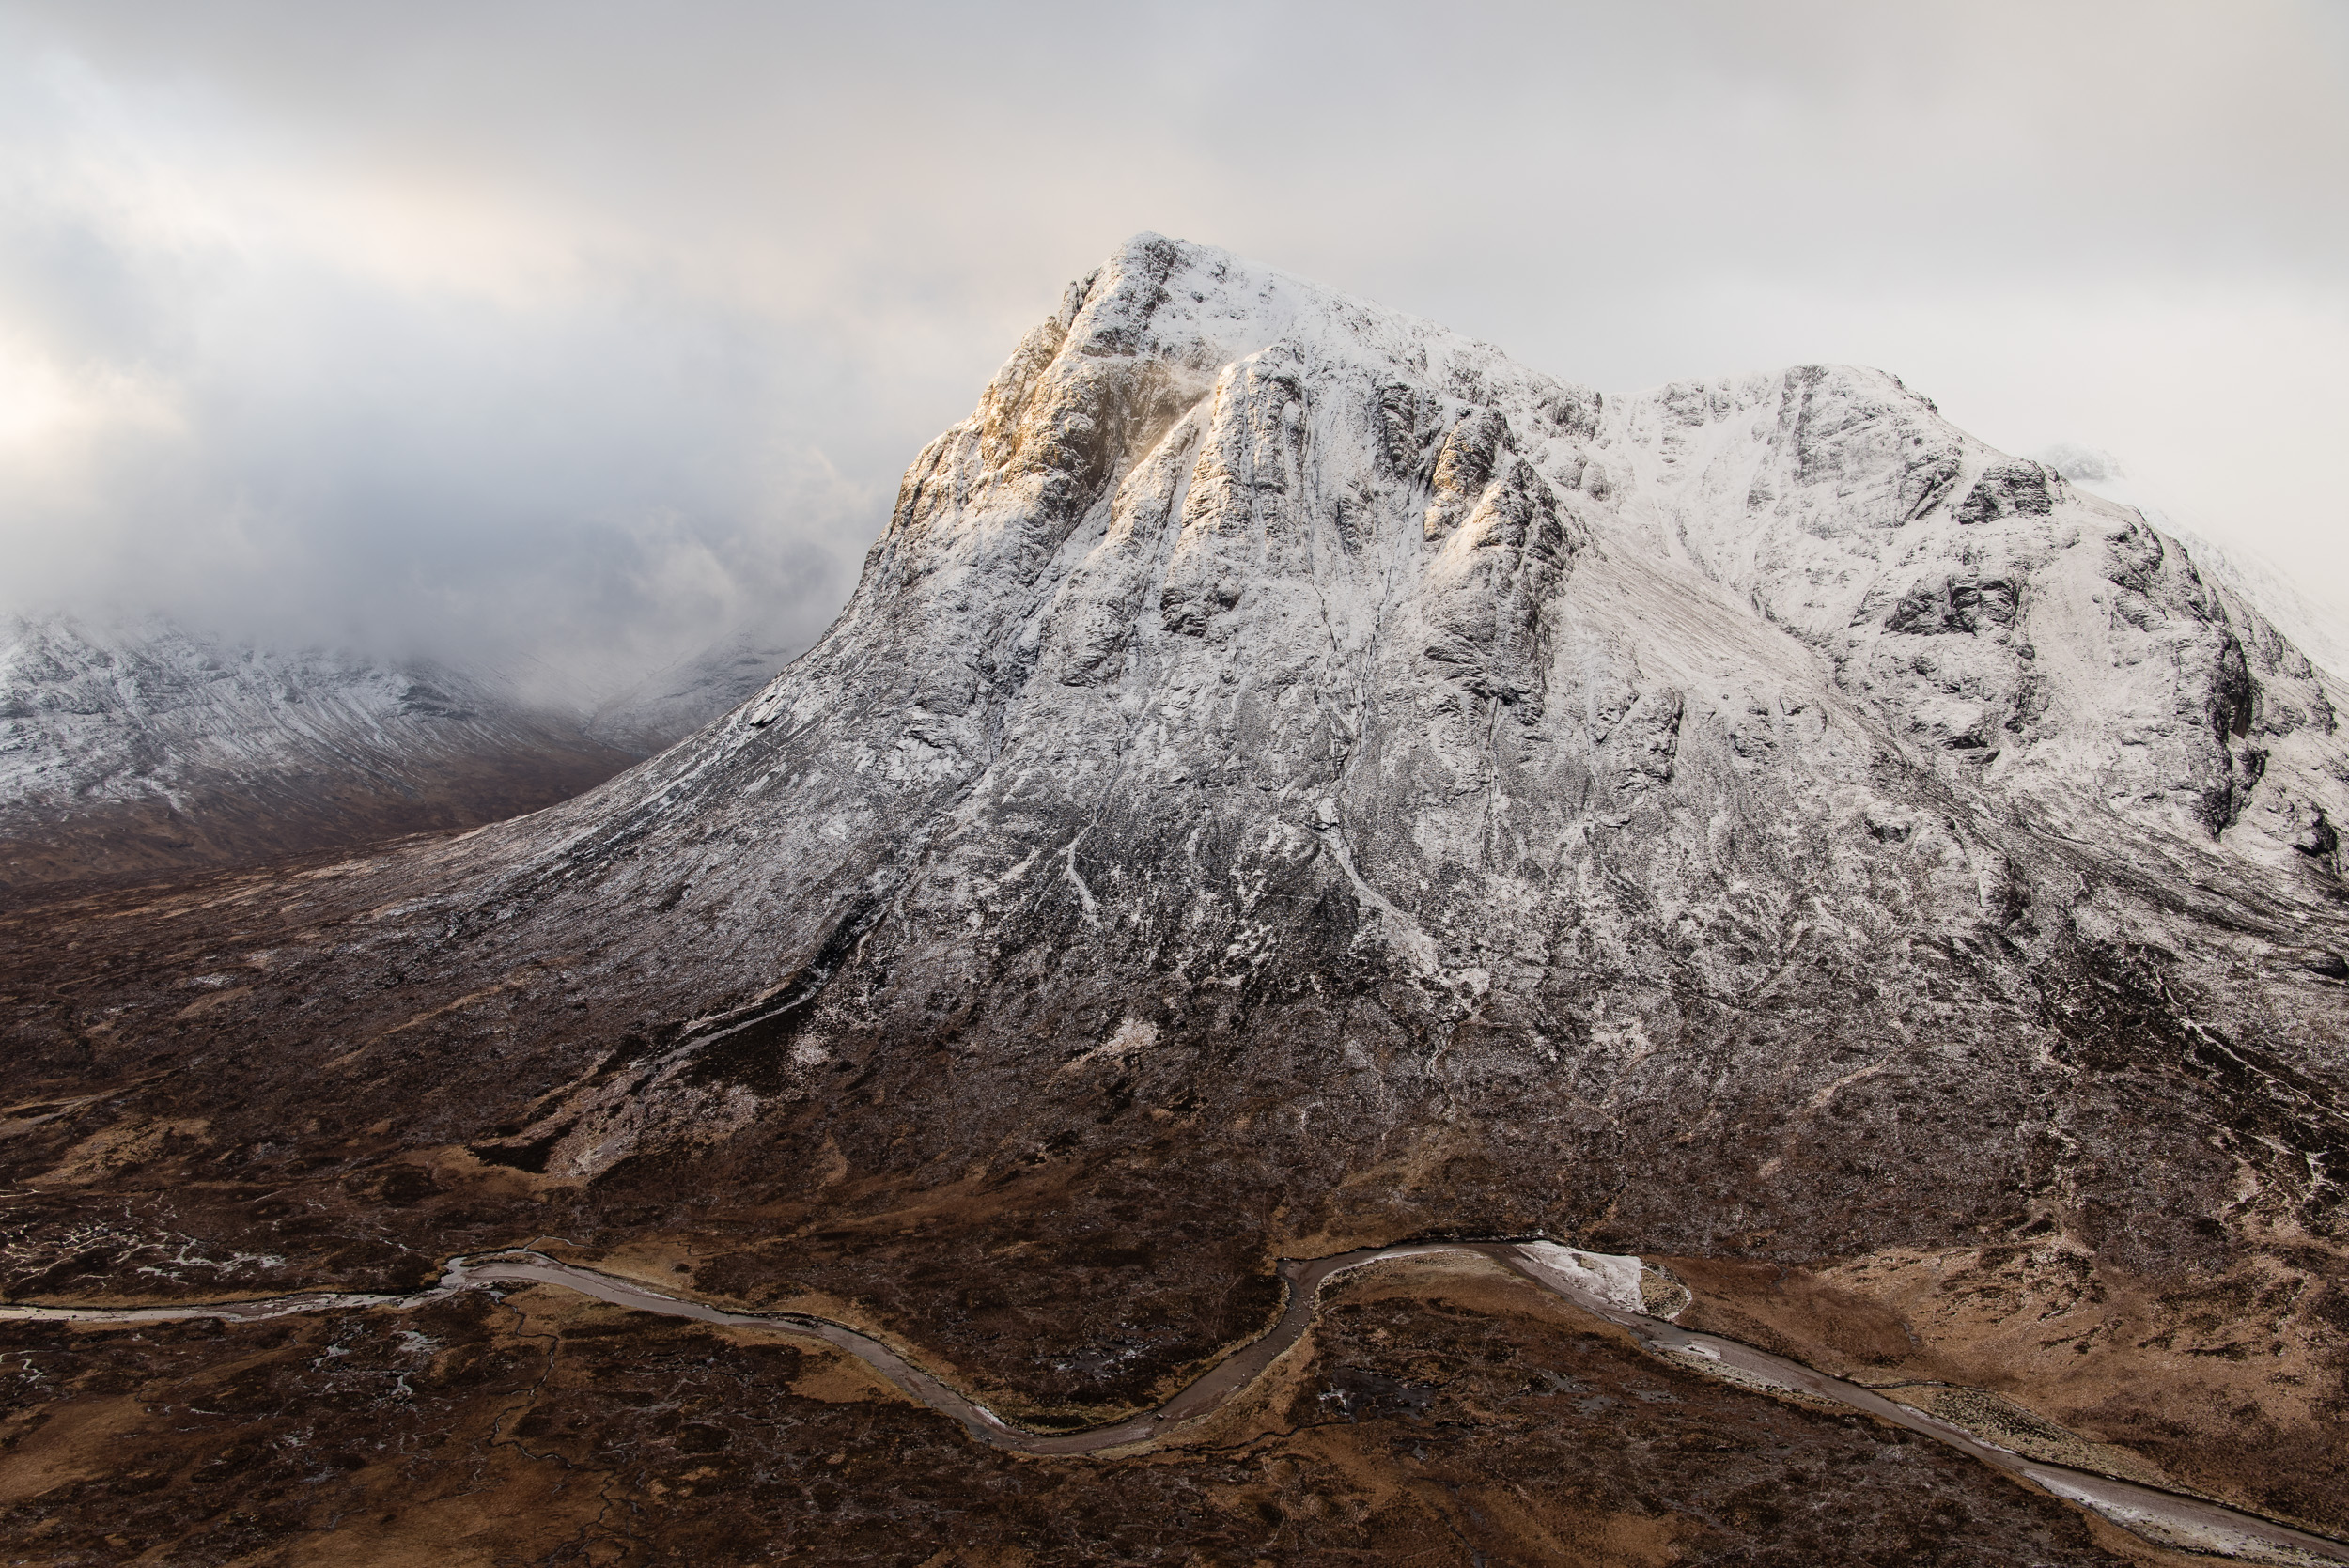

Should YOU Photograph the Honeypot Locations?
Is there any point in capturing your own images from the landscape photography honeypot locations? With so many images captured from these popular locations you could be forgiven for giving them a miss. In this blog post I head to Glencoe in Scotland to photograph one of its most popular viewpoints and discuss why I think everyone should shoot a honeypot location.
They Are Honeypot Locations for a Reason
This is going to be a bit of a short blog post. There are a couple of reasons for this. Firstly, most of what I want to say is said in the video to go with this post, so there’s little point repeating it all here. I’m also a little short in time because I’ve got lots of exciting content to work on that I want to get ready before the festive period really starts.
All that aside, I’ve been wanting to make this video for a while. My original plan was to shoot it down at Durdle Door but I never quite made it there this year. When I started making plans for my trip to Skye I knew I was going to stop off in Glencoe so I decided that I would make the video there. Glencoe is not short of a few honeypot locations but I settled on the viewpoint with the small waterfall (on the river Coupall) and Stob Dearg in the background. There can’t be that many of you that haven’t seen that viewpoint before!
It’s a stunning viewpoint and one that I can’t resist photographing every time I’m in Glencoe. These viewpoints aren’t called honeypot locations for no reason! However, in some circles, photographing these locations and viewpoints can be frowned upon. While it is true that getting something new from these locations can be tricky, I don’t think this is a reason to not shoot them.
If you want to know why I think you should shoot them, check out my video below:
I’m sure most of you have already shot a few honeypot locations and have enjoyed the experience of capturing your own images. If you haven’t though, I hope this video has inspired you to visit places like the Glencoe viewpoint in the video, or even Durdle Door.
Do you have a favourite honeypot location? Are there any honeypot locations you’d like to shoot? Let me know in the comments below.
One Location, Many Viewpoints
If you want to see the images from the video in a bit more detail you’ll find them below.
The River Coupall and Buachaille Etive Mor, Glencoe, Scotland - Nikon Z7, Nikkor 14-30mm f/4 at 22mm, f/13, 1 second at ISO 200, CPL and 3 stop ND.
River Coupall Falls, Glencoe, Scotland - Nikon Z7, Nikkor 14-30mm f/4 at 15mm, f/13, 1/8th at ISO 160, CPL.
The River Coupall and Stob Dearg, Glencoe, Scotland - Nikon Z7, Nikkor 14-30mm f/4 at 22mm, f/13, 4 seconds at ISO 160, CPL and 3 stop ND.

Why and How I Calibrate My Monitor
What is monitor calibration? Why should you bother? How do you do it? In this coffee break length video I will try to answer all those questions. I'll tell you what monitor calibration is, why it is important and also how I calibrate monitor using a SpyderX calibration device.
The What, Why and How of Monitor Calibration
Last year I did a relatively long video on monitor calibration and printer profiling (you can see it here). I've recently changed my calibration device though, so I thought it was a good time to revisit the subject of monitor calibration. My new calibration device is a SpyderX and it works directly with my Eizo monitor to perform the calibration.
However, you don't need an expensive monitor like those from Eizo to benefit from using a monitor calibration device. So in the video below I will take a quick look at monitor calibration, what it is, why you should do it and how I used the SpyderX to calibrate my 2nd monitor (not an Eizo).
I hope you enjoyed that short video but if you like to more detailed information on calibration then check out this free ebook.
Just a short video and blog post from me this week, but I’ll be back next week with a new blog post on a recent landscape photography adventure!

Landscape Photography and Fitness - Running Up Cat Bells with David Dixon
Can physical or mental fitness have any impact on your landscape photography? To help me answer this question I'm joined in my latest video by fellow photographer and vlogger David Dixon. To put us in the right frame of mind we decide to run up Cat Bells in the Lake District for a spot of sunrise landscape photography. At the summit, we also have a conversation about how physical fitness and mental well-being can benefit our photography and our lives.
A Fast Ascent of Cat Bells
The ascent of Cat Bells in the Lake District is a popular walk and for good reason. The relatively short ascent to 451 m can be achieved by most with a reasonable level of fitness. Those who do make the ascent are rewarded with some spectacular views. For this reason, it is very popular with landscape photographers.
It is an ascent that I’ve made twice myself (here, and here), and each time I’ve been rewarded for my efforts. Each time I stand at the summit though I always think to myself what it would be like to run up the path. I’ve been up there before and seen some fell runners and being a keen runner myself I’ve always thought I’d be able to make it.
Running Friends
The idea of running up Cat Bells had been bubbling away at the back of my mind for sometime when I noticed that fellow photographer and vlogger, David Dixon was doing a lot of running as part of a January challenge. The challenge of running up Cat Bells would be much easier and more enjoyable if I had a friend to run it with. It wasn’t long before me and David had hatched a plan!
Is Fitness Important in Landscape Photography?
Being a vlogger I obviously wanted to video my run up Cat Bells, but I didn’t want the video to be me and David just running up a hill. So we both decided to do our own videos with slightly different themes. In my video you will find me running up Cat Bells and doing a little photography, but also talking to David about how fitness impacts my landscape photography.
So if you want to know why being fit is important to my landscape photography, or you simply want to see some dawn shots take from the summit of Cat Bells, the check out the video below.
Of course as David is vlogger himself he recorded his own video of our little adventure. So for a slightly different point of view check out his video below:
Your Thoughts
Does you physical fitness impact your landscape photography? How do you like to keep fit? Let me know in the comments below.
My Photographs
And finally, here are the photographs I took that morning.
Cat Bells Dawn Panoramic, Lake District - Panasonic Lumix G80, Lumix 12-60 mm f/3.5-5.6 @ 12mm, f/9.0, 1/60th sec @ ISO 100.
Golden Crags, Cat Bells, Lake District - Panasonic Lumix G80, Lumix 12-60 mm f/3.5-5.6 @ 18mm, f/11, 1/40th sec @ ISO 200.
Dawn Crags from Cat Bells, Lake District - Panasonic Lumix G80, Lumix 12-60 mm f/3.5-5.6 @ 12mm, f/11, 1/50th sec @ ISO 200.

The Importance and Joy of Printing at Home
One of the highlights of my time at The Photography Show this year was doing a talk on printing at the Fotospeed stand. In this blog post, I'm very happy to be sharing with you the unabridged video recording of that talk.
Photography Show Talks - An Opportunity
I'm a firm believer that if a good opportunity presents itself that you should grab it with both hands. So when the team at Fotospeed asked if I'd like to do a talk at The Photography Show this year there really was only one answer to give. Yes!
The topic of the talk was up to me but I knew almost straight away that I wanted to talk about printing. Printing has become an integral and enriching part of the photographic experience for me. As regular readers of this blog and viewers of my YouTube channel will know I like to do my printing at home. I've owned a Canon Pixma Pro 10-S for a couple of years now and ever since I made my first print I've been addicted to hitting that print button.
I wanted this talk to be an opportunity for me to share that passion for printing at home. I wanted people to get excited about printing their own work, to have fun with it, and use it as a way to improve their photography. Most of all I wanted people to see that it's a much more rewarding experience viewing their photographs in printed form.
The Importance and Joy of Printing at Home
Thanks to my fellow photographers and friends I'm able to share with you a video of the entire talk I did which was called The Importance and Joy of Printing at Home. Gareth Danks kindly filmed the talk for me, and both Gareth and Chris Sale were good enough to take the still images you see in this blog post.
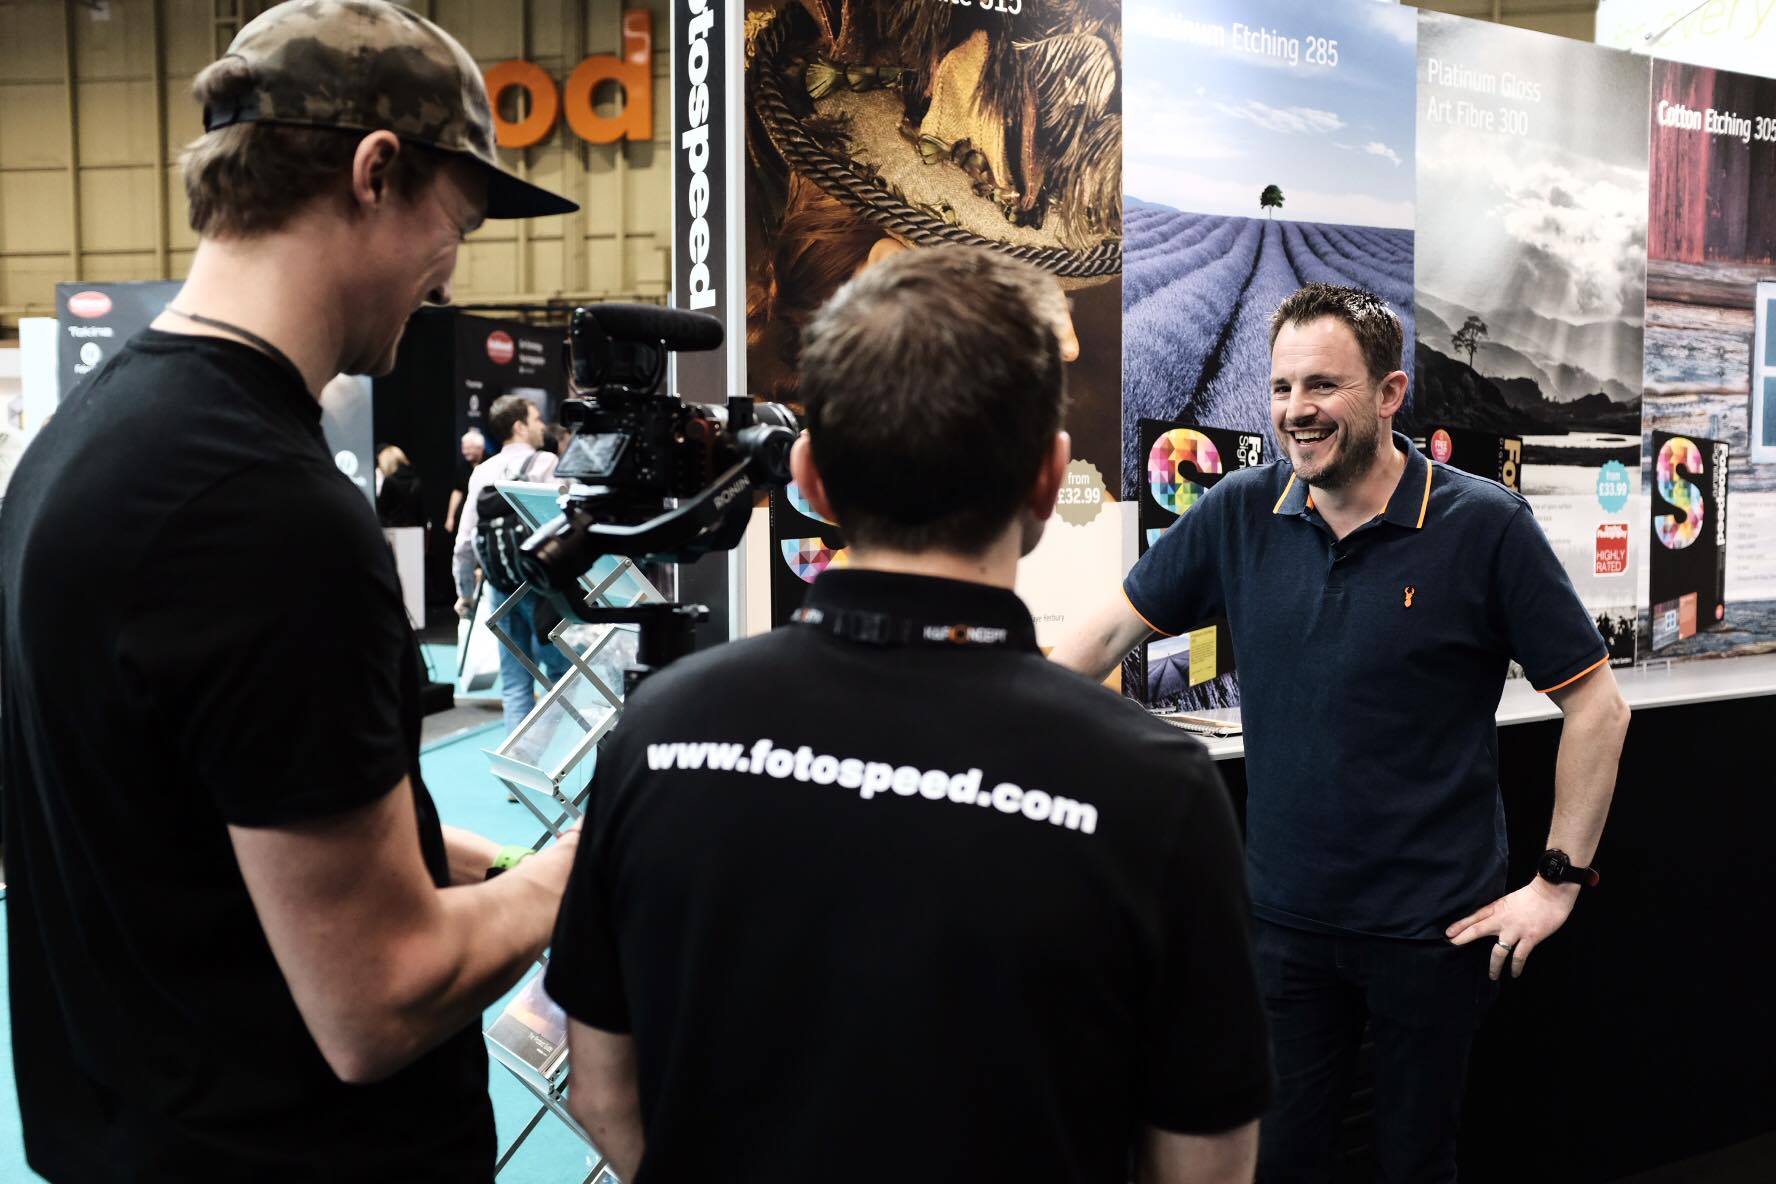
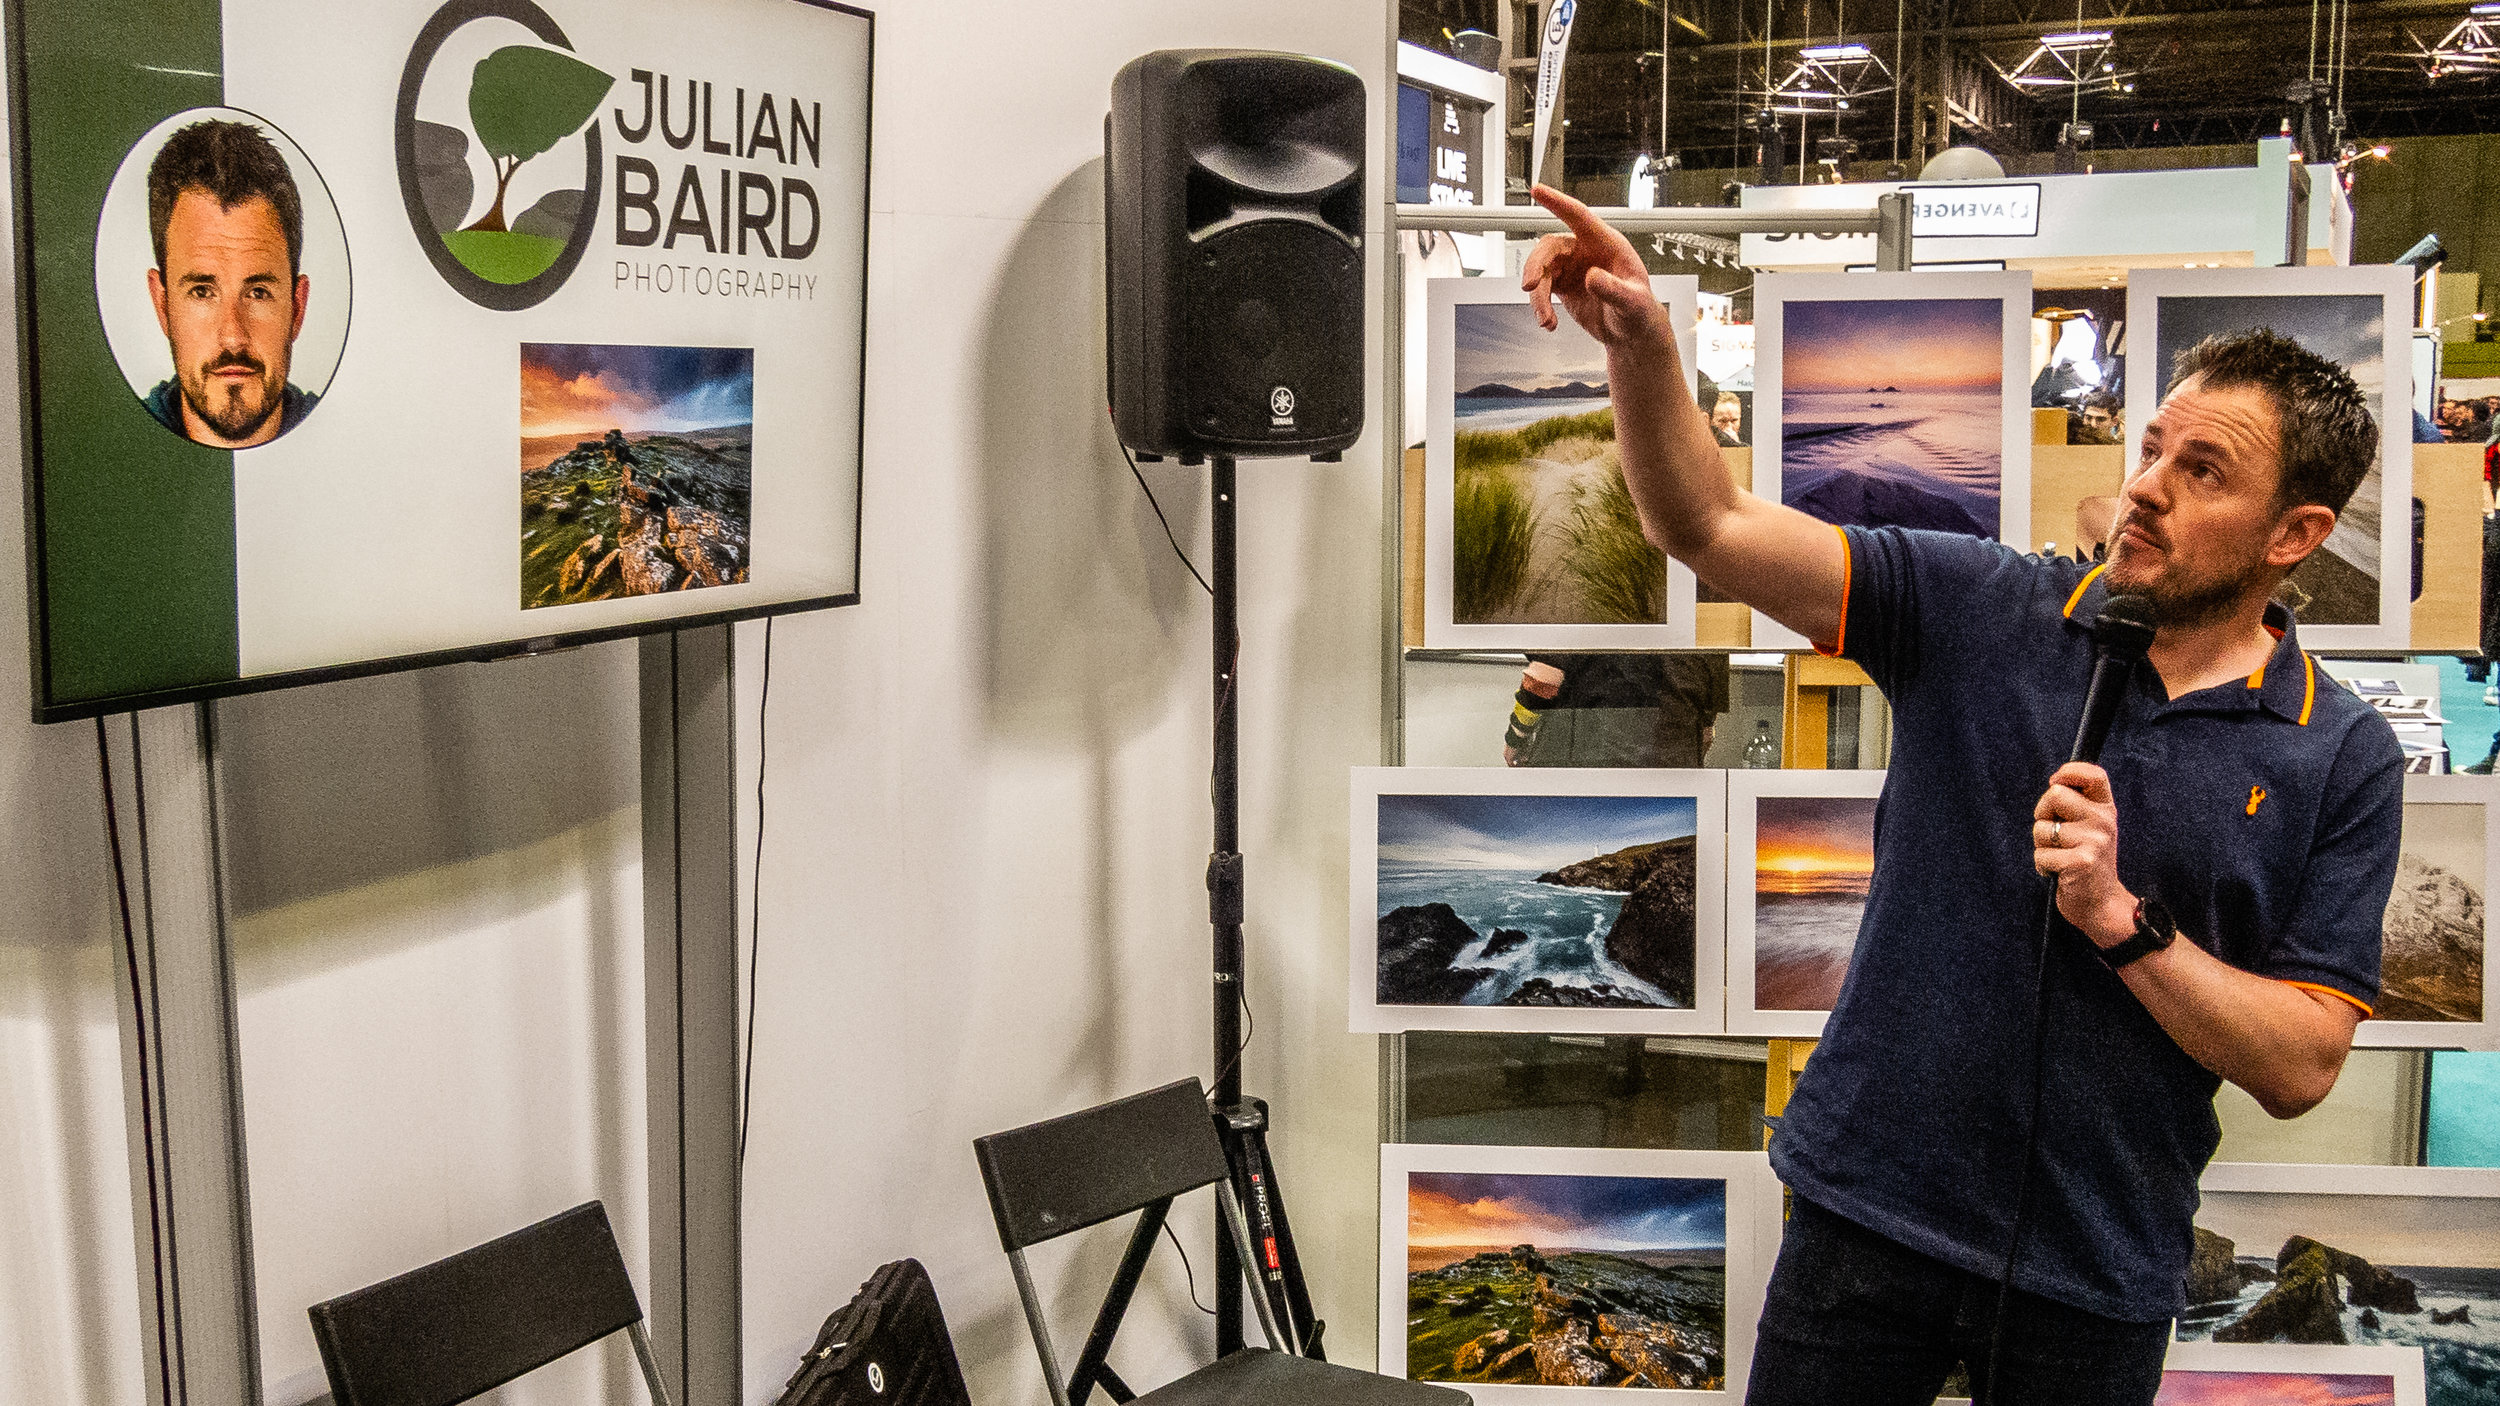
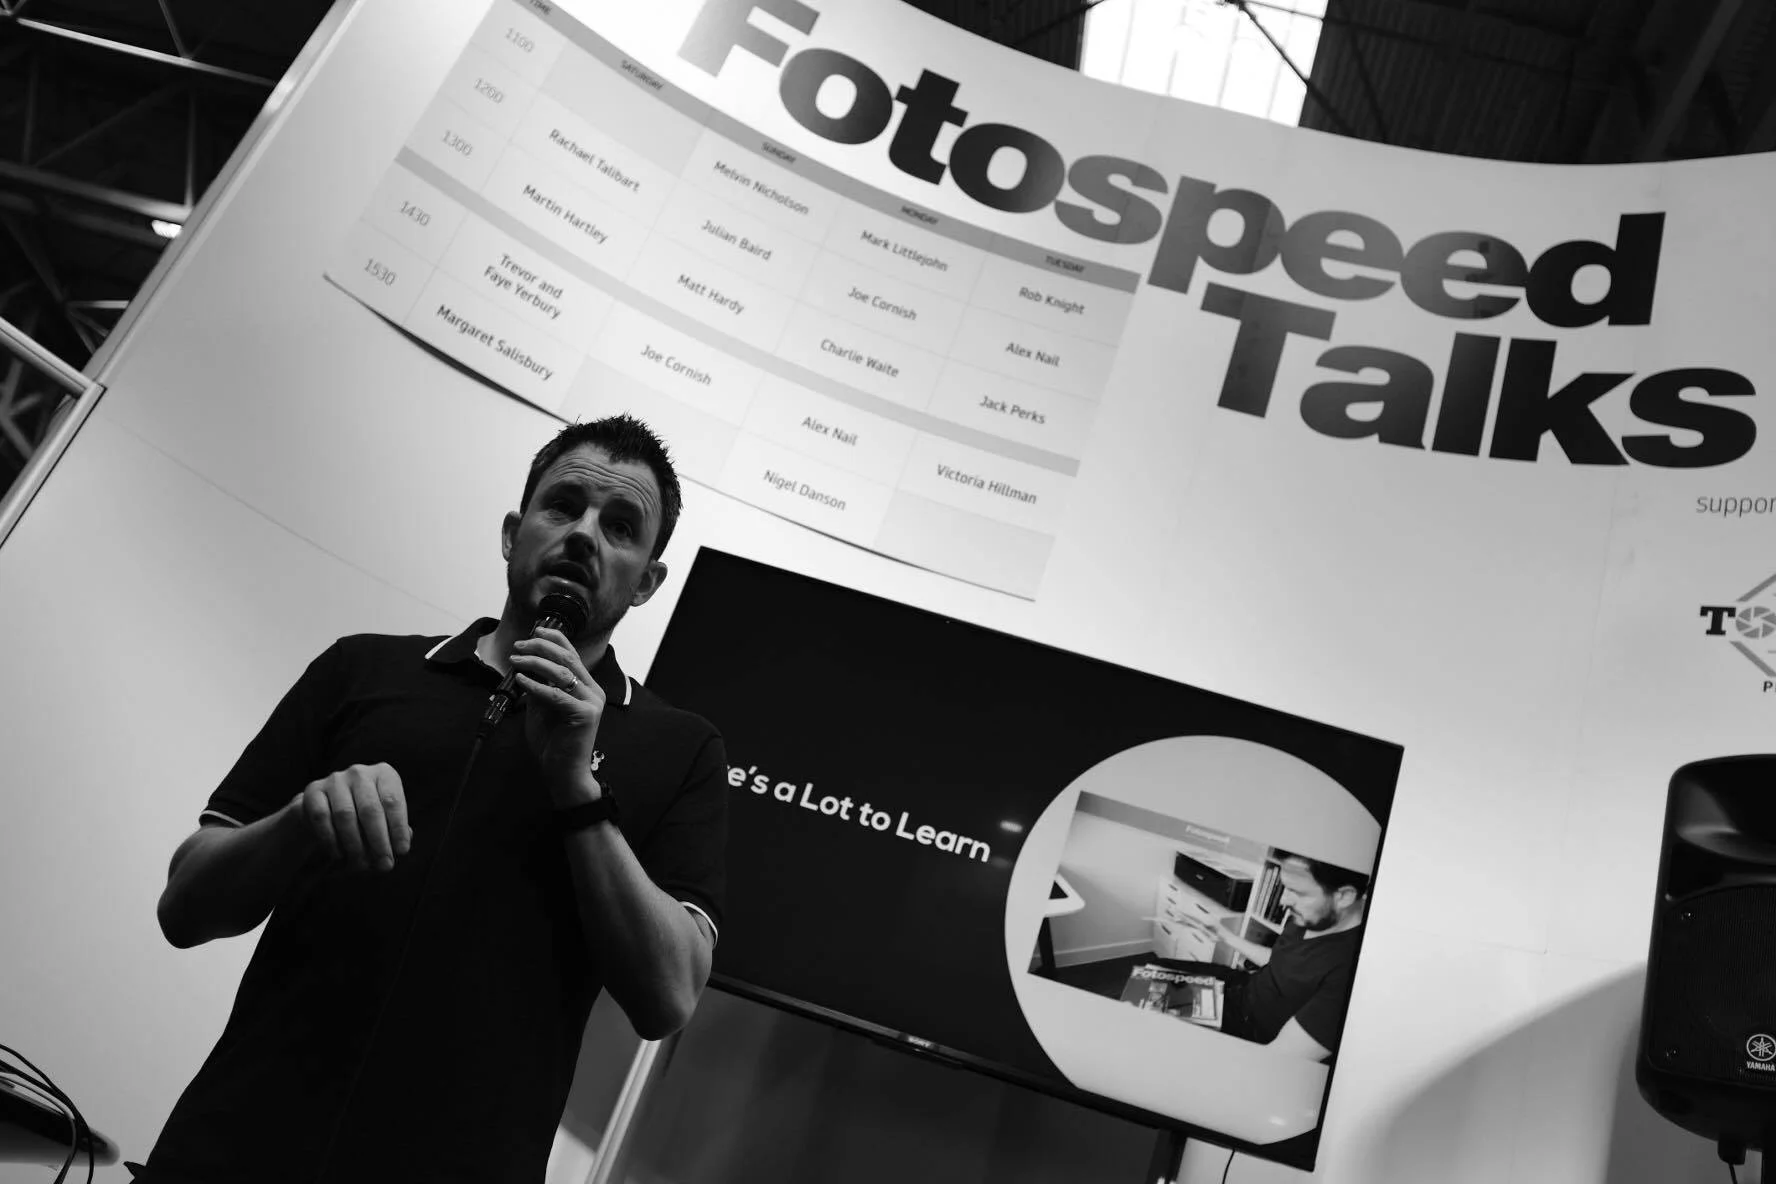
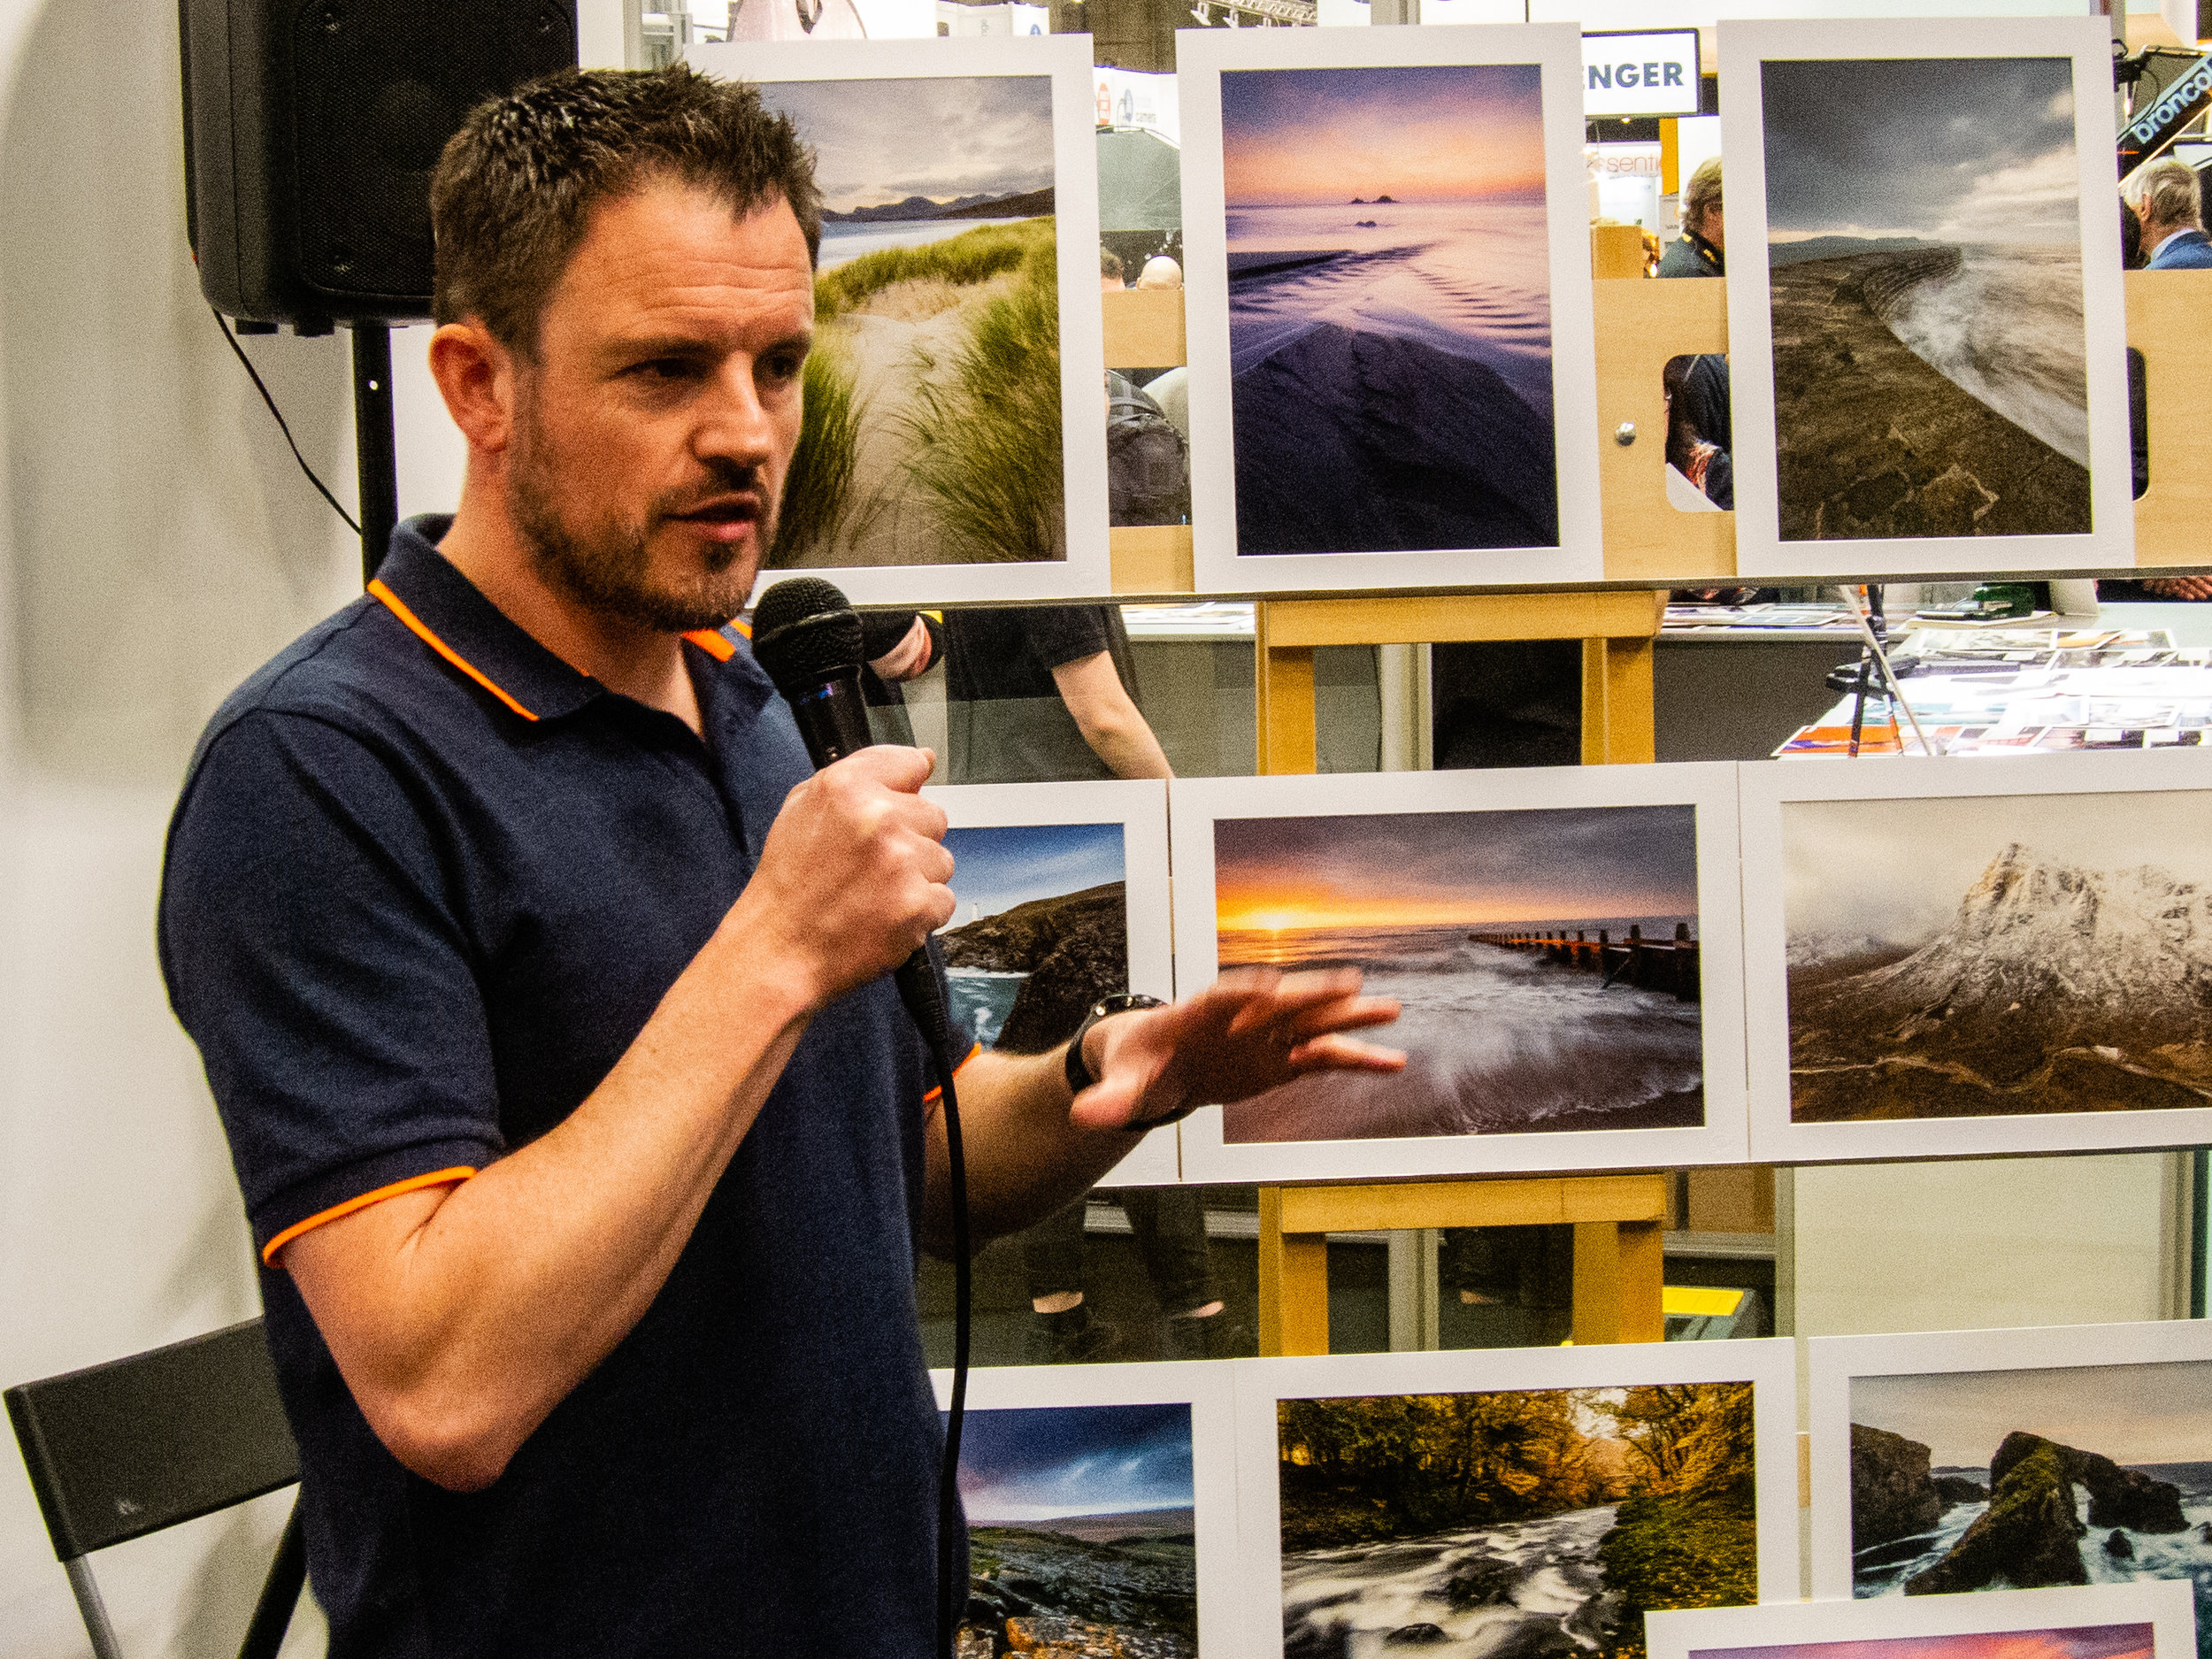
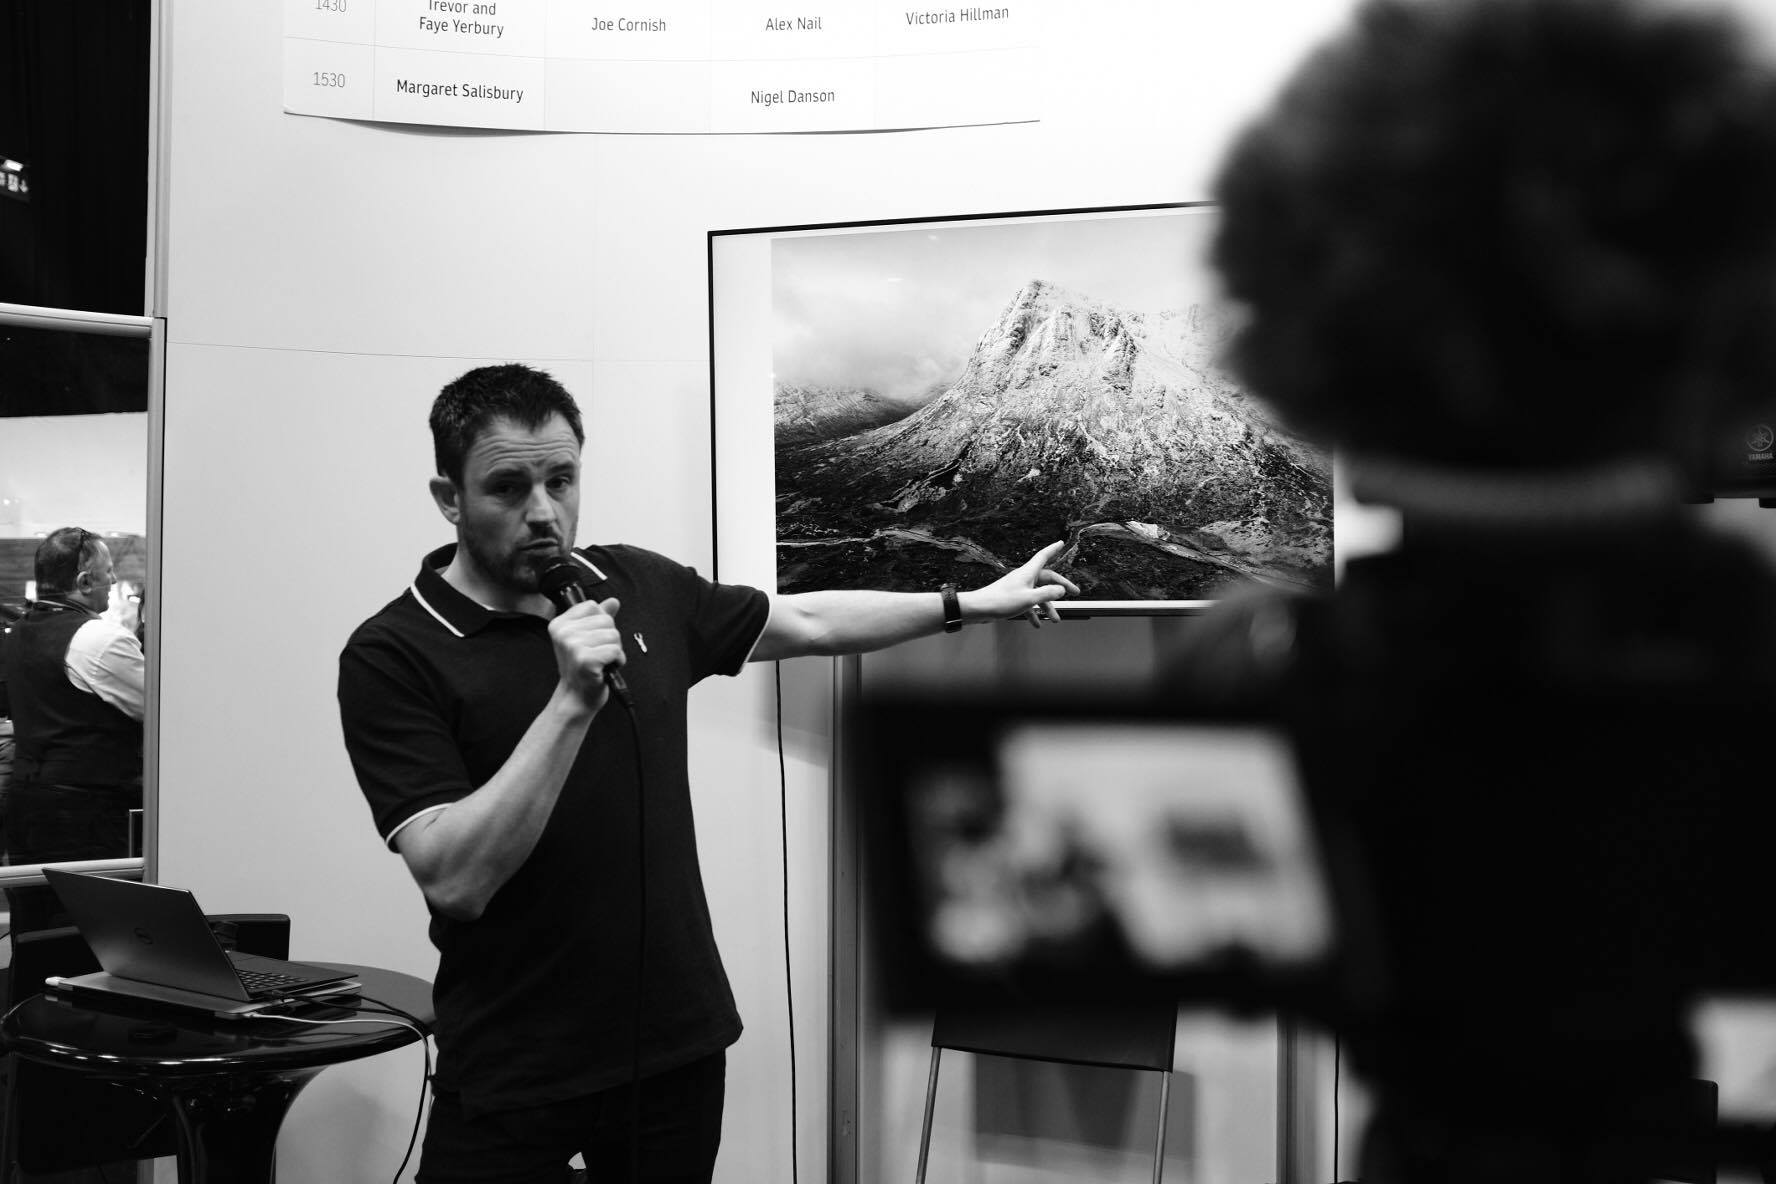
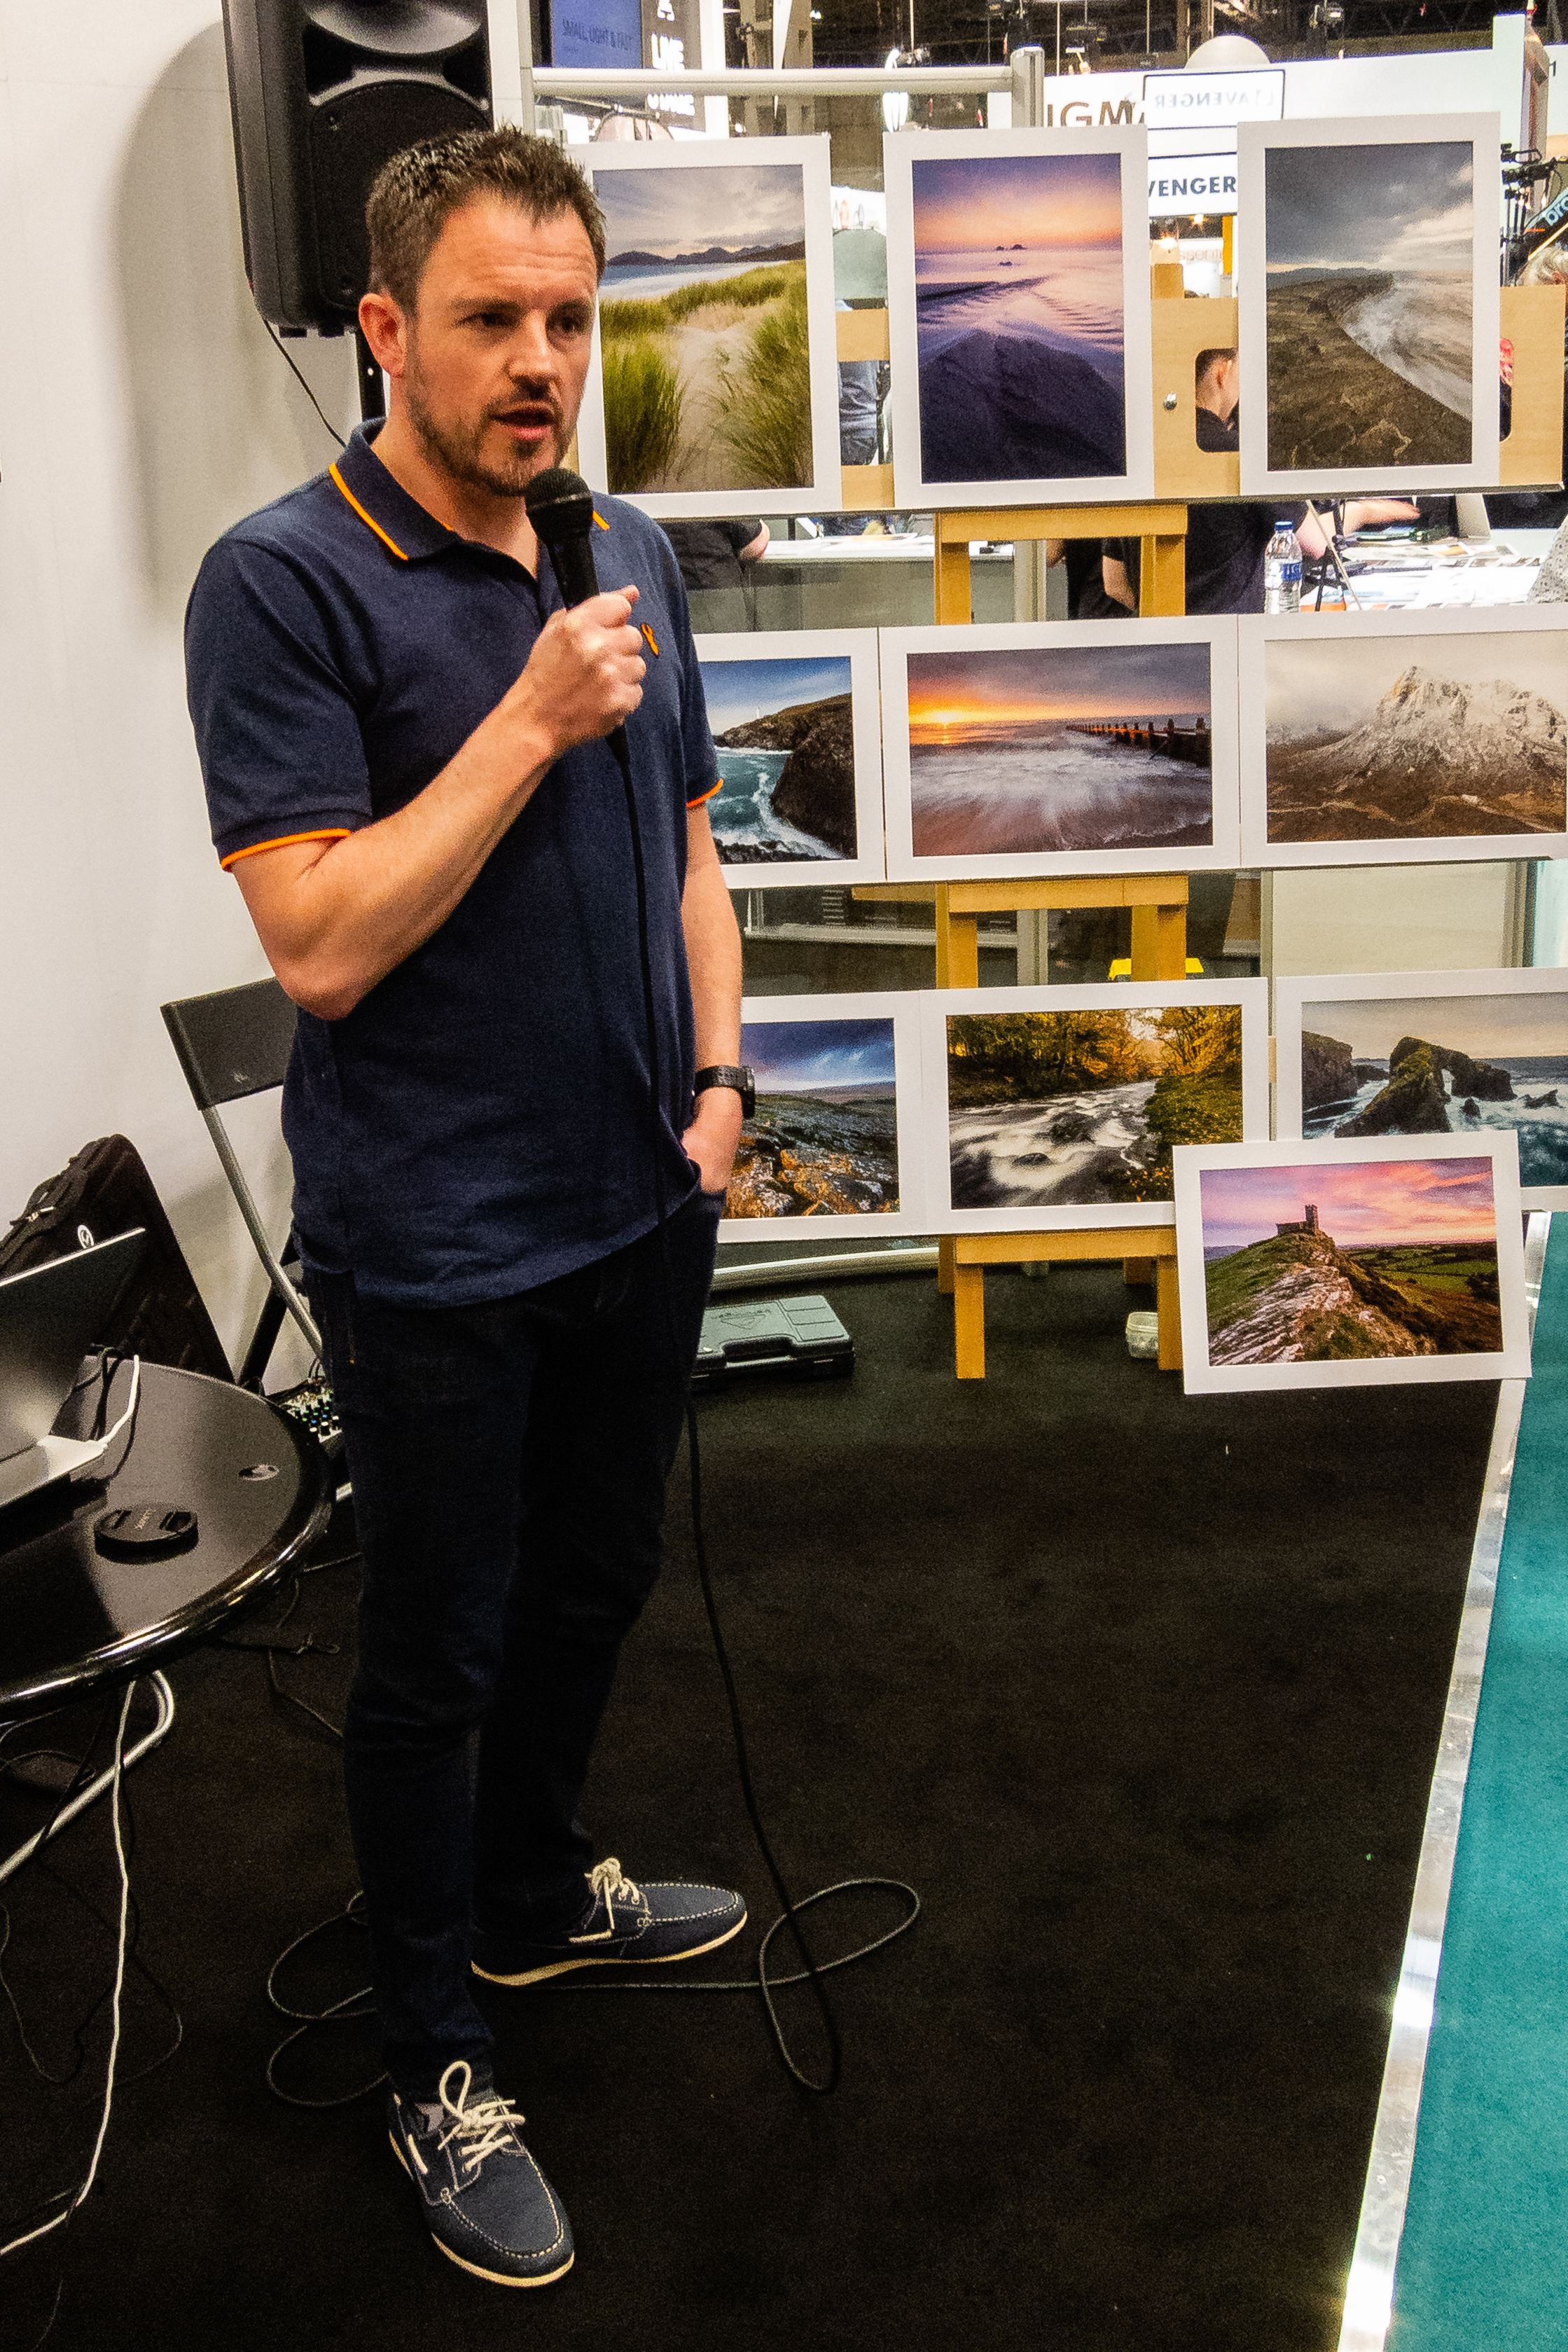
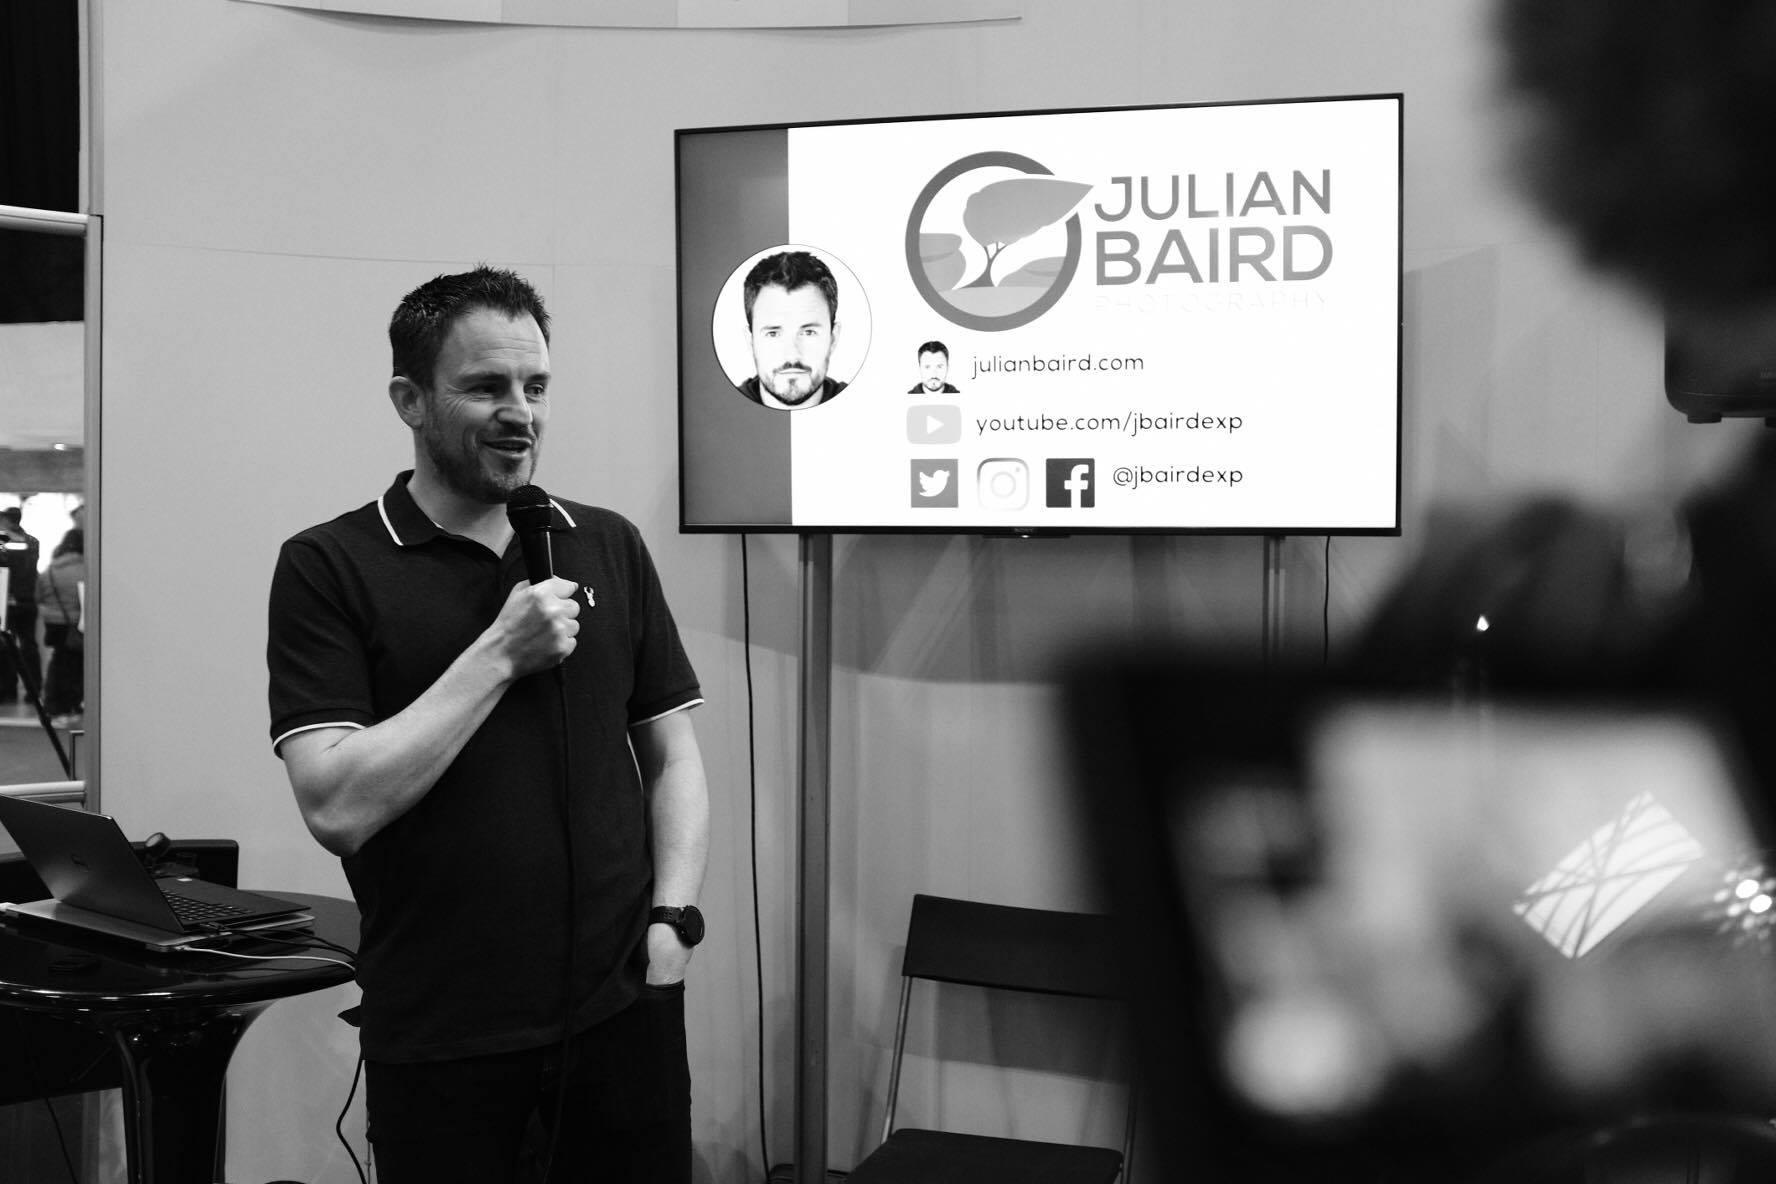
So if you missed my talk at the show, or you did catch it and perhaps want to see it again, here is an unabridged recording. Enjoy!
On The Fotospeed Stage
Presenting a talk on printing wasn't the only thing I did at the Fotospeed stand. I was also asked to be compere for the weekend. This granted me the privilege of not only meeting some wonderful and interesting photographers but also a seat on the stage to listen and watch Rachael Talibart, Martin Hartley, Trevor & Faye Yerbury, Margaret Salisbury, Matt Hardy and Joe Cornish all talk about their photography. With such a breadth of skills and experiences brought by these photographers, it was little surprise that each talk inspired my photography in its own way.

On stage with Joe Cornish. Photo courtesy of Gareth Danks.
You can also see me discussing my time at The Photograph Show in this Fotospeed video.
Next Year at The Photography Show
I've attended The Photograph Show every year and it just gets bigger and better each year. From the variety of talks, the products on show and the number of people I get to have conversations with, it's now become an integral part of my photography calendar. One thing is for sure, I will be heading back to The Photography Show in 2020.
I do hope you enjoyed this blog post. Did I meet you at the show? Did you get to see my talk live? Did you enjoy the talk (recorded or live)? Let me know in the comments below.
PS - Trying Something New
As I was at The Photography Show all weekend I had some spare time on the Saturday evening so I decided to try a different genre of photography with a fellow vlogger. I'll be publishing the video for that soon, but can anyone guess what type of photography I was doing and who with?
PS - You can watch that video here.
Giving the Gift of Photography
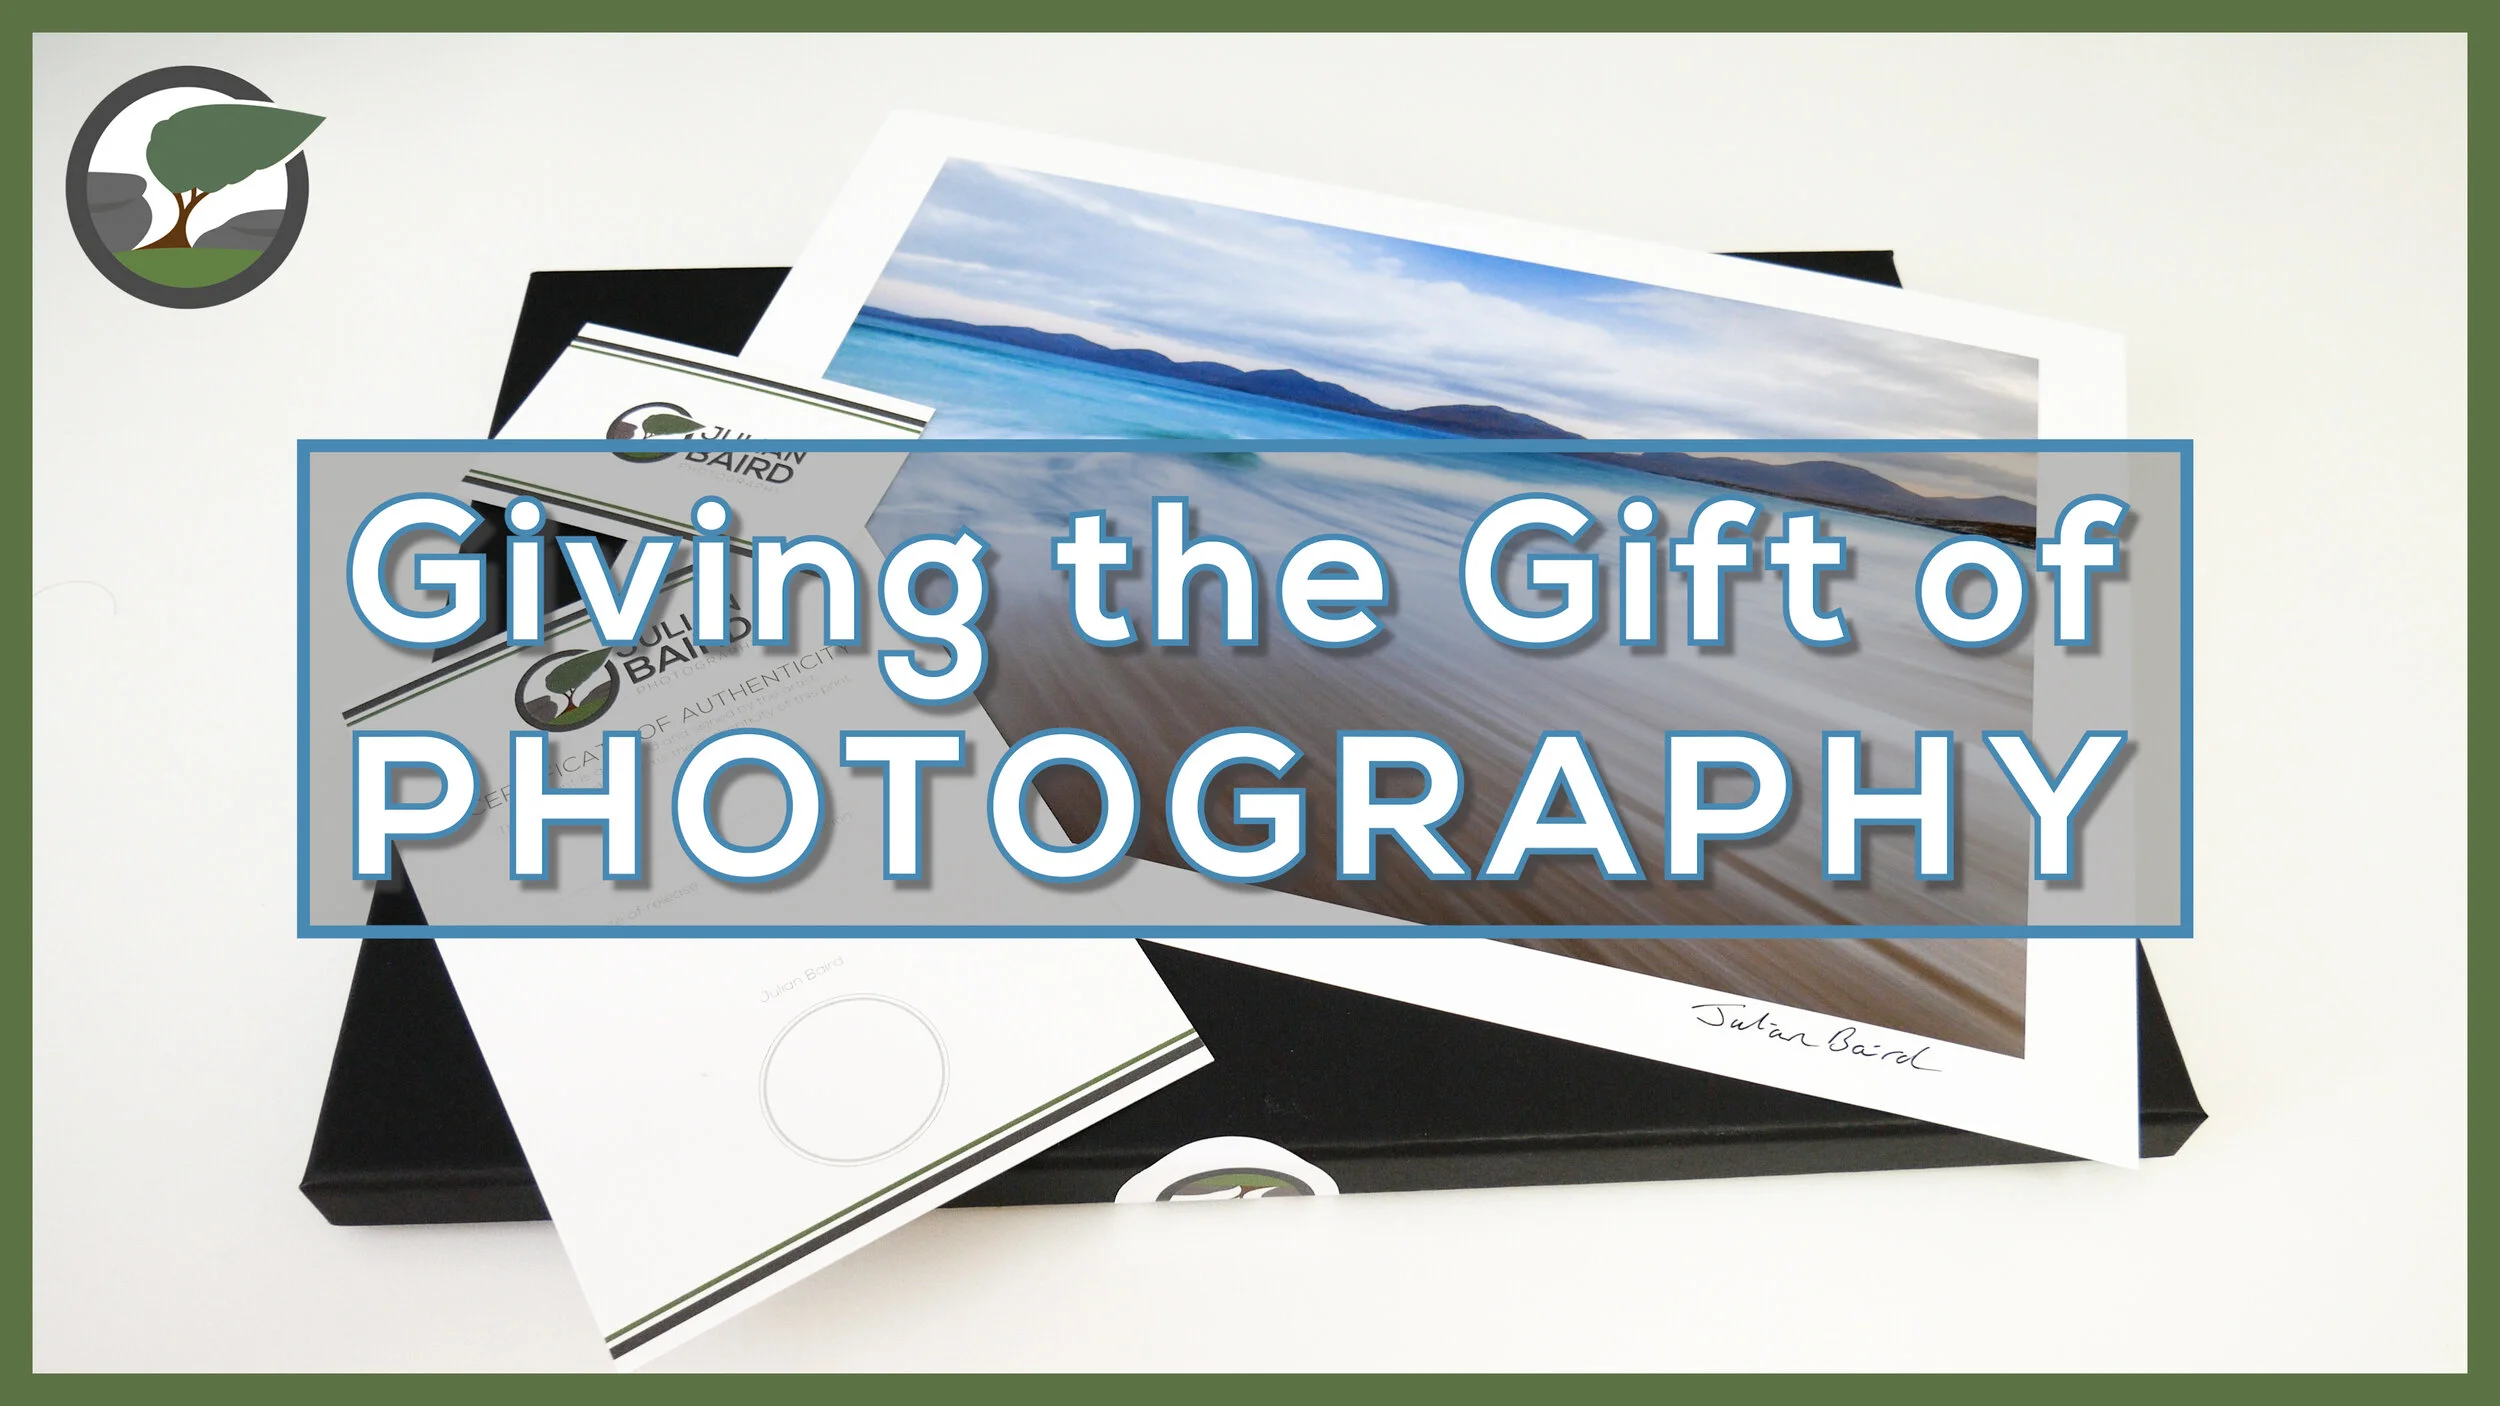
In this blog article I show you how I print and package my photographs before sending them out to clients.
The Gift That Keeps Giving
There’s no doubt that my trip to Lewis and Harris last year, was my 2018 photographic highlight. Being able to immerse myself in photography in such an epic location was amazing. Not only did I get some wonderful images from the trip, but I also got to make a video of my trip, and create a home gallery of the images I captured. It’s fair to say it was a pretty successful trip!
While I was in Harris, I stayed at a really nice property that my friend and I rented for the week. At the time, I thought it would be really nice to offer the owner a print of one of the images I captured on the trip. They might just like a print of a local spot to display on the wall. When I got home and I’d processed all of the photographs, I sent an email to the owner and asked if they would like a print. To my delight, they came straight back to me and said yes!
This was great news, but I didn’t just want to print an image and stick it in the post. I wanted them that have a bit of an experience when they received it. So I got my thinking hat on and got to work on how I was going to package my print.
In the video below, I’ll show you exactly how I’ve packaged my print and describe everything I’ve used to create my unique Julian Baird Photography print experience.
What I Used
I used a number of products in the video, and if you are interested, I’ve listed them below:
Logo and card design by Neil Burnell - Fine Art Photography
An Experience Worth Repeating
All of this may seem a lot of work just to send one person a print, but this won’t be the last print I package and send out. I’m already printing and packaging another order, this time for one of the photographs taken in The Trossachs. It feels great to be able to share my work in this way and to know that people are displaying one of my images in their home.
I do hope you enjoyed this blog post and video. Do you do something similar with your photographs? What packaging do you use? Let me know in the comments below.
Print Giveaway!
At the end of the video, I said I was giving away one of my prints! The lucky winner can choose an A4 print from any image in my portfolio or from my Harris and Lewis collection, and I will package it up in the same way as you saw in this video.
All you need to do is to leave a comment on this blog article with the text “I Love Printing”, and you will be included in the draw. Draw closes on 31st March 2019. Good luck!

Creating a Landscape Photography Gallery at Home
In the blog this week, I show you how I created my very own home gallery of images from Harris & Lewis using some fantastic papers from Fotospeed.
Printing Landscape Photographs at Home
If you’ve been reading my blog or watching my YouTube channel for a while you know I’m a big fan of printing! For me it’s an exciting part of the photographic process as I take a digital image and make it a physical photograph.
Regular readers/viewers will also know that last year I was lucky enough to photograph one of my bucket list locations, the Isle of Harris and the Isle of Lewis. I managed to capture some wonderful images but after sharing them on this blog, and social media, I knew I was going to not only have to print one image but a whole gallery of them!
I thought this would make for an interesting video, so I’m very pleased to share with you this video on how I went about creating my very own landscape photography gallery at home.
My Landscape Photography Adventure to the Outer Hebrides
As I mentioned in the video I created a video of my adventure to the Outer Hebrides, so if you are interested in seeing how some of the photographs I used in this printing video were created, you can see it here:
Products Used in Video
In the video I also said I would list out some of the products and equipment I used to create the gallery:
Fotospeed papers:
FYI - You can find the Fotospeed Tips and Tricks Facebook page here.
Printed using a Canon Pixma Pro-10S
Picture frames from Picture Frames Express
Those white cotton gloves I use to handle the paper
My Other Printing and Processing Videos
I also mentioned in the video that I would share with you all my other videos on printing and processing:
There’s Always Something to Print
I do hope you enjoyed my video on creating your own landscape photography gallery, and hopefully it has inspired you to print a little more. I highly recommend it!
Do you print at home? Do you have somewhere to create your own gallery? Is there another video on printing you would like to see me produce? Let me know in the comments below.

Unexpected Creativity from a Dreary Dartmoor
Sometimes landscape photography can be hard and this was certainly true of my most recent visit to Dartmoor in Devon. However, even when you are feeling creatively challenged, inspiration can appear to come from nowhere. Read on to learn how I got inspired on that dull, grey evening on Dartmoor!
A Quick Happy Birthday
Just before I tell you about my Dartmoor adventure, I just want to announce that this post comes on the day that this very blog celebrates its 2nd birthday! Two years ago today I decided to start documenting my photographic adventures.
As with any creative process, the writing has sometimes been easy and sometimes it's been hard. However, most of all it has been fun and its really helped me with my photography. I wrote a lot about the benefits last year when I wrote a post about the blog's first birthday.
Over the last 24 months, I've written a new blog post every week, and I see no reason why this won't continue into the future. Thanks to all the support and comments I get from everyone on this blog, and other social media channels, I feel inspired and motivated to keep this blog going. So thanks to everyone who has and continues to show support of my work. It is very much appreciated.
And now….
Landscape Photography is Hard
I love landscape photography. I have a real passion for it and there are few things as good as heading out into the wilderness with the camera to capture some landscape photographs. Sometimes the process of capturing those photographs is hard. The weather can be challenging or you can simply lack the imagination or creative energy to produce a good photograph.
For me, there is an additional factor that makes landscape photography hard, and that is time. I think most photographers, pro or amateur, suffer at the hands of the old enemy of time. The amount of time I can commit to my art is limited and more often than not I have to go out when the conditions aren't ideal.
Devon's Dreary Dartmoor
My most recent to Dartmoor is a great example of when I decided to head out with the camera when really I should have stayed at home. The weather forecast for most of the south-west was overcast and rain showers. The trouble was that if I didn't out that evening, it was going to be several days before my next window of opportunity and I had a real need to scratch that creative itch.
I wanted to go and shoot somewhere on the Cornish coast but I saw little point in committing to 3 to 4 hours of driving with the predicted weather conditions. I thought the best thing to do was to keep in local and head up to Dartmoor. The weather forecast for Haytor was looking poor, but it did predict a small break in the clouds that might yield some nice results. To be honest, I think I was being rather optimistic but I grabbed my camera and went out anyway.
Finding Something Out of Nothing
As I drove up the hill from Bovey Tracey to Haytor, things did not look great. While the clouds were at least above the hills, it all looked rather uninspiring. I decided to drive a little further on and park up for Emsworthy Tor.
As I wasn't in a particular hurry I decided to make the walk to Emsworthy Tor at a slower pace. As I walked I made sure I took the time to look for compositions. Occasionally I would hold my eye up to the camera to see what an image would look like, but nothing seemed to capture my imagination.
When I reached Emsworthy Tor I just stood there and wondered why on earth I even bothered coming out. Don't get me wrong. I love Dartmoor. It can look spectacular in many different ways, and it's rare that I can't find something to appreciate. The view in front of me was indeed impressive but that doesn't mean it was going to translate into a good photograph.
It soon dawned on me that the viewpoint I wanted to photograph wasn't going to work in these conditions. As I sat there looking at the great expanse that is Dartmoor, I thought about going home. In the distance was a large dark cloud that was sure to bring a heavy shower. Perhaps it was time for an early exit and a glass of wine.
Just as I was about to pack up and go I had a moment of inspiration. As I looked east there was a small break in the cloud, and from the north was that stormy looking cloud. I know from previous experience that approaching storm clouds can look dramatic when shot with a wide angle lens. So I quickly got the camera out and shot this image:
Approaching Storm on Dartmoor, Devon - Nikon D850, Nikkor 16-35 mm f/4 at 16 mm, 0.5 seconds at ISO 64, f/11, Lee Filters ND Grad.
I had to work fast to get the image because the cloud was rolling in fast. While the image would have greatly benefited from some scattered light on the distant tors, it does show Dartmoor as it was that evening, and perhaps reflects my mood a little.
I then wanted to fine tune my composition a little. I like the rocky tors in the foreground of the first image, but I felt that they were a too close to the bottom of the frame. I also felt that the clouds were a more important element of the photograph, so I decided to point the camera up more to give me this composition.
Storm Clouds over Dartmoor, Devon - Nikon D850, Nikkor 16-35 mm f/4 at 18 mm, 0.6 seconds at ISO 64, f/11, Lee Filters ND Grad.
I'm not sure which image I prefer. The sky in the first image is more appealing as the dark cloud hasn't covered all of the skies yet, but I prefer the overall composition of the 2nd image. To be honest, I'm just really happy to have captured anything. I was sure I was going to go home empty-handed and a little unhappy (creatively speaking).
It was a challenging evening but aside from the pleasing images, I can always take away two positives. Firstly, it's always great to be outdoors. Even if I took no photographs, spending the evening on beautiful Dartmoor is rarely a bad thing. Secondly, it was good to be out with the camera. That time out with the camera gave me more photographic experience and practice that I can put to good use when I really need it. You can be in the most amazing location with the most amazing light, but if you don't how to use your camera properly or know how to read a scene, you might come away with nothing.
Have you ever been out with the camera on a seemingly pointless adventure? Which of my two images did you prefer? Let me know in the comments below.

How I Manage My Images in Lightroom - From Import and Export
In the blog this week I share with you Adobe Lightroom workflow. I show you how I manage my images from import to export and everything in between.
My Lightroom Workflow
I've been using Adobe Lightroom since version 3 and over the years I've been fine-tuning my image workflow around its capabilities. While its image processing speed had left me screaming up until a recent update, I've always liked its ability to organise and manage my photographs.
In the video below I share with you my Lightroom workflow. I show you how I import my images, select images for processing, apply keywords, rate images and finally get them ready for export. There are lots of different ways to do Digital Asset Management (DAM) in Lightroom, so my way is probably neither the right way, nor the wrong way, but hopefully, you'll be able to take something away from this video and use it in your workflow.
Do you have any Lightroom tips for image organisation? How does your workflow differ? Let me know in the comments below.
My Other Workflow Videos
How I Backup my Landscape Photographs
Every landscape photography I take is unique to me and so I want to minimise the risk of data loss at every step. In the blog this week I show you how I protect my data from the moment I press the shutter button up until the point I'm ready to format my memory cards again.
Every Landscape Photograph Is Unique
Every landscape photograph you take is unique and can't be recreated. Each time you press that shutter button it is a unique point in time. The light, the weather, and the conditions will likely never be exactly the same again. So how much care do you take to protect your images from virus outbreaks, deletion, corruption or hardware failure?
To me, every photograph or video I create is important and needs to be protected. Some of the content is priceless, such as photographs of my children, or it might represent an investment of time and money, such as one of my landscape photographs. No matter the content though, to me it has value.
My Backup Workflow
For some people backup is something they think about rather than do. Something to do at some point Maybe. For me, though it's become such an integral part of my workflow now that it's just something I do automatically each time I upload new content to my computer.
So if you've been looking to start putting together a proper backup routine for your workflow or you are simply looking for some tips to improve your existing backup routine, I've created this video which lays out, step by step, how I backup and protect my images.
Backup Products
If you are interested these are some of the products I used in the video as part of my backup workflow:
So do you have a robust and complete backup workflow? Do you backup on occasion? What tools and products do you use? Let me know in the comments below.
My Other Workflow Videos
PS - Some of the links used are Amazon affiliate links. By buying through the links I may receive a commission for the sale. This has no effect on the price for you.
Creating Coastal, Long Exposure, Panoramic Images with the Nikon D850
Have you ever taken a coastal, long exposure, panoramic image before? Well, that's just what I did in my latest video. Sometimes you need to see a scene a little differently to get inspired in a big way.
Getting Inspired
Over the years I've visited Froward Point on the south Devon coast a few times. Despite many attempts I've never really captured an image from that location that I'd really been happy with. In fact, I'd just about given up on it as a location.
However, after being inspired by the work of another local photographer, I thought Froward Point might be worth another visit. This time though, I would leave most of my gear behind, travel light, and wander along the coast path a bit more. Rather than go back to the same spot I always end up going to, I would see what other viewpoints there might be.
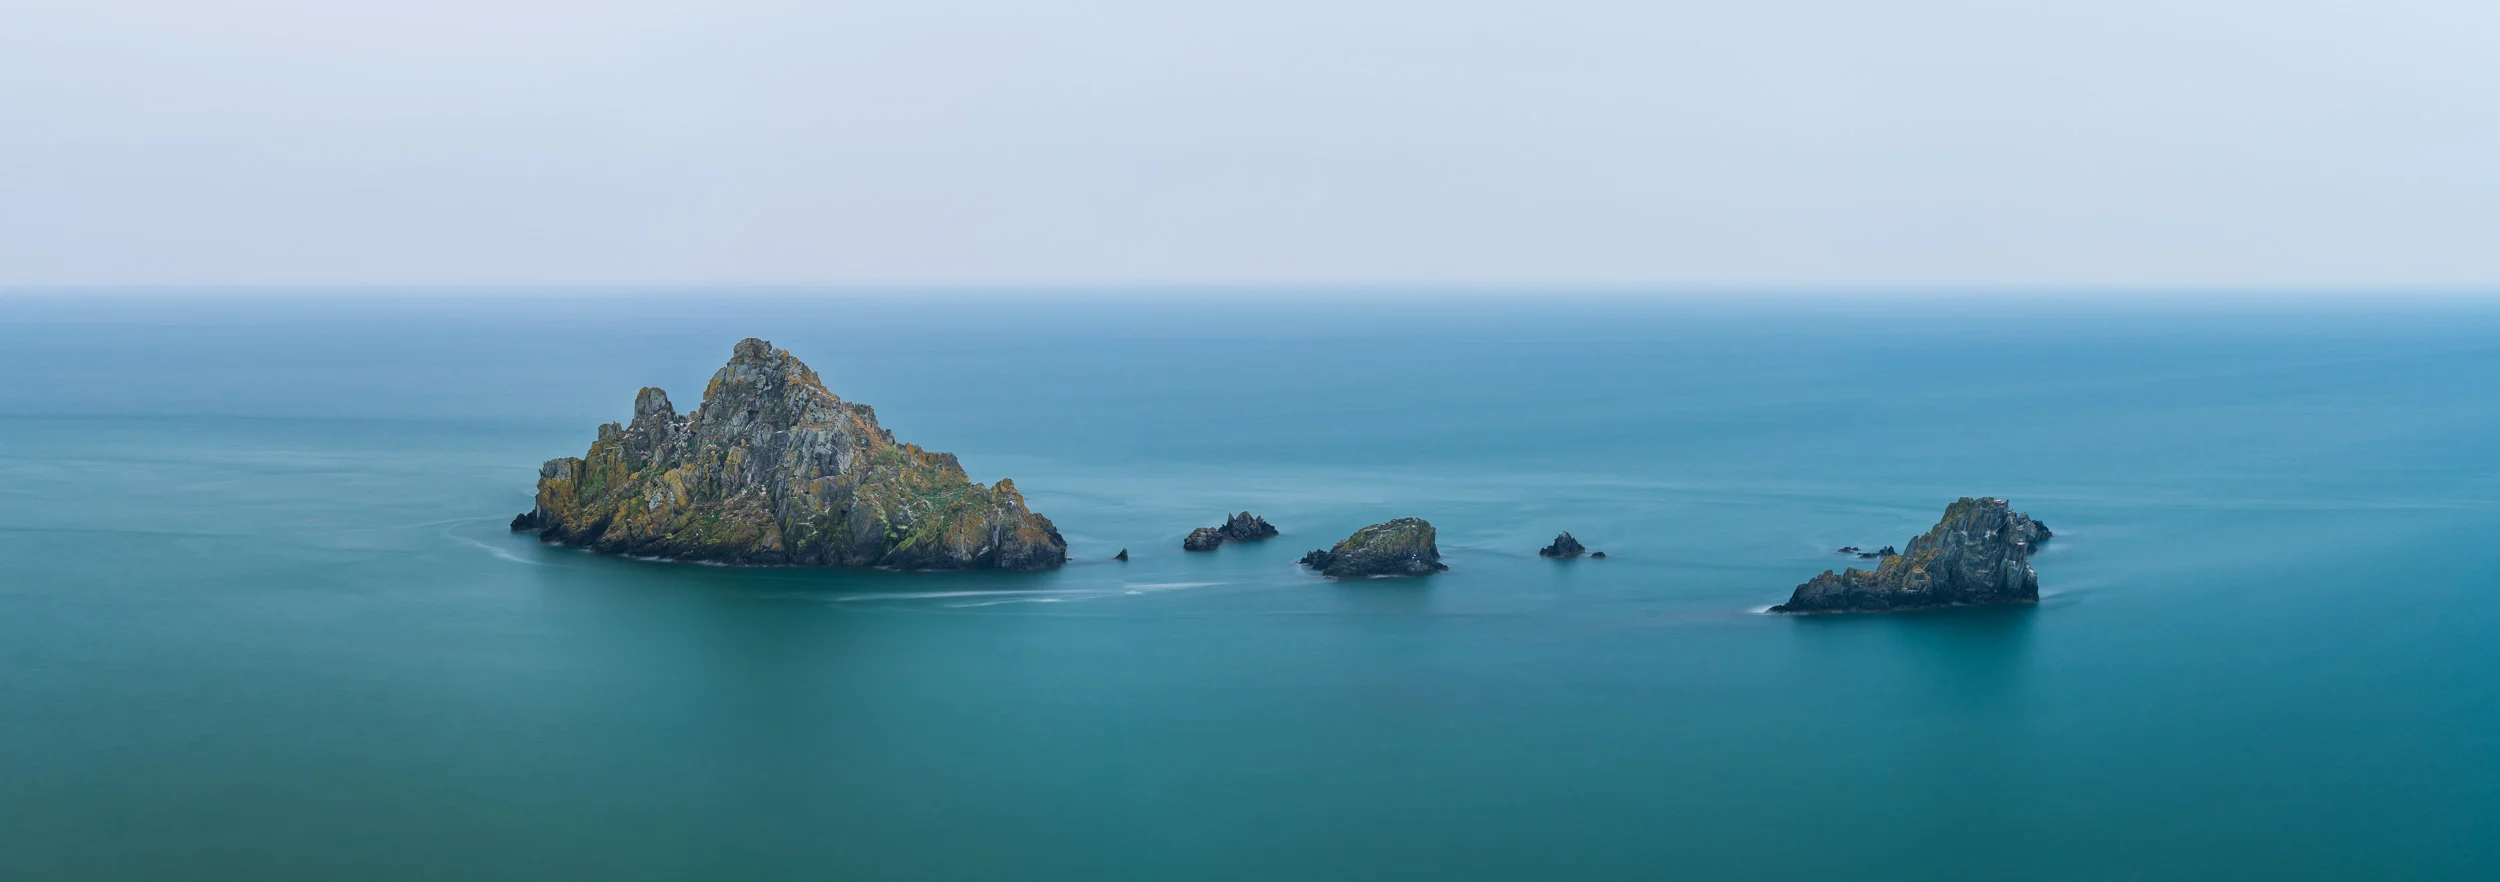
Sure enough, as I walked along the coast path I got to see a view of rocks near Froward Point in a totally new way! My creative brain got all excited by the new compositions that I could make photographs from. For me, the scene instantly said that this coastal image would be a long exposure, and would be best suited to the panoramic format. I even thought it would work best on a grey and overcast day.
With a clear vision of what I wanted to photograph, I just needed to return at the right time when I had the weather conditions were right and the tide was high. Here is what happened when I did finally return:
As you'll have seen this video was a bit longer than normal, but I wanted to take you through my thought process, how I set up the camera, and how I eventually captured then printed the final image.
So have you ever captured a coastal, long exposure, panoramic image before? What photography techniques have you combined before? Let me know in the comments below.
The Photographs
A Coastal Long Exposure Panorama - Froward Point, Devon: Nikon D850, Nikkor 70-200 mm f/2.8 at 70 mm, 20 secs at f/11, ISO 64, Lee Filters Circular Polariser. 5 Image stitch.
On an Island - Froward Point, Devon: Nikon D850, Nikkor 24-70 mm f/2.8 at 58 mm, 105 secs at f/6.3, ISO 64, Lee Filters Circular Polariser. 5 Image stitch.
Islands in the Blue - Froward Point, Devon: Nikon D850, Nikkor 24-70 mm f/2.8 at 29 mm, 40 secs at f/11, ISO 64, Lee Filters Circular Polariser.