
Discovering the Joy of Printing
In my this blog post and video I tell you why I have decided to start printing my work and what it was like to print my first A3 image using a Canon Pixma Pro-10s printer.
Why Print?
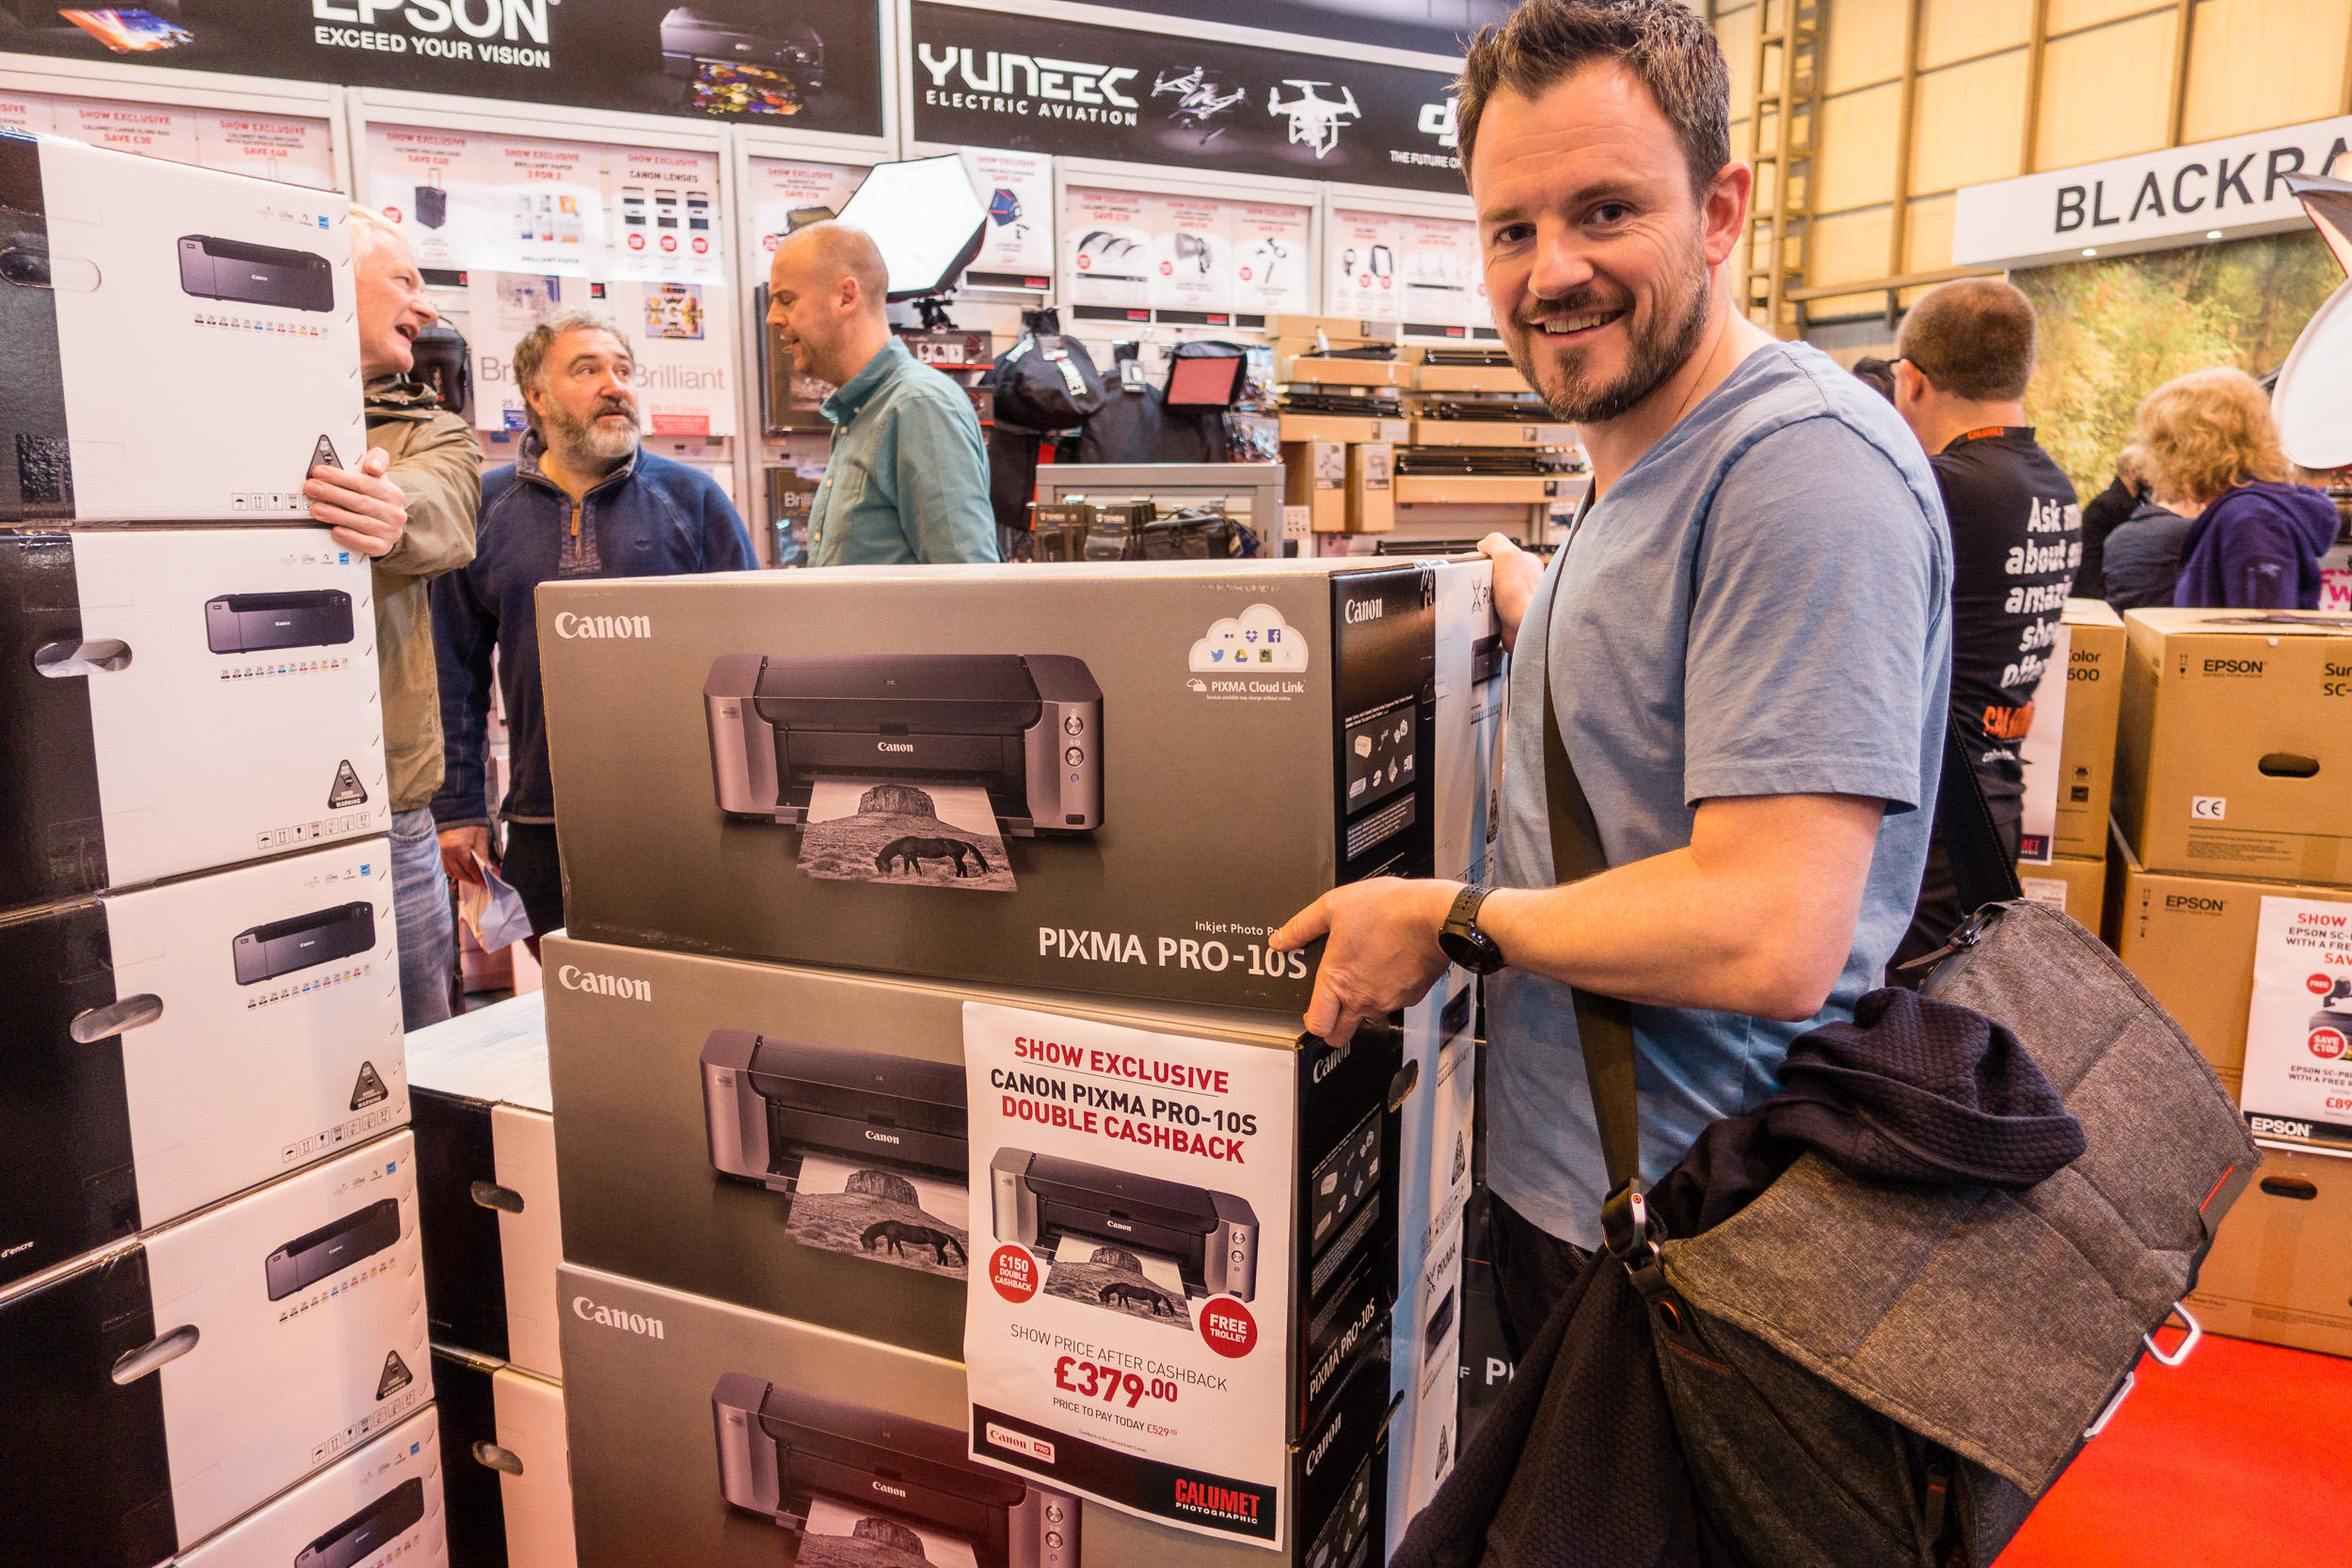
I was at The Photography Show at the Birmingham NEC a few weeks ago and while I was there I picked up a Canon Pixma Pro-10S printer. Every year I hope to pick up a bargain from the show and this year was no different. When I saw that Canon was offering double cash back on their range of Pixma Pro printers I went straight to the Calumet stand and grabbed myself Pro-10S.
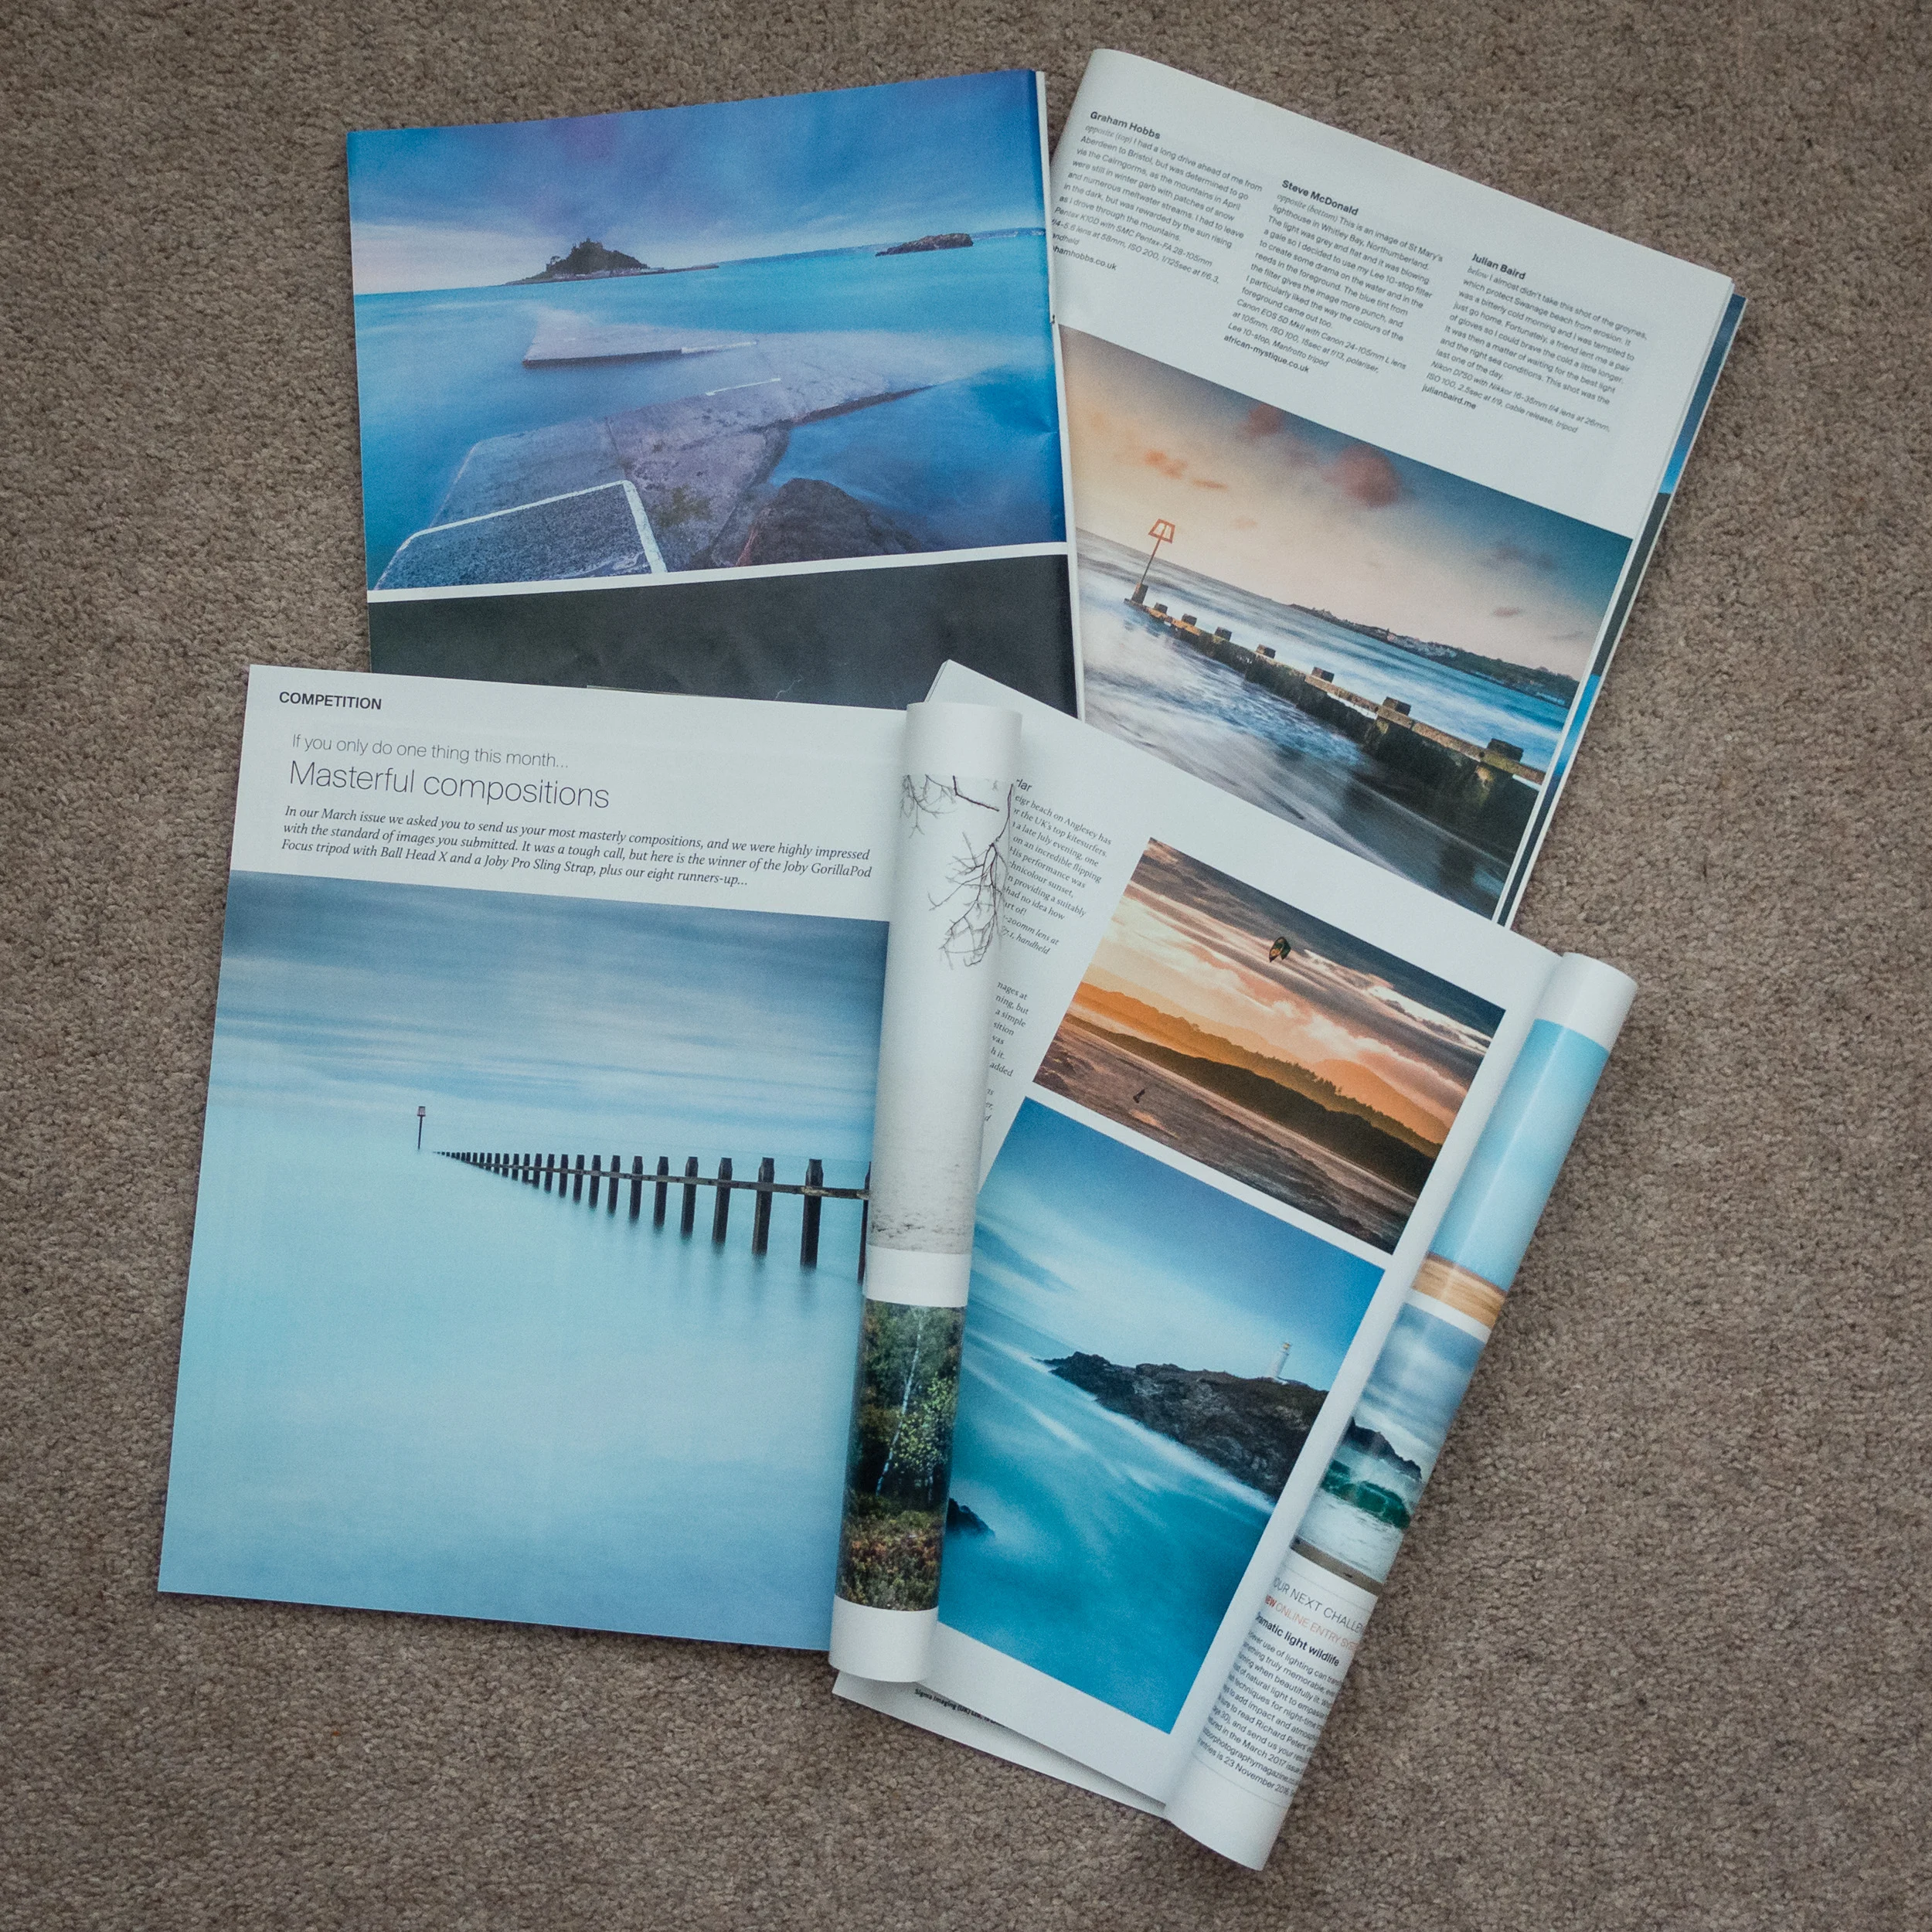
Though this may sound like a spontaneous decision, it was not. For at least a year now I've wanted to extend my workflow to include printing. There are a couple of reasons for this decision. Firstly, seeing some of my images printed in Outdoor Photography magazine has made me realise how wonderful it is to see one of your images in print.
I have also been influenced by a couple of photographers that I follow online that are big proponents of printing, Martin Bailey and David duChemin. Martin wrote and excellent ebook on printing Making the Print and David has an excellent video on Ideas for Living With Your Photographs.
I wanted to live with my work a bit more. Why should my images gather dust in a digital archive? I want to see what my images looked like in physical form.
Printing at Home
So why would I go to all the hassle of printing at home? Why not just send the images to a lab and have a professional do it? This is a valid question but for me, half the fun is the process of the print. There is a sense of excitement as the printer slowly prints out one of your images. The anticipation of seeing the final result. Printing is the last step in a complete end to end photography workflow that starts with capture and ends in print.
This isn't to say that I wouldn't use a lab. Labs are great, especially if you need an unusually large print, need framing or need to print on other materials. But for me, I want that tangible experience of doing the print myself and hanging it on my wall.
What about the cost? Isn't printing at home expensive? I'll be absolutely honest with you, I have not concerned myself with how much each print will cost. That's not to say that I don't care, it's just that the cost per page isn't something that has influenced either my decision to print at home or the decision to buy this specific printer.
I've always owned Canon printers and my current office printer is a Canon so I was very comfortable with my decision to buy the Canon Pixma Pro-10S. Also, given the volumes of printing that I was going to do, I could treat myself to an A3 print every now again. Compared with all the other money I have spent on photography over the years, the cost of a print seems a small price to pay to further my enjoyment and experience of photography.
My First Print
I was excited to make my first print with my Canon Pixma Pro-10S. One of the first things I needed to do was to get some paper. There is a dizzying range of paper types and sizes out there. I thought I would make my life easy to start with by selecting from Canon's own range of pro papers. After watching David Noton's videos on A guide to Fine Art and Photo Printing and Fine Art and Photo Printing I knew the Canon paper types would already have the relevant ICC profiles installed which should make my first print easier. He also made some good suggestion on which paper types to use.
So I got onto Amazon.co.uk and ordered some Canon Pro Platinum A4 and A3+ glossy paper. I was ready to start printing. If you want to see how I got on with my first print, from setup to final output, I've made a short video of my experience.
Impressive, Fun and Simple
To say that I was impressed by the output would be an understatement! The accuracy of the print compared to what I saw on the monitor was remarkable. The colours, tones and contrast all looked amazing on the glossy A3 paper. My black and white image from my Live Music portfolio was also stunning with the printer producing a punchy and detailed print.


I was also pleased how simple it was to make a successful print. I was already calibrating my monitor but I was worried that I might have to extend that to include printing, but Getting an accurate print was no more difficult than selecting the correct paper type in the Canon Print Studio Pro.
However, almost as important as the quality and simplicity of the process was that it was fun. There really was something very special about watching one of your favourite images gradually appear from the printer. When I held up that first print to the light I realised that I had definitely made the right decision to get into printing. The whole experience of looking at your images in print is so vastly different from seeing them on a monitor, even one as good as my Eizo monitor. Printing now as a permanent home in my photography workflow and I can't wait to print more of my images.
So do you print your work? Do you print at home or use a lab? Let me know in the comments below.

My Top 5 Tips to Improving Your Landscape Photography
In this blog post I share with you my latest video in which I tell you what my top 5 tips are to improving your landscape photography.
Tips for Landscape Photographers
I've been shooting landscapes since I got my first DSLR back in 2006. However, it's probably only in the last few years that I've started to really progress as a landscape photographer.
In this vlog, I share with you the 5 things I think will help you improve your landscape photography. This is a personal list, and not even necessarily the only 5 things you should do. It's just 5 things that I did that had a direct impact on my landscape photography. Hopefully, some of them will work for you also!

In Summary
I explain the tips in the video, but for those of you who are currently unable to watch the video, the tips are:
Practice - Make sure you practice your photography. Practice lots!
Be Inspired - Have plenty of sources of inspiration!
Get Involved - Go on a workshop or enter for a magazine feature!
Get Sharing - Share your work or enter a competition!
Adventure - Get out there and go on a photography adventure!
And there is a bonus tip, but you'll just have to watch the video for that one!
So do you have any tips you want to share? What things did you do to improve your skills as a photographer? Which of my tips are you going to follow? Let me know in the comments below.
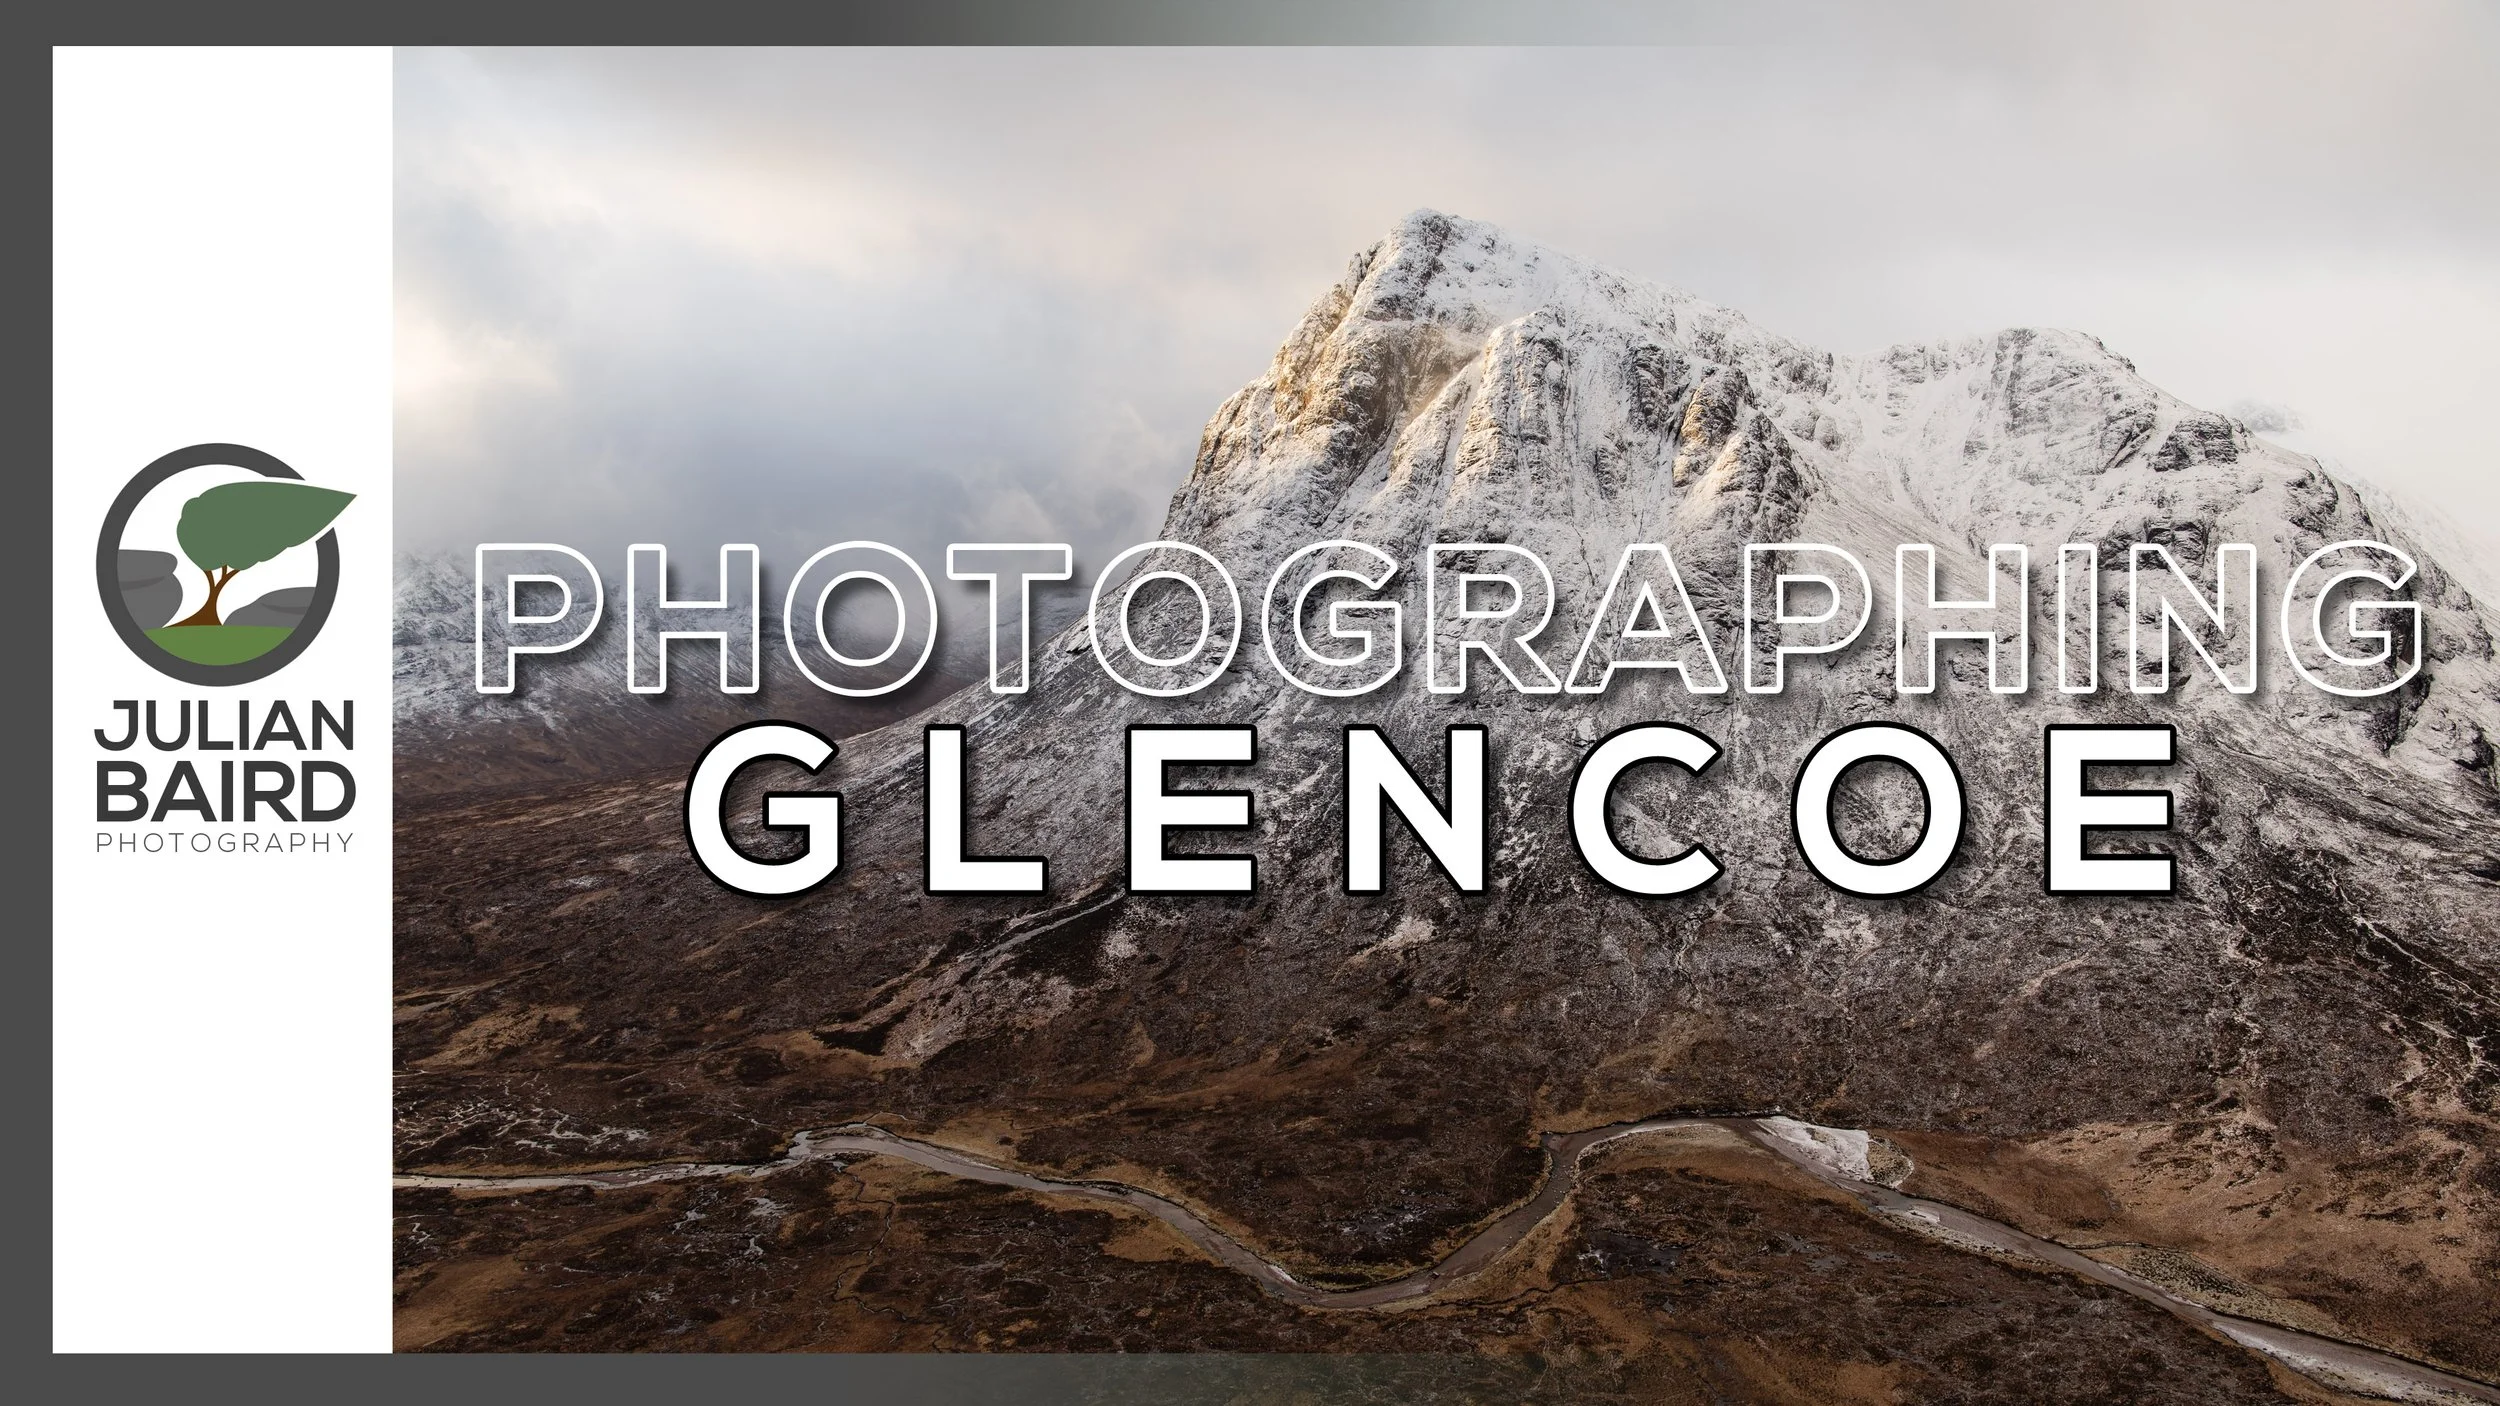
Glencoe Adventure - Part 2, The Vlog
In this 2nd of two special Glencoe blog posts, I'll share with you my vlog of the 24hrs I spent in Glencoe before the workshop. It was a busy and tiring time but the effort I put in resulted in some special images!
Maximising your Time
Last week, in part 1 of my Glencoe Adventure blog, I shared with you the images and stories from my time at the Dawn 2 Dusk Glencoe photography workshop. This week, in part 2, I will be showing you what I got up to with the 24hrs I had between arriving in Glencoe and the start of the workshop.
I had booked the workshop more than 12 months in advance so I had plenty of time to organise and plan my trip. Though the workshop started at 1 pm, the risk of being delayed if I decided to travel up on the day was just too great. So the only option was to travel up the day before. Rather than opt for a mid-morning departure from Devon and arrive early evening in Glencoe, I decided that a very early start was in order.
If I left at 5 am and undertook the 520-mile journey, I could feasibly make Glencoe for about 3:30 pm, just in time to get some sunset pictures! I then also had the morning to do a dawn shoot, with perhaps some post-breakfast shooting and all before the start of the workshop. My plan had been hatched!
Rather than write about the 24 or so hours I had in Glencoe, I've documented my adventure in my latest vlog. Check out the video below, and if you haven't subscribed to my YouTube channel then what are you waiting for!
Needless to say, I did not regret that 4:30 am alarm call!
Image Gallery
The gallery below is a collection of the images that I took during my 24hr adventure in Glencoe. They are in the video but sometimes it's nice to see them in a bit more detail so click on an image to bring them up in a lightbox.
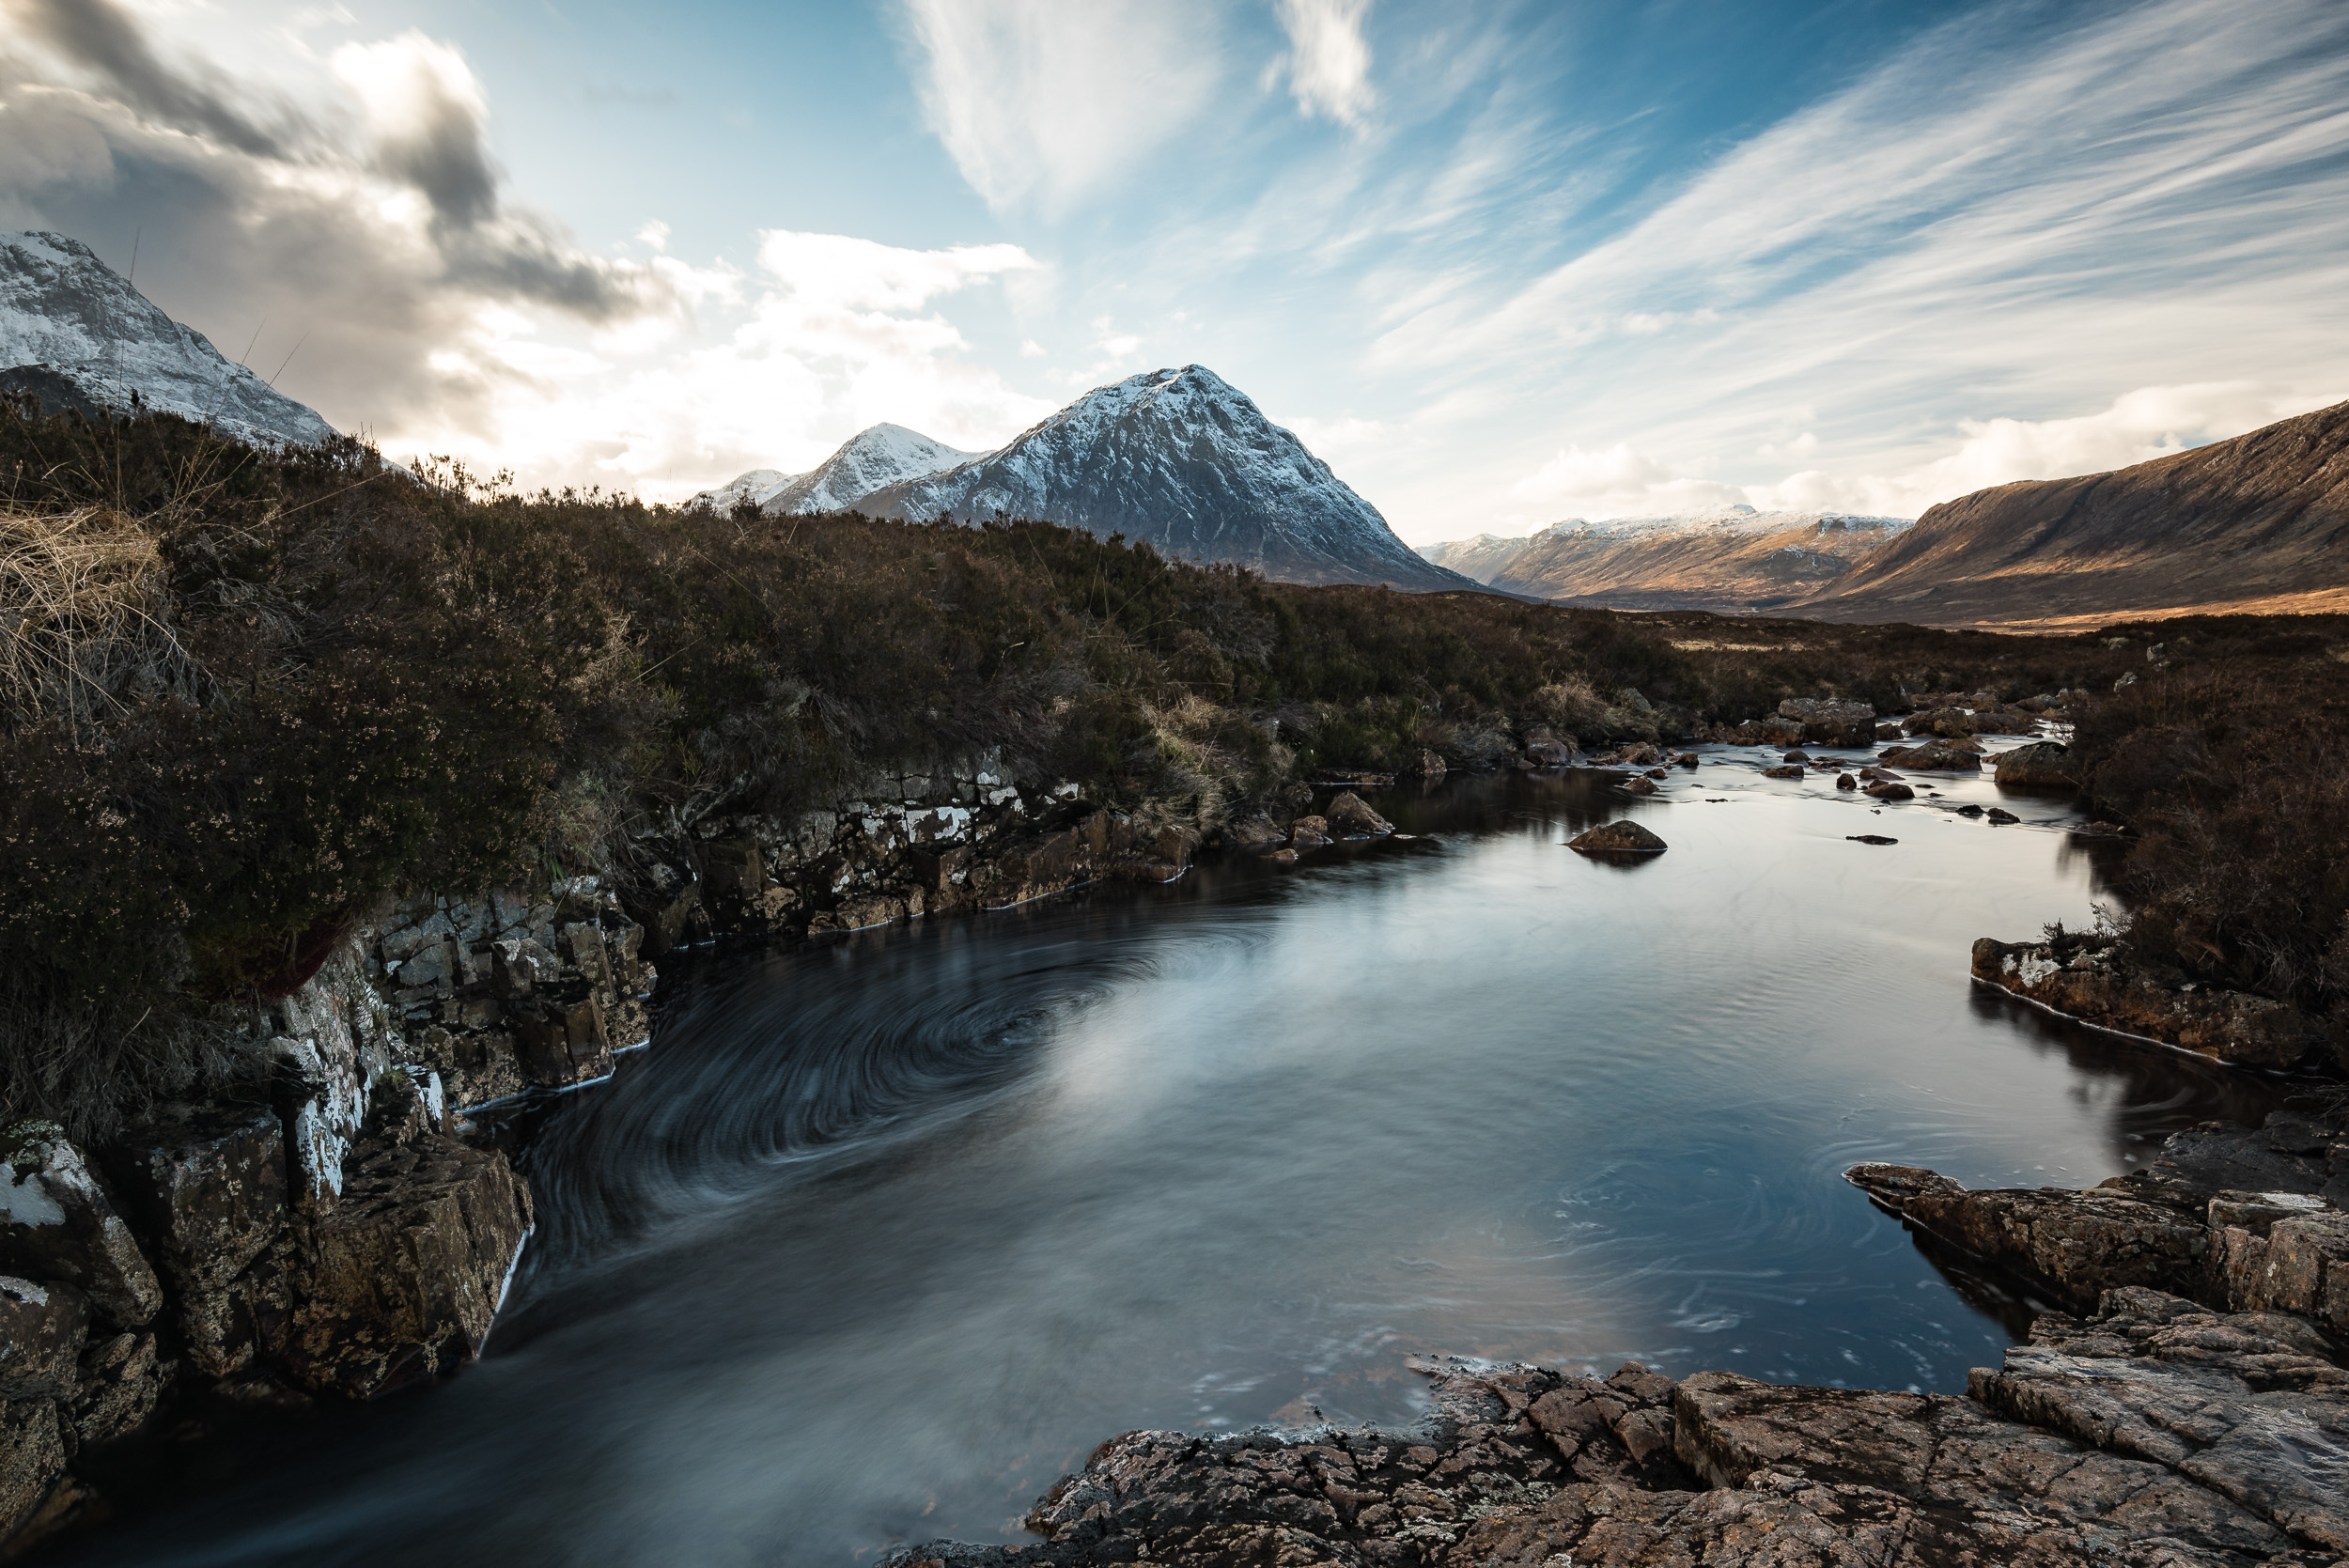


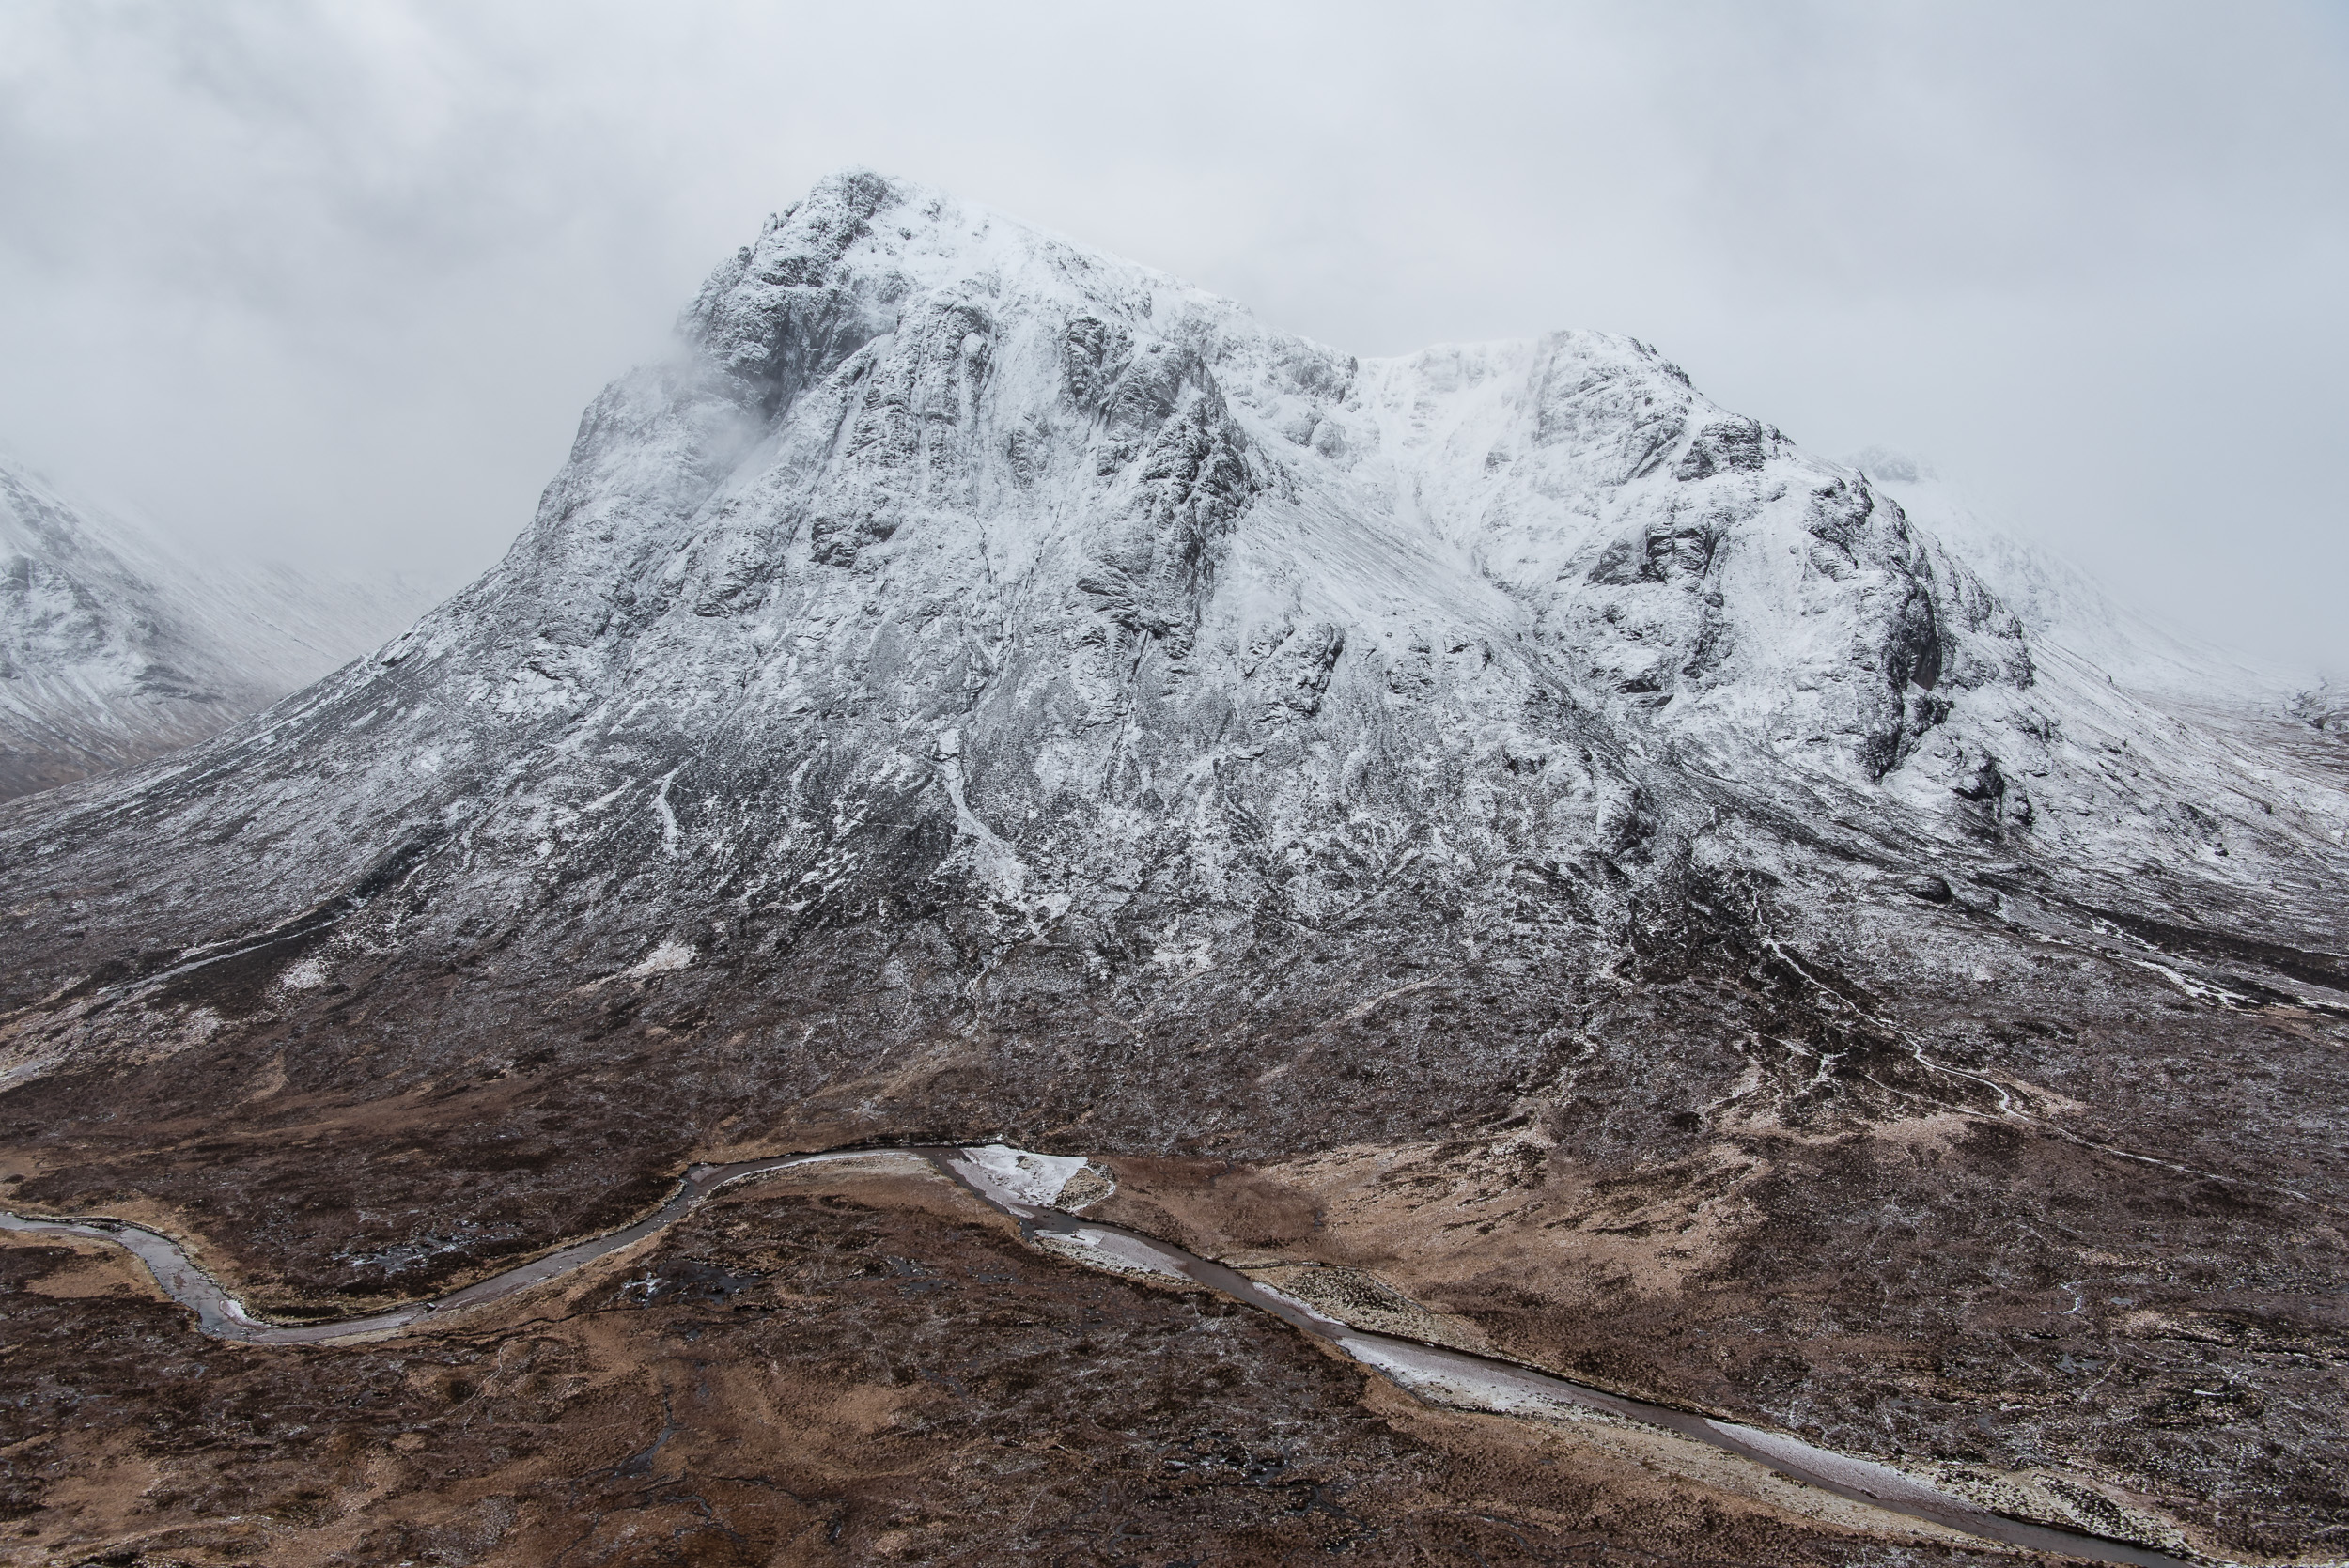


A Good Book to Pass the Time
The video is just a snapshot of my 24 hours before the workshop so here is a few stories that weren't in the video.
Firstly, while the journey from home to Glencoe took around 10 hours, it didn't feel like a very long drive. The principle reason for this is entertainment. I've been a long time subscriber to Audible and listening to a good audiobook is a great way to pass the time on those long car journeys. For the journey, I started a new book called Fear the Sky by Stephen Moss and read by R. C. Bray (who also read the other excellent sci-fi book The Martian). I had a feeling it was going to be good (as it was recommended by the same person that recommend The Martian to me), but I was engrossed from the moment the story started. Let's just say that I almost didn't want the journey to end!
Most landscape photographers drive a lot and if reading any of the Game of Thrones novels seems like an impossible task then why not pass the time with a good audio book.
Waders and Being Social
One of the shots that I wanted to get while I was there was a sunset shot of Stob Dearg (Buachaille Etive Mor) from the River Etive. To get the shot that I wanted I would need to wear a pair of waders (as inspired by this Thomas Heaton video). I borrowed my father-in-law's waders and put them in the boot of the car, unsure whether I would actually need them or not. When I arrived in the layby near my planned shooting location I felt a bit silly putting on waders to go out and take images. No one was about though so I set off on the short walk to the location where I would shoot.
However, as I approached the spot I could see another photographer there. This is generally not an issue and I'm always up for a bit of a chat but what would this person think if they saw me wearing waders to take photographs! Well, imagine my surprise when he also was wearing waders! All of a sudden it didn't feel that odd to be wearing a pair of waders to take photos.
The chap in question was Johnny Baird and we joked about what the odds would be that there would be two photographers named Baird, wearing waders, taking landscape photographs from the middle of the river that evening! Landscape photography can be a solitary pastime so it's nice sometimes when you meet a like-minded individual and you can chew the fat over photography while standing in the middle of a river!
Johnny has a wonderful portfolio of landscape images and I strongly suggest you check out his Facebook page.
A Missed Opportunity
After my epic early morning of photography shooting Stob Dearg from Beinn a'Chrulaiste I was hugely satisfied with my morning's work. After breakfast though I thought I go and see if there was anything else I could shoot before the workshop started in the afternoon. I also thought it would be a good chance to properly test out my latest addition to my kit bag, the DJI Mavic Pro.
One of the locations I visited was the spot where you can photograph Stob Dearg and the River Coupall. As this is such a hugely popular spot for landscape photographers I was not surprised to see another couple of photographers there already. I didn't want to spoil these photographers experience of the location so I did ask if they didn't mind if I flew the drone around the area. It wasn't a problem and as the drone is often a talking point we also got chatting about drones and photography in general.
The conditions at the location were also ideal for stills photography. The snowy peak of Stob Dearg was clearly visible, there was some cloud in the sky and plenty of water in the river. All I had to do was walk the very short distance back to the car and get my DSLR. Except I didn't. I already knew that we would be visiting this very location in a couple of days during the workshop so why would I bother shooting it now. After all, I'll get the same shot when I return.
Having grown up in Scotland I really should have known better. After all, Scotland is well known for having weather that produces all four seasons in one day. Sure enough, when I did return with the workshop group the conditions were totally different. One of the main focal points of that spot is the visibility of Stob Dearg but when I returned it was covered in cloud. Though I waited and waited for the cloud to clear it never completely cleared, leaving me regretting my rather silly decision of not shooting the scene when I was there earlier! Lesson learnt.
An Epic Adventure
Even if I'd only had those 24 hrs in Glencoe it would have been a worthwhile trip. As I said in the intro of the video it's important to go on an adventure every now again and push the boundaries of your landscape photography.
It took time and effort to get up Beinn a'Chrulaiste at dawn to get those shots of Stob Dearg but it was worth every step to have the pleasure and simplicity of shooting up there. The previous few weeks shooting in my local area hadn't been hugely successful and this trip to Glencoe gave my passion for landscape photography a well-needed boost.
So if you are struggling with what to do next with your landscape photography take a few days off work, grab your camera and go somewhere where you've never been before. It will be time and money well spent!
So when was the last time you went on an adventure with your photography? What's the furthest you've driven to get a photograph? Let me know in the comments below.

Prawle Point with a Point and Shoot
Can you shoot good seascape images with a compact camera? In my latest blog post and video I go out to explore the coastline around Prawle Point in south Devon to capture some seascape images. I also leave all my DSLR gear at home and decide to shoot only with a compact camera. Read more to see how I got on!
Packing Light and Exploration
I've photographed Start Point <insert link to previous blog post> on the south Devon coast a few times but I've never really ventured further west towards Prawle and Salcombe. My father-in-law had suggested a few times that this area of the coastline was worthy of investigation, so when a free Sunday morning came up I decided to do just that.
Summerleaze beach in Bude. The manual controls on the Sony RX100 M4 allowed me to create this long exposure.
After deciding that I would go to Prawle Point I also considered if I should pack all my DSLR gear and go for a sunrise shoot. I have to admit that going somewhere new and trying to find a composition for sunrise was exciting, but my head overruled my heart. The weather forecast was for high winds and 100% cloud coverage so I decided I would take a more leisurely approach and have breakfast first and go out after sunrise.
I already knew the conditions weren't going to be ideal for seascape photography but I didn't want to go out with no camera at all so I decided to go out with my light weight setup of my Sony RX100 M4 and Manfrotto BeFree carbon fibre tripod. The Sony RX100 M4 looks like a point & shoot camera, but this little compact camera can be a real powerhouse. It has lots of manual controls, and while it does have it's limitations, it is capable of capturing some wonderful images.
So with a new area to explore, and very lightweight setup, I decided to make a video to see if I could capture a good seascape image while out exploring Prawle Point. I was going to test the theory The Best Camera is the One That's with You. Check out the video below to see how I got on.
Results and Conclusions
As I said in the video I'm certainly not about to give up all my Nikon gear but that's not to say that I can't capture good images with a compact camera. Yes, I was off to a little bit of a head start with advanced capabilities of the Sony RX100 M4 but it is more about understanding your gear and having a good technique that allows you to get results.
Sony RX100 M4, 8.8mm (24mm @ 35mm equiv), 1/4 sec @ f/11, ISO 80, in-camera ND filter on. Processed and converted to black & white in Lightroom CC.
Sony RX100 M4, 8.8mm (24mm @ 35mm equiv), 1/4 sec @ f/11, ISO 80, in-camera ND filter on. Processed in Lightroom CC.
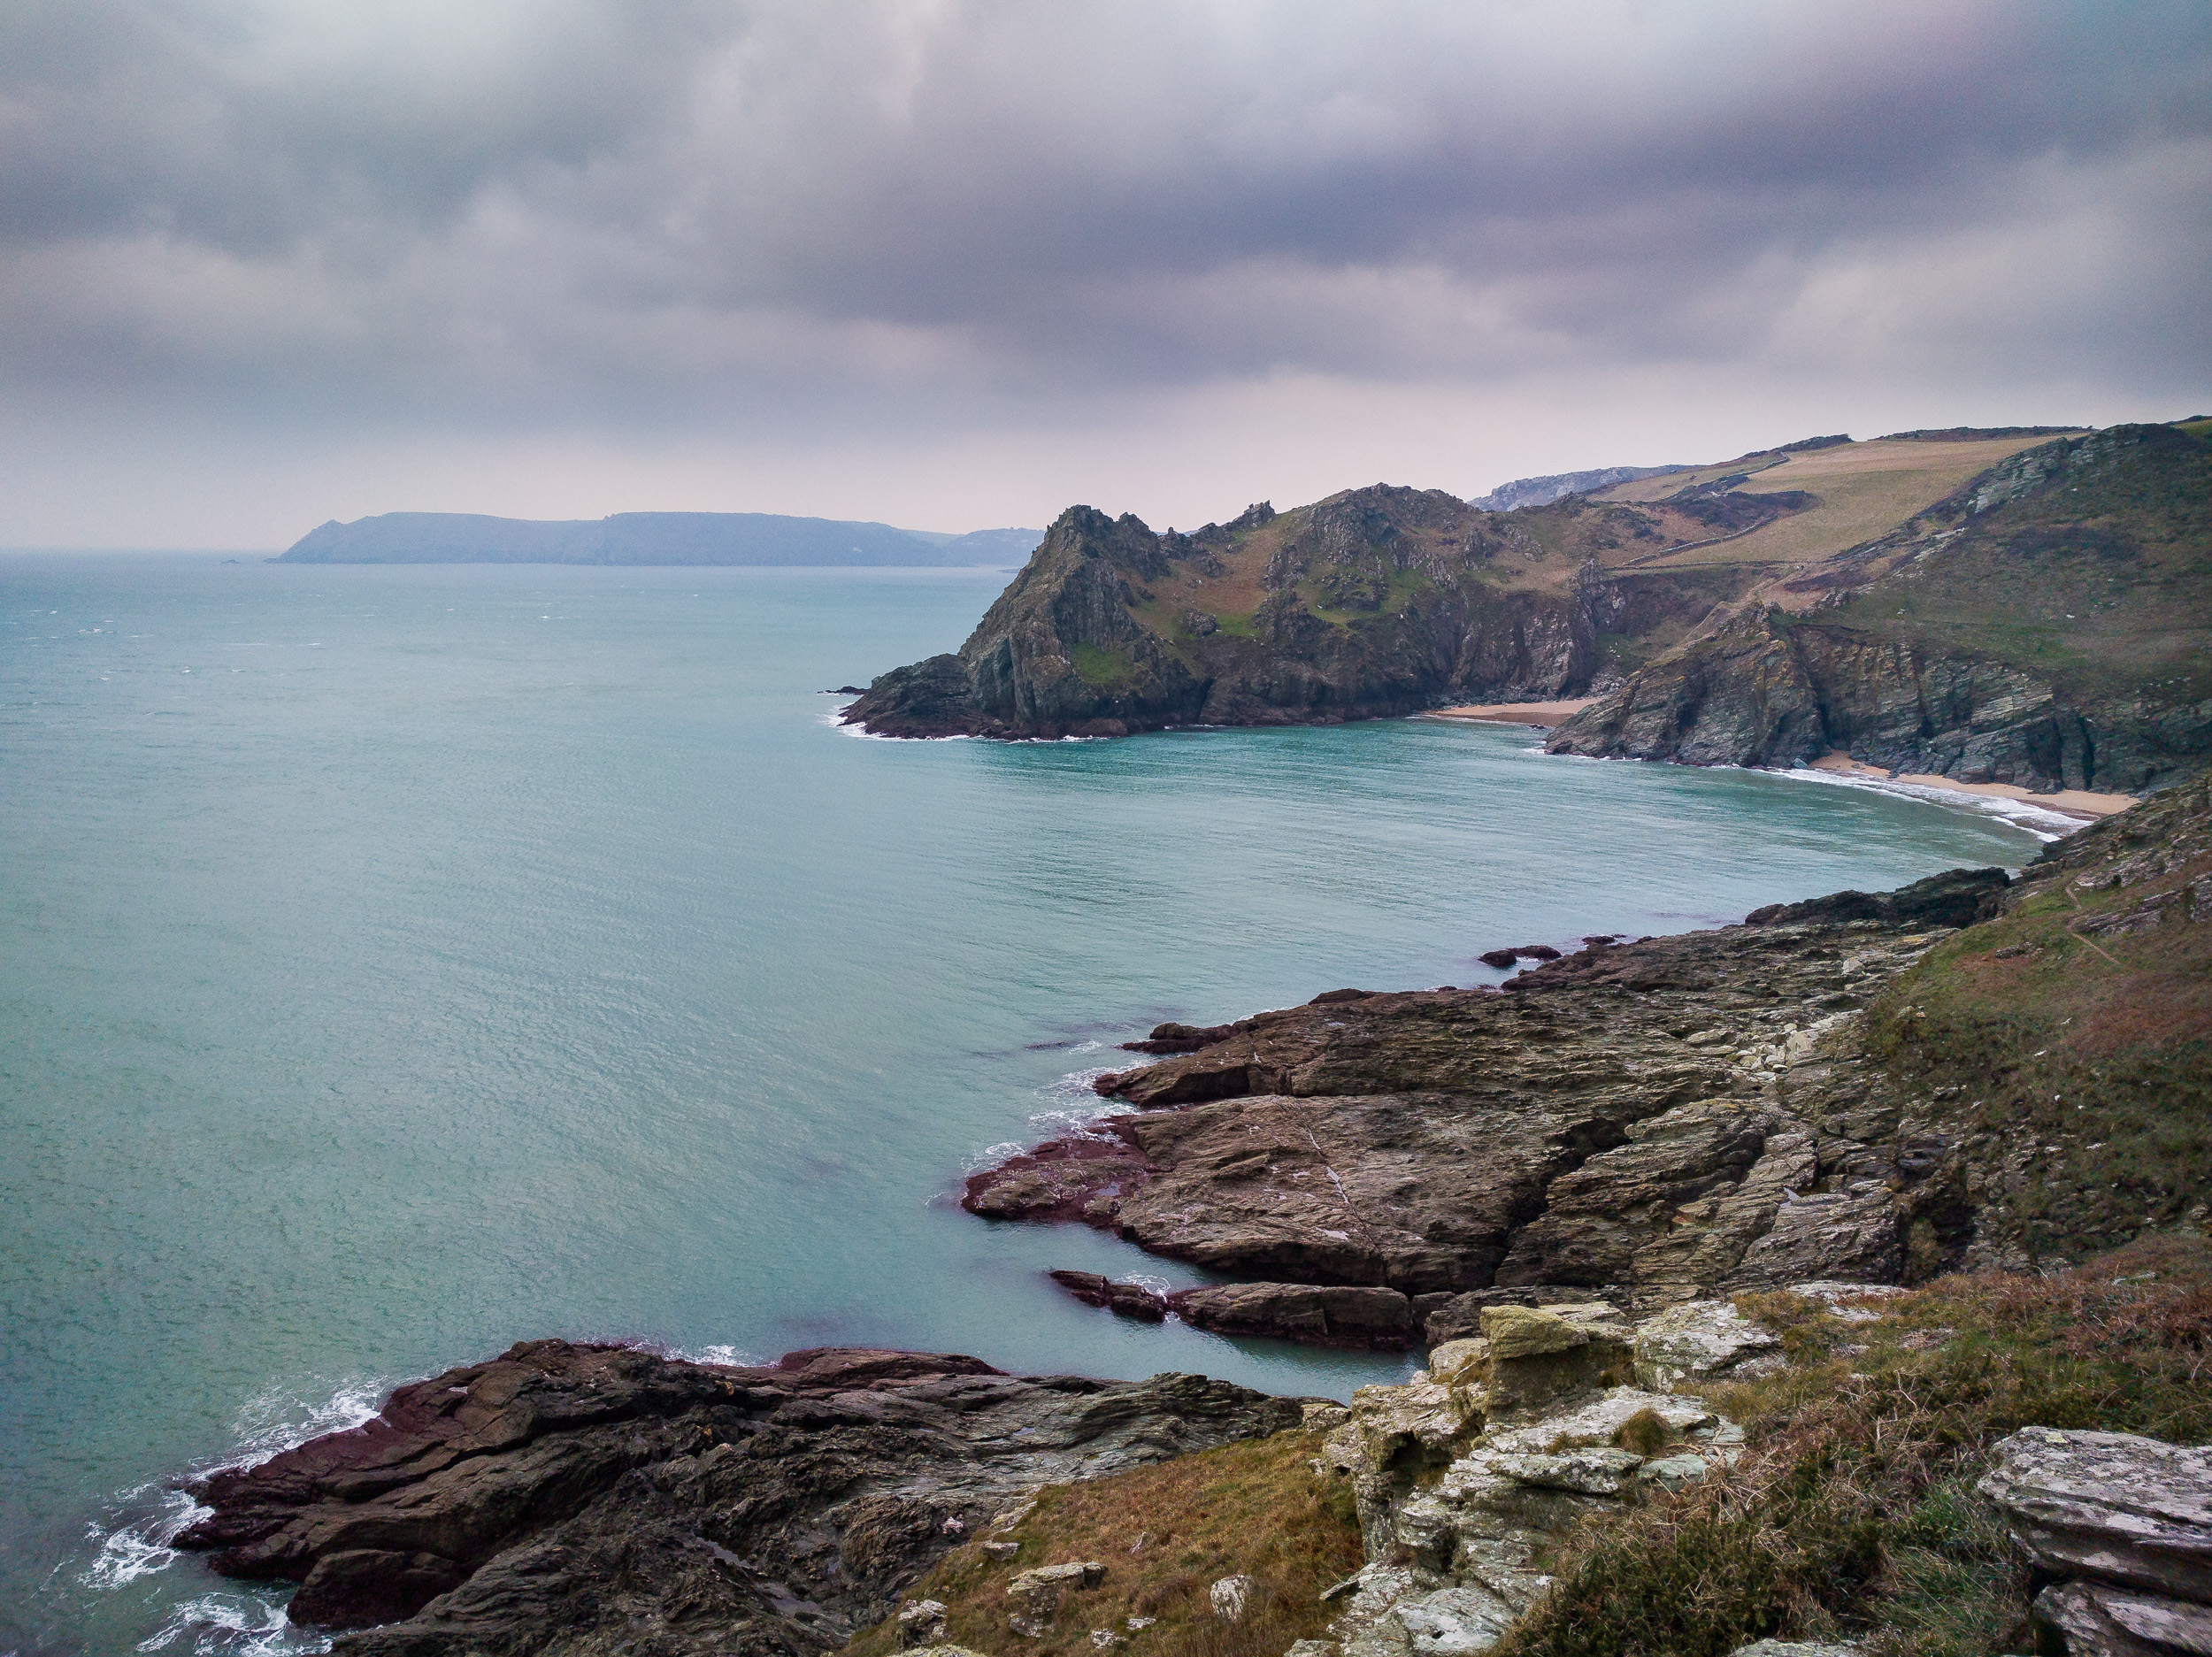
A reference shot facing east from Prawle Point lookout. Taken with my Nexus 6p phone.
While I'm not considering these images for my portfolio, given the weather conditions and the fact it was a new location for me I'm relatively happy with the results. While there is no doubt that my Nikon camera, lenses and Lee Filters provide me with a superior level of control and quality, I'm still confident I could capture good images with my Sony RX100 M4 if I needed to. It's also nice to travel light every now and again!
I'm also very much looking forward to exploring to the east of Prawle Point. The coastline seems more dramatic and there are a couple of very nice looking beaches. Once I've got some locations marked out I'll return with my Nikon and also shoot some video there with the drone.
So, do you prefer to go out with a light weight setup? How important is gear? Is good photography technique just as important as the camera? Let me know in the comments below.
A Technical Footnote
The video I shot at Prawle Point was also an opportunity to test out my new audio/video rig. Audio is a critical component of good video, and I've struggled to get good audio for my videos. The Sony RX100 M4 captures wonderful 4K video, but without a mic input, I've had to depend on onboard audio which isn't great. Now that I'm using an external audio recorder and a lavalier mic I can consistently capture high-quality audio. In fact, I wouldn't have been able to capture good audio at Prawle Point without my new rig as the wind was so strong.
If anyone is interested in the setup let me know in the comments and I'll either do a blog post of video on my personal setup. However, I do have to thank Ted Forbes and his YouTube channel The Art of Photography which originally showed me how I could use a Sony RX100 M4 and an external audio recorder in a single rig setup.
And thanks to Ted, I also learnt how to sync the audio as well.
Please do subscribe to The Art of Photography. It's a wonderful photography channel that discusses so many aspects of photography from technical side of things (as above), to the artistic side of photography.
And of course, don't forget to subscribe to my YouTube channel.

My Field Guide to Using ND Filters
In this blog post and video I take you out on a shoot to Froward Point in South Devon to take you through my workflow when using Neutral Density (ND Filters). It doesn't matter what strength of ND filter or even who makes it, my process is the same. Read the blog post and watch the video to find out more!
Control
Modern cameras are wonderful and amazing bits of technology. They allow us to turn our creative visions into beautiful images that we can connect with. We have a lot of control. We can change shutter speed, aperture, focus, ISO, and position, all with the aim of capturing that moment. One thing we can't control is mother nature and so sometimes we need a little extra help "control the light".
This image required an exposure time of 72 seconds. Generally speaking it would not have been possible to get an exposure of this length without an ND filter.
This is where filters come in. Now, there are such a dizzying array of filters available it would be slightly foolish of me to try and cover them all here, so I'm going to concentrate on the use of ND (Neutral Density) filters or to be more specific how I use ND filters.
Though I use ND filters in my landscape work, it is probably in my seascape work that I will use them the most. They allow me to creatively control how the water looks in the image. It could be that I want to lengthen the exposure to 1 or 2 seconds to show the path of a wave, or even 3 or 4 minutes to smooth out the texture of a choppy sea. Sometimes you just can't get exposures times like that just with the camera alone.
The Process
I have a range of ND filters in my bag, all made my Lee Filters (my filter manufacturer of choice). I have a 3 stop, 6 stop (Little Stopper), 10 stop (Big Stopper), and 15 stop (Super Stopper). The Super Stopper is a recent addition to my kit bag and you can read how I got on with it on my first trip out with it here.
No matter which ND filter I use, the setup and execution process I go through is the same. To show you what my process is I've created in this field guide video which takes you through my process while out on a shoot.
To recap from my video the process I follow is:
Composition - first things first, I need to have a composition. Get this right first!
Base image - take a shot with no filters. Check composition again, image sharpness and exposure. If needed adjust, shoot and check again.
Add other filters - if needed, add ND graduated filters or a polariser. Shoot the image again and do all the same checks.
Add ND filter - finally, add ND filter of choice and take the image. Do all the same checks again.

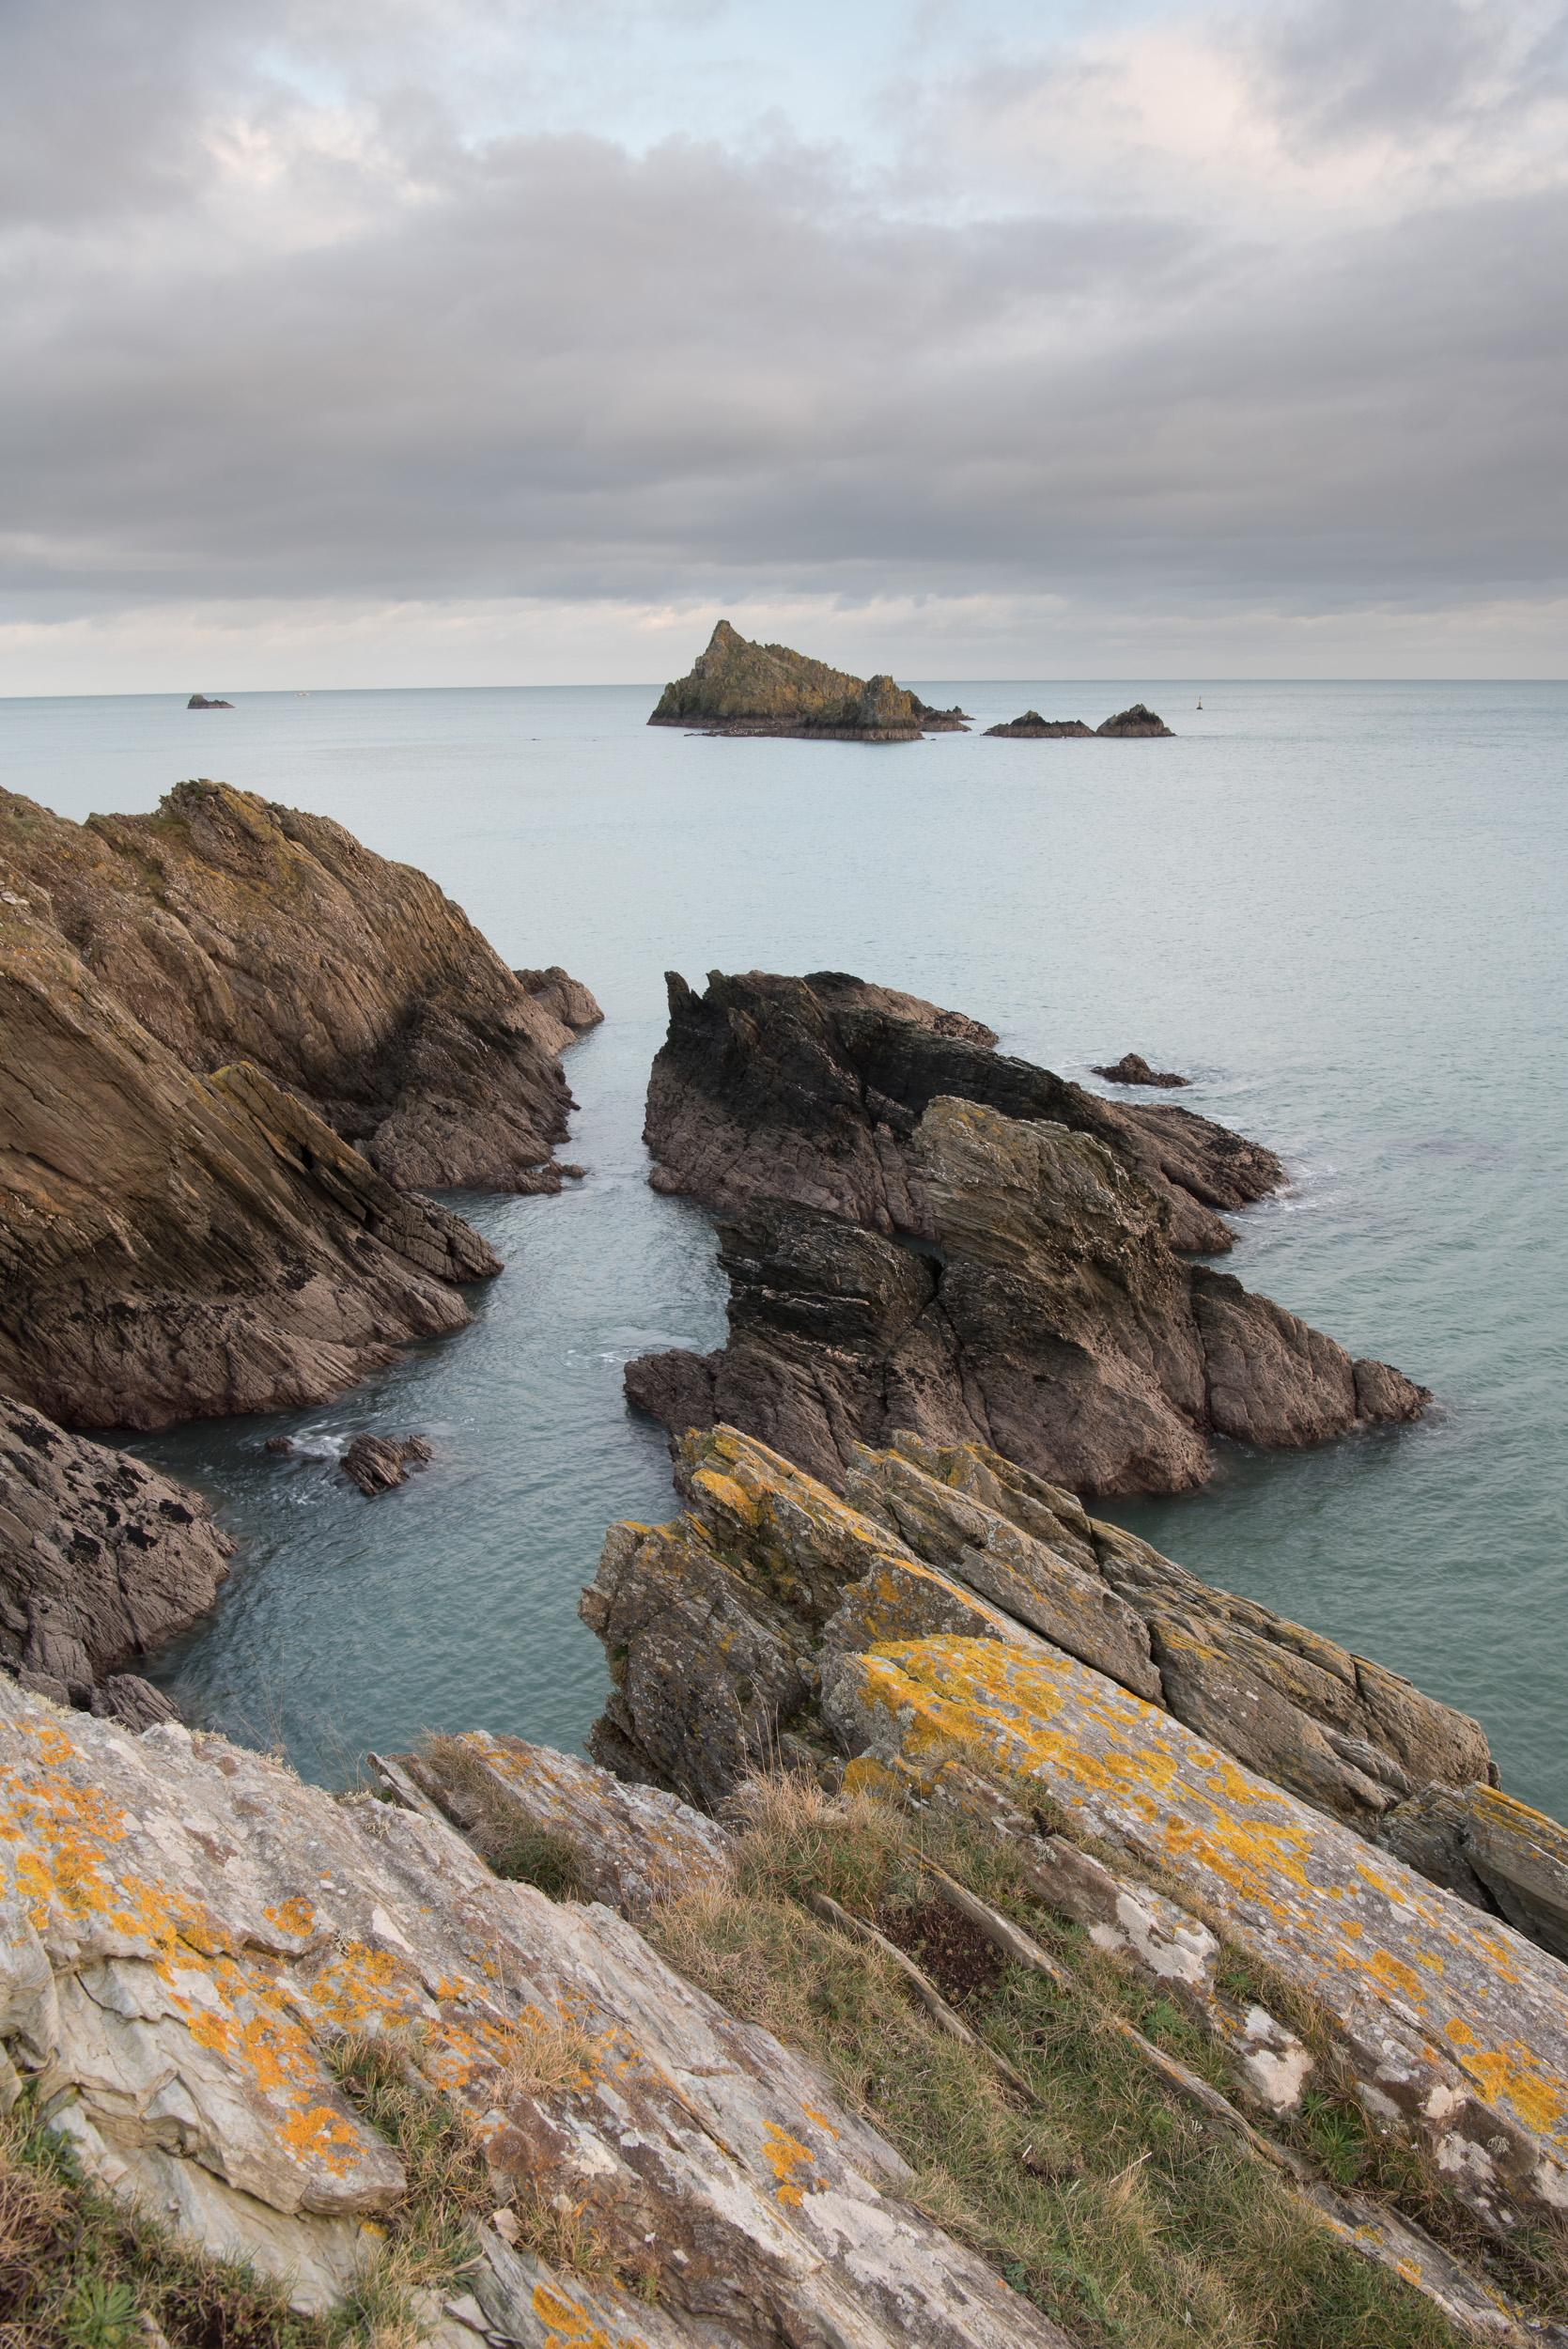
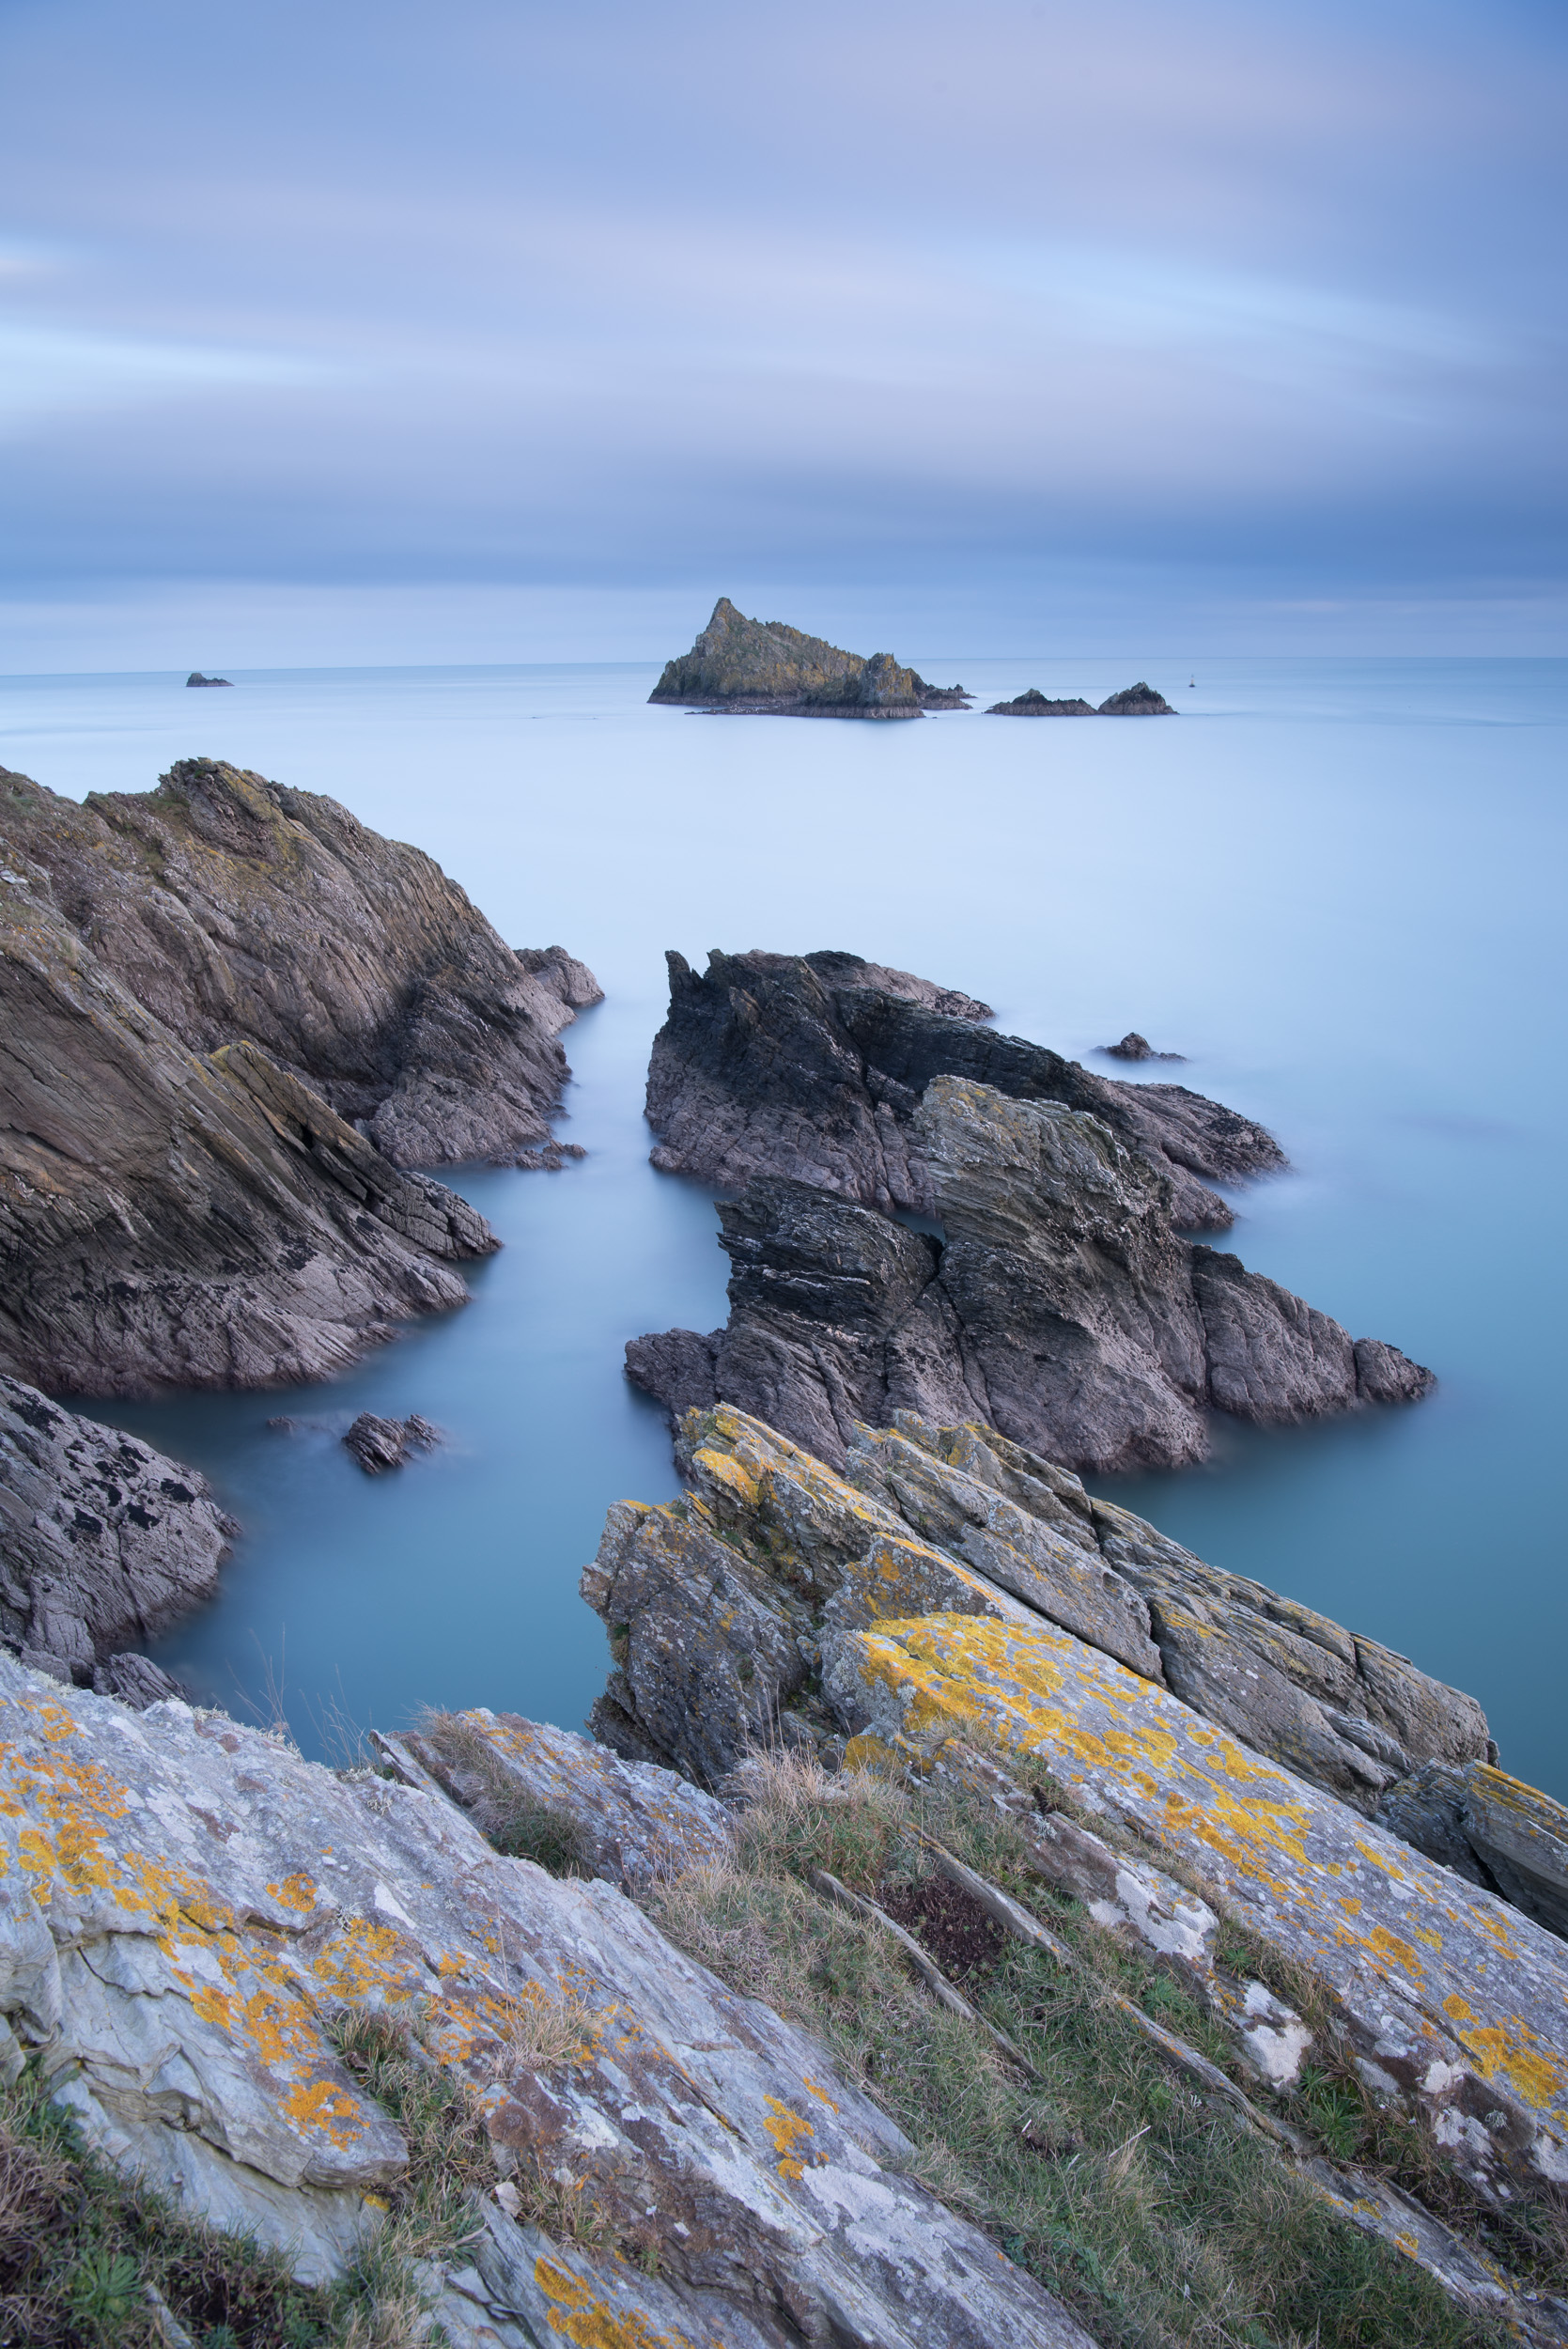
Once processed the final image looks like this:
Final image. Nikon D750, Nikkor 24-70mm f/2.8 VR @ 28mm, f/13, 202 seconds, ISO 100, Lee Filters ND 0.6 (2 stop) graduated filter, Lee Filters Big Stopper (10 stop ND), cable release.
I hope the reading about my process for using ND filters has been useful. Do you follow the follow the same process? Do you do things a little differently? Are ND filters part of your creative workflow? Are you considering getting some ND filters? Please let me know in the comments below.
Creating a Locations Map with Google Maps
In this video I take you through process of creating your own custom Google map so you can record, track and visualise your landscape photography locations
Location Planning
Back in September I posted a blog article on planning for a landscape shoot. In the blog post and associated YouTube video I talked about a number of planning tools that I use for weather, tides, sunset / sunset timings etc. However, it was my use of a custom Google Map to record locations that I have either visited or plan to visit that seems to have generated the most interest from my readers / viewers.
Using Google Maps
Given the level interest I thought I'd produce a brief tutorial to tell you how to create your own map. So in this video I take you through the steps of:
Creating a map
Adding locations
Using colours, icons, and layers
Modifying locations with comments
Accessing your maps on a mobile device
I find it a really useful tool and I'm sure you will to. Check out the video below:
Hopefully you found this video useful. If so, please do subscribe to my YouTube channel! Don't worry if you don't, I always post a blog article here with the video embedded so you won't miss out.
Do you use Google Maps for any of your location planning? Do you have any tools that you recommend? If so, please let me know in the comments.

My YouTube Channel - Update #1 for 2017
I haven't posted a new video to my YouTube channel in a while so I wanted to give you a quick update on where I am with the channel and my plans for 2017!
Happy New Year!
Firstly Happy New Year to you all. I started this blog back in August 2016, and since then I've managed to maintain my goal of a new post every week. It's hard work but it also encourages me to get out there with my camera more often which is rarely a bad thing!
I've also received plenty of positive feedback and will continue to deliver new blog posts and content throughout 2017. I've got plenty of ideas for new posts but I just need the British weather to be a bit more cooperative! These winter months can be very restrictive.
My YouTube Channel
If you are a regular reader of my blog you will already know I've also got a YouTube channel. In 2016 I created the following videos:
It's been a couple of months since I last post a video on the channel, but it is far from abandoned! Unfortunately, as is always the case with landscape photography in the UK, the weather has made it difficult to execute some of the video ideas I have.
Not to worry, I have rolled those ideas into my 2017 content plan and with any luck, I'll be back juggling cameras in the field again very soon. I've posted a quick update video to my channel to keep my subscribers up to date but here it is for my blog readers.
If you aren't already a subscriber or viewer why not check out my YouTube channel and even better why not subscribe. Don't worry if you don't, I always post a blog article here with the video embedded so you won't miss out.
Is there anything you'd like to see from my YouTube channel? If so I'd love to hear about it in the comments below.
Till next time!

My Favourite / Top 5 / Best Landscape Photography Locations in Devon
In this special blog post and video I take you on a mini tour of my 5 favourite landscape photography locations in Devon.
A Personal Selection
As a landscape photographer living in Devon I am spoilt for choice when it comes to shooting locations. I have access to Dartmoor National Park, large areas of the South West Coast Path, and everything in between. I shouldn't really ever run out of places to shoot.
Even though I have all this variety I can't help but have a few favourite locations. So in this video I'm going to take you on a mini tour of my five favourite locations to shoot landscapes in Devon. I've chosen a mixture of coastal and inland locations as well as choosing to shoot at dawn and dusk. Some shoots were more successful than others but I'm hoping the video will give you some ideas and inspire you to visit and photograph those locations yourself.
So why not check out the video below and let me take you on a tour of Devon...
If you need a little more information on the locations I have visited or just want to see the images in a bit more detail then please do read on!
Dawlish Warren
The groynes along the beach at Dawlish Warren offer some great lines for your composition. Long exposures often work well at this location as well, especially in poor light.
Don't forget to shoot the beach huts.
Venford Falls
Venford Falls as shot on the video. A polariser is very handy to control the reflections.
Spring is my favourite time to visit as all the moss is at its best.
Emsworthy
Both the rocks and the tree are great elements to include in your composition. This location is good to shoot at both dawn and dusk.
Turn 90 degrees and you'll find a few other compositions to shoot.
Froward Point
Shooting at sunset will typically provide the best light but what ever time you visit please be careful on the rocks!


If you've got good light shoot Daymark Tower as well.
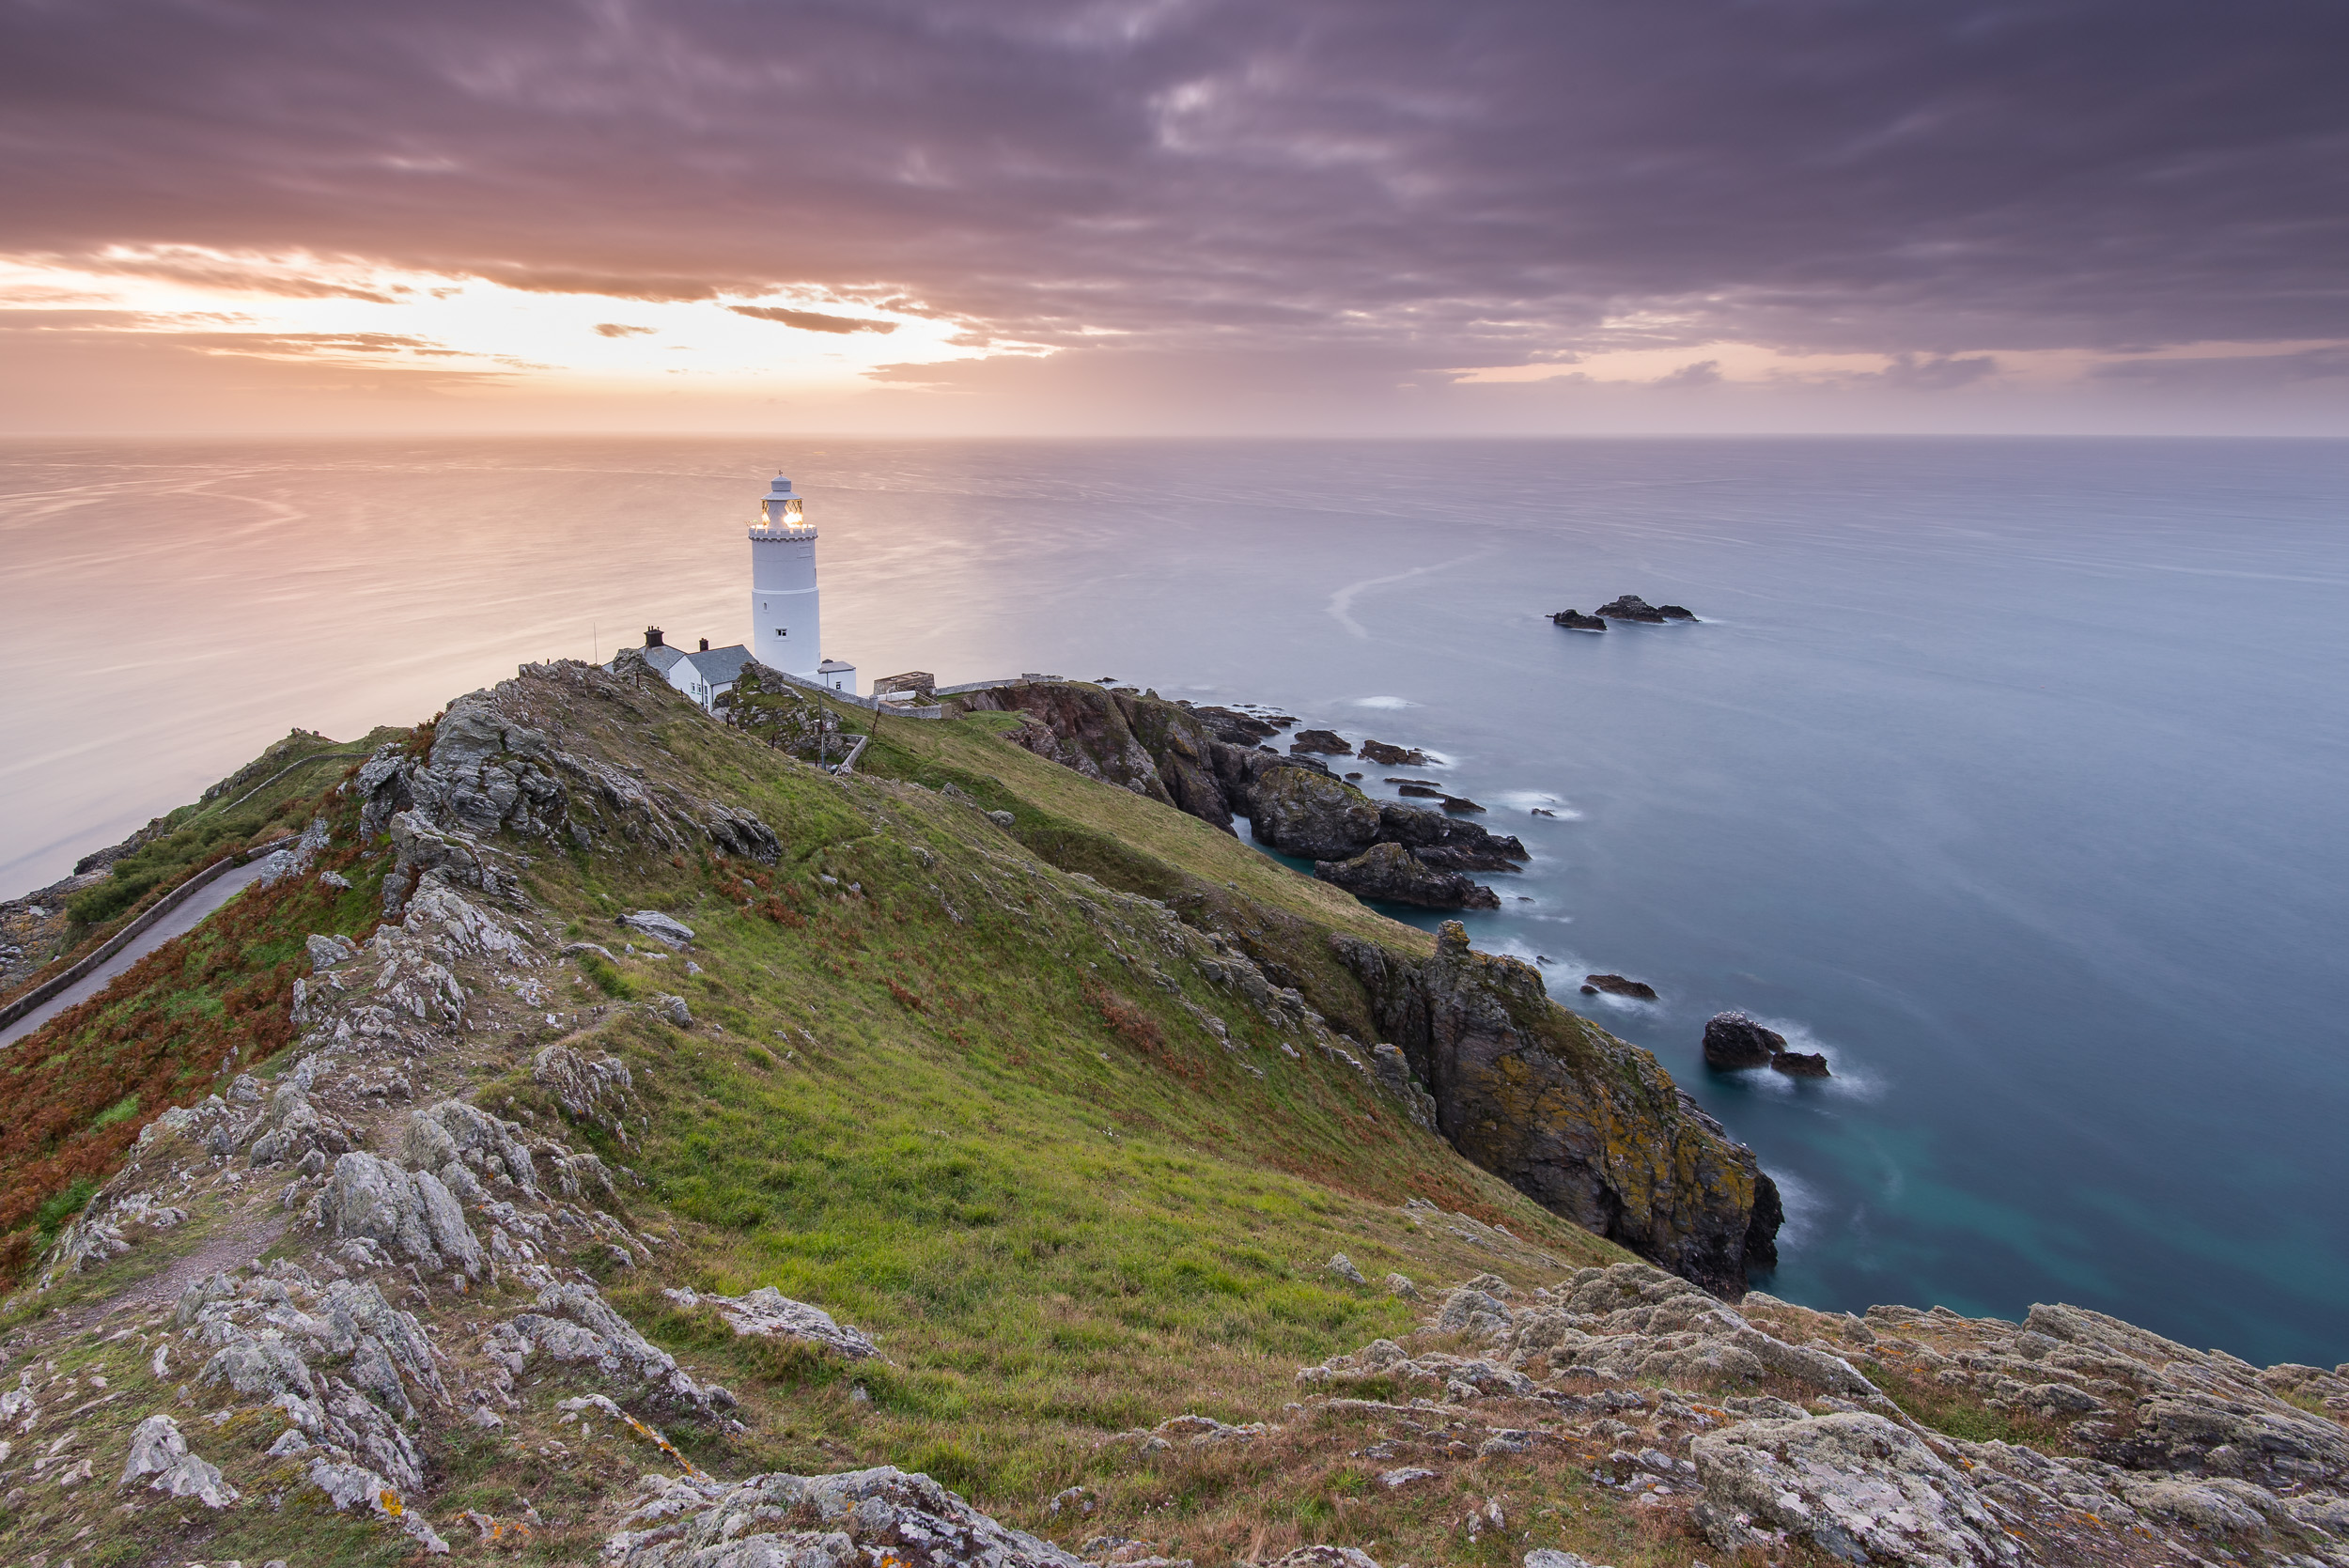
Start Point
The classic Start Point composition. Shame about the weather!
Sometimes it pays to hang around a little longer. There is just a splash of colour in the sky in this image.



In Summary
Hopefully this video and blog post has given you a little inspiration to not only shoot these locations, but also the wider Devon. It really is a fantastic part of the country with huge variety in locations and conditions.
So what are you favourite locations either in Devon or further afield? Did you find this video useful or inspiring? Is there a location in Devon or the south west that you recommend I visit? As always let me know if the comments, and remember to like and share this post! See you next time.
Planning a Landscape Shoot at Dawlish Warren
In this video blog post I show you some of the planning tools I use to help increase the chances of a succesfull trip out with the camera. After that I take you on a trip to shoot seascapes at Dawlish Warren to see if all the planning was worth it!
Plan, Plan, Plan
I like a plan. Plans are good. Plans don't always go to plan, but I like having one none the less. As a private pilot I definitely like to have a plan when I head out to the skies. And though photography is arguably less risky than flying I still want my trips out with the camera to be worthwhile and successful. After all, there is no point in heading out for sunrise only to arrive at your location as the sun comes up. This has happened to me before and trust me, after the hour and half it took me to get there it was a painful lesson.
So to prevent missed sunrises, badly timed tides, and gale force winds, I like to plan my shoots so I can maximise my chances of success. In this video I will use:
These are the tools I use the most and I've found them to be very effective and accurate in the past. So let's see them in action along with my shoot down at Dawlish Warren beach:
Success
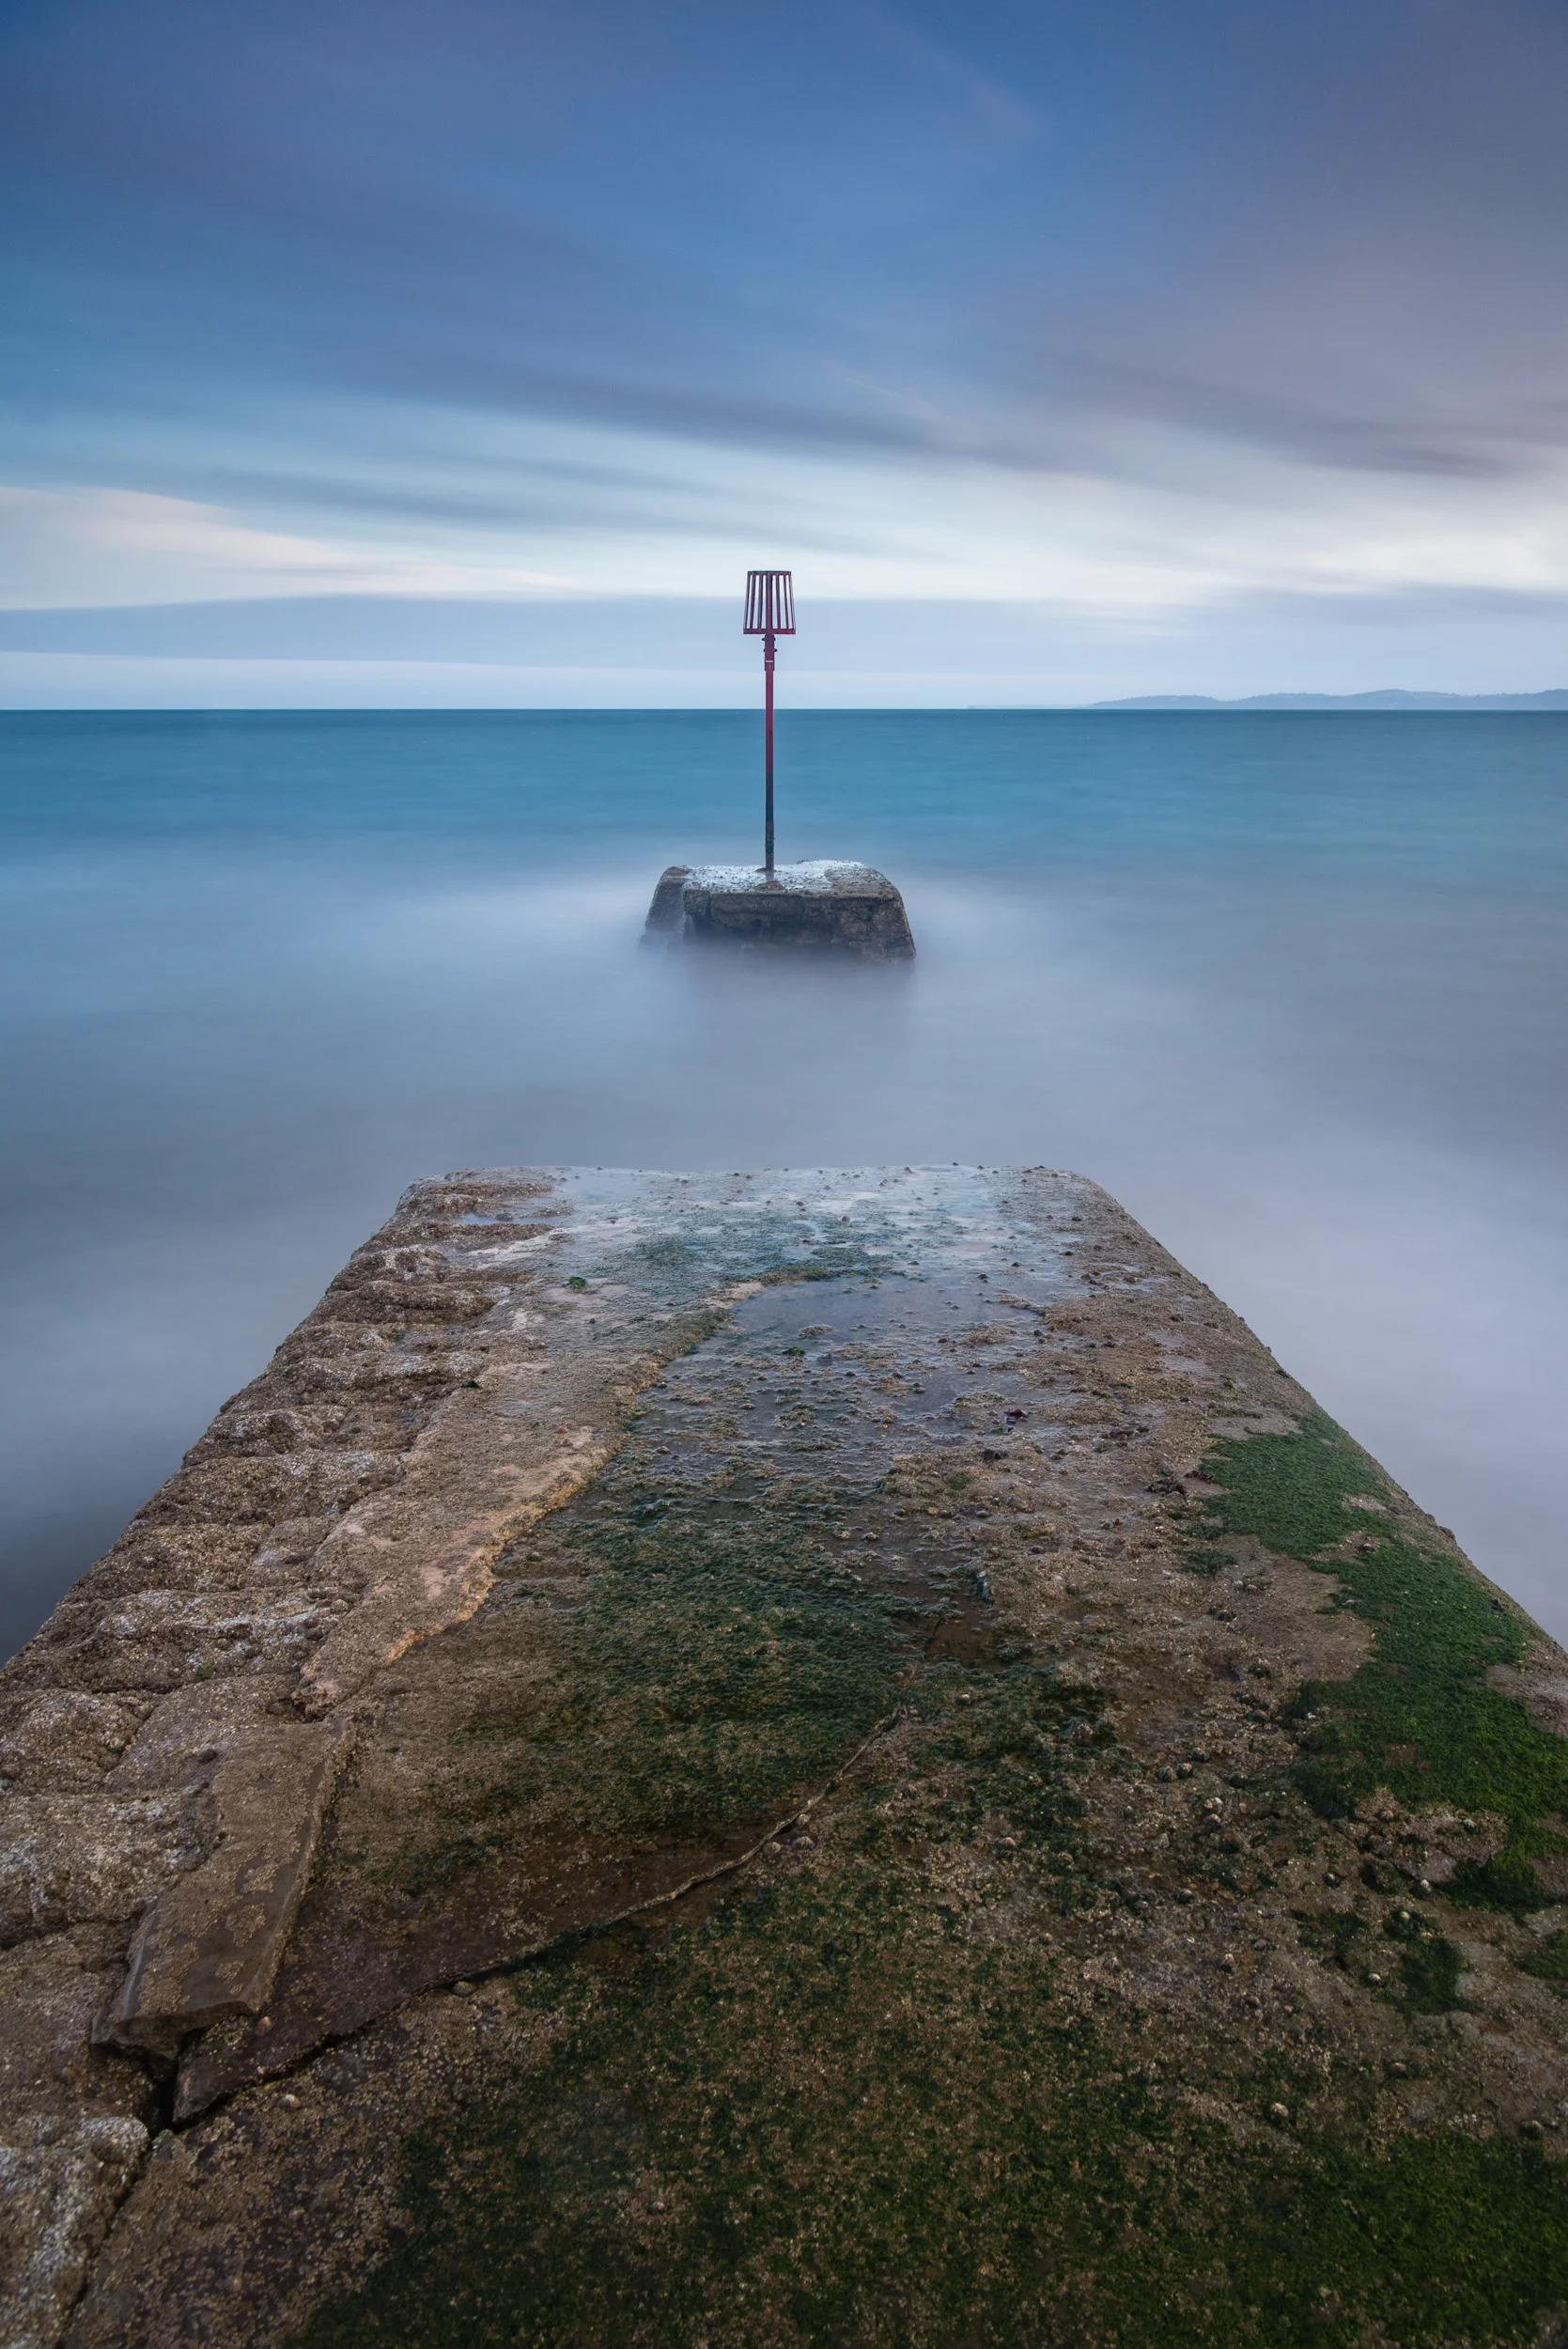
As you can see from the video, I had a successful trip and I've come away with an image I was very happy with. By checking out what the conditions were going to be like before I headed out I could be reasonably confident that my image would meet my vision for that location.
Not as calm as it looks. Nikon D750, Nikon 24-70 f/2.8 VR, 195 secs at f/11, Lee Filters ND Grad, Polariser, and Big Stopper. Processed in Lightroom CC.
Audio Quality
As I mentioned in the video, though the photography went well I had a few problems with the video. When I had the camera facing into the wind I lost all the audio of my voice over the wind noise so I had to ditch a lot of the clips. Being a landscape photographer this won't be the last time I will have to deal with this issue so I have purchased a Rode smartLav+ external mic (and some added furs for extra noise reduction). Though I will have to sync up the audio in post using Premiere Pro CC (my Sony RX100 M4 doesn't have a mic input), the improvement in audio quality will be worth it. So expect to hear my dulcet tones much improved in the next video!
Do you plan?
So do you plan your trips out with the camera? Or do you chuck the camera in the car and go for it? Let me know in the comments. And if you have a couple of minutes please like and share this blog post. Till next time....
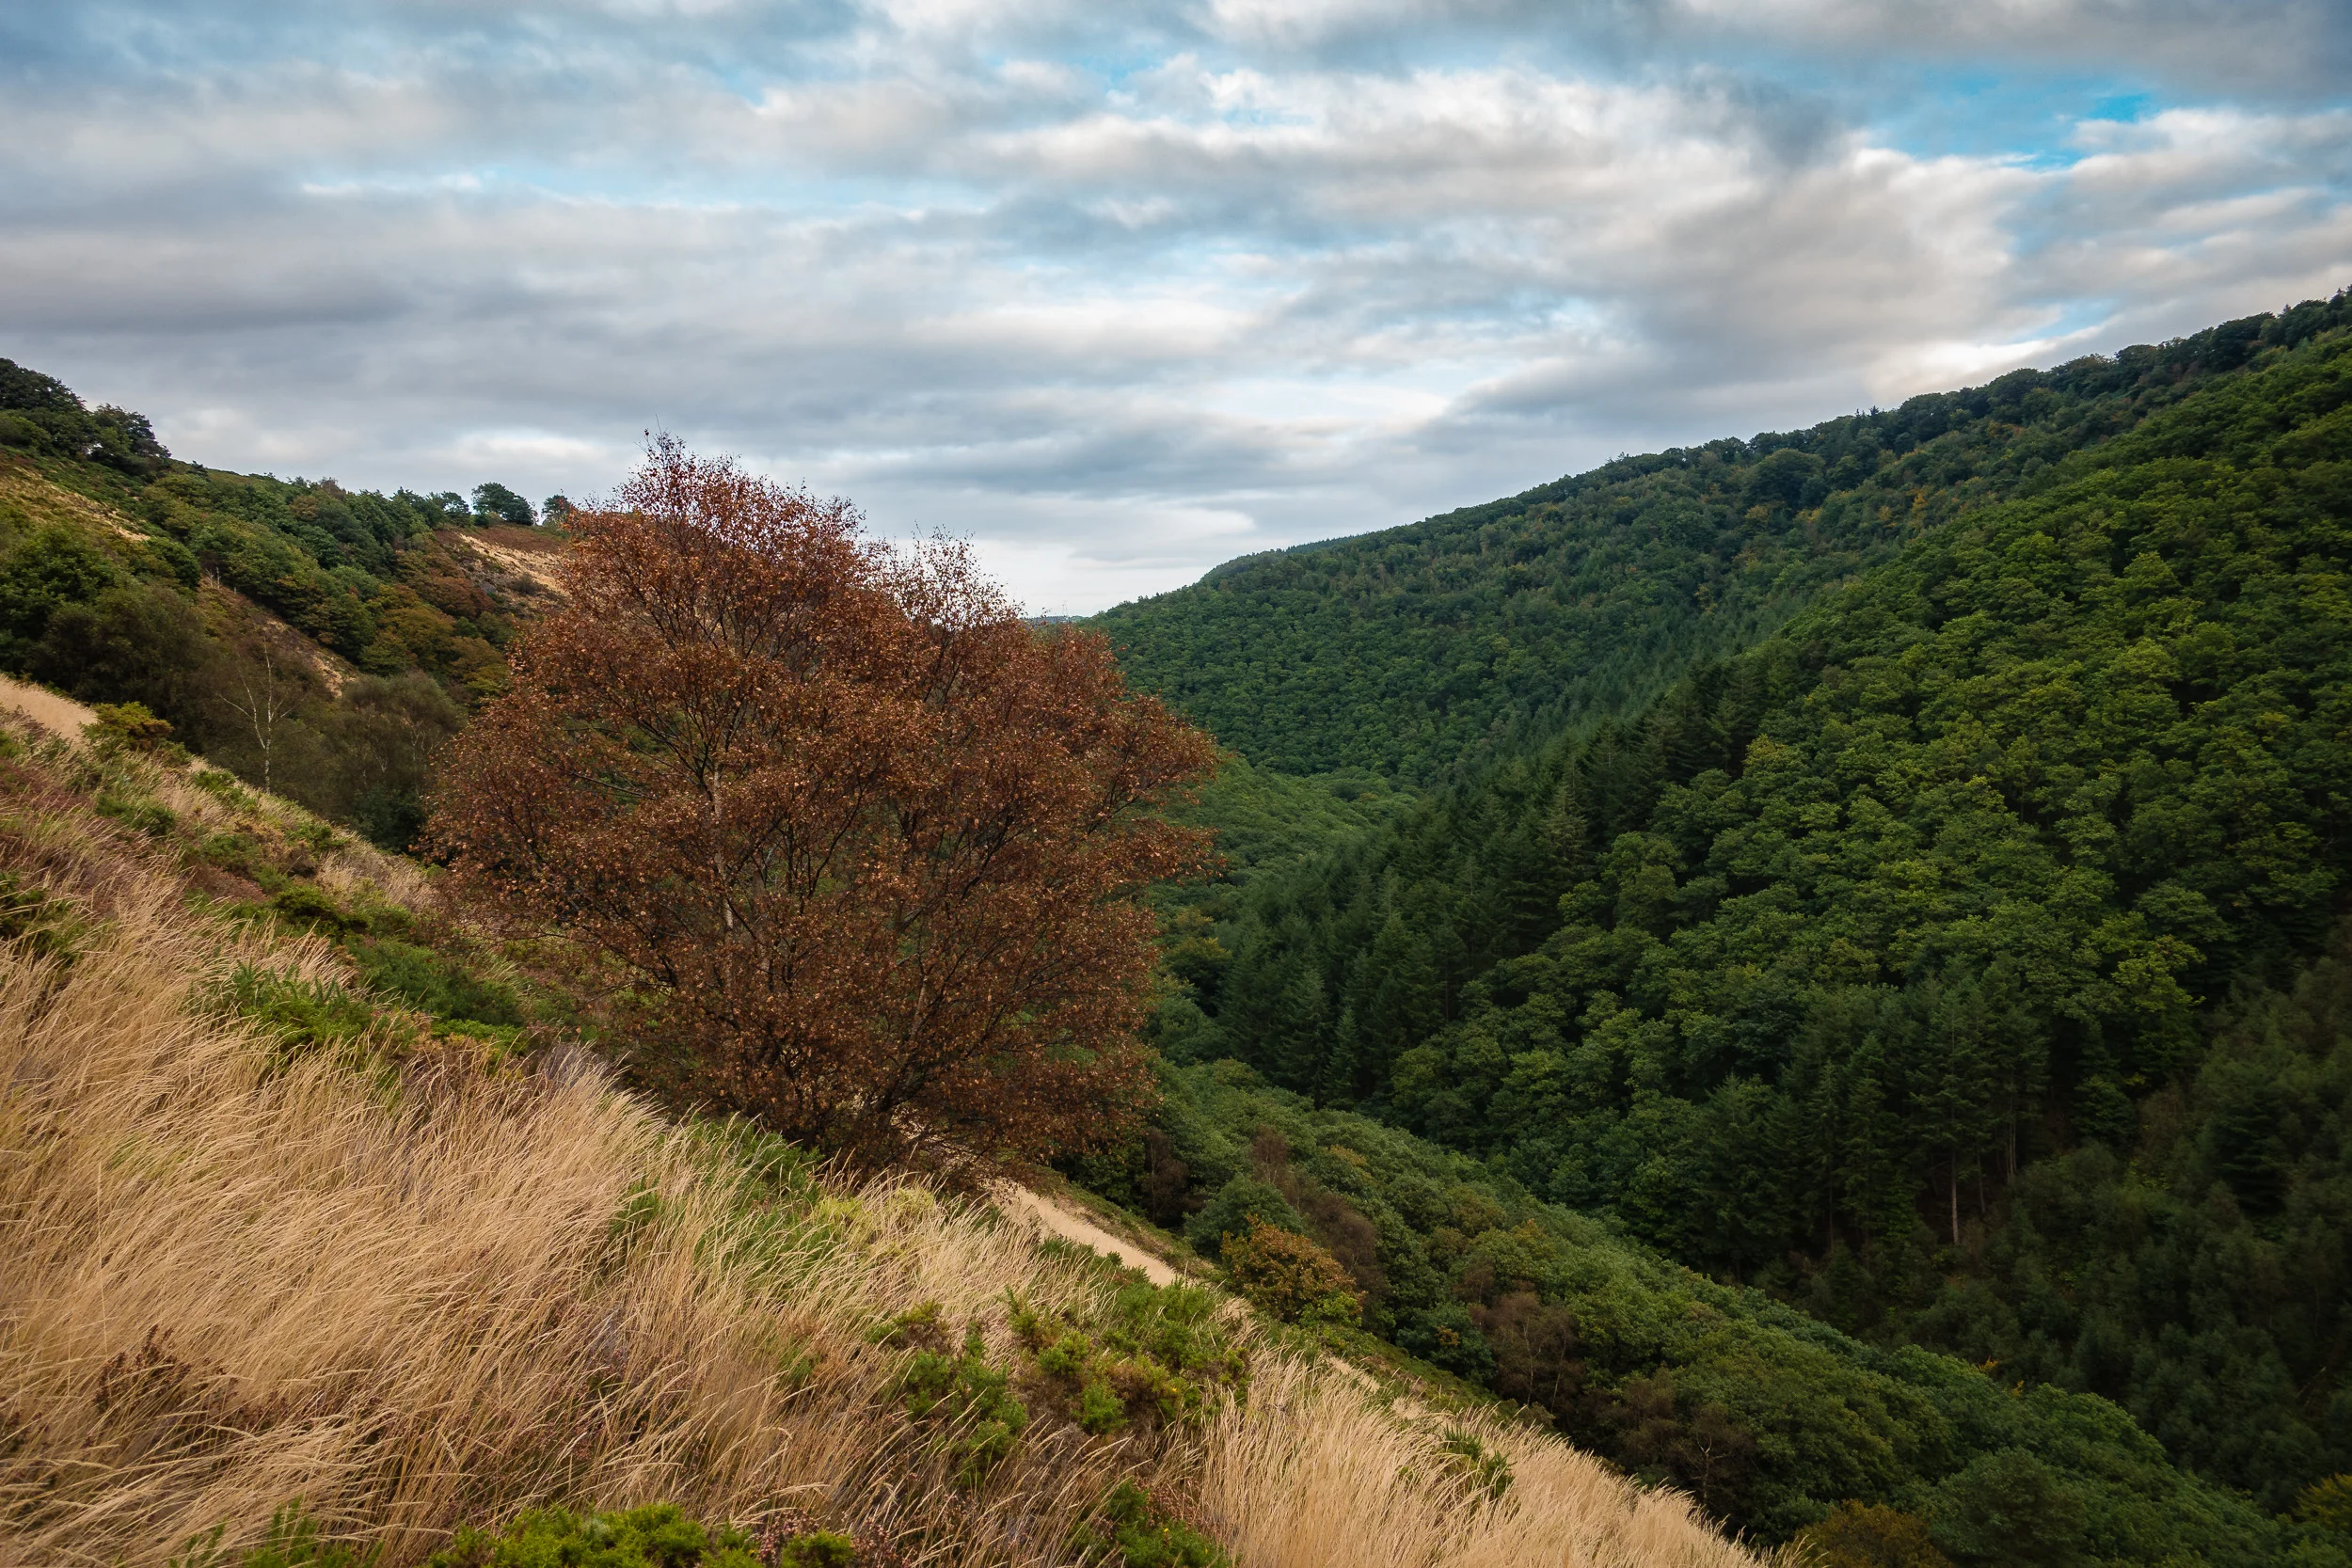
Location Scouting in the Teign Valley
In this video blog post I head out to Fingle Bridge and the Teign valley to scout out some locations for an autumn themed shoot.
The Importance of Scouting
The time I spend with the camera is precious. I have a full time job and a family that keeps me really busy so when I do get out I like to make the most of it. Sometimes I just go out to practice with my camera (see my blog post on practicing) or I'll go out to scout out a location. For me scouting out a location can be a really good use of time. For locations such as the upper Teign valley near Fingle Bridge in Devon, having a number of spots already picked out means that when the golden hour comes I'm only worrying about composition and not finding a good location.
In this short video I take you on a recent trip to the upper Teign Valley where I spend some time walking the path looking for locations that I can use for some autumnal shots that I want to take there. I'm travelling light with my Sony RX100M4 and a Manfrotto BeFree Carbon tripod but it allows me to quickly take shots from locations as I move along the valley.
Here's the video:
Mission Successful?
Here are the images that I took from the locations I scouted:


Now I'll be the first to admit that these aren't award winning images. The composition was setup up quickly and the light not exactly at its best but it does give me some really good ideas on where I want to shoot when I do go up there when the autumnal colours are in there full glory.
I also originally had this location down as a sunrise only location but because of this scouting exercise I'm fairly sure I could get images at either end of the day. So was it worth while? Well yes. Anytime with the camera is good but I feel more prepared to shoot this particular location now.
Do You Scout?
Do you spend time scouting out the locations you want to shoot? Or do you just turn up and see what takes your eye? Let me know in the comments.

Starting Out With Drone Photography
In this video blog post I decide to leave my Nikon D750 behind and spend the evening shooting photographs with my DJI Phantom 3 4K. You'll see me head out to the south Devon coast to Peak Hill near Sidmouth on the South West Coast Path where I will experiment with using a drone for landscape photography. The results are rather interesting!
A Evening with DJI
Since buying a DJI Phantom 3 4K a couple of months ago I've been really interested in the photography capabilities and opportunities this amazing bit of kit delivers. In my first video / vlog I leave my DSLR at home and head out to spend the evening shooting with the drone.
Check it out below.
The Results
If you watched the video you would have seen the final images, but just in case you missed them or you want to see them a little larger (by clicking on them), here they are again.


Let Me Know
Did you enjoy this video? Do you have a drone? Has it expanded your photography horizons? Let me know in the comments below.