

Let's All Embrace the Grey!
In the blog this week I'm challenging the photography community to #EmbraceTheGrey !
Poor Weather Photography
Winter can be a miserable time for landscape photographers. It can, of course, also be a wonderful time, especially if it snows. However, if you are located in the UK, it can be a season of grey and overcast weather. Depressing as this weather can be, it can also be an opportunity to shoot landscape images with a difference.
If you've watched my Winter Solstice and Bad Weather Photography videos, you'll have heard me say that sometimes you've just go to embrace the grey. Judging by the comments in my videos, this phrase seemed to have resonated with people. So this got me thinking. Perhaps we should all be embracing the grey.
A Community Challenge
So between now and springtime, I'm challenging the photography community to go out in that grey and overcast weather and create some great images and vlogs. I want to see how creative the photography community can be! I'll then select some of those images and vlogs and feature them in a showcase video to highlight the great work everyone will hopefully create.
So here is how you can participate:
Shoot a vlog or create an image based on the grey / overcast theme.
Post it on social media using the tag #EmbraceTheGrey
Tag me in on your social media post - links to all my social accounts are in the icons at the bottom of this page.
Or you can send me an email using the contact form on this website to let me know where you've posted.
Around spring time I will select a range of photos and vlogs to feature in a showcase video that I will publish on my channel for the whole community to see.
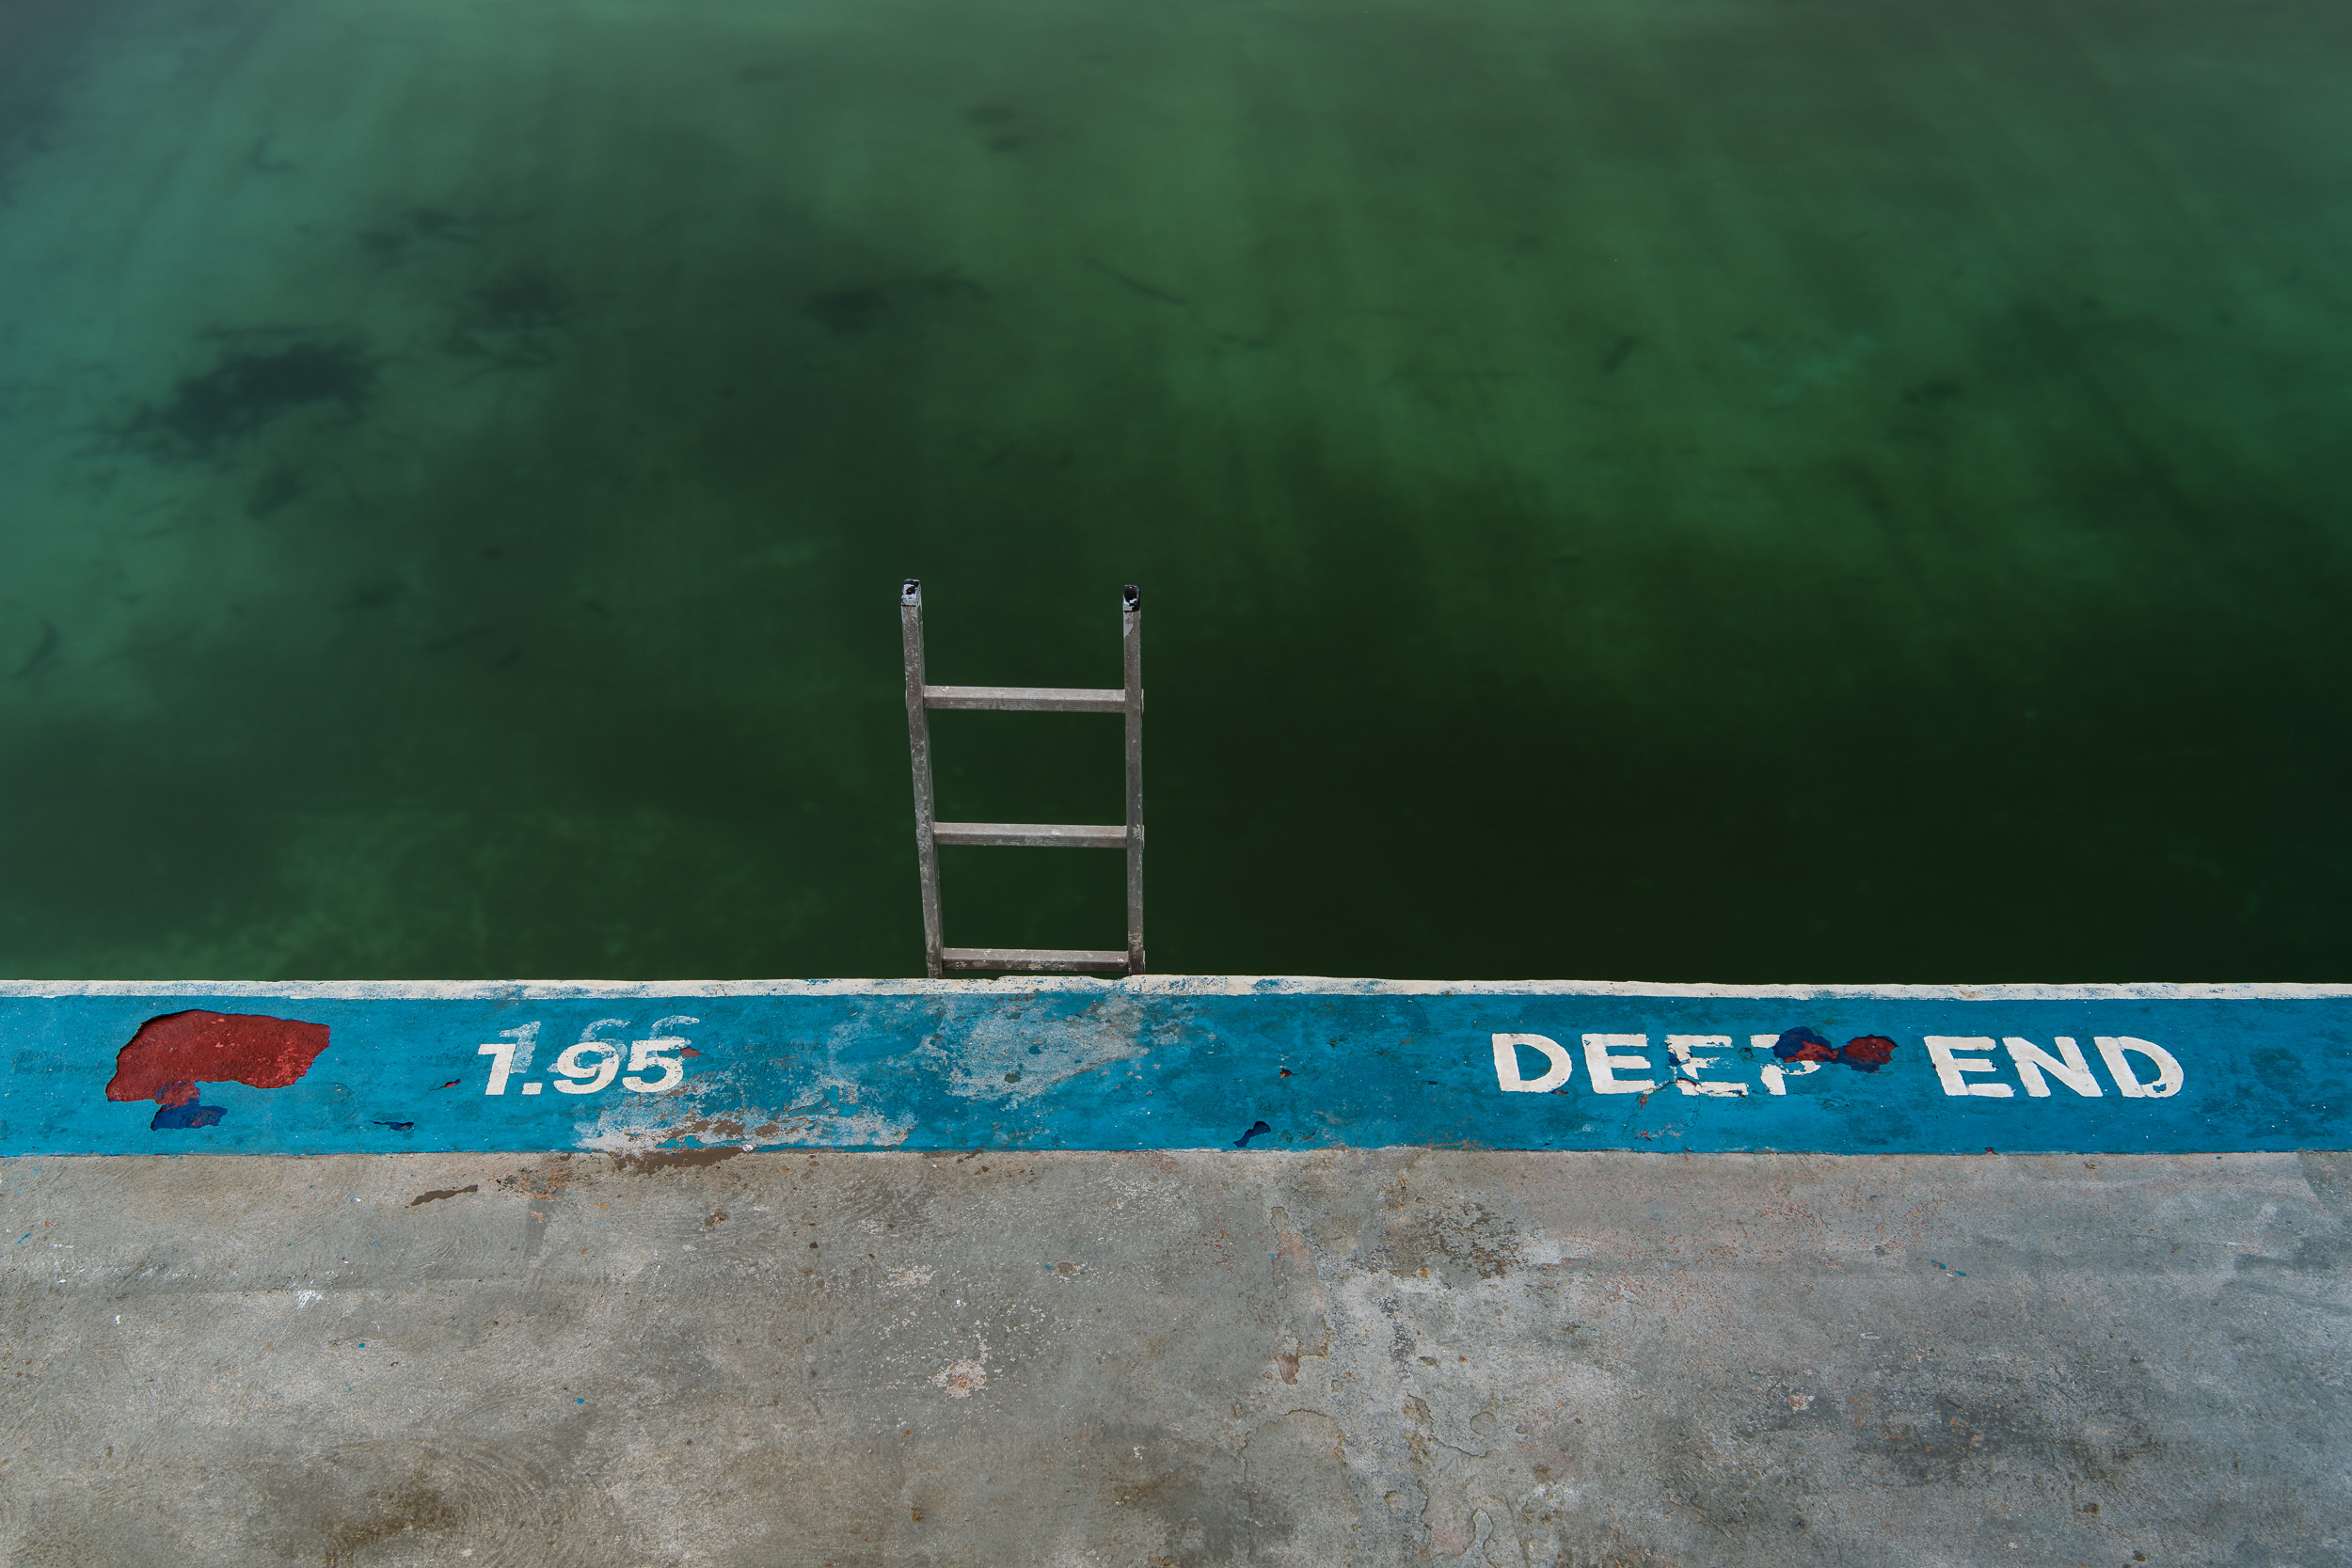
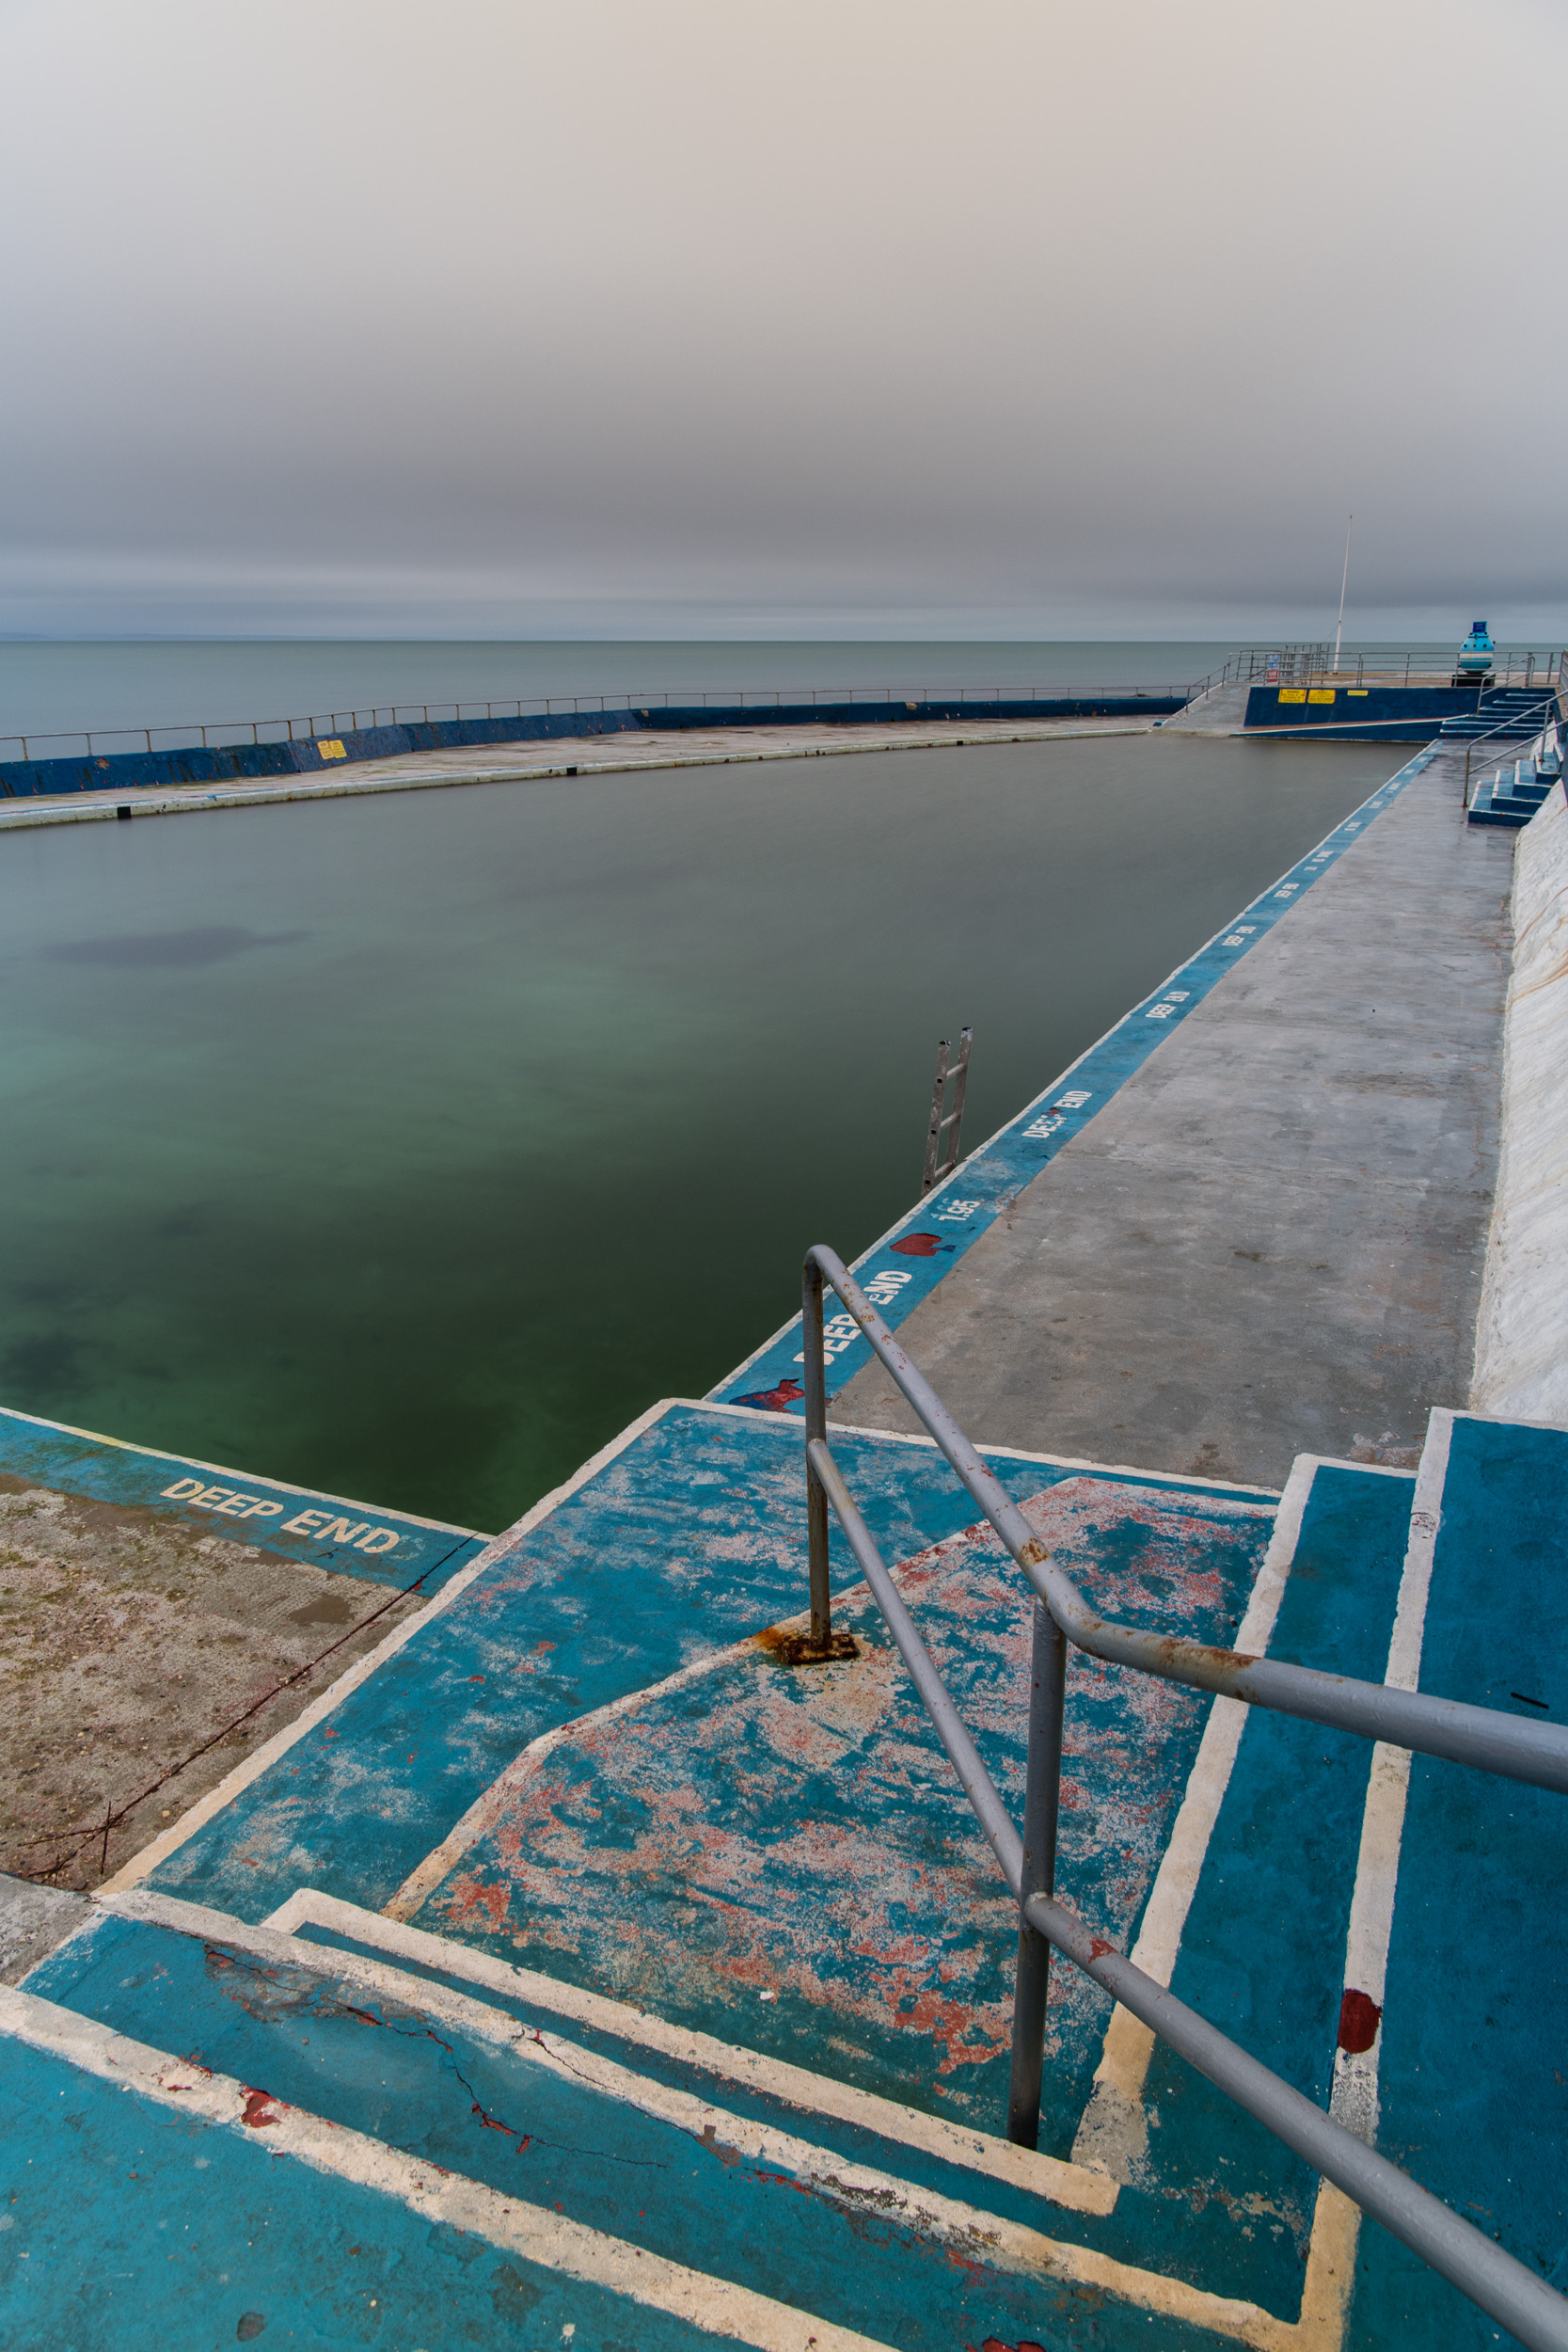
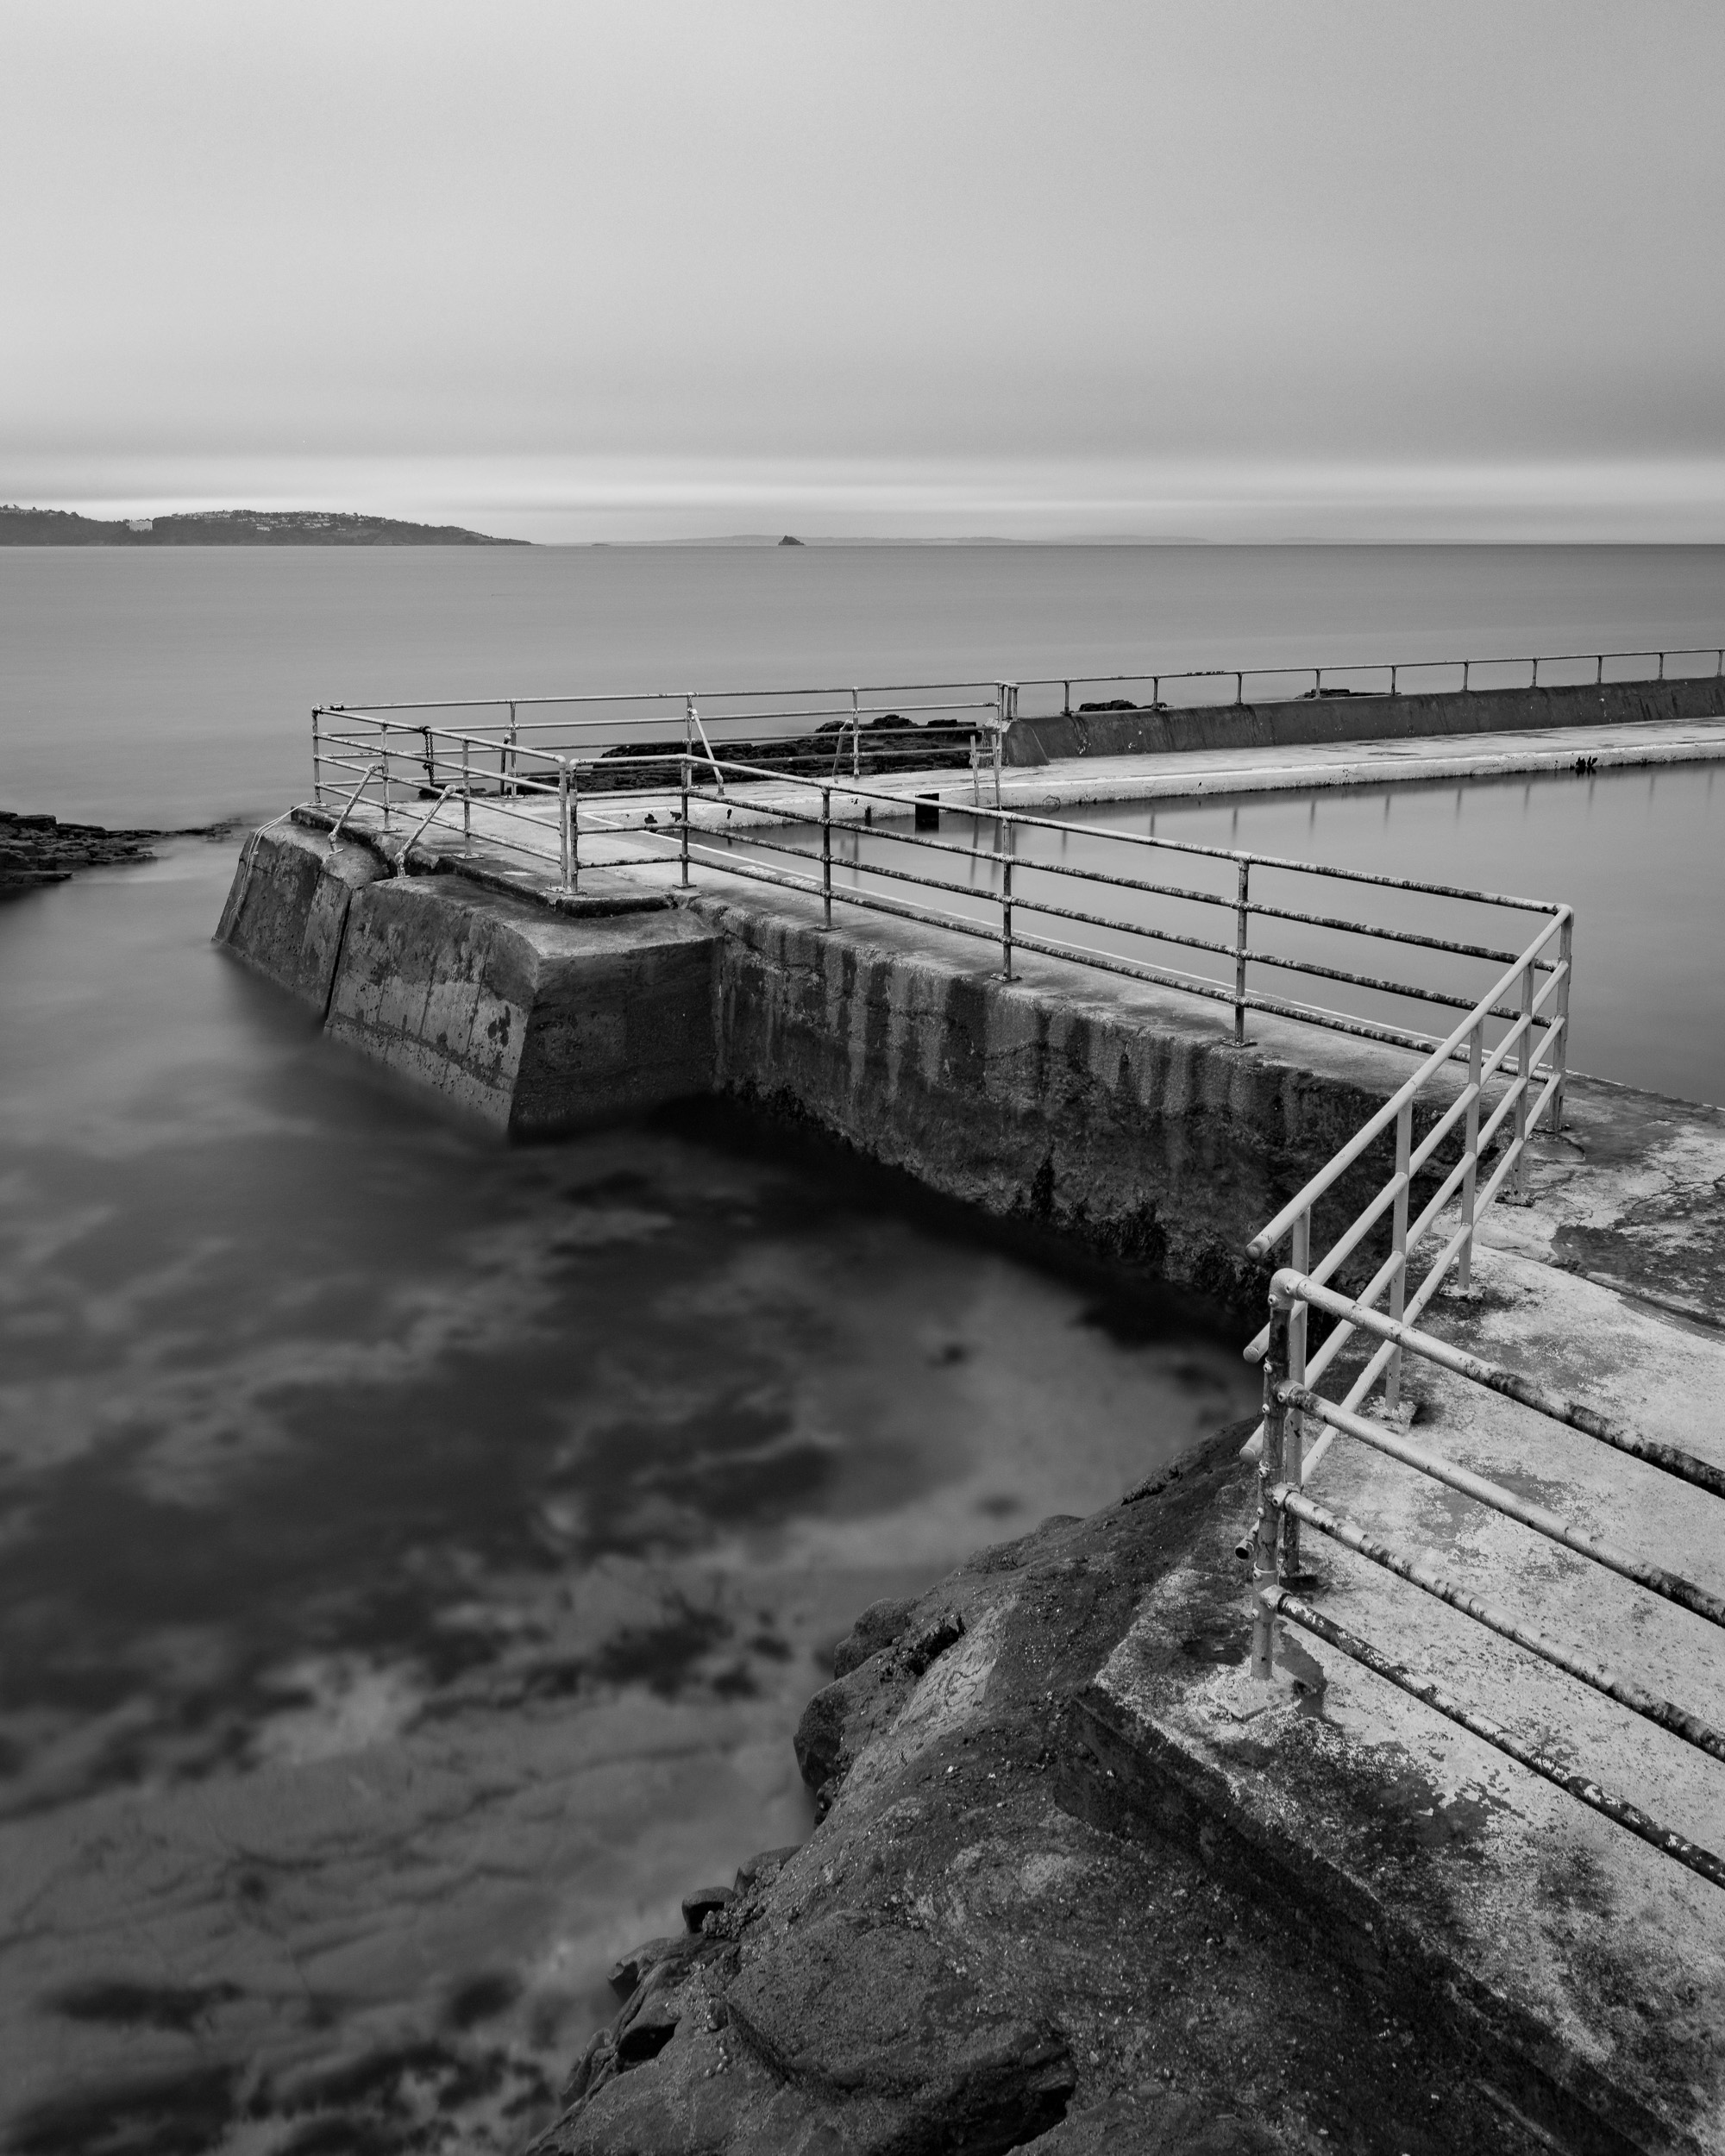
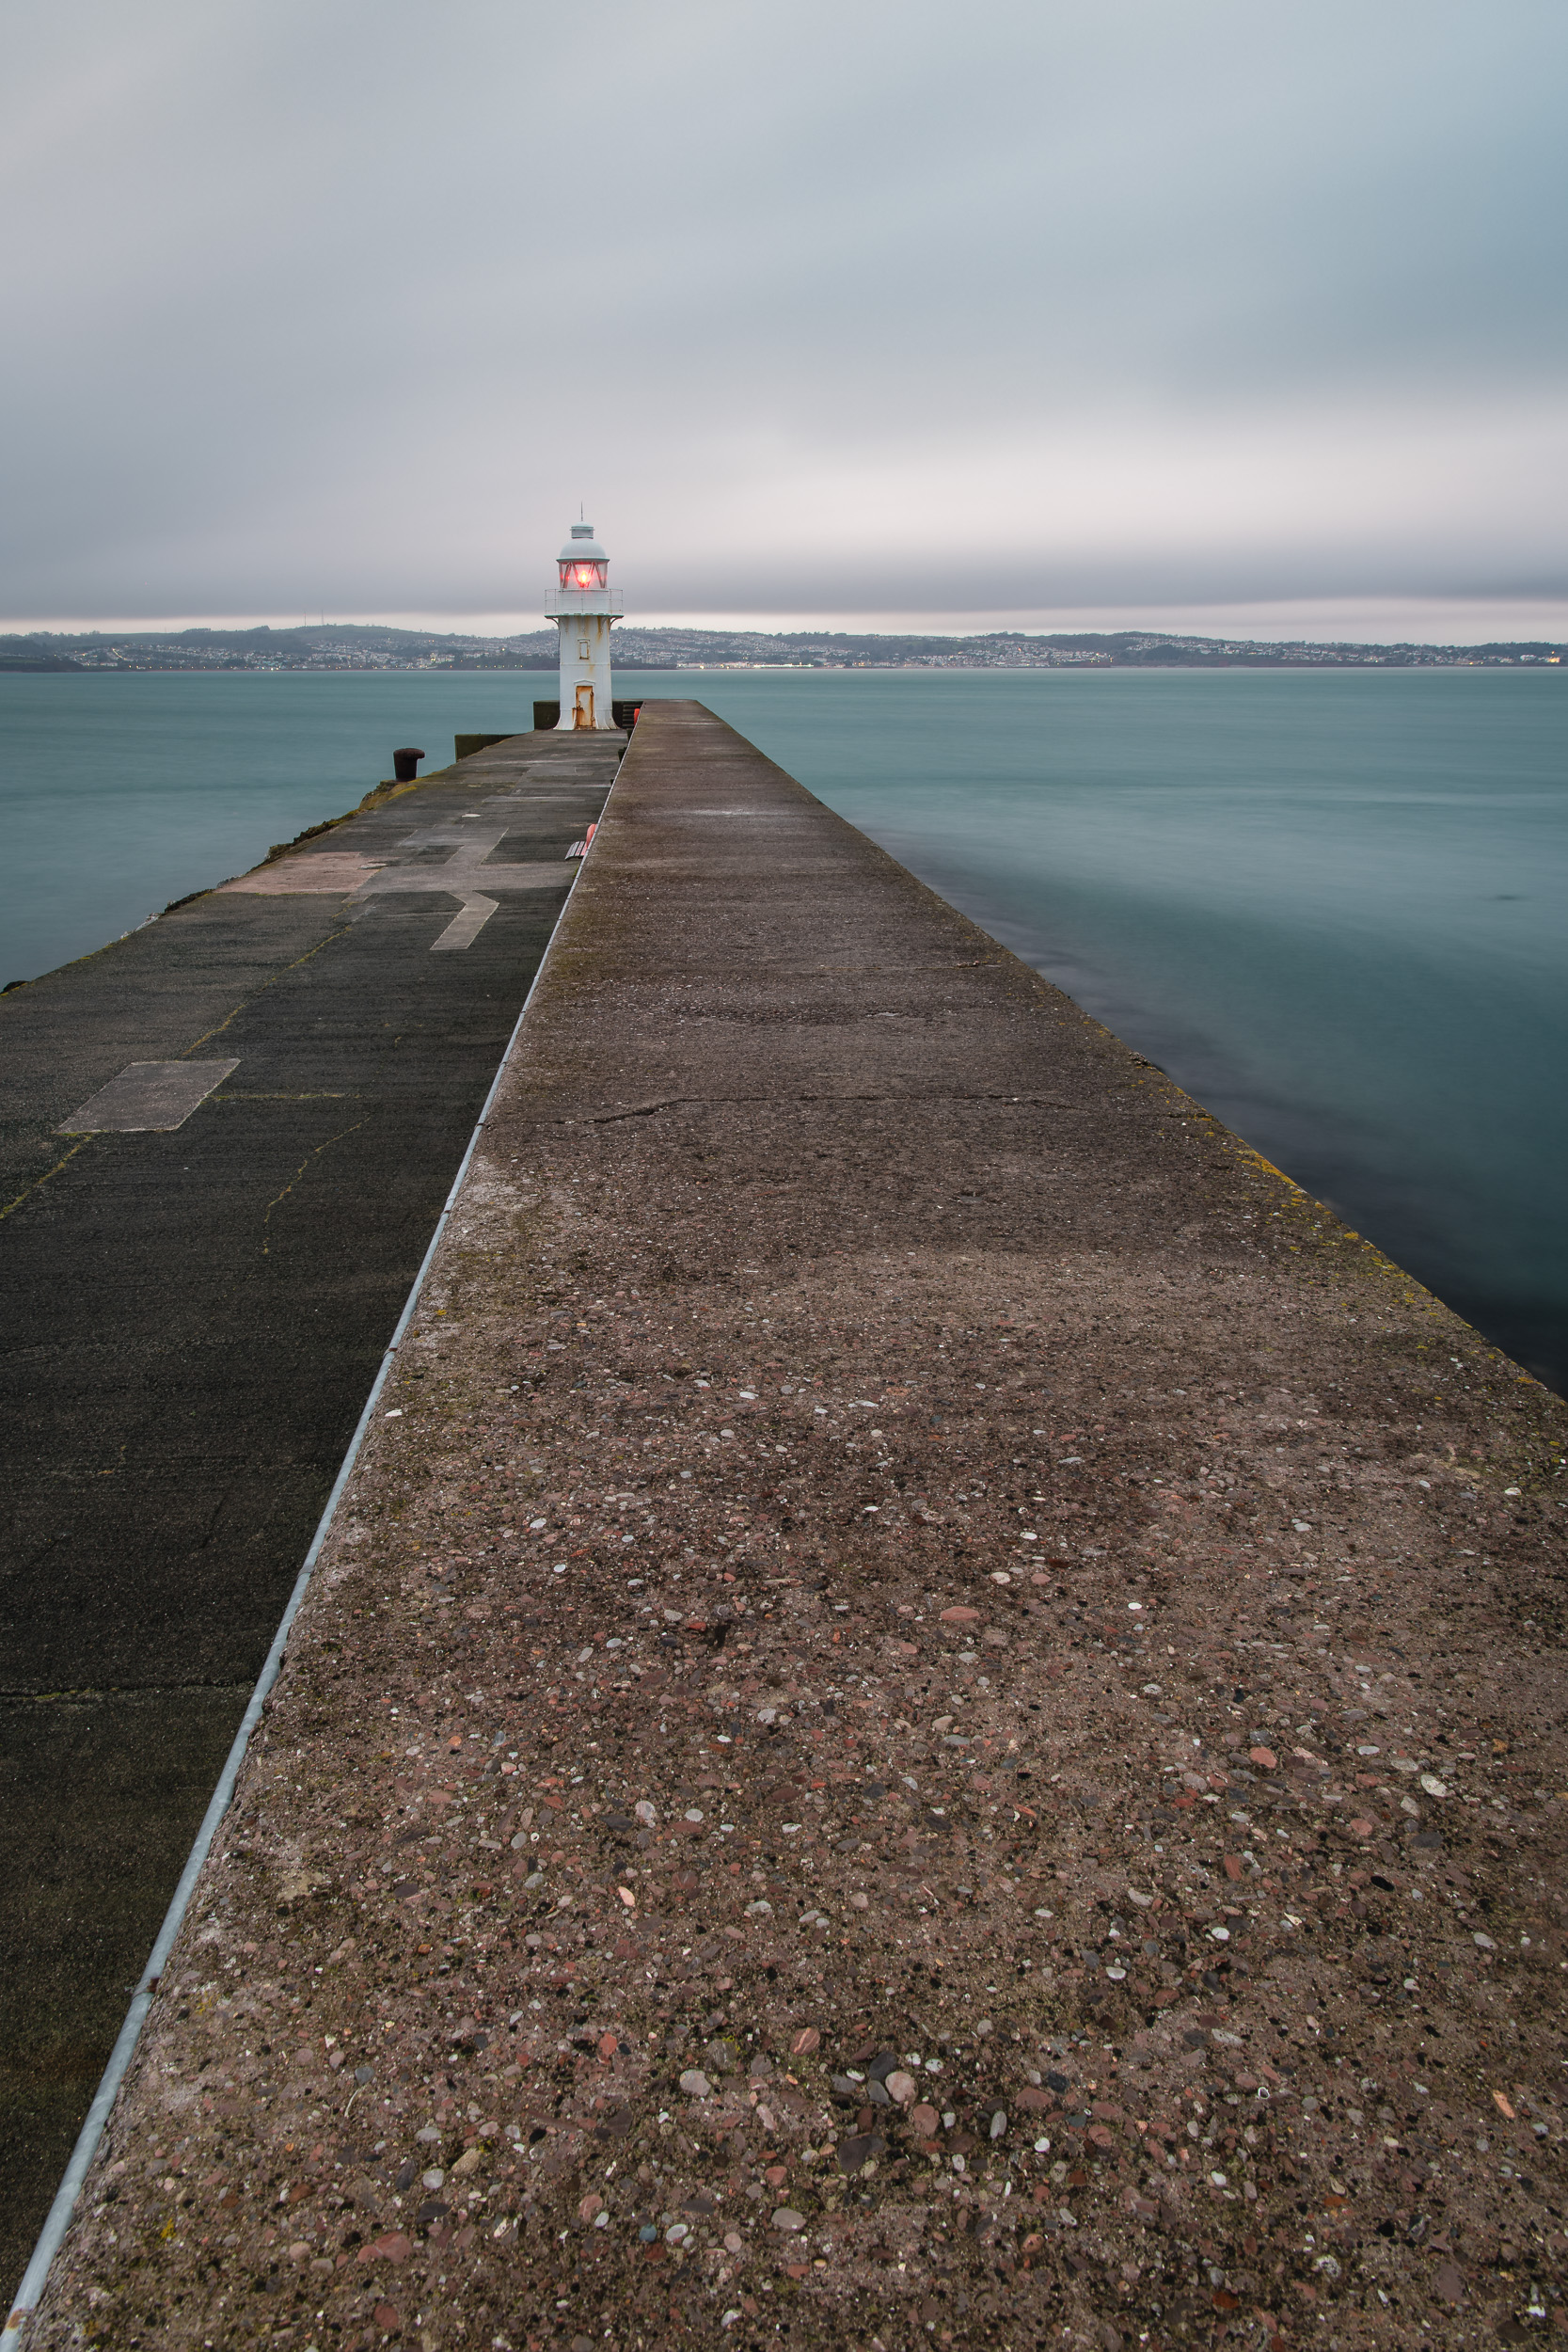
To help kick things off, I created this introductory video which features me taking some long exposure photographs down at Brixham in Devon on a grey and overcast day.
So I really hope you'll participate in my #EmbraceTheGrey challenge! It should be fun and it will hopefully inspire you to get out there and take some great landscape images...even if the weather is rubbish!
My Images from Brixham

First Shoot of 2018: Colmer's Hill
In the blog this week I head out to Colmer's Hill in Dorset for my first shoot of 2018. With fog forecast, would I get the shot from that location that I'd always wanted?
Getting Back into Gear
Landscape photography in January can always be a bit of a hit or a miss but after a two-week break from photography, I was itching to get out again. I had been editing my Winter Solstice Adventure video over the festive period and despite the obvious ups and downs of that day, it had inspired me to get back out with the camera as soon as possible.
During winter my ability to get out with the camera is limited and for the first weekend of January, I only had the possibility of getting out on Saturday morning. Typically though, the weather across the south-west was dubious. To get any decent conditions I would have to travel further than I had time for, and depending on where you looked, the local forecast was everything from blue skies to fog on Dartmoor.
Though I couldn't get a concrete forecast for the Bridport area, there was a chance that fog would be there first thing in the morning so I decided to take a risk and head out to Colmer's Hill. I'd always wanted to capture the peak of Colmer's Hill poking out from mist covered landscape. Maybe this would be the morning!
At Colmer's Hill

An early morning shot from my normal dawn spot. The light wasn't great.
I've photographed Colmer's Hill a number of times now. You can read about some of my previous visits, here, here, and here. With a vision of photographing the hill in fog or mist, I headed straight for the viewpoint at the bottom of Quarry Hill. This lower elevation viewpoint places the top of the hill just above the horizon making it ideal for the type of shot I wanted.
Once there, there wasn't much in the way of low lying fog, but there was still enough interest in the sky to potentially make a good image. It soon became apparent though that light from the rising sun would be slightly later than the documented sunrise time due to a large bank of cloud. So as I was waiting, getting colder, I looked to my left and noticed the hill Eype Down.
Same Location, Different View

A slightly different viewpoint, but still terrible light!
I had originally become aware of this viewpoint when reading Mark Bauer's excellent book Photographing Dorset. So rather than stay where I was and get a shot similar to some of my previous efforts, I decided to grab my bag and tripod, and head to the viewpoint in Mark's book.
It was interesting to see Colmer's Hill from a slightly different angle. Unfortunately, the conditions hadn't improved much, and direct sunlight hadn't made an appearance, but at least I had checked out another viewpoint of one of my favourite locations in Dorset.
Practising Perfect Panoramas
If you watched my recent video, Developing a Passion for Printing, you'll have seen me print a panoramic image of Glencoe. In the video, I also promised myself that I would attempt to take more panoramic images. Though I had learned more about the technique while on a workshop in Glencoe, I was still a long way from being proficient at creating them. So as the conditions weren't ideal for the photograph I was hoping to make, I decided to practice my panoramic technique.
Nikon D850, Nikkor 70-200 mm f/2.8 at 110mm, ISO 64, 1/80th second at f/8. The light was better when I took this image, but my composition options were limited by a line of trees just below the edge of the frame.
Don't Leave Too Early!
After getting a couple of shots from my new viewpoint and practicing my panoramic technique I decided to give up and head home. It was nearly 9 am and I didn't think I was going to get any decent light at this stage. Just as I packed my tripod up and started to head down the hill, I started to see some nice light on the side of Colmer's Hill.
It was spectacular light, not by a long shot, but better than I had seen all morning. I quickly ran back up the hill and set my camera up again. Fortunately, I hadn't need to use filters all that morning so it didn't take too long to get back to a shooting configuration.

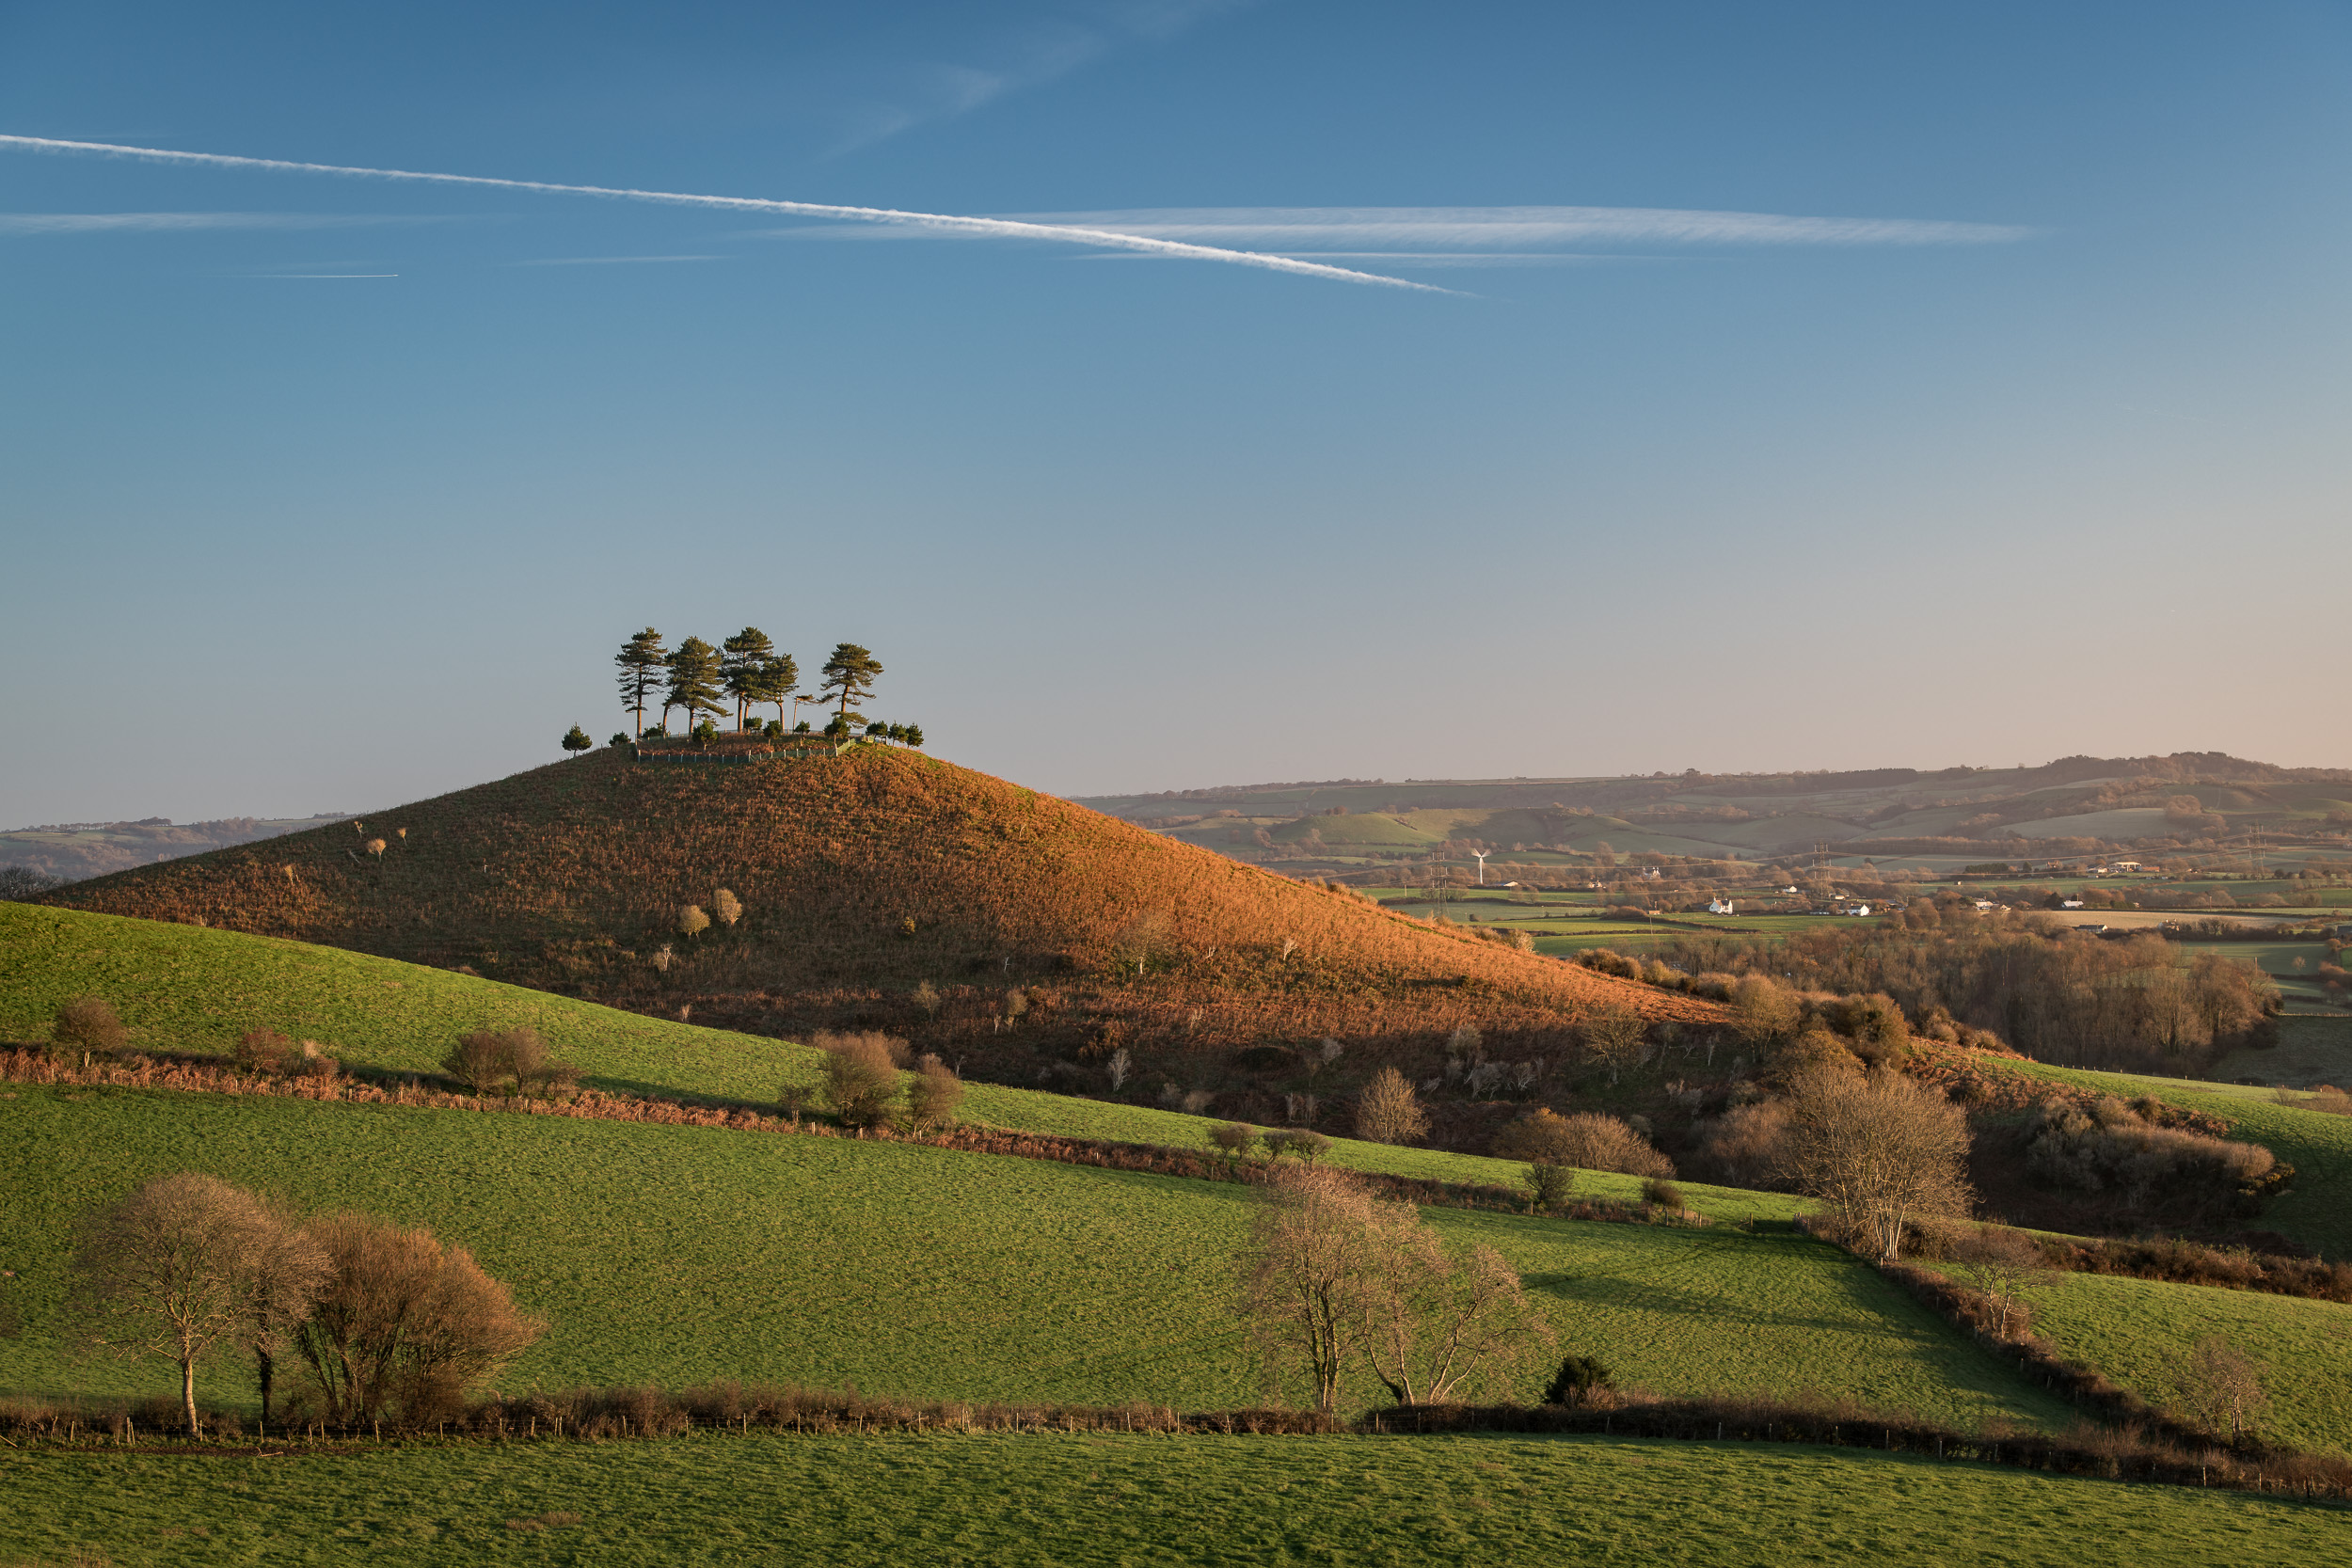
Nikon D850, Nikkor 70-200 mm f/2.8 at 1145mm, ISO 64, 1/50th second at f/8. Better light for this shot, but still nothing to get excited about.
While those images were only marginally better, it did remind not to leave a location until you are really, really sure you're not going to miss anything!
So how has your photography been in 2018 so far? Have you ever left a location a little to early and regretted it? Let me know in the comments below.

Long Lens Landscape Photography
In the blog this week I share with you my long lens landscape photography video. It was all inspired by my fellow landscape photographer Chris Sale who set me the challenge of capturing three long lens landscapes.
The Wide View
If I take a look at my Lightroom catalogue the most commonly used lens I have is without a doubt the Nikkor 16-35 mm f/4 VR. This is hardly surprising given that it was the first full frame lens I bought and that I love shooting my landscapes wide.
About 18 months ago I bought a used Nikkor 70-200 mm f/2.8 VR. I purchased it after renting one a few times to help with my live music photography when I was shooting at bigger events. I soon discovered though that I could use it for my landscape work as well.
Since then, I have shot landscape images with the 70-200 mm but I probably don't use it as much as I should have. So when fellow landscape photographer and YouTuber Chris Sale set me the challenge of shooting 3 images with my 70-200 mm I really had to get my creative brain into gear.
As we are both YouTubers I also set Chris the challenge of creating some wide angle landscape images. You can see how we both got on in the video below:
Well, I hoped you enjoyed watching that video. For me, it was a really good experience. It actually got me to think a little differently! It's opened my eyes a little more to creating landscape images with a longer lens, and I'm sure the 70-200 mm will be making a more regular appearance in my camera back.
Do you have a favourite lens? Do you prefer to shoot wide or tight? Or do you mix it up depending on the scene? Let me know in the comments below.
The Long Lens Images
In case you want to have a closer look at the images featured in the video here they are:
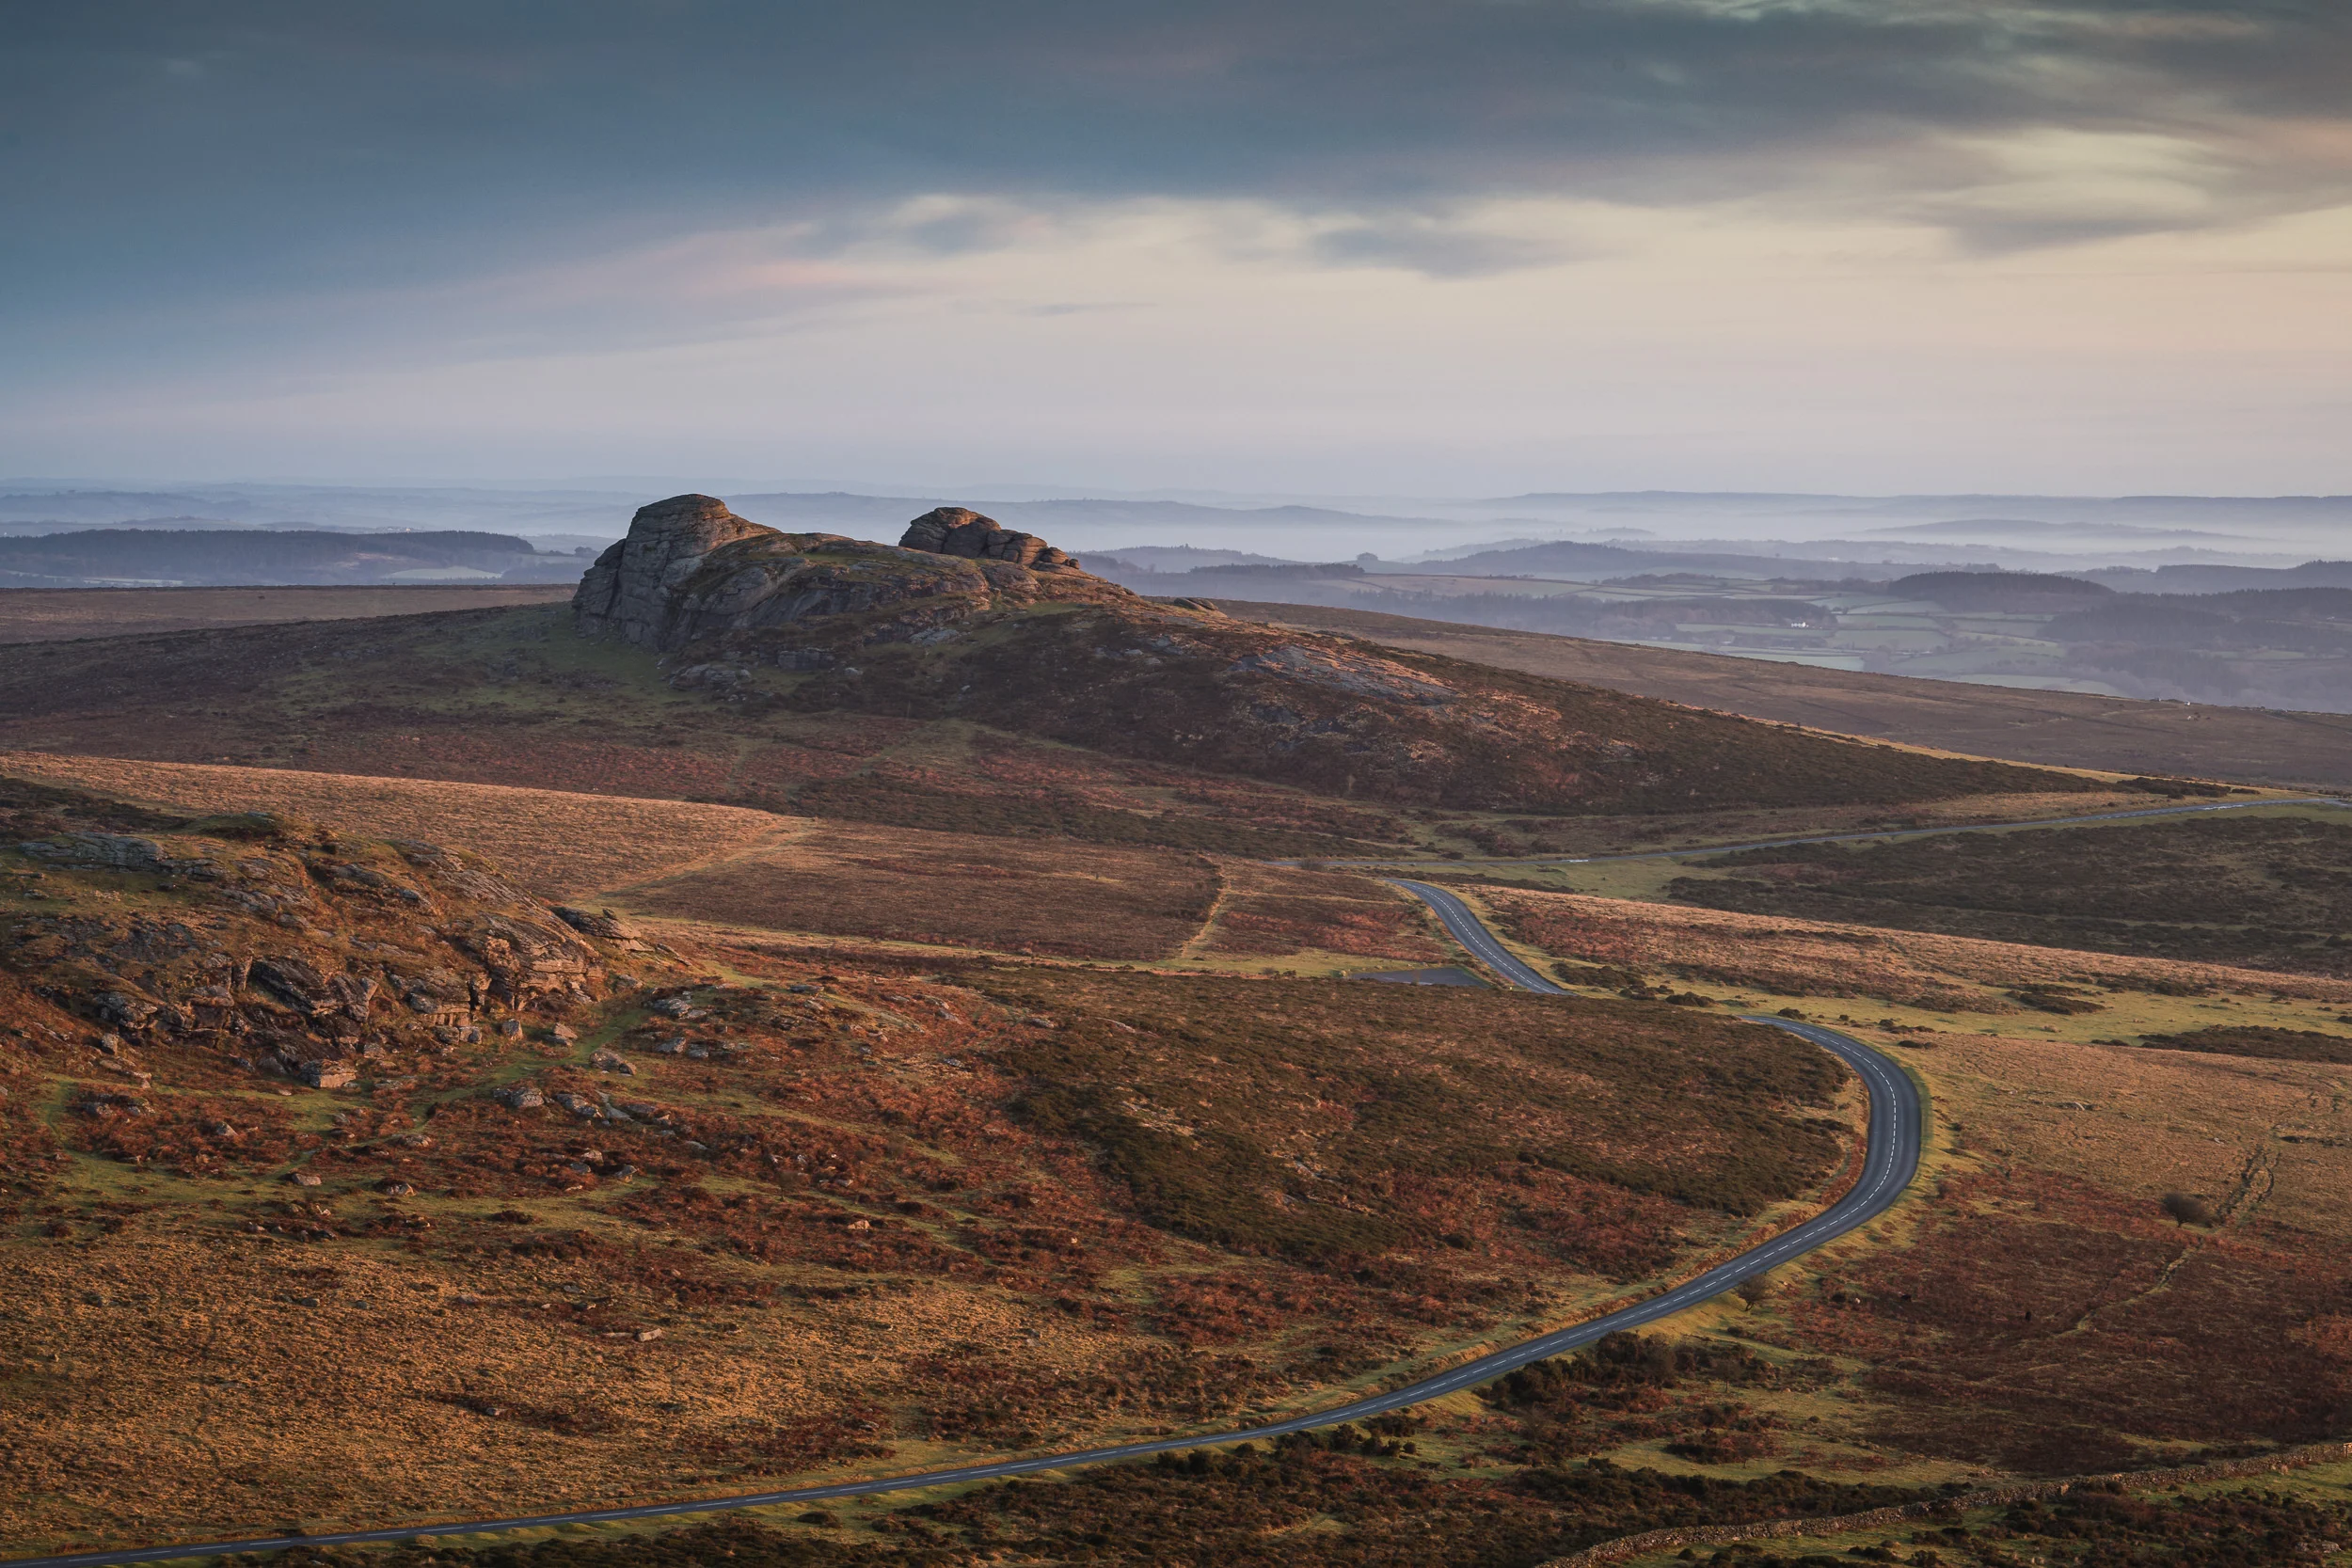
Nikon D850, Nikkor 70-200 mm f/2.8 at 112 mm, 0.6 seconds at ISO 64, f/11.

Nikon D850, Nikkor 70-200 mm f/2.8 at 100 mm, 0.6 seconds at ISO 64, f/11. This didn't actually make it to the video, but I do really like it!

Nikon D850, Nikkor 70-200 mm f/2.8 at 70 mm, 1/6th second at ISO 64, f/11.
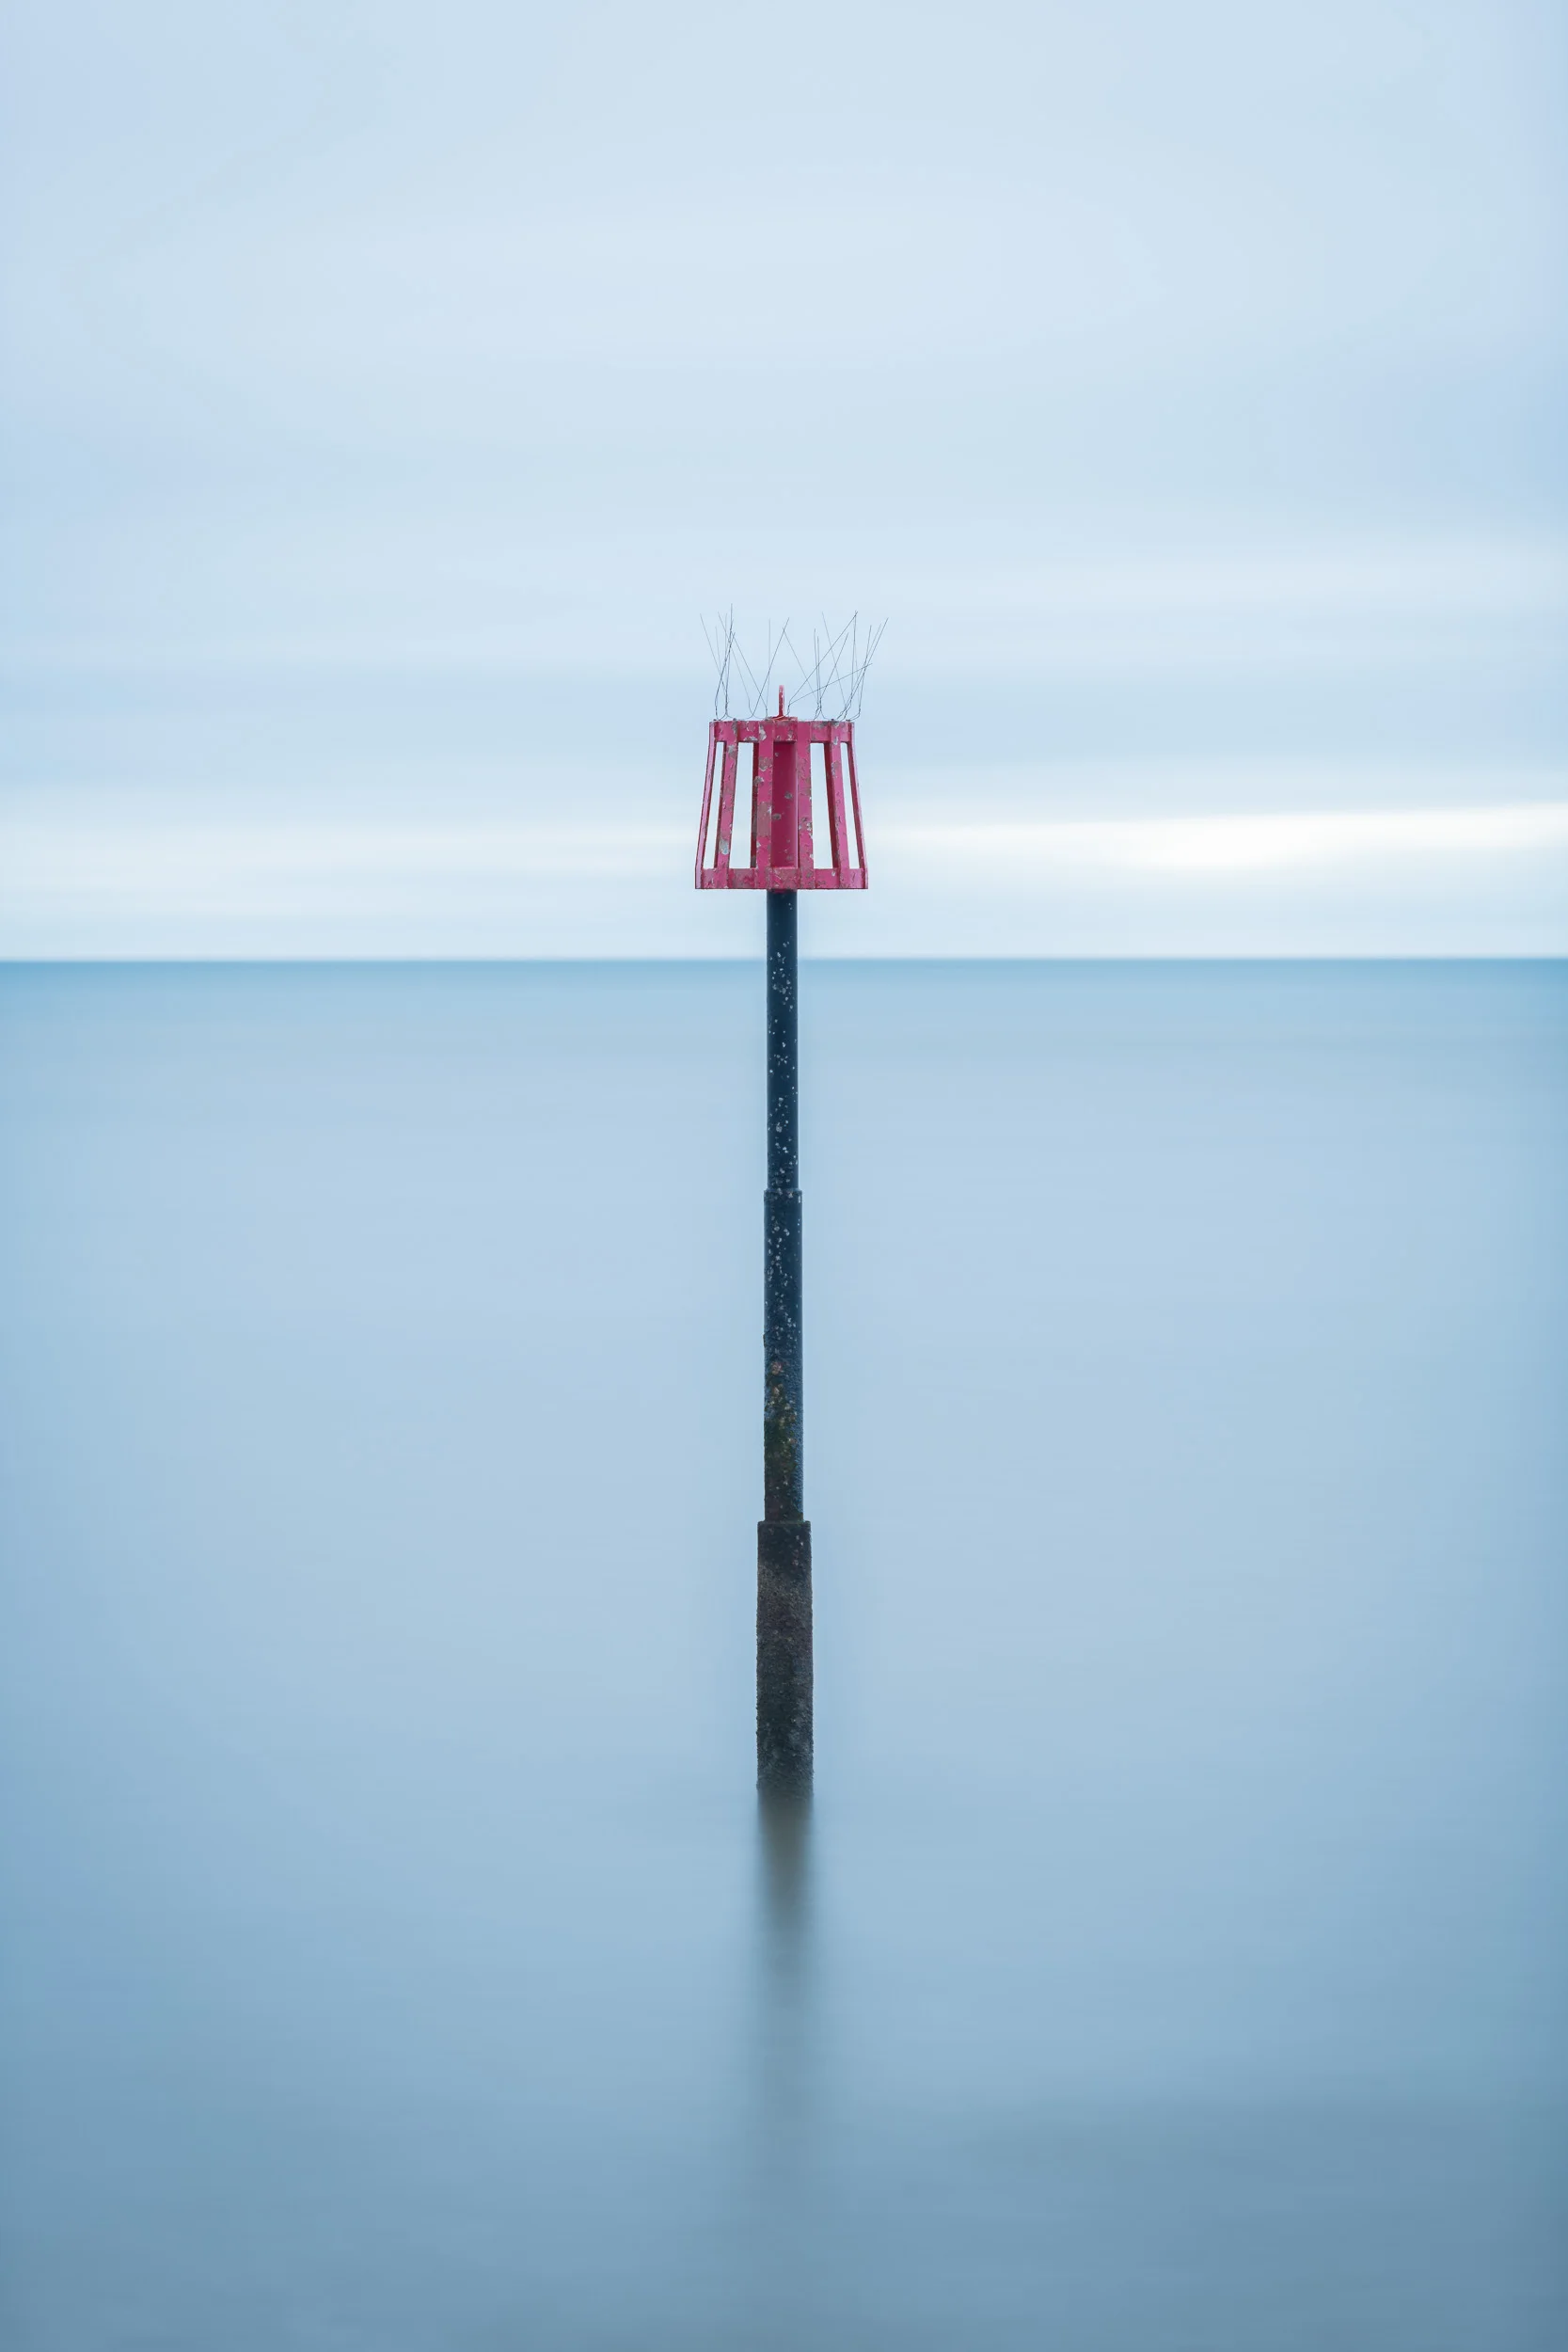
Nikon D850, Nikkor 70-200 mm f/2.8 at 135 mm, 75 seconds at ISO 64, f/2.8, Lee Filters Big Stopper and 3 stop ND.

Winter Solstice Adventure
In the blog this week I share with you the highs and lows of landscape photography as I head out on winter solstice to capture some images.
The Longest Shortest Day
Back in June of 2017, I headed out with the camera to create some landscape images on the summer solstice. You can see the images I created that day along with the video I made by clicking here.
I really enjoyed that day so I knew that when winter solstice came along in December I was going to spend the day out with the camera. Being the shortest day of the year it shouldn't have been nearly as tiring as the summer solstice.
Unfortunately when winter solstice did come around the weather was grey and overcast. I had checked the weather forecast the night before and had planned my locations to suit the weather. I'm all for "embracing the grey", but a full day might well be a challenge too far even for me!
As with summer solstice, I spent the day capturing images and filming my experiences. It was definitely a tough day. Maybe I was tired, maybe I was feeling challenged, but one thing is for sure, it sure did feel like a long day. However, saying all that I did have some great experiences, and if you watch all the video you'll see something special happen right at the end.
Enjoy!
A Winter Solstice Gallery
As always I do hope you enjoyed watching my adventures. I tried to make the most of the weather conditions and the images I took that day both reflect my varying moods and the conditions I had to work with.
You'll have seen these images in the video, but here they are again in case you want a closer look.

Nikon D850, Nikkor 16-35 mm f/4 VR at 19 mm, 180 seconds at ISO 64, f/11, Lee Filters circular polariser and Big Stopper.
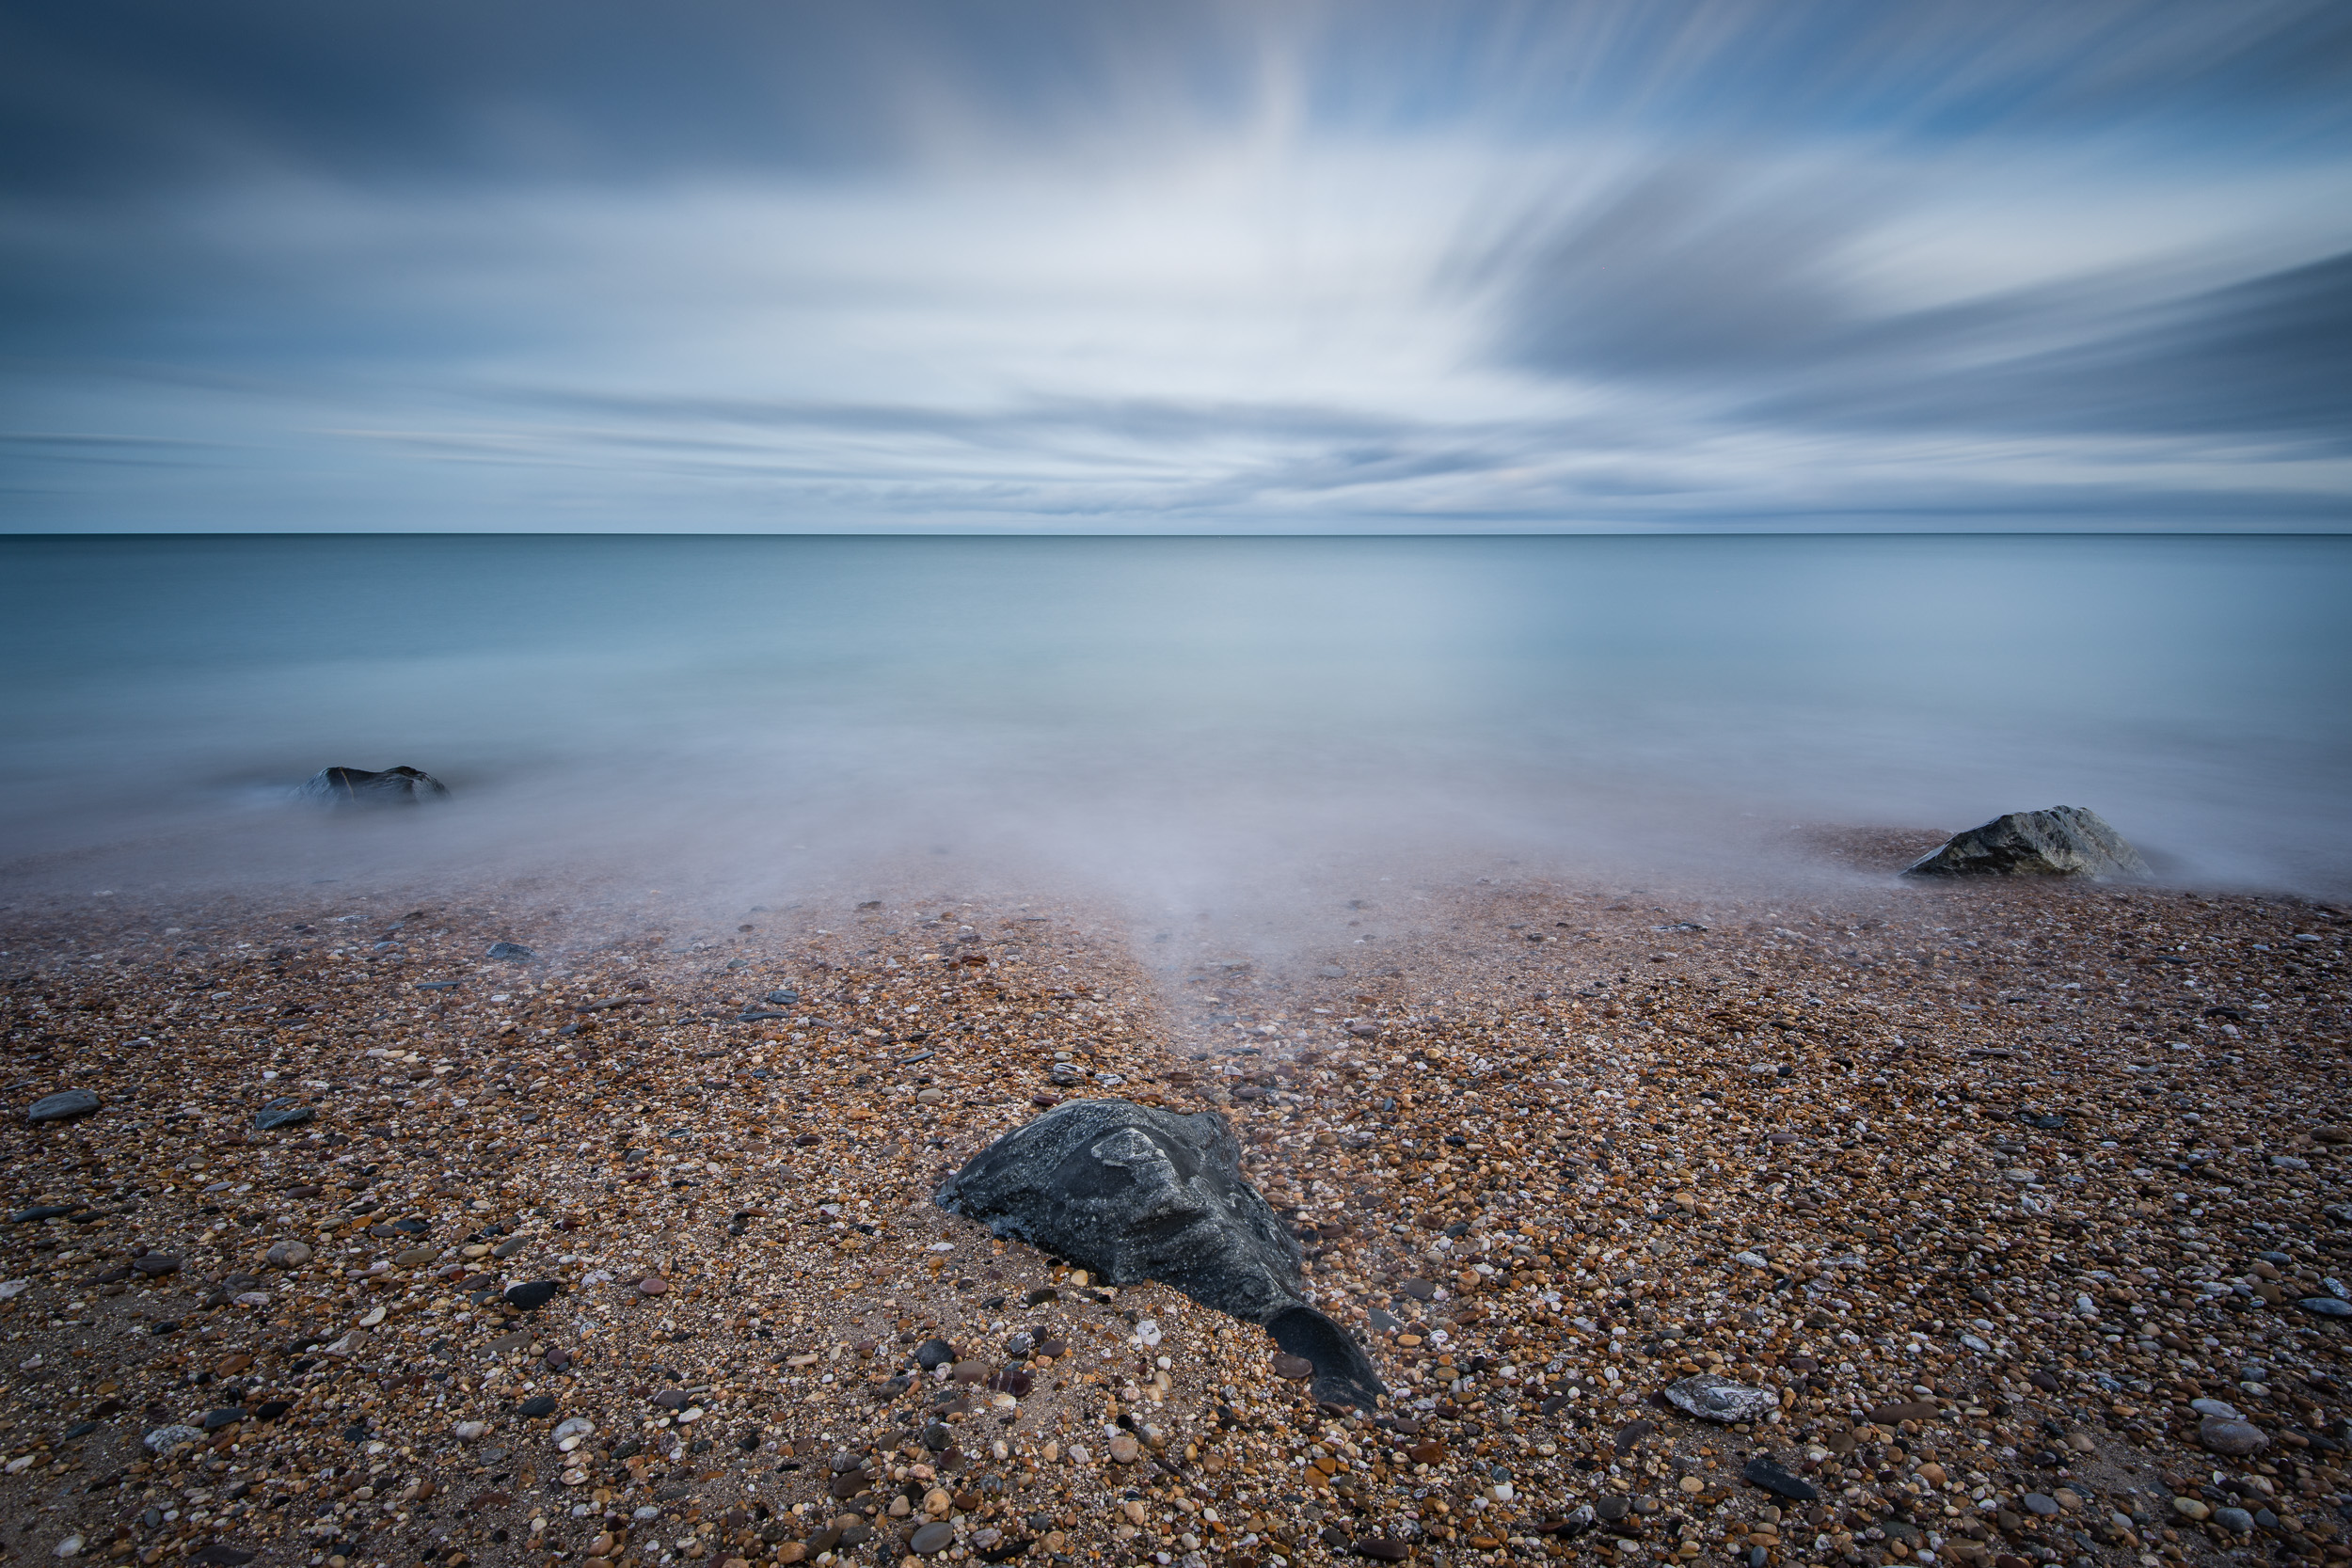
Nikon D850, Nikkor 16-35 mm f/4 VR at 19 mm, 180 seconds at ISO 64, f/11, Lee Filters circular polariser, ND grad and Big Stopper.

Nikon D850, Nikkor 16-35 mm f/4 VR at 18 mm, 180 seconds at ISO 64, f/13, Lee Filters circular polariser, ND grad and Big Stopper.

Nikon D850, Nikkor 16-35 mm f/4 VR at 18 mm, 8 seconds at ISO 64, f/13, Lee Filters circular polariser, ND grad and Little Stopper.
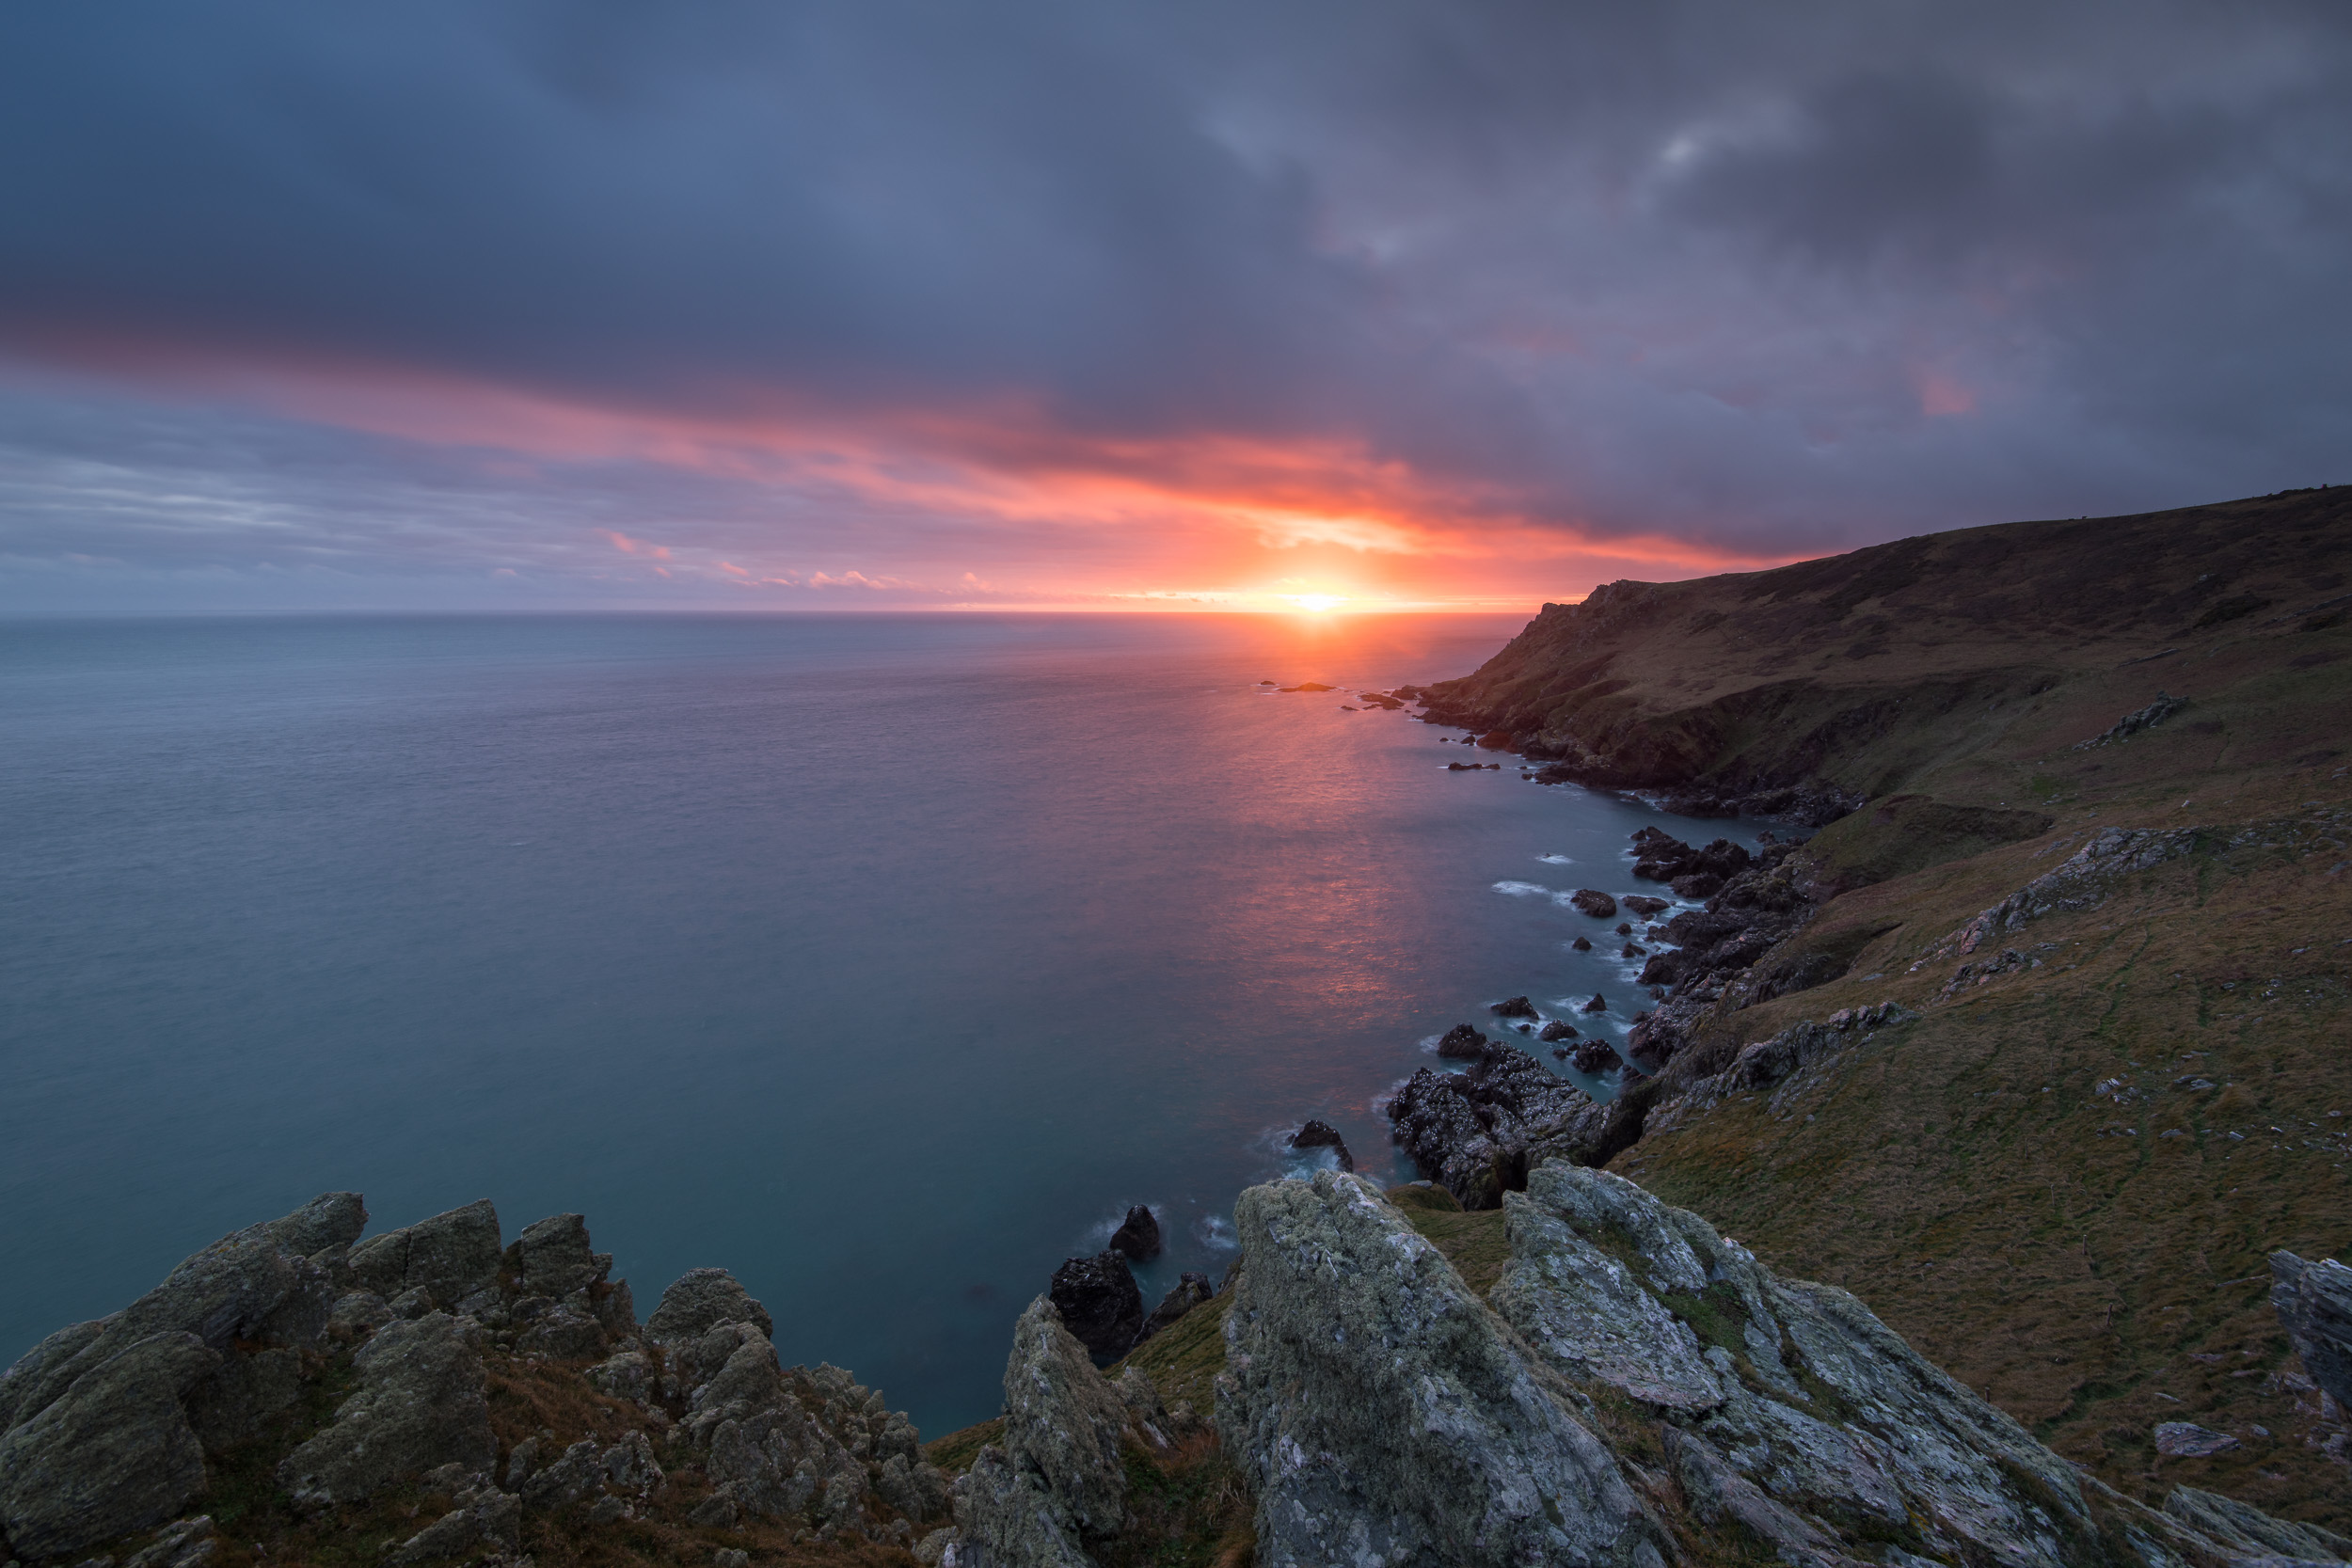
Nikon D850, Nikkor 16-35 mm f/4 VR at 17 mm, 4.8 seconds at ISO 64, f/13, Lee Filters circular polariser, ND grad and Little Stopper.
Well, I do hope you enjoyed those images and my winter solstice video. Did you head out for winter solstice? Have you had days where landscape photography has been both a joy and a drag? Let me know in the comments below.

My 5 Favourite Images of 2017 and How to Find Yours
In the blog this week I take a look at my 5 favourite images from 2017. I also tell you why you should find your 5 favourites and show you how.
The How and Why
At the end of each year, I like to look back at the photographs I have taken. This reminds me not only that I had some challenges with my photography, but also that I had some successes. By putting these successful photographs into an annual collection it helps focus my mind for the following year and gives me plenty of inspiration and encouragement.
In the video below I share with you the process of how I select my 5 favourite images so that you can do the same.
My 5 Favourite Images of 2017
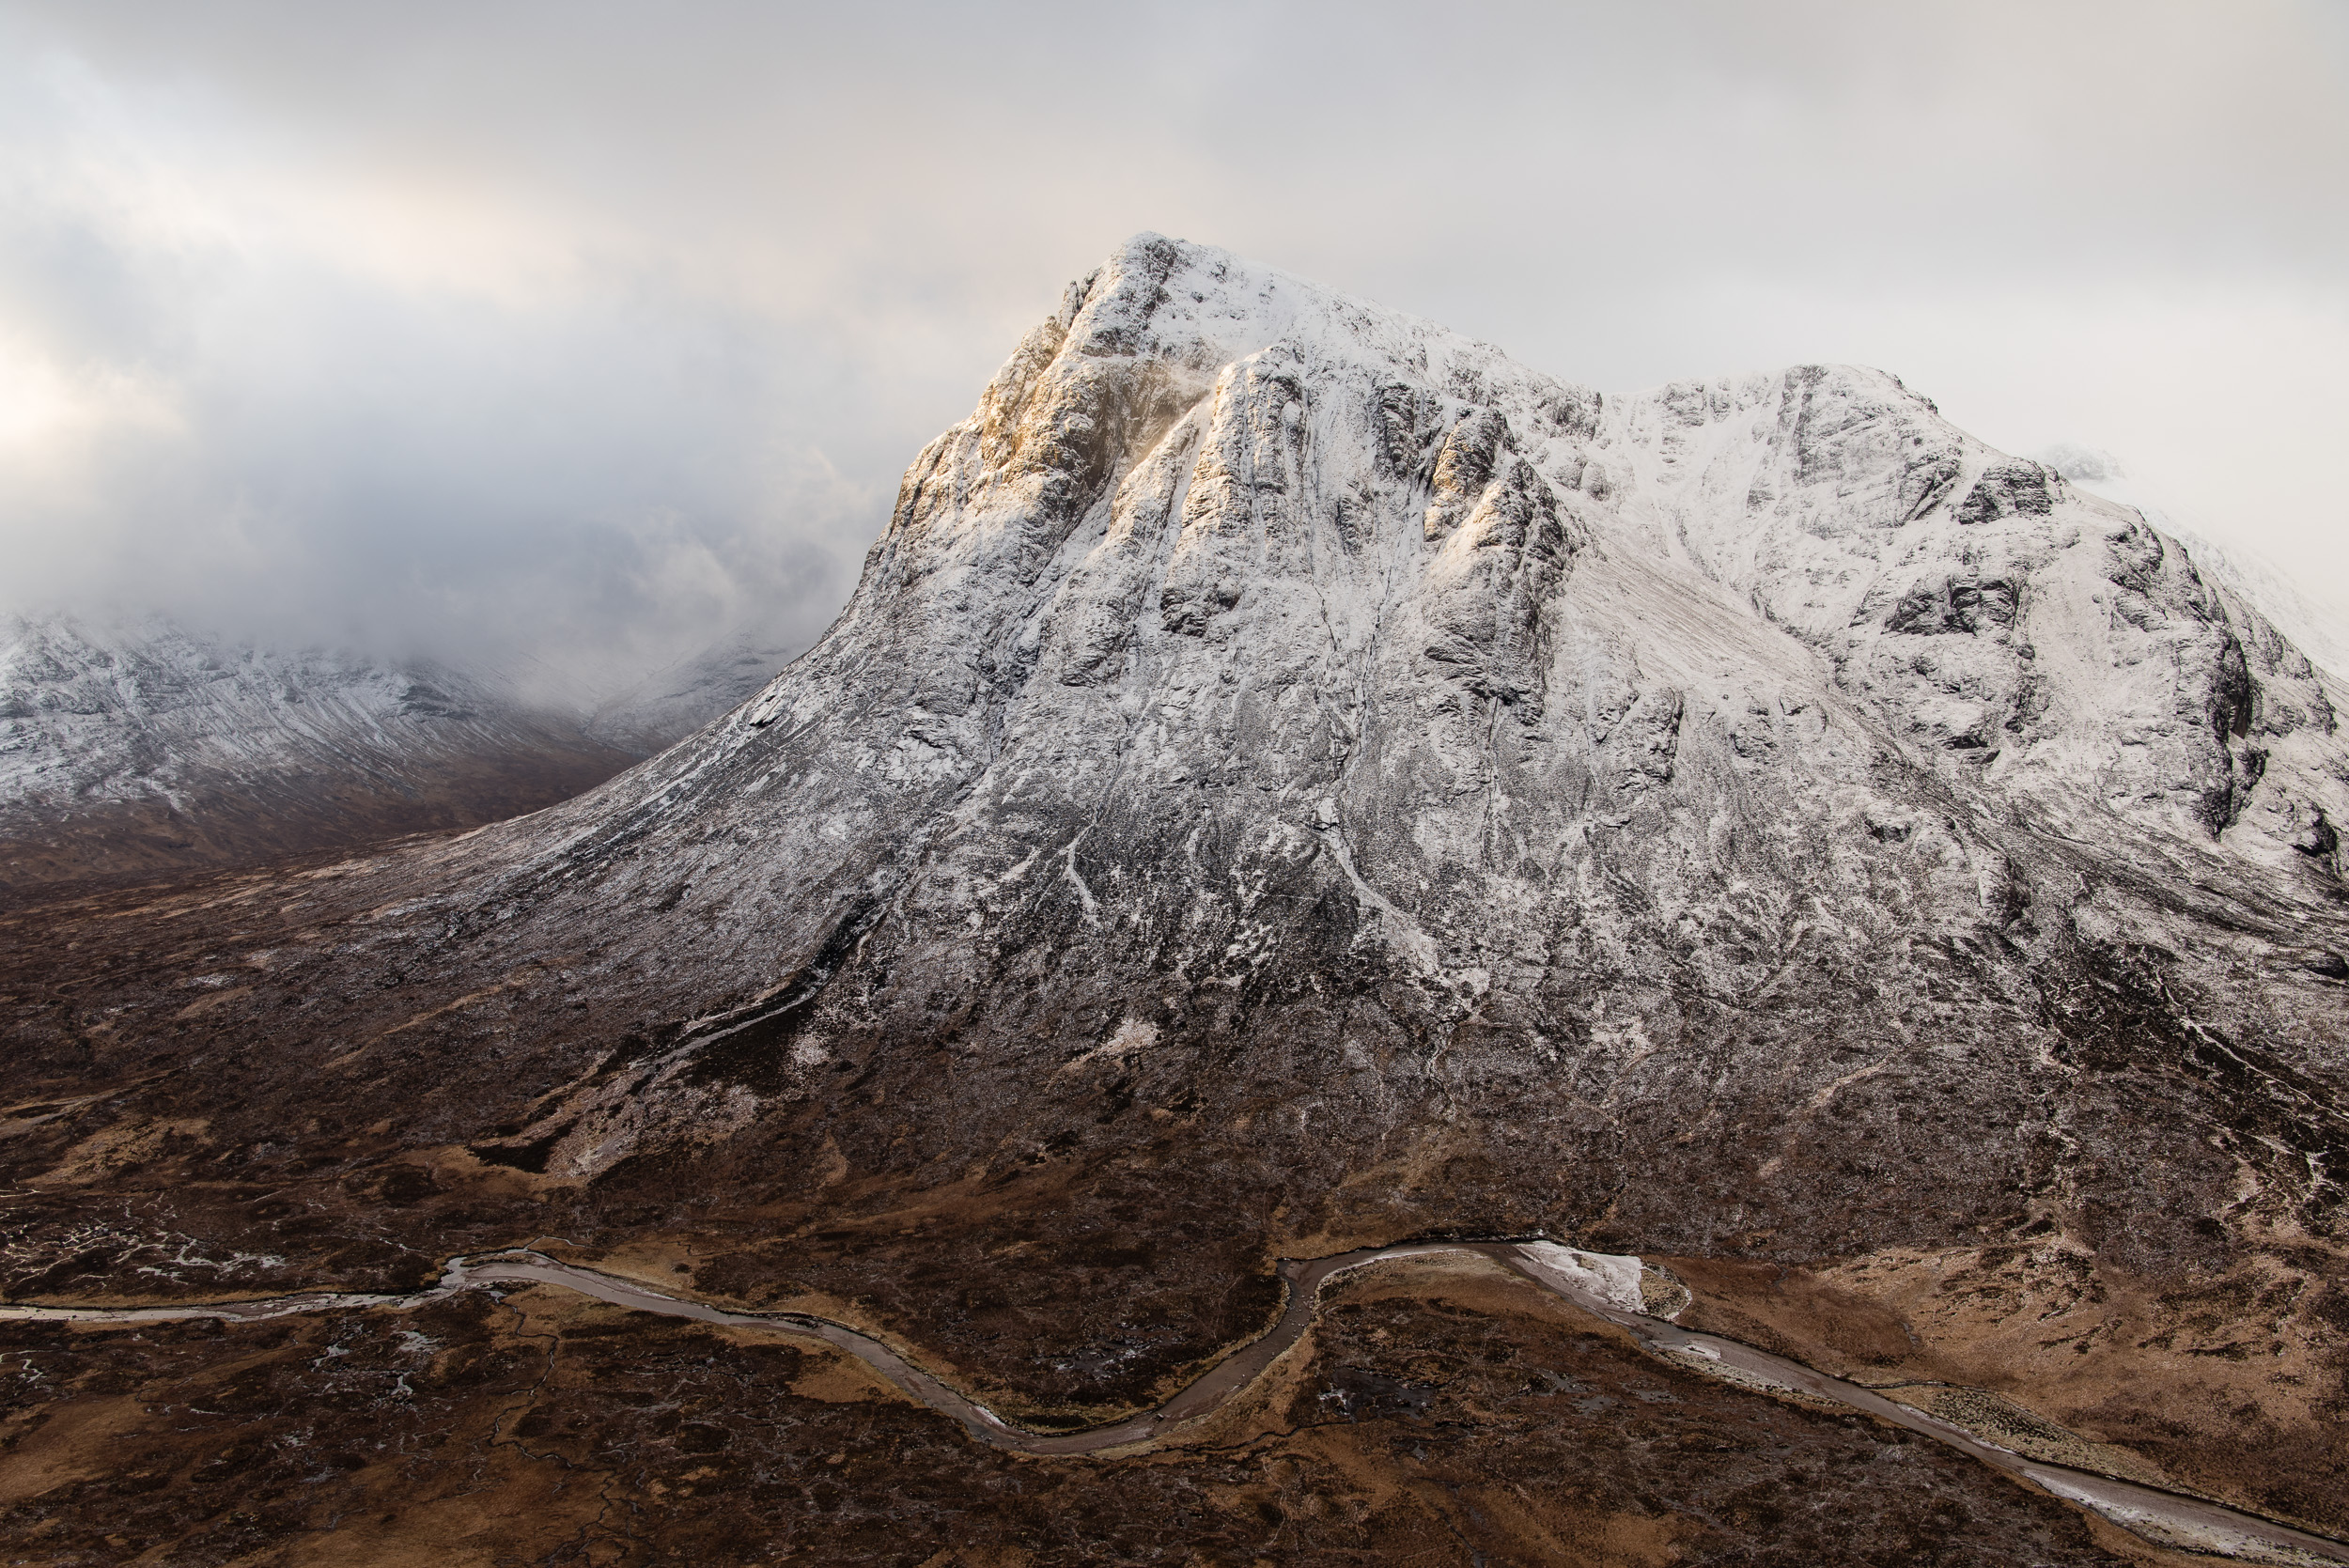
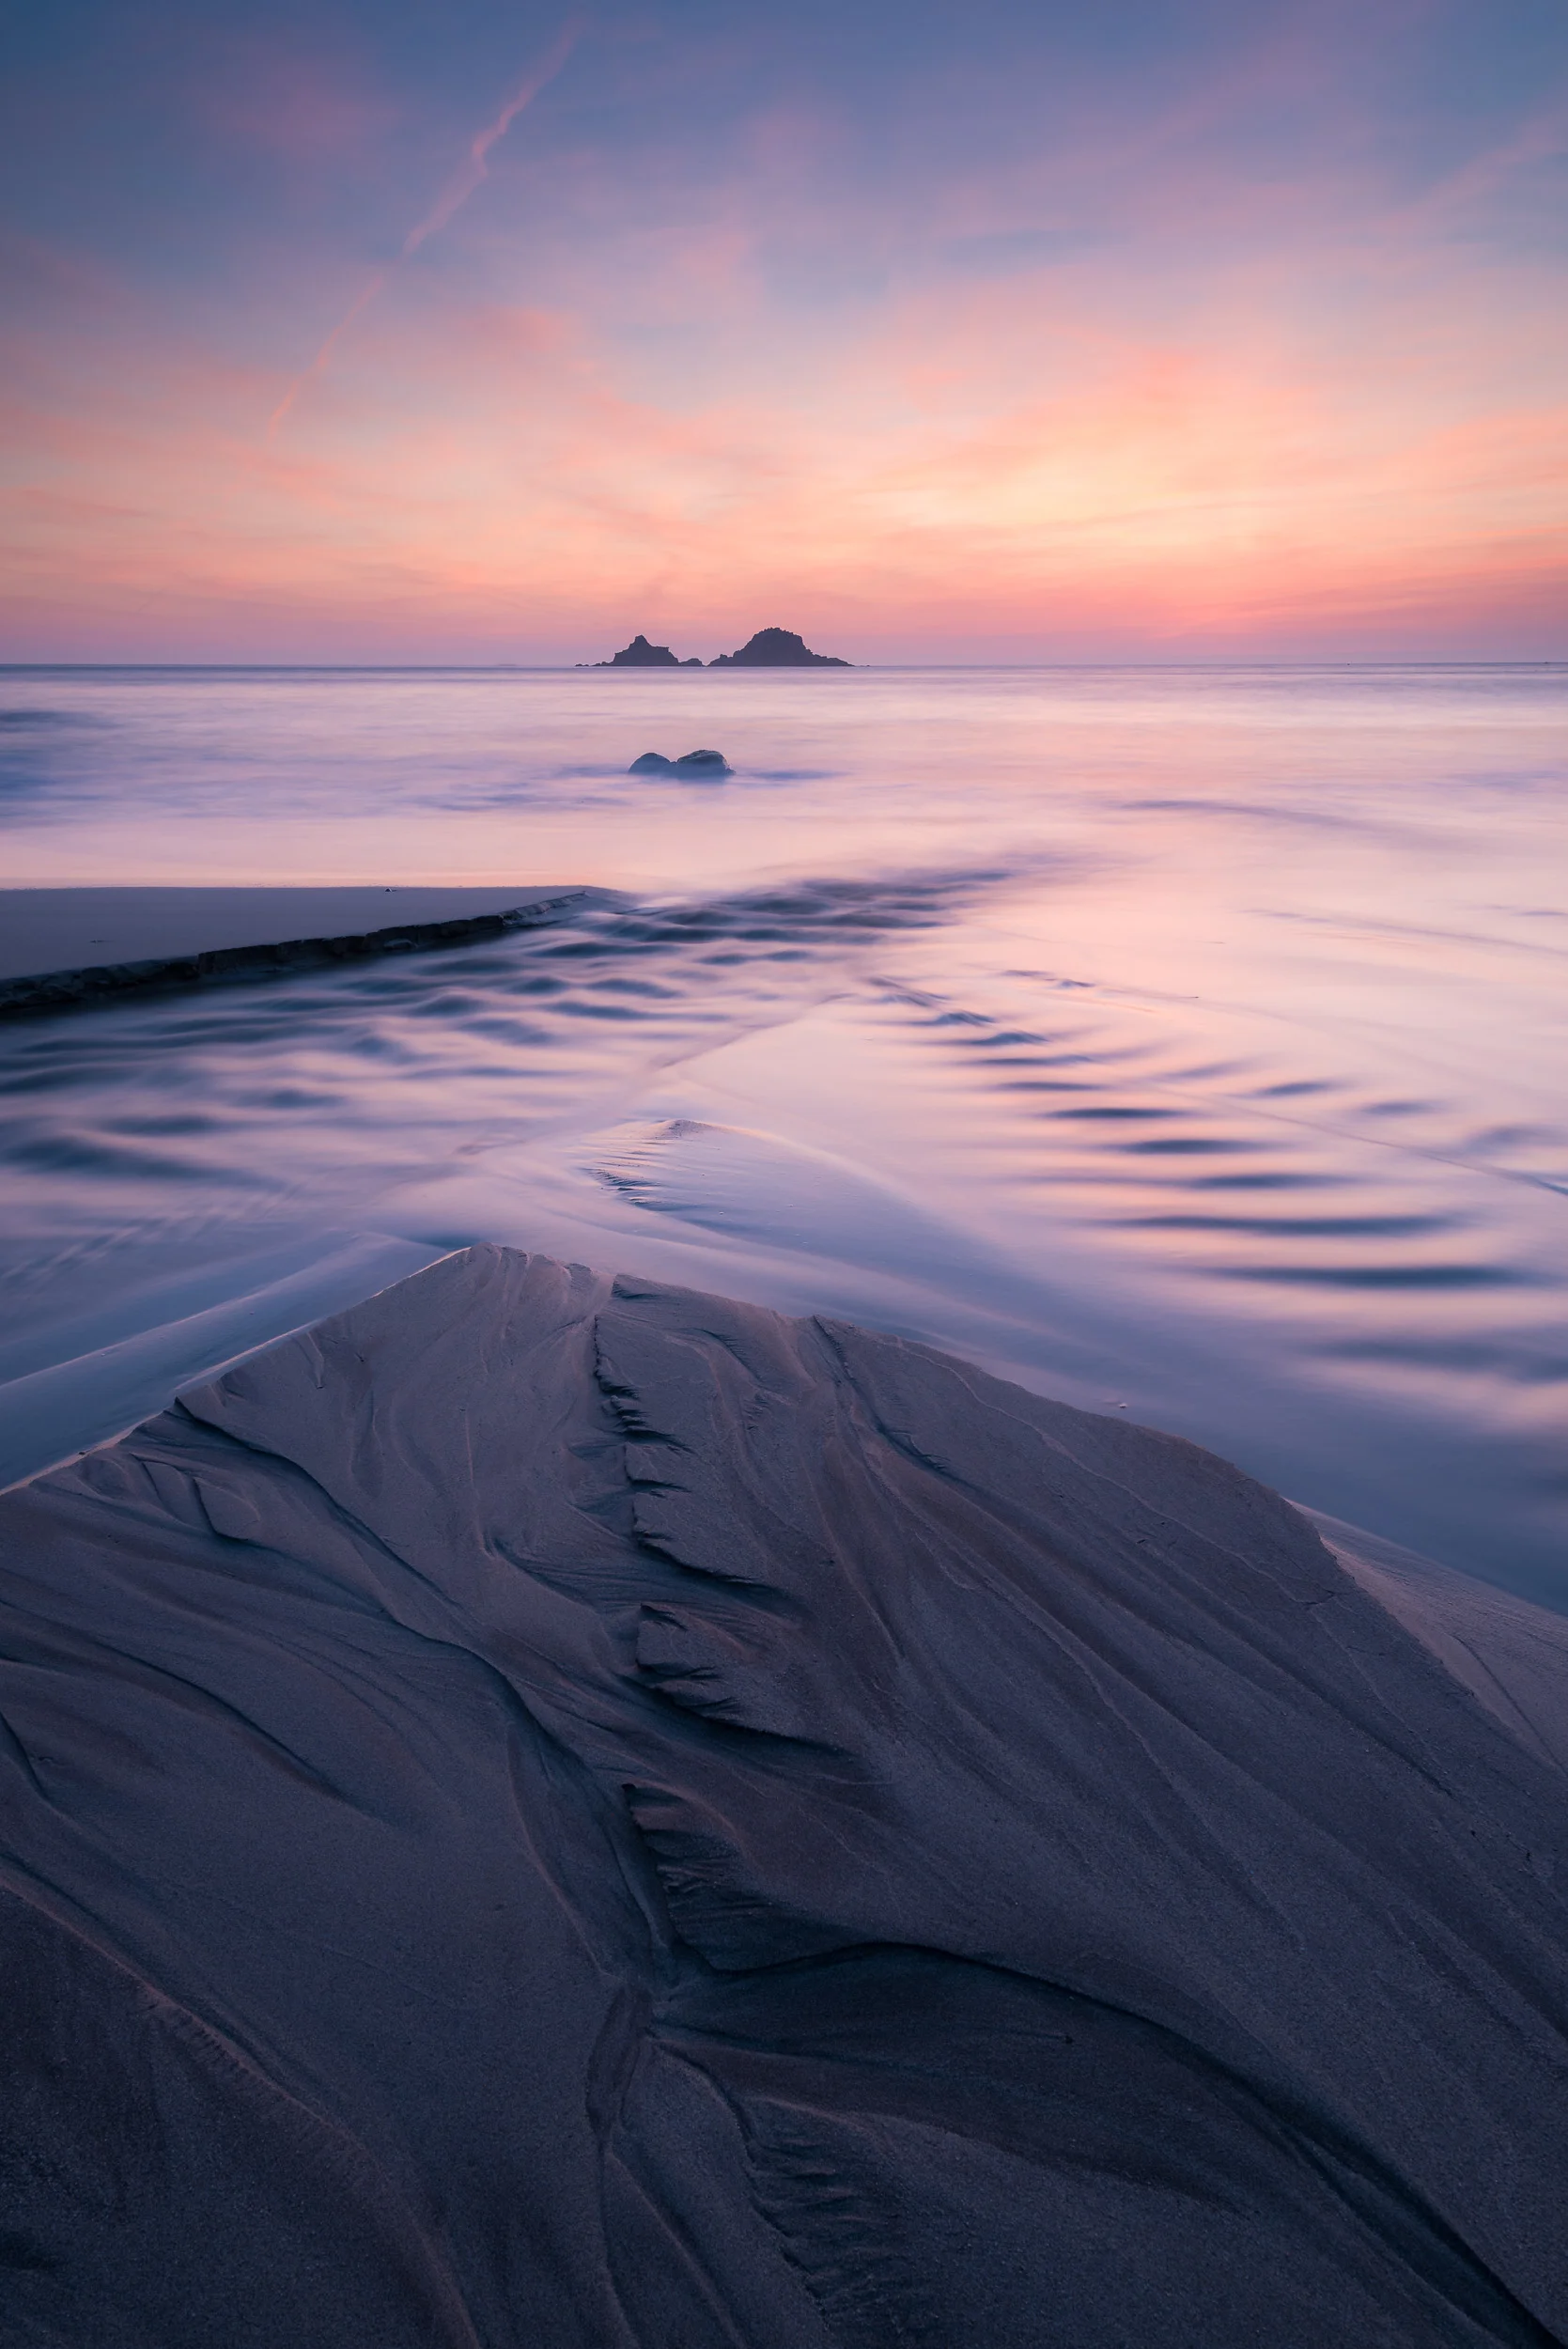
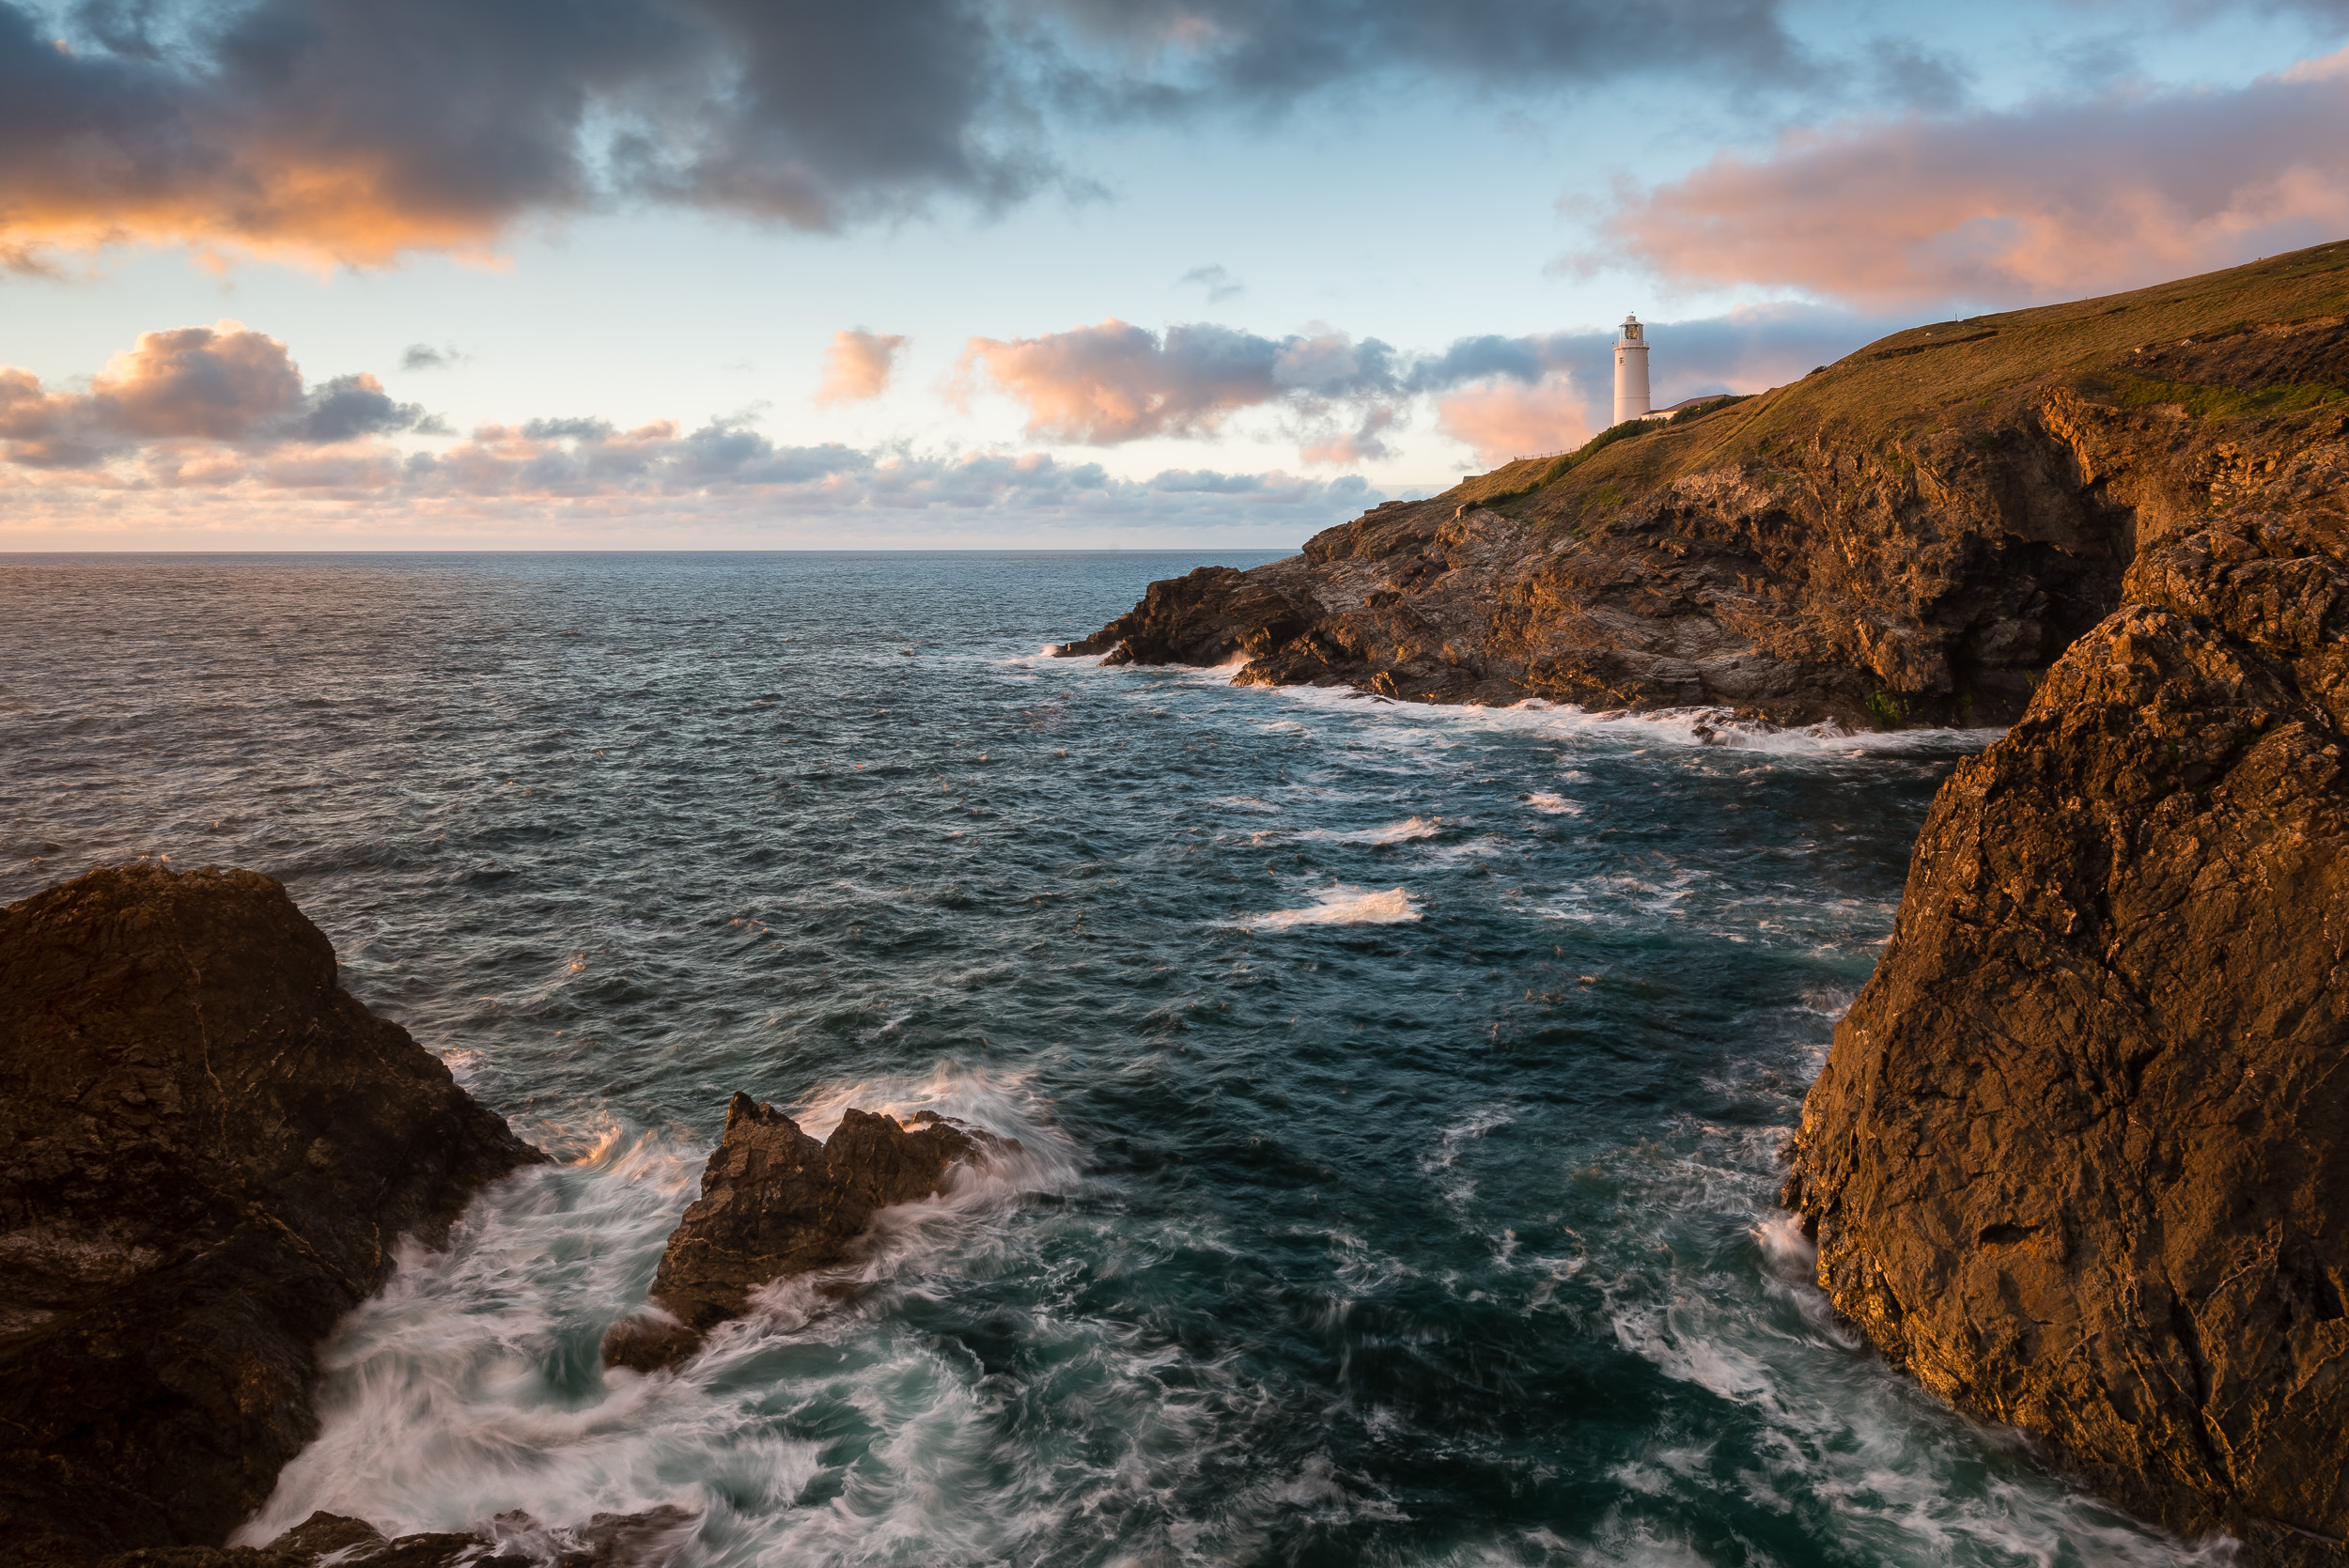
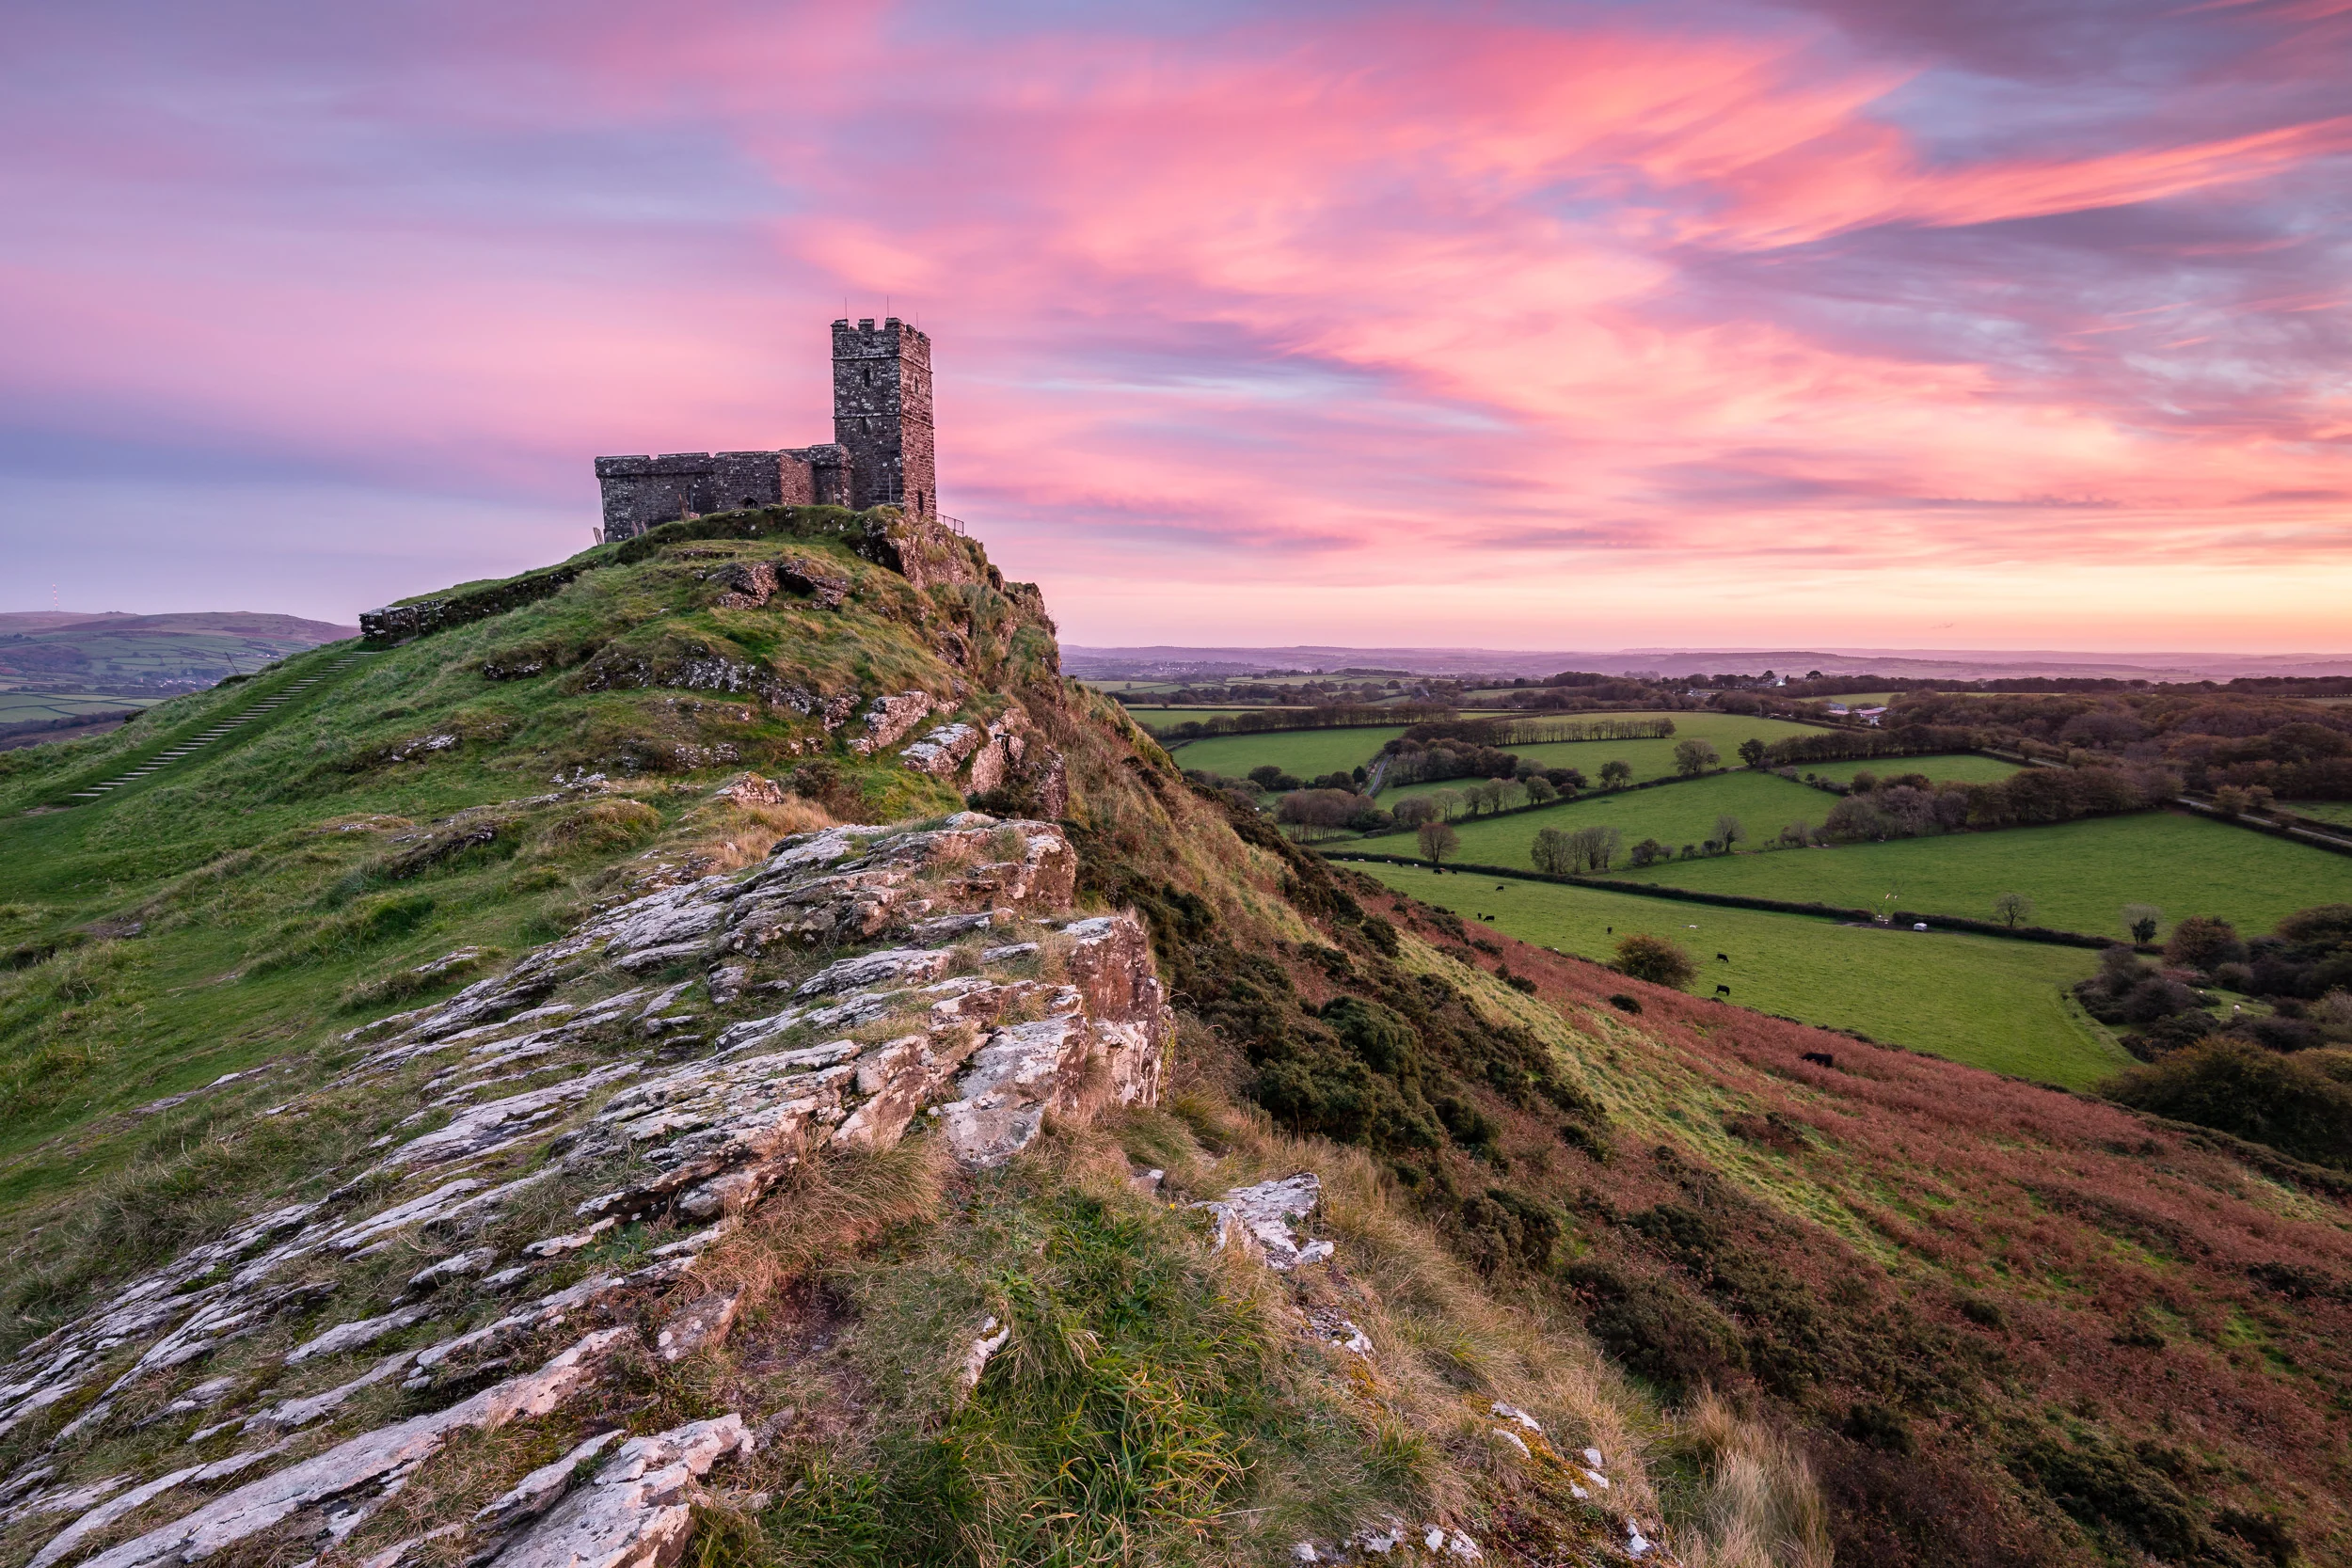
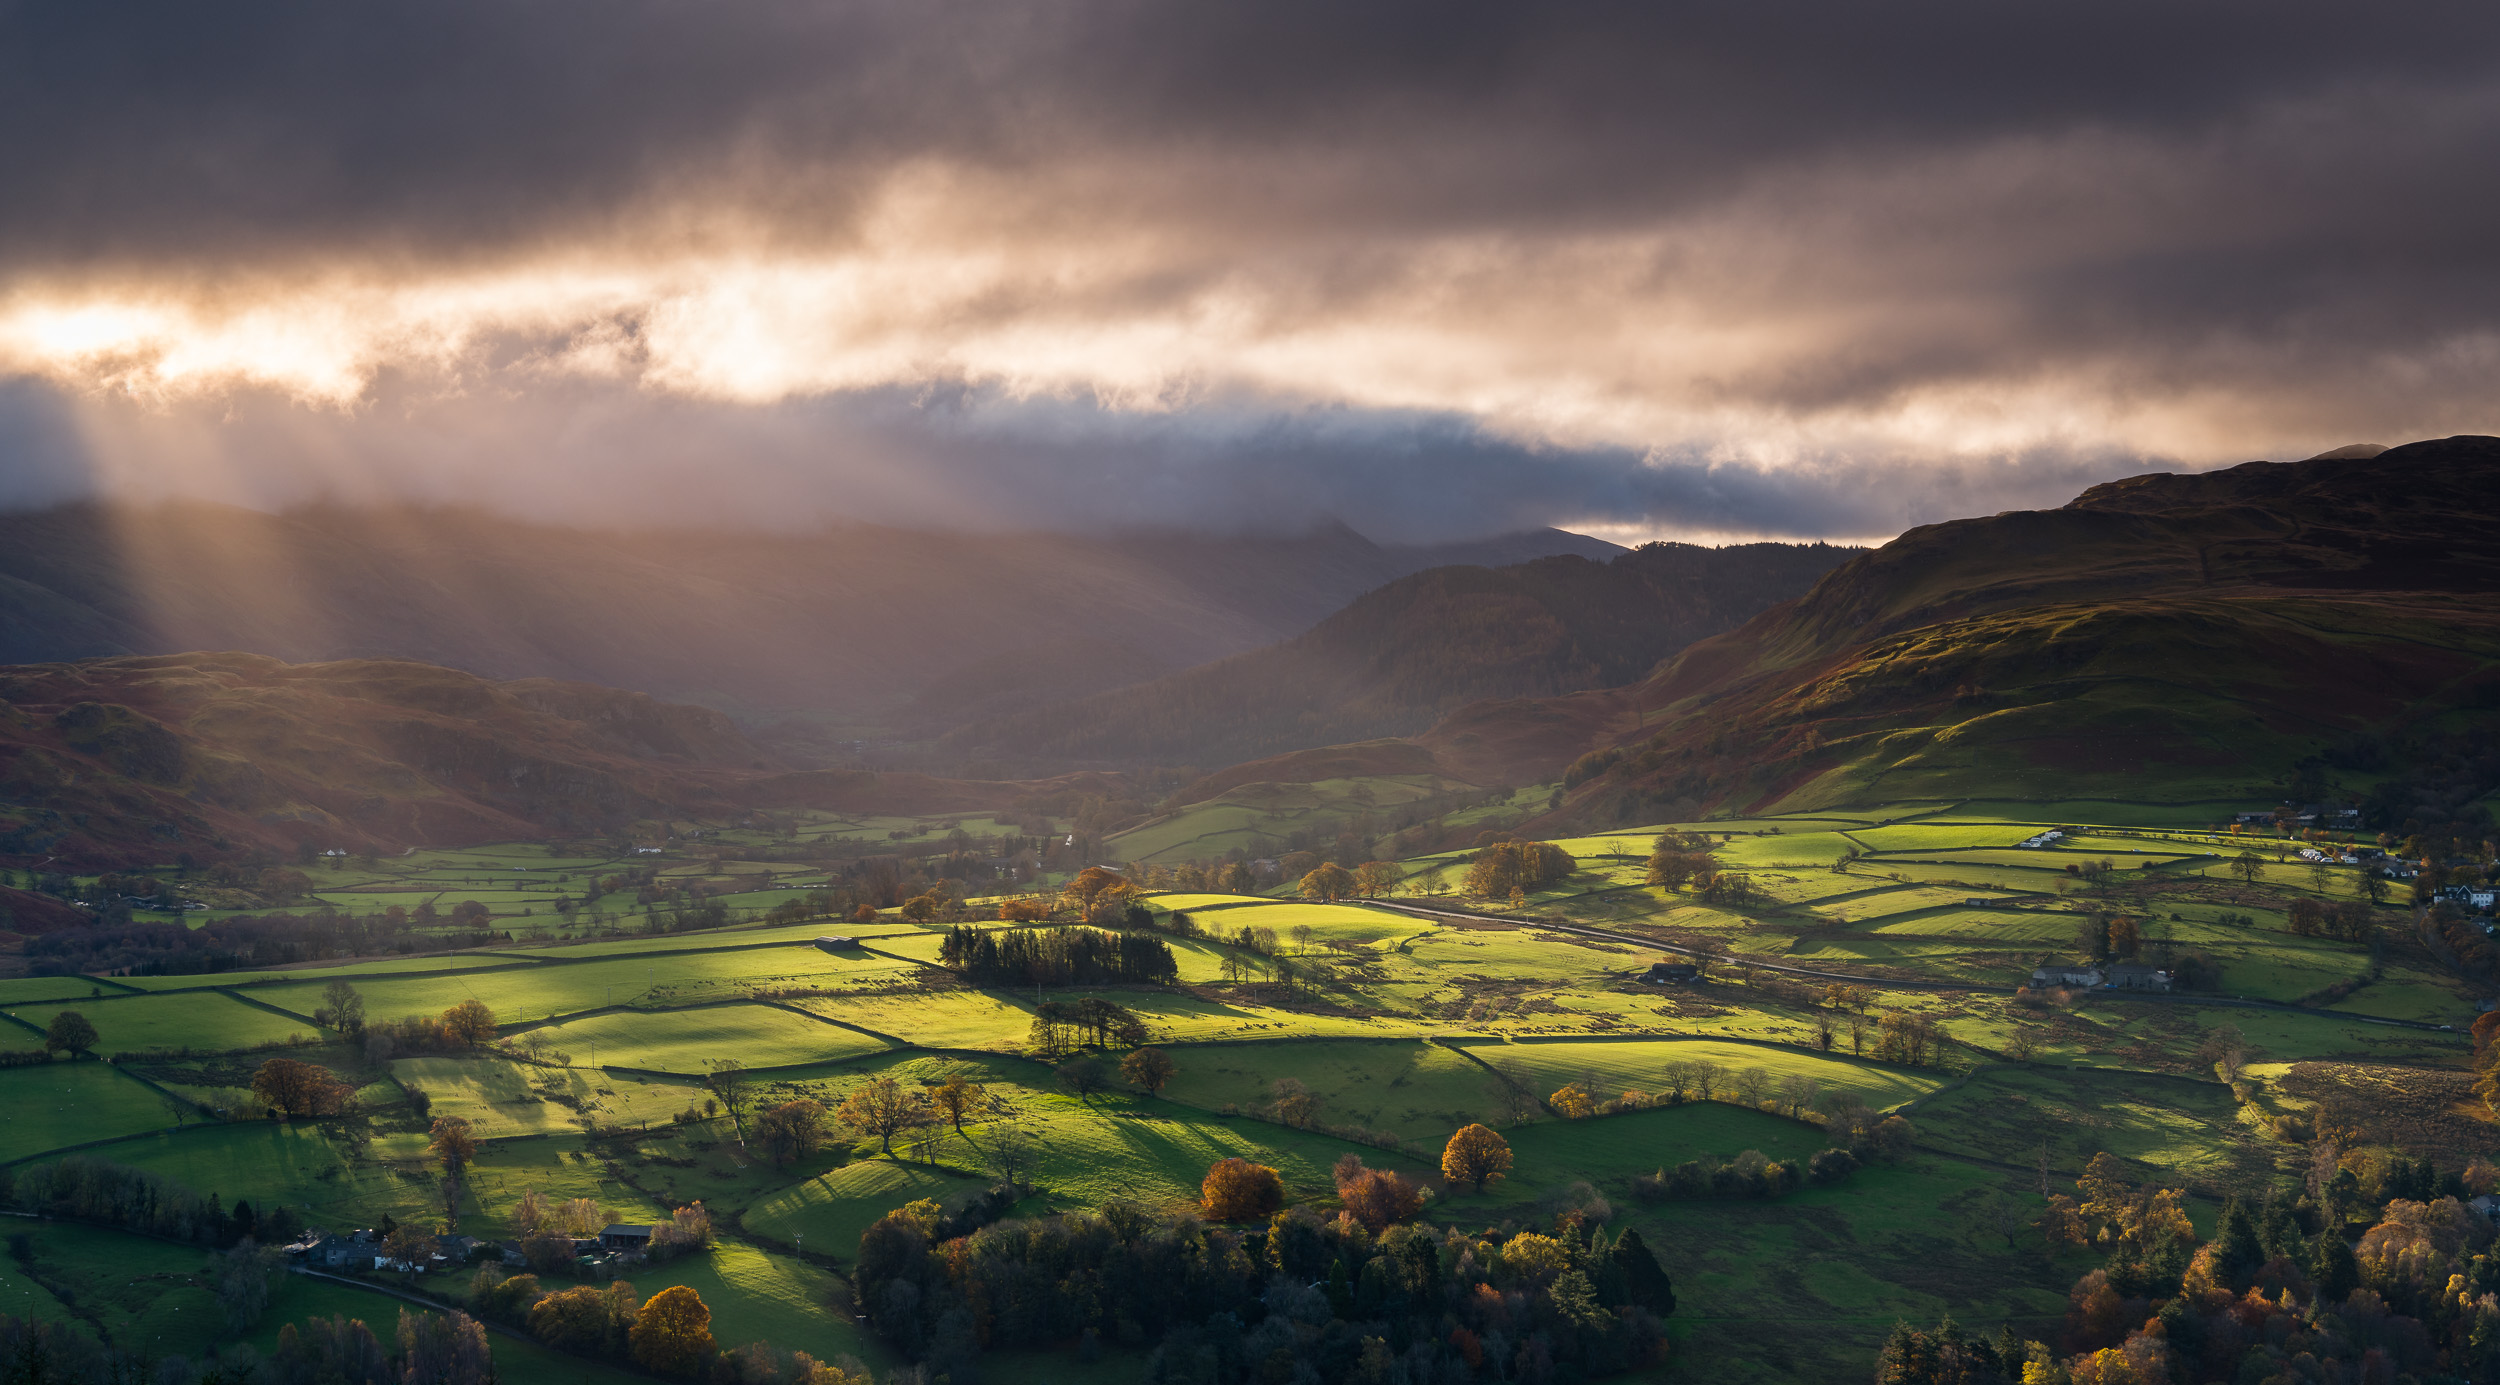
As with my image review from last year, this review has given me a lot of inspiration to take through into 2018. I went out over 50 times with the camera in 2017 and drove over 6000 miles, and it was great to see all that effort wasn't wasted!
So which one of my 5 images was your favourite? Have you gone through a similar process as well? Let me know in the comments below.

A Day Out in Dorset
In this blog post, I tell you about the day I spent photographing some of Dorset's finest coastal locations.
Dorset
Though Dorset is the county next door to where I live, I really don't spend enough time there photographing it. I do love to shoot The Cobb in Lyme Regis, and I have been known to photograph Colmer's Hill on the odd occasion, but I really should spend more time in Dorset exploring further afield.
So when my friends over at Dawn 2 Dusk Photography announced that they were running a special long exposure one day workshop in Dorset, I signed up immediately. It sounded so good that I even convinced my father-in-law to dust off his camera and join me.
I've written about the advantages of attending workshops before when I attended another Dawn 2 Dusk workshop in Glencoe earlier this year. This one would be no different. There would be some excellent tuition on hand, it would be well organised, there's always a great bunch of photographers to get to know, and we would, of course, visit some of Dorset's most iconic coastal locations.
West Lulworth
As the workshop wouldn't start until 9 am in Swanage, I thought I would try and make the most of the day by fitting in a nearby dawn shoot. As sunrise was relatively late on I couldn't be too far away from Swanage, so I decided to go West Lulworth and try my hand at shooting Lulworth Cove.

I will need to explore the cove in more detail if I'm to get the shot I'm looking for.
Upon arriving at West Lulworth it soon became apparent that shooting the cove in its entirety wasn't going to be as easy as I thought it might be. From my shooting location along the western edge of the cove, even with a 16mm lens, I wasn't able to find a spot from where I could get everything in that I wanted. Obviously, this would be a location that I would need to revisit when I had more time to explore.
I did find a nice composition down at the shoreline of the cove though. While I like the composition of the photo below, I think it lacks good light and a bit of colour from the rising sun. The sky was very clear that morning except the point where the sun was rising where there was a blanket of cloud. By the time the sun was rising above the cloud I really had to make a move to Swanage or I'd be late for the start of the workshop!
Nikon D850, Nikkor 16-35mm f/4 at 22mm, f/11, 25 secs at ISO 64, Lee Filters circular polariser.
Swanage
After the workshop briefing at 9 am, some witty banter, and some much-needed coffee, the workshop group headed out to photograph both the new pier and old pier at Swanage. Unfortunately, I was unable to make the most out of these locations. Though I got some excellent advice on how to shoot the old pier, I found the clear blue skies not to my taste and I didn't really get any images that I was happy with.
However, getting great images from every location isn't my goal, nor is it ever realistic. I did, however, leave happy knowing that I'd learnt something about composition (there's always something to learn about composition) and that I'd enjoyed meeting some new people.
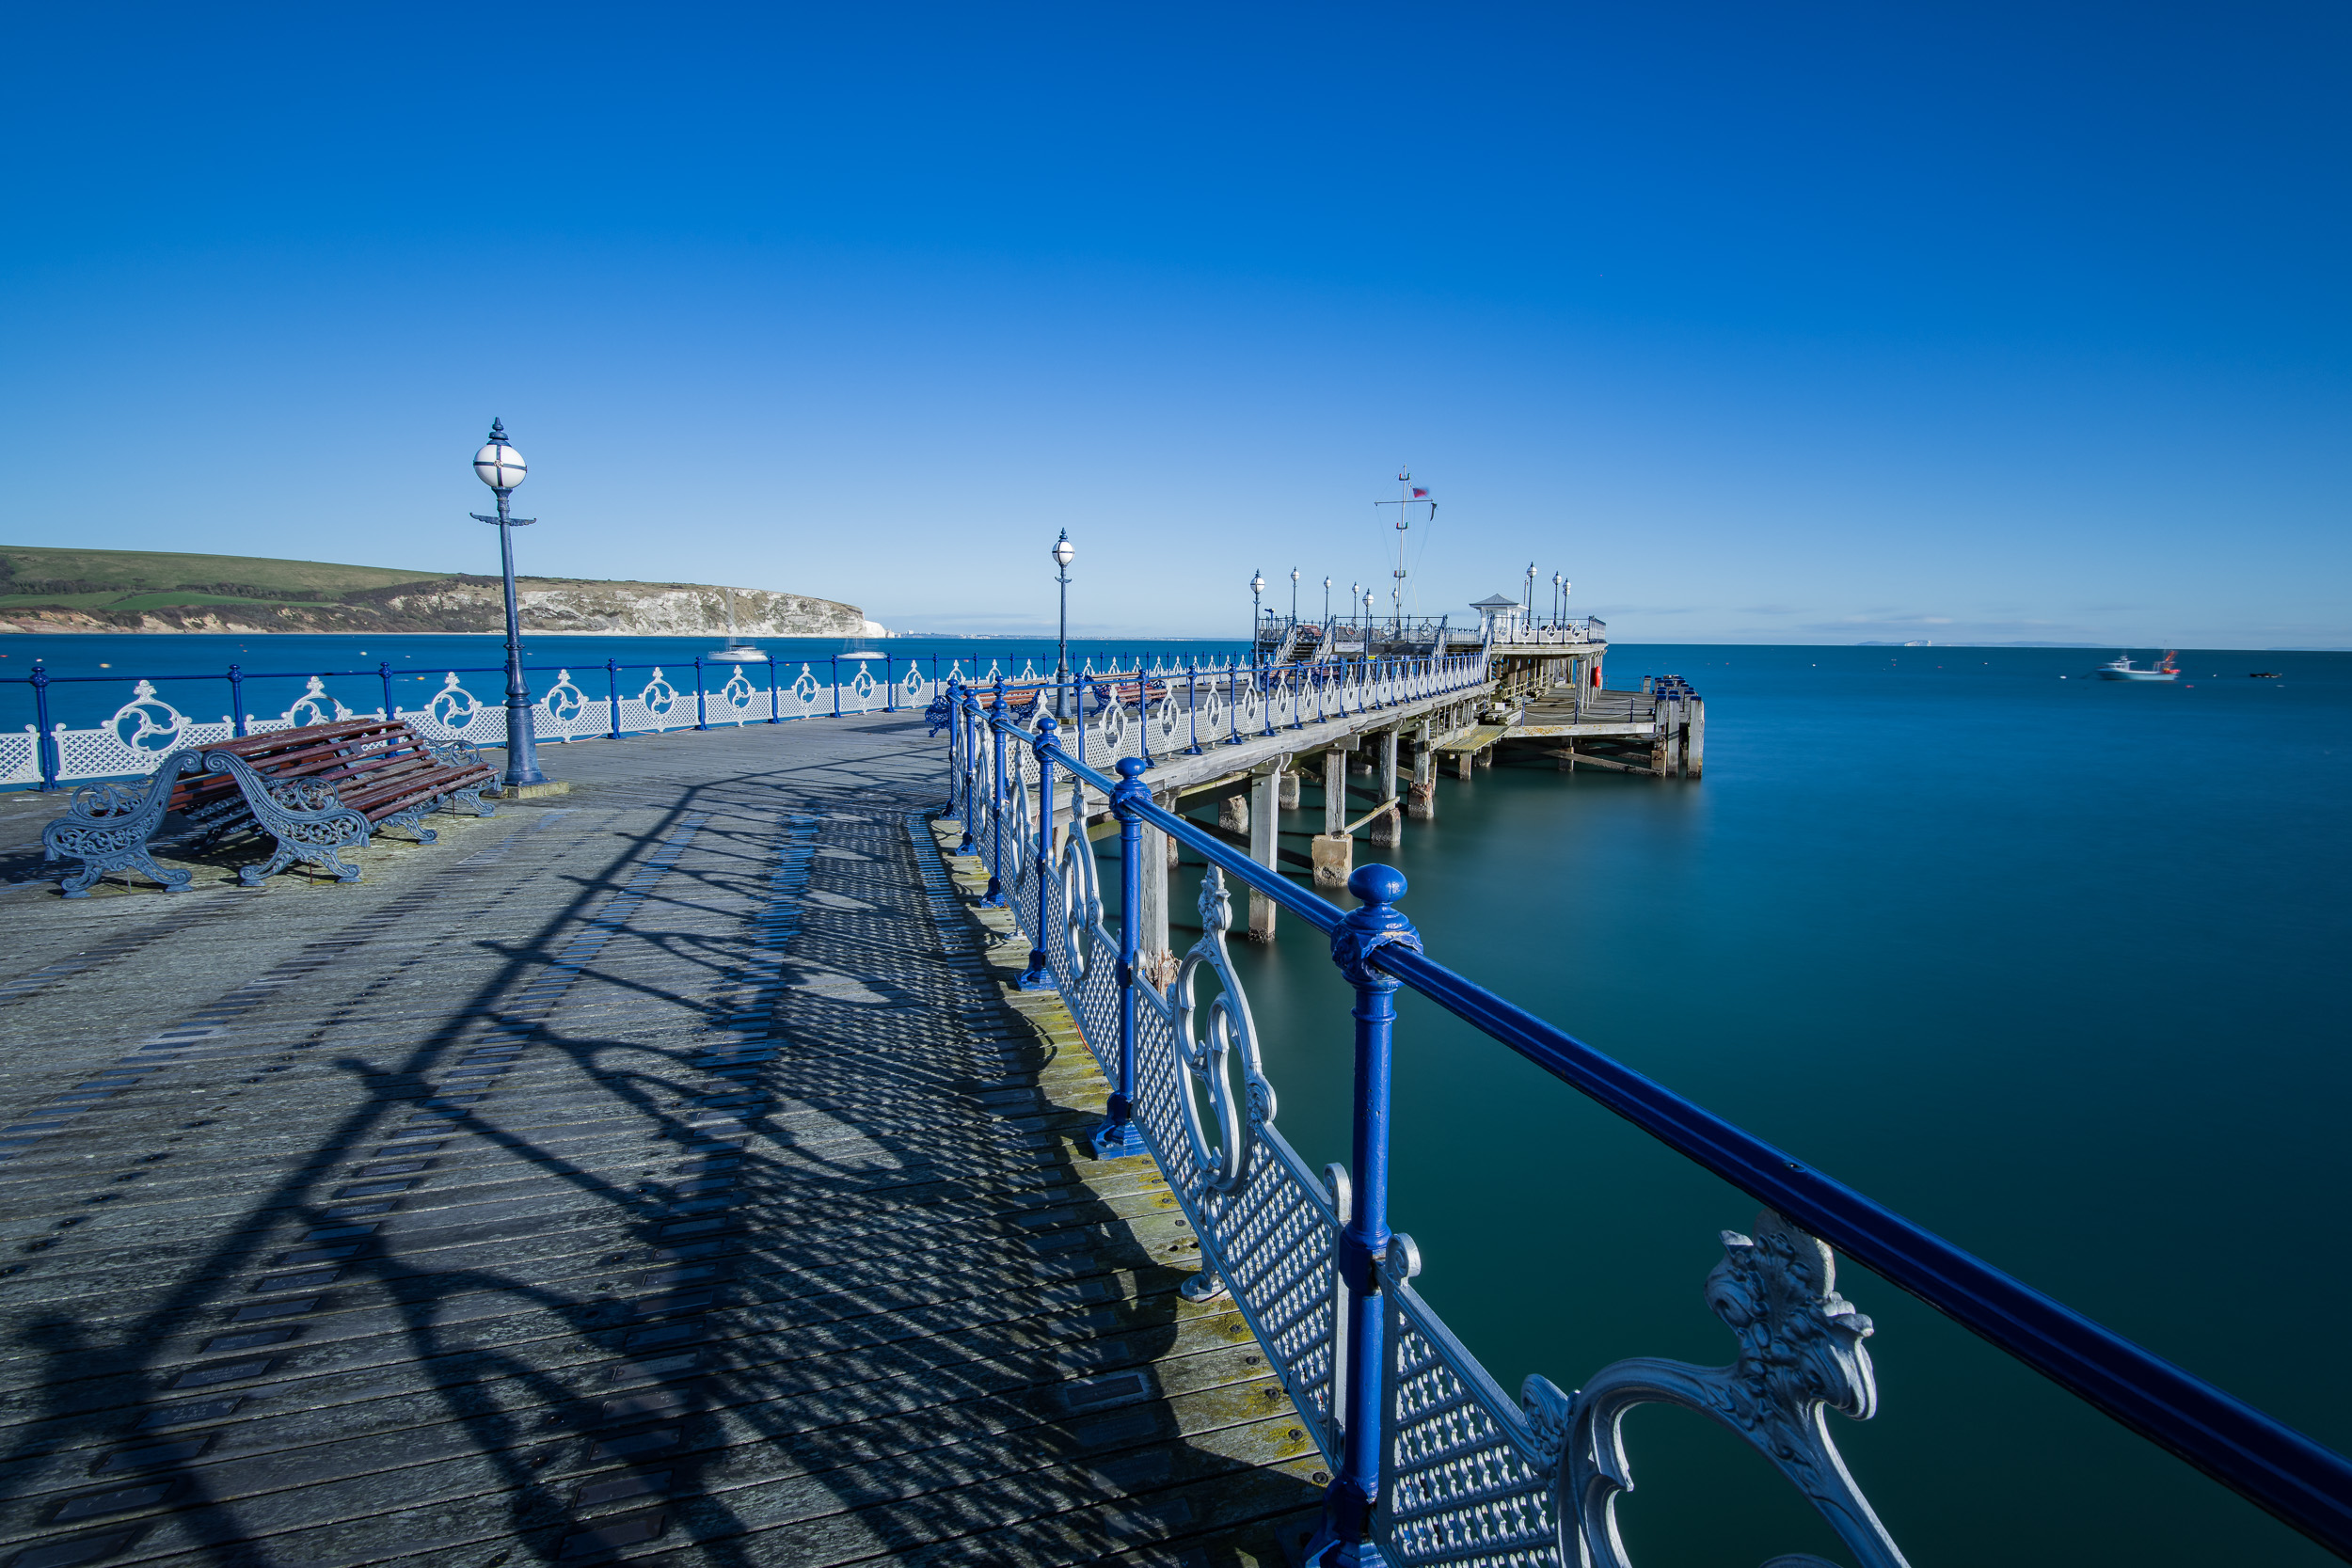
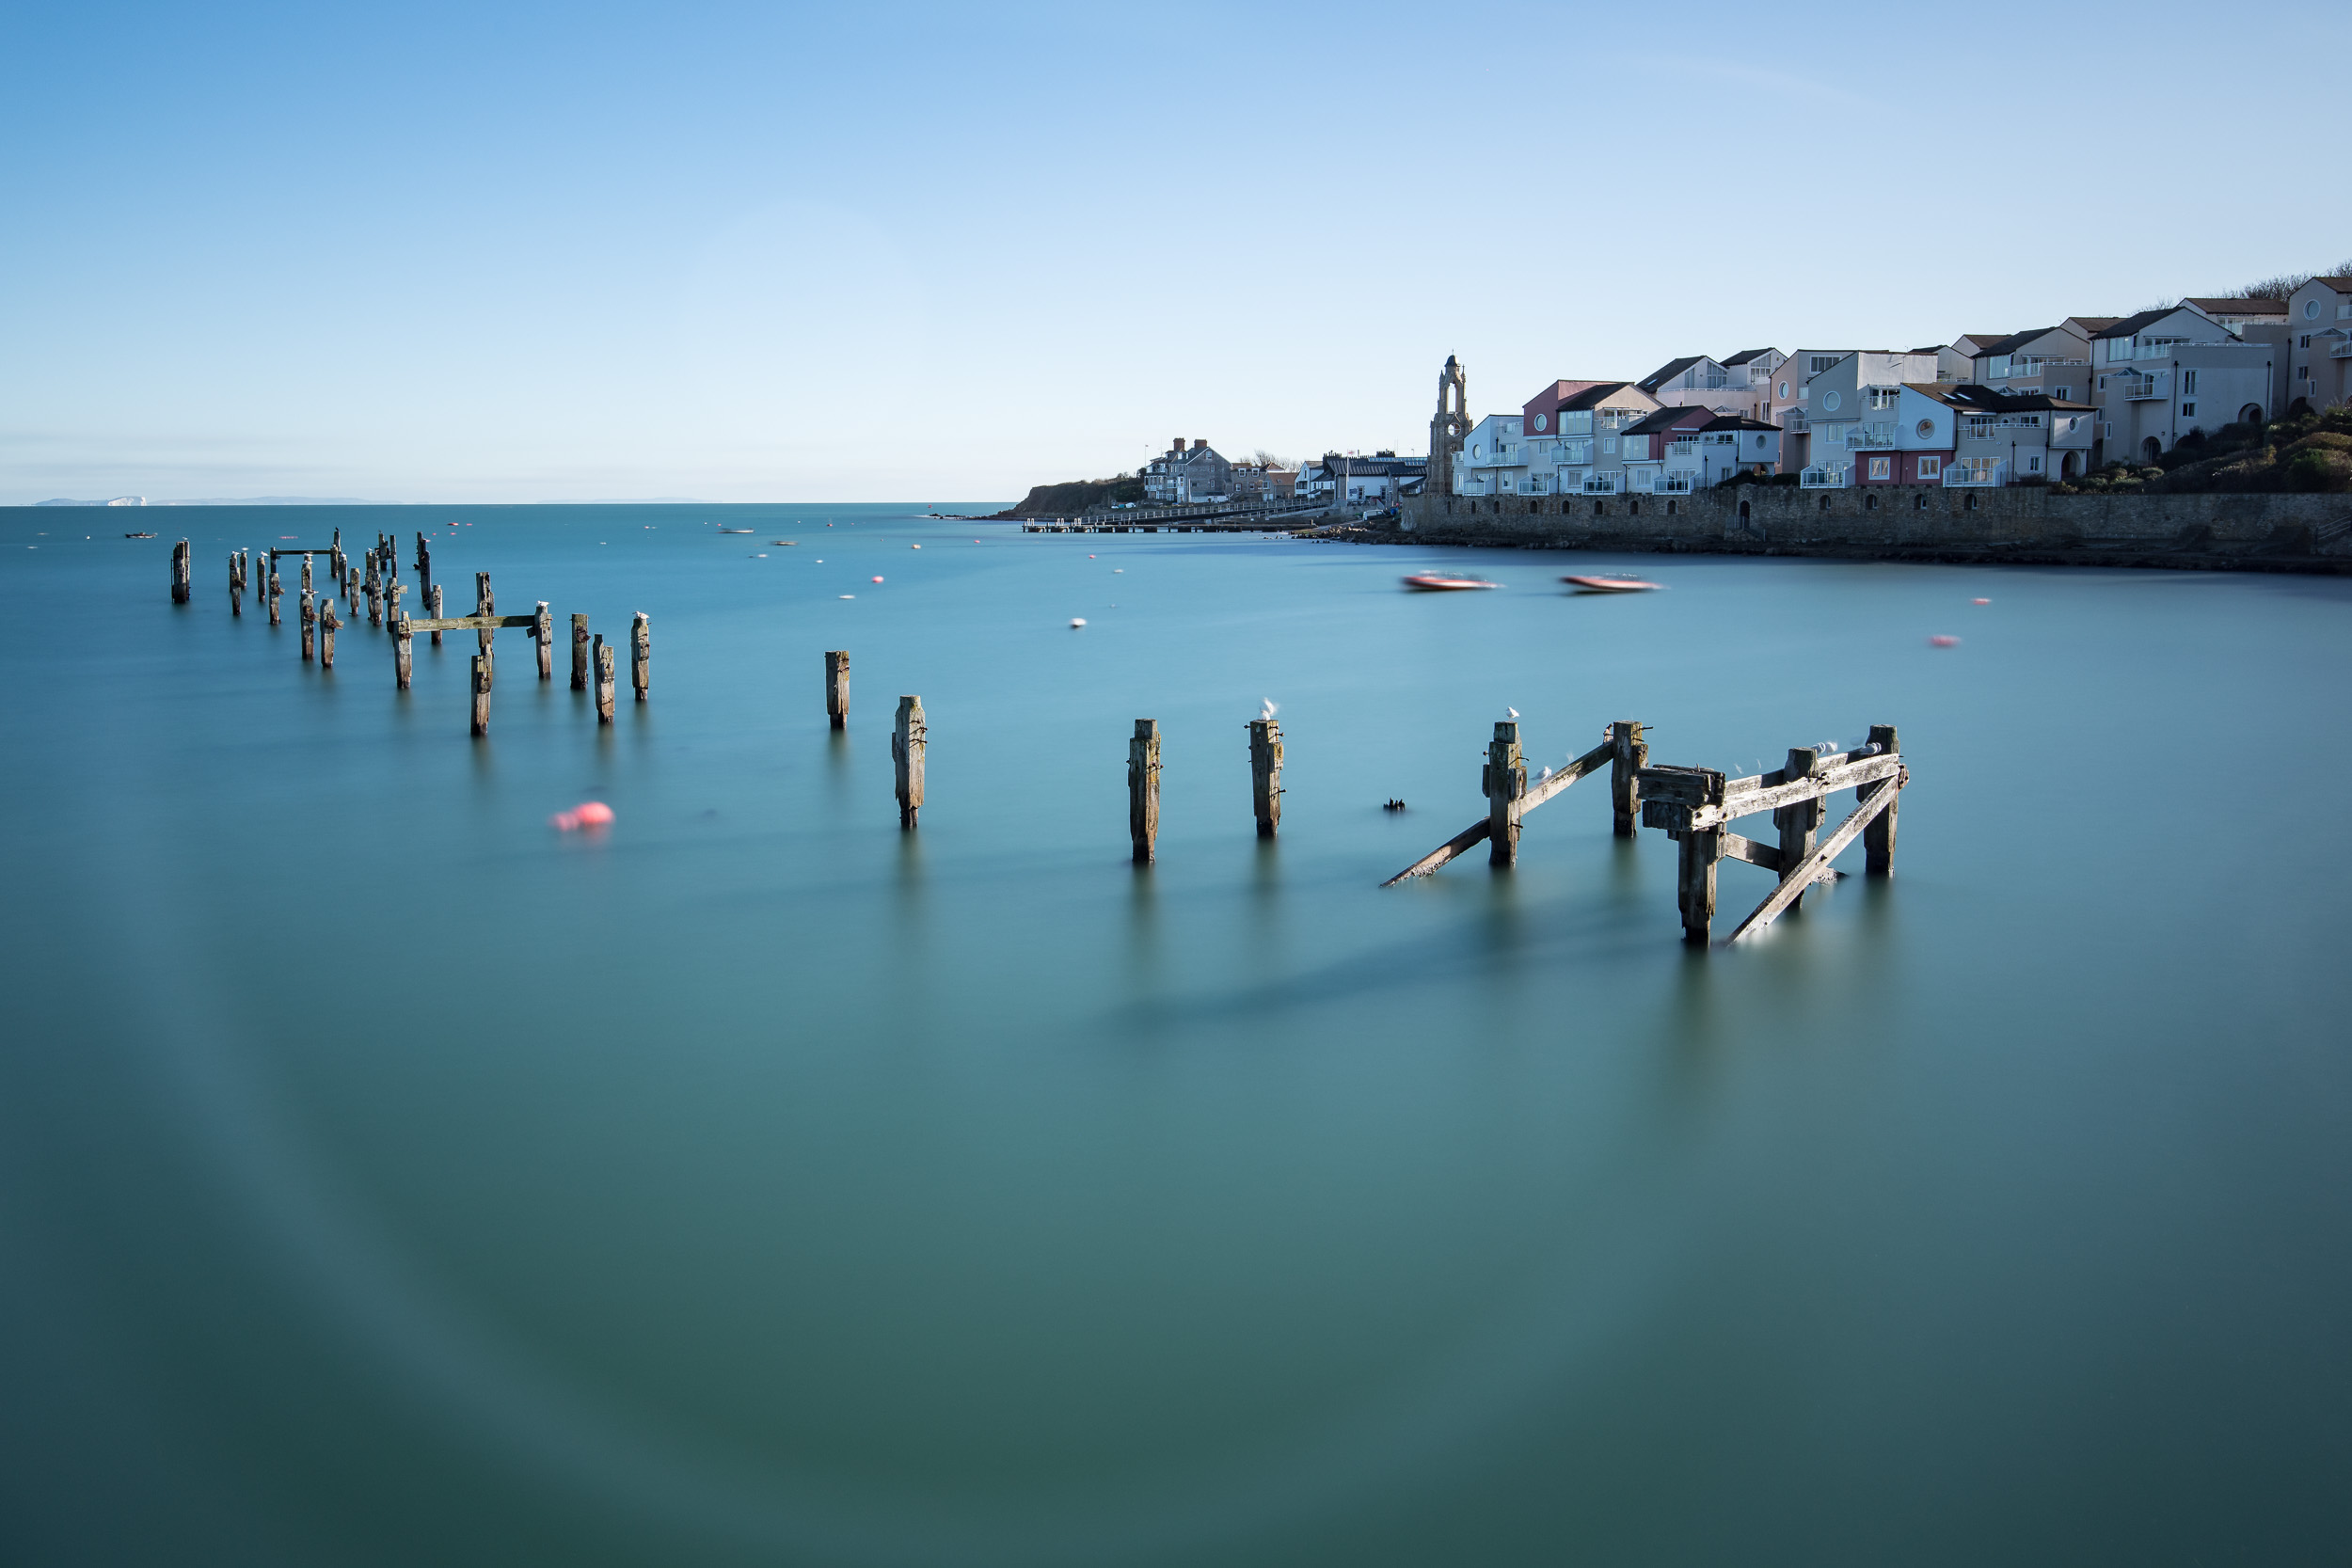
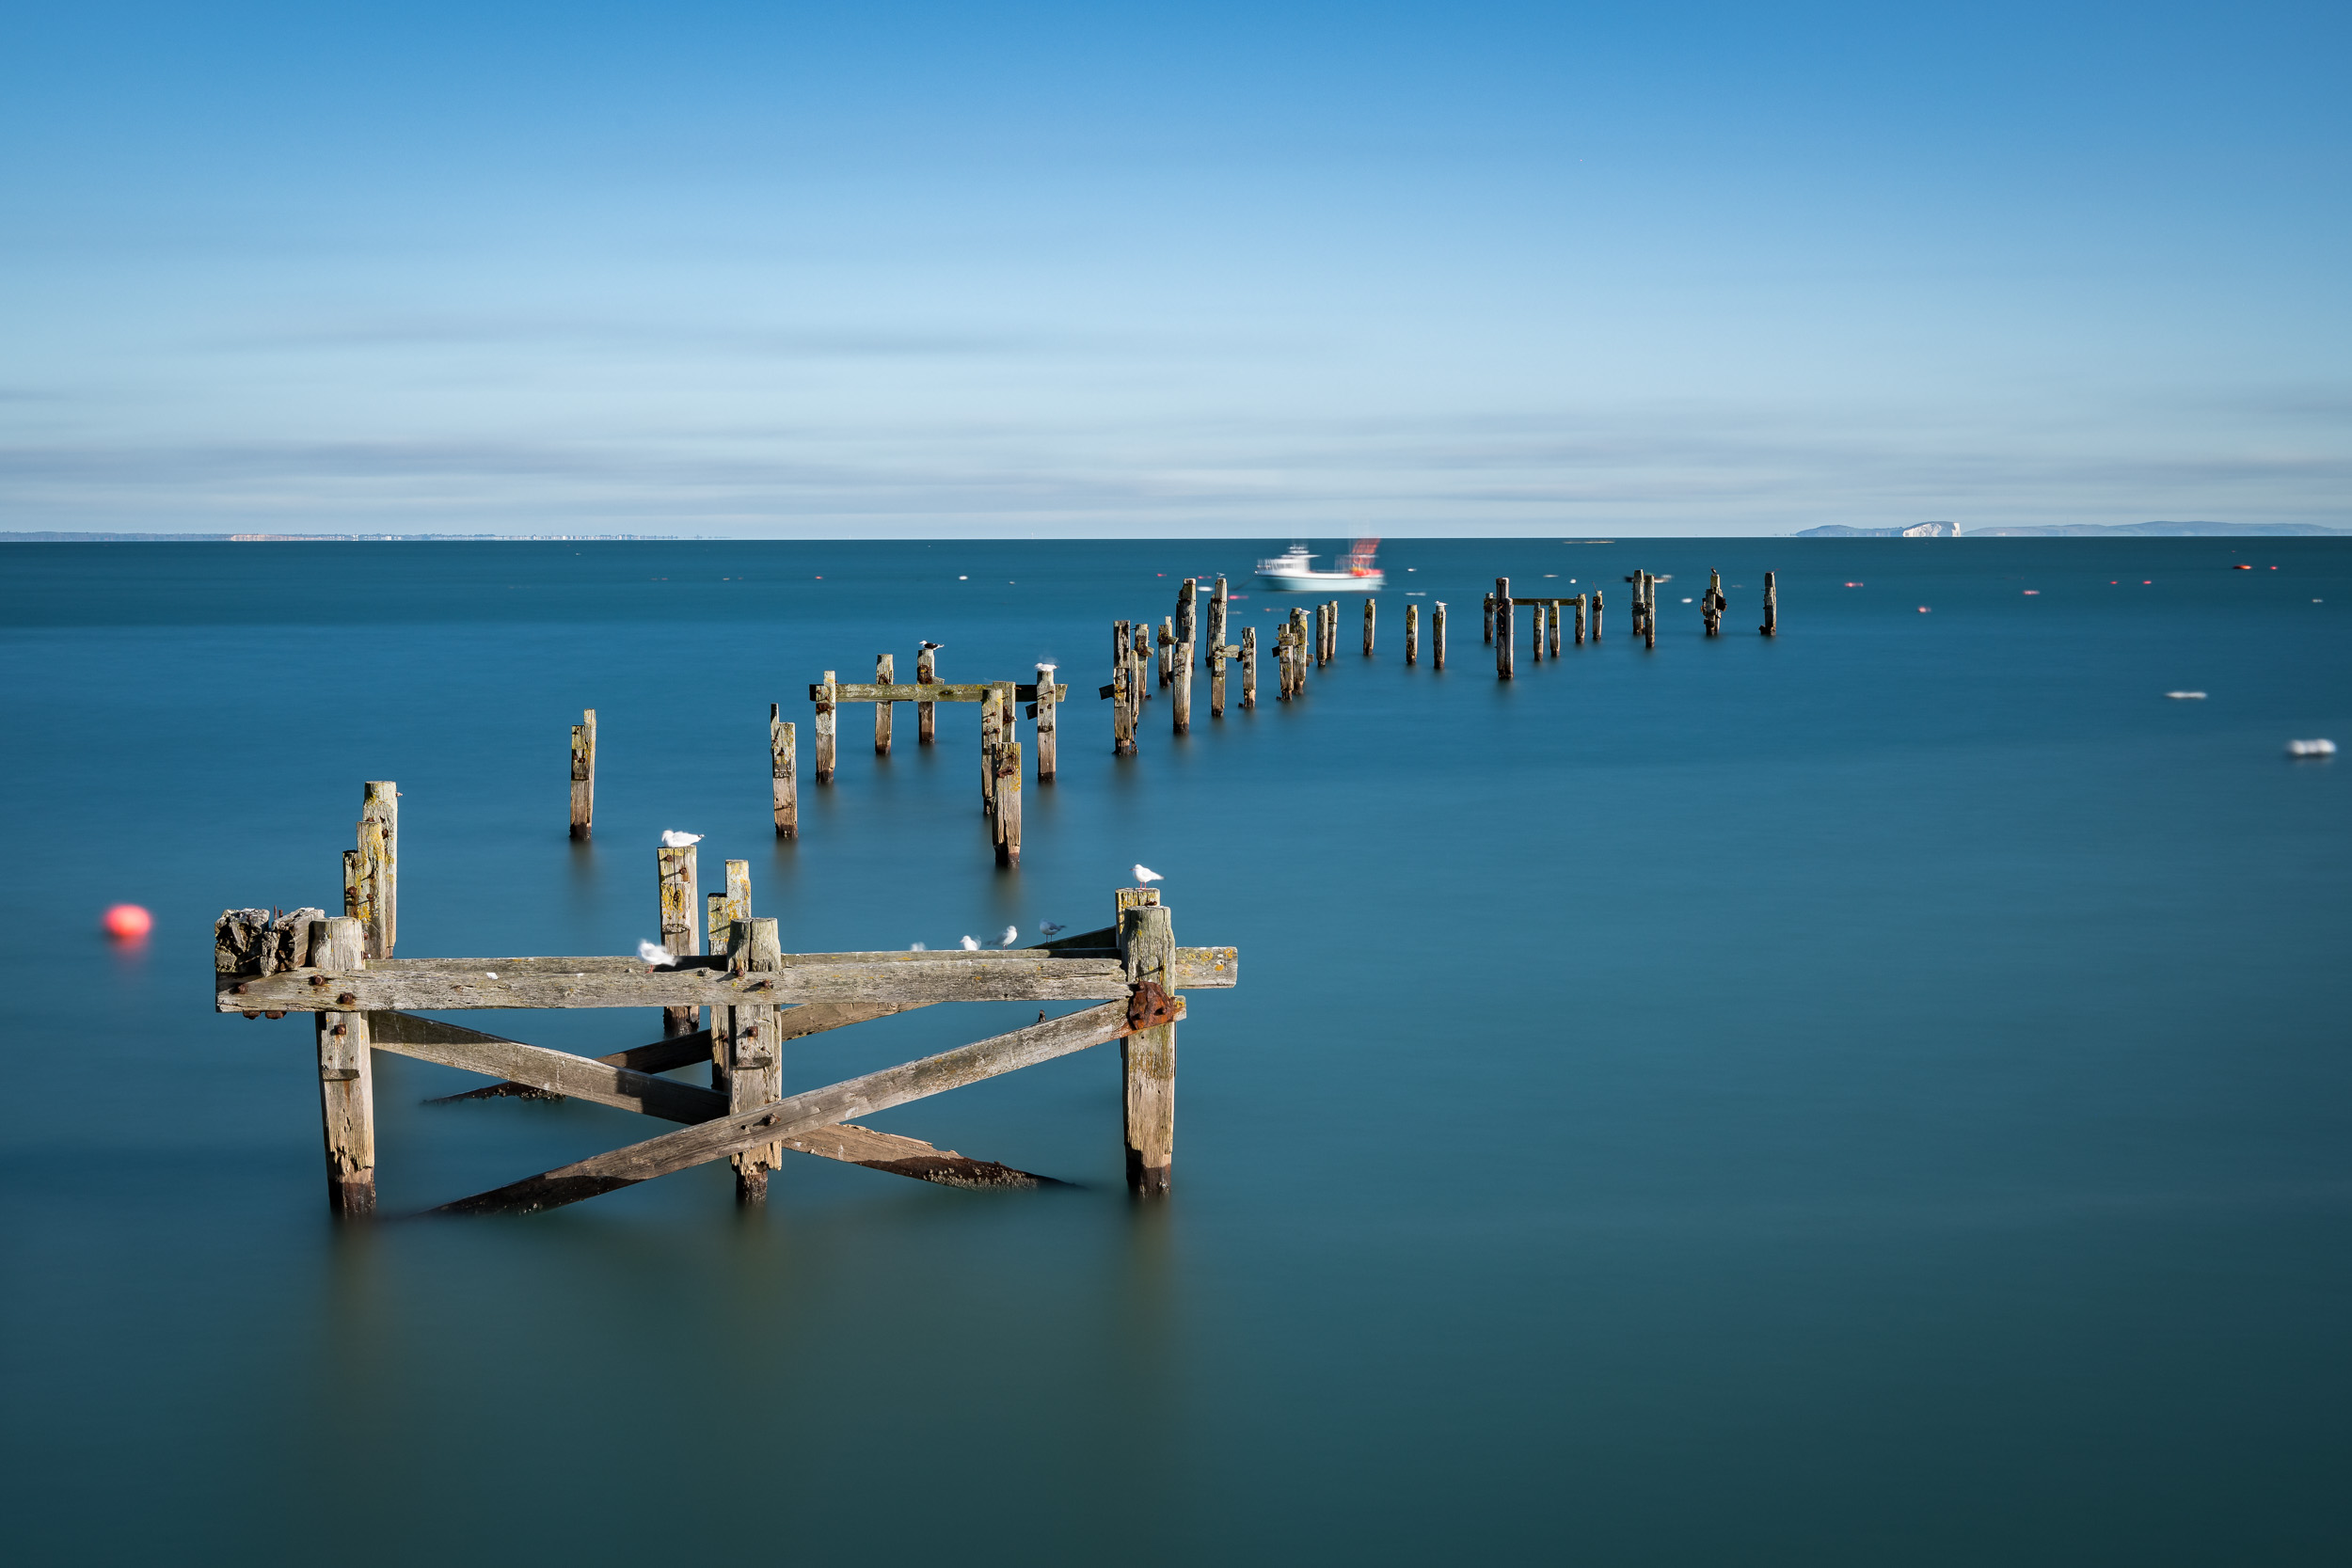
We then moved down onto the beach where we had the opportunity to shoot some groynes, and banjo jetty (which I have shot before). On the advice of one of the instructors, I headed further down the beach to photograph one of the groyne markers beside a small river that fed into the sea. This was a good shout as I managed to get my first good image of the day. It would have been unlikely that I would have found this spot myself so this was another bonus of being on the workshop.
Nikon D850, Nikkor 16-35mm f/4 at 17mm, f/11, 390 secs at ISO 64, Lee Filters Super Stopper.
Kimmeridge
We then all moved onto Kimmeridge where we had a quick picnic lunch and a bit more chat. I had visited Kimmeridge before on a workshop but it was the middle of the day with clear skies so I was really hoping that this visit would be different. There was some cloud in the distant sky and with sunset only a couple of hours away, I was hoping my luck would be in.
As it turned out we didn't get much in the way of action in the sky, but we did get some really nice spots of light on the rocky shore. I've always thought the rocky shore at Kimmeridge was interesting, but the addition of some interesting lighting really got me thinking about the possibilities at this location.
These are two of my favourite shots of the afternoon. I really like the composition, the textures and patterns on the rock, and just a hint of light from the setting sun. These could have been amazing shots if there had been some more interest in the sky. But let's face it, us landscape photographers are rarely completely happy with the conditions!
Nikon D850, Nikkor 16-35mm f/4 at 26mm, f/11, 90 secs at ISO 64, Lee Filters circular polariser and Big Stopper.
Nikon D850, Nikkor 16-35mm f/4 at 21mm, f/13, 30 secs at ISO 64, Lee Filters circular polariser and Little Stopper.

Afterwards, we walked back along the beach to another really interesting spot. In this image you'll see how the rocky ledge creates a nice leading line through the image. It was late on when I took this image so there was very little in the way of light. However, I think with a good sky those pools of water could provide some really interesting reflections.
Overall both myself and my father-in-law had a great time. Though I struggled to create images that I was satisfied within the morning, the two images I created at Kimmeridge more than made up for it. I also picked up some useful compositional tips and, as always, I really enjoyed the social element of the workshop.
Anytime anyone asks me about workshops I always recommend Dawn 2 Dusk Photography, and attending their Dorset long exposure one day workshop is yet another reason why that recommendation remains.
So what are your favourite Dorset locations? Have you been on any workshops recently? Let me know in the comments below.
Developing a Passion for Printing
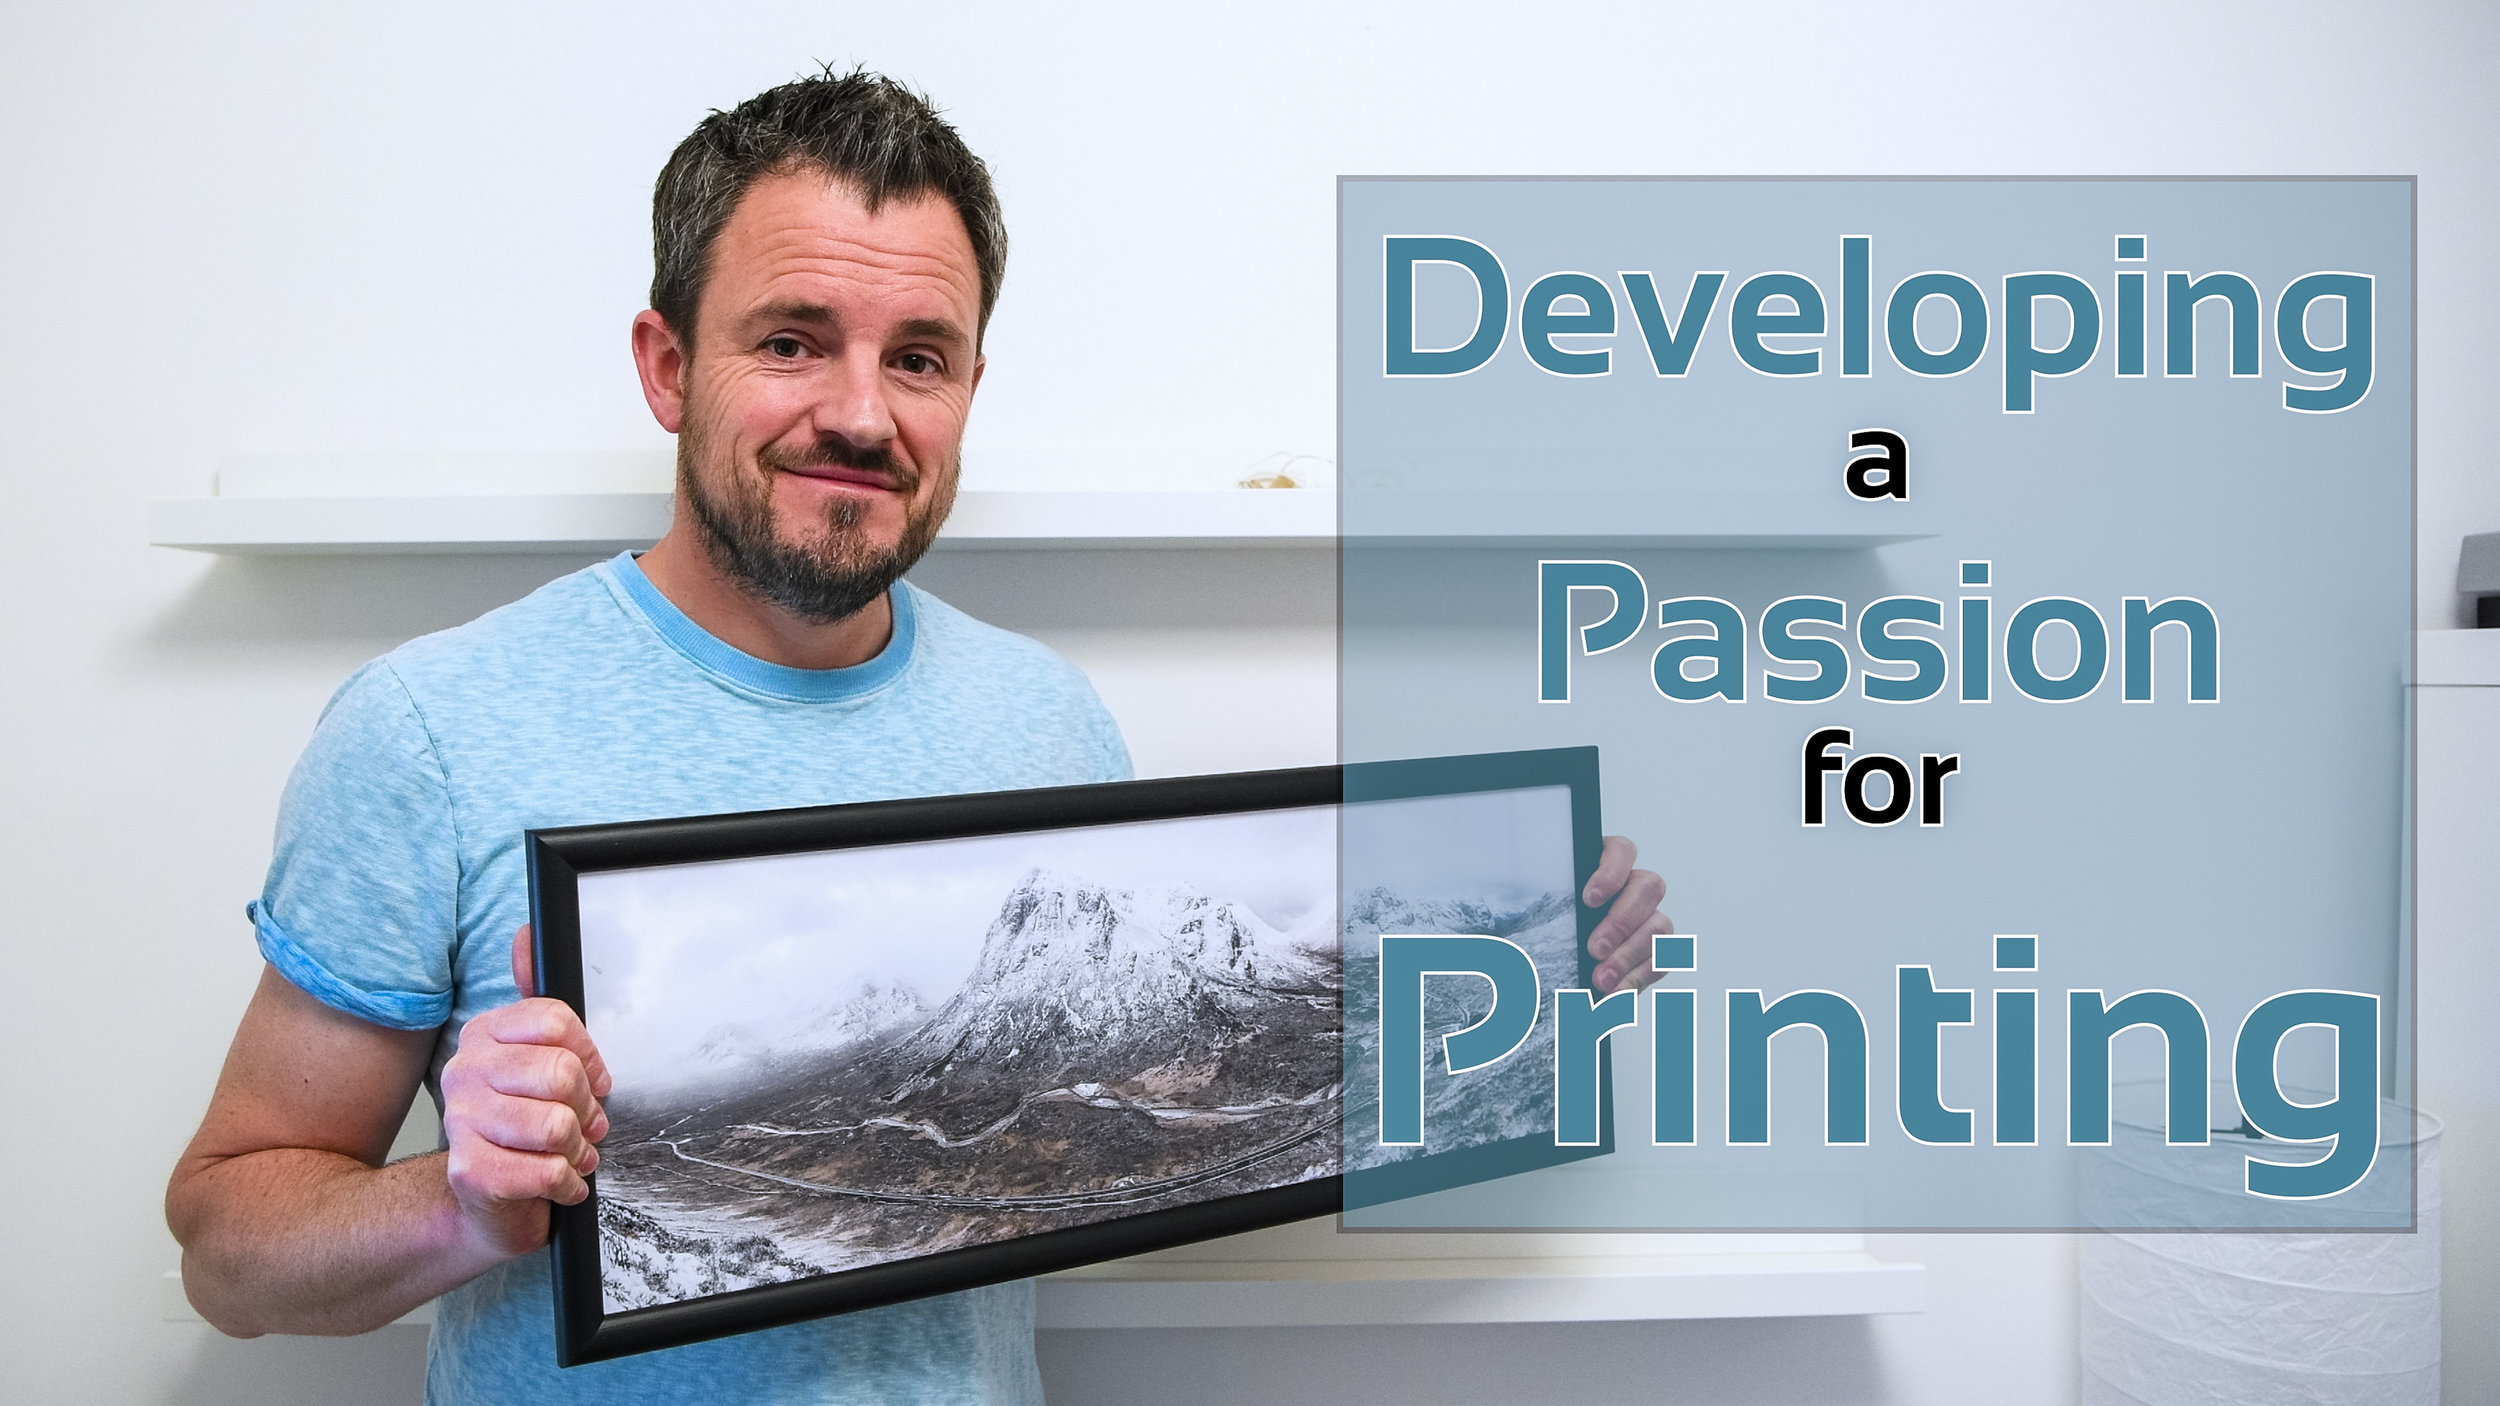
In the vlog this week I expand my printing skills by printing a panoramic image on panoramic paper and then mounting it into a custom-made panoramic frame. I also take a look at some different paper types to try and see what impact each one has on an image.
Discovering the Joy of Printing
Back in April of this year, I wrote about how I purchased a new Canon Pixma Pro-10S printer while I was at The Photography Show in Birmingham. You can read why bought a printer and watch the video I made on my first experiences of printing, in my blog article Discovery the Joy of Printing.
Ever since then I've been printing my images. A lot. And I have to say it's been a lot of fun. I've enjoyed the experience of going out to make an image, post-processing it, and then creating a print at the end.
Developing a Passion for Printing
I have however been keeping things relatively simple. I've been using standard paper sizes, using Canon's Platinum Pro glossy paper. The results have been great. Prints match what is on the screen and the whole workflow is straightforward.
However, there any many different paper types from many different paper manufacturers, so I thought it was about time to expand my printing horizons. In the video below I take one of my favourite panoramic images and print it on some panoramic paper from Fotospeed, and then mount it in a custom frame from Picture Frames Direct. I also take another one of my favourite images of the year and print it on some different paper types.
These are the images I printed in the video.
Nikon D750, Nikkor 24-70mm f/2.8 VR at 20mm, 1/3 sec at f/11, ISO 100, 7 image panorama.
Nikon D850, Nikkor 16-35mm f/4 @ 18mm, ISO 100, 5 sec @ f/13, Lee Filters circular polariser and ND grad.
Well, I hope you enjoyed my follow-up video on printing. As you can see I've still got a lot to learn, but I'm really enjoying the challenge. I get a great sense of satisfaction on owning the entire process from capture to print.
Have you recently taken up printing? Are you an experienced printer? Do you have any advice on printing? Let me know in the comments below.
Masters of Landscape Photography - On My Bookshelf S01E02
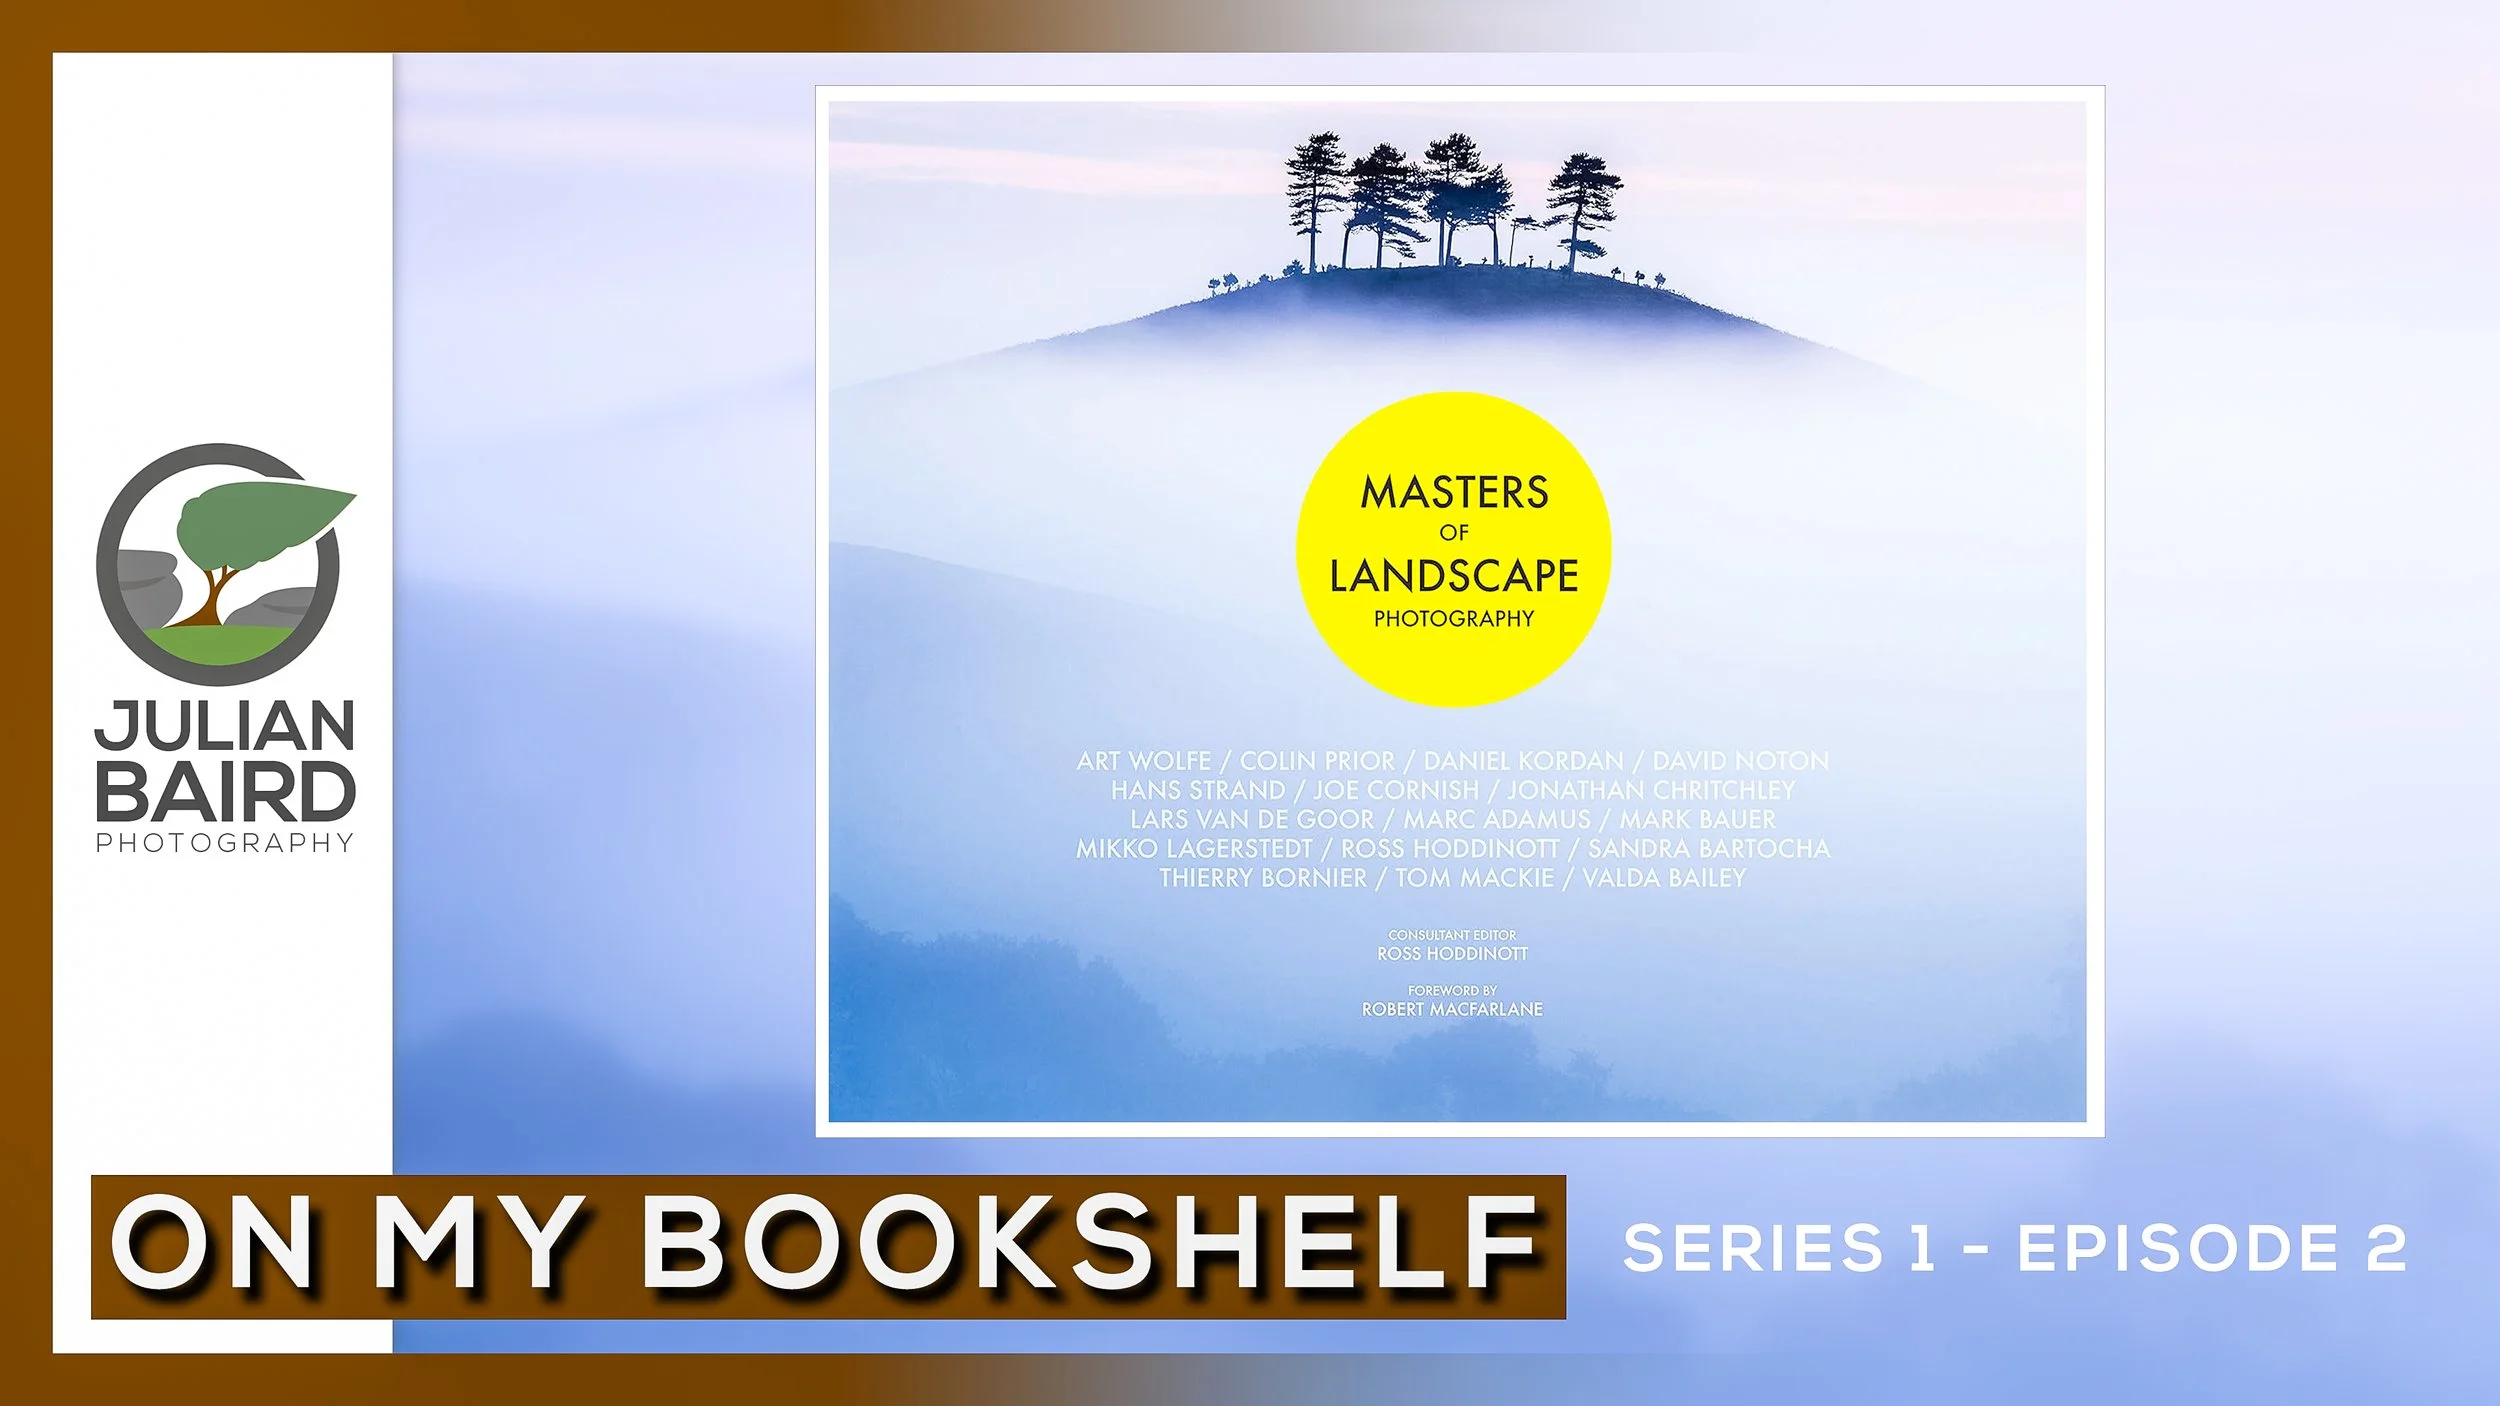
In this blog post, I take a look at the book Masters of Photography.
Masters of Landscape Photography
Back in October, I introduced you to a new series of videos that I was going to create called On My Bookshelf. The first video was called 5 Great Landscape Photography Books and it feature 5 of my favourite landscape photography books.
Well, I'm very pleased to share with you the latest episode of On My Bookshelf which looks at the book, Masters of Landscape Photography.
You can see my thoughts on this book in the video below:
I do hope you enjoyed that episode of On My Bookshelf. If you'd like to pick up a copy of this book then you click here and it will take you straight to Amazon.
I'm also very interested to hear your feedback. Is this type of content of interest to you? Was this episode too long or too short? Let me know your thoughts in the comments below.

Snow on Belstone Common
In this blog post and video, I head up to Belstone Common on Dartmoor to catch the first snow of the winter.
Snow!
I think most landscape photographers like a bit of snow. It's rare to see here in the south west of England, so when it does come it can transform the winter landscape from dull and boring, to crisp and white. It can really change the look of a location and provide opportunities to shoot something a little different.
When my wife casually mentioned that snow was forecast my first reaction was for disbelief. It was November and probably a little early for snow. However, I'm not one to miss an opportunity so I checked the Will It Snow forecast and was happy to see that there was a 57% chance of snow on Dartmoor.
I got my thinking hat on and thought the higher up I went on Dartmoor, the greater the chance of snow there would be. I then remember Belstone Common, a location that I've photographed before. It's close to home, easy to access and importantly over 400m above sea level.
Despite the 50/50 odds on it snowing, I couldn't miss this potential opportunity, so I got my gear ready and made plans for an early start the next day.
You can see how I got on in my latest 5 Minute Photo Adventure video below:
The Images
Here are the images that I captured that you will have seen in the video.

Nikon D850, Nikkor 16-35mm f/4 at 18mm, ISO 64, 3 seconds at f/13, Lee Filters 0.6 ND graduated filter.
Nikon D850, Nikkor 16-35mm f/4 at 18mm, ISO 64, 1/5th second at f/13.
Nikon D850, Nikkor 16-35mm f/4 at 18mm, ISO 64, 1/5th second at f/13, Lee Filters 0.6 ND graduated filter.
Nikon D850, Nikkor 16-35mm f/4 at 19mm, ISO 64, 1/8th second at f/13, Lee Filters 0..6 ND graduated filter.
I hope you enjoyed the video and the images I captured. I certainly had fun up on Dartmoor that morning, despite the freezing temperatures. It really is mornings like that I look forward to. A lot of action, changing conditions, and plenty of opportunities to capture images.
So have you photographed any snowy scenes this winter? What is your favourite season to photograph? Let me know in the comments below.

Landscape Photography with the Mactrem AT64C Tripod
In the blog this week I take the Mactrem AT64C Carbon tripod on location to shoot some landscape images to see how it copes with real-world situations. Join me in my video review as I photograph long exposures at Dawlish Warren, use a long lens at Colmer's Hill, and take panoramic images from Pilsdon Pen. Finally, I give you my thoughts on this tripod. Is it worth buying?
Reviews On Location
When Mactrem reached out to me to review their AT64C carbon tripod I thought it would be a great excuse to go out and do some landscape photography. Not that I really need an excuse. I fairly well self-motivated when it comes to landscape photography!
For this review, I didn't want to just unbox the tripod and discuss the technical specs from the comfort of my home. That would be a bit boring wouldn't it? So I thought I would do my review a little differently. I would put the tripod to use in some real-world scenarios, capture some images and share my thoughts on both the photography and the tripod.
By doing this I would not only educate the viewer on the tripods performance on location but for anyone just interested in landscape photography there would be something there for them as well.
Reviewing to Mactrem AT64C Tripod
So regardless if you want to know more about this tripod or you just want to see me shoot some landscapes, I hope you enjoy this video:
I do hope you enjoyed this video and that you either found the review helpful or just liked the photography bit.
If you want to purchase one of these tripods then you can purchase one from Amazon.co.uk by clicking on this link here. Also, until 15th April 2018, if you enter the code UWSN5IQD at checkout, you will receive £15 off the price of the tripod.
So what tripod and head do you use? Would you like to see me do more product reviews on location like this one? Let me know in the comments below.
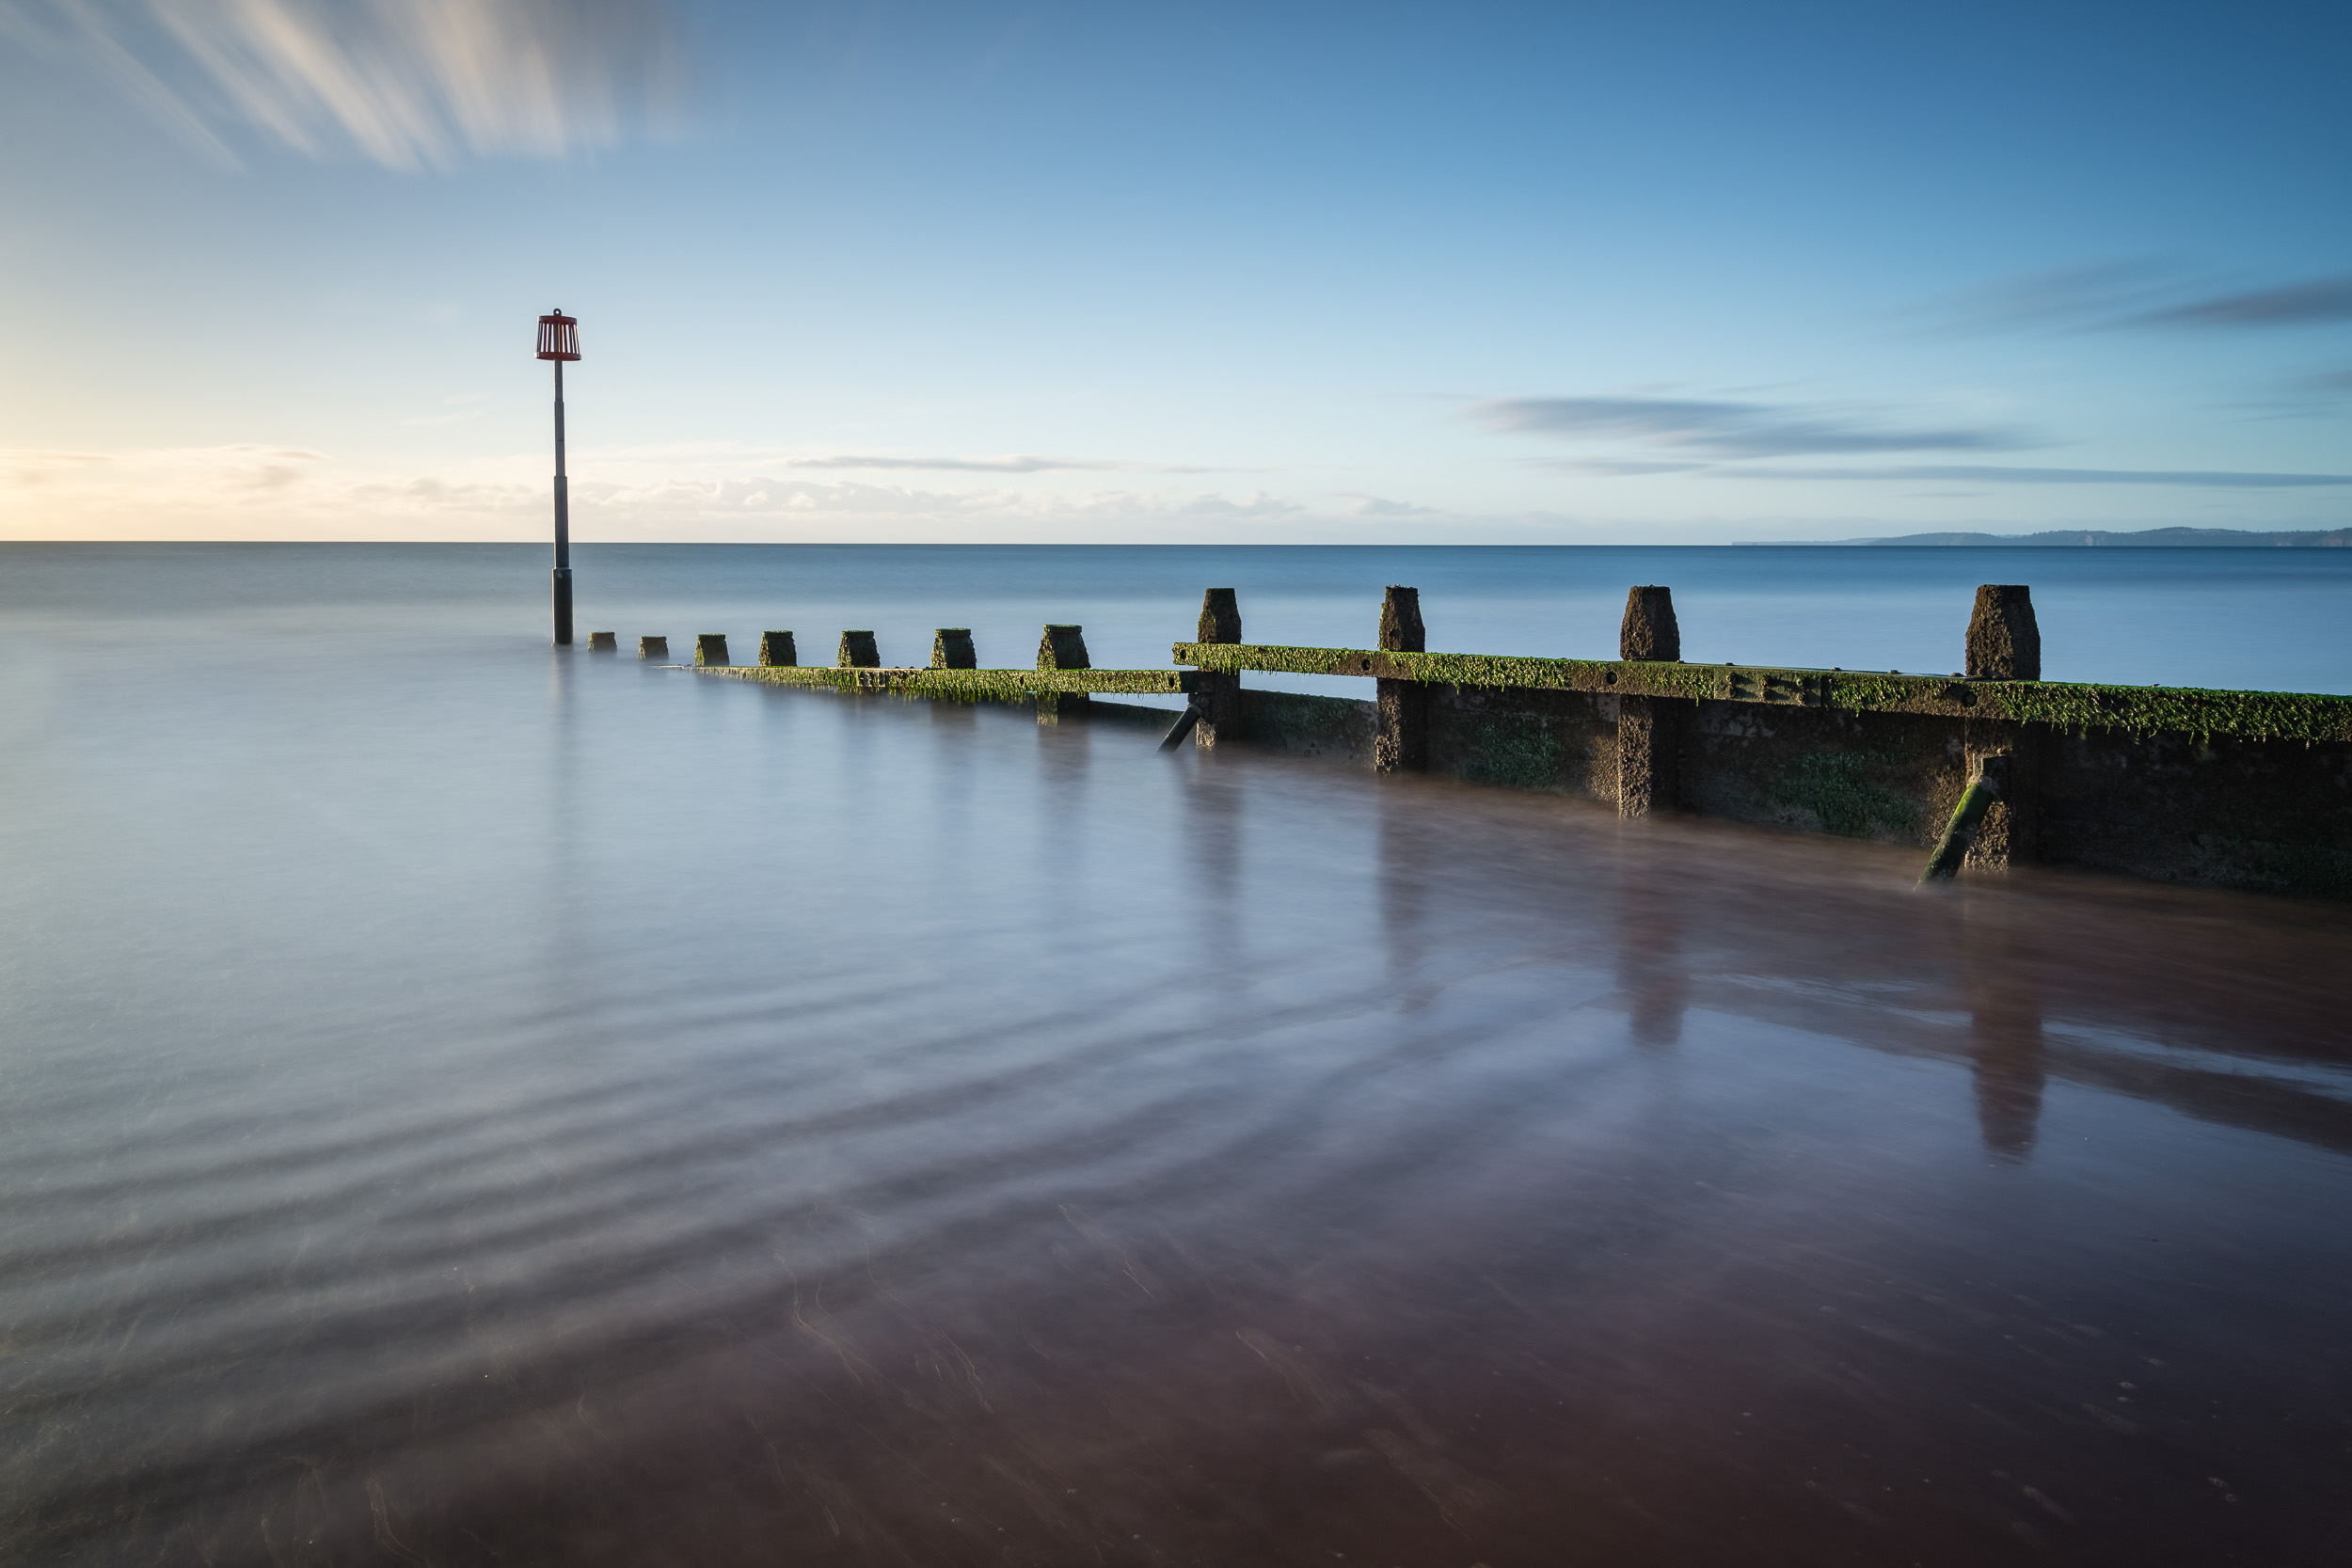
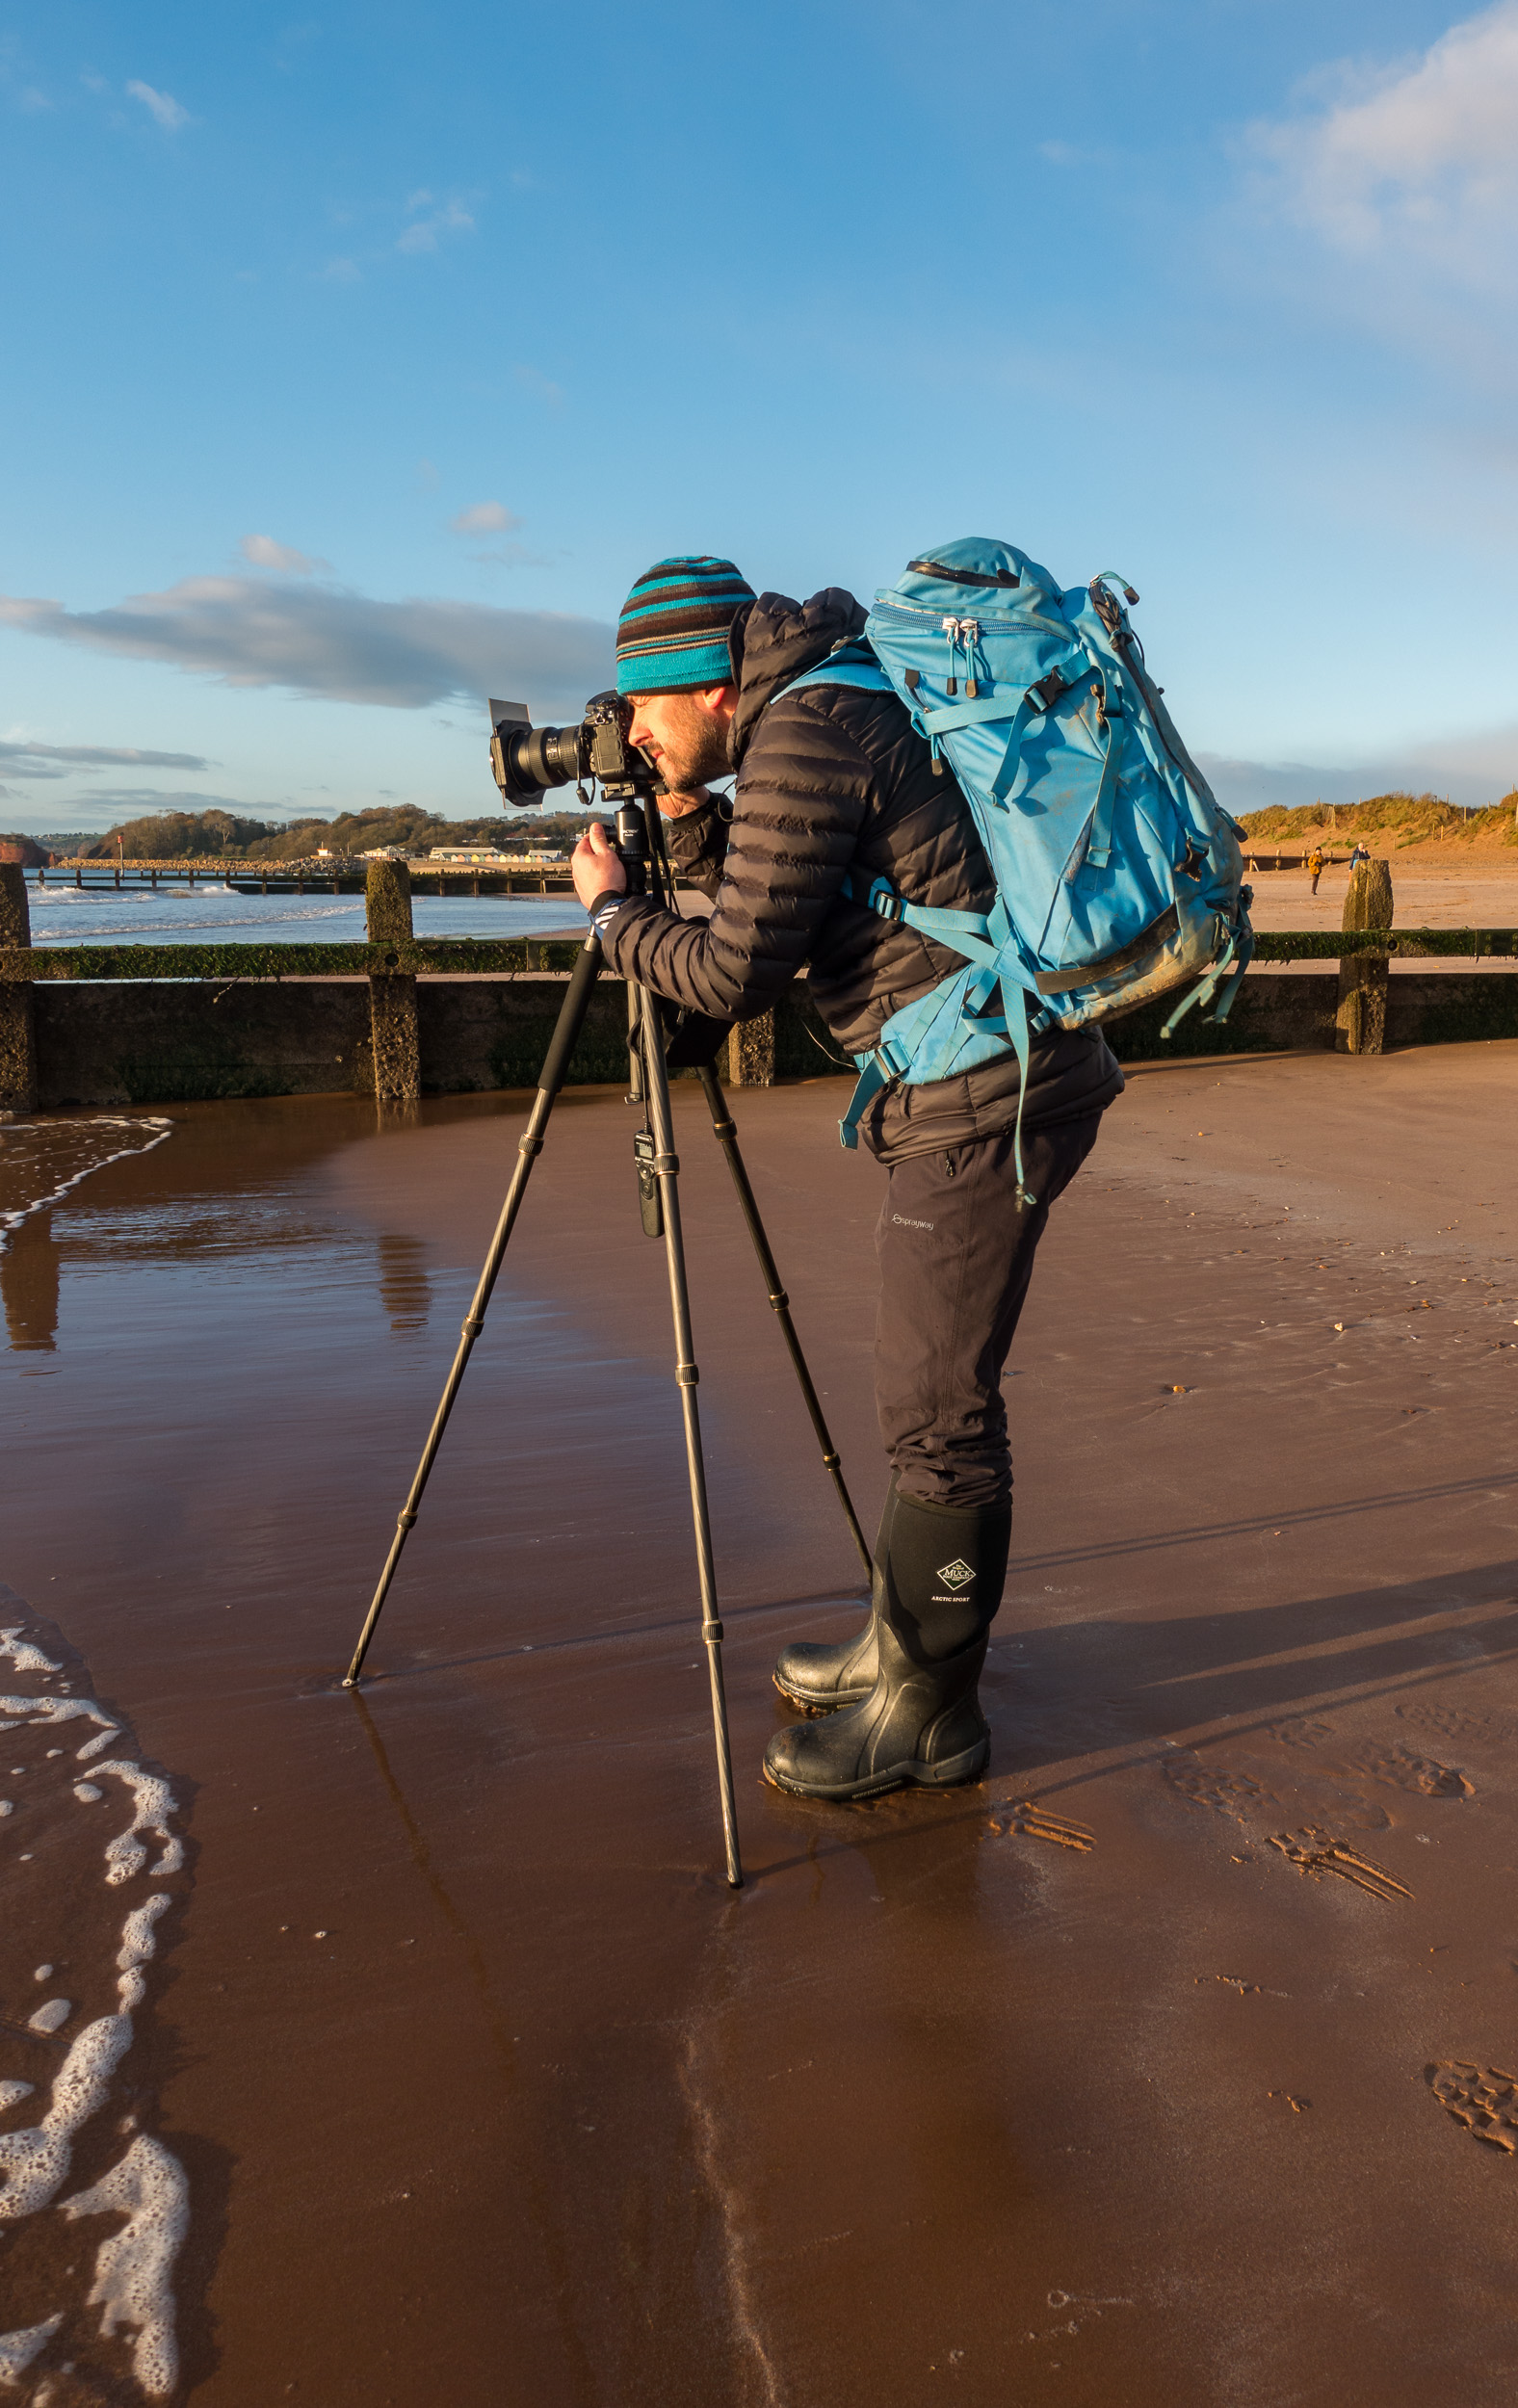
PS. Keep reading as below I'm going to share with you the images that I took at all the locations, along with some shots of me using the tripod.





Landscape Photography Adventure in the Lake District - Part 3
In this special blog post, I share with you the final part of my landscape photography adventure video from the Lake District.


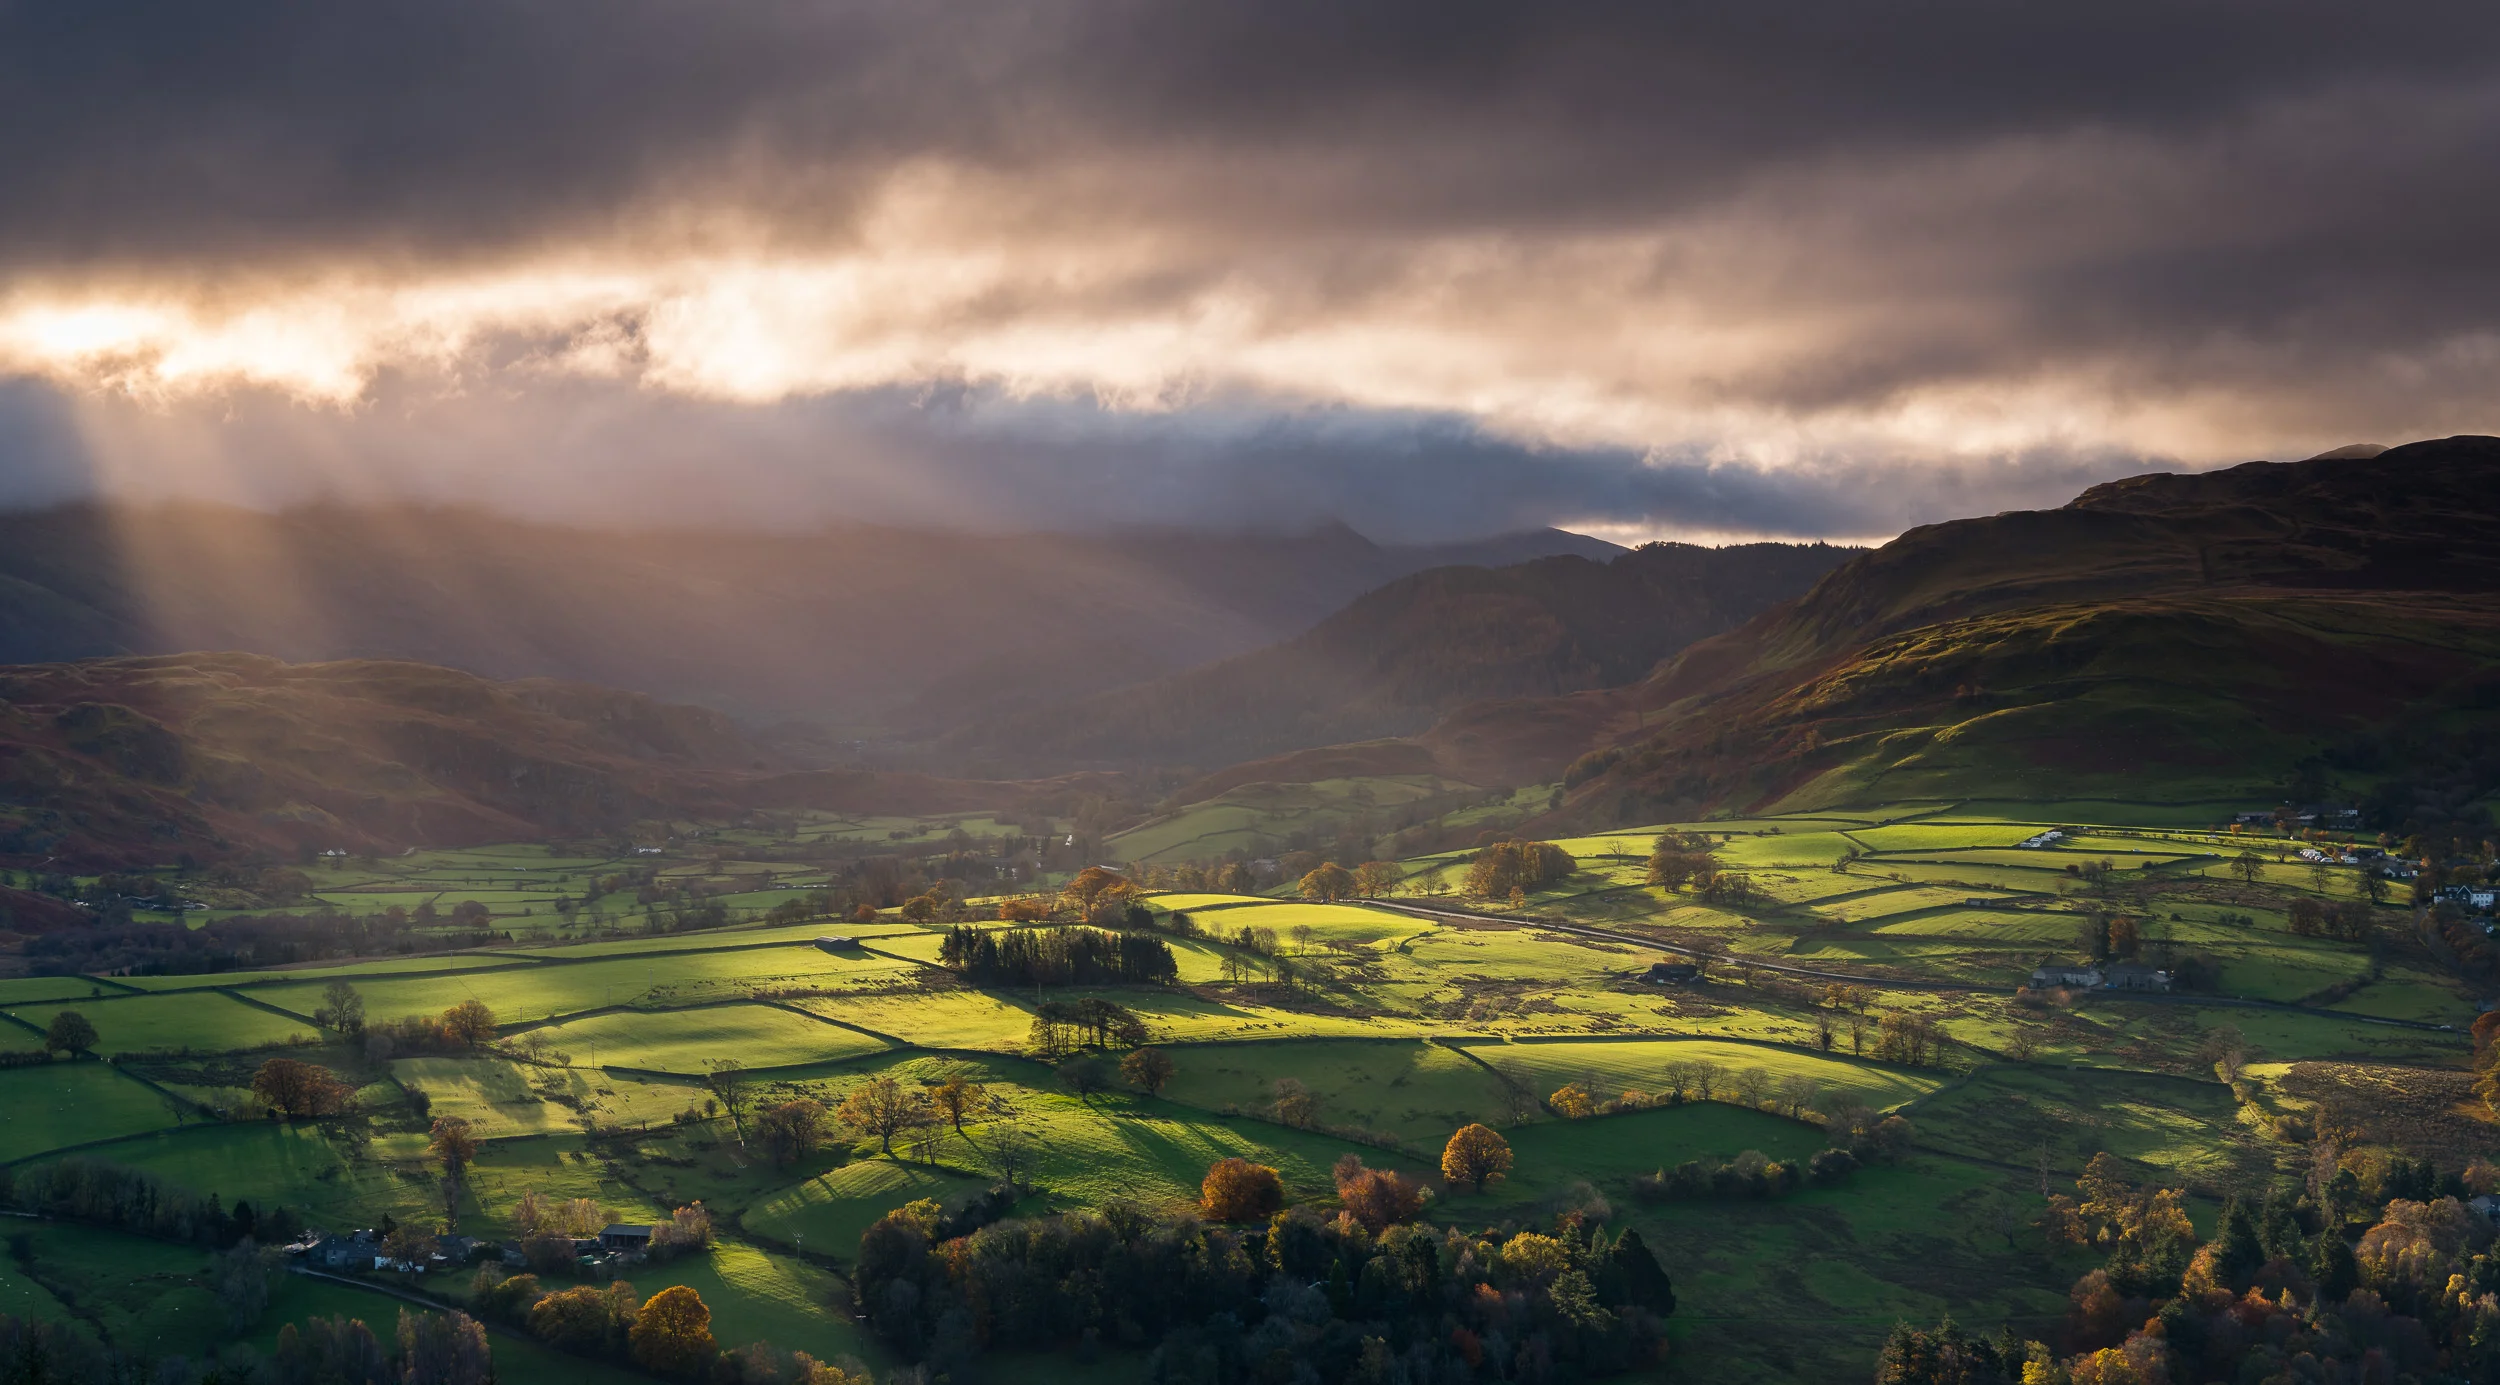
If you watched part 1 and part 2 you'll know that I didn't have the best of luck with the weather. For two days I had grey, flat light, and while I was capturing nice images, they just lacked the dramatic light that I know the Lake District can produce. Then, and I'm not joking here, the light broke through the clouds in the last 15 minutes of my adventure. I was just about to pack up and leave as I need to get back to my hotel to check out when all the action happened.
As long as I could go away with one great image I would have been happy. It just happened that on this trip I needed to wait until the very end of my trip!
Overall I had a really good time in the Lake District. While the photography was challenging at times, it was also a lot of fun. As is often the case with these trips the enjoyment comes from more than just photography. I'm a big fan of the outdoors, so just being outside and wandering about some of these great spots and locations is a wonderful experience. I also met some great people on my adventure. From fellow photographers, hill walkers, and even a fell runner. I guess I like to talk as much as I like to take photographs!
I hope you enjoyed this three-part blog and vlog on my recent Lake District adventure. I'm already making plans for more adventures next year, so remember to stay tuned.
So have you ever photographed the Lake District? What has been your favourite 15 minutes of photography? Let me know in the comments below.

Landscape Photography Adventure in the Lake District - Part 2
In this special blog post, I share with you the 2nd part of my landscape photography adventure video from the Lake District.
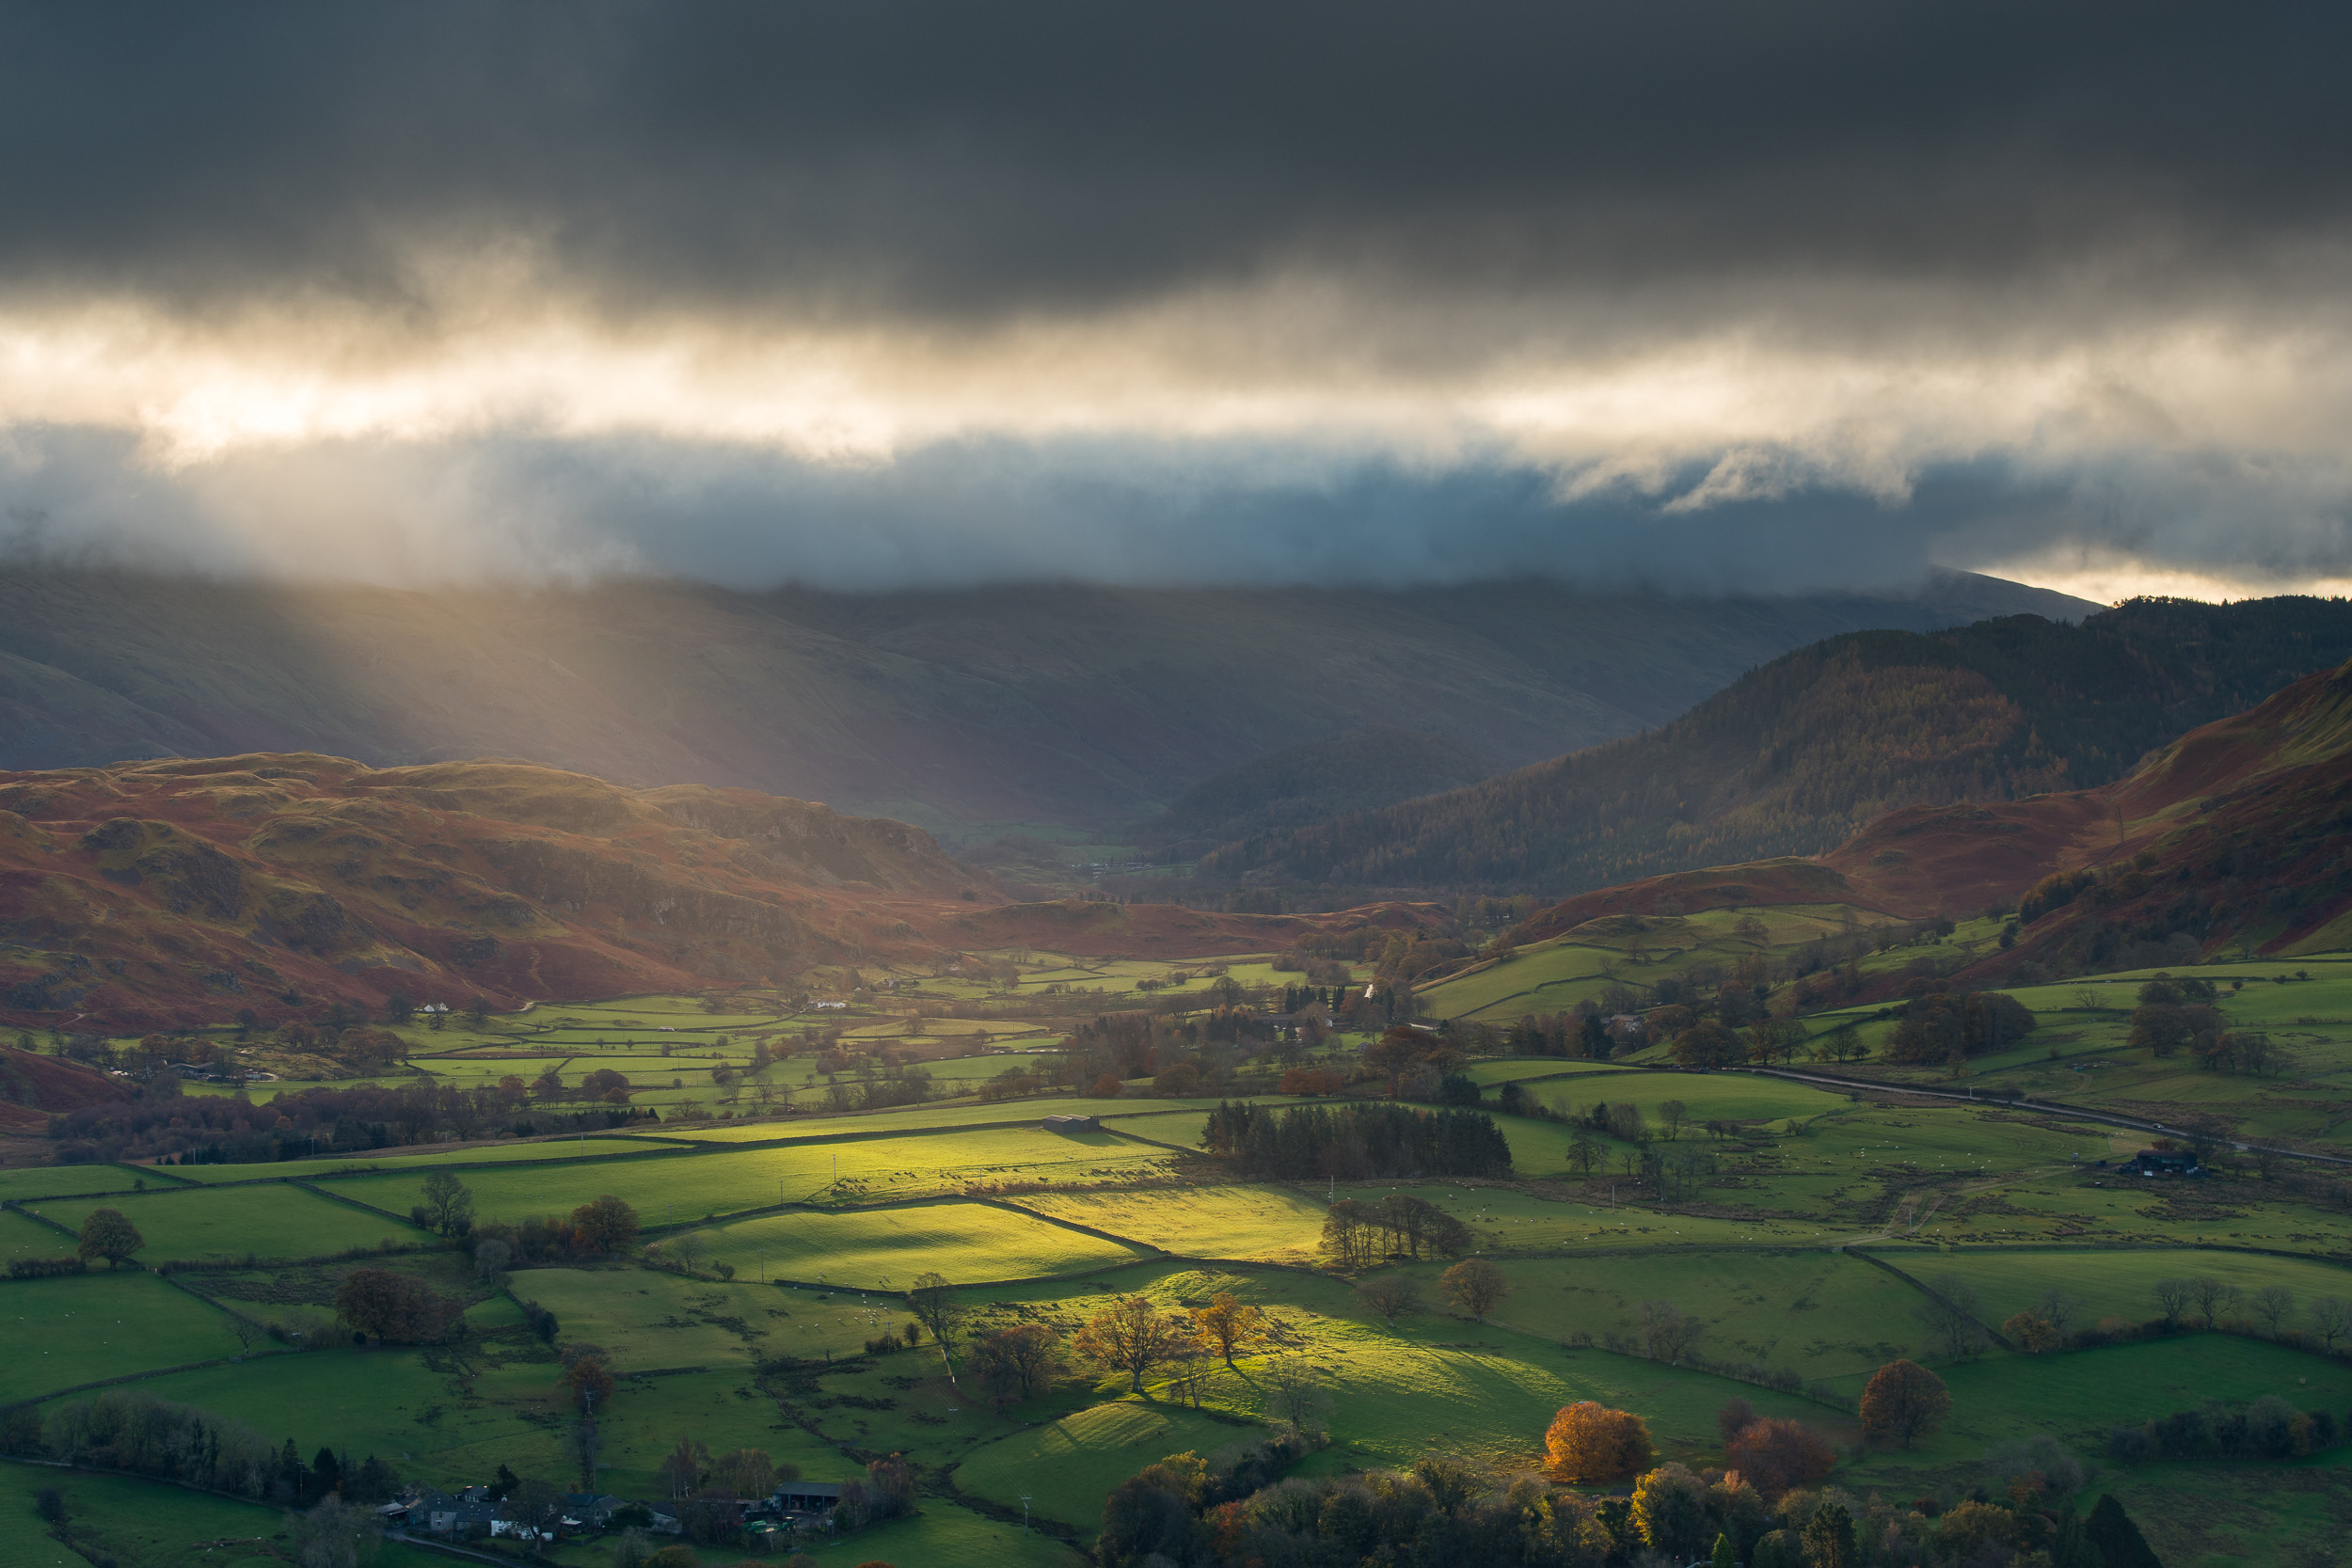
In the blog last week I shared with you part 1 of my Lake District photography adventure. This week I'm very happy to share with you part 2 of that adventure. I'm not going to write much else this week as let the video and the images below tell the story.
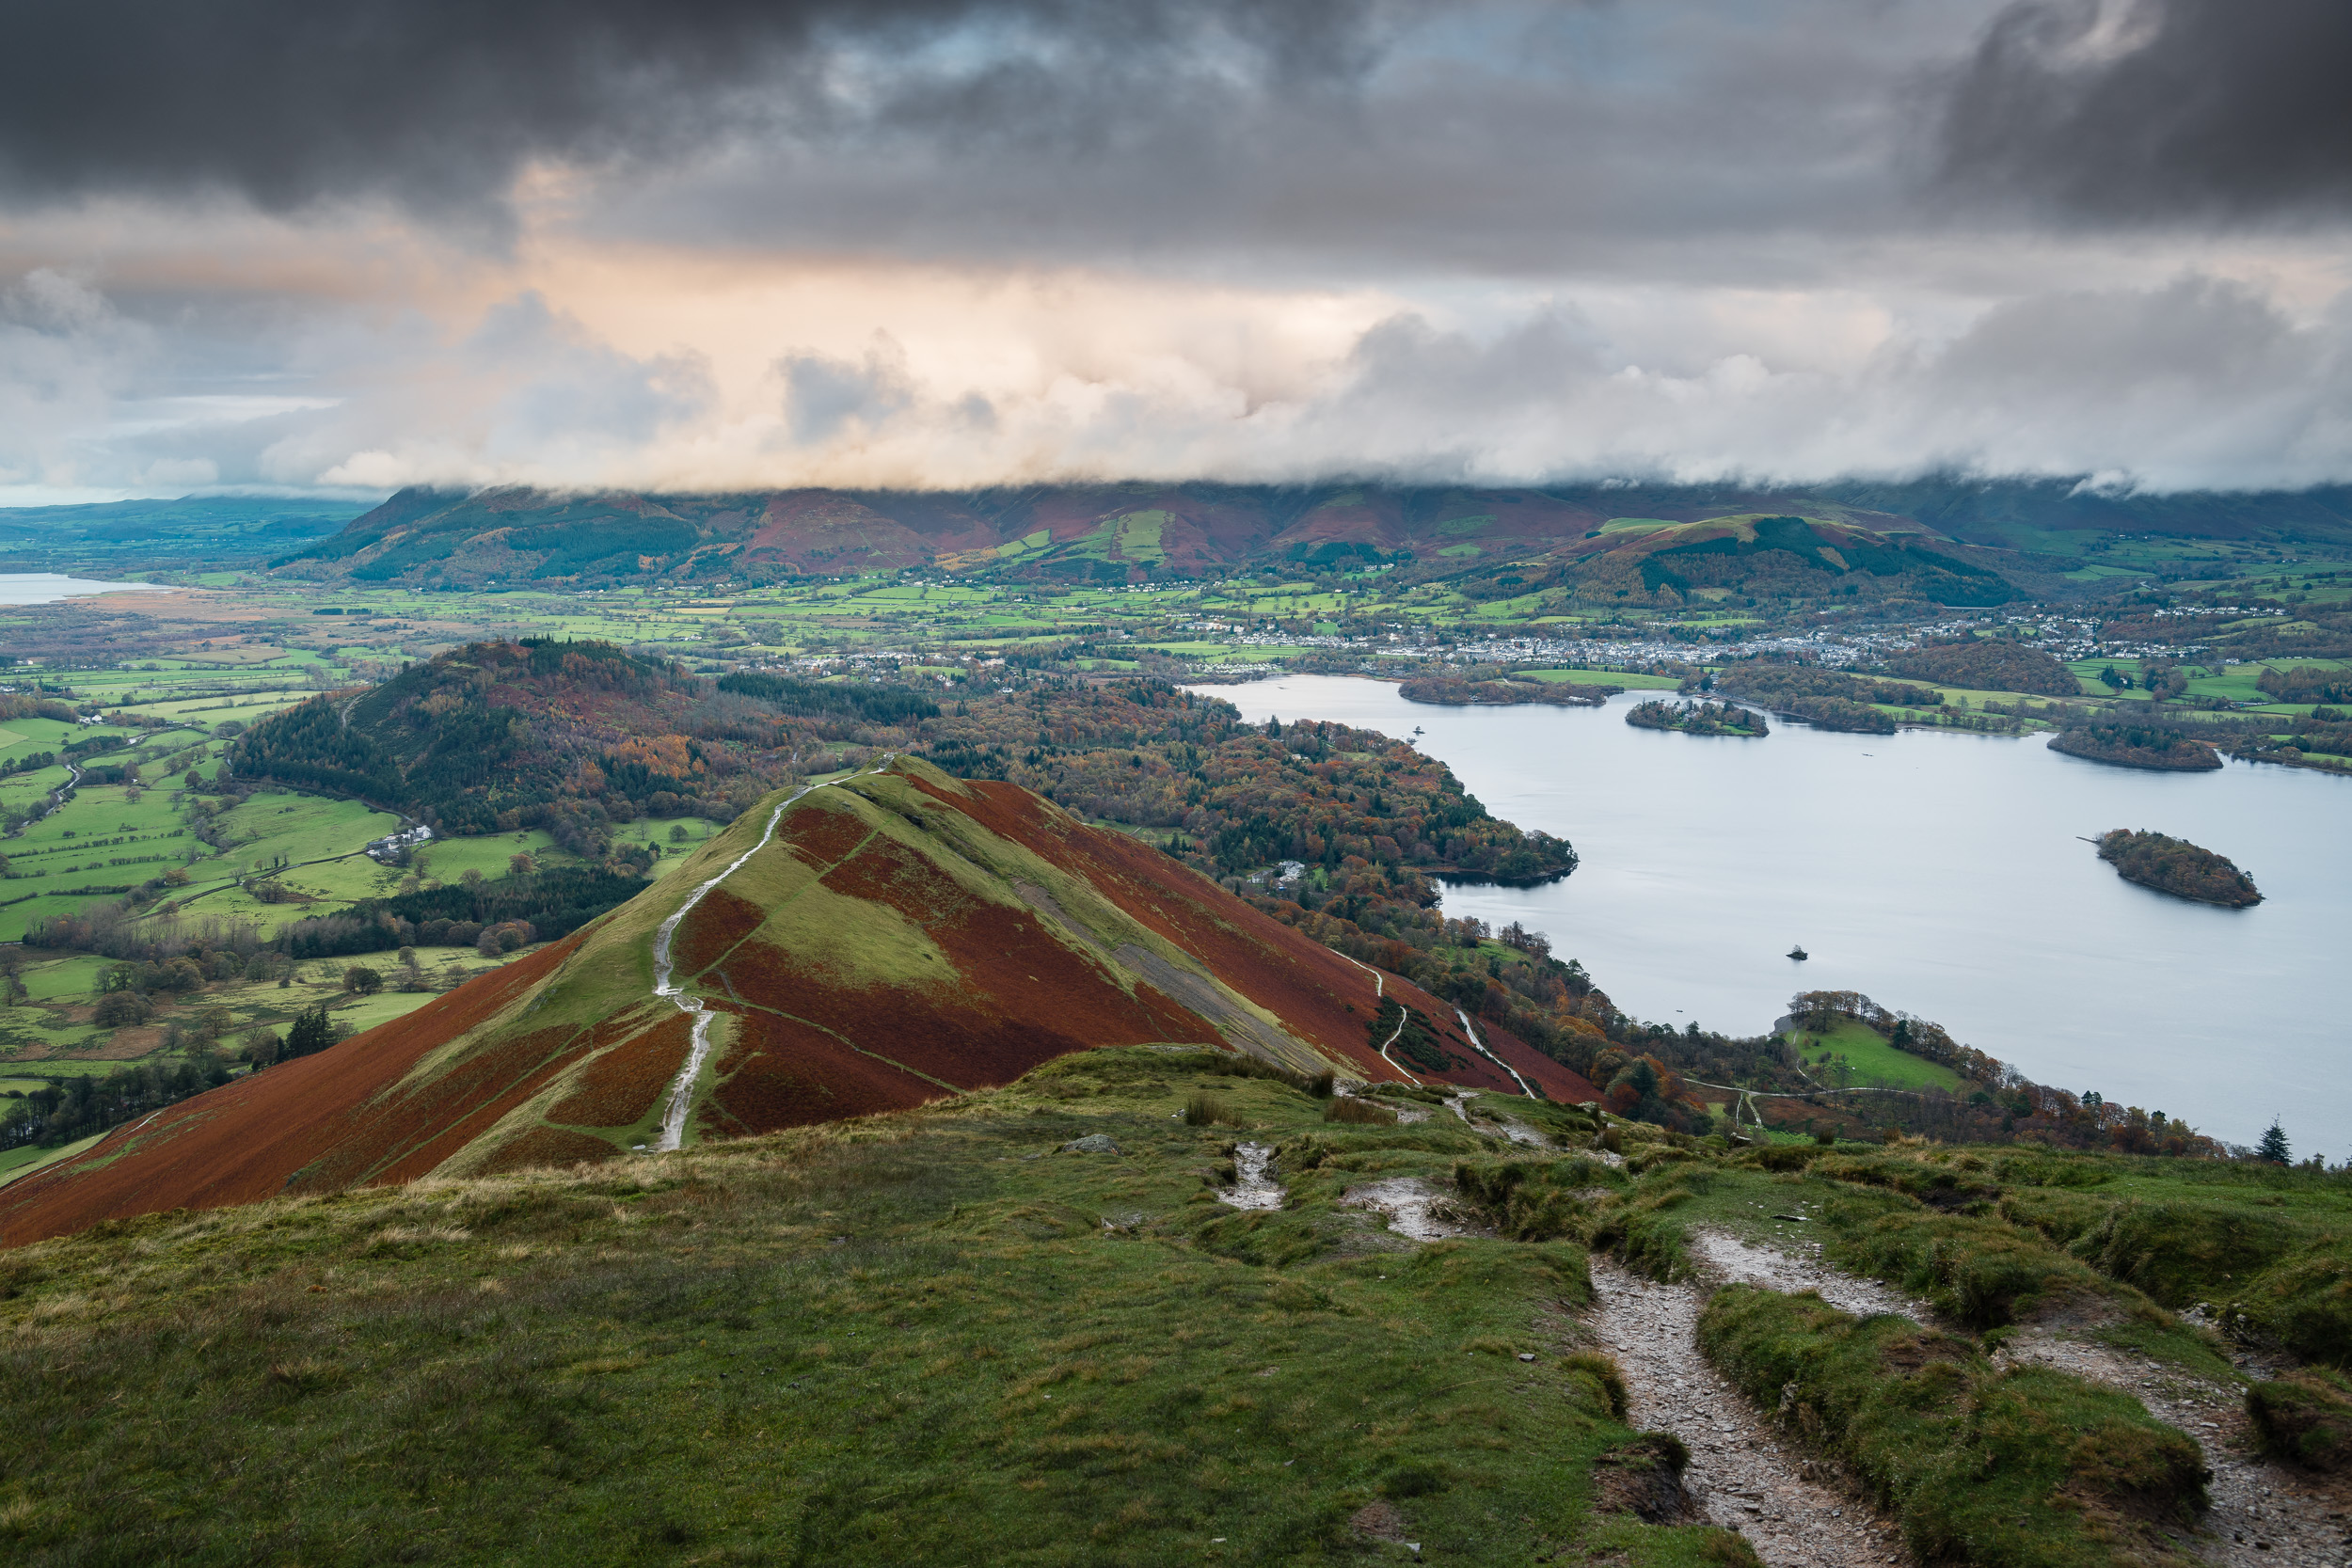


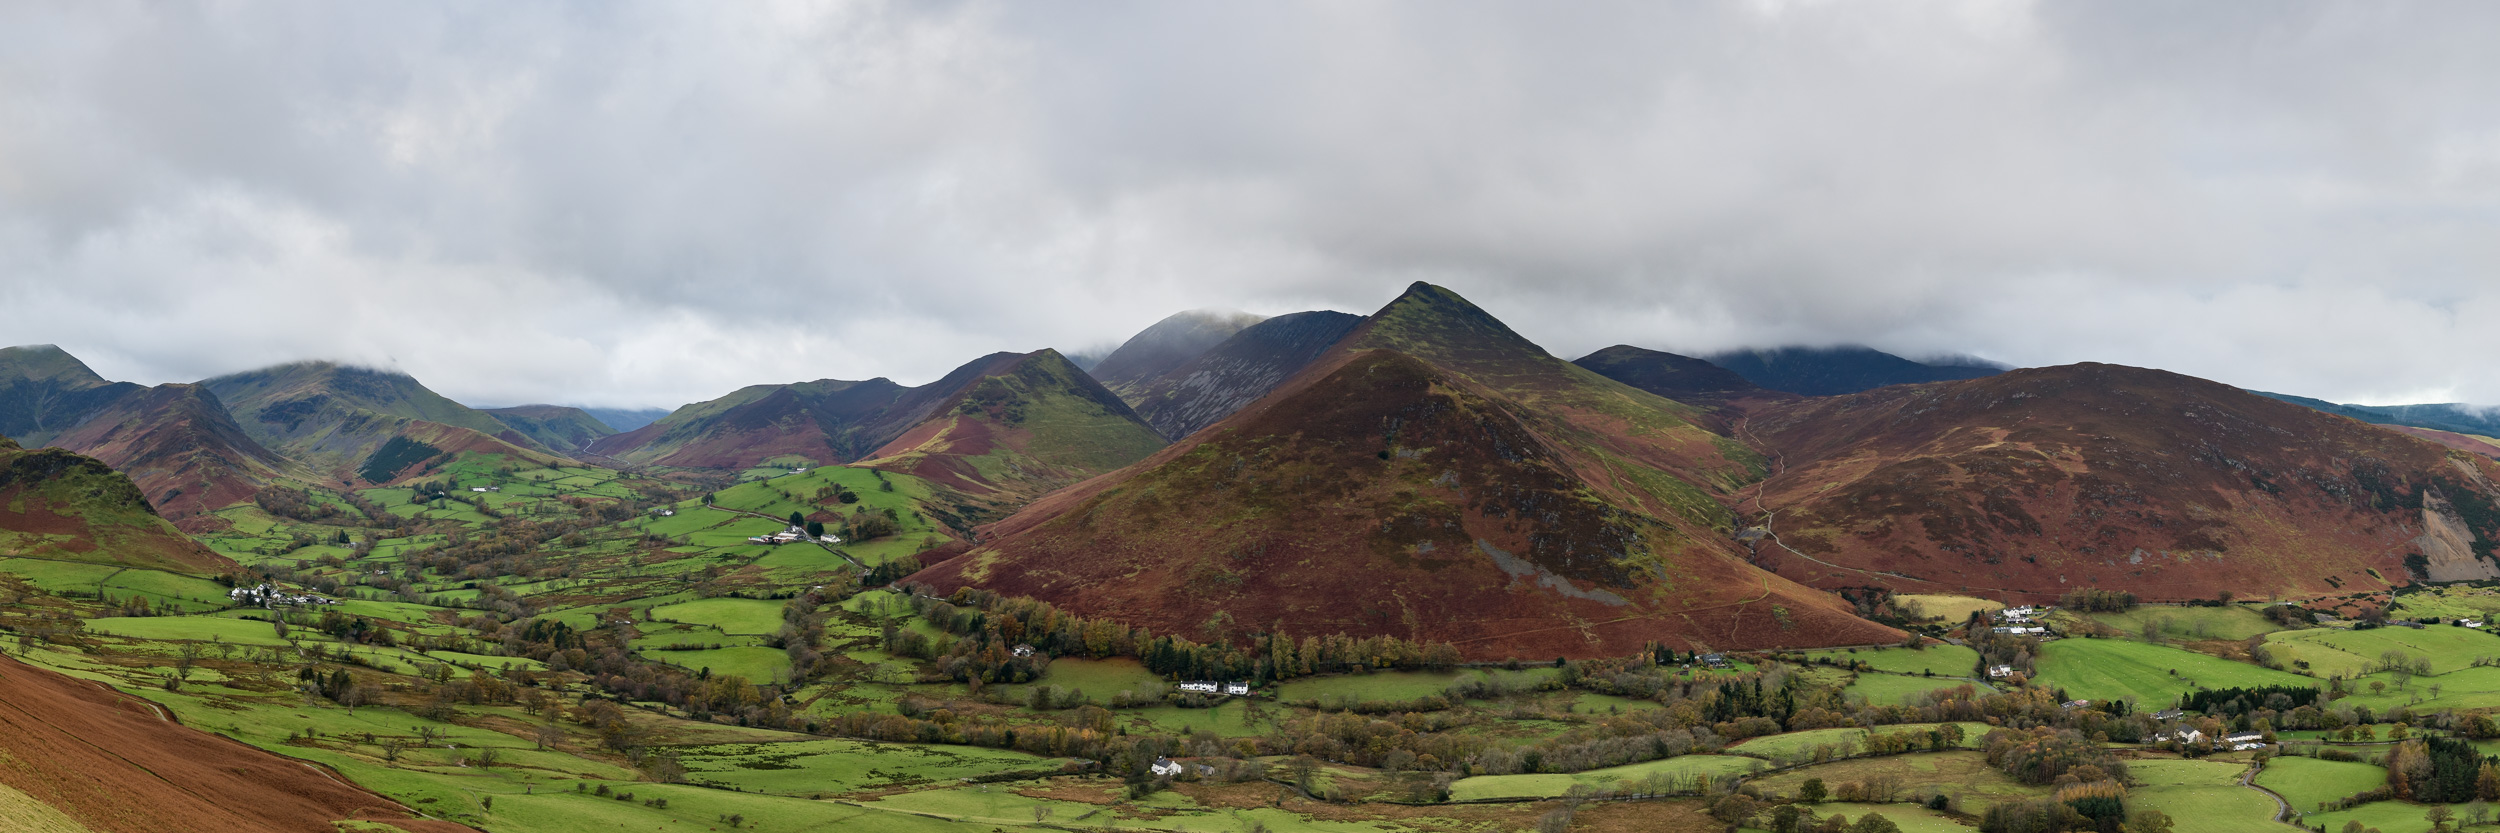
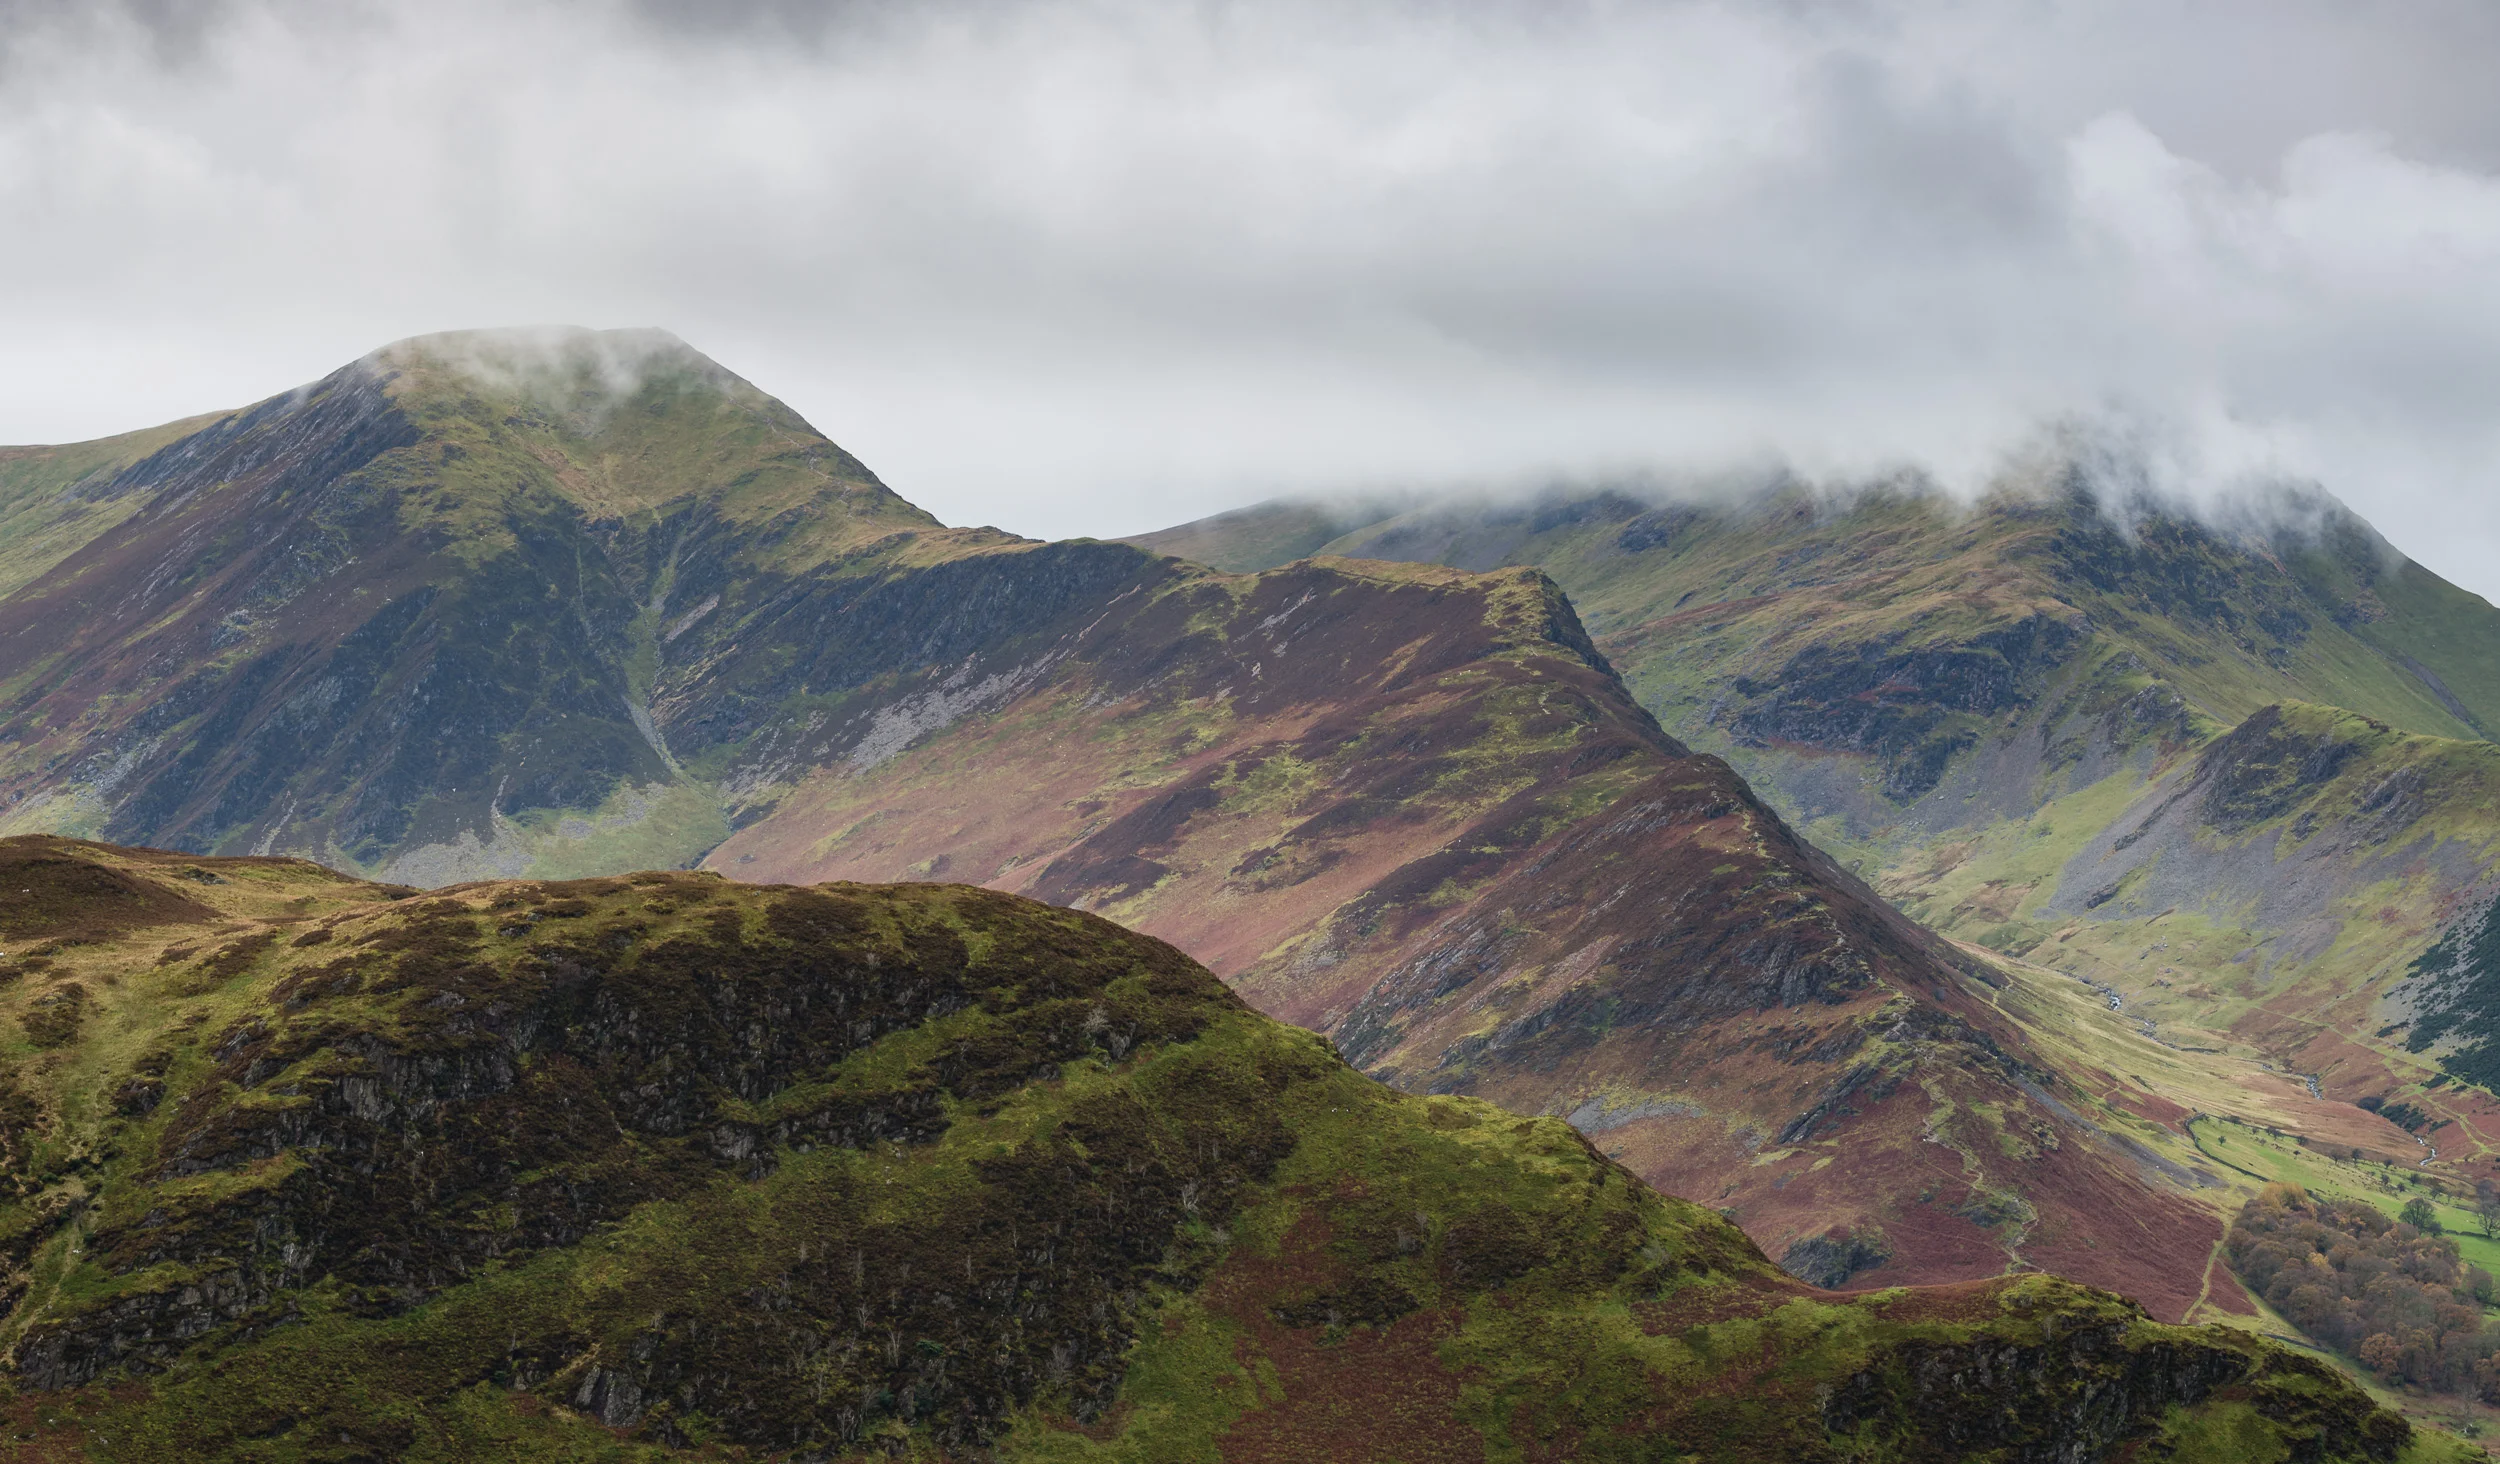


I hope you enjoyed part 2 of my Lake District adventure. Remember you can see part 1 here, and the 3rd and final part will be published next week right here on the blog.

Landscape Photography Adventure in the Lake District - Part 1
In this special blog post, I share with you the 1st part of my landscape photography adventure video from the Lake District.
Adventure
I love a going on a landscape photography adventure! Don't get me wrong, I'm very lucky to live in the south west of England. I've got easy access to two national parks and more coastline than I could ever photograph. Every now and again though you need to spread your wings, push your photography and get out there and visit somewhere different.
Earlier this year I had a fantastic adventure in Glencoe so I was keen to go on an adventure for autumn. But where would I go? Well, there aren't many better places to go in the UK for autumn than the Lake District.
I had given myself two and half days of photography in the Lake District. In that relatively short time, I had a list of locations that I wanted to shoot. These were a combination of locations that I had marked on my custom Google map over the years, some from my previous visit last year, and some from the excellent book Photography the Lake District.
As with my Glencoe adventure I knew I wanted to record my time at the Lake District using both photographs and videos. So in the next few blog posts not only will I be sharing with you the images that I captured but I've also created a 3 part video series so I can share the story behind the images.
Part 1 - Buttermere, Ashness, and Ullswater
Here is part 1 of the video in which you will see me photograph the lone tree on Lake Buttermere, Ashness Bridge, Ashness Jetty and Ullswater.
I hope you enjoyed the video and the images I captured. Here are the images again if you want to see them in a little more detail.


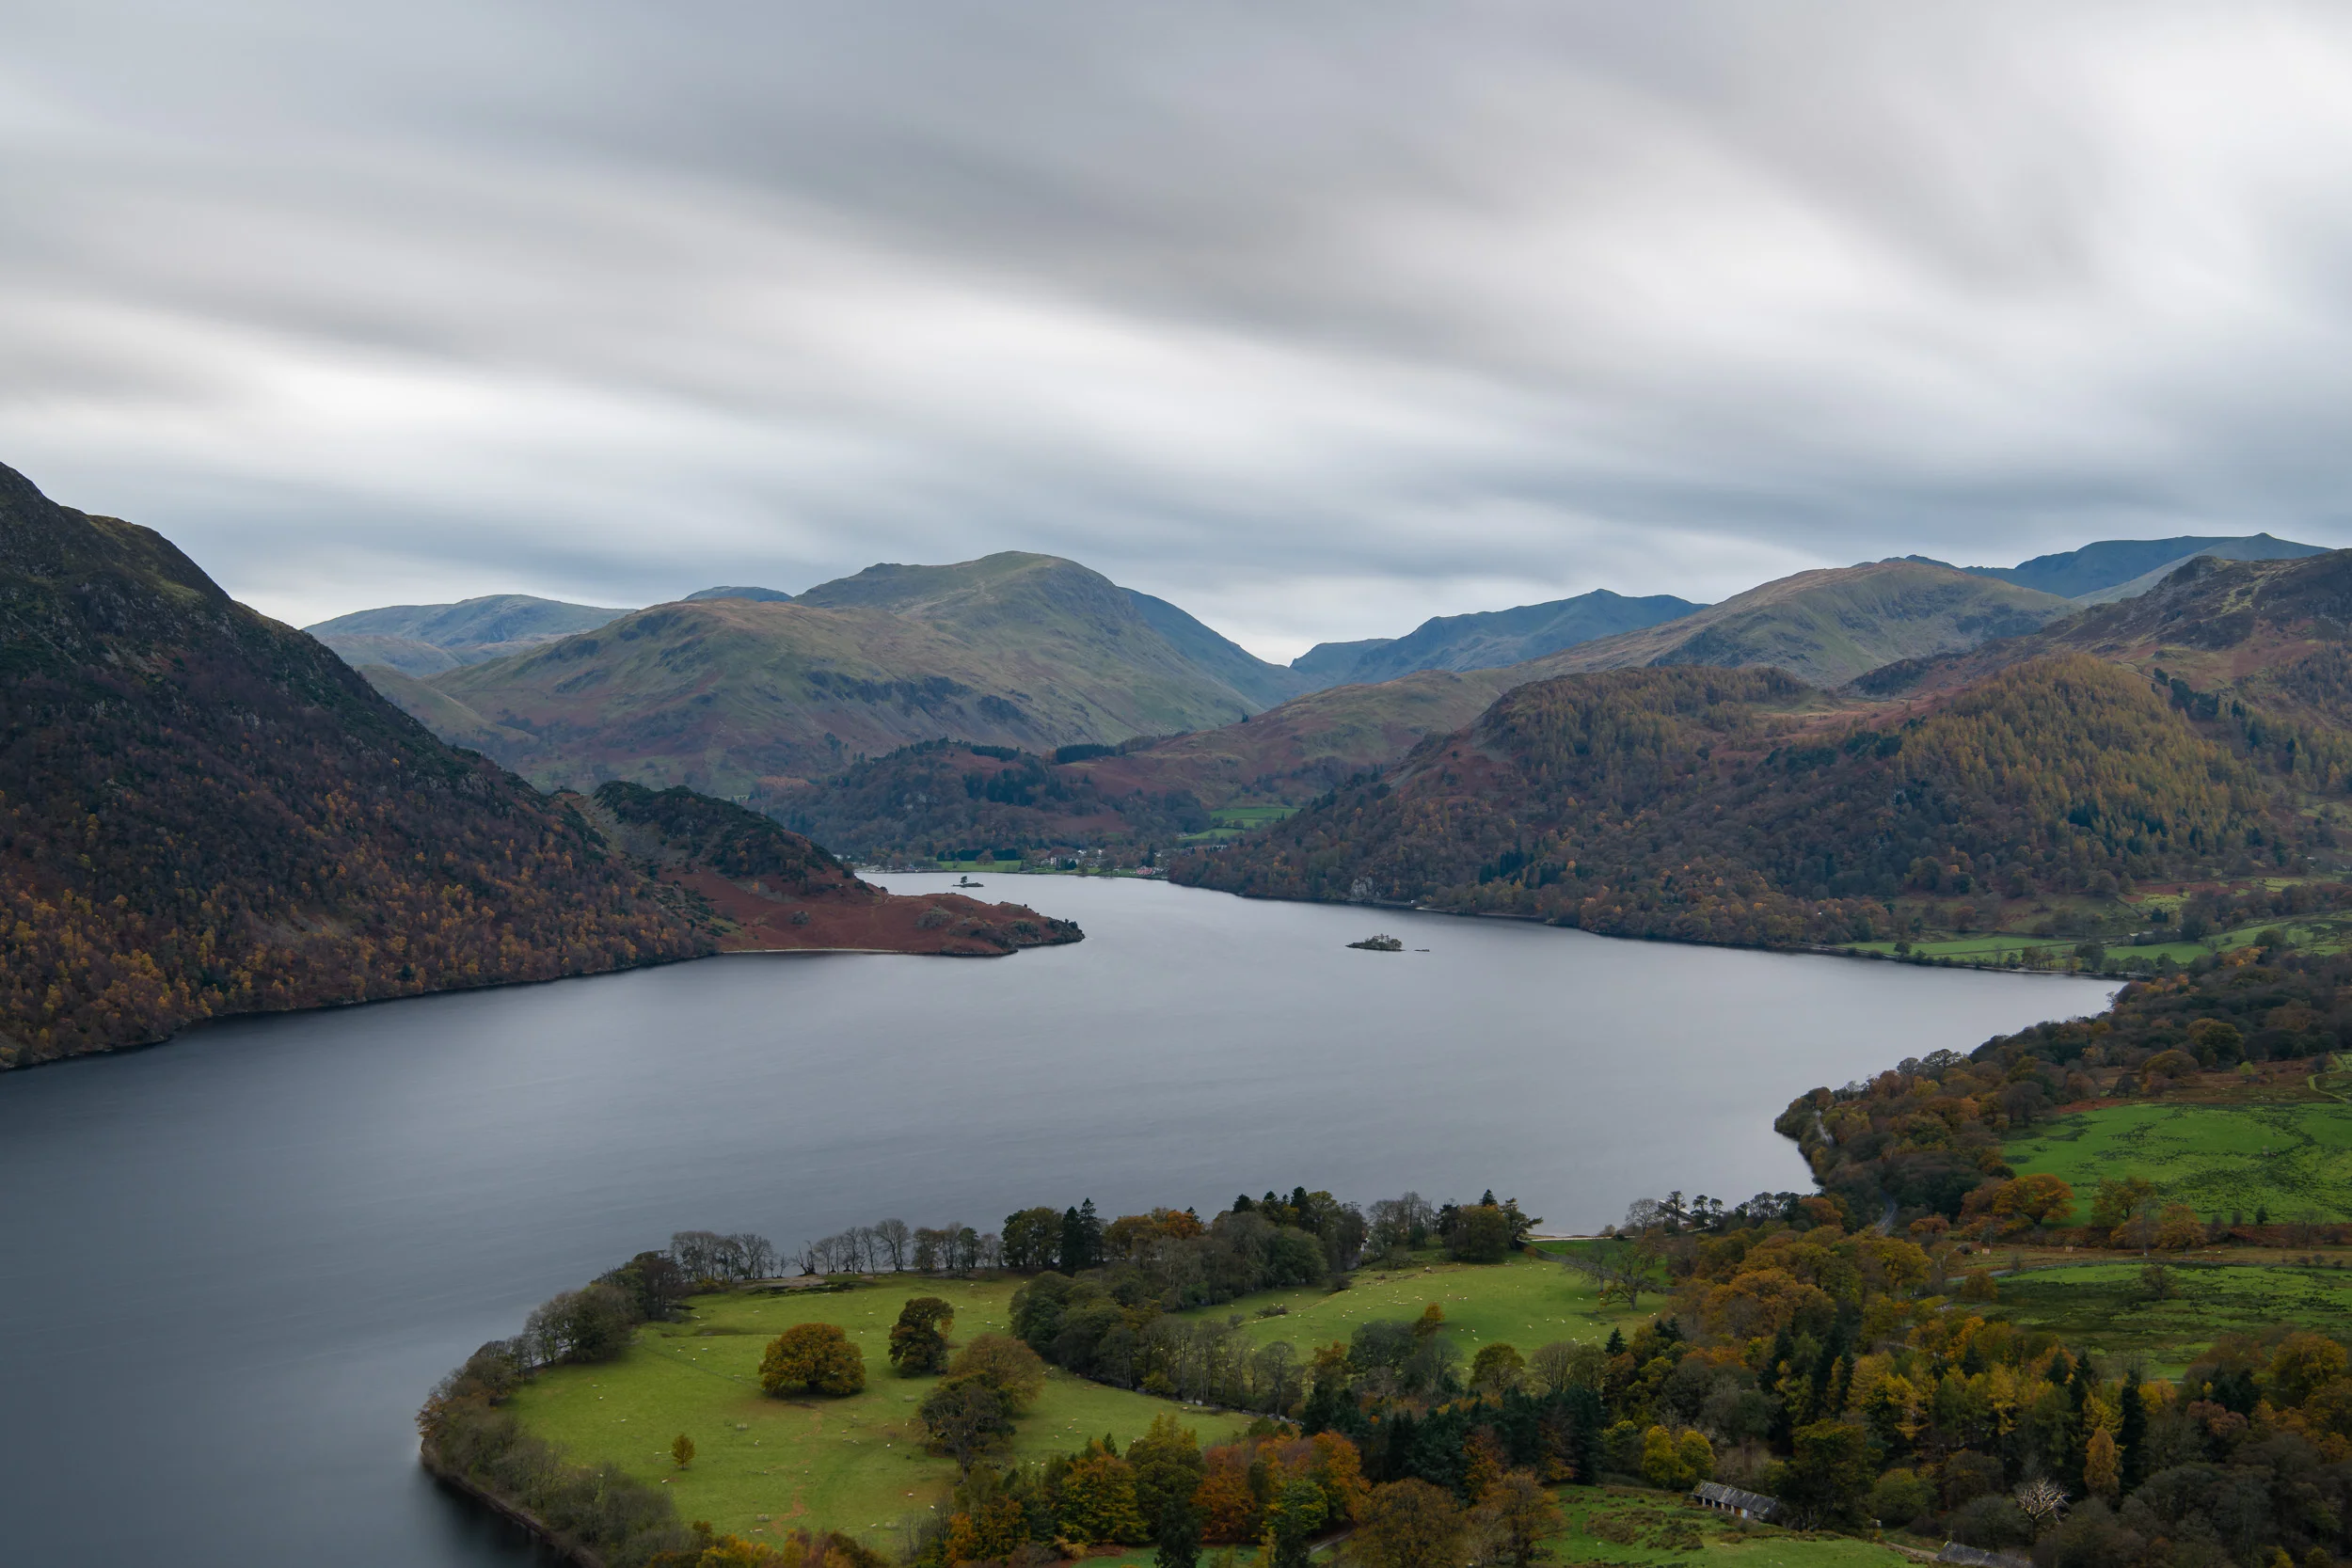
I hope you enjoyed part 1 of my Lake District adventure. I will be publishing part 2 next week so you won't have long to wait!
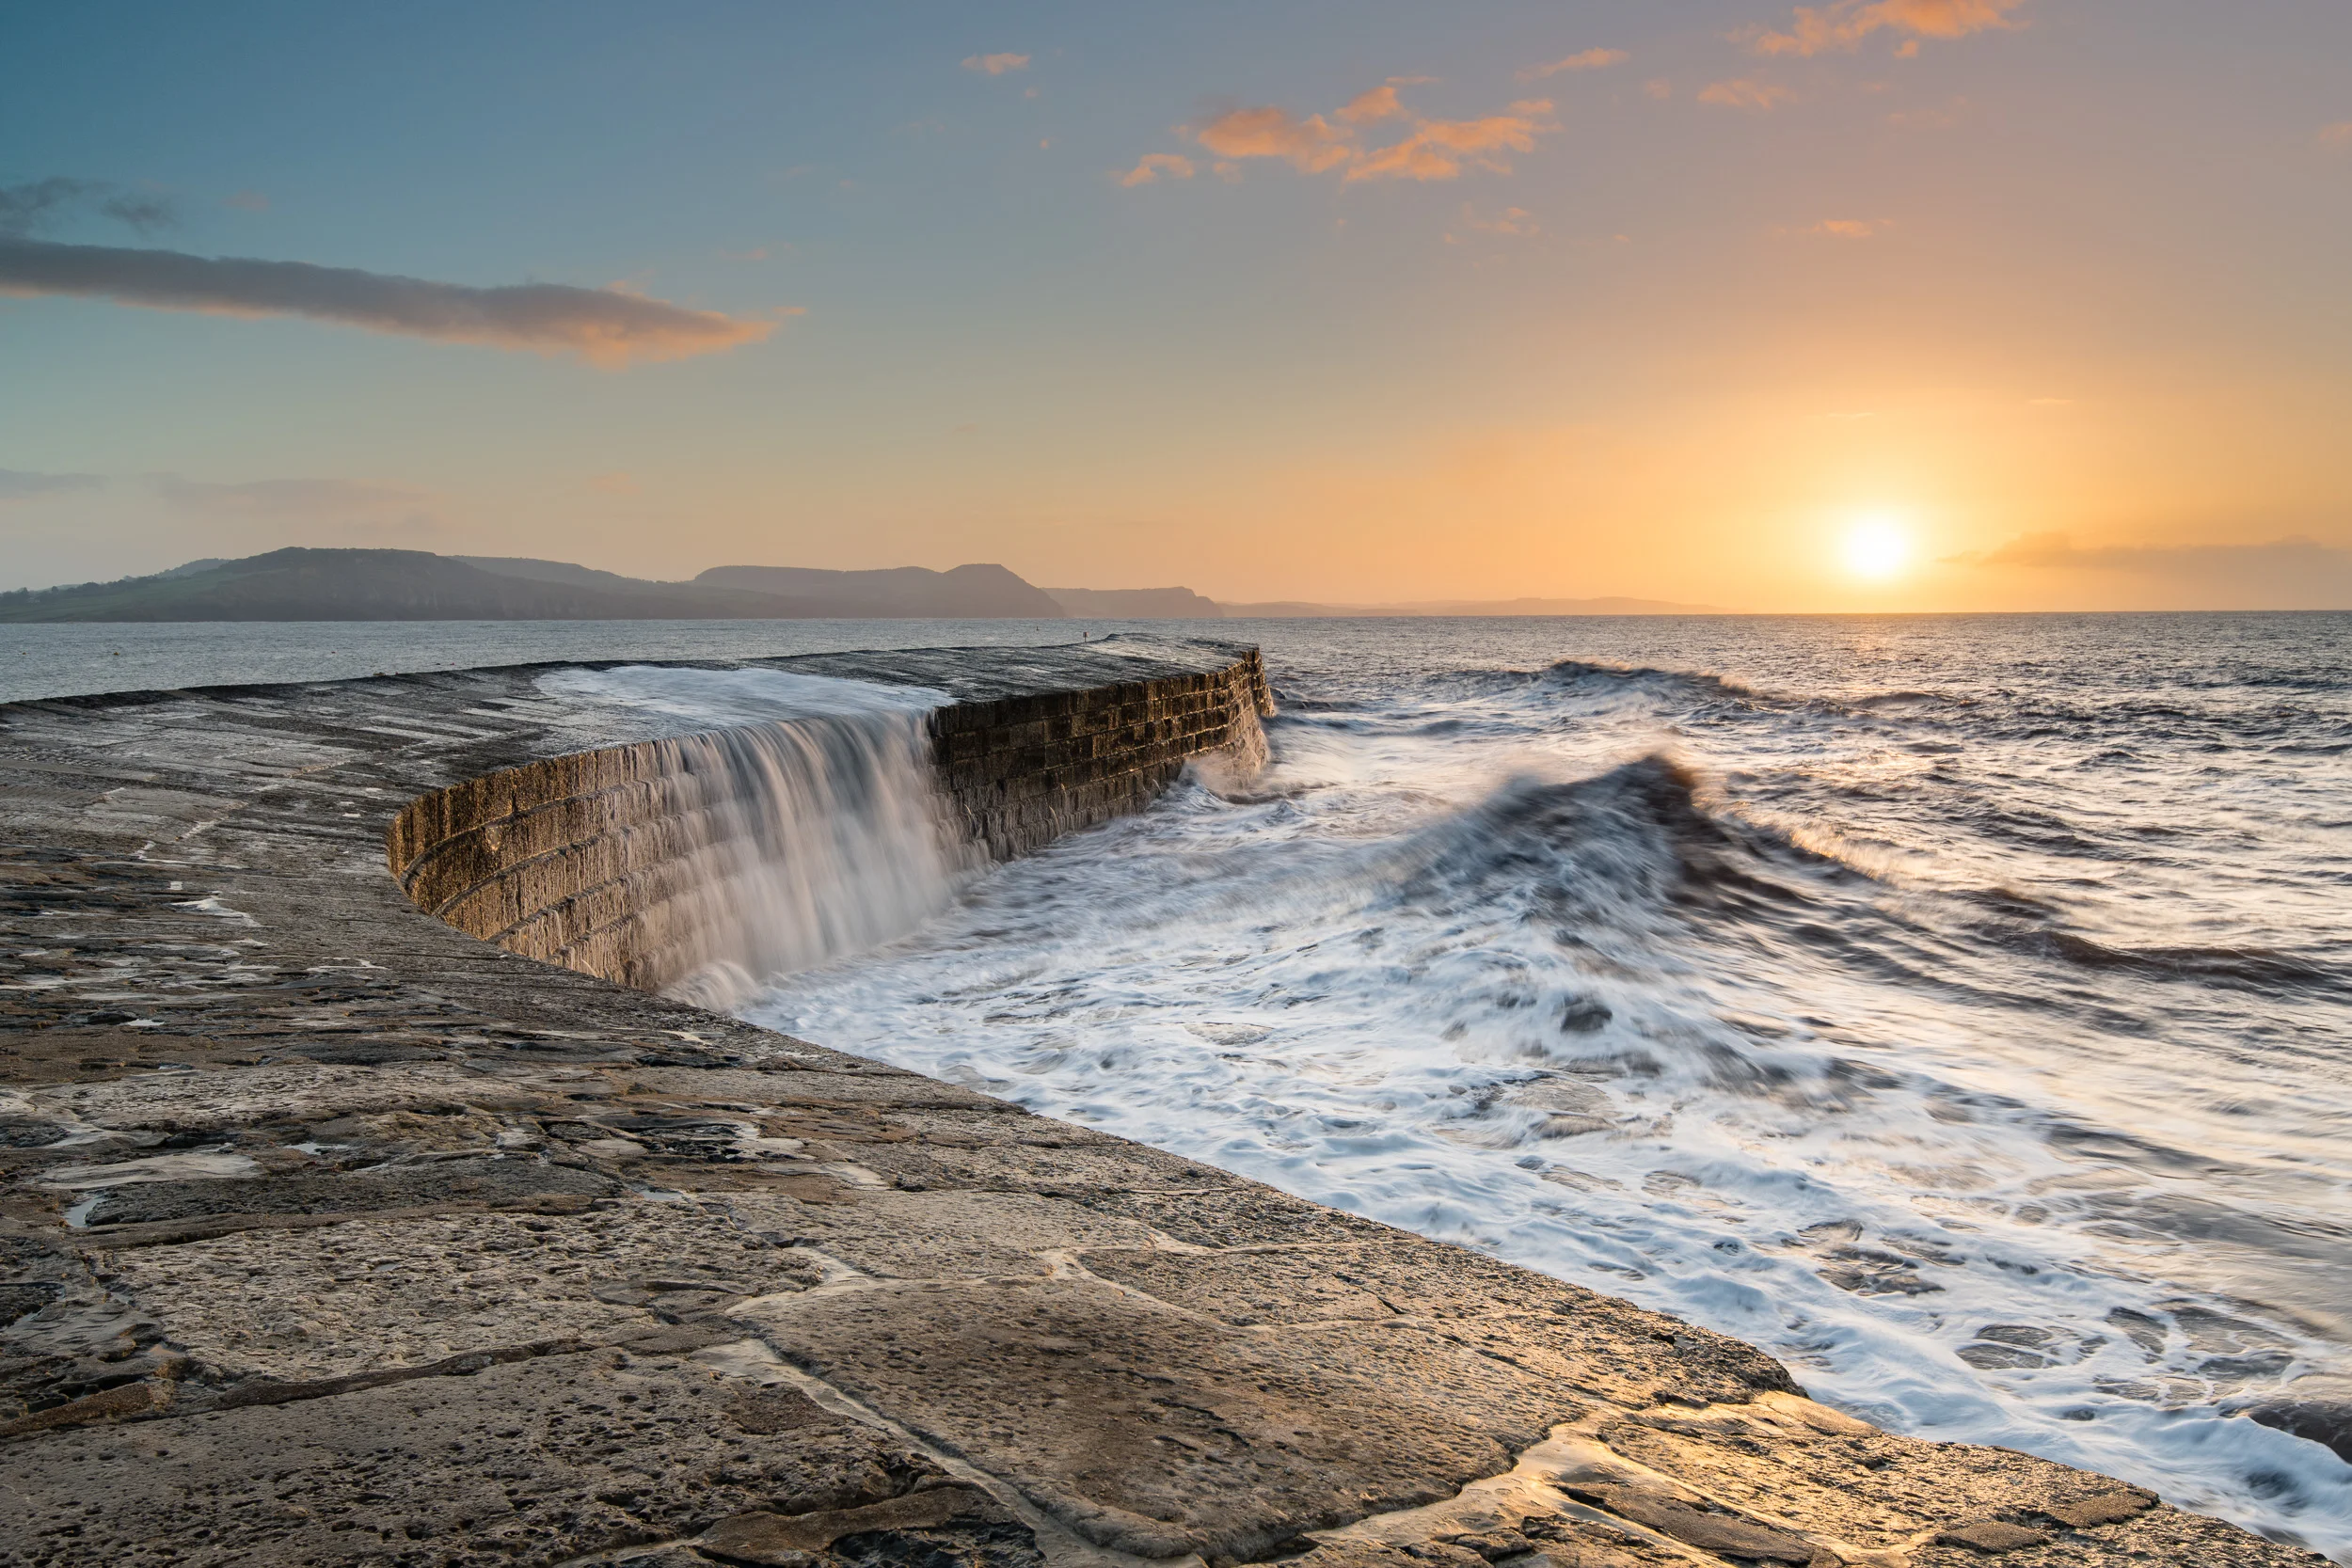
Shooting into the Sun at The Cobb
In the blog this week I head off to The Cobb in Dorset to try out the new Lee Filters Reverse ND filter.
I Have a Confession
As a landscape photographer, I have to be prepared to shoot in a wide range of conditions. I like to think that I'm pretty adaptable and can deal with most things. However, there is one scenario that I have to admit to always trying to avoid.
The simple fact is that I don't like shooting straight into the sun. As my most common shooting times are dawn and dusk, this can be a problem at certain locations at certain times of the year. When the sun is just above the horizon at the start or the end of the day, it can be really tricky to control the exposure.
Many photographers get around this issue by bracketing their exposures, but I'm not one for spending much time on post-processing. So when Lee Filters announced they had released a Reverse ND Filter I thought this might be the perfect way help me control my exposures in those situations that I had previously avoided.
Some Bad News

A Super Stopper should not look like this.
Before I start to share with you my initial experiences with the reverse ND grad, I have some bad news about one of my other filters. I'm very sorry to report that Lee Filters Super Stopper has been shattered. The purchase of the reverse ND grad was my 11th Lee filter, so I decided that I would remove the Super Stopper from my filter pouch to make room for the reverse ND grad.
Unfortunately, the Super Stopper appears to have received a knock at some point and shattered. This is the first Lee filter I have lost due to damage. I'm not sure how this has happened. I keep all my filters in a Lee Filters pouch which is then kept in a heavily padded area of my bag. Still, something has happened and the Supper Stopper is no more.
RIP Super Stopper.
One of my Super Stopper images. It was featured in Outdoor Photography magazine (issue August 2017).
The Reverse ND Grad
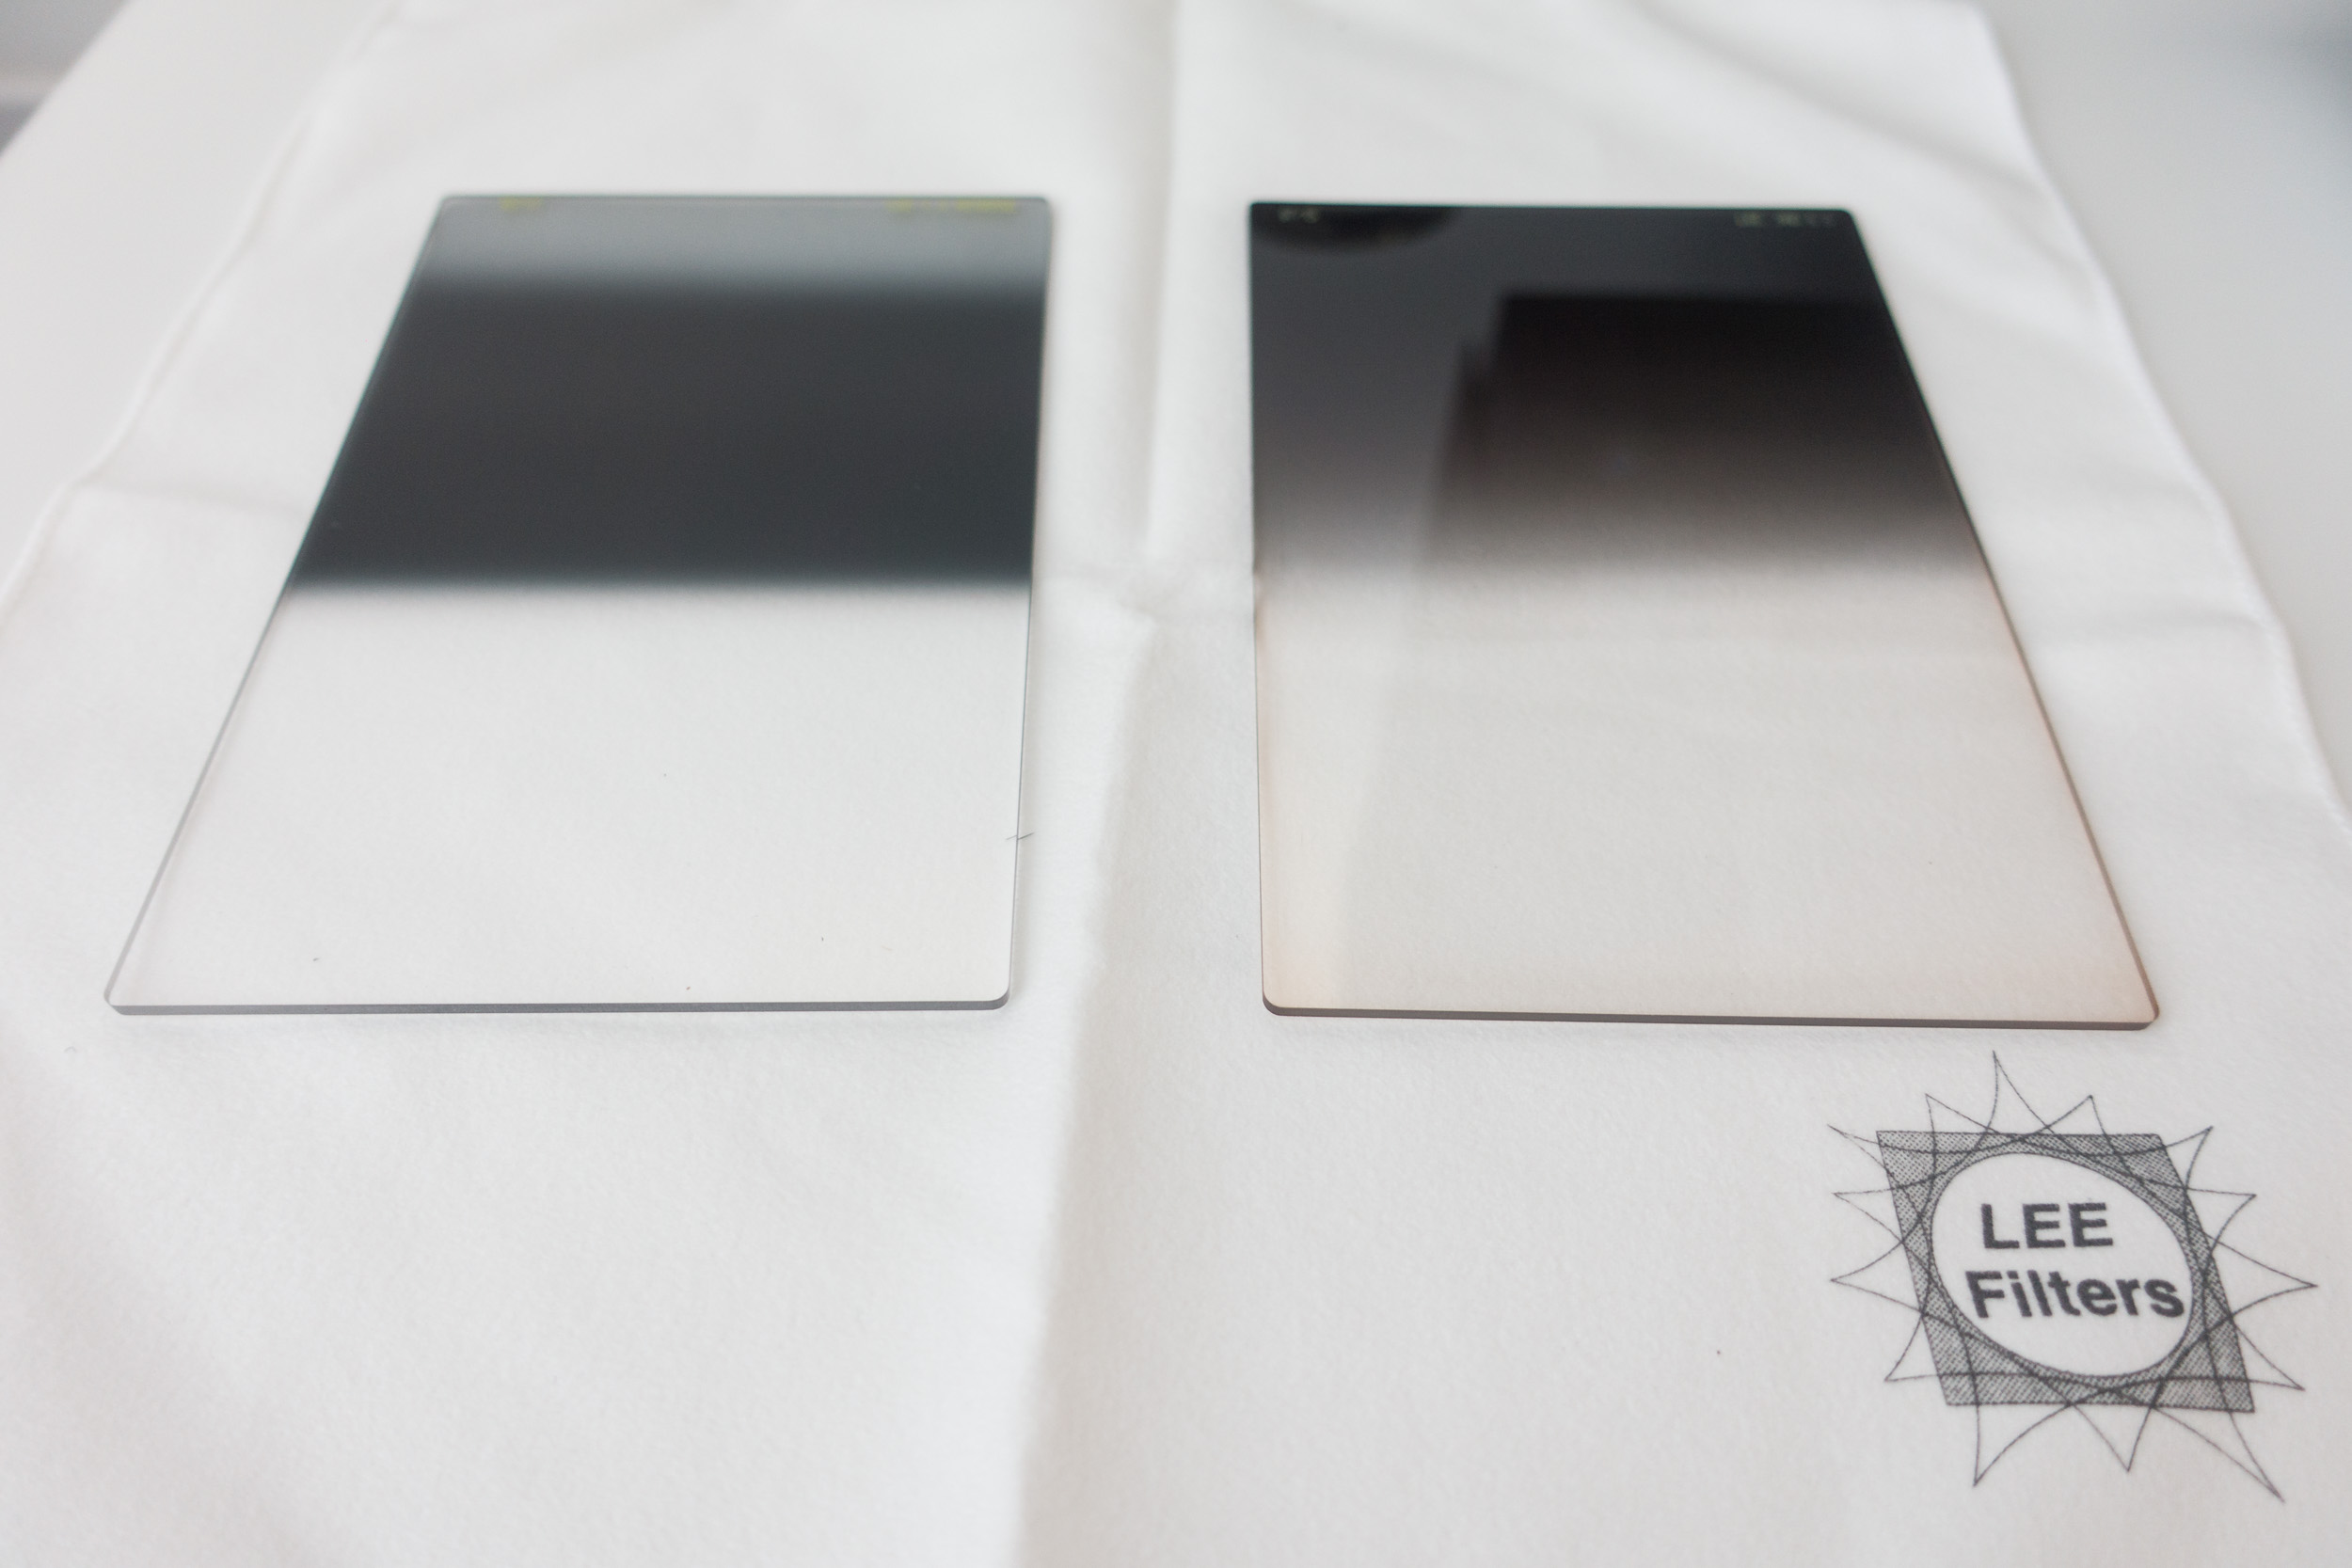
Reverse ND on the left and standard ND grad on the right.
Some of you may be asking what on earth is a reverse ND grad. Perhaps the best way to tell you is to show you.
As you can see from the image above, a standard ND grad is darker at the top and gradually gets lighter the further down the filter you get. However, with the reverse ND grad, the darkest area starts in the middle of the filter, and it gradually gets lighter towards the top of the filter. This allows you to place the darkest area of the filter where you need it most, just above the horizon where the sun is.
At The Cobb
I had been looking for the right location and waiting for the right conditions to try out my 4 stop reverse ND grad for a few weeks. Finally, an opportunity presented itself one morning at The Cobb in Lyme Regis, Dorset. I often wait for January time to visit The Cobb as this is the best time for the rising sun to illuminate the side of this stone pier. However, with clear skies forecast and the sun rising from the end of The Cobb I thought this would be the time to try my new filter.
The light was pretty flat at the start of the sunrise that morning. As I waited for the sun to pop over the horizon I spent a bit of time talking to the 3 other photographers that were also there that morning. As always, I very much enjoy having a chat to my fellow togs. One of those photographers was Anna Stowe. she has a wonderful portfolio of images and I would strongly recommend you follow her Facebook page.
When the sun did rise though I immediately added the 4 stop reverse ND grad to the polariser that was already on the camera. Here are some of the images I took:


The reverse ND grad did exactly the job I wanted it to do. As I took each image I was checking the histogram and was happy not to see any blown highlights. One thing I have noticed is that I did shoot those images at 28mm, which is tighter than the recommend 24mm or wider that Lee Filters say the filter should be used at. This is probably the reason I did spot much graduation towards the top of the image. I will need to remember this next time I use it.
Like a lot of my filters, the reverse ND grad won't be used all the time but it is still a filter that I am very happy to have in my bag. Finally, I can have confidence that when I shoot into the sun I can capture as much of the dynamic range of the seen in a single frame and instantly see results on the back of my camera.
So have you tried the reverse ND grad yet? What technique do you use when shooting into the sun? Let me know in the comments below.
Bad Weather Photography
In the blog this week I remember to "embrace the grey" and head out to Dawlish to get some photos in less than optimal conditions.
Time to Embrace the Grey
I once went on a Nikon School one day workshop with Jeremy Walker. I remember the weather not exactly being great but one thing stuck in my mind from that day. As Jeremy was laying out the plans for the day he already knew it was going to be an overcast day. His advice was to "embrace the grey".
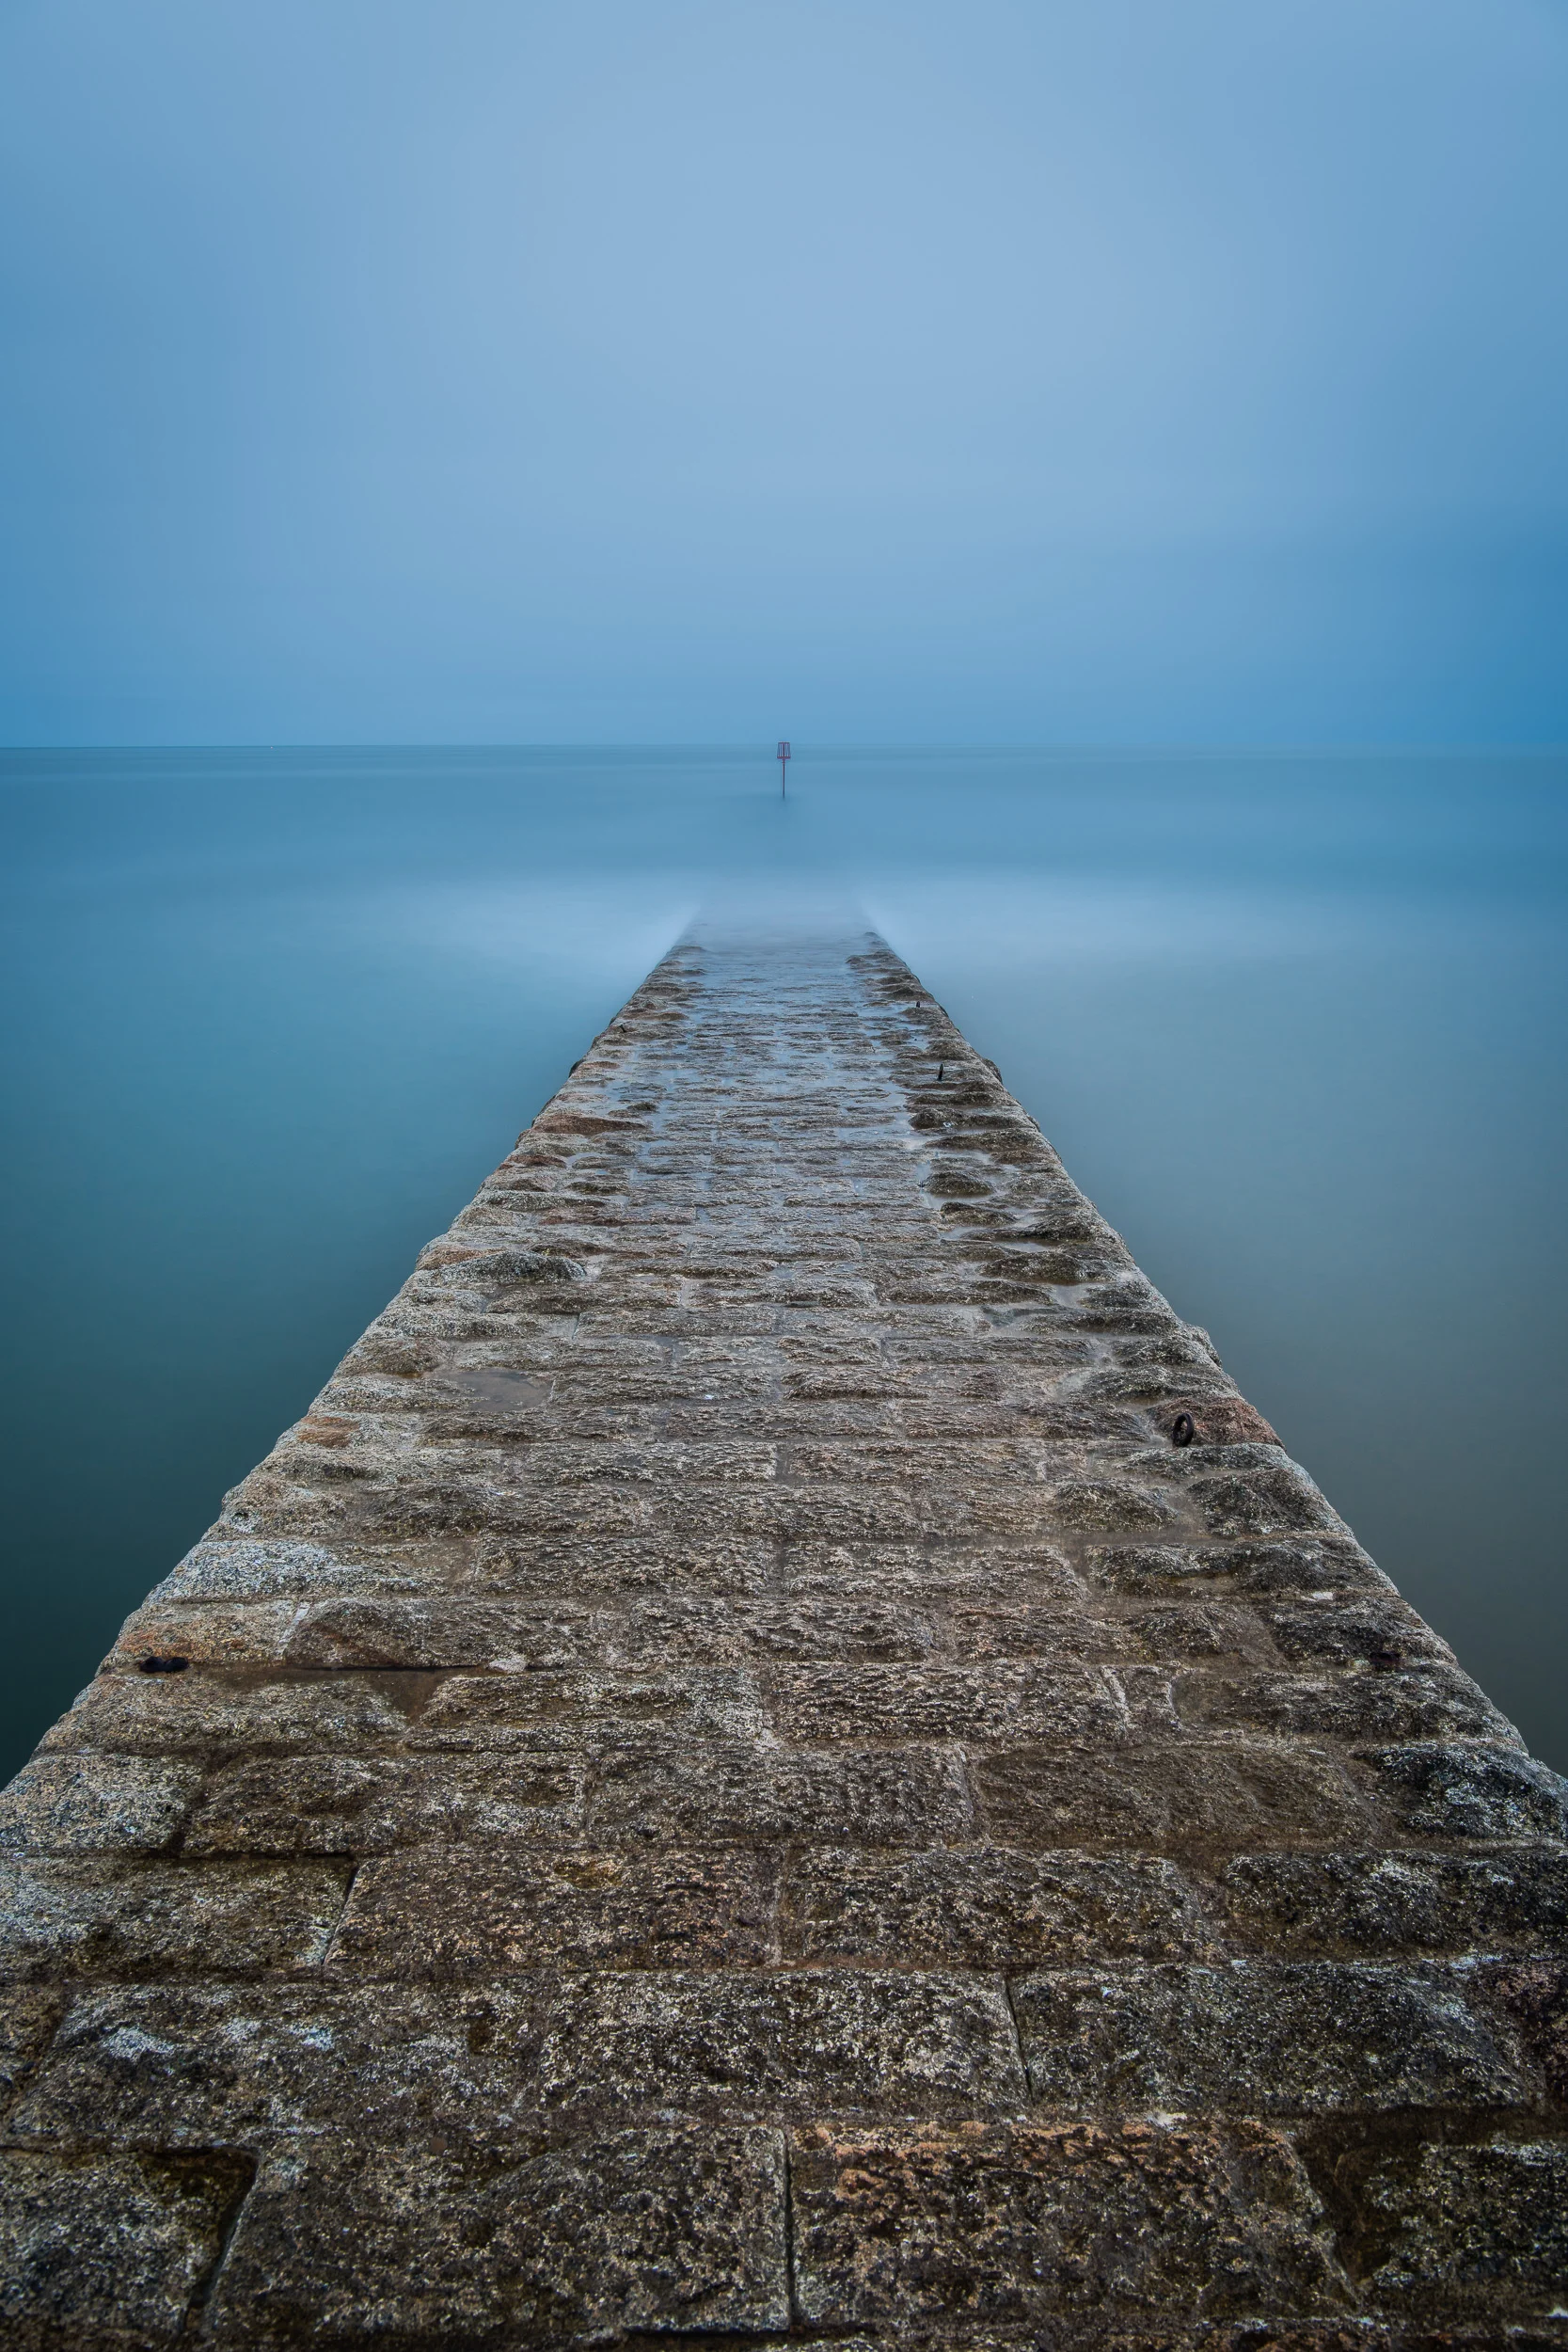
I did just that with this photograph:
Banjo Pier, Swanage. Nikon D750, Nikkor 16-35mm f/4 at 28mm, f/11, 30 secs, ISO 100, Lee Filters Big Stopper.
Now I may have mentioned once or twice on the blog recently that the recent weather has been playing havoc with creativity. So when the weather forecast for the week was looking grim I decided enough was enough and I was going yet again embrace the grey!
I needed to find an appropriate location to make an image but when I remembered about the stone groynes at Dawlish my mind was set. So off I headed with a clear vision of what I wanted to capture.
Despite the weather. No hang on, because of the weather, I really enjoyed myself at Dawlish. It made me look at the location with different eyes.
Here's what I photographed:
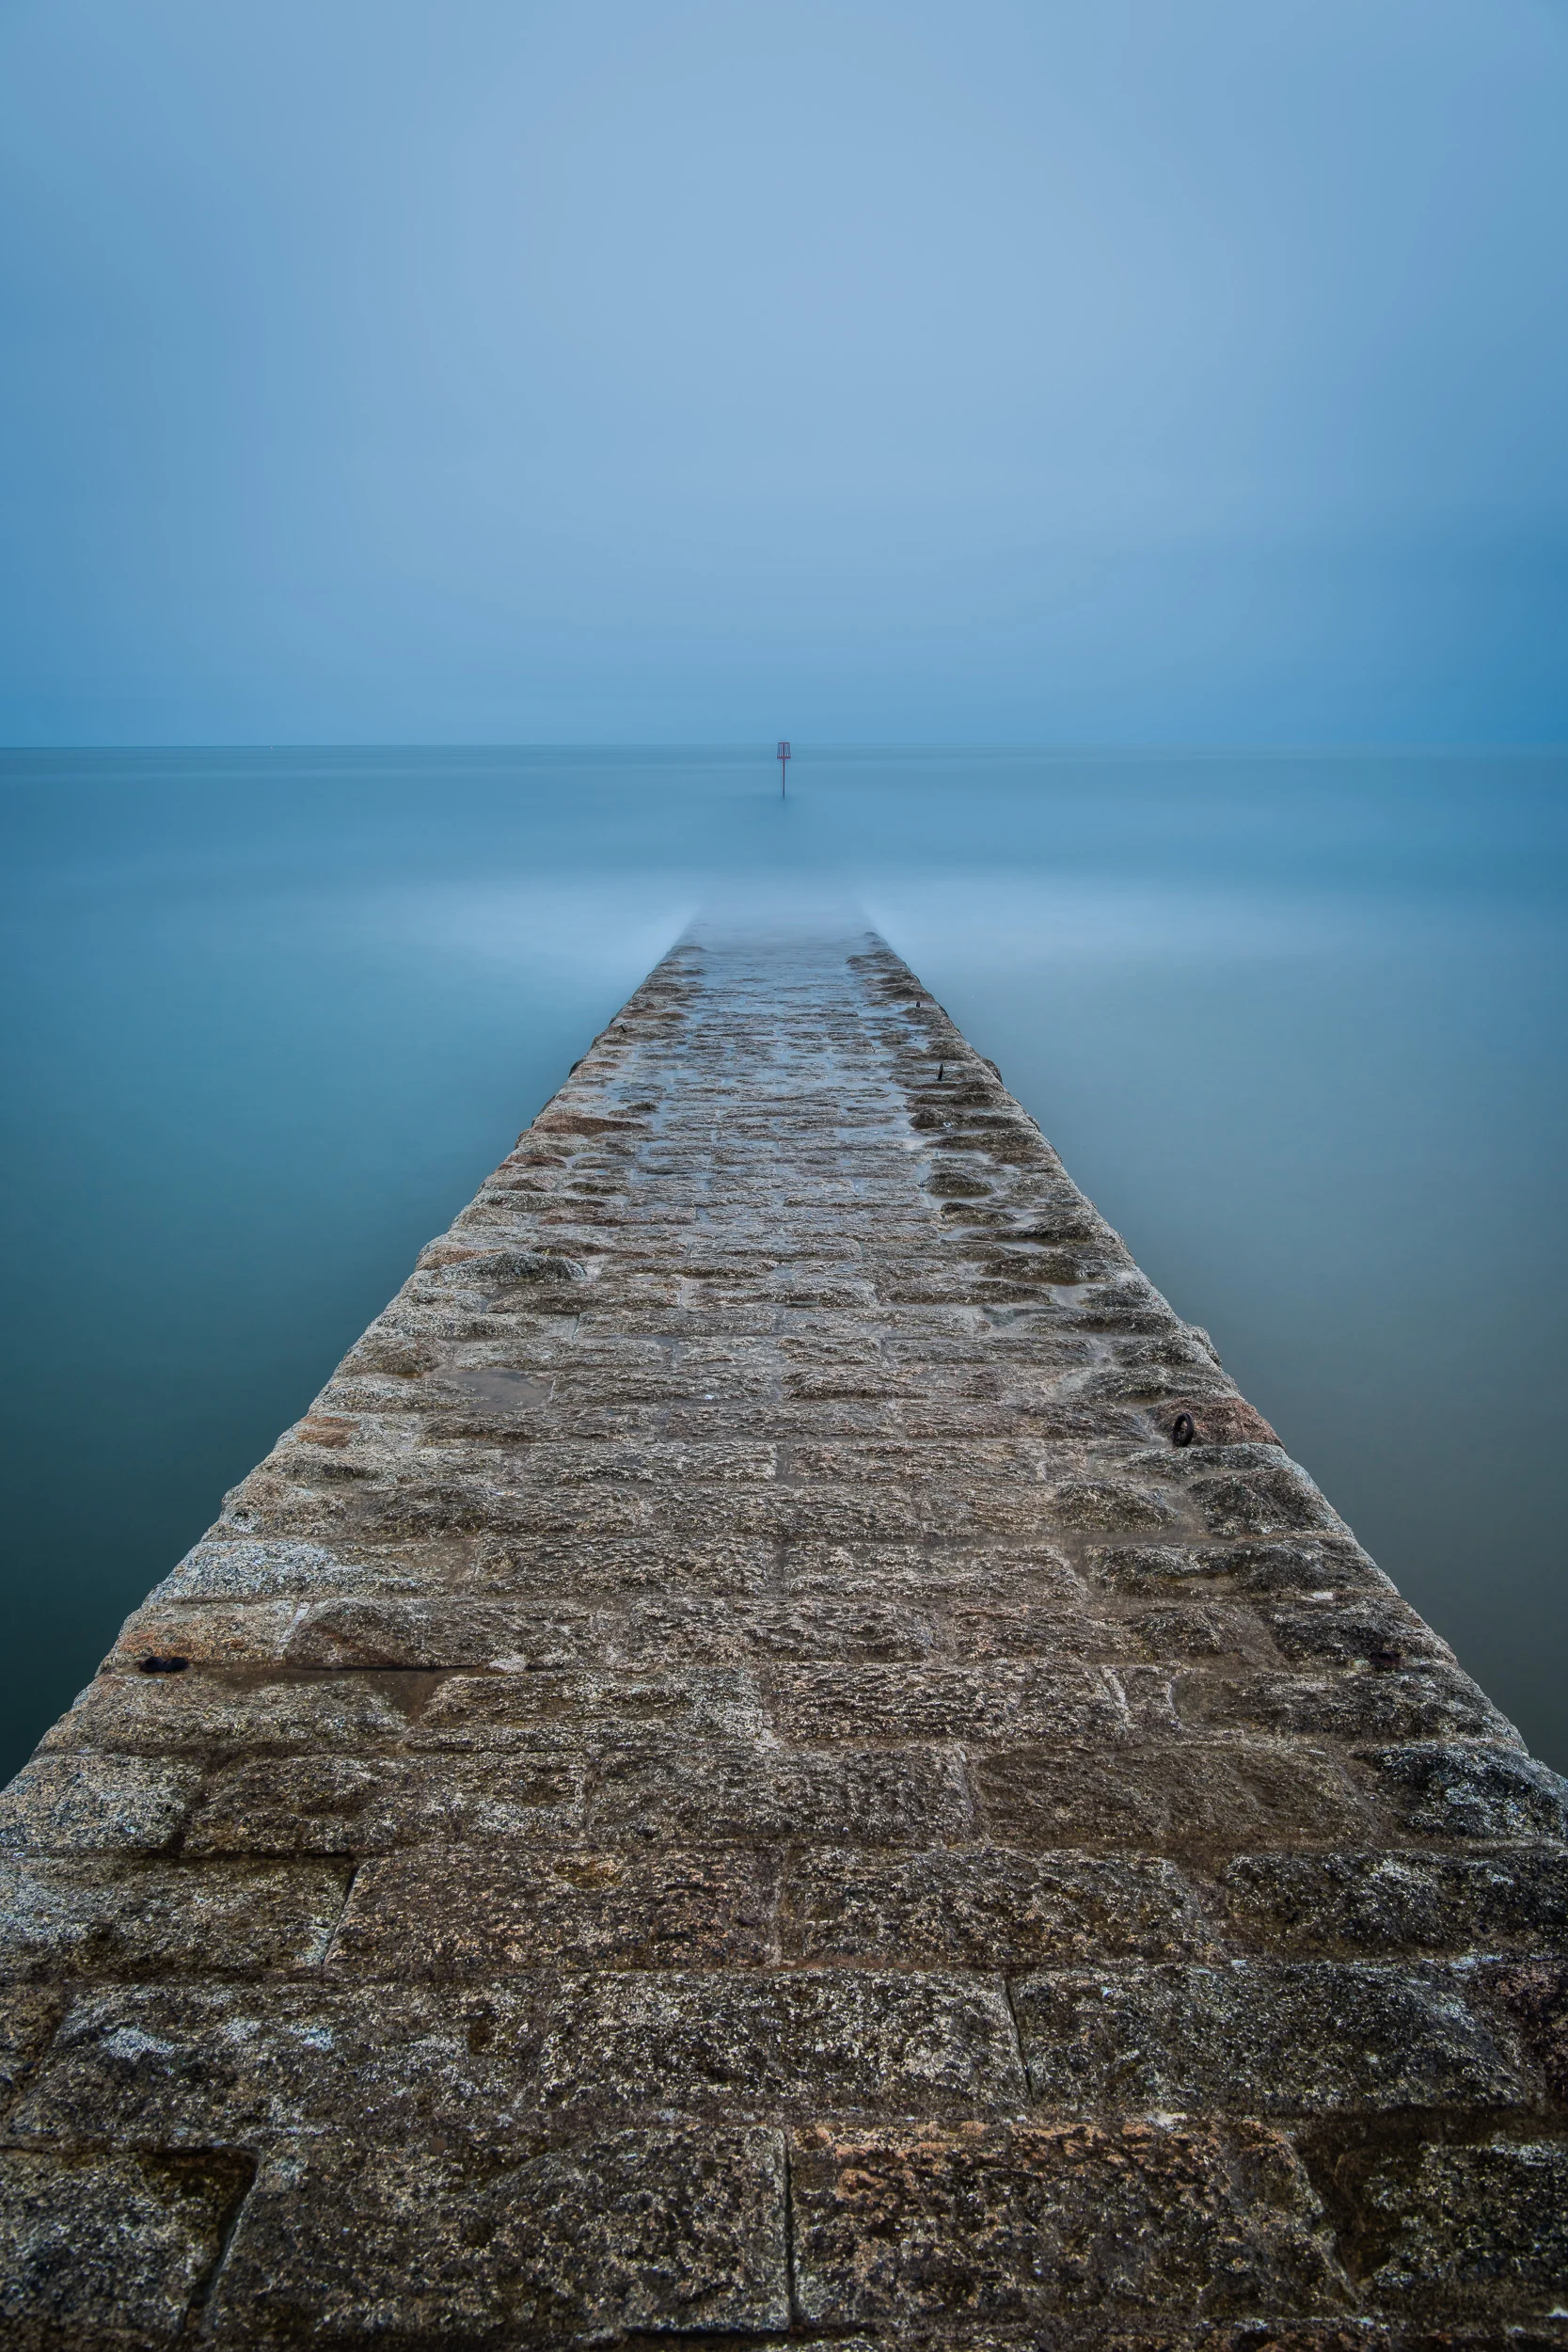
Nikon D850, Nikkor 24-70mm f/2.8 VR at 31mm, ISO 64, 5 minutes at f/11, Lee Filters Circular Polariser and Big Stopper.
If you want to see how I went about capturing the image, here's a short video I shot while I was there...
So do you have a favourite bad weather location to take photographs? Is there really such thing as bad weather for photography? Let me know in the comments below.
PS.
On a little side note, I'm very happy to say that Adobe has now updated Lightroom to support the Nikon D850. This means I no longer have to convert the files to DNG format first. I can now import the NEF (raw) files straight from my memory card. I was so happy about this I posted a video on my YouTube channel.

Amazing Light at Brentor Church
In the blog this week I tell about how I was treated to a spectacular sunset at Brentor Church!
Finally, decent light!
For those of you who read my blog on a regular basis, you will know that I've not been the happiest of photographers recently. Despite being the very proud owner of a new Nikon D850, I've not been having much luck with the weather recently. This has played havoc with my creative adventures! However, this all changed a couple of weeks ago when I visited Brentor Church and I was treated to an epic sunset.
The night before I visited Brentor Church on Dartmoor, I also visited another Dartmoor location, Honeybag Tor. It was one of those evenings where you think your photographic mojo has completely deserted you. I found myself mumbling "why do I even bother" as I wandered back to the car.
I'm not one to stay down for too long though. The very next morning, armed with a cup of coffee I got back on the computer and started checking the weather forecast for that evening. Best thing to do when you've had a bad trip out with the camera is get back out there and try again. After all, I have talked about the value of practice and perseverance before on this blog. So I took on my own advice and got to planning a trip out with the camera.
I looked at the weather forecast, and even though it was forecast for nearly 80% cloud coverage, thanks to yr.no (a Norwegian weather service), I could see that most of that cloud would be high up. With virtually no lower cloud cover there would be a chance that just around sunset the golden light of the sun would illuminate the underside of that higher cloud.
After a recent visit to Brentor Church, I was keen to revisit this Dartmoor location. So with a good weather forecast, and a wonderful location picked, I set off with a positive, but cautious frame of mind.
What's It Called?
I normally like to share the details of where I've taken a photograph, so I normally try and include a map. While adding the map for Brentor Church below I noticed a couple of things.
The map above refers to Brent Tor, Brentnor, and St Michael's Church. So what is this location called? Well I did a little checking and to give the church its full name it's called The Church of St. Michael de Rupe (St. Michael of the Rock), which is located on Brent Tor, near the villages of Brentor, South Brentor, and North Brentor.
I believe the church is commonly known as Brentor Church. So looking at the Google Map above I can only assume that some of those location spots are user submitted and contain minor errors. Anyway, now we all know what it should be called and how to spell it!
Lost for Words
My plan for Brentor Church was not only to take photographs but to also shoot one of my 5 Minute Photography Adventure videos. However, as I was visiting the location on a Friday evening and the weather forecast was good, I knew there would be a good chance there would be other photographers there. The problem with that is that I just can't seem to present to the camera when someone else is watching! I'm just too self-conscious!
As suspected though, when I arrived, there were already a few photographers there. I told myself to just get on with it and get filming. But I didn't. To be honest, it was nice to keep the video gear in the bag and just chat to some fellow photographers. One of the photographers was from Wales and the other was a local photographer called Lee Smith (check out his work here). Both chaps were excellent company and we got to enjoy a very special sunset together.
Changing Light
Brentor Church, like many locations, benefits greatly from good light. The ideal conditions would be to have a dramatic sky, and the side of the hill and church illuminated by some nice side lighting from a setting sun. The image below gives you a hint of what that might look like.
Nikon D850, Nikkor 16-35mm f/4 @ 18mm, ISO 100, 0.6 sec @ f/13, Lee Filters circular polariser and ND grad.
On the night that I was there, that side lighting didn't last too long. Unfortunately, the sunset behind some distant low cloud. However, in the next photo, you can just about see the sky and clouds starting to change colour.
Nikon D850, Nikkor 16-35mm f/4 @ 22mm, ISO 64, 210 sec @ f/13, Lee Filters circular polariser, Little Stopper and ND grad.
And then, just as the sunset, the sky lit up in spectacular fashion! All of a sudden the sky was full of pinks and blues. This allowed me to capture my favourite image of the night.
Nikon D850, Nikkor 16-35mm f/4 @ 18mm, ISO 100, 5 sec @ f/13, Lee Filters circular polariser and ND grad.
The amazing sky can't have lasted much more than 5 minutes and you can see from the following two photographs how quickly the sky can change in a few minutes. I was glad I was up there early and had everything set up and ready to shoot before the action started.
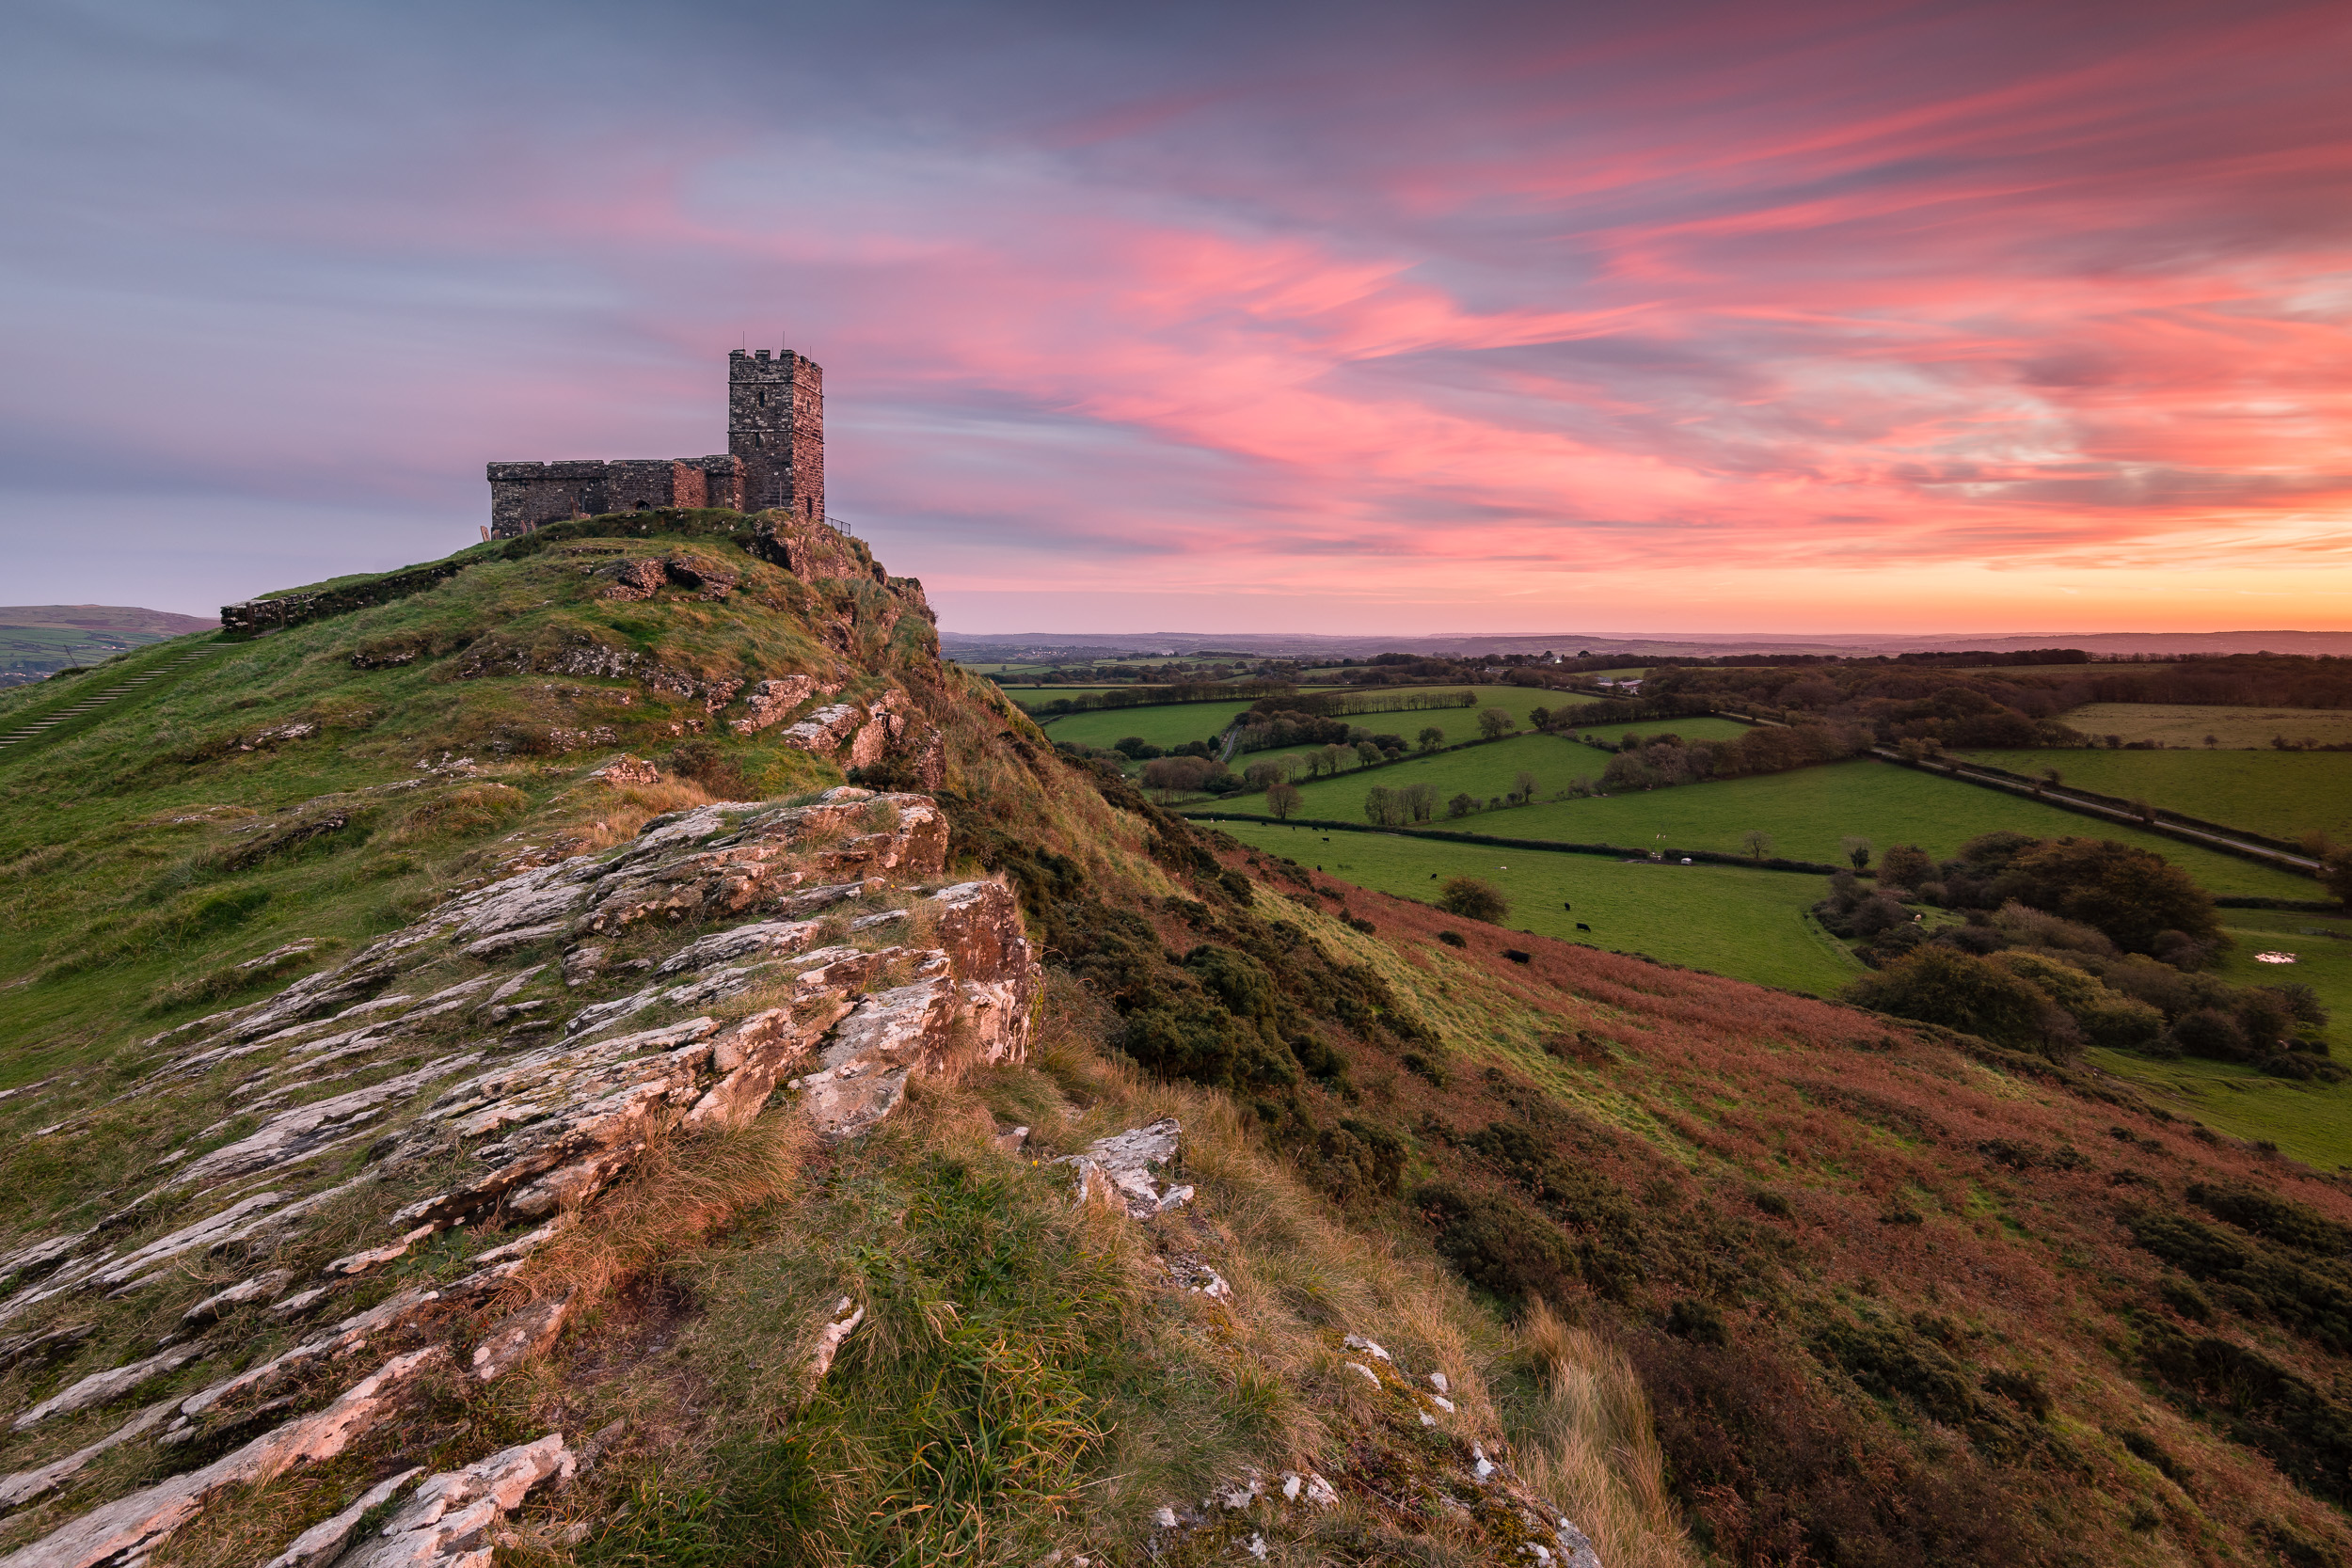

It was a wonderful evening of photography. Not only did I get some images that I was very happy with but I had a great time chatting with some fellow photographers. I will get that video of Brentor Church done one day. Not that I need an excuse to visit this great location again.
So have you shot Brentor Church before? What was the best sunset you've photographed? Let me know in the comments below.

5 Great Landscape Photography Books - On My Bookshelf S01E01
In the blog this week I tell you about a new video series I'm creating and what my 5 favourite landscape photography books are.
A New Video Series
For me, photography books are still very important in my development as a landscape photographer. I value the experience that a book gives me. Rather than simply just scrolling through an image feed on one of the popular photo sharing sites, reading a book gives me the time to really look at a photograph. It's a more involved experience and I like the way it forces me to take time away from the computer to look at an image in detail. Besides, looking at photographs in print is always a great experience.
So I've decided to create a new series of videos for my YouTube channel called On My Bookshelf. In each video will talk about a book (or even a few books) that are important to me and tell you why. I think we all should spend more time reading photography books, and hopefully, these videos will give you some ideas on what to read next.
5 Great Landscape Photography Books
For my first video in this series, I tell you about my 5 favourite landscape photography books.
I hope you enjoyed the video and that it has inspired you to grab your favourite photography book. If you are interested in picking up any of the books I mentioned in the video, you can use the following links:
The Causeway Coast by Steven Hanna (ISBN 978-0857043047) - Amazon or direct from Steven for signed copy
The Art of Landscape Photography by Ross Hoddinott and Mark Bauer (ISBN 978-1781450529) - Amazon
Wildlife Photographer of the Year: Portfolio 26 (ISBN 978-0565093952) - Amazon
Photographing Cornwall and Devon by Adam Burton (ISBN 978-0992905132) - Amazon
Landscape Photographer of the Year: Collection 1 (ISBN 978-0749552244) - Amazon
The links used above are Amazon affiliate links. By buying through the links I may receive a commission for the sale. This has no effect on the price for you.
There are a number of exciting landscape photography books coming out over the next few months so be sure to subscribe to my YouTube channel so you get notified when I publish a new episode of On My Bookshelf!
So do you have a favourite photography book? Which photography book are looking forward to seeing next? Let me know in the comments below.

On Location with the Nikon D850: Froward Point
In the blog this week I share with you my latest video on the Nikon D850. Watch I as I go on location to shoot some seascape images at Froward Point in Devon. I take you through my workflow on how I setup the camera and how I'm using some of the features of the D850. I then head home where I process, print and review the image.
Getting to Know the Nikon D850
Since getting my Nikon D850 I haven't been out to take photographs with it as much as I hoped I would. The bad weather at the moment always seems to know when I have time to go out with the camera. However, I was treated to an epic sunset up on Dartmoor the other day. I got some wonderful images and I'll be sharing them on my blog in the near future.
The Nikon D850 is performing very well and is delivering me some wonderful raw files full of dynamic range. I just wish I didn't have to convert them to DNG first....c'mon Adobe, update Lightroom, please! LR issues aside this is a great camera and so I wanted to do a follow up to my Nikon D850 Initial Impressions video. This video is my most popular video on YouTube to date and there seemed to be a real desire from people to know more about some of the capabilities of this camera.
So in this video, I take the Nikon D850 out to photograph seascape images at Froward Point in Devon. This time I take a closer look at my workflow and how I put some of the features of the Nikon D850 to work.
Froward Point
I've talked about Froward Point a couple of times on the blog and in my videos, but in case you don't know where it is, here it is on the map:
So onto the image itself. Unfortunately, I didn't get the light I was after but I'm still reasonably happy with the image I took.
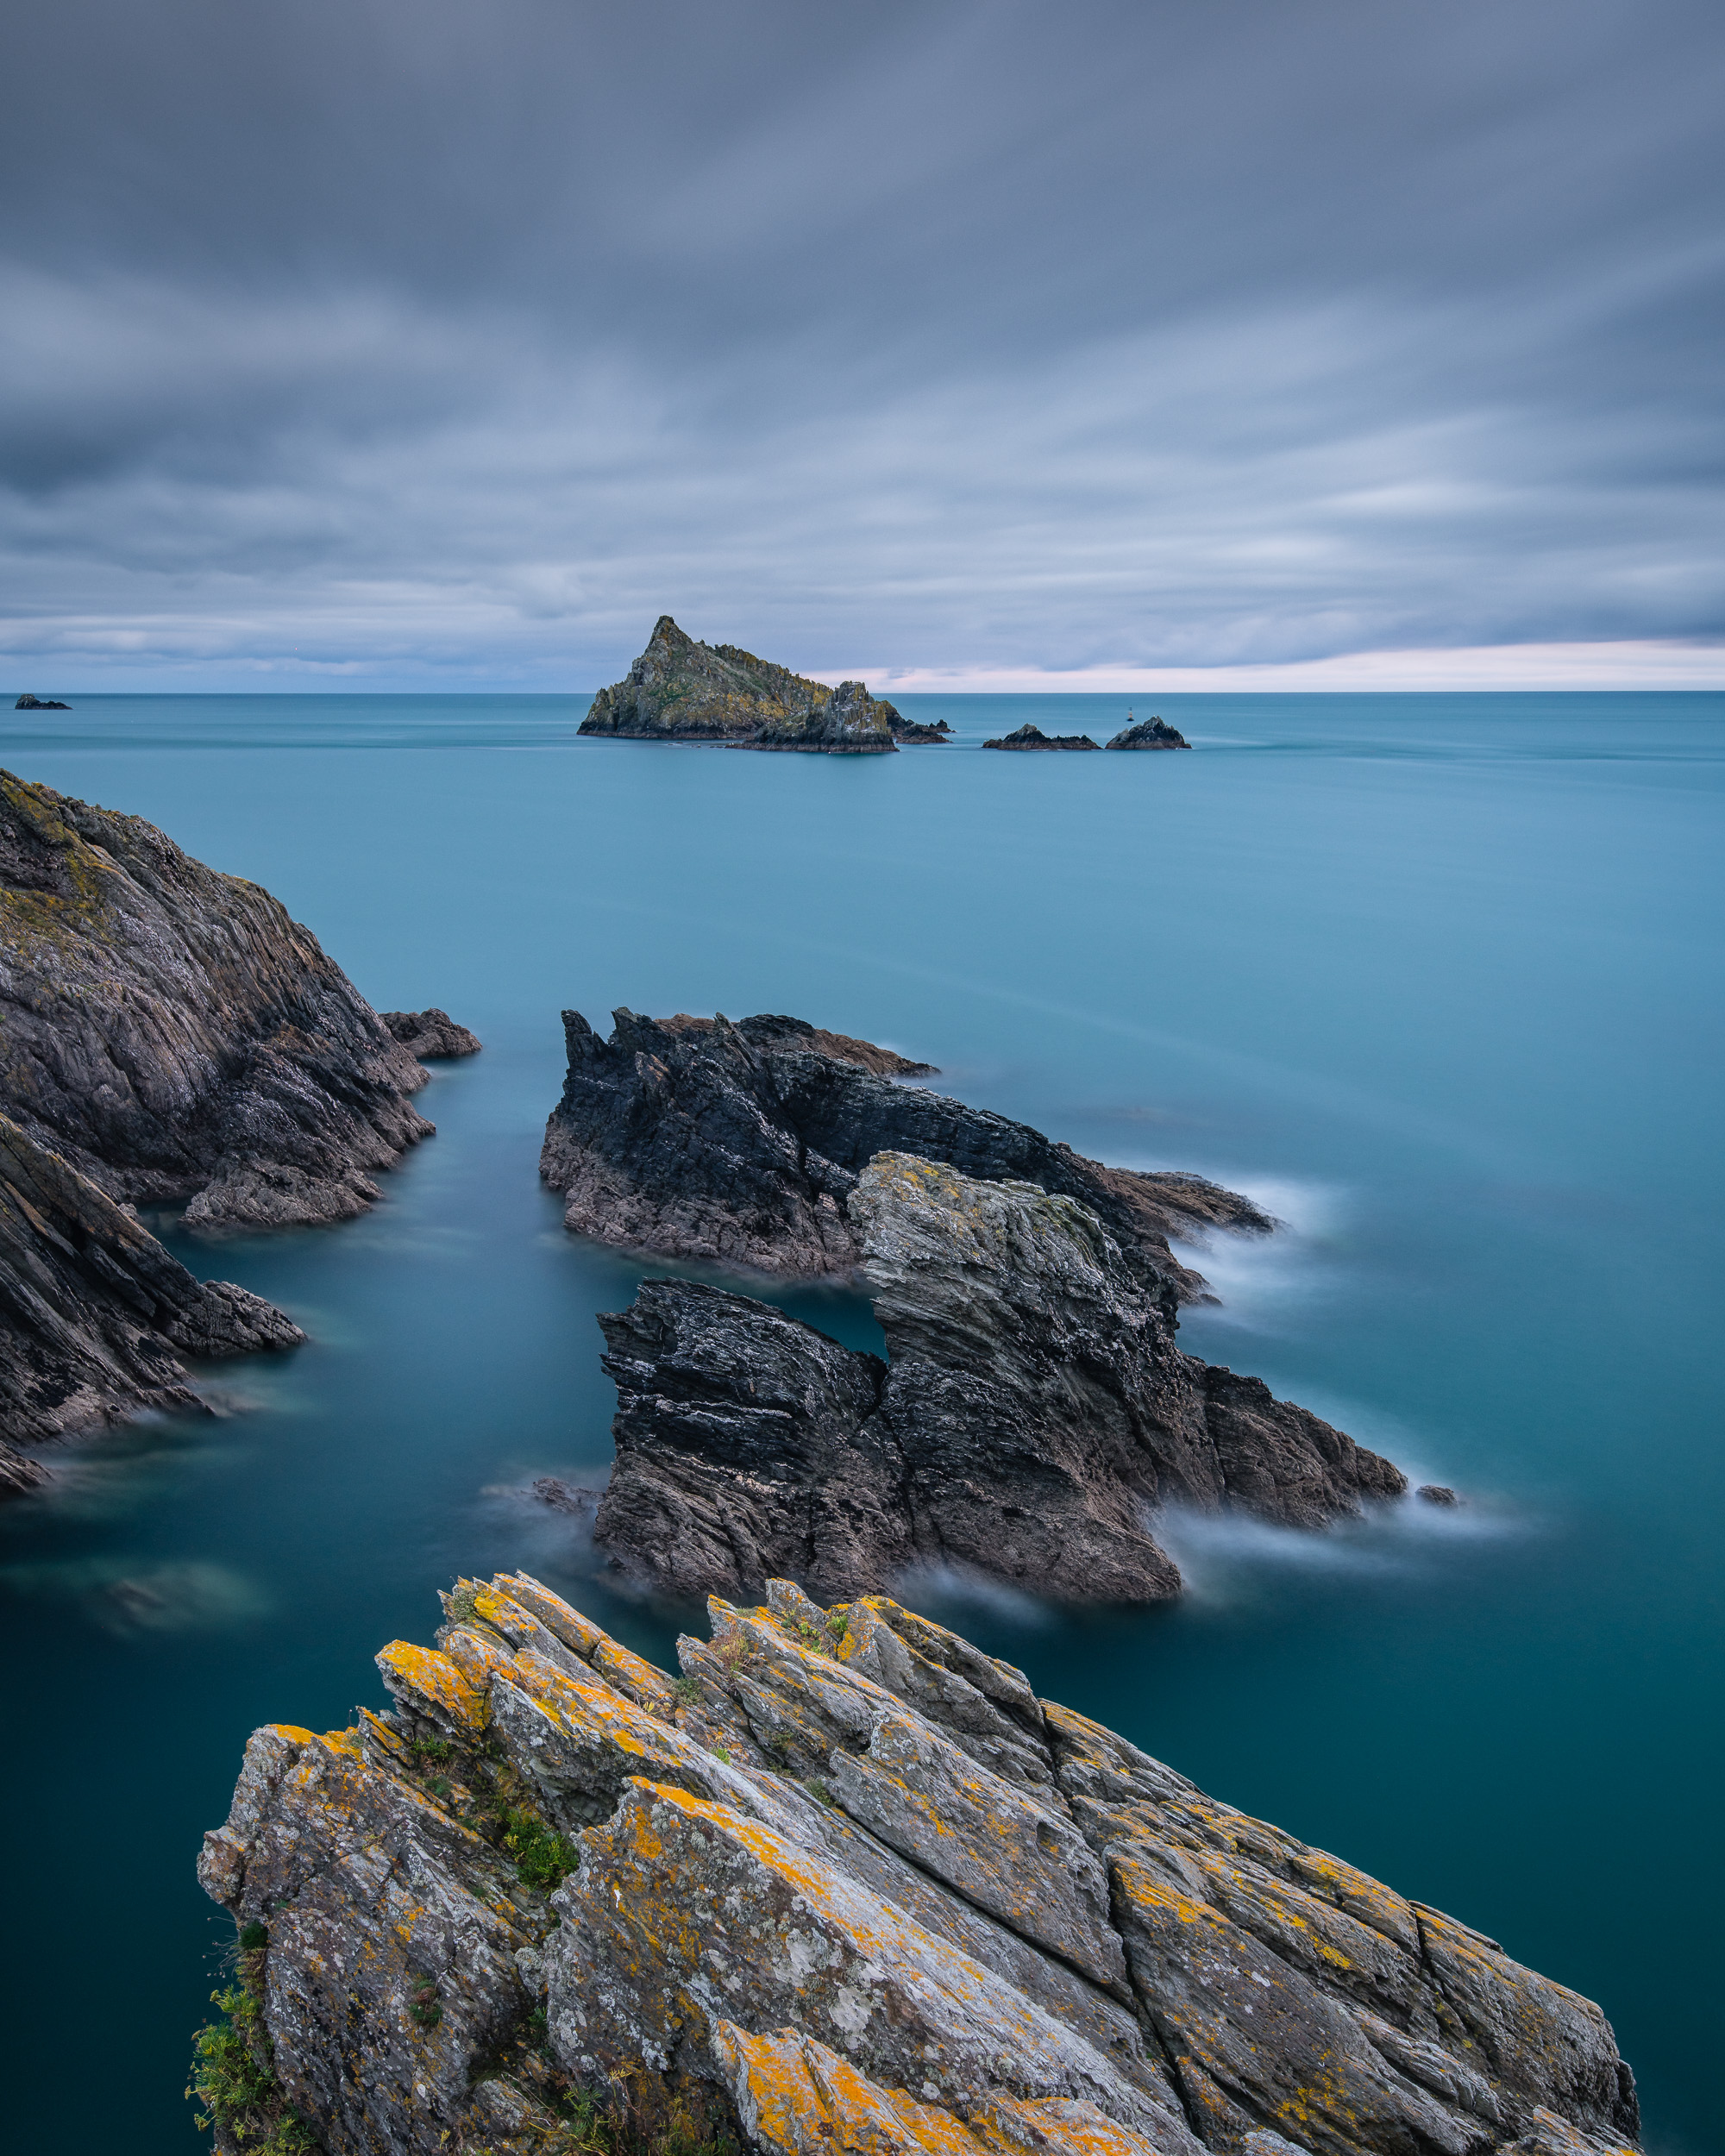
Nikon D850, Nikkor 16-35mm f/4 @ 29mm, ISO 64, 180 secs at f/10. Lee Filters circular polariser and 3 stop medium edge ND grad.
While the image might not be one that goes in the portfolio it was, as always, good to get out with the camera. I'm still familiarising myself with the D850 so time with the camera at the moment is even more important. Overall though I only have positive things to say about the D850 and I'm looking forward to shooting even more with it.
So have you been to Froward Point? What new feature in the D850 interests you? Let me know in the comments below.

Getting to Know Dawlish Warren Again
In the blog this week I tell you about a frustrating couple of weeks with my photography and I return to Dawlish Warren to see how the beach looks now the works have been completed.
Why Dawlish Warren Again?
Over the years I have photographed the beach a Dawlish Warren numerous times. I've written about it my blog a few times and it's featured on my YouTube channel a couple of times. So why do I keep going back here? The simple fact is that I love shooting there. Every time I go there the conditions are slightly different and so I get a slightly different shot.
It is also one of the closest photography locations I have to home. I'm no stranger to driving for over 90 minutes to get a shot in Cornwall, but Dawlish Warren is less 30 mins from home making it nice and easy to get to. It also works well as a sunrise location pretty well throughout the year. It doesn't seem to matter if it's a grey overcast morning or an epic sunrise, there always seems to be a shot to be had. So it's close to home, works well throughout the year and in varying weather conditions. What's not to like!
Desperation and Frustration
For those of you who have read my blog over the last couple of weeks, you'll know that I've recently moved from the Nikon D750 to the Nikon D850. This change in camera represents a step up in camera technology for me and when I made the decision to buy one (not a hard decision I might add), I made a commitment to make the most of my purchase.
So when the D850 arrived on my doorstep on the day of release I was very keen to get out with my latest bit of gear. However, the photography gods have not been kind to me since the arrival of the D850. Photography is a bit of an all-consuming passion for me but I still have to balance my desire to go out with the camera, work a full-time job and being a family man.
Over the last couple of weeks, the weather in Devon has been fairly unsettled. It's not that there hasn't been great weather for photography, it's just that it never seems to have been on the days when I'm free to go out and take pictures. It's not been a total disaster. I managed to create a D850 video and head out to Trebarwith Strand, but I've been desperate to get out way more than that!
That's it! I'm going out!
As my working week progressed and the days came and went without out any camera action I decided that I would go out at the weekend instead. When I checked the weather forecast for the weekend it was generally overcast with light showers. I was damned if I was going to let another weekend pass me by, so I was going to go out regardless of the weather.
I considered some woodland locations, but I thought I might leave those locations for a couple more weeks until the autumn colours really kick in. Then while I was scanning through my custom locations map <insert link> I remembered about good old Dawlish Warren! (If you haven't seen my video on creating a custom Google Map for you photo locations you really should - my map is always a great source of inspiration!).
Not only is Dawlish Warren a great location to shoot but I was also keen to see how the beach had changed since the end of the Beach Management Scheme works. When I visited there for my Summer Solstice video the beach was having a significant amount of work being done on it. Some of the groynes had been replaced and repaired, and more sand was being introduced to the beach areas.
Now the works have been completed I felt it was time to go and reacquaint myself with Dawlish Warren. I was fairly also sure I could get an image despite the forecasted cloud cover.
A New Dawlish Warren
So has there been a significant change in the beach? Here is the image I took so you can see for yourself.
Nikon D850, Nikkor 16-35mm f/4 @ 22mm, f/13, 90 seconds, ISO 64, Lee Filters Circular Polariser and ND Grad.
For those who know Dawlish Warren beach, it may look just the same but most of the groynes have been repaired and strengthened giving them a slightly different look when viewed up close. The woodwork looks fresher and the supporting poles are thicker. To casual beach walker they may look the same but having photographed them for so many years I think they could make for some interesting new photos.
With that in mind, I will be heading back to Dawlish Warren again to shoot one of my 5 Minute Photo Adventure videos there. Though I have featured Dawlish Warren in this video and this video I think it's time to make a dedicated video now that the beach works have been completed. Now that I can automatically GPS tag my images on the D850 I hope to also start logging some accurate location data so I know which groynes I have photographed and which groynes I haven't.
So have you photographed the groynes at Dawlish Warren beach before? Have you been there since the beach works have been completed? What are your thoughts on the updated groynes? Let me know in the comment below.
Trebarwith Strand
In this blog post, I tell you about my recent visit to Trebarwith Strand, how it paid off to get there early and my experience with the Nikon D850.
Trebarwith Strand
I've photographed many different locations in Cornwall. It truly is a wonderful part of the UK and has so much to offer the landscape photographer. Some of my favourite spots include Boscastle and Trevose Head which are amazing coastal locations.
Opportunities to get out and take photographs seem to be rare at the moment, so when the weather looked good for the north Cornish coast I went looking for a spot that I hadn't shot before or hadn't been there for a while. Checking my trusty custom Google map I remembered that I hadn't been to Trebarwith Strand for over 3 years. I checked the tides and my luck was going to be in! What a great location to put my new Nikon D850 to the test.
Getting There Early
On my last visit to Trebarwith Strand, I noticed how busy the location can get, especially at high tide. For me, the best composition is standing on the rocky ledge and using it as a leading line out to Gull Rock. Problem is that the ledge doesn't fit many photographers so if I wanted to get the shot I was after I would need to get there early. (It was just as well I did because by the time sunset came there were at least 6 other photographers there!)
It's not a long drive so I managed to get there with plenty of time to spare. So I set up and waited. And waited. There wasn't much to do but enjoy the Cornish coast. With no mobile phone signal, I had nothing else to entertain me apart from my own thoughts.
It was actually a rather relaxing time. I stood there and listened to the waves crash around me. I made subtle changes to my tripod position, checked my composition and made sure I had the camera setup. There would be no excuses for not being prepared when all the action started!
Getting to Know the D850
Having said goodbye to the D750 the week before I was now trying to get know the D850. Most of the controls were familiar but there were some subtle differences and some new features that I was still learning how to use. Most of these changes I talk about in my recent D850 video and blog post. Overall the camera was living up to my expectations and I was having fun using it.
As sunset approached I started taking some test shots. I was shooting into the sun but my foreground was some very dark, wet rock. I thought this would be a good test of the dynamic range of the camera.
Sunset Action
As the sun started getting close to the horizon I could see a bank of cloud out to sea that would surely kill the sunset early. So rather than waiting right to the end, I started shooting while the sun was still quite strong in the sky. It was a balance between an overpowering sun and loosing the reflected light from the rocks.
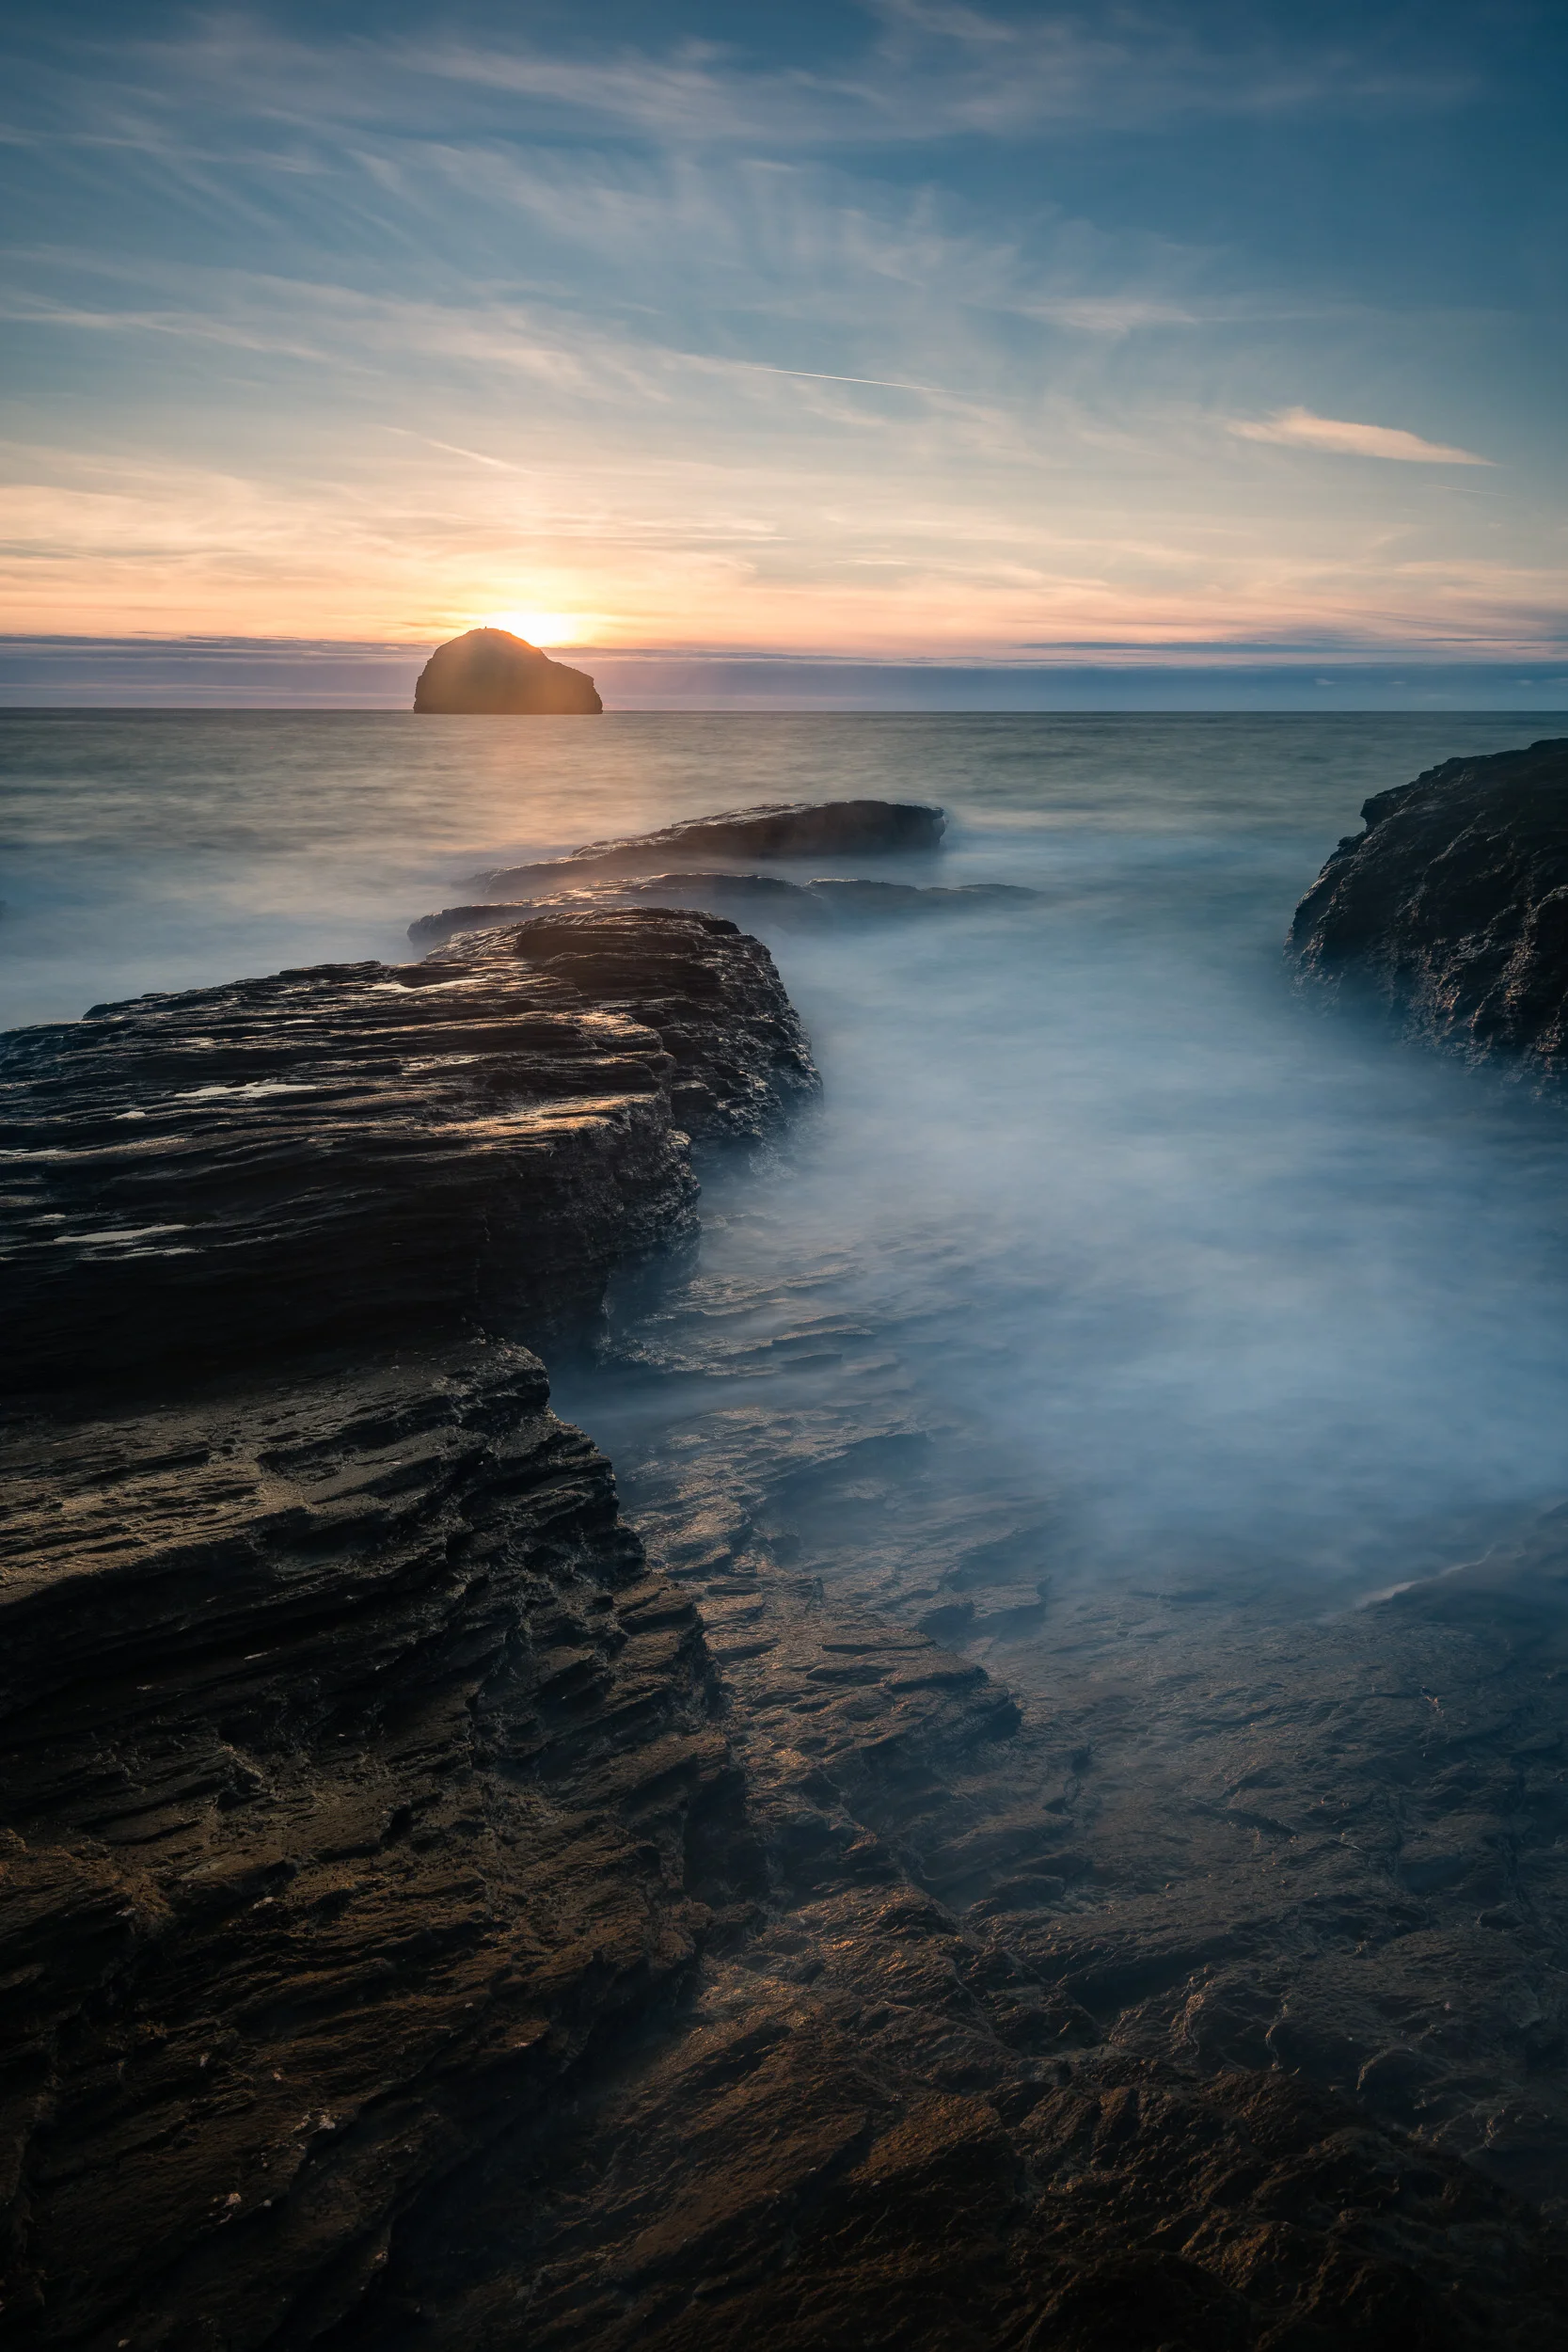
Nikon D850, Nikkor 16-35mm f/4 @ 26mm, f/13, ISO 64, 20 seconds, Lee Filters Big Stopper and ND Grad.
As you can see the camera did an admirable job of balancing the highlights and the shadows. The level of detail that was recorded in the shadows was impressive and post-processing was relatively straightforward.
Though I didn't get the sunset I was after I was still very happy to get out with the camera and to spend some time outdoors. I may have been standing on that rocky ledge for a long time but I enjoyed the experience, and for me, that is half the fun of photography. Just being outside and enjoying the outdoors.
Do you have a favourite location that requires you to get there early? Do you enjoy the experience of being outside almost as much as the photography? Let me know in the comments below.