
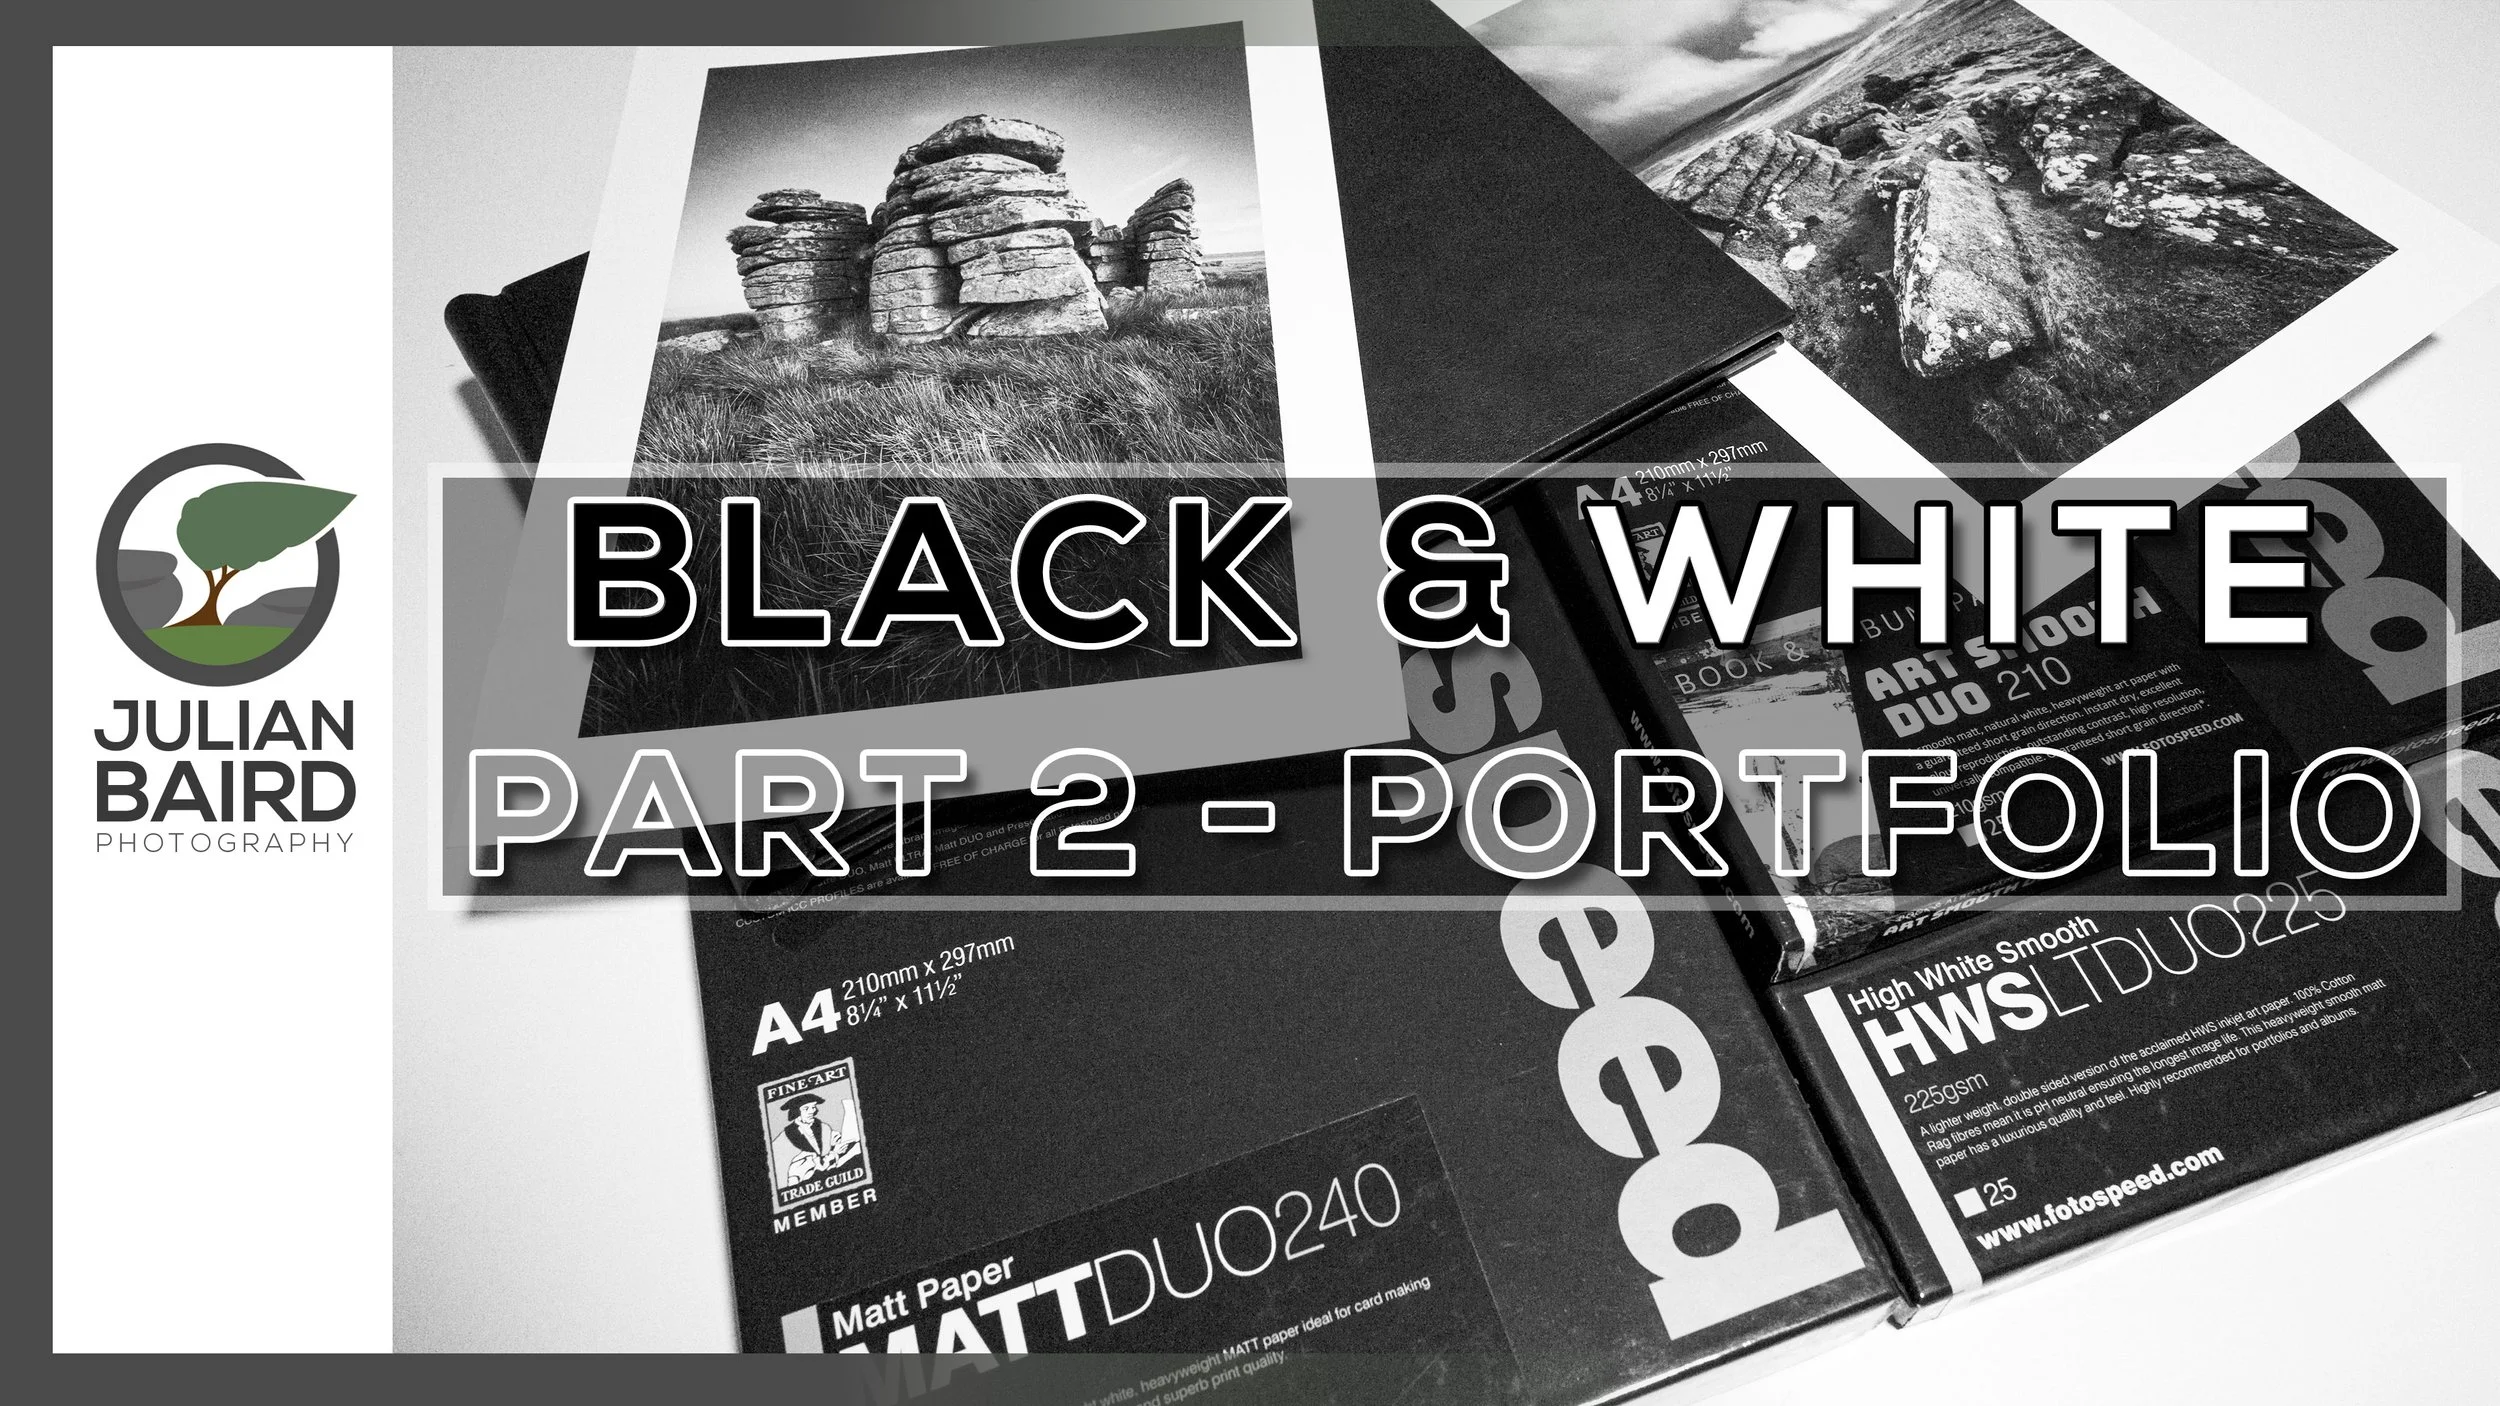
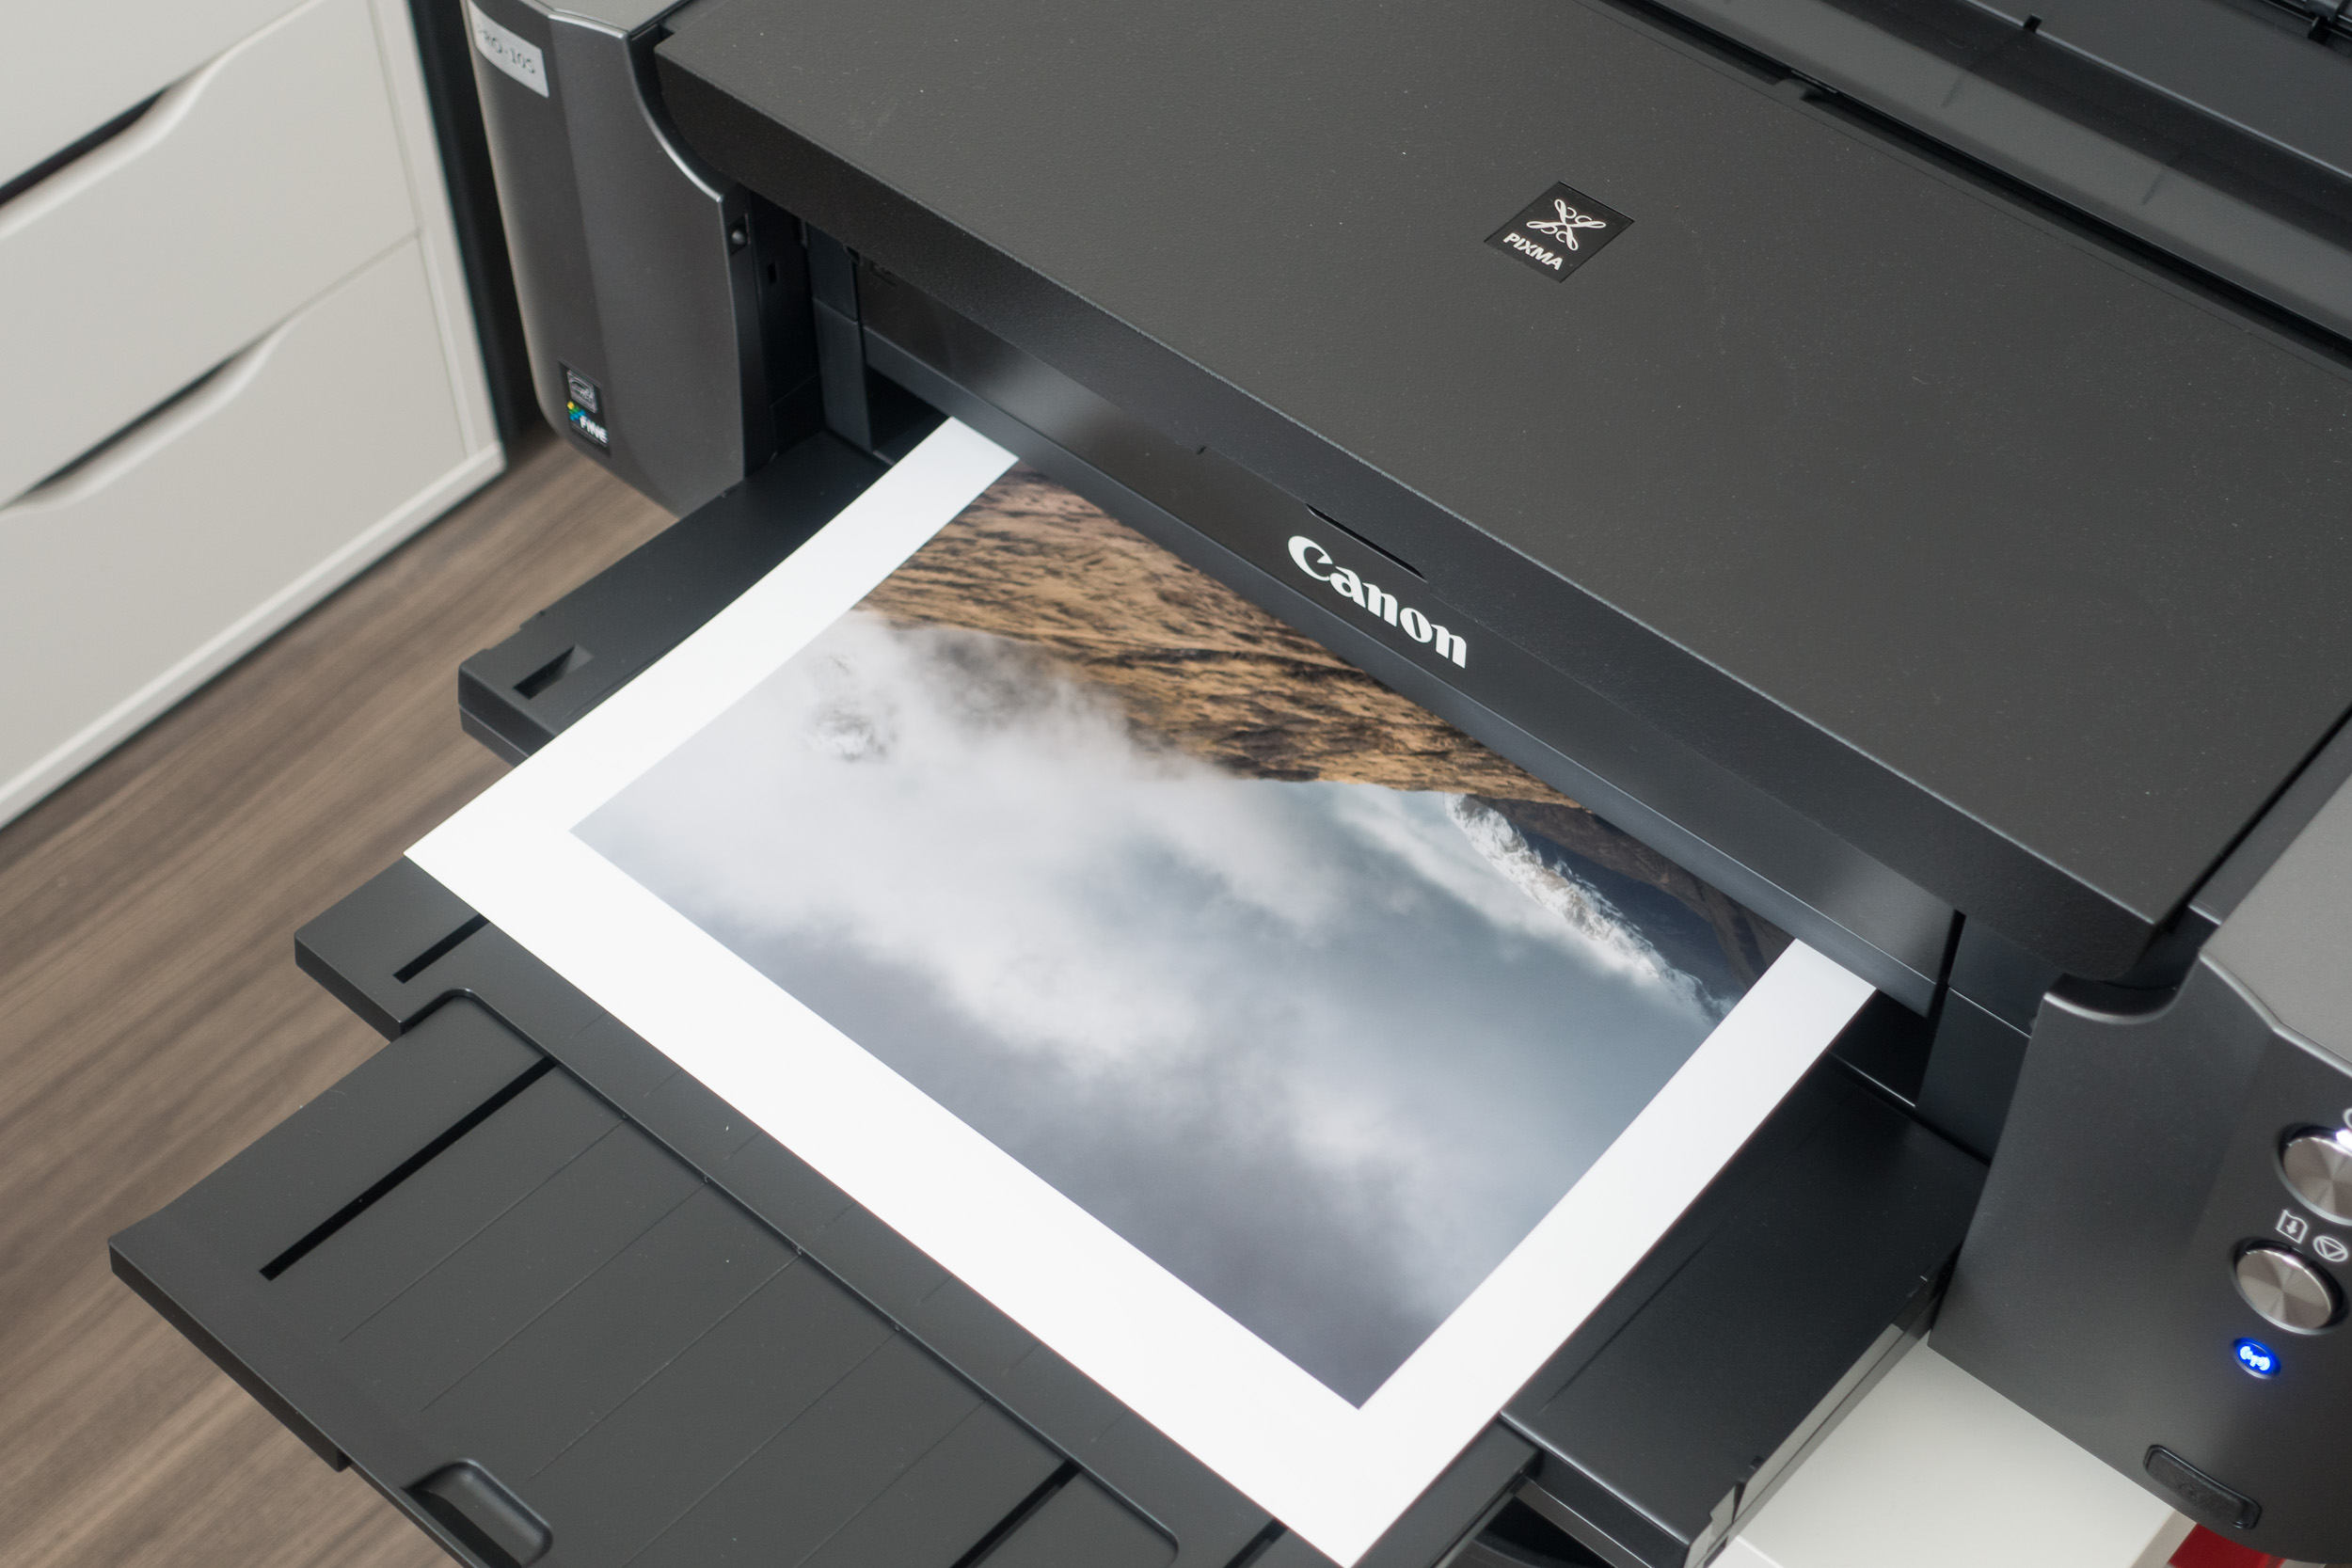
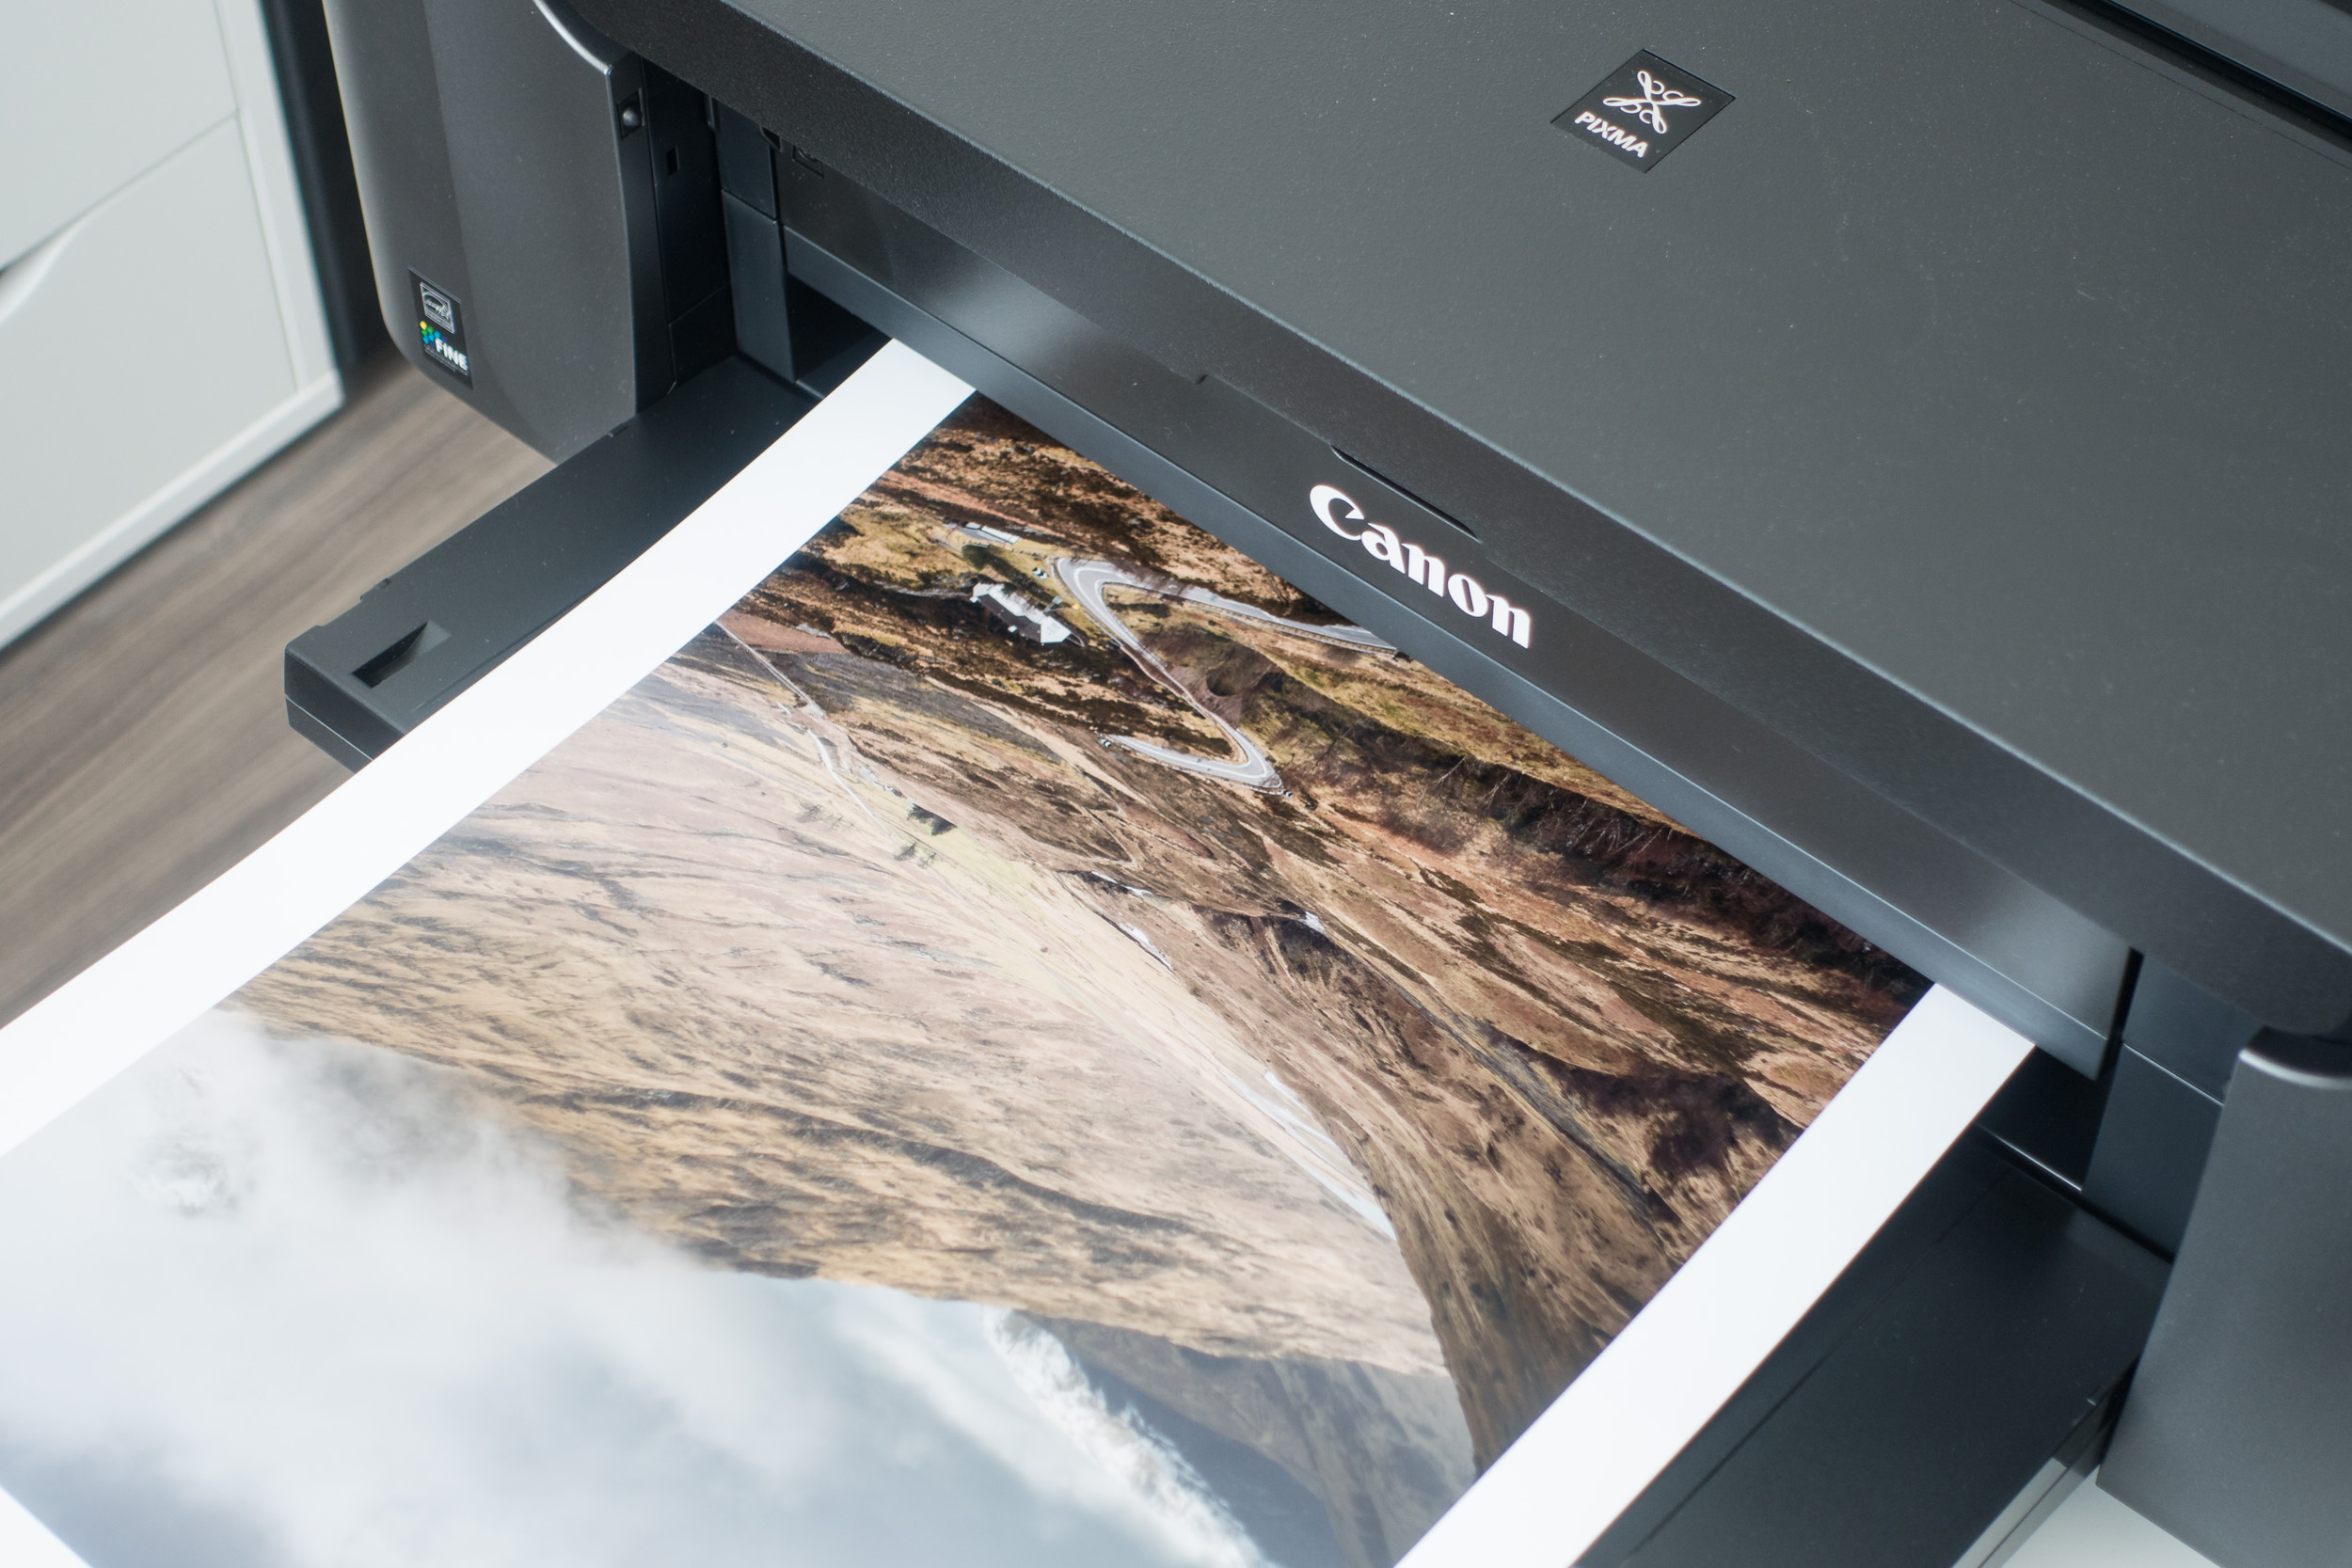
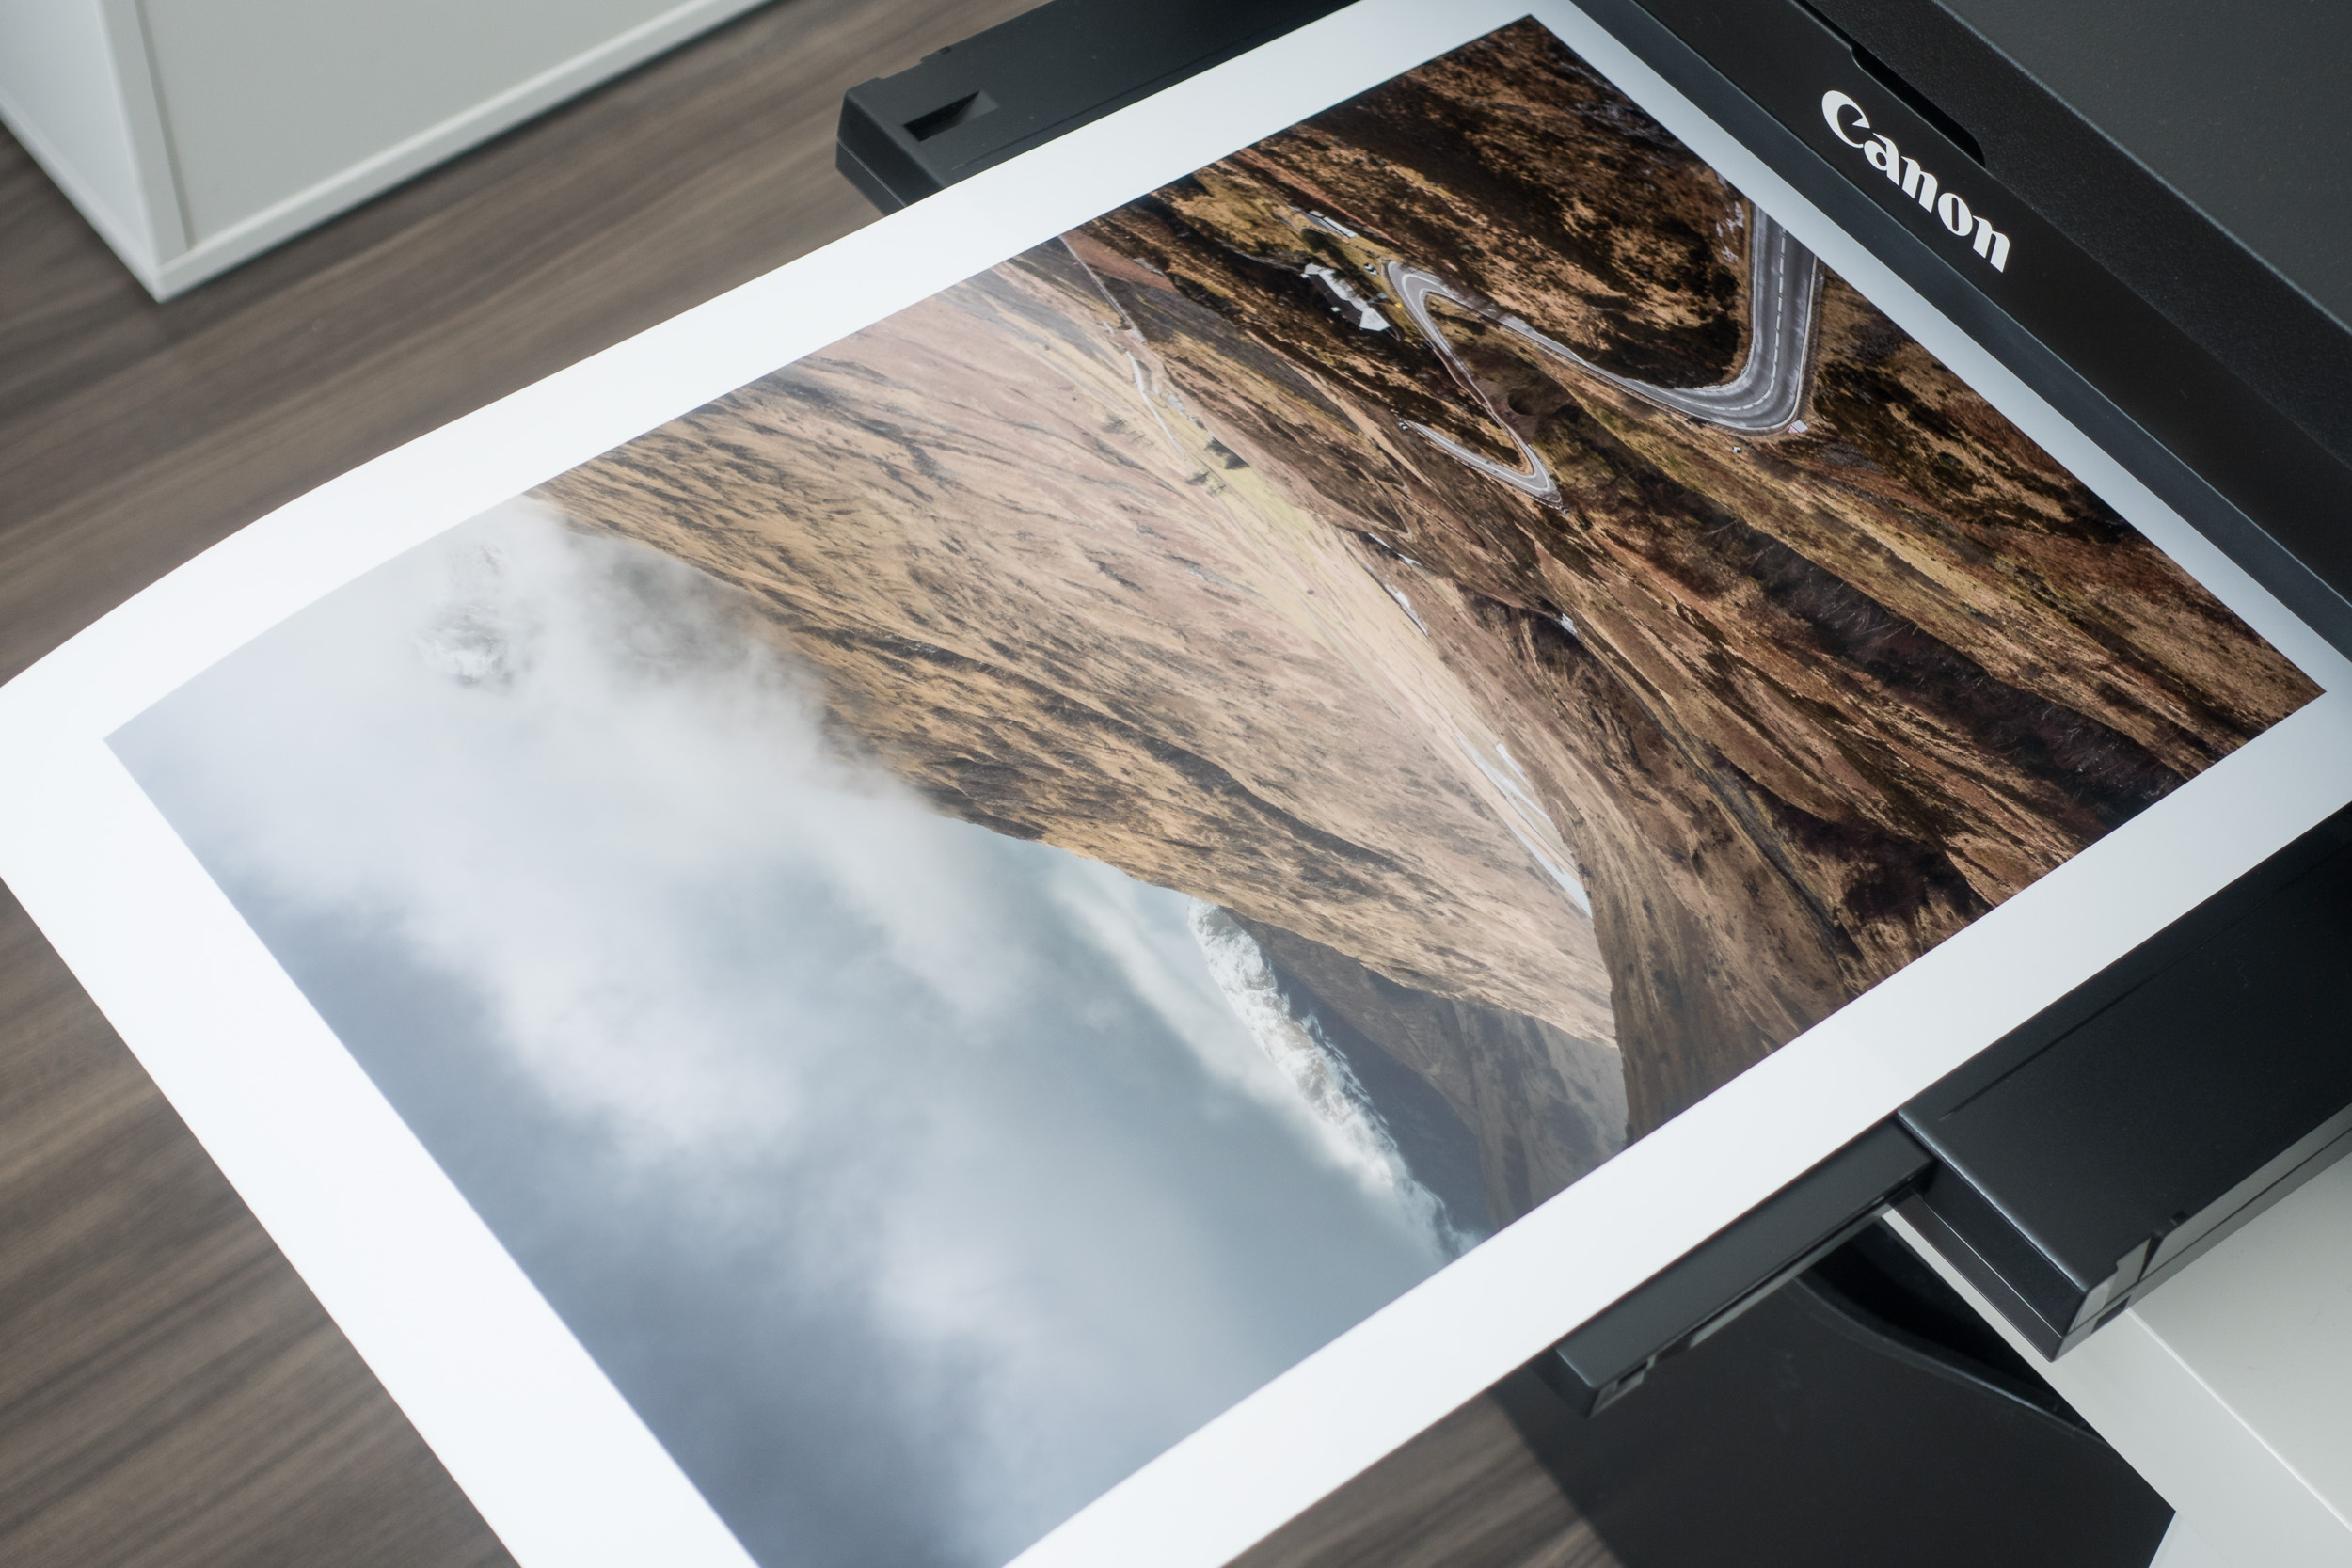
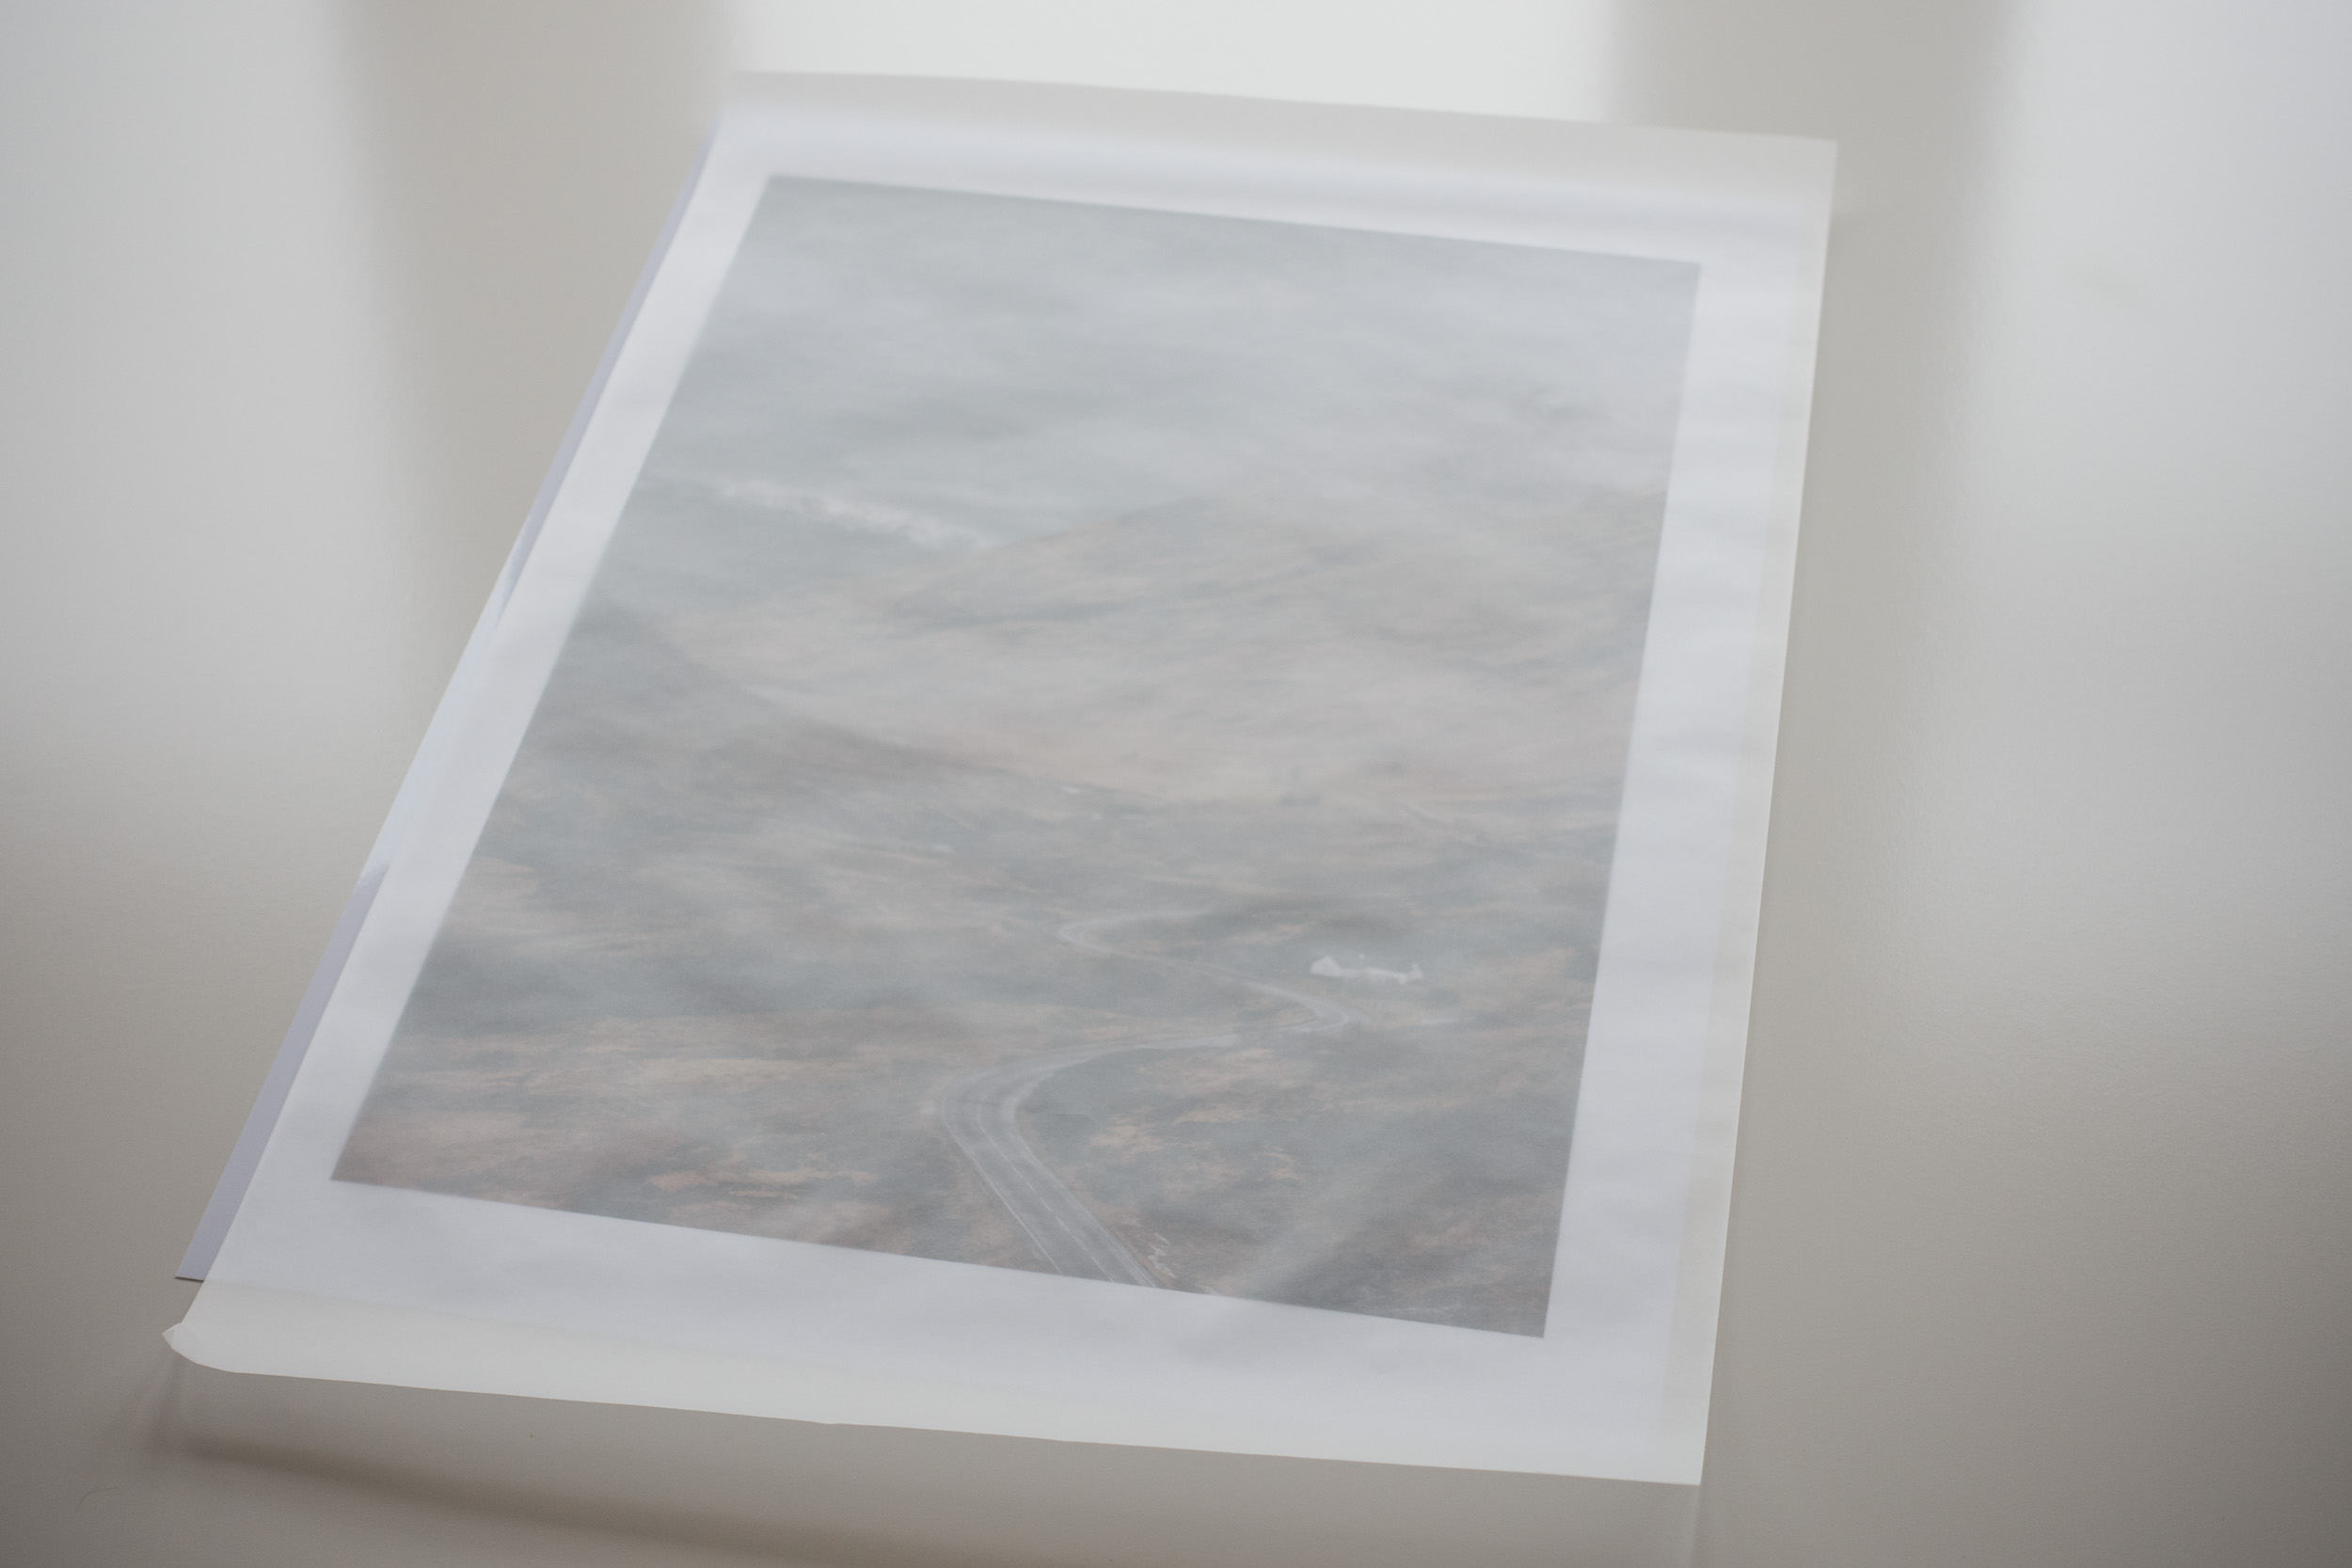
Creating a Black and White Landscape Portfolio with Fotospeed DUO Papers & Spring Back Binders
In this video I continue my exploration of black and white landscape photography by creating a portfolio of prints using Fotospeed DUO papers and a Fotospeed Spring Back Binder.
Black and White Landscape Photography - Part 2
A few months ago, I published a video where I talked about my journey as a black and white landscape photographer. Something I never thought I would say, but hey, we all grow and change as photographers. Don’t get me wrong, I’m not exclusively a black and white photographer now, it’s just that capturing black and white while on location is something I now think about.
In this follow up video I’m going to take a selection of the black and white photographs I’ve been capturing and printing them to make my first black and white landscape photography portfolio. It was something I always intended on doing and I’m very happy with the results. Watch the video below to find out why!
Useful Links and Information
Watch Part 1
🎞️ Watch The Dance of Light and Shadow - How Black and White is Changing My Landscape Photography - Part 1
Fotospeed Papers
Use the discount code Julian15 and get 15% off Fotospeed papers at Fotospeed.com
🛒 Purchase Fotospeed Art Smooth DUO 210 - https://fotospeed.com/fotospeed-art-smooth-duo-210-short-grain.html
🛒 Purchase Fotospeed High White Smooth Lite DUO 225 - https://fotospeed.com/high-white-smooth-duo-225.html
🛒 Purchase Fotospeed Matt DUO 240 https://fotospeed.com/matt-duo-240.html
🛒Fotospeed Spring Back Binders - https://fotospeed.com/presentation/springback-binders.html
More of my printing videos worth watching:
🎞️ Fotospeed Spring Back Binders
🎞️ My Canon Pro-1100 review and setup video
Other Useful Links
🔗 Fotospeed Art of Printing eBook - https://fotospeed.com/ebook/artofprinting
🔗 Fotospeed Generic Profiles for the Canon Pro-1100 - https://fotospeed.com/profiles/printer/ink/ink/62/
🔗 Fotospeed Custom Profiling Service - https://fotospeed.com/support/
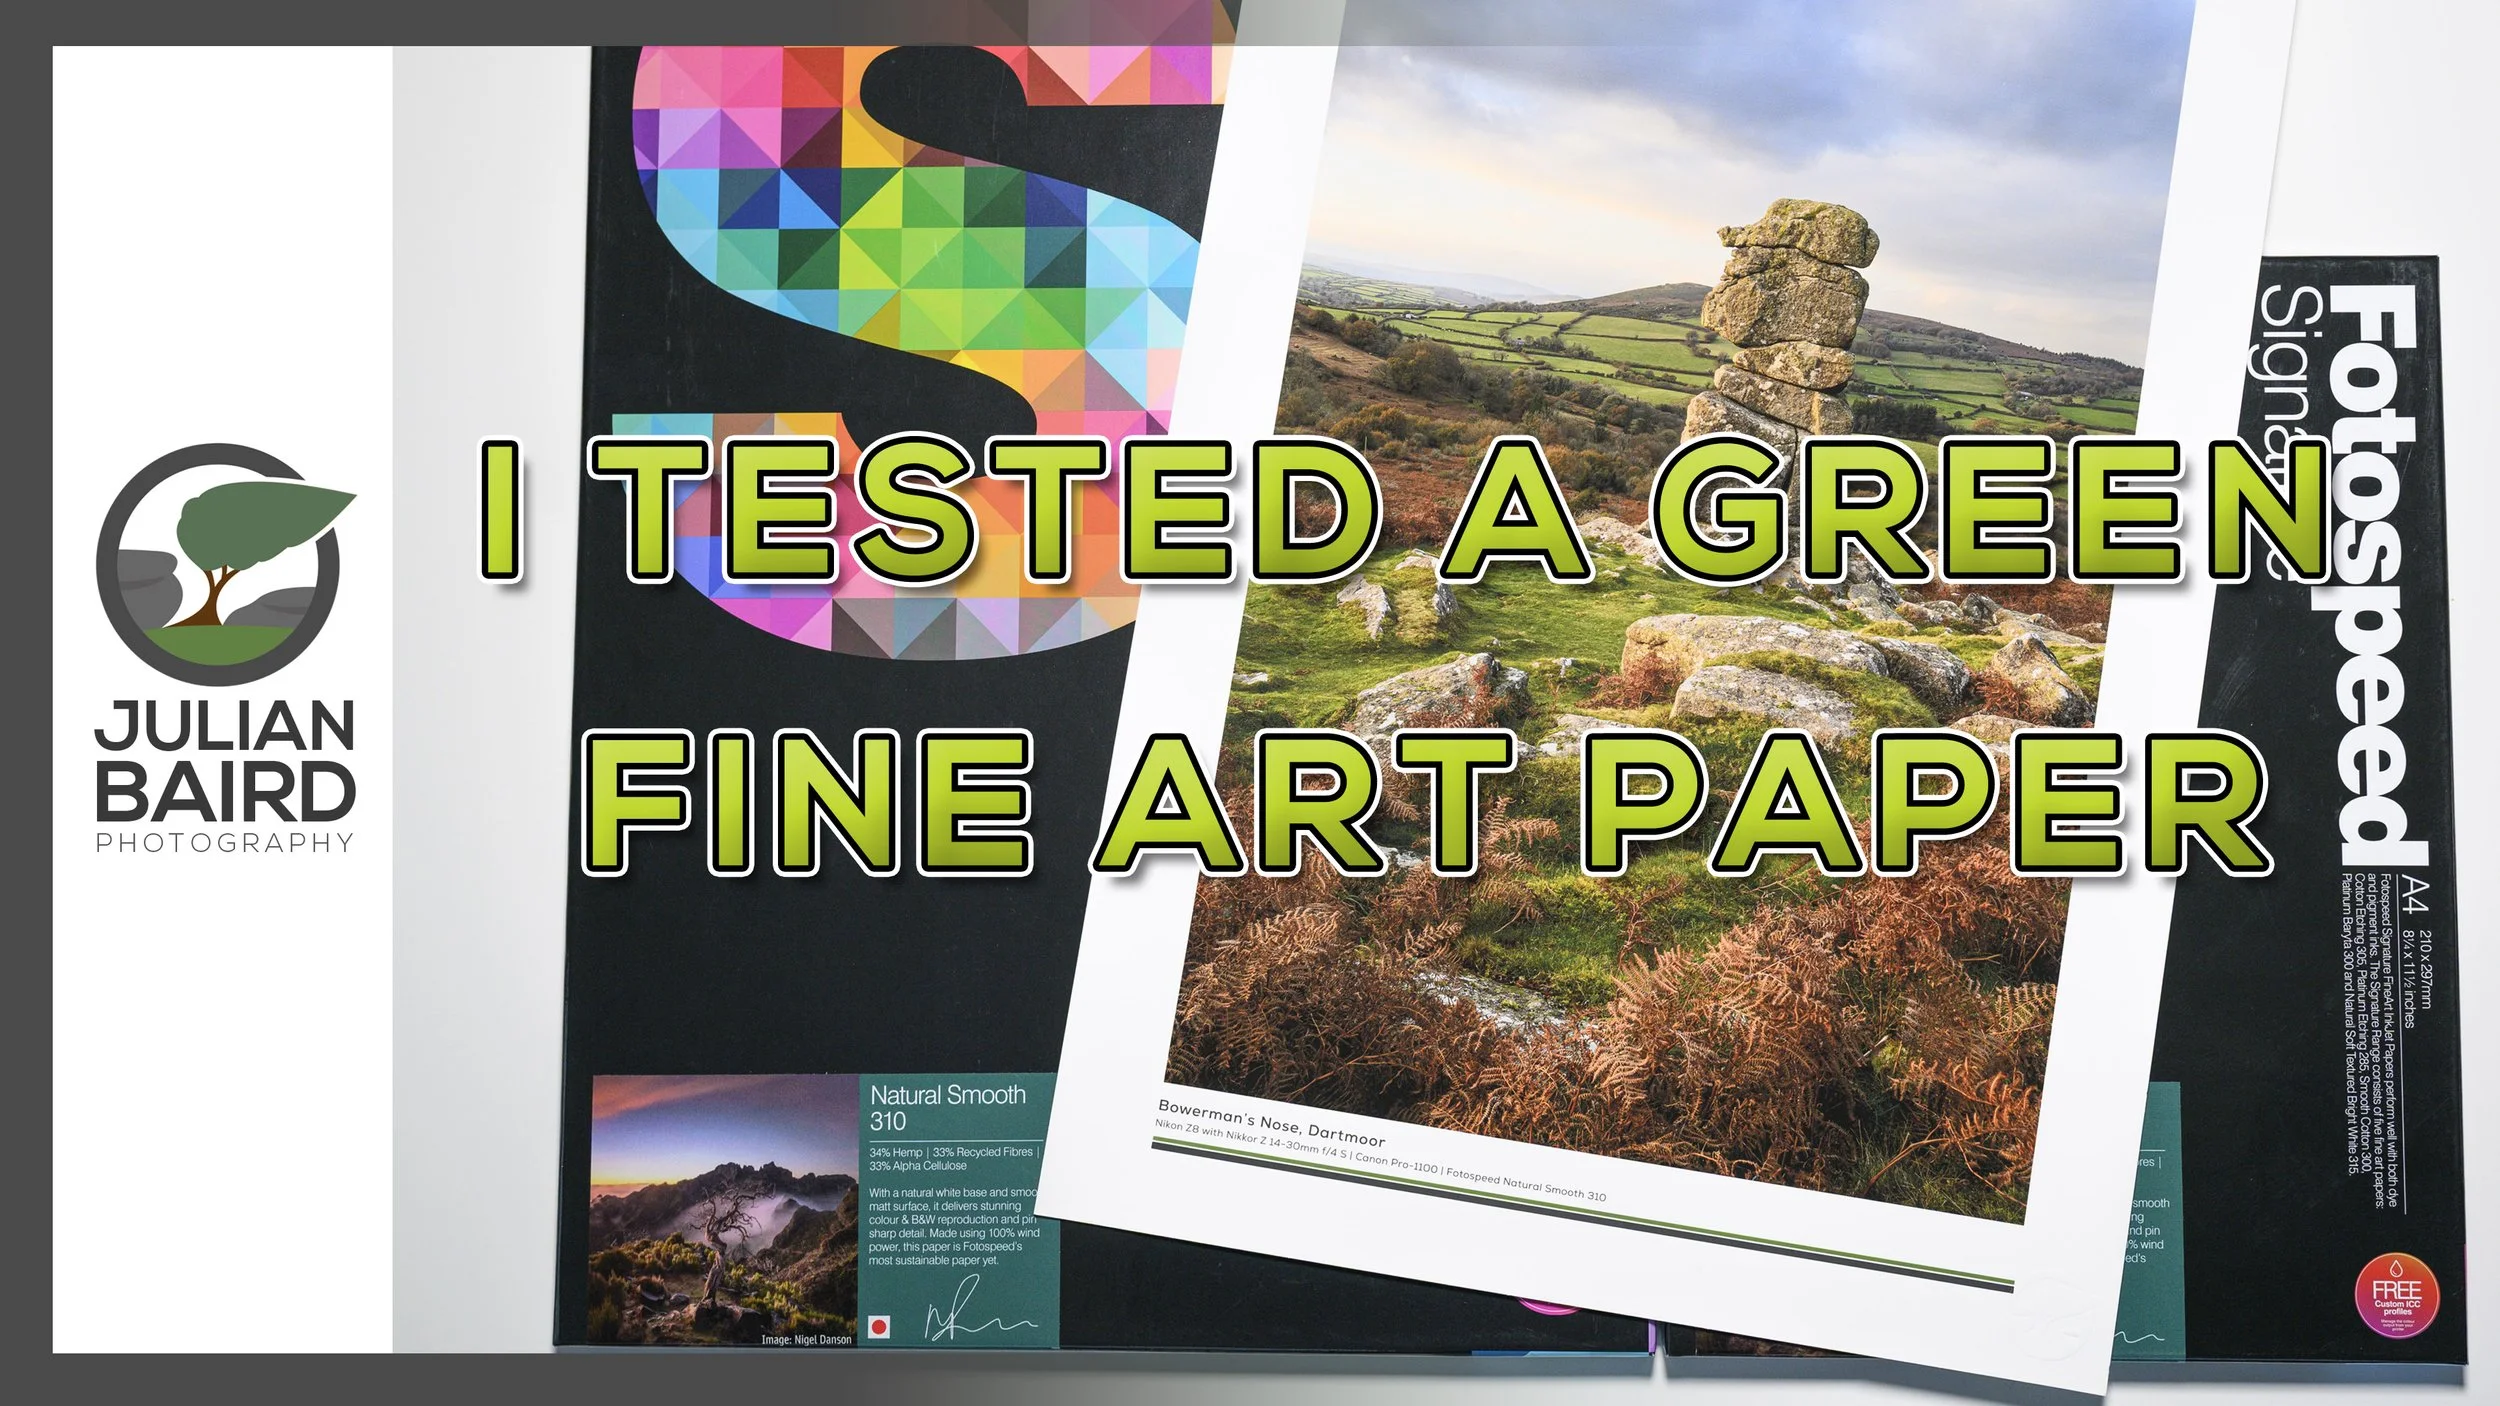
Going Greener with Fotospeed's Natural Smooth 310 Paper
In this video, I put Fotospeed’s Natural Smooth 310 to the test. The paper is made from 34% hemp, 33% recycled materials, and is produced with sustainability in mind but how does it actually perform when printing photographs?
Part 2 of Going Greener with my Photography
A few months ago, I published a video in which I used public transport rather than my car to reach one of my landscape photography locations. I wanted to see if using the train was a practical option. It would be a small change, but it might be a more sustainable one. You can see how I got on and what I concluded in the video.
For my next small change I wanted to take a look a new paper from Fotospeed, their Natural Smooth Cotton 310. Not only is this smooth matt paper part of their signature range, it is also Fotospeed’s first sustainably sourced paper.
Using a sustainable paper for printing is hardly going to save the world, but if I make a lot of small changes they can add up. But the question is, will using a paper made of hemp and recycled materials compromise the print quality? To find out I put the paper to test, and you can find out the results in this video!
Use the discount code Julian15 and get 15% off Fotospeed papers at Fotospeed.com
🛒 Purchase Fotospeed Natural Smooth 310
🛒 Fotospeed Spring Back Binders
More of my printing videos worth watching:
🎞️ Showcase Your Photos with Spring Back Binders
🎞️ My Canon Pro-1100 review and setup video
Other Useful Links
🎞️ Fotospeed's Natural Smooth 310 video
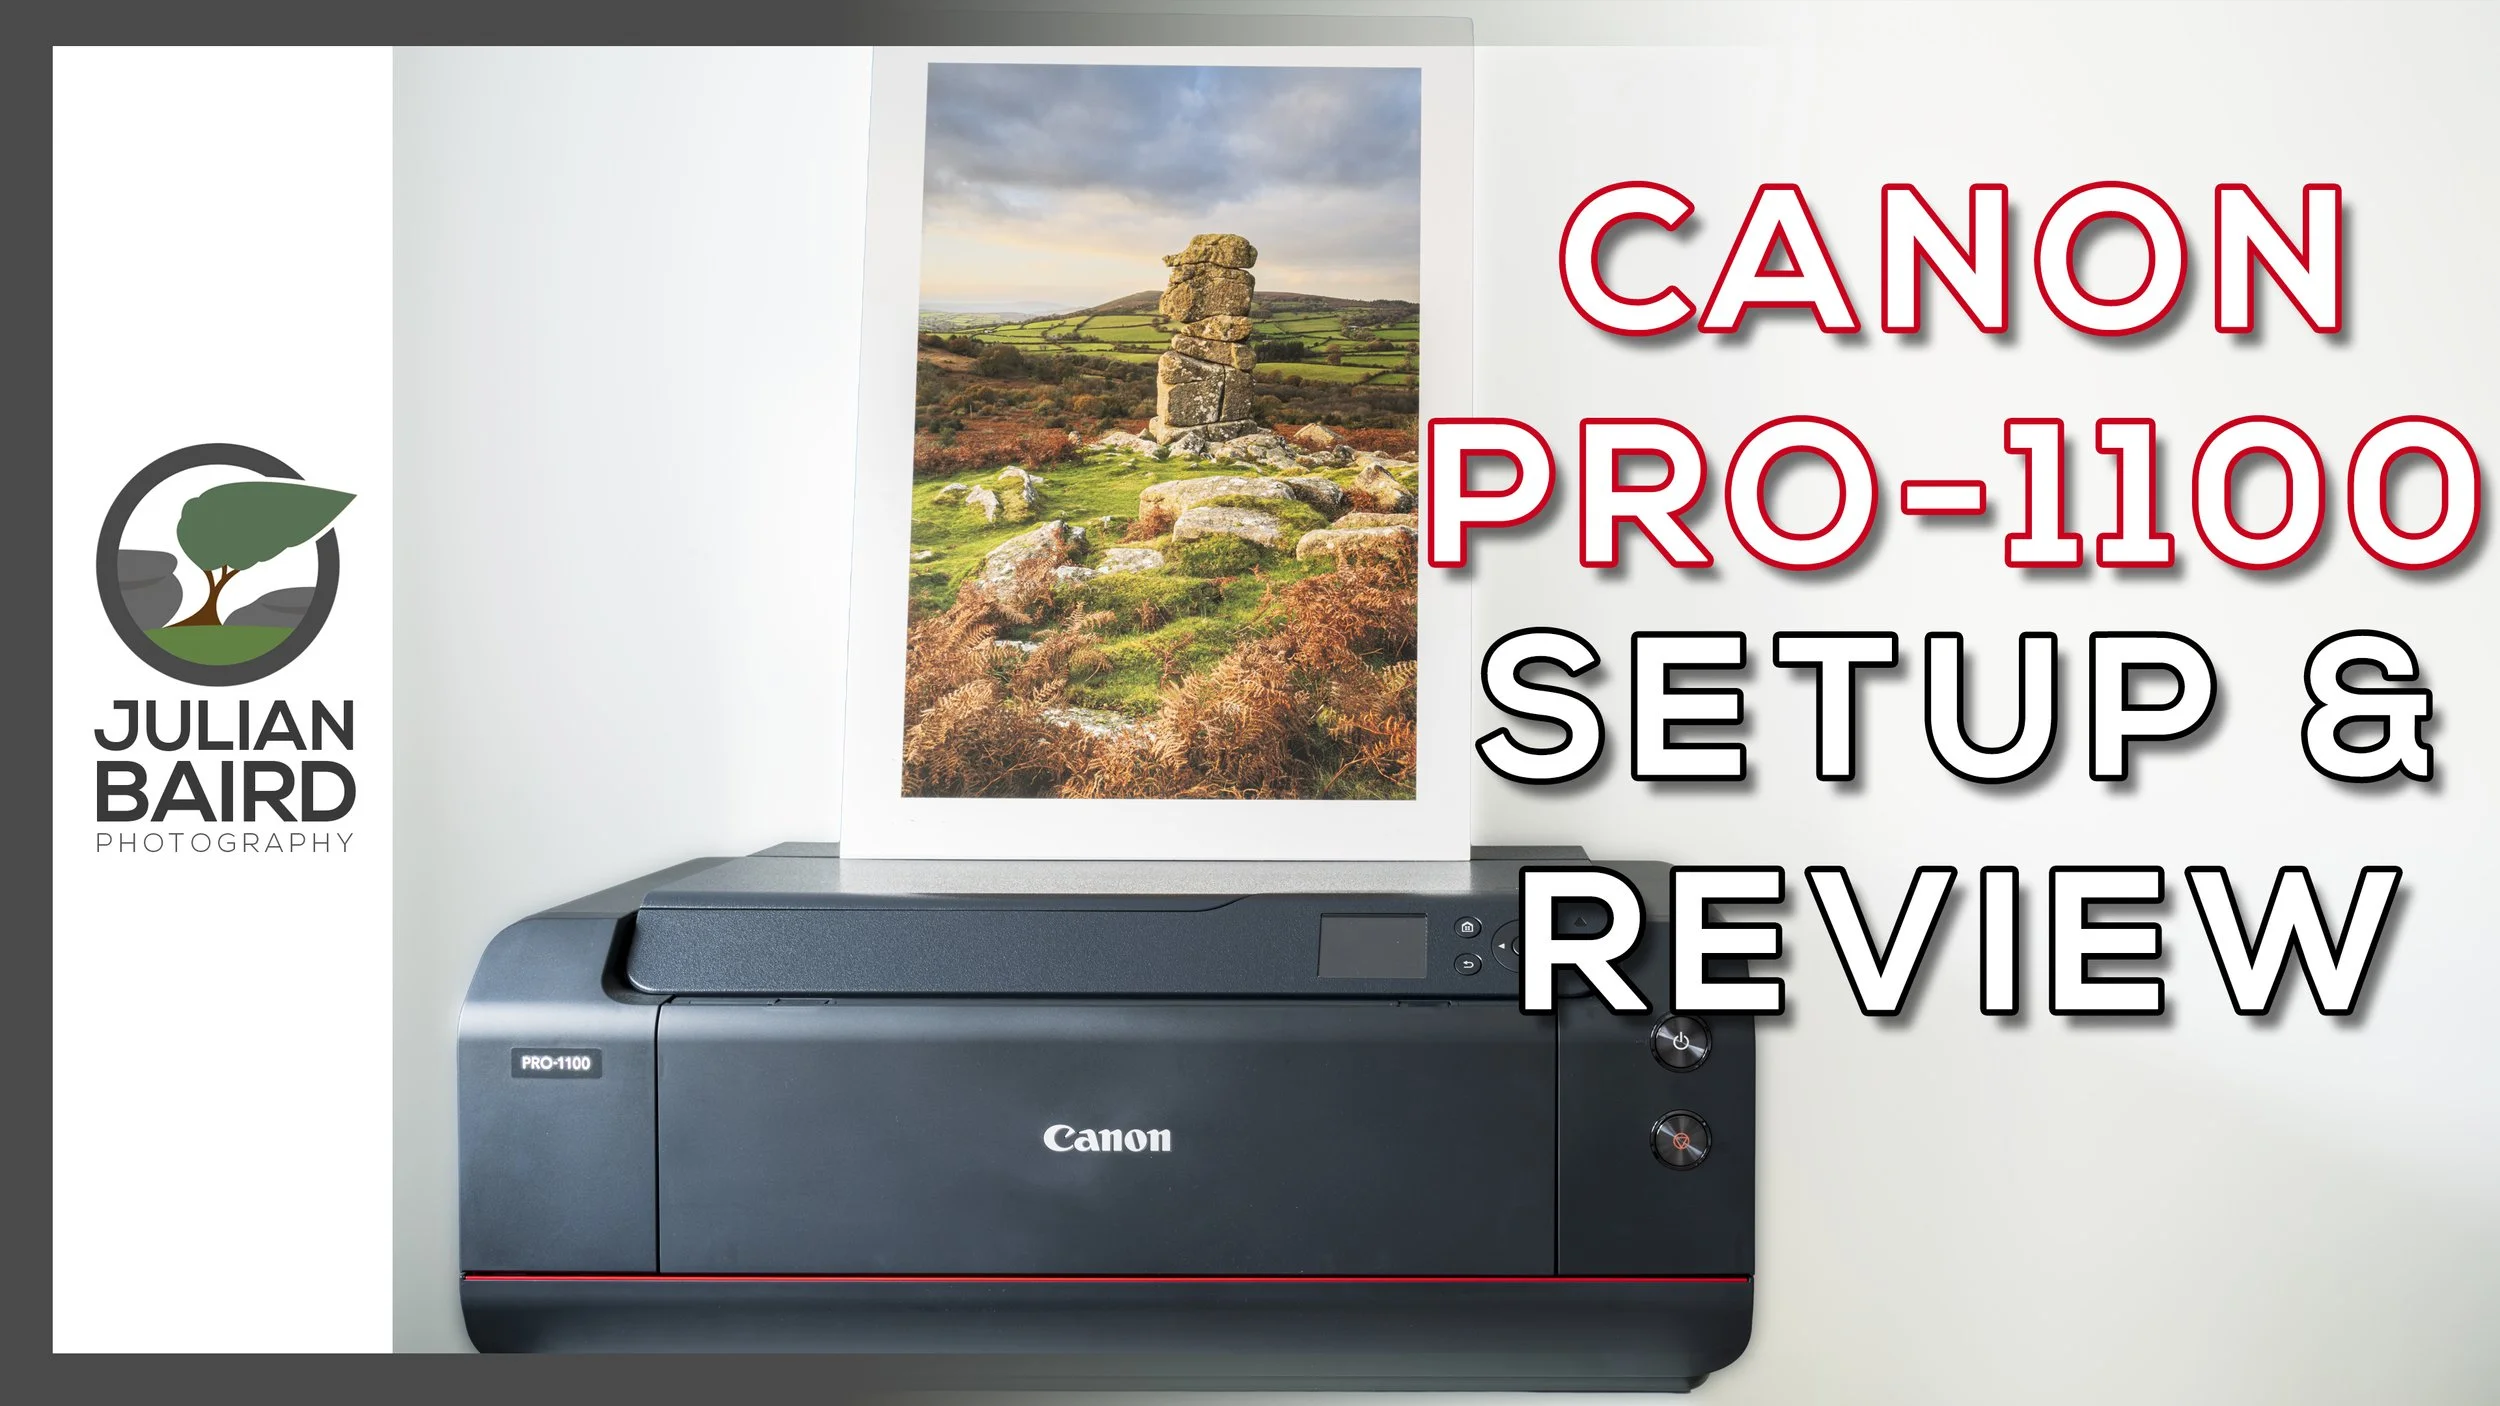
Canon imagePROGRAF PRO-1100 Review and Setup Guide
Are you thinking about purchasing the Canon imagePROGRAF PRO-1100? Or have you just purchased it and want to know how to set it up? In this video I’ll show you how to set it up, make your first print, use ICC profiles, talk about ink costs and give you some ideas for displaying your prints.
Going Bigger and Being More Cost Effective with the Canon imagePROGRAF PRO-1100
If you’ve been reading this blog or watching my YouTube channel over the years you’ll know what a passion I have for printing. My love for printing was further fuelled at the weekend when I attended and hosted Fotofest in Bristol. It was a fantastic event and being in a community of like-minded photographers reminded me of how important printing is to so many people.
A few months ago I changed from a Canon imagePRO-GRAF PRO-300 to the new Canon imagePROGRAF PRO-1100. There was nothing wrong with the print quality of the Pro-300 but I wanted to have the capability to print A2 and to make my ink consumption more cost effective.
Over those last few months, I’ve been putting the printer through it’s paces and I’m now ready to share my PRO-1100 video. So no matter if you are thinking about purchasing a Canon imagePROGRAF PRO-1100, or have you just purchased one and want to know how to set it up, my video should have you covered. In my video -
I'll share the key details on the Pro-1100.
Tell you why I bought it and where from
Show you how to set both the hardware and software
Talk you through how to make your first print
How to manage paper types and ICC profiles using Canon’s Media Configuration Utility
Show you how to find out how much your prints cost using Canon’s Accounting Manager software
I’ll Print some glorious A2 images
Show you some options for displaying your prints.
And finally share my thoughts and comments on this printer
I hope you found this video useful. If you did or just have a question or comment, do let me know below in the comments section.
You can of course expect lots more printing content from me, so please make sure you stay tuned to my YouTube channel and the blog. Thanks for watching and all just below you’ll find links to everything I mentioned in the video,
Useful Links from the Video
Purchase the Pro-1100, Inks and Tech Specs
🛒 If you are considering a purchase of the Canon imagePROGRAF PRO-1100 you can do so from Fotospeed - https://fotospeed.com/canon-pro-1100-a2-printer-12-inks.html
🛒 Canon Pro-1100 inks - https://fotospeed.com/printers-inks/desktop-printer-inks.html?default_brand=Canon&dit_printer=Canon%20Pro%201100
🔗 Check out the full specifications of the Canon imagePROGRAF PRO-1100 - https://www.canon.co.uk/printers/imageprograf-pro-1100/
More of my printing videos worth watching
🎞️ Fotospeed Spring Back Binders - https://youtu.be/IRXr6VuRYwE
🎞️ Designing a Custom Frame from Picture Frames Express - https://youtu.be/FJYOckTLbyA?si=RSoVSVb7z6Ii91gu&t=443
🎞️ How to Become a Fearless Printer - https://youtu.be/mbB1WdLFF_s?si=pI620VKr0qnXEXix
🎞️ Using a Nikon D80 to Create an A3+ Print - https://youtu.be/6X_vK5lts5c
🎞️ Why and How I Calibrate My Monitor - https://youtu.be/ozPuGrXQfeU
Other Useful Links
🔗 Fotospeed Generic Profiles for the Canon Pro-1100 - https://fotospeed.com/profiles/printer/ink/ink/62/
🔗 Fotospeed Custom Profiling Service - https://fotospeed.com/support/
🔗 Fotospeed Art of Printing eBook - https://fotospeed.com/ebook/artofprinting
🔗 ICC Profile Toolkit - https://icc-profile-toolkit.software.informer.com/
🔗 Canon PRO-1100 sotware including Professional Print & Layout, Media Configuration Utility, and Accounting Manager - https://www.canon.co.uk/support/business/products/wide-format-printers/imageprograf/pro-series/imageprograf-pro-1100.html
Papers Used in this Video
Use the discount code Julian15 and get 15% off Fotospeed papers at Fotospeed.com
🛒 Fotospeed Test Packs - https://fotospeed.com/paper/test-packs.html
🛒 Fotospeed PF Lustre 190 - https://fotospeed.com/lustre-190.html
🛒 Fotospeed NST BW 315 - https://fotospeed.com/nst-bright-white-315.html
🛒 Fotospeed Smooth Cotton 300 - https://fotospeed.com/smooth-cotton-300.html
🛒 Fotospeed Platinum Cotton 305 - https://fotospeed.com/platinum-cotton-305.html
🛒 Fotospeed Natural Smooth 310 - https://fotospeed.com/fotospeed-natural-smooth-310.html
🛒 Fotospeed Legacy Gloss 325 - https://fotospeed.com/legacy-gloss-325.html
🛒 Fotospeed Matt Baryta 310 - https://fotospeed.com/fotospeed-matt-baryta-310.html
🛒 Fotospeed Platinum Baryta 300 - https://fotospeed.com/platinum-baryta-300.html
🛒 Fotospeed Panoramic Paper - https://fotospeed.com/papers/panoramic-papers.html
🛒 Canon A3 Pro Luster Photo Paper - https://amzn.to/4g6dINz
🛒 Canon GP-501 Glossy Photo Paper 4x6"/10x15cm (100 Sheets) - https://amzn.to/3I3i1fW
Print Display Options
🛒 Fotospeed Spring Back Binder - https://fotospeed.com/presentation/springback-binders.html
🛒 A2 White Self-Adhesive Foamboard - https://amzn.to/4oVsqLc
🛒 A3 Self-Adhesive White Foamboard - https://amzn.to/4m0EWGP
🛒 A4 White Self-Adhesive Foamboard - https://amzn.to/4lSwLvX
🛒 3M Command Picture Hanging Strips - https://amzn.to/4p3SYtT
🛒 Picture Frames Express - https://www.pictureframesexpress.co.uk/
🛒 Ikea MOSSLANDA Picture ledge - https://www.ikea.com/gb/en/p/mosslanda-picture-ledge-white-90292103/
🛒 Ikea Drawer unit on castors, white, 67x66 cm - https://www.ikea.com/gb/en/p/alex-drawer-unit-on-castors-white-80485423/
Please note that some of these links are affiliate links (but not paid links or ads). By buying through these links I may receive a commission for the sale. This has no effect on the price for you.
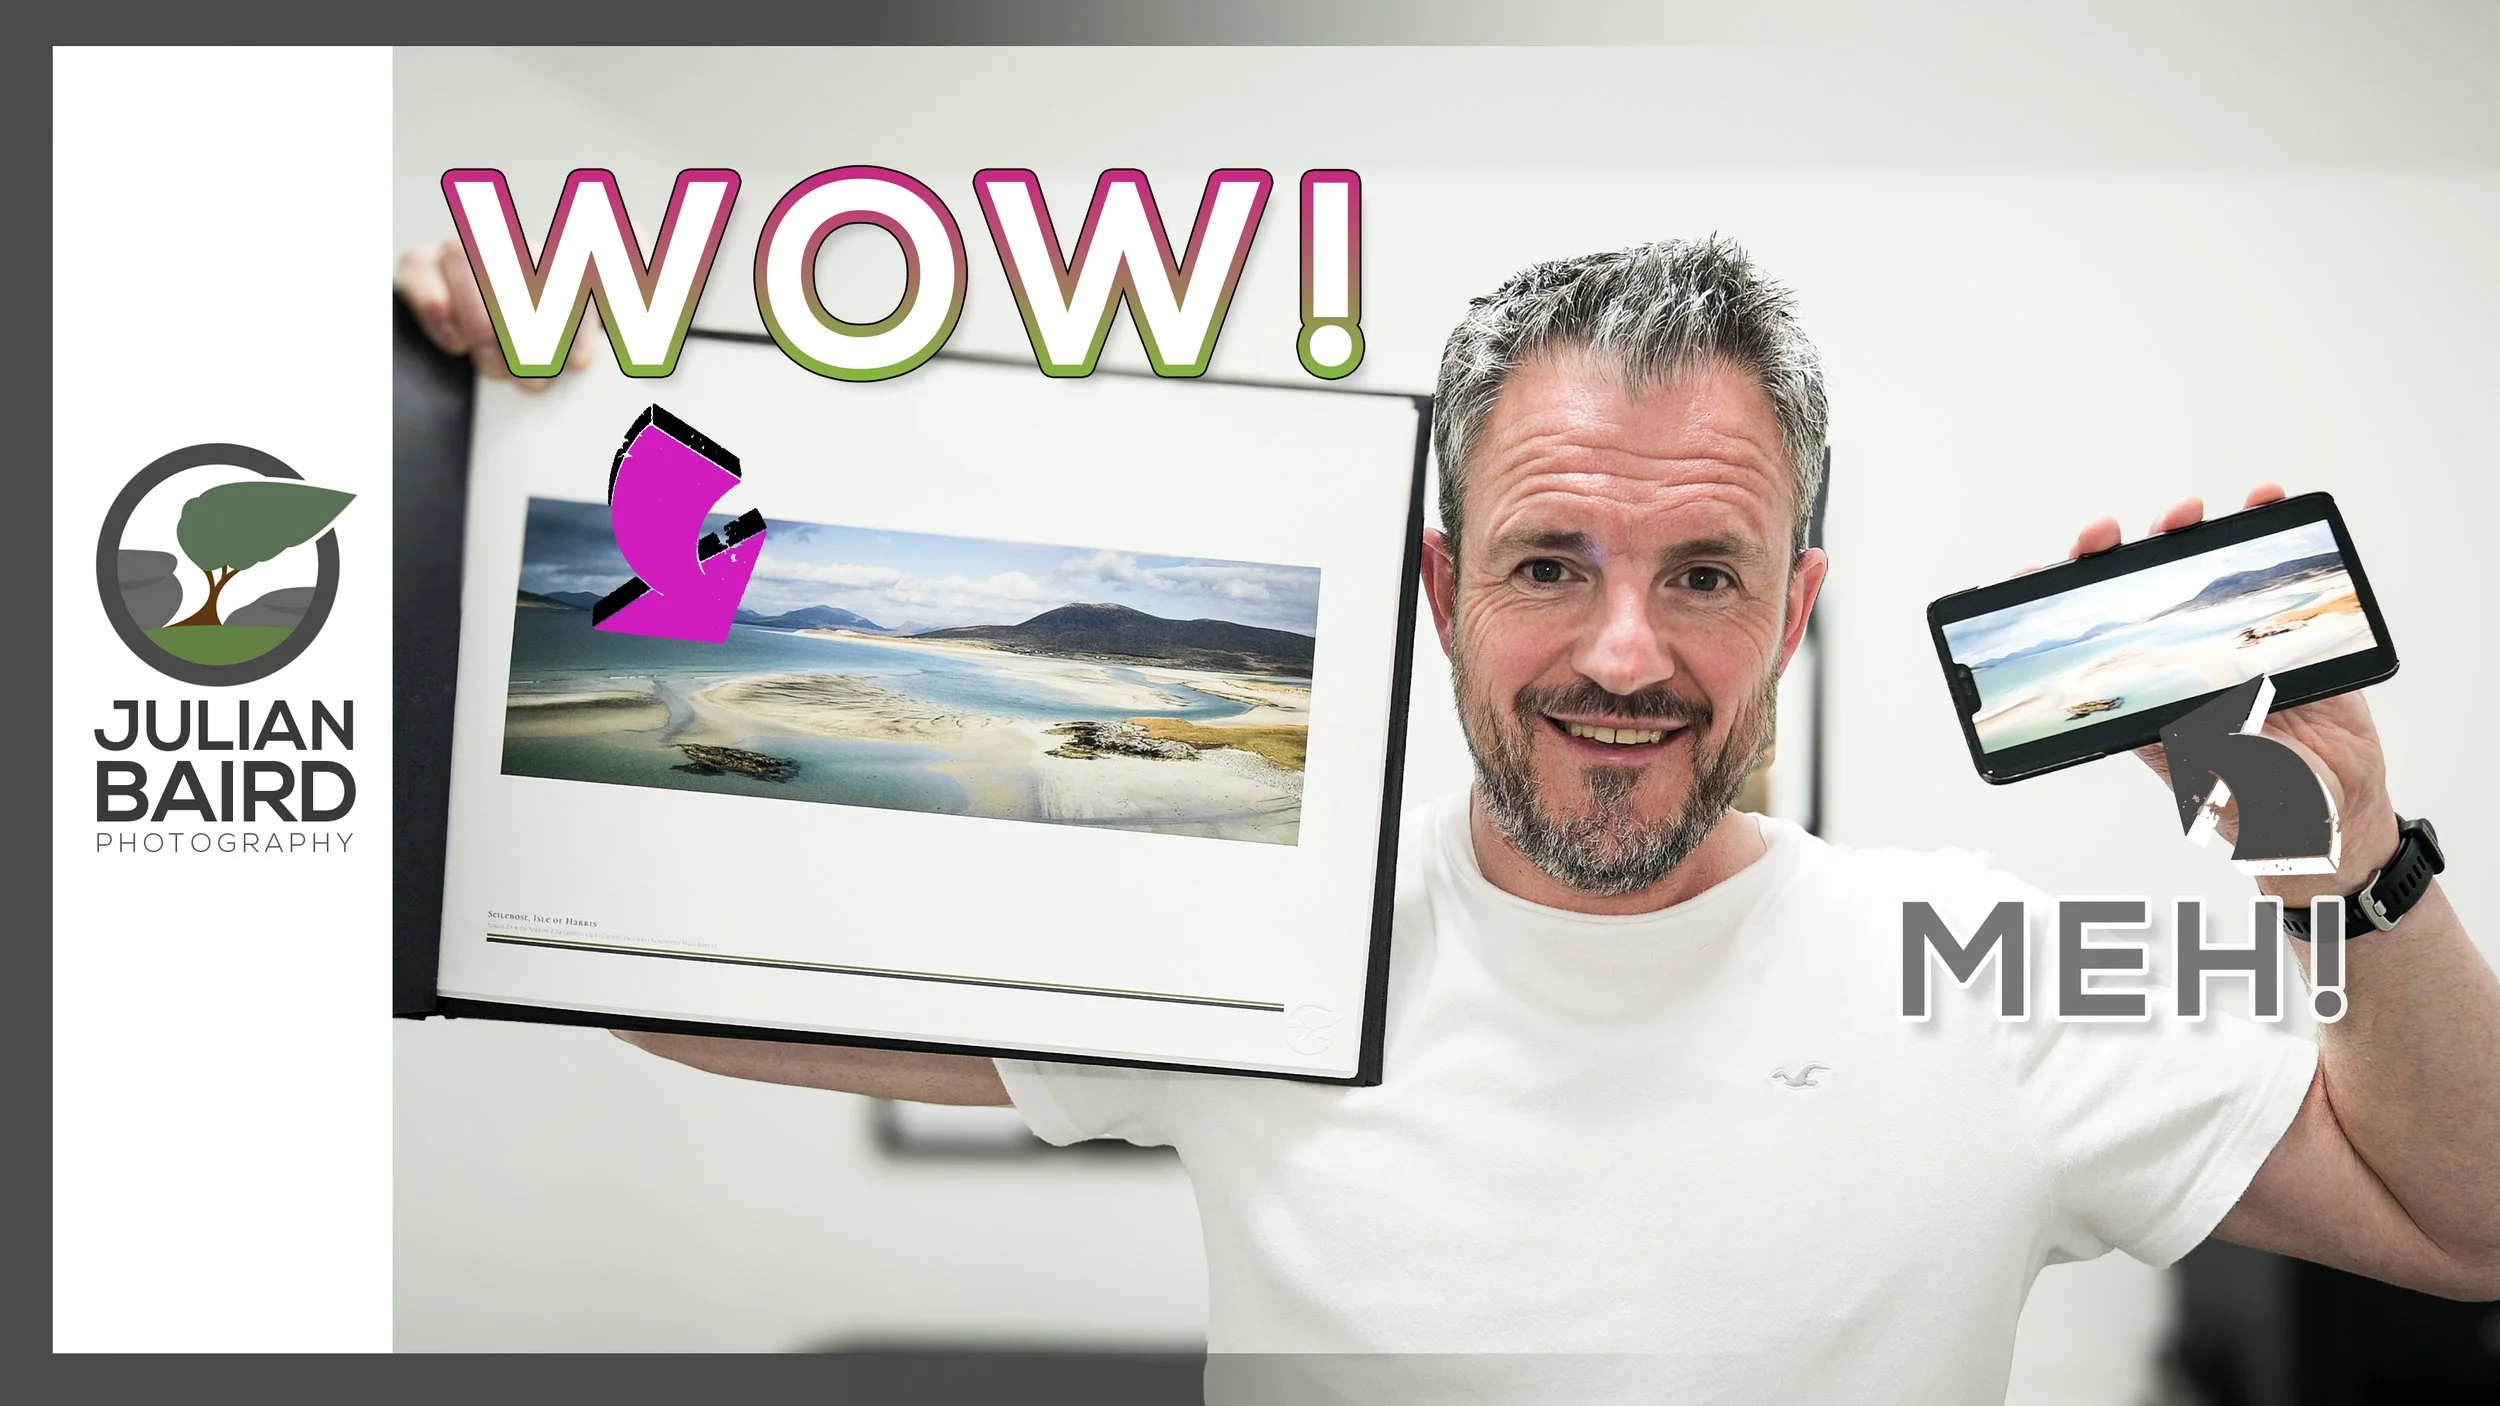
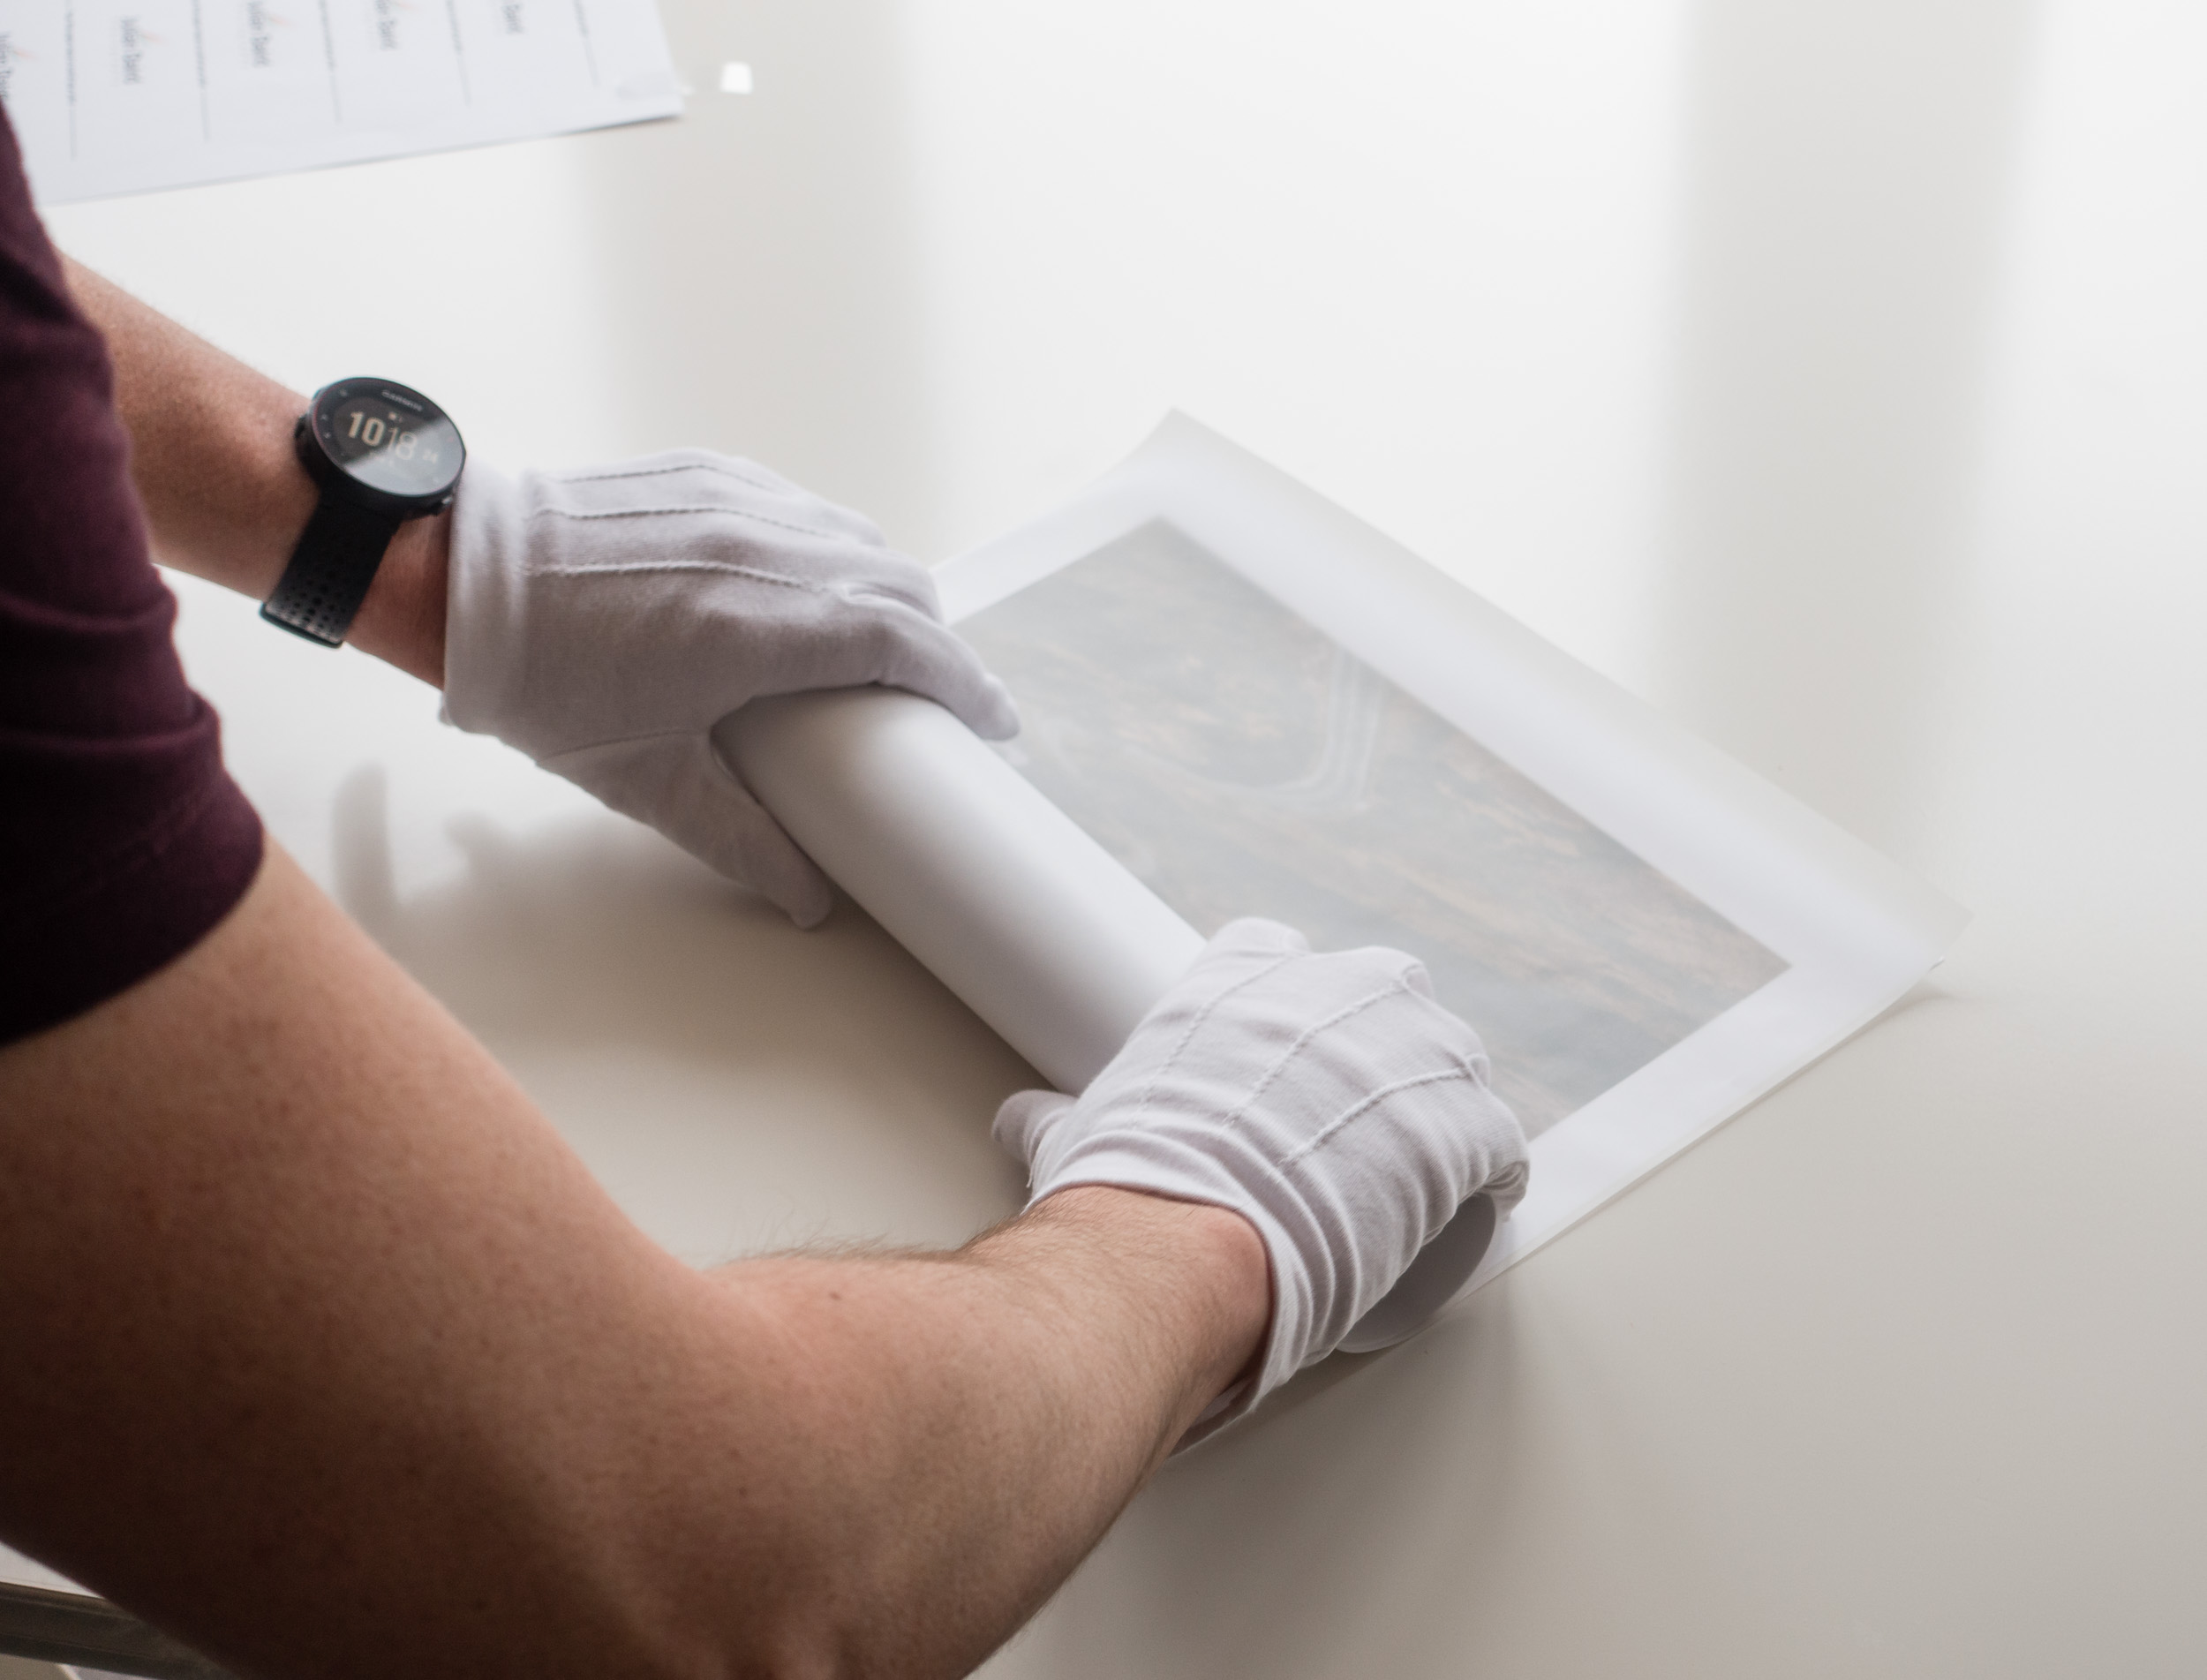
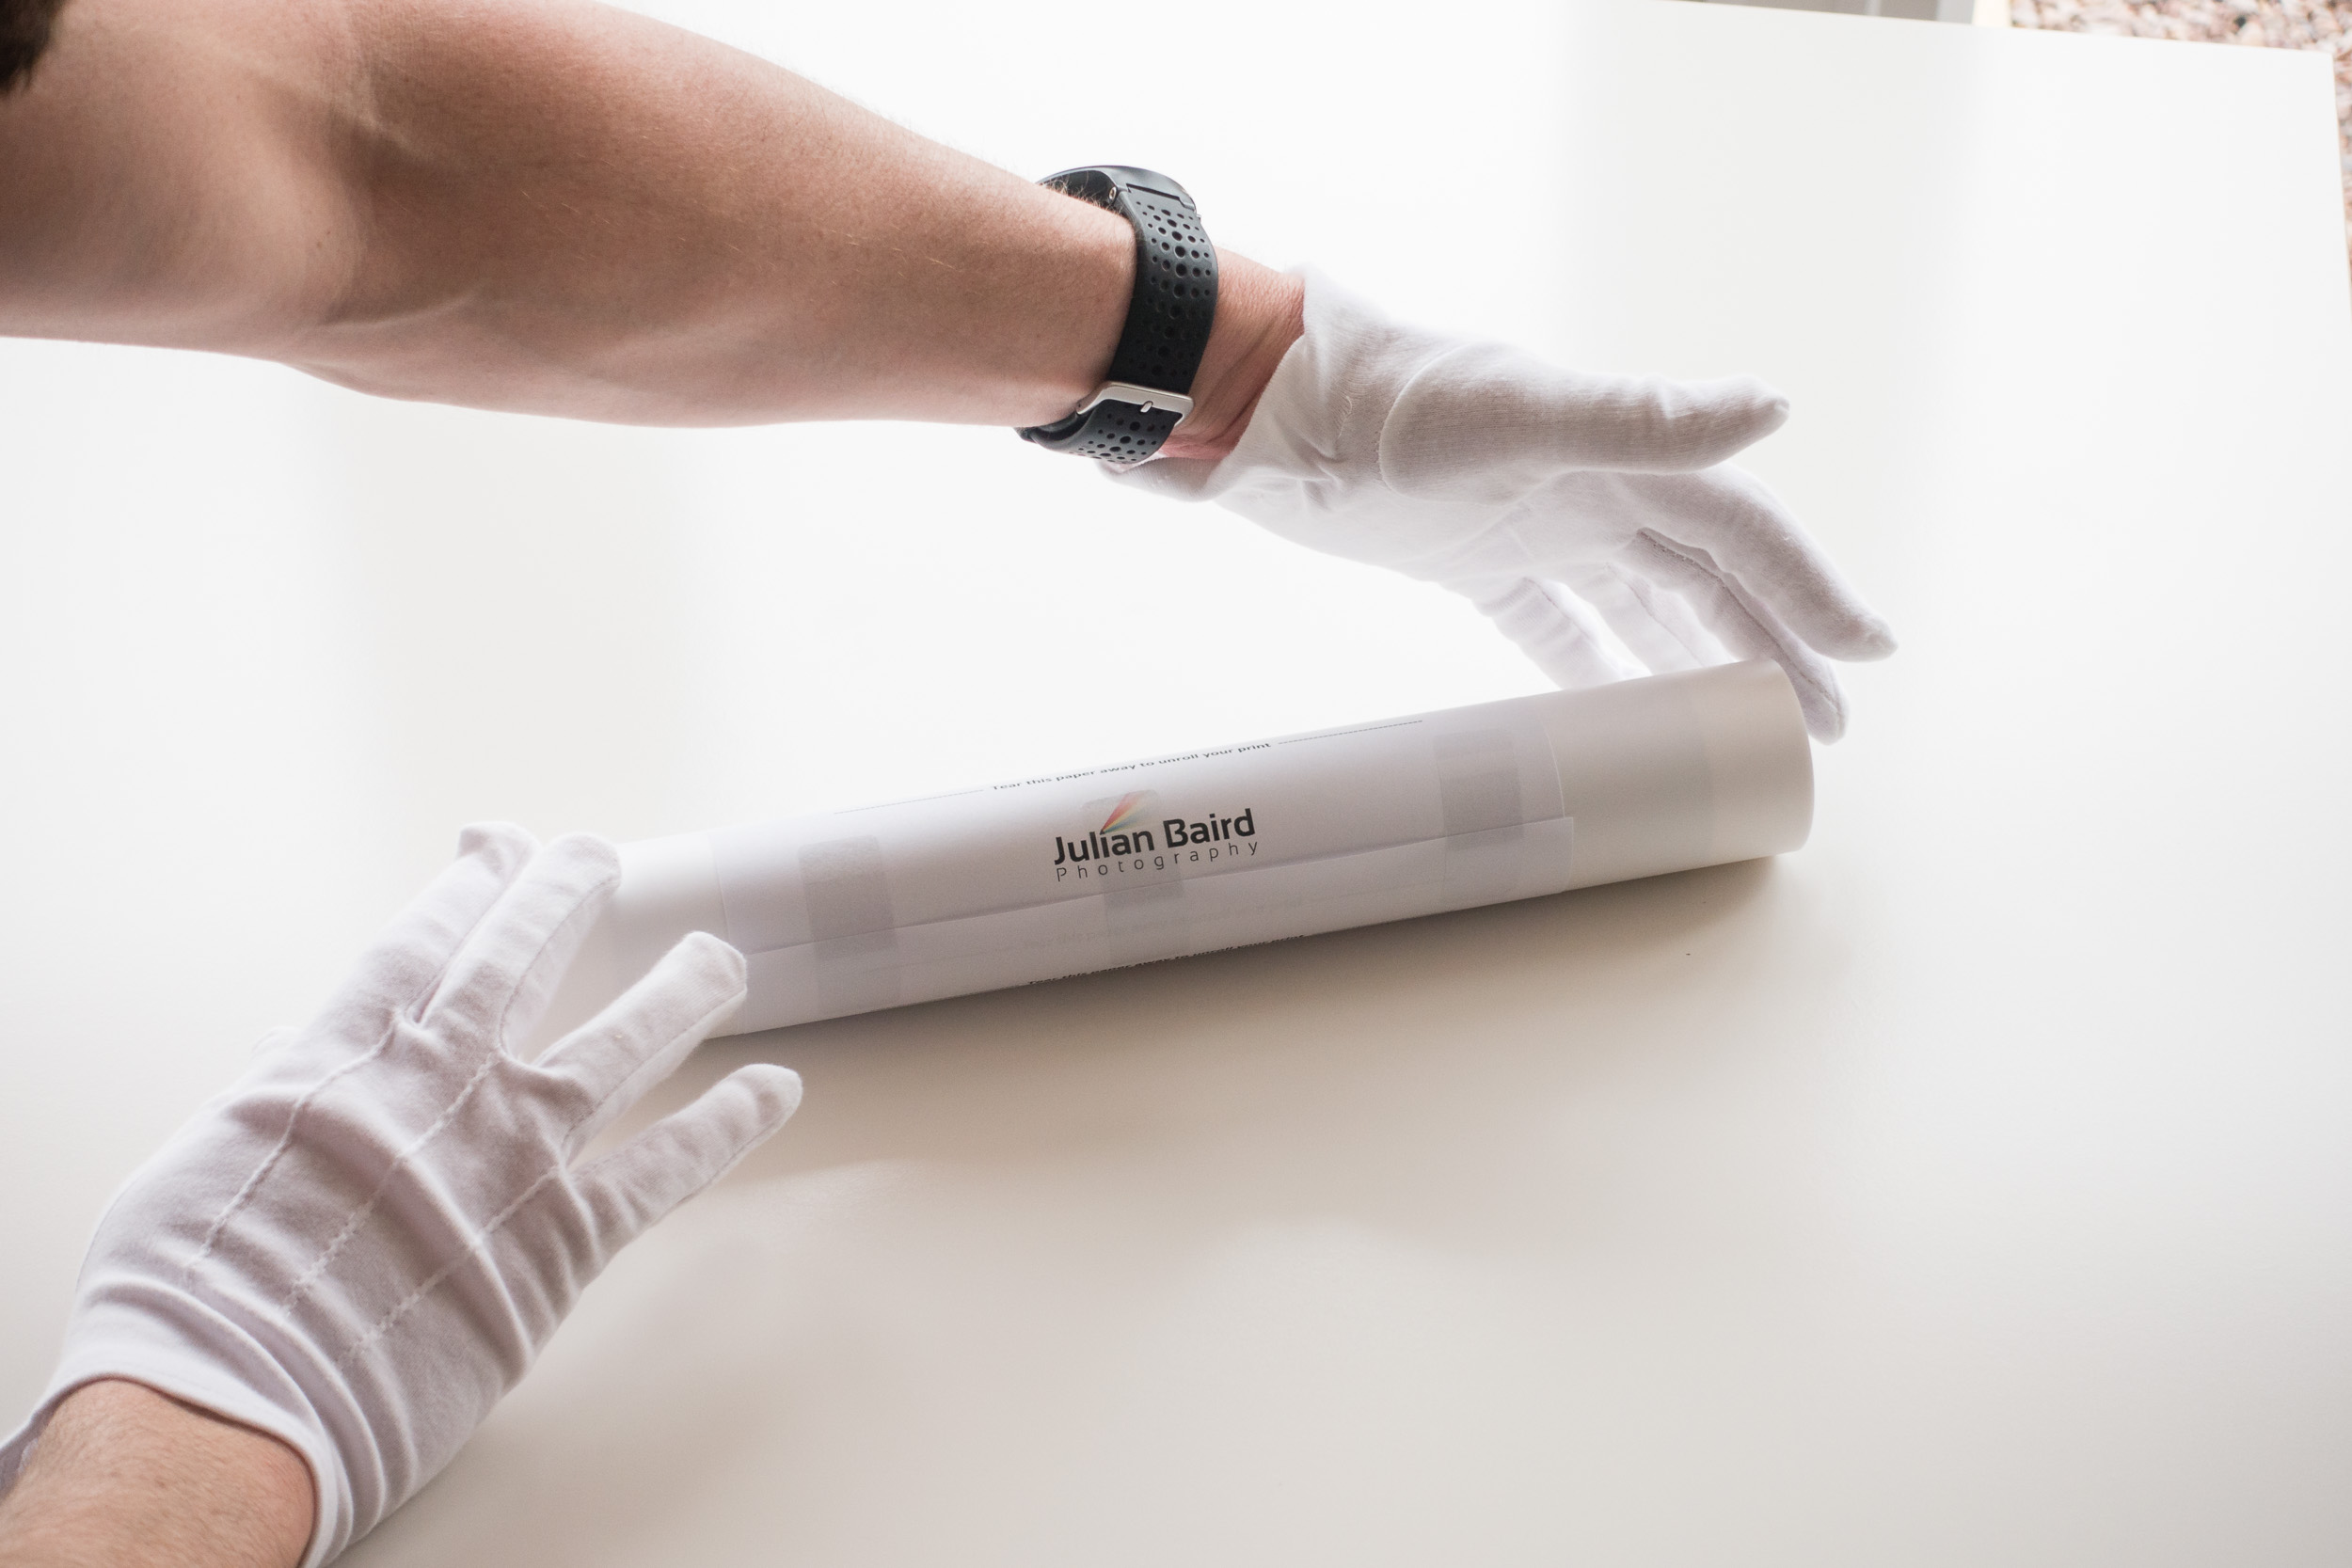
How to Showcase Your Prints with Spring Back Binders
Looking for a way to make your prints stand out? In this video I'll tell you how you can take your prints and present them in a way that will give them a WOW factor! I'll show you how I prepare my landscape photographs for print and then insert them into a Fotospeed Spring Back Binders. The result is the perfect way to showcase your photographs and make anyone looking at them go "WOW!".
Give Your Prints the WOW Factor
Over the years I’ve shared the various ways I display my landscape photography prints. The most impactful is the framed print, but for a larger body of work, a book or zine is also a great choice. Both options have pros and cons.
While I was on Harris & Lewis earlier this year a photographer showed me his portfolio of photographs displayed in a Spring Back Binder from Fotospeed. I was blown away! I thought it was such a wonderful way to view a collection of prints. Being able to look through a collection of hand-crafted prints was amazing. But the best bit, unlike a book or zine, is that you can add or remove prints anytime making it extremely versatile.
As soon as I got home, I knew I wanted to display my Harris and Lewis photographs in this way. So, I got to work editing my photos (not an easy task) and then selecting which photographs would feature in my printed collection. This time though I wasn’t going to print just the photographs, I would create a template that would add text and some of my branding to each print. Just to give it an extra bit of wow!
As I was doing this it occurred to me that I should share what I was doing with you! After all, I know a great many of you also print your photographs so having another option on how you present your prints will be of interest to you. Even if you don’t print your photographs, maybe this will inspire you to do so once you see some of the amazing things you can with them.
So let me show you how I prepare, print and present my photographs to give them the WOW factor.
I hope you enjoyed this video and if you have any questions or comments, please do let me know below.

Photographing and Printing Dartmoor with Fotospeed Gloss and Lustre 310 Papers
I love printing my photographs as much as I love capturing them! Join me in this video as I head out to Dartmoor to capture a new landscape photograph and then head home to print it on the new Fotospeed PF Gloss and Lustre 310 papers!
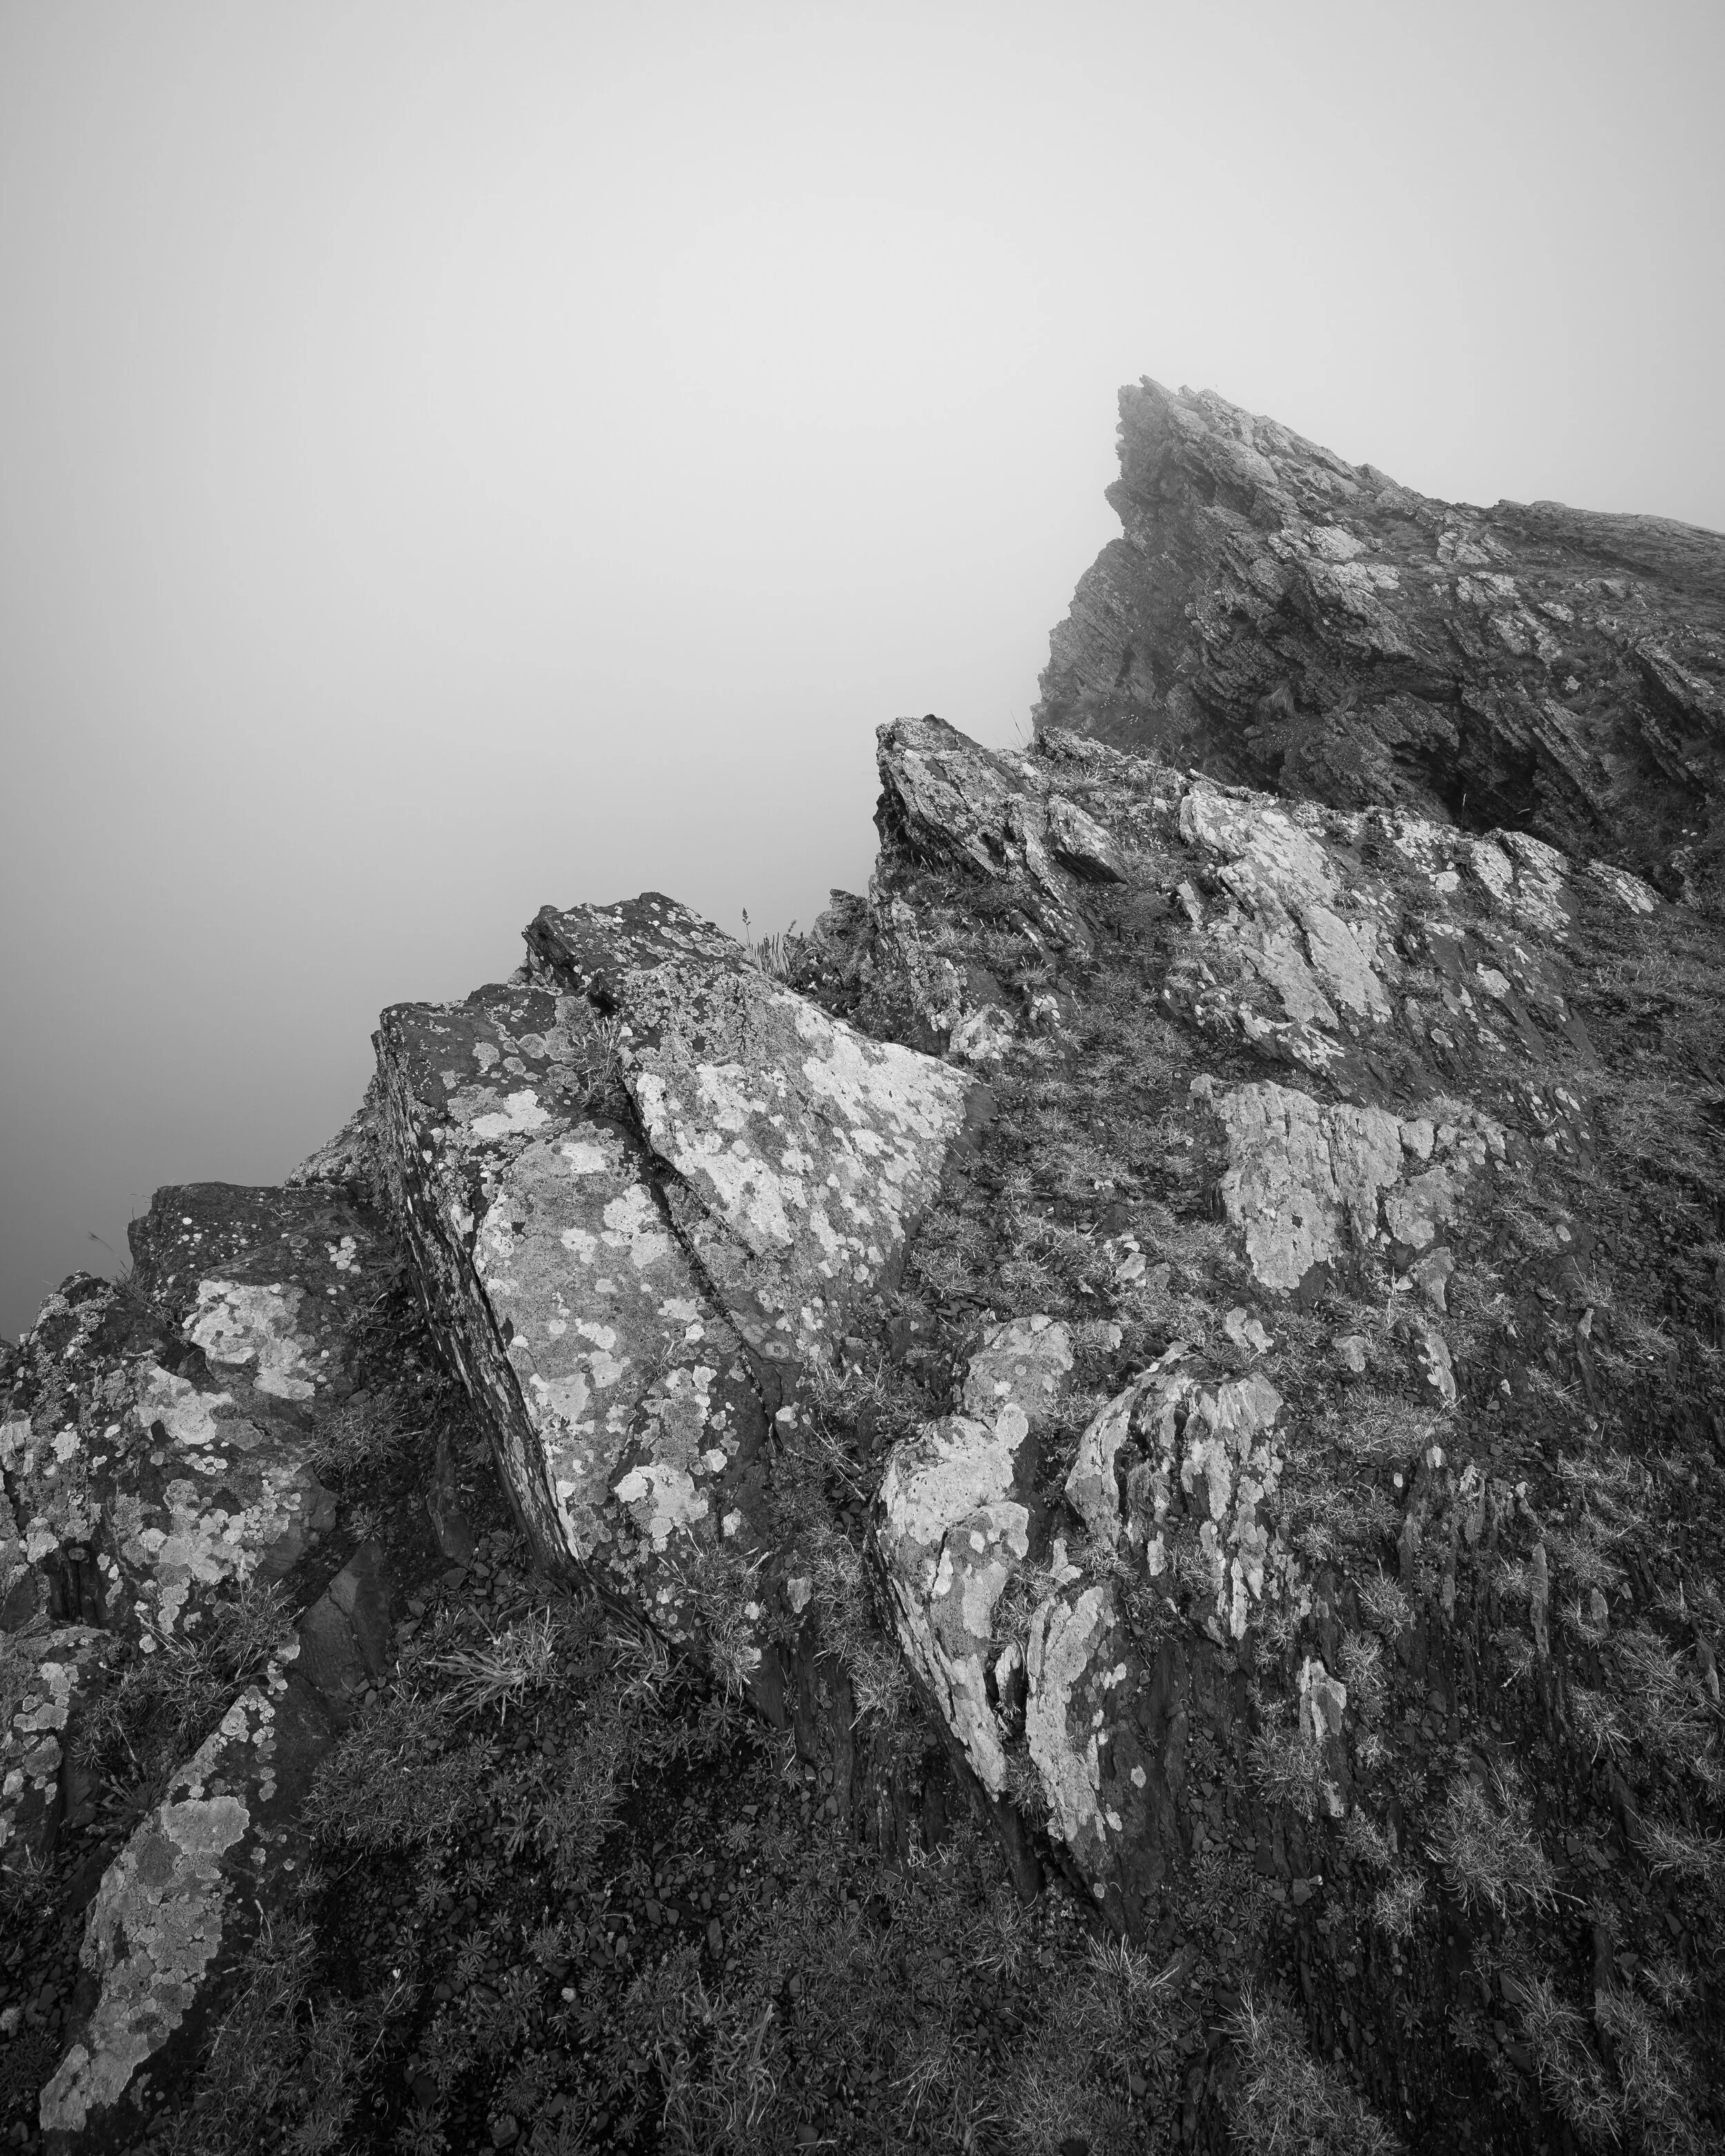
The Challenge of Photographing Great Links Tor on Dartmoor
Capturing photographs of one of Dartmoor’s greatest tors, Great Links Tor, is challenging. Depending on your route up it can take around 45 minutes of walking (all up hill). And then, because of its elevation, it is often in cloud. But when the conditions are right it can be a spectacular location to photograph such as the time I photographed it at sunset.
Inspired by my sunset picture I was determined to also photograph it at sunrise. This was going to be more difficult than I hoped it would be. The first four attempts where non-starters as the location was completely covered in cloud. On my 5th attempt I had the opposite problem, and it was clear blue skies. Not ideal, but I was determined to make the most of it!
While I was pleased enough with the photograph when the skies were clear, it wasn’t exactly what I wanted or visualised. But that’s the great thing about Dartmoor (or the worst thing), and that is the weather can change very quickly. And that’s exactly what it did do! And that change in conditions gave the perfect opportunity to capture an image that would make for a great photograph to use as the first print for two new papers I had just received from Fotospeed.
In the video below you can see my photography adventure from Great Links Tor on Dartmoor and see what the prints look on those two new Fotospeed papers.
Great Links Tor, Dartmoor - Landscape Photographs
Great Links Tor Sunrise #1, Dartmoor, Devon - Nikon Z8, Nikkor Z 14-30mm at 14mm, f/11, 0.4 sec at ISO 64.
Great Links Tor Sunrise #2, Dartmoor, Devon - Nikon Z8, Nikkor Z 14-30mm at 15mm, f/13, 1/10 sec at ISO 64.
Great Links Tor Sunrise #3, Dartmoor, Devon - Nikon Z8, Nikkor Z 24-120mm at 89mm, f/8, 1/160 sec at ISO 64, 6:17 crop.
Links to Products and Other Videos
*** Remember to us the discount code Julian15 and get 15% off Fotospeed papers ***
🛒 Fotospeed PF Gloss 310 - https://fotospeed.com/fotospeed-pf-gloss-310.html
🛒 Fotospeed PF Lustre 310 - https://fotospeed.com/fotospeed-pf-lustre-310.html
🛒 Fotospeed Test Packs https://fotospeed.com/paper/test-packs.html?default_brand=Fotospeed
✔️ Download Fotospeed’s Art of Printing eBook - FREE - https://fotospeed.com/ebook/artofprinting
🎞️ My video review of the Canon imagePROGRAF Pro-300 - https://youtu.be/QF3_JXuu_Ag
🎞️ My editing video with Fotospeed - https://www.youtube.com/watch?v=-rrLOnVHcCA
🎞️ My post-processing workflow - https://www.youtube.com/watch?v=PHg4agMU-GI&list=PLJU6FMi6Tvo97OcghsCsBlKGLXY2BcMdx
A GREAT Landscape Photograph Deserves a GREAT Print
I love printing my landscape photographs from Dartmoor almost as much as I love taking them! In this video, I capture images of the iconic Great Links Tor, and then I’ll make prints of them using my new Hahnemuehle fine art papers that I got from Fotospeed.
The Wind - Friend or Foe?
Windy. It’s a word that I am using a lot recently to describe the conditions I’ve been experiencing while out photographing Dartmoor. The wind can make landscape photography challenging with fear that your camera will get blown over or that you’ll end up taking blurry photographs. As for shooting video, leaving my camera on a tripod (even with spikes) on its own while I go off and talk somewhere always makes me nervous!
The wind can also be an asset. Strong winds often mean fast moving cloud, providing me with the hope that any gaps in the cloud, while short lived, will shortly be followed by another gap.
The Journey to Great Links Tor
Looking at the weather forecast before I set out for Great Links Tor, I was hoping that the strong winds that evening would be my friend. There was lots of low cloud forecast, but some gaps were also predicted. I was hoping the wind would make sure those gaps kept coming and provide me with a few breaks in the cloud.
As I started my ascent to Great Links Tor; things didn’t look brilliant. There was a lot of cloud, and it was very low down. So low down that Arms Tor (around 130 lower down) was barely visible. As I ascended further, the cloud level did appear to rise, and I could just about now see Great Links Tor.
Patience is the Key to Landscape Photography on Dartmoor
Arriving at Great Links Tor, the full brunt of the wind hit me! The wind was fierce, which made it cold, and as I now was above the base of the cloud layer, it was also eerily dark. So, I did what every landscape photographer should do and that’s wait. And wait some more. And get cold. T hen frustrated. Then I considered going home.
However, patience is key and in true Dartmoor fashion I could see breaks starting to appear in the cloud, and patches of light formed on the landscape. I filmed a few pieces to camera to pass the time and then it clouded over again. I waited some more and then…. well, you’ll just have to watch my video to find out what happened!
Landscape Photographs of Great Links Tor on Dartmoor
Here are the Dartmoor landscape photographs I captured in the video. Let me know which is your favourite.
Great Links Tor at Sunset #3, Dartmoor, Devon - Nikon Z7, Nikkor Z 14-30mm f/4 S at 16mm, f/11, 1/5 sec at ISO 64.


Links and Other Videos
I mentioned a lot of videos, playlists, and products in the video, so I’ve decided to list them here as well:
💰💰💰 Special offer from Fotospeed - Hahnemuehle Test Packs are half price until end of April at Fotospeed.com 💰💰💰
🛒 Get your Hahnemühle test pack here - https://fotospeed.com/papers/hahnemuhle.html?paper_test_pack=1
The paper I used to make the prints are
🛒Hahnemühle Fine Art Baryta 325 - https://fotospeed.com/papers/hahnemuhle/fine-art-baryta-325.html
🛒Hahnemühle Photo Rag 308 - https://fotospeed.com/papers/fine-art-paper/photo-rag-308.html
🔗 Check out Fotospeed's free ebook, Art of Printing, at https://fotospeed.com/ebook/artofprinting
🎞️ The printer I used in this video is the Canon imagePROGRAF Pro-300. 🎥 Watch my video review of this printer here - https://youtu.be/QF3_JXuu_Ag
🛒 Purchase the Pro-300 here - https://fotospeed.com/canon-pro-300.html
🛒 Finally, I purchased my matt board from Picture Frames Express - https://www.pictureframesexpress.co.uk/
🎞️ You can see how I use Picture Frames Express designer software here - https://youtu.be/FJYOckTLbyA?t=443 🎥
🎞️ See more of my printing videos in this handy playlist - https://www.youtube.com/playlist?list=PLJU6FMi6Tvo_kuUIioDAagRJ6zsvo1X3P
🎞️ See how I manage and process my photographs in Lightroom in this playlist - https://www.youtube.com/playlist?list=PLJU6FMi6Tvo97OcghsCsBlKGLXY2BcMdx

Capture and Print - Landscape Photography from Dartmoor
Is social media the final destination for your photographs? In this video, you can join me in the experience of capturing a landscape photograph from Dartmoor, and then doing the most important part of the photographic process, making a print!
Photographing Dartmoor - East to West
In my last blog post, Why I Love Dartmoor 2, I shared with you the experience of capturing a landscape photograph of East Mill Tor on Dartmoor. Thanks to some planning and a little fortune (always a requirement), I managed to capture a photograph of East Mill Tor with which I was incredibly happy.
Looking west from East Mill Tor you can see the appropriately named West Mill Tor. It’s not a location I photographed very often so with the excitement of my East Mill Tor visit still inspiring me I made plans to go west!
The Last of Those Early Alarm Calls (For Now)
While the weather forecast wasn’t as promising as my visit to East Mill Tor, it still had enough potential for me to set a 04:30 alarm call. It would be the last of those very early alarm calls as the clocks would be going forward in a few days. This would be only a temporary reprieve from the early alarm calls. Some of my favourite Dartmoor photography locations are best shot at dawn in the summer. It’s not unusual for the alarm to be set at 03:30 for those locations! (I’ll be doing more wild camping this year which will hopefully negate the need for some of those alarm calls).
Photographing Dartmoor Requires Patience
Though my alarm call for West Mill Tor might be early, you can at least park close by. It’s not much more than a 15-minute steady walk up to the summit, however, upon reaching the summit I was greeted with what can only be described as a strong and constant wind. This would make the photography hard and shooting video even harder!
And it’s at this point you pick up the story in the video below…
Links and Other Videos
I mentioned a lot of videos, playlists, and products in the video, so I’ve decided to list them here as well:
🎥 Watch my editing and printing session at Fotospeed here - https://youtu.be/1prQocy-GoI
🎥 The printer I used in this video is the Canon imagePROGRAF Pro-300. 🎥 Watch my video review of this printer here - https://youtu.be/QF3_JXuu_Ag
💳 Purchase the Pro-300 here - https://fotospeed.com/canon-pro-300.html
Use the discount code Julian15 and get 15% off Fotospeed papers at Fotospeed.com
💳 The paper I used to make the print is @FotospeedUK NST BW 315 And you can purchase the paper here - https://fotospeed.com/nst-bright-white-315.html
💳 Finally, I purchased my matt board from Picture Frames Express - https://www.pictureframesexpress.co.uk/
🎥 You can see how I use Picture Frames Express designer software here - https://youtu.be/FJYOckTLbyA?t=443
🎥 See more of my printing videos in this handy playlist - https://www.youtube.com/playlist?list=PLJU6FMi6Tvo_kuUIioDAagRJ6zsvo1X3P
🎥 See how I manage and process my photographs in Lightroom in this playlist - https://www.youtube.com/playlist?list=PLJU6FMi6Tvo97OcghsCsBlKGLXY2BcMdx
Landscape Photographs of West Mill Tor on Dartmoor
Here are the three photographs I captured in the video. Let me know which is your favourite.
A Wild West Mill Tor Sunrise #1, Dartmoor, Devon - Nikon Z7, Nikkor Z 14-30mm S f/4 at 14mm, f/13, 1/2 sec at ISO 64, Kase Filters CPL
A Wild West Mill Tor Sunrise #2, Dartmoor, Devon - Nikon Z7, Nikkor Z 14-30mm S f/4 at 14mm, f/13, 1/2 sec at ISO 64, Kase Filters CPL
A Wild West Mill Tor Sunrise #3, Dartmoor, Devon - Nikon Z7, Nikkor Z 14-30mm S f/4 at 16mm, f/13, 1/3 sec at ISO 64, Kase Filters CPL
The Best Day for Landscape Photography on Dartmoor?
With a late sunrise, an early sunset, and a sun that stays low in the sky, the winter solstice is one of the best days for landscape photography on Dartmoor. However, as I find out, trying to do too much on the shortest day can lead to problems.
A Dartmoor Photography Adventure on the Winter Solstice
I learnt a few years ago that on or around the winter solstice is one of the best times to photograph Dartmoor. Sunrise isn’t too early, sunset isn’t too late, and the sun remains relatively low along the horizon during the day. This means that for the roughly 8 hours of daylight that you get, it is possible to shoot all day and still have a relatively short day out.
Another advantage of such a short day is that it is possible to reach some of Dartmoor’s more remote locations for sunrise and not have to set an alarm for 3am! This winter solstice I decided to take advantage of this by walking to Wild Tor for sunrise. It takes me an hour to drive to the car park, and then it’s another 1hr 15 min walk to Wild Tor. I was certainly glad that sunrise wasn’t until 08:10.
My plan was to photograph Wild Tor for sunrise, then walk back to the car and take in some other locations, hopefully benefiting from sun remaining low on the horizon. Then after my mornings work, I would get a late breakfast or lunch, and find somewhere else to photograph sunset.
A great plan for sure. However, I decided to try and squeeze in something else between my morning locations and afternoon locations. This led to a few problems. You can find out what and watch me capture the photographs you see below in this video.
I hope you enjoyed the video. Despite the challenges I had with finishing the video on location, there were still many more positives than negatives to take away from my day out with the camera.
Links Mentioned in the Video
Here are some of the links I mentioned in the video.
💳 Fotospeed Platinum Gloss Art Fibre 300 - https://fotospeed.com/platinum-gloss-art-fibre-300.html
💳 Fotospeed Platinum Etching 285 - https://fotospeed.com/platinum-etching-285.html
💳 Print mounts from https://pictureframesexpress.co.uk
💳 Ikea Mosslanda Picture Ledge - https://www.ikea.com/gb/en/p/mosslanda-picture-ledge-white-40291766/
🎥 My video on the Canon imagePROGRAF Pro-300 - https://youtu.be/QF3_JXuu_Ag
🎥 All my videos on printing - https://www.youtube.com/playlist?list=PLJU6FMi6Tvo_kuUIioDAagRJ6zsvo1X3P
Landscape Photographs from Dartmoor
Wild Tor
Wild Tor #1, Dartmoor, Devon - Nikon Z7, Nikkor Z 14-30mm f/4 S at 18mm, f/13, 0.4 sec at ISO 64.
Wild Tor #2, Dartmoor, Devon - Nikon Z7, Nikkor Z 14-30mm f/4 S at 14mm, f/11, 1/5 sec at ISO 64.
Wild Tor #3, Dartmoor, Devon - Nikon Z7, Nikkor Z 14-30mm f/4 S at 19mm, f/13, 1/6 sec at ISO 64.
Wild Tor #1, Dartmoor, Devon - Nikon Z7, Nikkor Z 14-30mm f/4 S at 20mm, f/13, 1/6 sec at ISO 64.
Oke Tor
Oke Tor, Dartmoor, Devon - Nikon Z7, Nikkor Z 14-30mm f/4 S at 16mm, f/13, 1/30 sec at ISO 64.
Yes Tor
Yes Tor #1, Dartmoor, Devon - Nikon Z7, Nikkor Z 14-30mm f/4 S at 21mm, f/11, 1/3 sec at ISO 64.
Yes Tor #2, Dartmoor, Devon - Nikon Z7, Nikkor Z 14-30mm f/4 S at 14mm, f/13, 1/3 sec at ISO 64.

A Landscape Photography Project to Capture the Changing Seasons
Each season offers the landscape photographer something unique and wonderful. One of the best ways to discover those changes is to photograph the same location every season. Sounds like a great idea for a photography project, doesn't it? I thought it was, so I decided to photograph Holne Bridge on Dartmoor during summer, autumn, winter and spring. However, things didn't turn out how I expected them to.
The Value of Photography Projects
Undertaking a photography project can be a big commitment. In 2019 I began a yearlong photography project to capture a photograph every month from the same location and despite the tight brief, I still found it challenging. But a photography project should be challenging, shouldn’t it? I am also in the middle of my biggest ever photography project and despite 12 months passing by, I don’t feel like I’m making any significant progress.
Despite what I’ve said, a photography project is a wonderful thing, and every photographer should undertake one. They can be incredibly rewarding and stretch your skills as a photographer. The important thing is to make sure the project is achievable. There is no point in undertaking a 365 project when you know from the outset you won’t be able to capture an image every day.
A Failed Photography Project?
On the topic of completing photography projects, I have just completed a project that I’ve been working on for the last year. Well, I say completed, but that’s that not strictly true. Yes, it’s finished, but is it complete? I’ll explain everything in the video below.
What do you think? Is that a photography project failure? Let me know in the comments below.
Lastly, if you’re interested here is a list of gear and services, I used to create the print.
Photograph printed with the Canon imagePROGRAF Pro-300 - my video review
Paper from Fotospeed
Picture frames from Picture Frames Express
Project Photographs - Holne Bridge on Dartmoor
Here are the final 4 photographs.
Holne Bridge, Dartmoor - Summer - Nikon Z7, Nikkor 14-30mm f/4 at 20mm, f/11, 0.6 sec at ISO 200, Kase CPL.
Holne Bridge, Dartmoor - Autumn - Nikon Z7, Nikkor 14-30mm f/4 at 19mm, f/11, 1 sec at ISO 800, Kase CPL.
Holne Bridge, Dartmoor - Winter - Nikon Z7, Nikkor 14-30mm f/4 at 22mm, f/11, 0.5 sec at ISO 200, Kase CPL.
Holne Bridge, Dartmoor - Spring - Nikon Z7, Nikkor 14-30mm f/4 at 18mm, f/16, 1/5 sec at ISO 64, Kase CPL.
Why I PRINT My Landscape Photographs - From Capture to Print
When does a photograph become a photograph? Can a photograph be more than just a collection of ones and zeros? For me, the photographic process isn't complete until I have made a print. In this video, I share with you my passion for printing by capturing a landscape photograph on Dartmoor and then making a print of it to display on my wall.
The Print is the Photographs Rightful Inheritance
I don’t often quote people, but Charlie Waite got it right when he said, “The print is the photographs rightful inheritance”. Ever since I Discovered the Joy of Printing 5 years ago, nothing has given me more pleasure than making a big print of one of my photographs. There is something hugely satisfying about watching one of your photographs gradually feed out the printer. It’s that final stage that is the most rewarding. Holding your photograph in your hands. Seeing it on a computer monitor just isn’t the same.
Over the years I have printed hundreds of my photographs, but very few of them end up in frames and on my wall. Most are printed and displayed on my picture ledges where I not only study and learn from them, but I also enjoy them. They might stay there for a few days, even a few weeks, but at some point, they are replaced with new prints.
I have two framed photographs on my wall, both commended images from the Scottish Landscape Photographer of the Year competition. While I am immensely proud of those photographs, I’ve always been aware that I don’t have a framed photograph of Dartmoor.
A Dartmoor Connection
Dartmoor is my local area. An area that I derive an immense amount of pleasure in photographing. So, I set myself the task of not only capturing a photograph of Dartmoor, but one that I would be pleased to print, frame, and hang on my wall. I wanted to capture a photograph that would inspire me to discover and photograph Dartmoor. I wanted a photograph that captured the things that I love about photography on Dartmoor. I wanted a photograph that would allow me to reconnect to a moment experienced on Dartmoor.
Sounds easy, eh? Not exactly. If you’ve been reading this blog for any length of time you know how hard photographing Dartmoor can be. Frustrating is a better word. It’s just as well I love being outdoors as the photography isn’t always satisfying.
Patience is the key with Dartmoor and with some planning and a little luck, I was finally able to capture a photograph that I could hang on the wall. In the video below you can watch me capture the photograph, print it, frame it, and hang it on my wall. My photographs rightful inheritance. Well said Charlie, well said.
East Mill Tor, Dartmoor
A Perfect Morning at East Mill Tor, Dartmoor, Devon - Nikon Z7, Nikkor 14-30mm f/4 at 23mm, f/13, 0.6 sec at ISO 64, pre-processed in DxO PureRAW 2.
Editing and Printing
If you’d like to see how I post processed this photograph, I’ve done a whole video on that which you can view below.
Lastly, if you’re interested here is a list of gear and services, I used to create the print.
How I manage and edit my photographs - video playlist.
Photograph printed with the Canon imagePROGRAF Pro-300 - my video review
Paper from Fotospeed
Picture frames from Picture Frames Express - see how I design my frames in this video.

Sharing the Joy of Printing
What's the best way to show someone the benefits of printing their landscape photographs? Simple. Take your Canon imagePROGRAF Pro-300 and some Fotospeed papers to Boscastle in Cornwall, meet a friend, take some photos, and then print them from your car!
From Discovery to Sharing
I first started printing my landscape photographs back in 2017. Since discovering the joy of printing, I have been sharing my passion for printing photographs at home on my blog, YouTube channel, and by talking about it at The Photography Show. I’ve even got this handy “playlist” of blog posts of my printing-related content here.
Over the years, I have been rather evangelical about printing but sometimes the only way to really get the message across is with a practical demonstration. Even better than that, why not take a printer on location with you, capture some photographs, and then print them! What could be more satisfying and exciting than capturing a photograph and then making a print all before breakfast?
This is exactly what I do in the video below. I’m joined by friend and fellow photographer Chris Sale as we both attempt to battle the thick fog of Boscastle harbour to capture a photograph that we can take back to the car and print.
<insert video>
I hope you enjoyed this video. Chris might not be rushing out to buy his own printer, but he certainly appreciated the quality of the print and the experience of making one. It was a real pleasure being able to share my passion for printing in such a beautiful location and with such a good mate. It’s mornings like that one that makes photography such a rewarding thing to do.
Boscastle Coastline Photographs


Bring Your Photography to LIFE with the Canon imagePROGRAF Pro-300
If you're not printing your photographs, then you are missing out on an important part of the photography experience. In my latest video I look at what the Canon imagePROGRAF Pro-300 printer with Fotospeed papers could do for your photography.
Print Your Photography!
If you’ve been reading my blog for a while, you’ll know how passionate I am about printing my photography. For me, the photographic process isn’t complete until I’ve made a print! There is something hugely satisfying in watching one of your photographs come to life as it feeds out the printer.
When I took delivery of a Canon imagePROGRAF Pro-300 printer I thought it was an excellent opportunity to share a video that not only looks at the technical aspects of this printer but also show why printing your photographs is so important. Most of all I wanted to show that printing can be fun and rewarding.
It’s a jam-packed video and rather than repeat the content in text form here, I’ll let you enjoy the video.
Links, Products and Other Videos
I mentioned a lot of blog posts, videos, and products in my video, so I’ve decided to list them below for your convenience.
You can buy the Canon imagePROGRAF PRO-300 from Fotospeed here.
Here are the Fotospeed papers I used in this video:
I purchased my mounts and frame from Picture Frames Express
Here is a list of the other videos I mentioned:
Here is a list of the links I mentioned in the video:
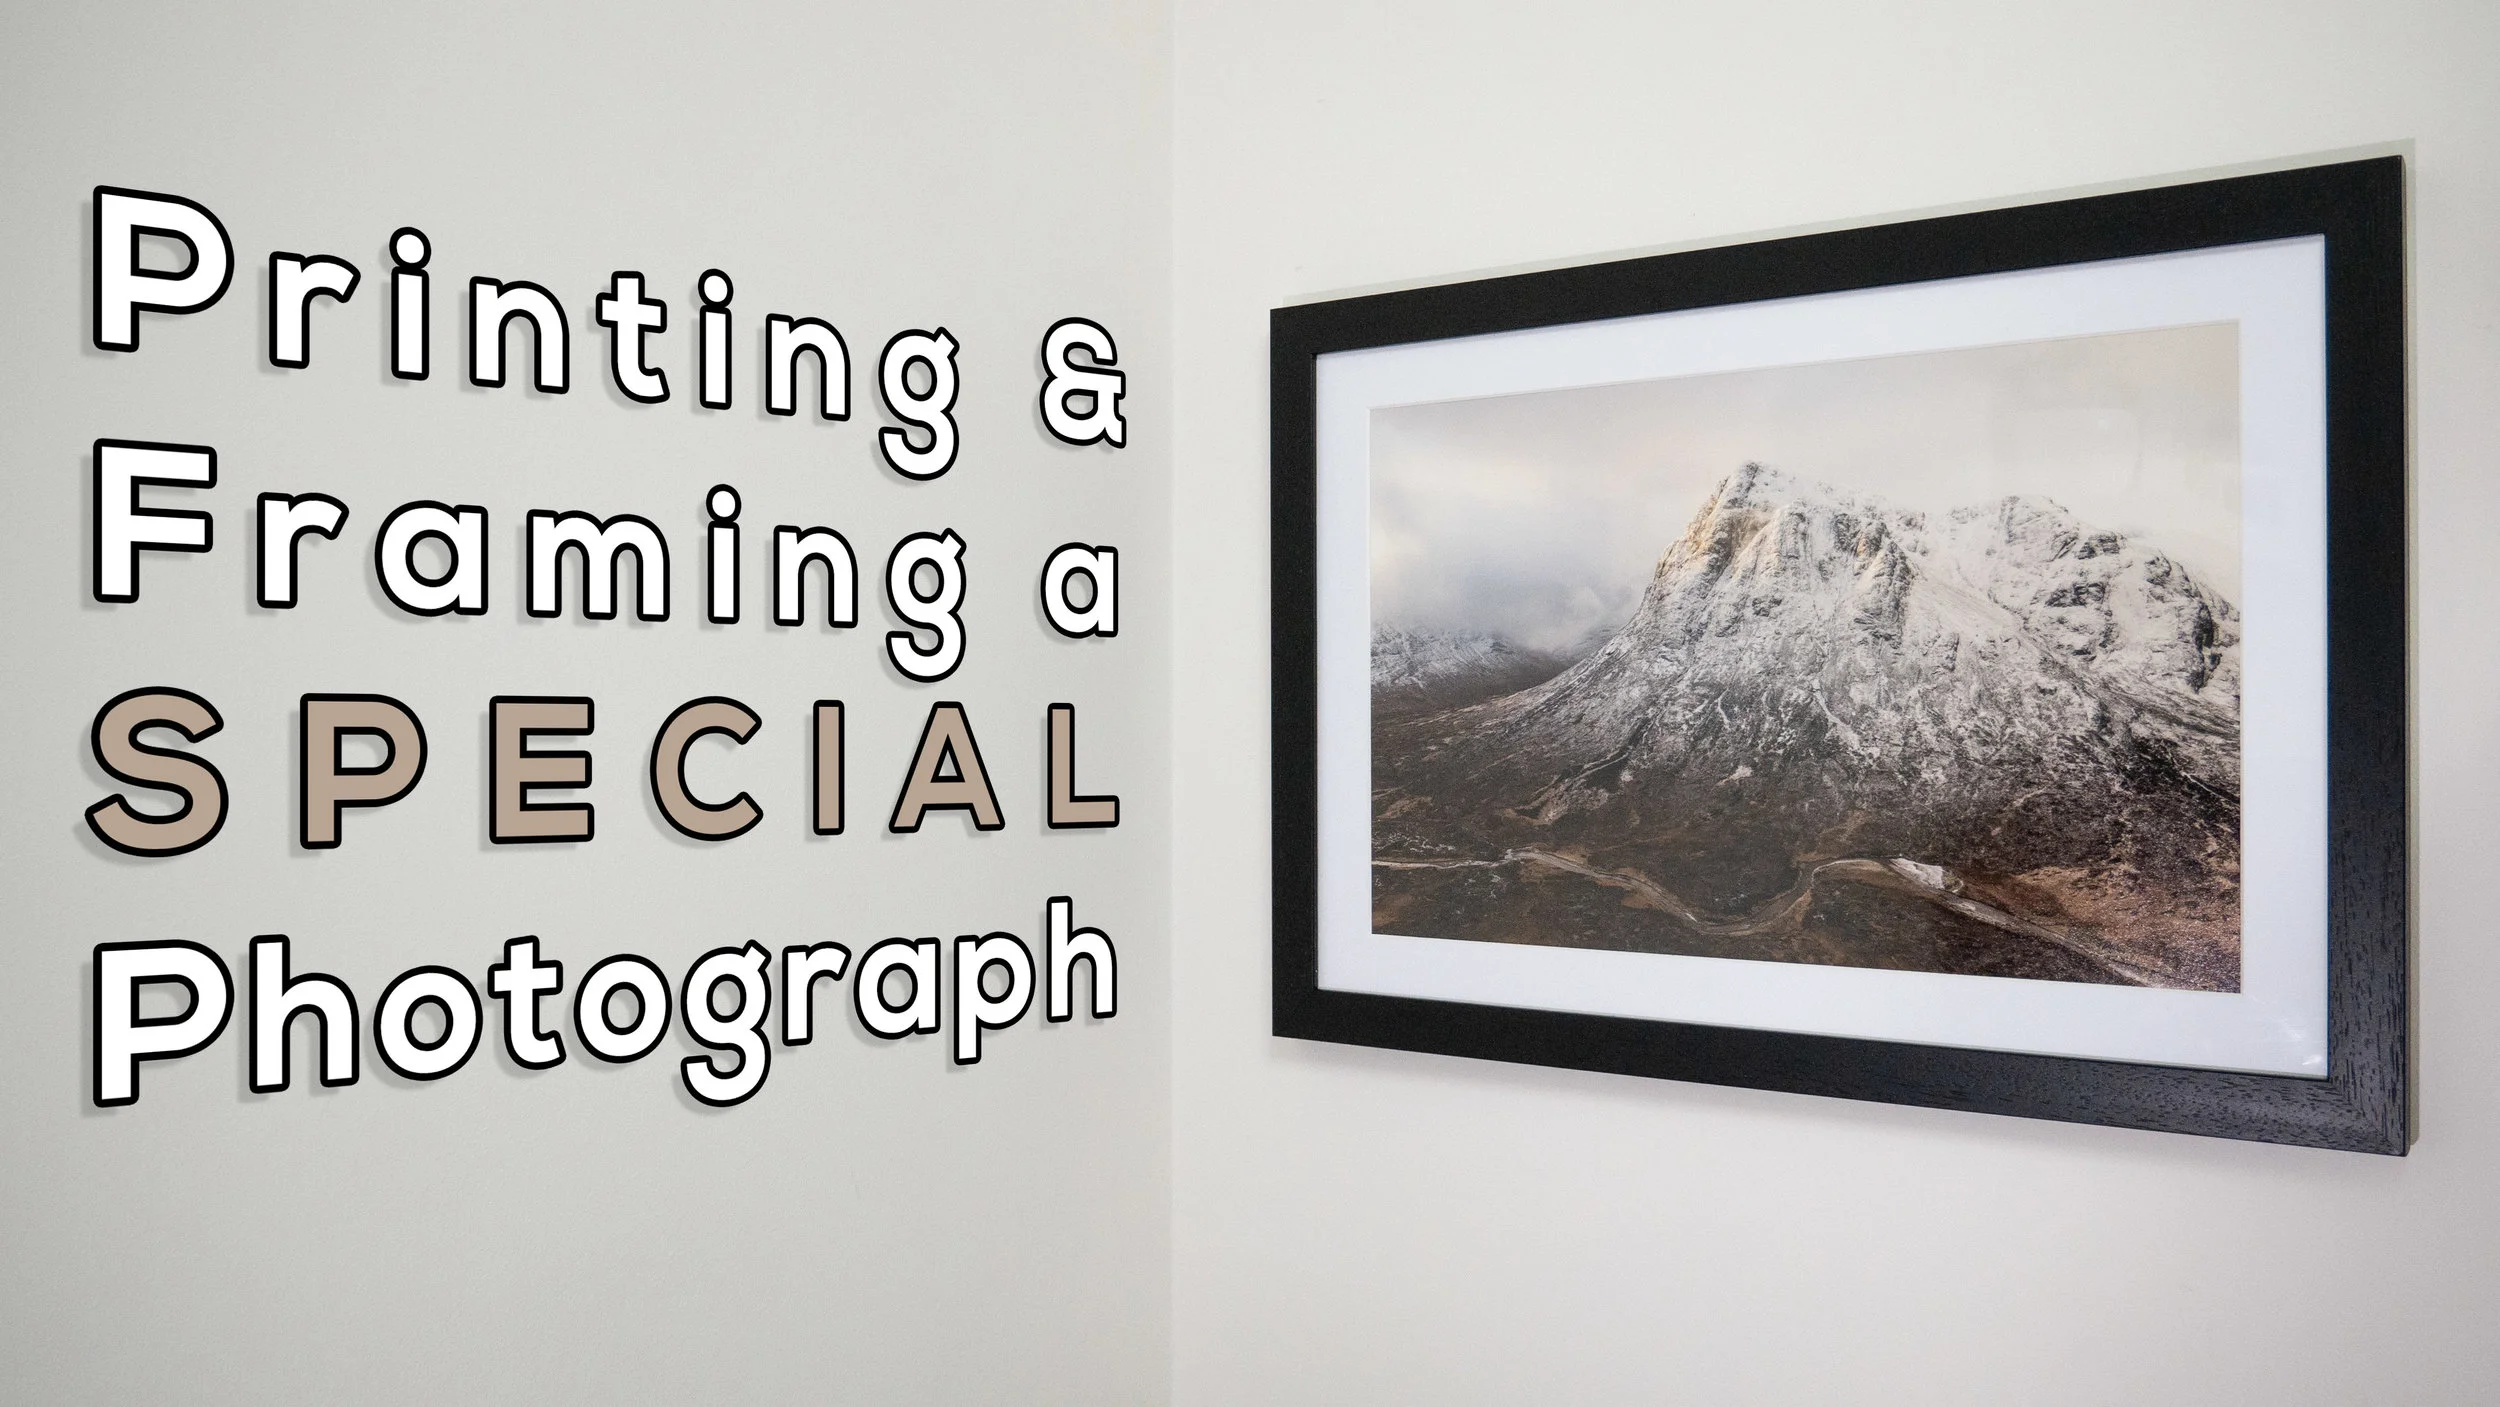
Printing and Framing a Special Landscape Photograph
Some landscape photographs just need to be printed and hung on the wall. In this blog post, I take a very special image, print it, frame it, and give it a permanent place on my wall.
Success in Scottish Landscape Photographer of the Year
Entering big photography competitions can seem like a waste of time. Some of these competitions can attract 1000's of entries, sometimes even 10,000’s of entries . Getting shortlisted can seem like an achievement sometimes. How do you create a winning image though? There's no easy answer to that question. Judging, even in the same competition, can vary from year to year. Just look at the winning images from Landscape Photographer of Year since it started. It's really hard to "know" what the judges are looking for.
However, there is one thing I do know. If I don't enter I certainly won't win anything! There is also one piece of advice I can share , and it's a piece of advice given to me by a photographer and photography competition judge. He told me that if you think you have a strong image then keep entering it into competitions year after year. Even if it doesn't get placed in one competition, it might in another. It's also worth entering the same image in the same competition a different year.
I've always remembered this bit of advice, so ever since I took the image of Stob Dearg (Buachaille Etive Mor) you see below, I've been entering it into competitions. This perseverance has finally paid off and the image has received a commended award in the Scottish Landscape Photographer of the Year competition. It's the 2nd time I've entered it into this competition, and 4th time in all competitions. So if you have a good image that you think could win an award, don't be put off by the first failure. Keep trying!!
First Light on Stob Dearg, Buachaille Etive Mor, Glencoe - Nikon D750, Nikkor 24-70 mm f/2.8 VR at 28 mm, f/11, 1/25th sec at ISO 100.
Printing and Framing
The image is one that I am immensely proud off and it brings back many happy memories of my adventure to Glencoe (which you can watch here). While it will be a real privilege to see it in the yearbook from the competition, I really wanted to make my own print of it, frame it, and give it a permanent place on my wall.
In the video below I show you how I went about printing the image, selecting a paper, framing it, and eventually hanging it on the wall.
If you are interested in doing something similar yourself, here are the products I used in the video:
Fotospeed Cotton 305 - https://www.fotospeed.com/Platinum-Cotton-305-Paper/groupproduct/2937/
Fotospeed Baryta 300 - https://www.fotospeed.com/Platinum-Baryta-300/groupproduct/1437/
Fotospeed Legacy Gloss 325 - https://www.fotospeed.com/NEW-Legacy-Gloss-325-Paper/groupproduct/3103/
Picture Frames Express - https://www.pictureframesexpress.co.uk/
Conservation Tape - https://www.pictureframesexpress.co.uk/picture-frame-supplies/tapes/74/
Picture Hanging Strips - https://amzn.to/2TWuE2l
I hope you enjoyed this video and blog post. Do you have any photography competition tips? How do you go about displaying your prints? Let me know in the comments below.

The Importance and Joy of Printing at Home
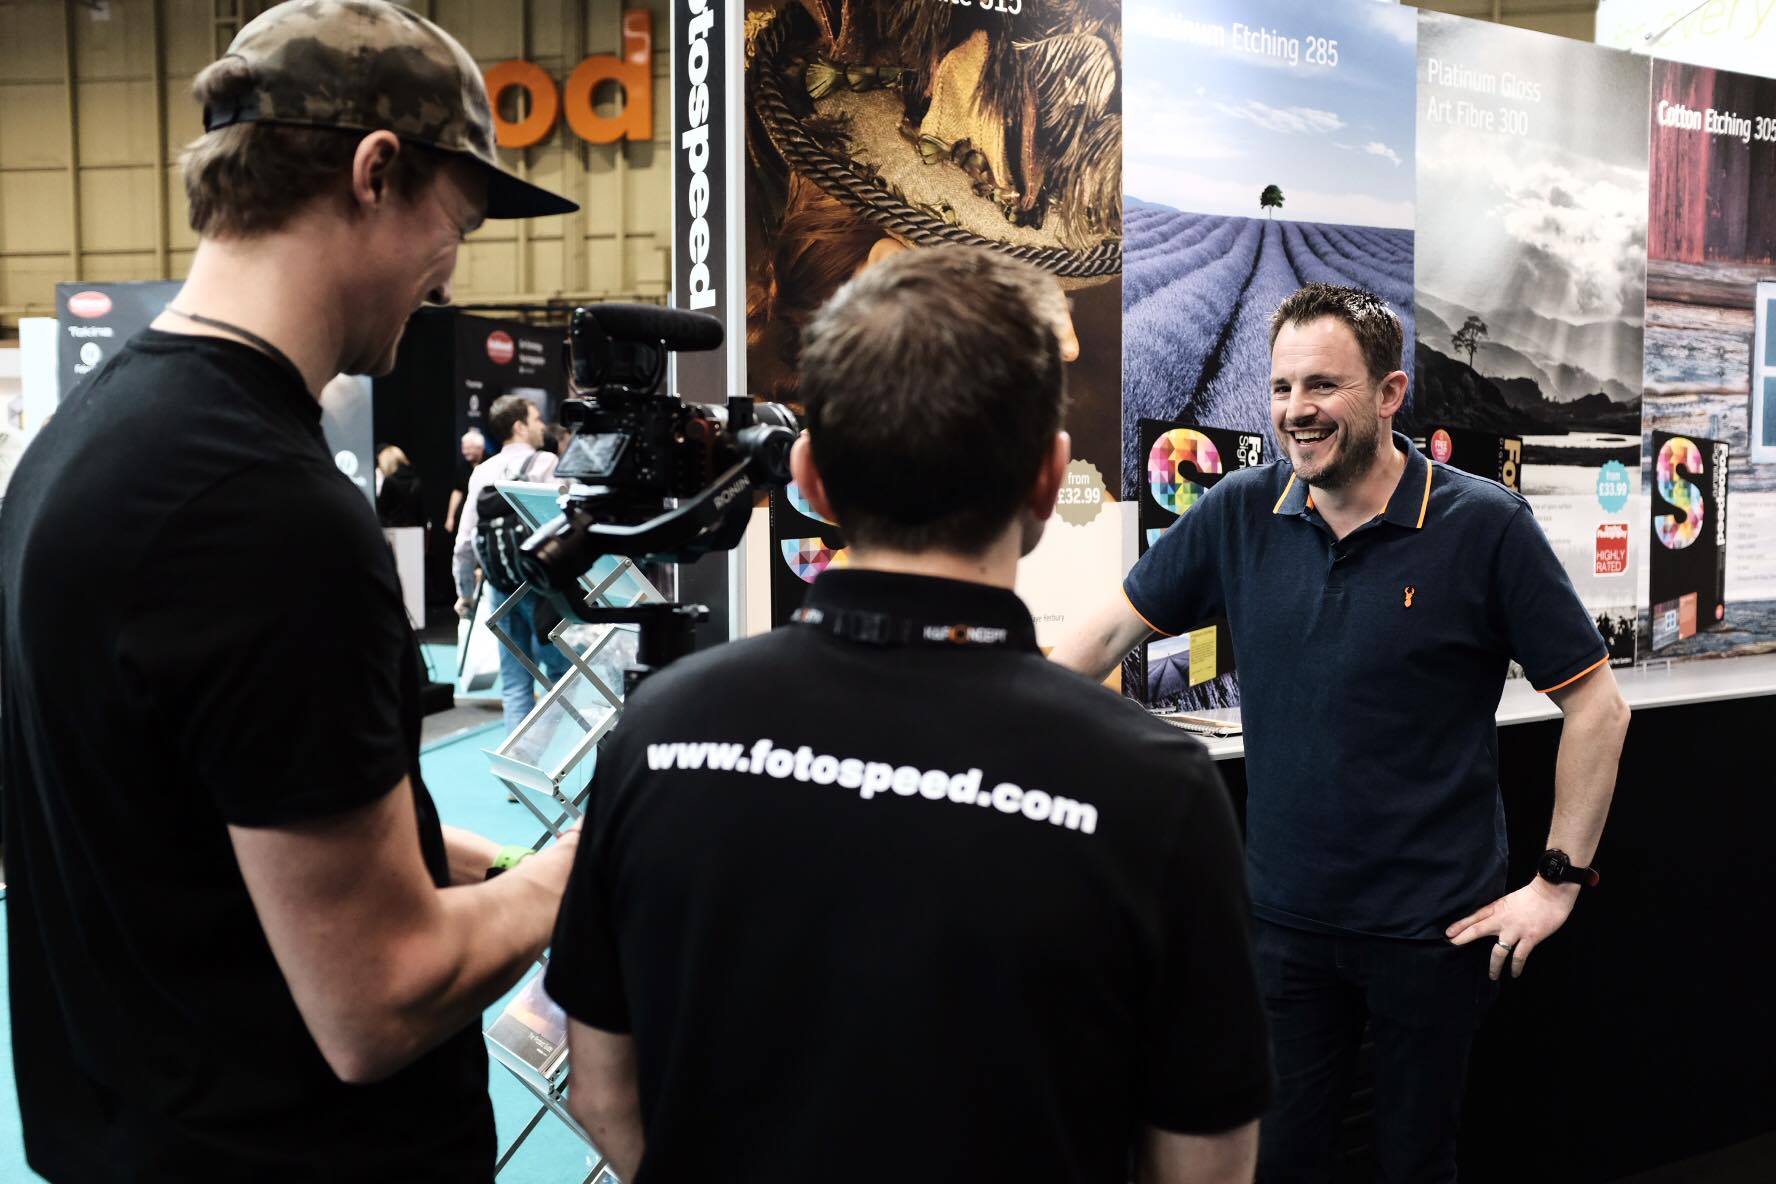
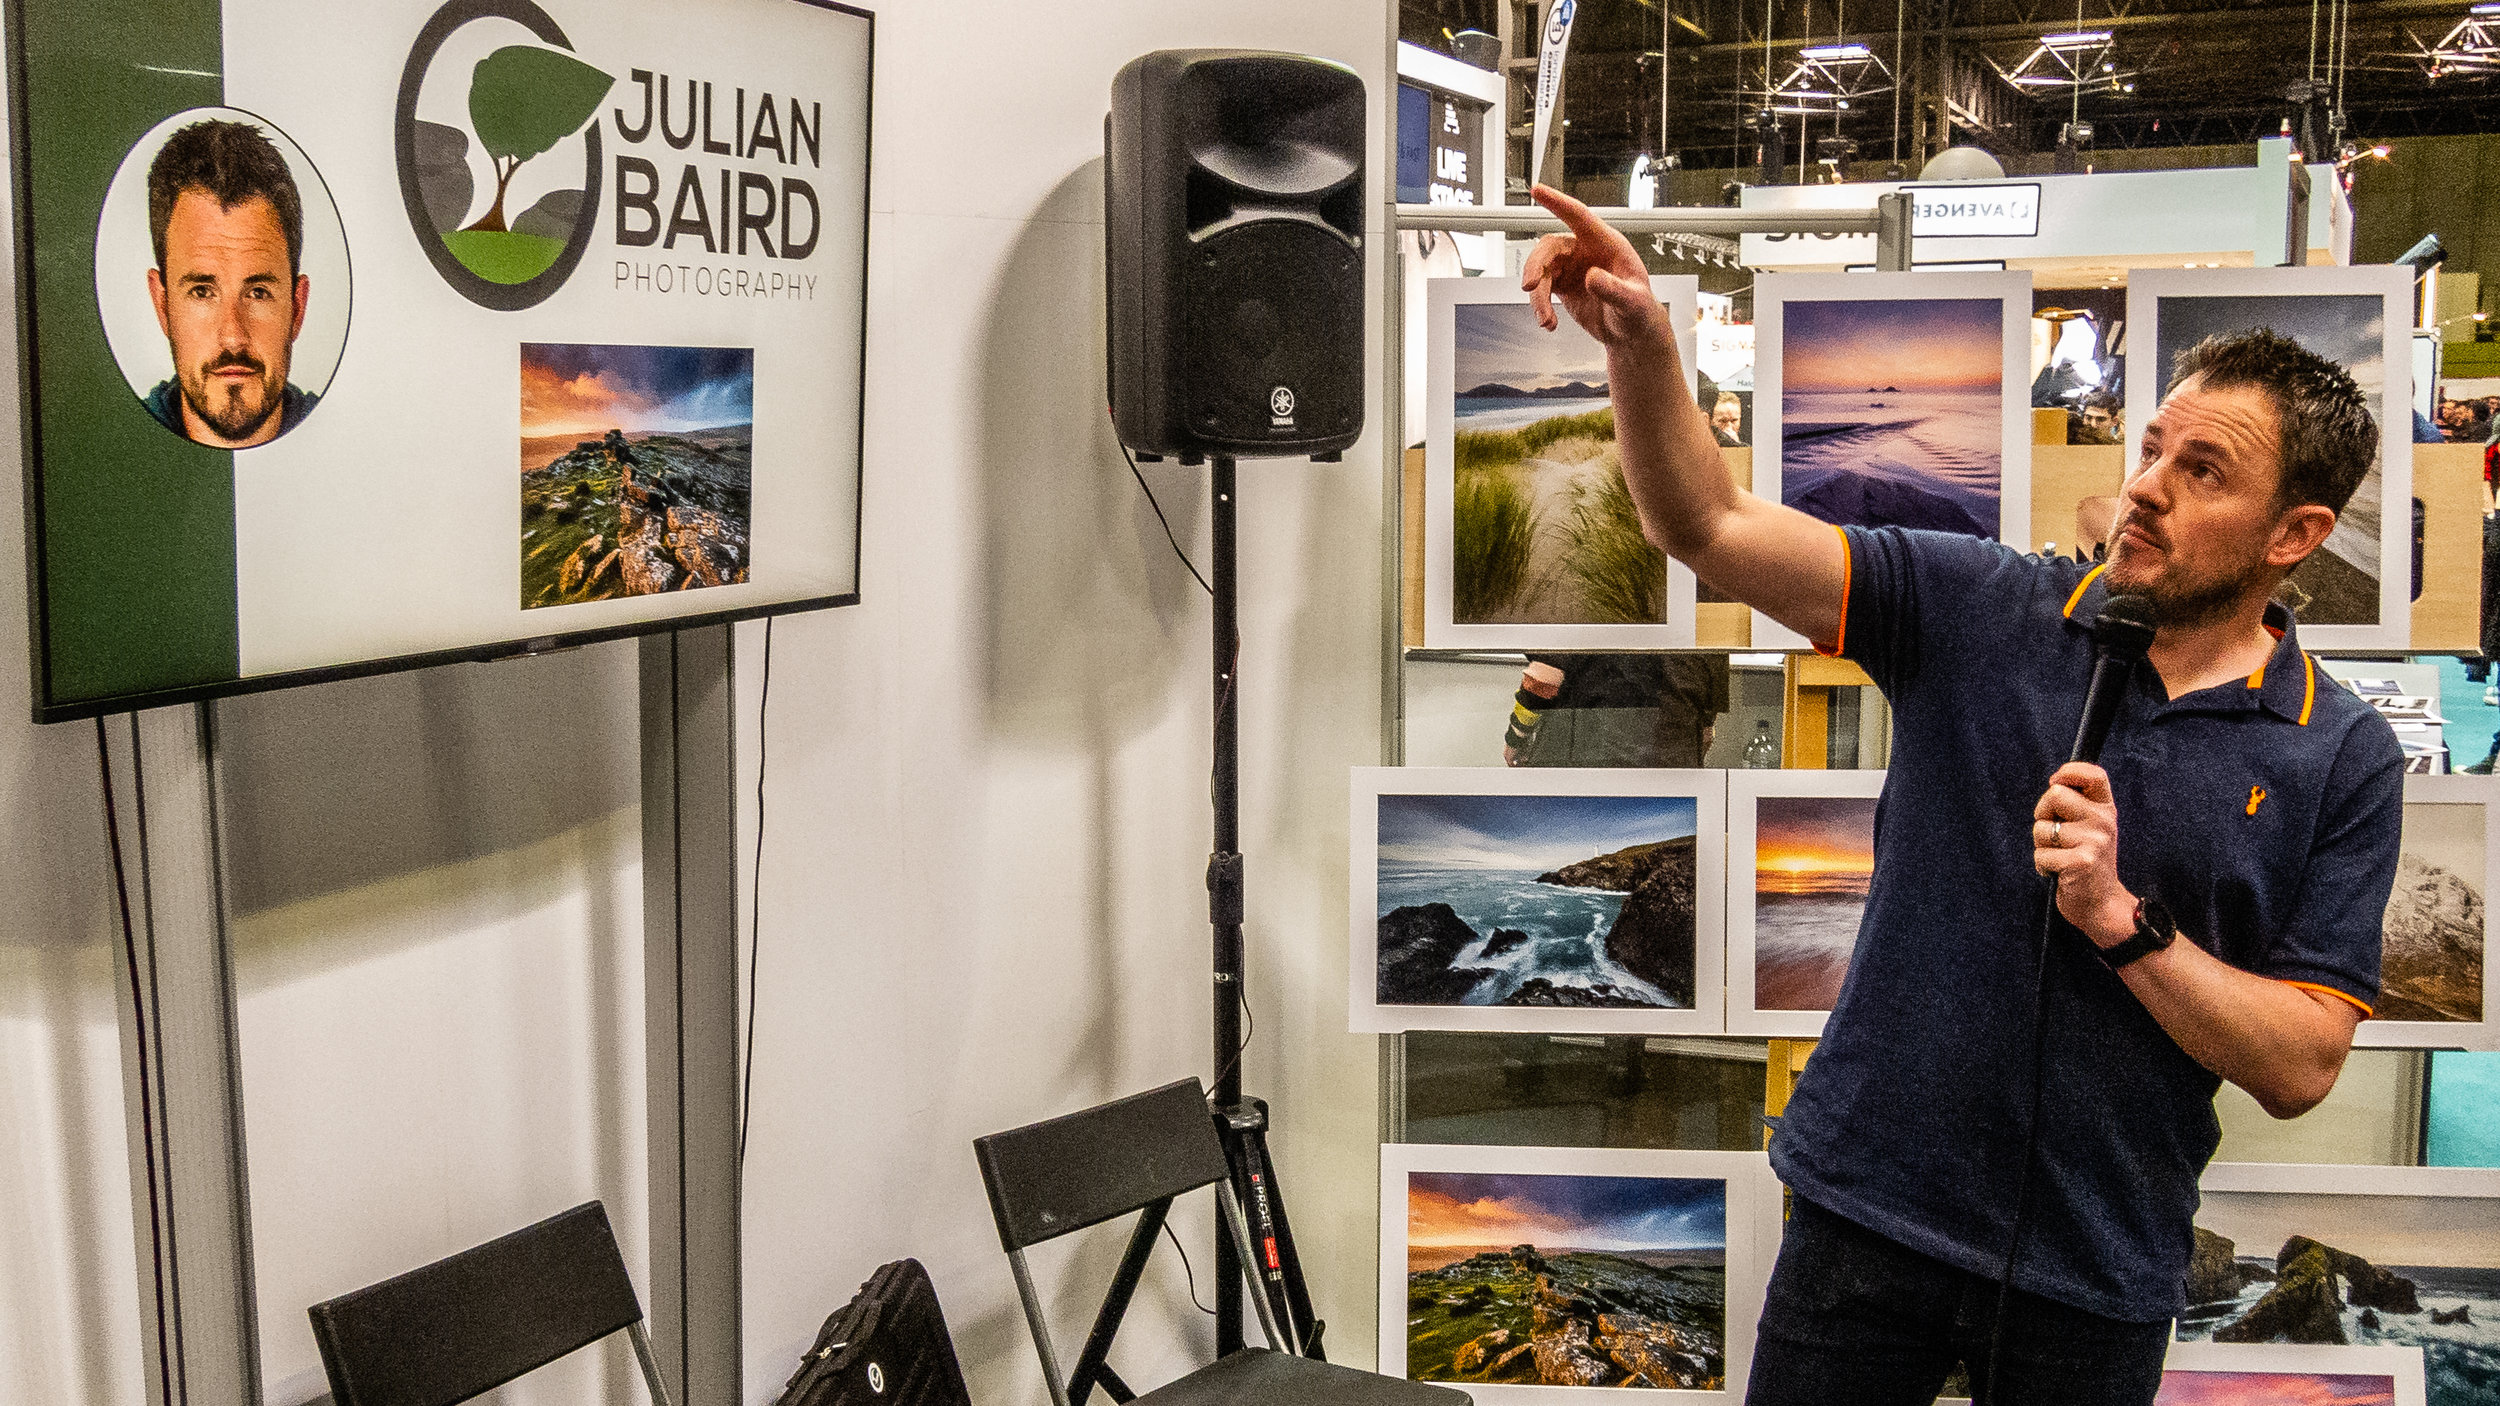
One of the highlights of my time at The Photography Show this year was doing a talk on printing at the Fotospeed stand. In this blog post, I'm very happy to be sharing with you the unabridged video recording of that talk.
Photography Show Talks - An Opportunity
I'm a firm believer that if a good opportunity presents itself that you should grab it with both hands. So when the team at Fotospeed asked if I'd like to do a talk at The Photography Show this year there really was only one answer to give. Yes!
The topic of the talk was up to me but I knew almost straight away that I wanted to talk about printing. Printing has become an integral and enriching part of the photographic experience for me. As regular readers of this blog and viewers of my YouTube channel will know I like to do my printing at home. I've owned a Canon Pixma Pro 10-S for a couple of years now and ever since I made my first print I've been addicted to hitting that print button.
I wanted this talk to be an opportunity for me to share that passion for printing at home. I wanted people to get excited about printing their own work, to have fun with it, and use it as a way to improve their photography. Most of all I wanted people to see that it's a much more rewarding experience viewing their photographs in printed form.
The Importance and Joy of Printing at Home
Thanks to my fellow photographers and friends I'm able to share with you a video of the entire talk I did which was called The Importance and Joy of Printing at Home. Gareth Danks kindly filmed the talk for me, and both Gareth and Chris Sale were good enough to take the still images you see in this blog post.
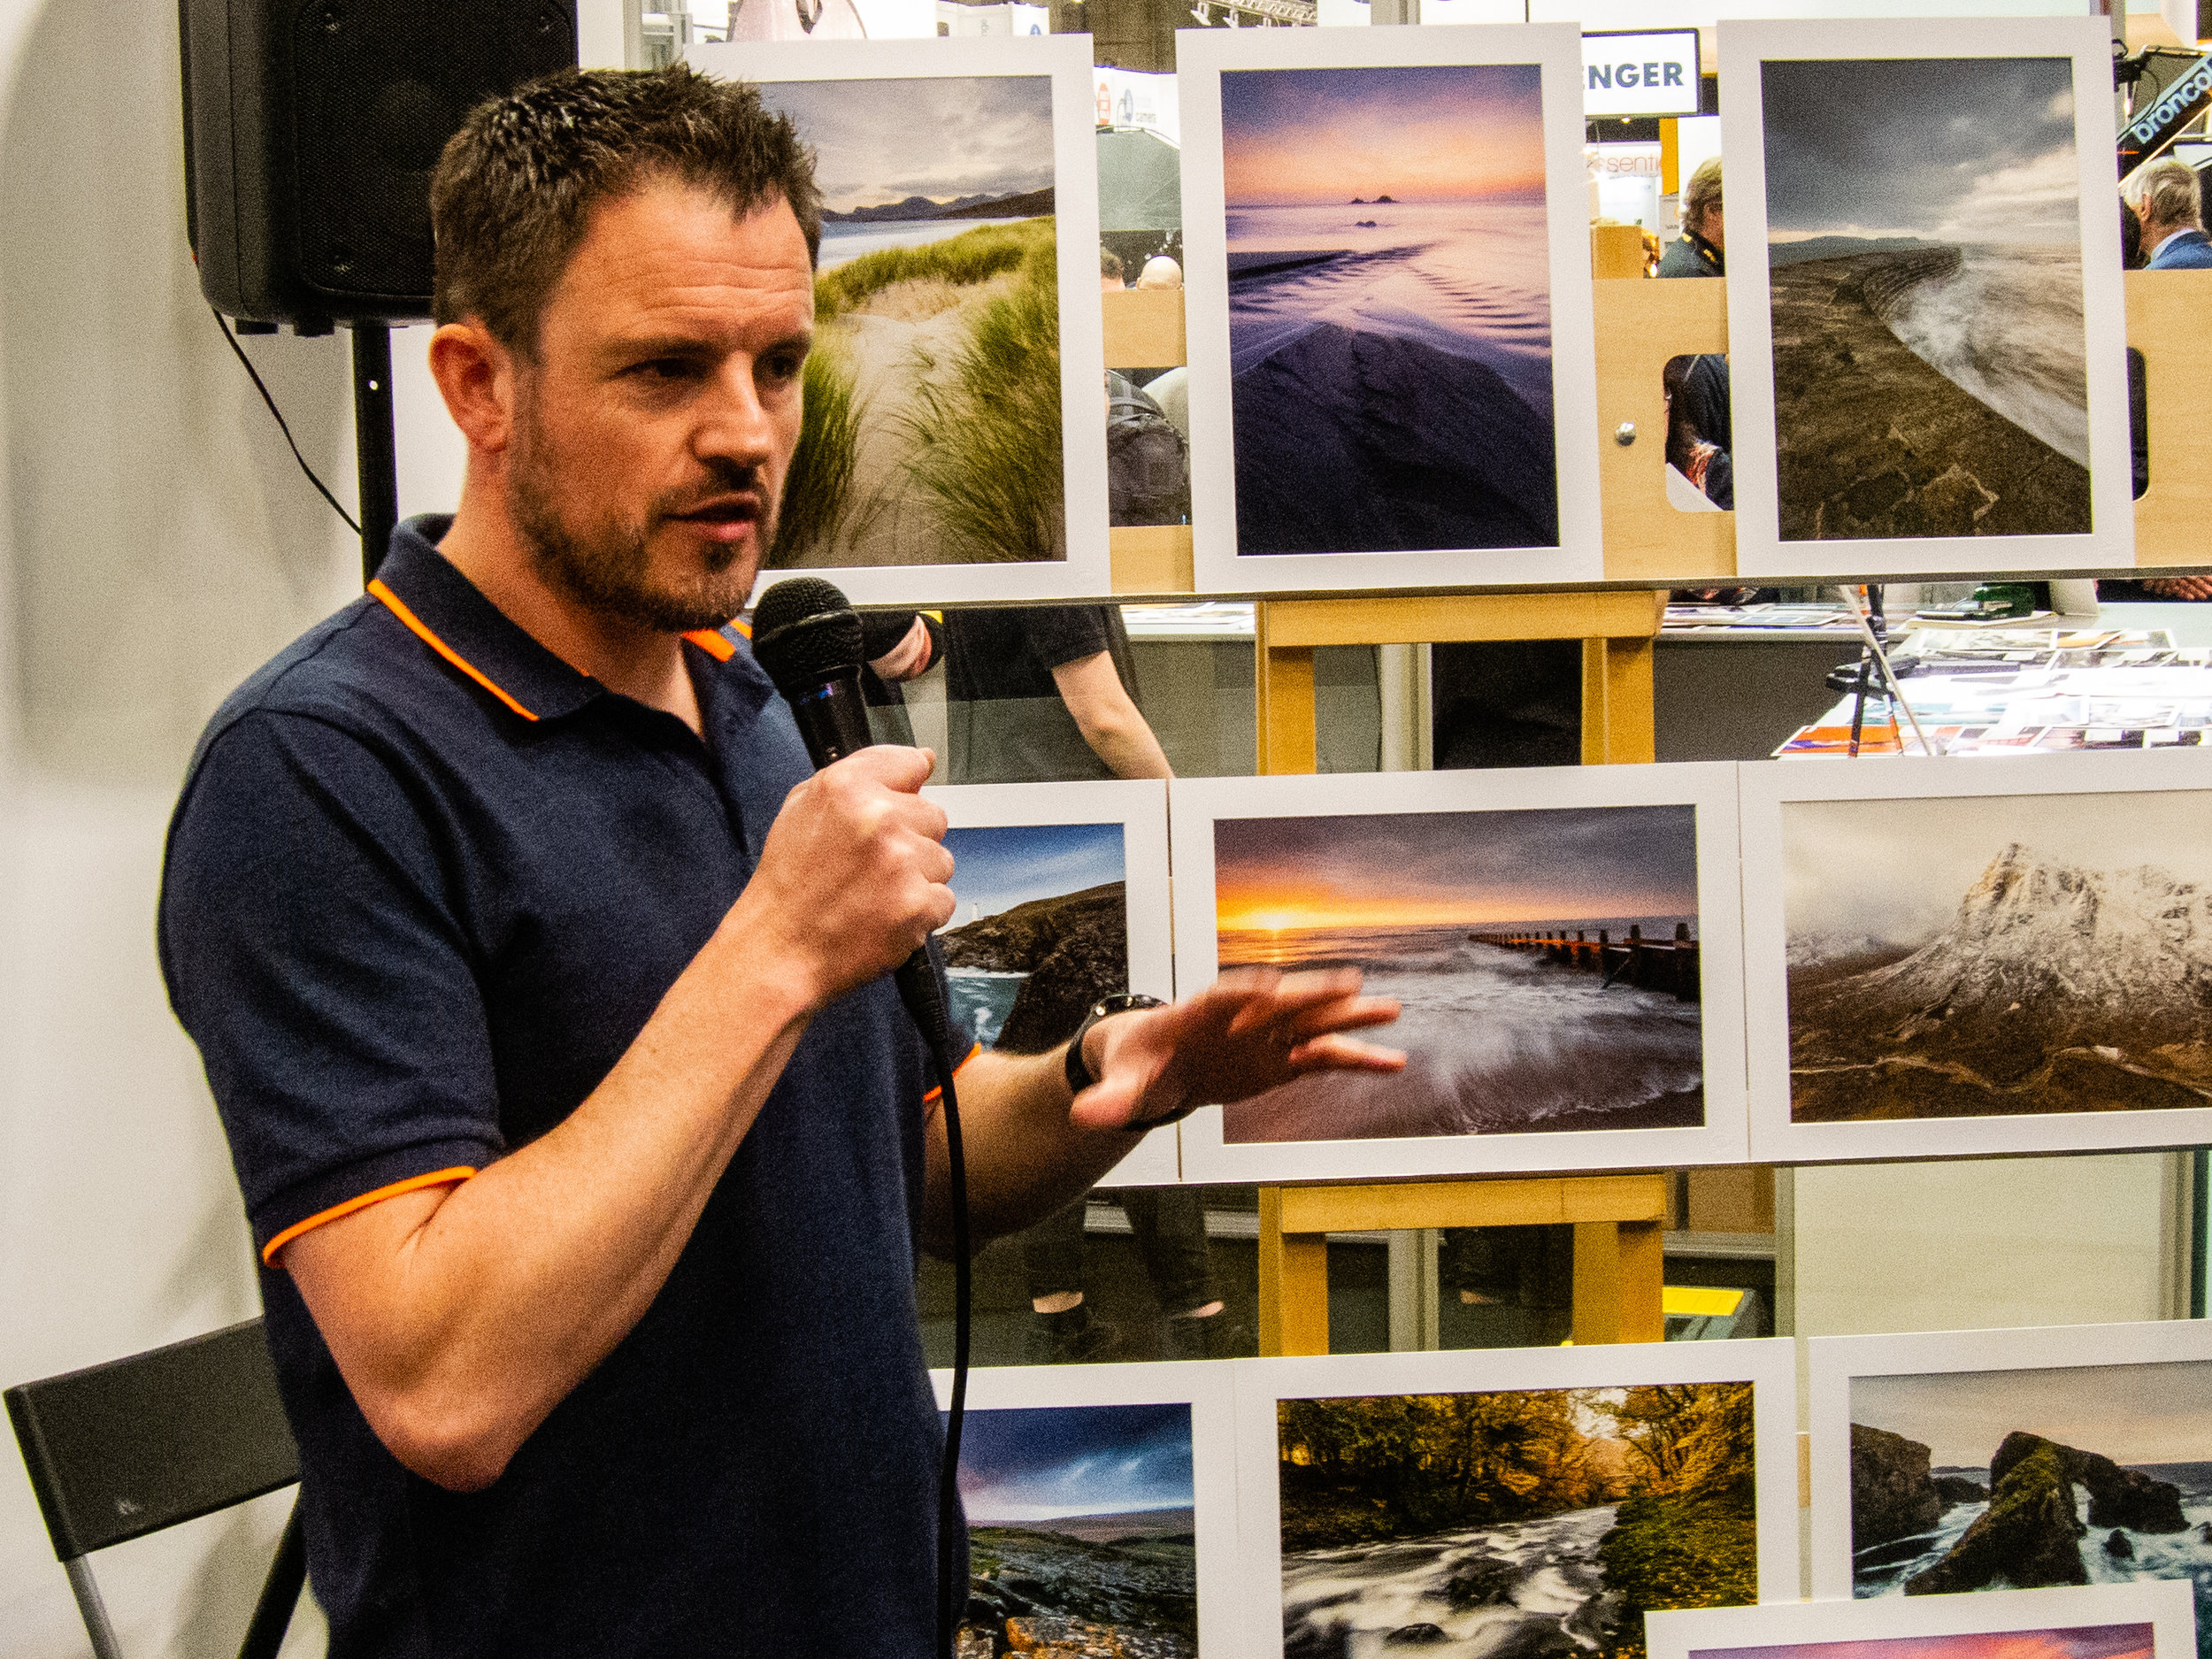
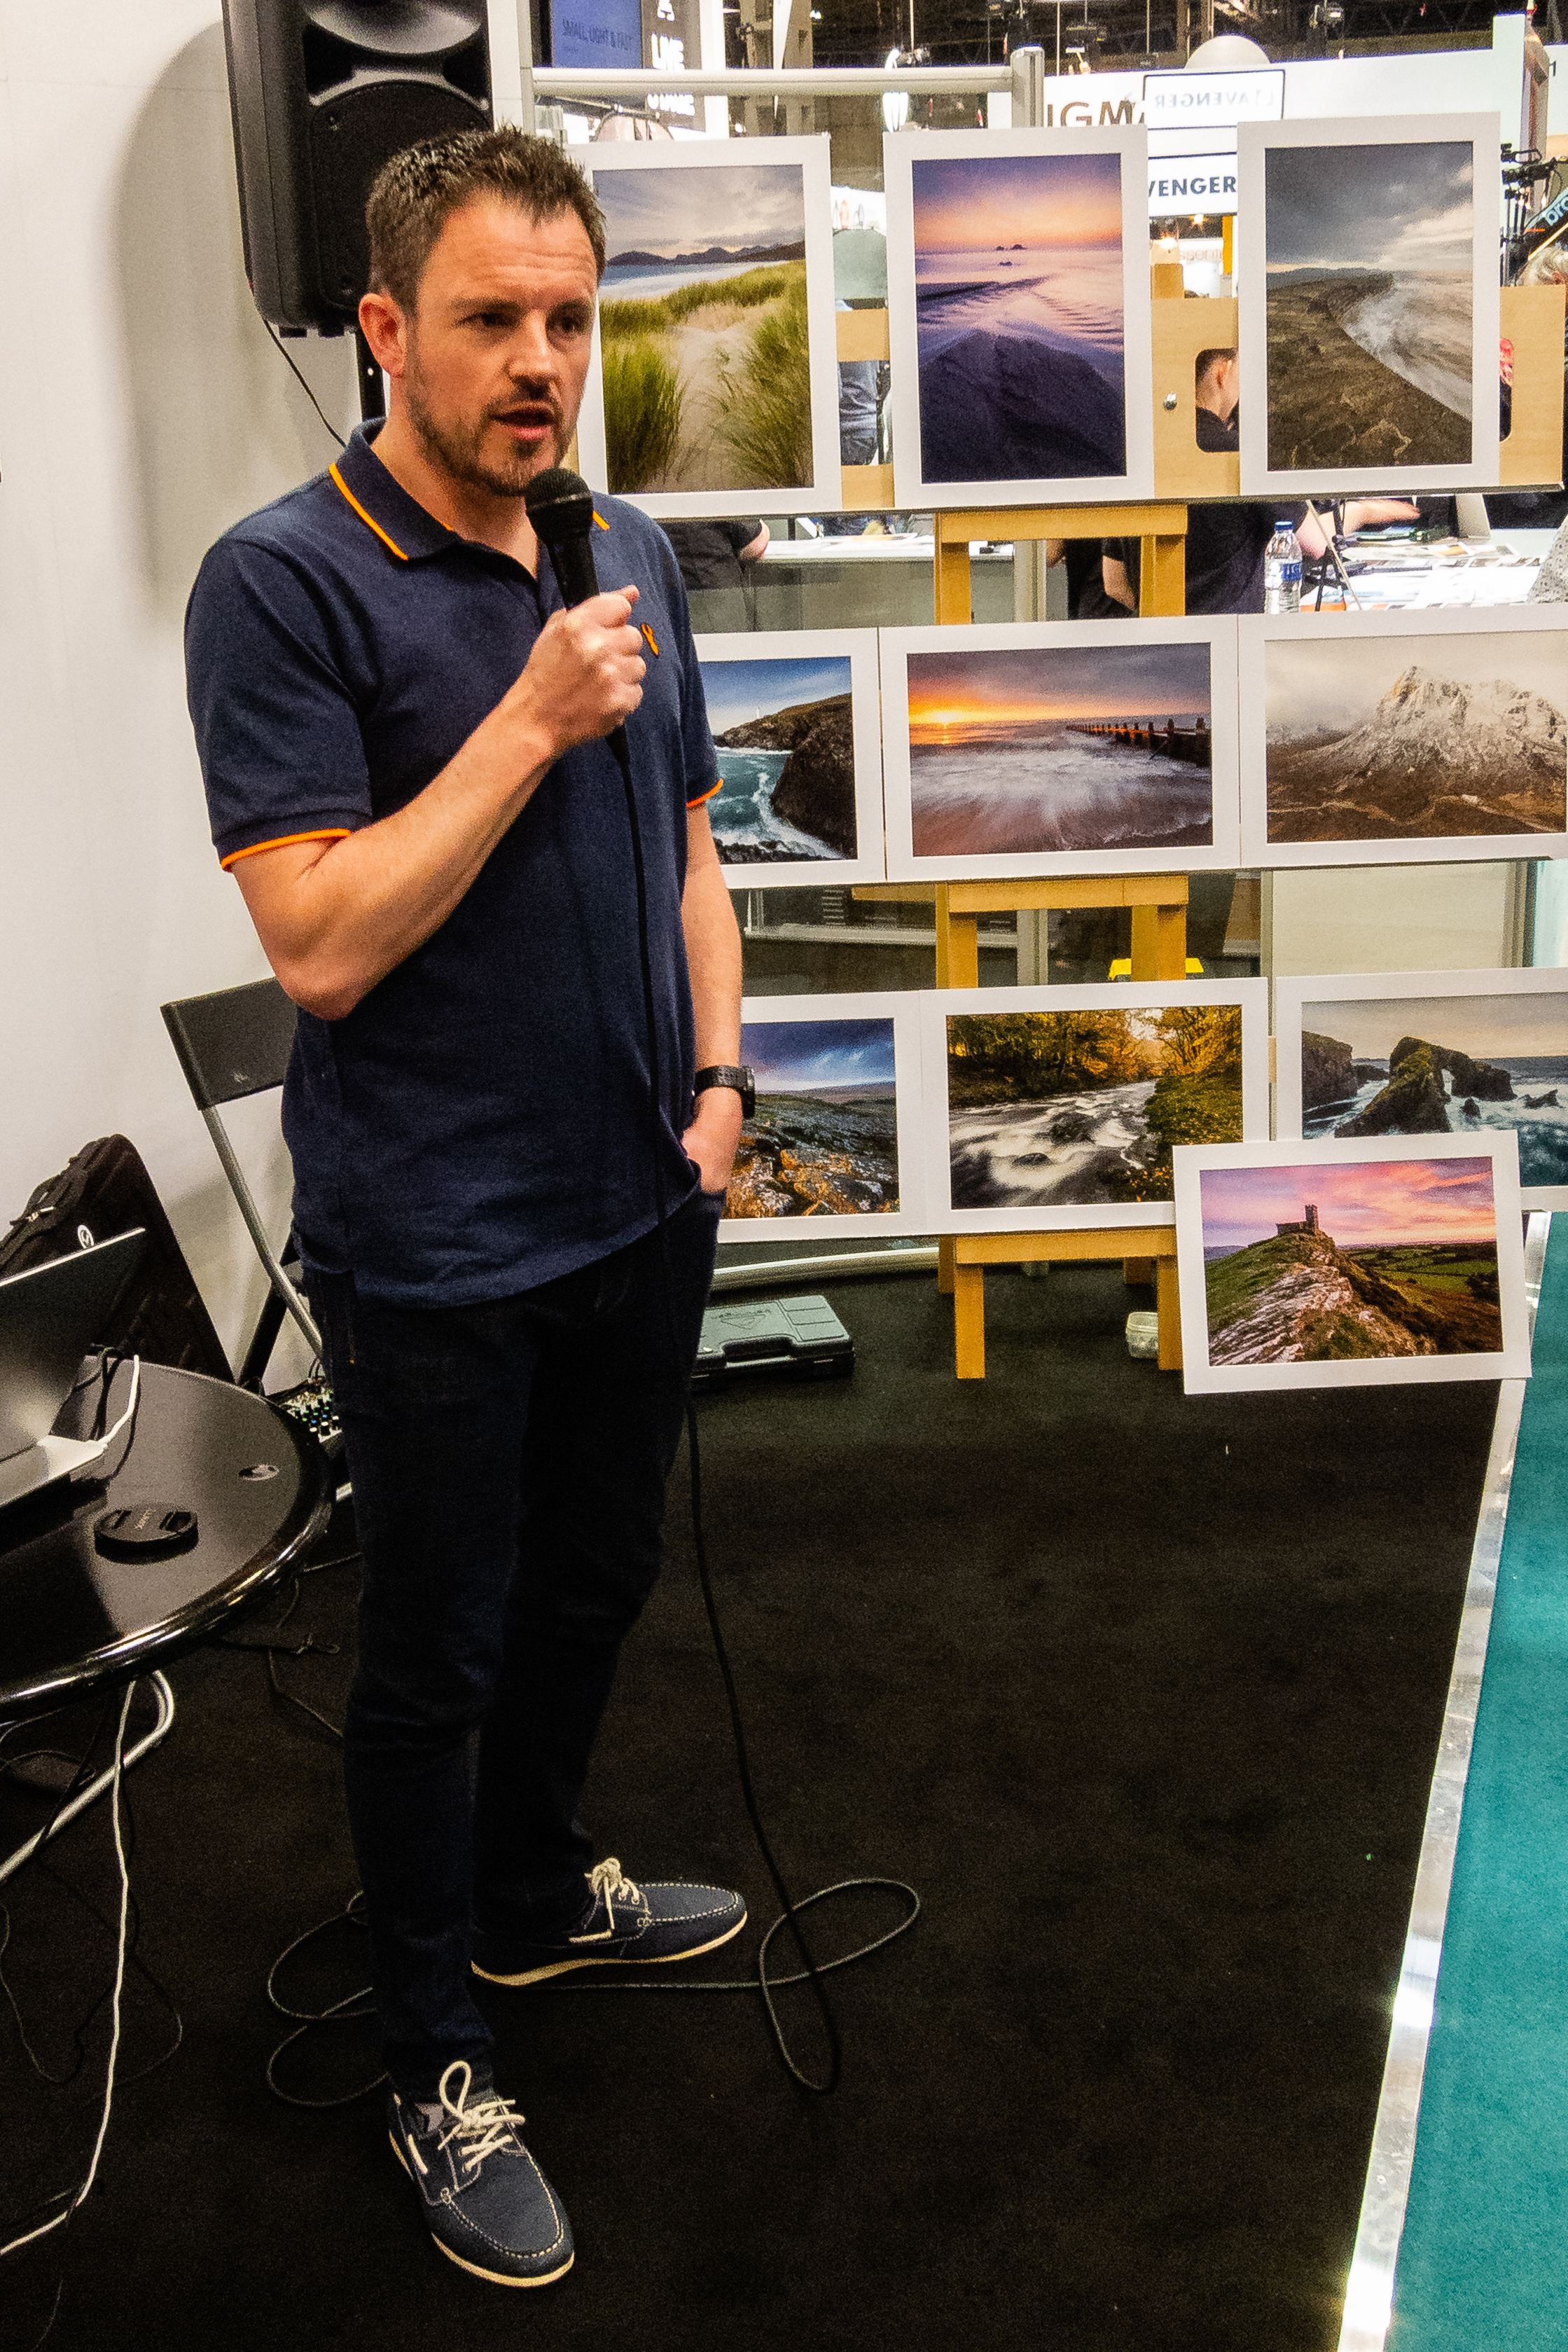
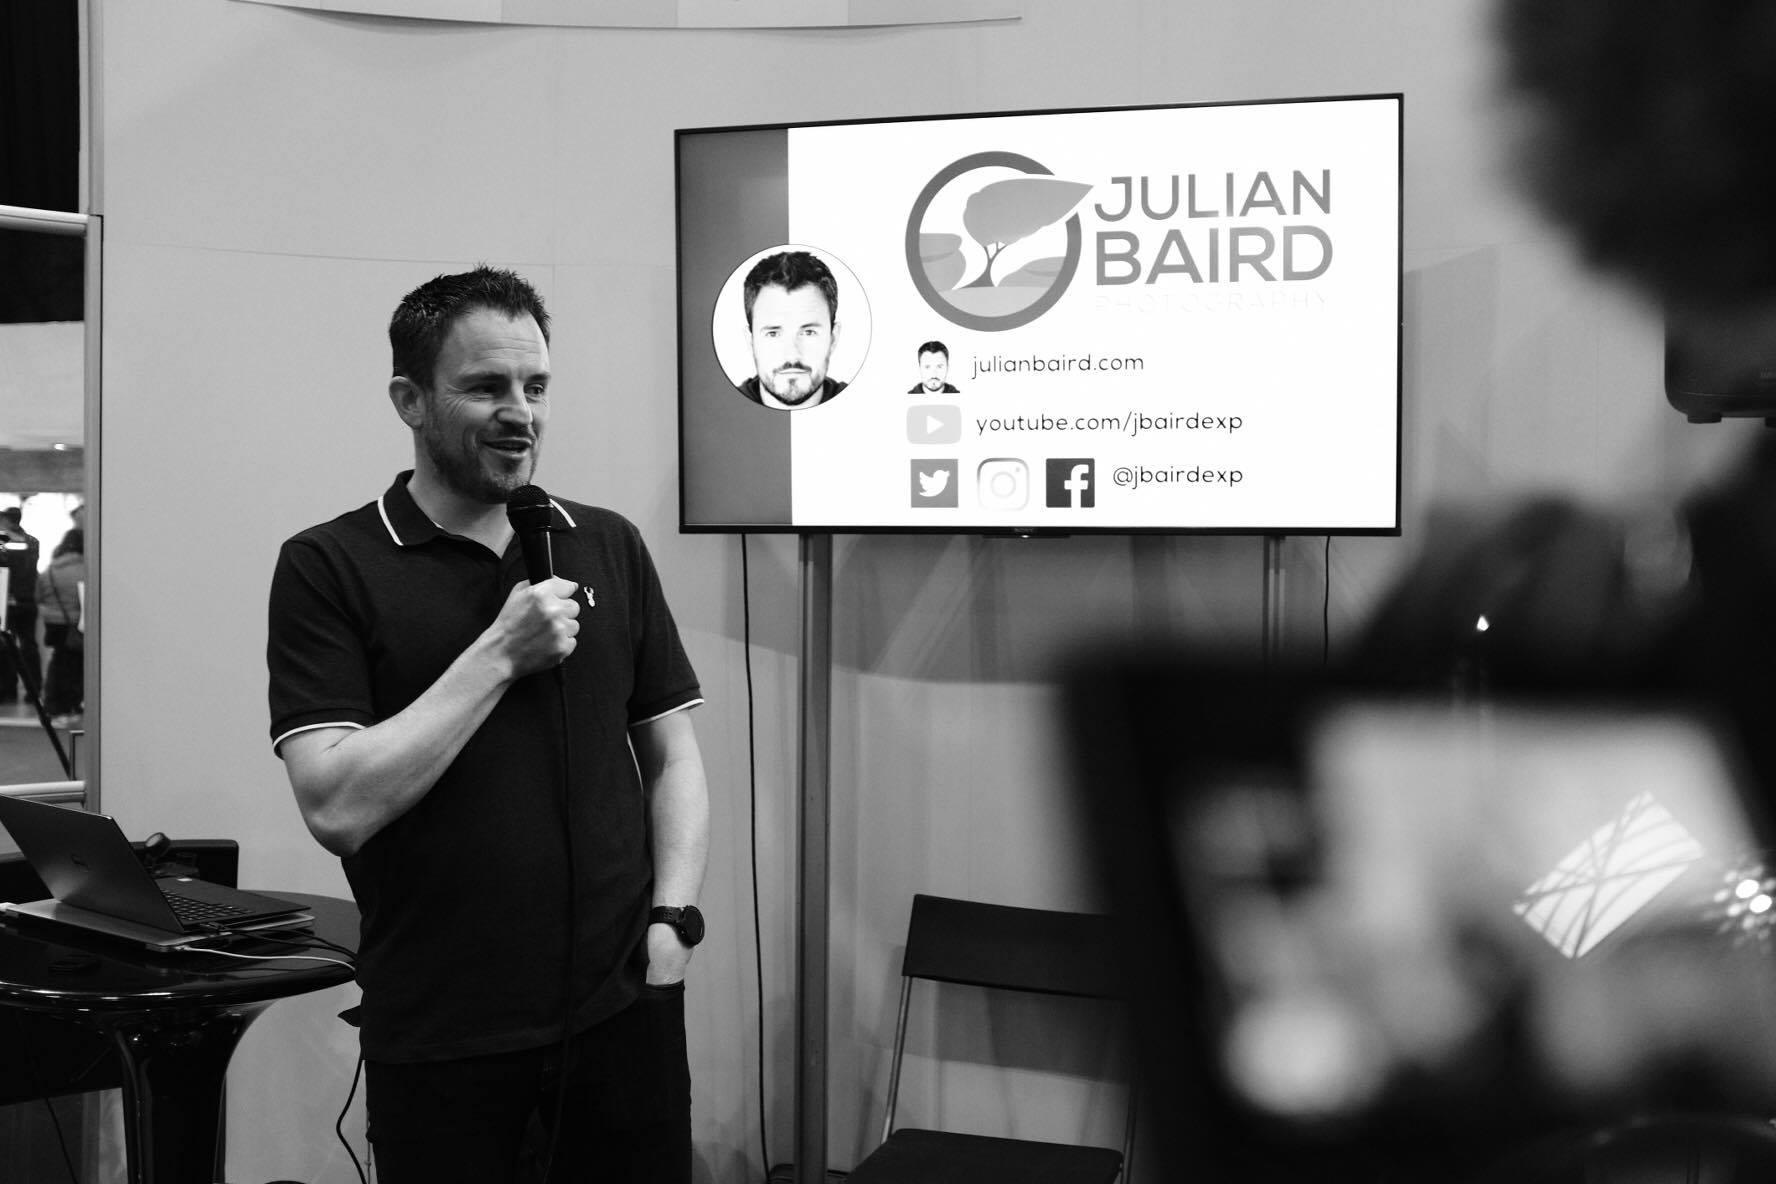
So if you missed my talk at the show, or you did catch it and perhaps want to see it again, here is an unabridged recording. Enjoy!
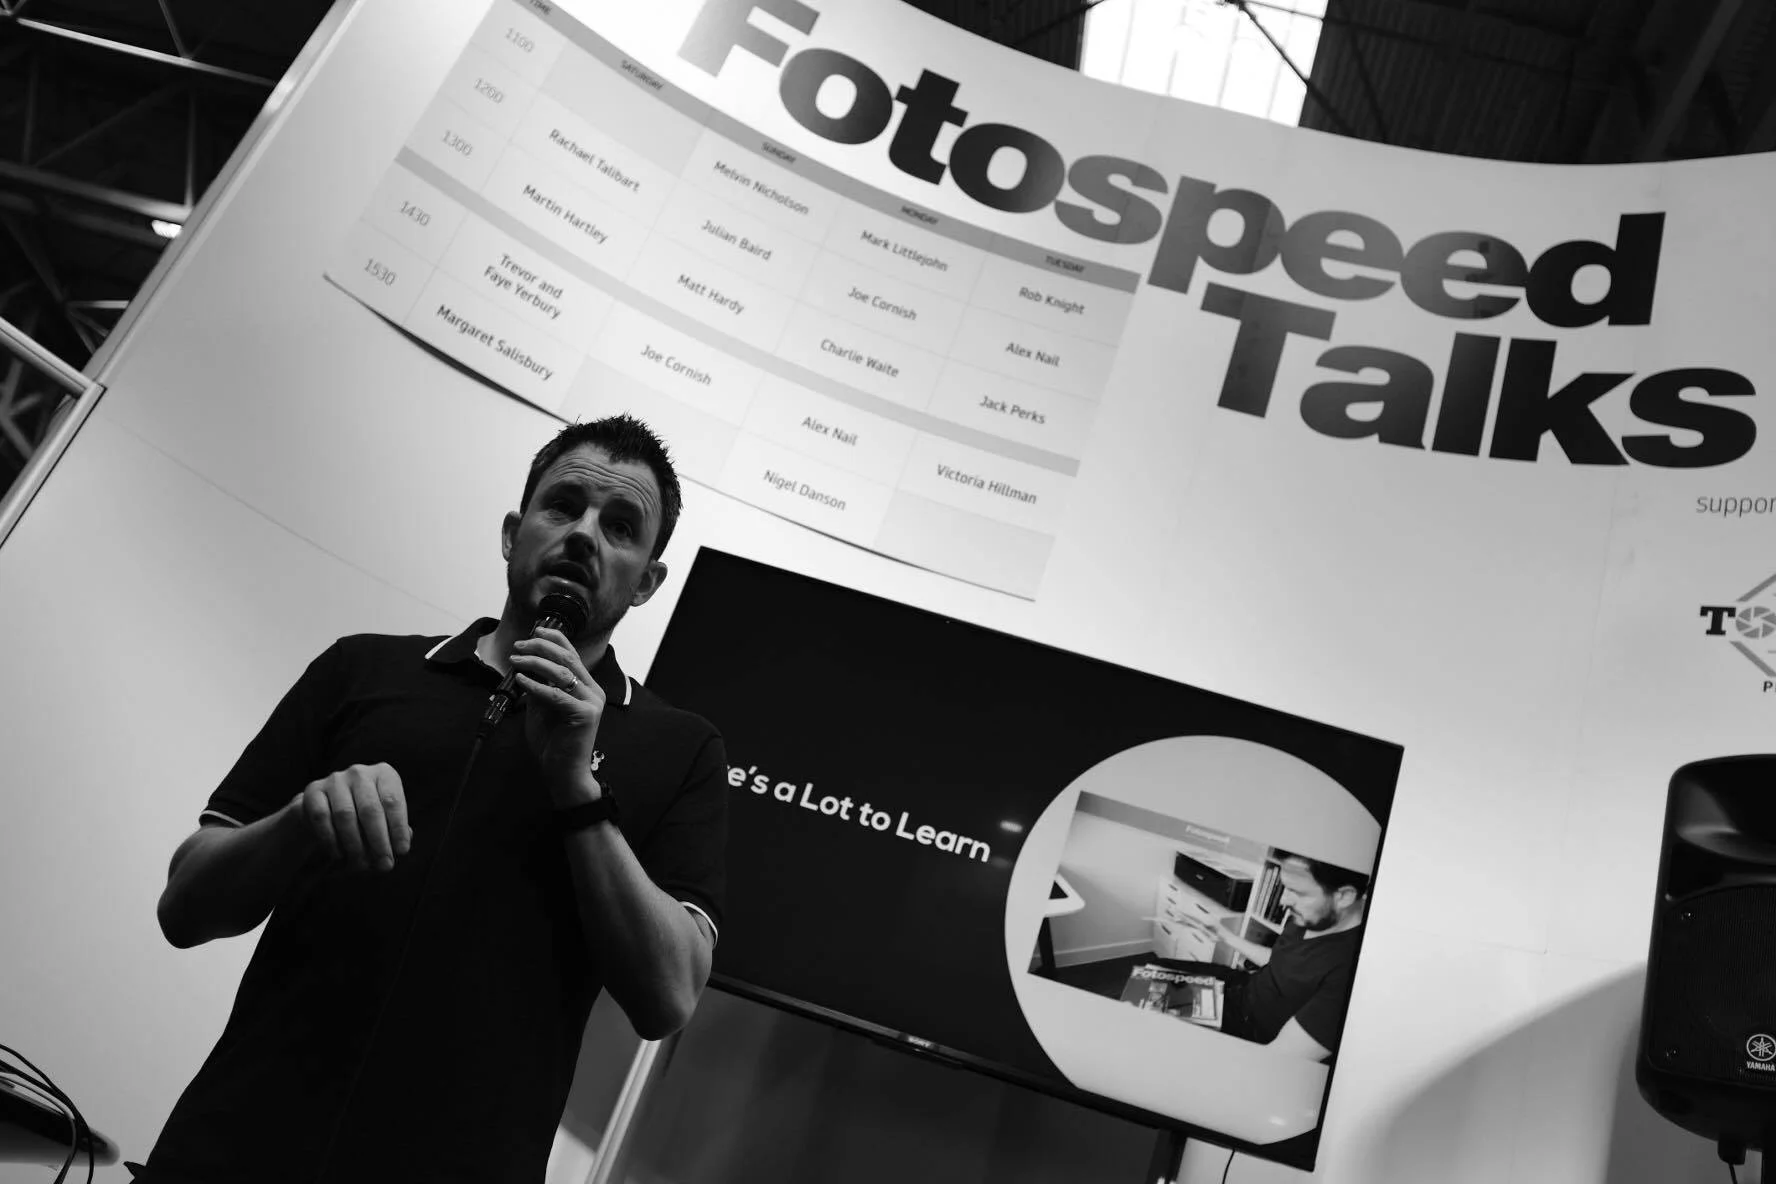
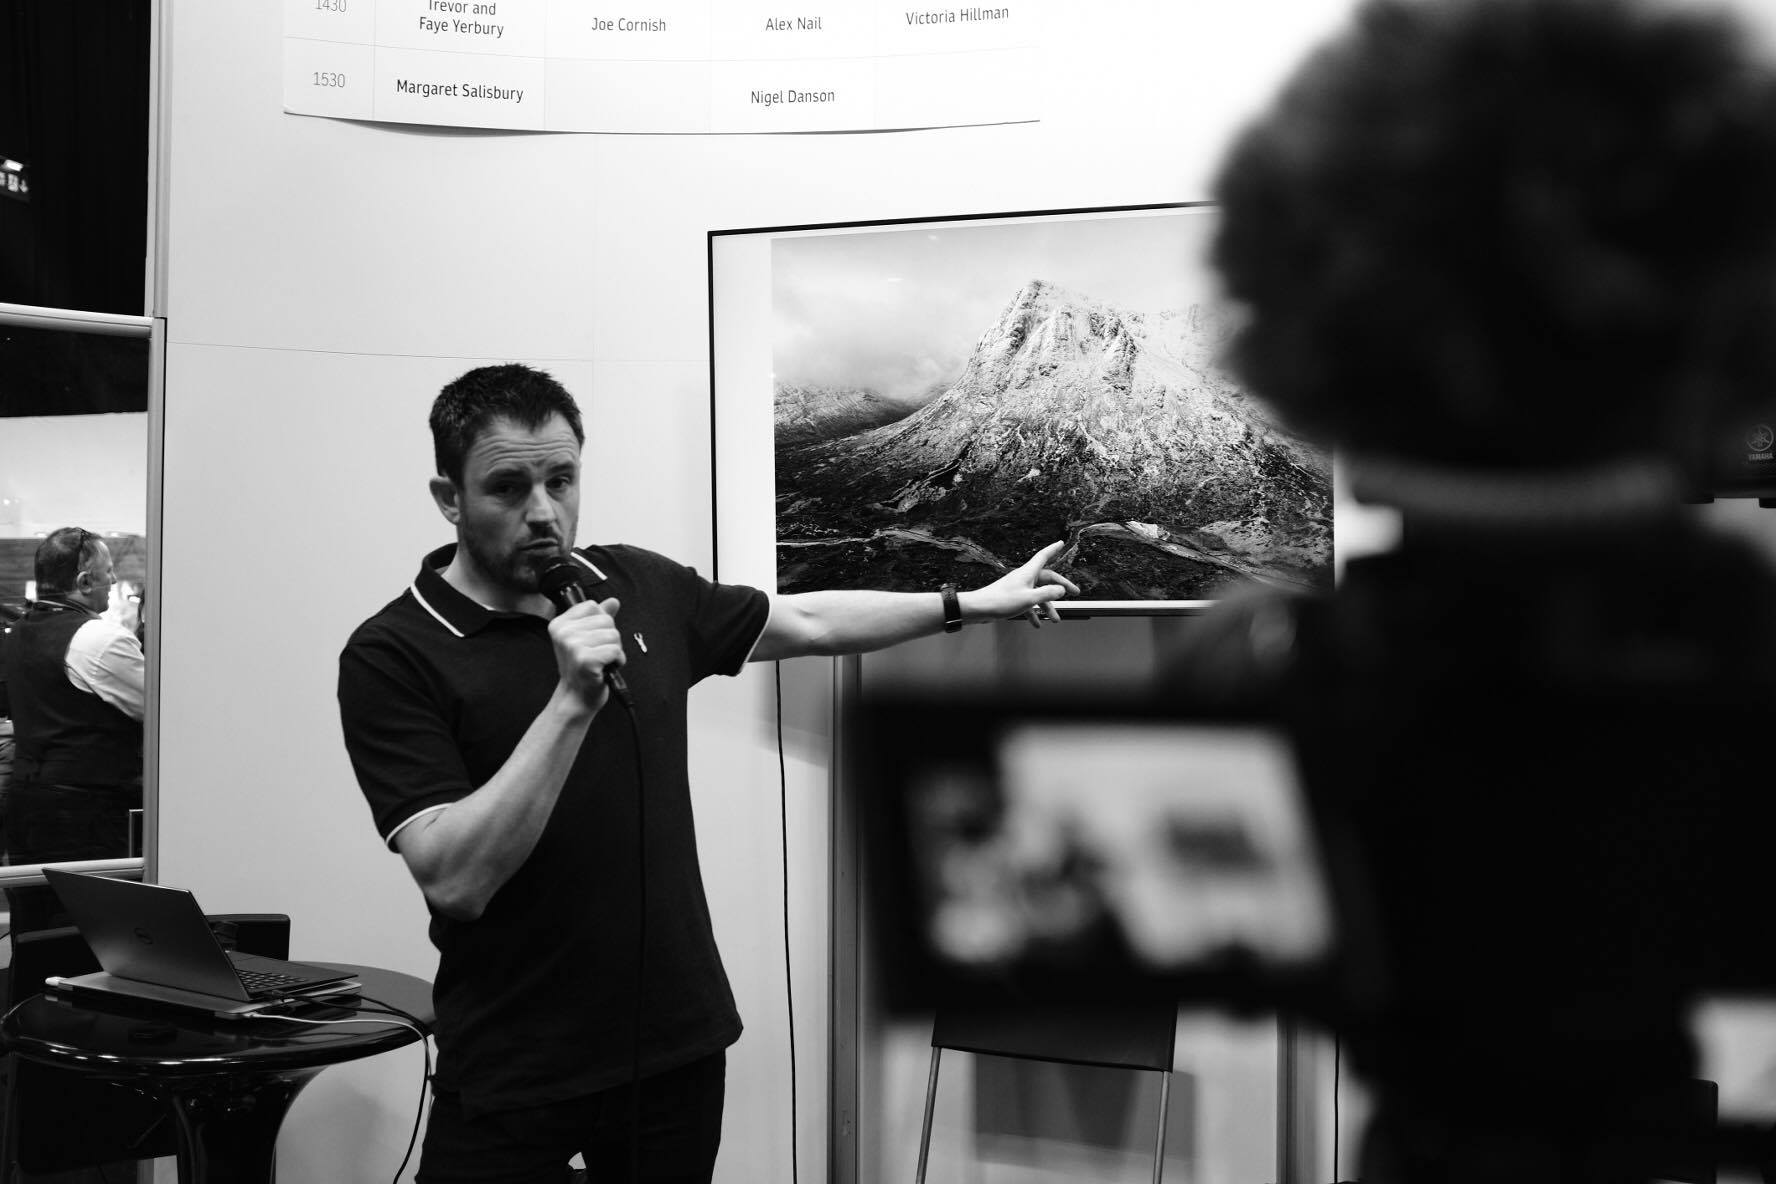
On The Fotospeed Stage
Presenting a talk on printing wasn't the only thing I did at the Fotospeed stand. I was also asked to be compere for the weekend. This granted me the privilege of not only meeting some wonderful and interesting photographers but also a seat on the stage to listen and watch Rachael Talibart, Martin Hartley, Trevor & Faye Yerbury, Margaret Salisbury, Matt Hardy and Joe Cornish all talk about their photography. With such a breadth of skills and experiences brought by these photographers, it was little surprise that each talk inspired my photography in its own way.

On stage with Joe Cornish. Photo courtesy of Gareth Danks.
You can also see me discussing my time at The Photograph Show in this Fotospeed video.
Next Year at The Photography Show
I've attended The Photograph Show every year and it just gets bigger and better each year. From the variety of talks, the products on show and the number of people I get to have conversations with, it's now become an integral part of my photography calendar. One thing is for sure, I will be heading back to The Photography Show in 2020.
I do hope you enjoyed this blog post. Did I meet you at the show? Did you get to see my talk live? Did you enjoy the talk (recorded or live)? Let me know in the comments below.
PS - Trying Something New
As I was at The Photography Show all weekend I had some spare time on the Saturday evening so I decided to try a different genre of photography with a fellow vlogger. I'll be publishing the video for that soon, but can anyone guess what type of photography I was doing and who with?
PS - You can watch that video here.
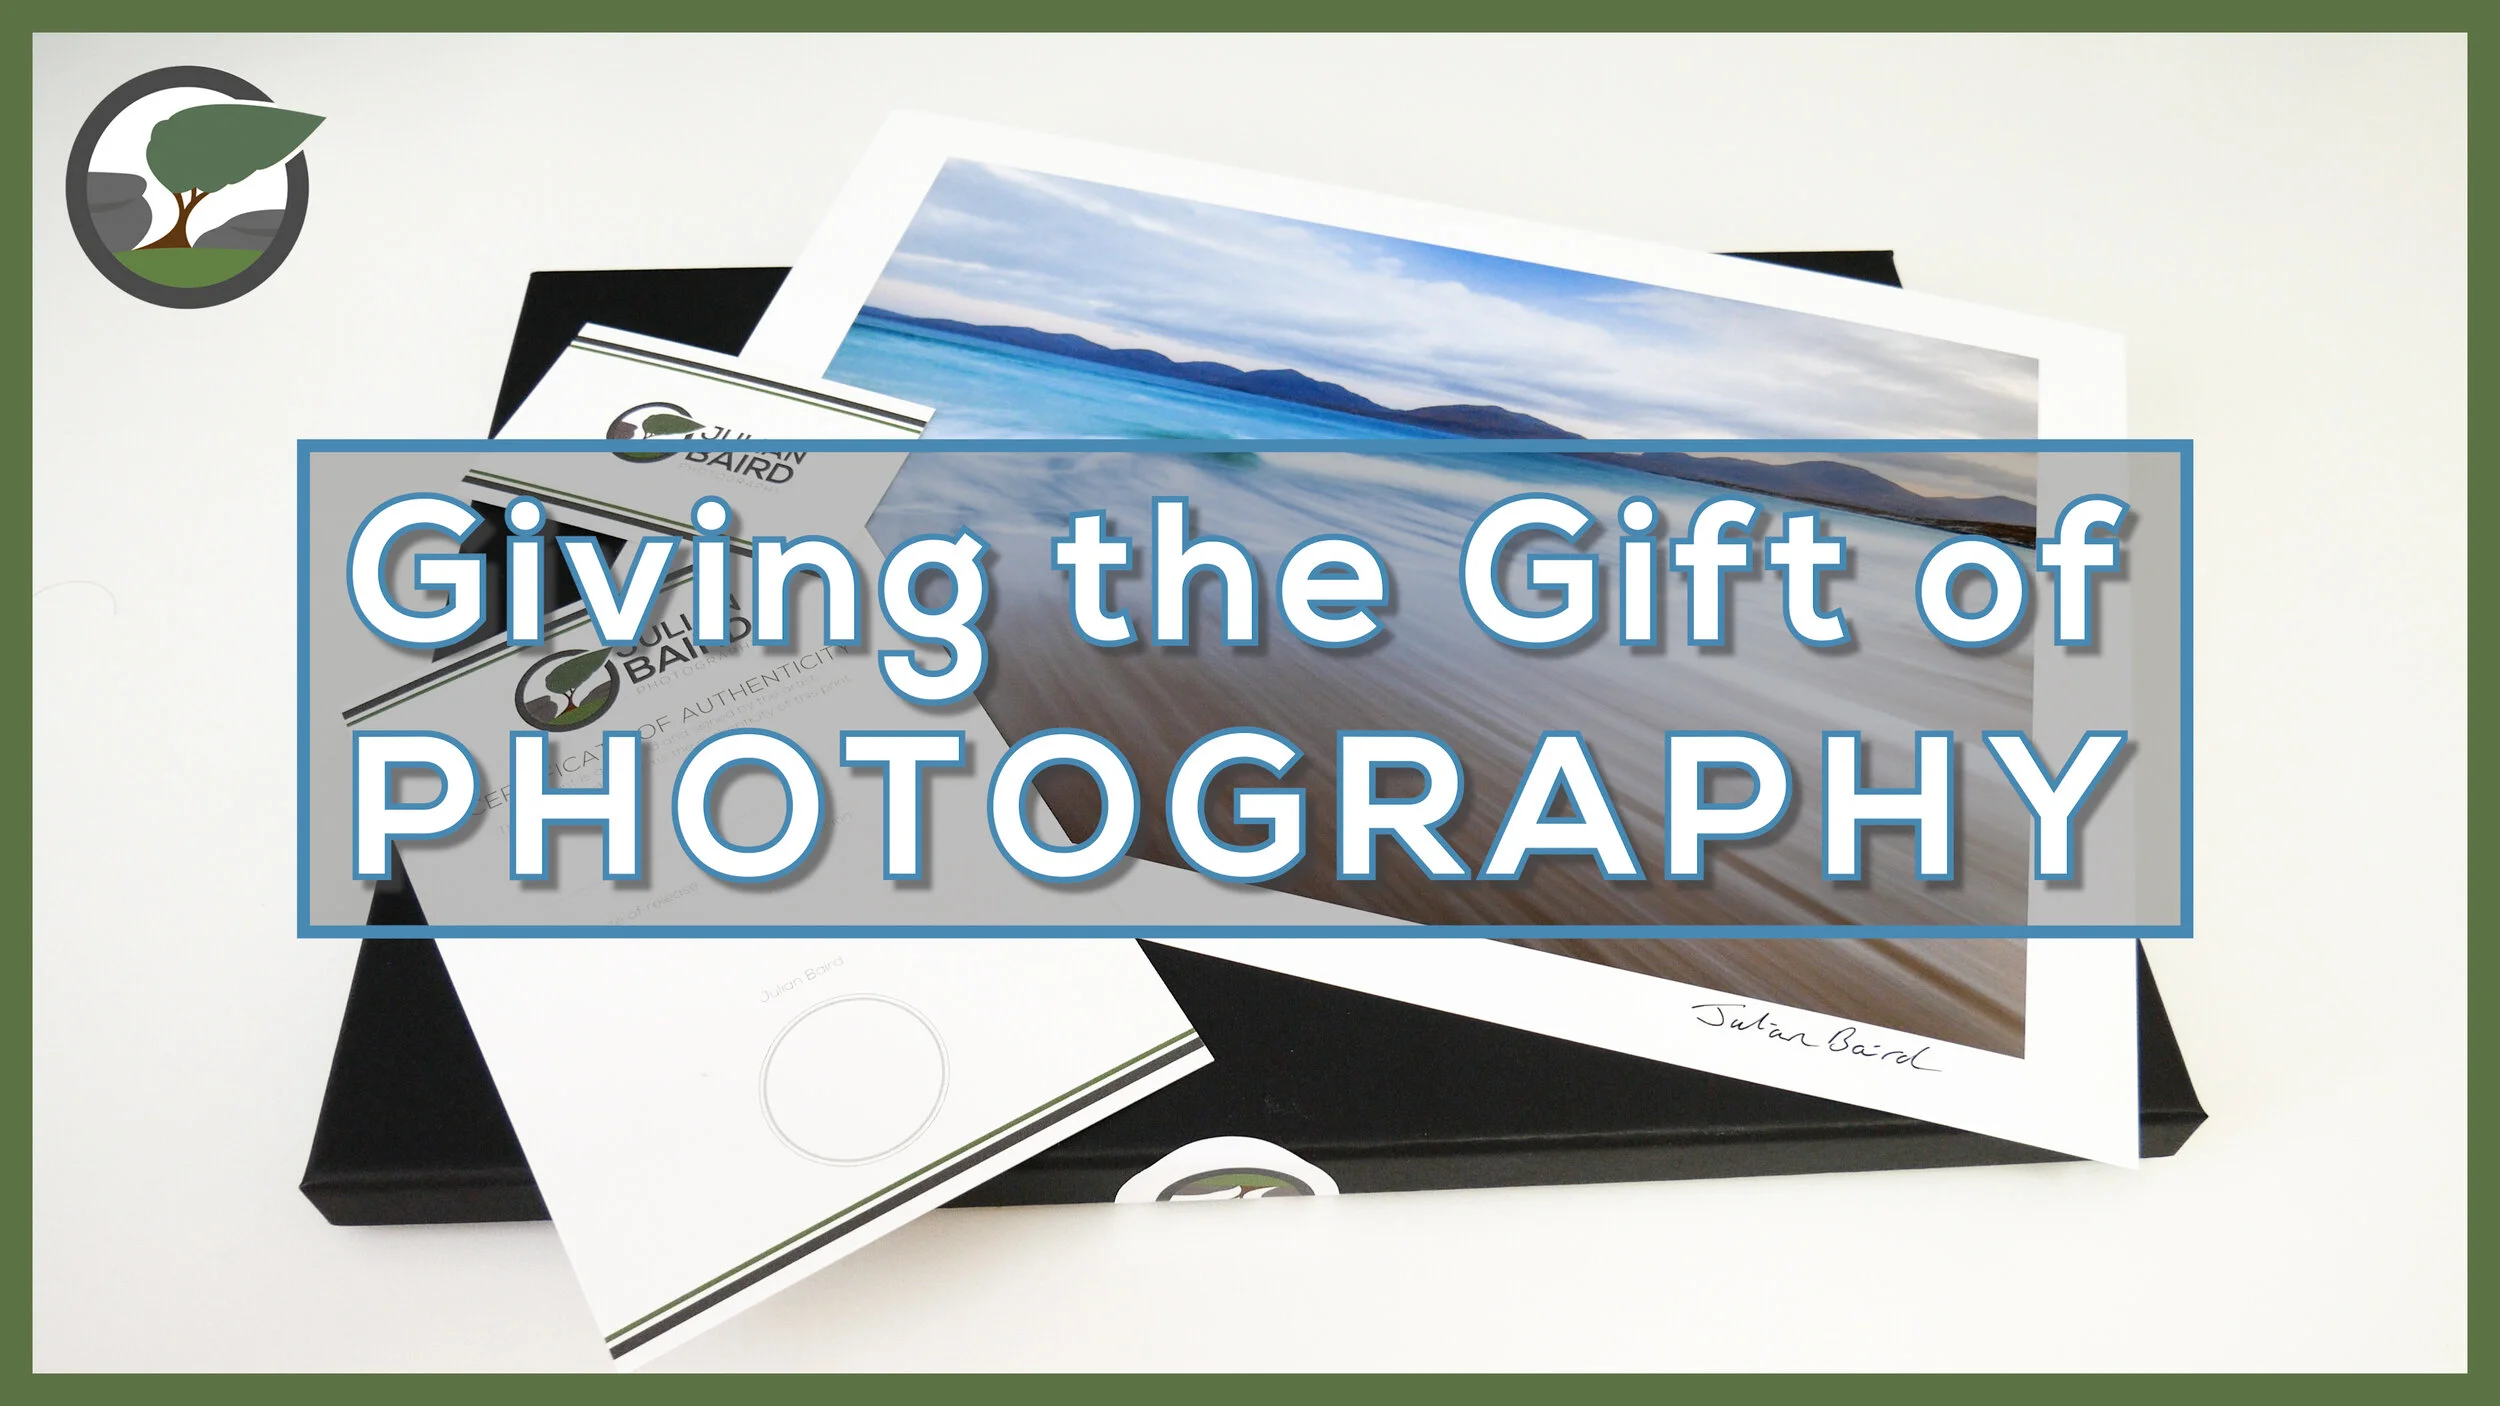
Giving the Gift of Photography
In this blog article I show you how I print and package my photographs before sending them out to clients.
The Gift That Keeps Giving
There’s no doubt that my trip to Lewis and Harris last year, was my 2018 photographic highlight. Being able to immerse myself in photography in such an epic location was amazing. Not only did I get some wonderful images from the trip, but I also got to make a video of my trip, and create a home gallery of the images I captured. It’s fair to say it was a pretty successful trip!
While I was in Harris, I stayed at a really nice property that my friend and I rented for the week. At the time, I thought it would be really nice to offer the owner a print of one of the images I captured on the trip. They might just like a print of a local spot to display on the wall. When I got home and I’d processed all of the photographs, I sent an email to the owner and asked if they would like a print. To my delight, they came straight back to me and said yes!
This was great news, but I didn’t just want to print an image and stick it in the post. I wanted them that have a bit of an experience when they received it. So I got my thinking hat on and got to work on how I was going to package my print.
In the video below, I’ll show you exactly how I’ve packaged my print and describe everything I’ve used to create my unique Julian Baird Photography print experience.
What I Used
I used a number of products in the video, and if you are interested, I’ve listed them below:
Logo and card design by Neil Burnell - Fine Art Photography
An Experience Worth Repeating
All of this may seem a lot of work just to send one person a print, but this won’t be the last print I package and send out. I’m already printing and packaging another order, this time for one of the photographs taken in The Trossachs. It feels great to be able to share my work in this way and to know that people are displaying one of my images in their home.
I do hope you enjoyed this blog post and video. Do you do something similar with your photographs? What packaging do you use? Let me know in the comments below.
Print Giveaway!
At the end of the video, I said I was giving away one of my prints! The lucky winner can choose an A4 print from any image in my portfolio or from my Harris and Lewis collection, and I will package it up in the same way as you saw in this video.
All you need to do is to leave a comment on this blog article with the text “I Love Printing”, and you will be included in the draw. Draw closes on 31st March 2019. Good luck!

Creating a Landscape Photography Gallery at Home
In the blog this week, I show you how I created my very own home gallery of images from Harris & Lewis using some fantastic papers from Fotospeed.
Printing Landscape Photographs at Home
If you’ve been reading my blog or watching my YouTube channel for a while you know I’m a big fan of printing! For me it’s an exciting part of the photographic process as I take a digital image and make it a physical photograph.
Regular readers/viewers will also know that last year I was lucky enough to photograph one of my bucket list locations, the Isle of Harris and the Isle of Lewis. I managed to capture some wonderful images but after sharing them on this blog, and social media, I knew I was going to not only have to print one image but a whole gallery of them!
I thought this would make for an interesting video, so I’m very pleased to share with you this video on how I went about creating my very own landscape photography gallery at home.
My Landscape Photography Adventure to the Outer Hebrides
As I mentioned in the video I created a video of my adventure to the Outer Hebrides, so if you are interested in seeing how some of the photographs I used in this printing video were created, you can see it here:
Products Used in Video
In the video I also said I would list out some of the products and equipment I used to create the gallery:
Fotospeed papers:
FYI - You can find the Fotospeed Tips and Tricks Facebook page here.
Printed using a Canon Pixma Pro-10S
Picture frames from Picture Frames Express
Those white cotton gloves I use to handle the paper
My Other Printing and Processing Videos
I also mentioned in the video that I would share with you all my other videos on printing and processing:
There’s Always Something to Print
I do hope you enjoyed my video on creating your own landscape photography gallery, and hopefully it has inspired you to print a little more. I highly recommend it!
Do you print at home? Do you have somewhere to create your own gallery? Is there another video on printing you would like to see me produce? Let me know in the comments below.

Can You Print Images Captured from a Drone?
In the blog this week I look at printing images that were captured using a drone. Is there sufficient resolution and quality to justify making a print?
Capturing a Panoramic Image with a Drone
I'm a big fan of drones. I think they are an amazing bit of technology. Though I've taken still photos with my drone before, it is the video features that I use the most. The aerial footage you can insert into a vlog really helps tell the story of the location.
A few weeks ago though I published a video called Creating Panoramic Images of Glen Etive with a Drone. In the video, I used the drone to capture a big panoramic image of the Loch Etive area where I was staying on holiday. It was an image that I couldn't have captured if it wasn't for the drone.
Can You Print an Image Captured from a Drone
When the video was published a few people asked the question about how the image looked in print. After all, the camera sensor in a drone like the DJI Mavic Pro is nowhere as advanced as the sensor in my D850. However, does that mean that the images from a drone aren't worth printing?
As I'd never printed an image captured on one of my drones before I thought it would be a good time to find out. So, can you print an image captured from a drone? Let's find out.
As you saw in the video, it was more of a question of is their sufficient quality from a drone image to justify making a print. I think the answer is definitely yes. As long as the image is well composed and has good light, there is more than enough detail in the DNG files captured on a DJI Mavic Pro to justify making a print.
In the video, you also saw me try out a paper that I haven't used before. It was the Fotospeed Smooth Cotton 300. I really like this paper and this was my first time making a large print on a matt paper. You can really feel the weight of the paper and the surface has a real feel of quality about it. I think I'll need to try a few more prints using some of the matt papers I have in my Fotospeed Matt Smooth Test Pack.
So do you own a drone? Do you take still images with it? Have you ever printed a drone image? Let me know in the comments below.
Loch Etive Panorama - Taynuilt, Argyll: DJI Mavic Pro, 1/125th sec at f/2.2, ISO 100, 26mm (35mm equiv'), stitched from 9 DNG files
Some of the links used in this article are Amazon affiliate links. By buying through the links I may receive a commission for the sale. This has no effect on the price for you.
A Landscape Photographers Basic Guide to Calibration and Profiling
How do I calibrate my monitor? How do I profile my printer? How do I improve the quality of the photographs I print? You don't need to be a colour expert to improve the way your images look on screen and in print. In the blog this week I show you how.
The Science of Colour
A quick search of the internet on the topics of colour management, monitor calibration and printer profiling, and one would be excused in deciding it was all too much effort. However, like many things in photography you can decide to get your head into the science of it, or you can take a more measured approach and make some small changes to your workflow.
Calibration and Profiling
Even though I don't print high volumes of my landscape photographs, I've always strived to make my workflow is as colour accurate as possible. But why? Most people probably won't even view my images on a calibrated monitor. There are a couple of reasons, Firstly, just for my own personal satisfaction. I like to know what I'm looking at is an accurate representation of the colours in my photographs.
The other reason is that when I print one of my images on my Canon Pixma Pro-10s, I want to be confident that what I print matches what I see on screen.
Perhaps the best way to tell you about my workflow is to show you:
In the video, I mentioned a few links that you might want to look at. In case you missed them in the YouTube video description, here they are again:
For me, those extra little steps I take to calibrate and profile my monitor and to also profile my printer are worth a little extra effort in my workflow. I love the satisfaction of watching an image come to life on the screen as I post process it and then watching it turn into something physical when I print it. knowing that the colours remain accurate along each step is an extra bonus.
So does your workflow include calibration and profiling? If not, does this video encourage you to try and implement new workflow? Let me know in the comments below.
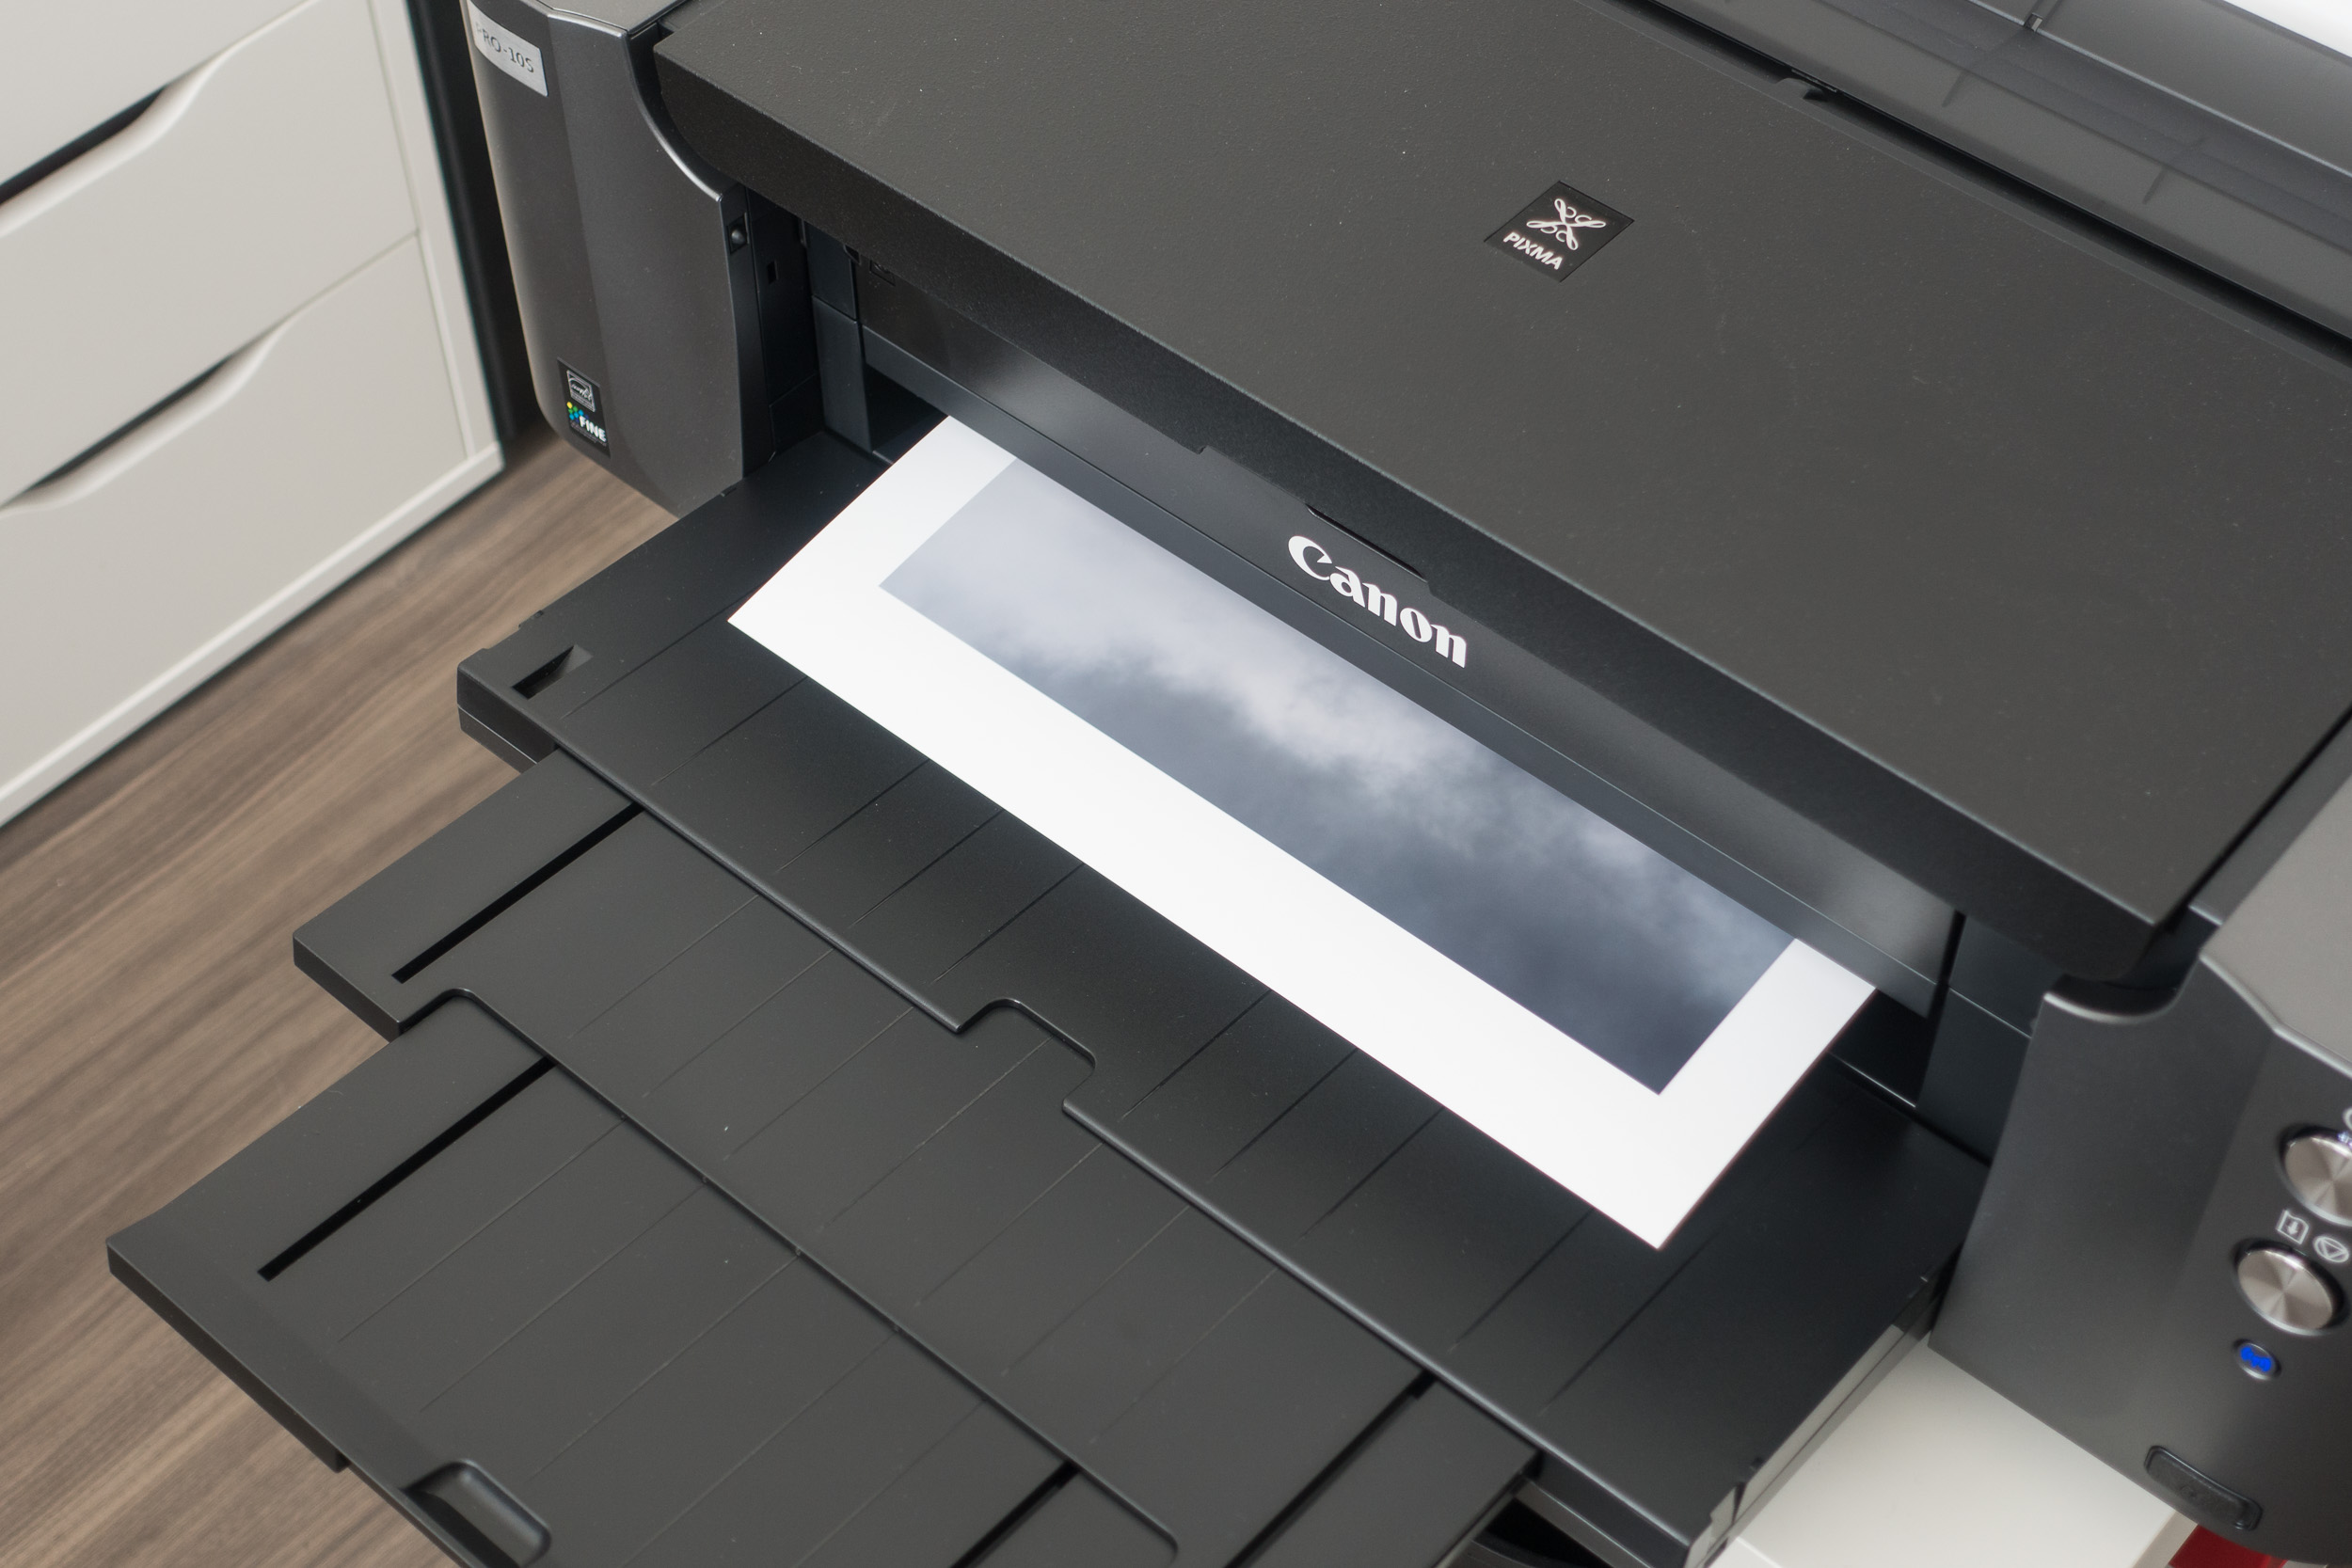
That Image of Trevose Head
In case you wanted to see that image of Trevose Head that you saw in the video in a bit more detail, here it is below:
Trevose Head, Cornwall.
If you want a little more information on Trevose Head, then check out my blog post on this fantastic Cornish location.
PS - The product links used in this article are Amazon affiliate links. By buying through the links I may receive a commission for the sale. This has no effect on the price for you.

Developing a Passion for Printing
In the vlog this week I expand my printing skills by printing a panoramic image on panoramic paper and then mounting it into a custom-made panoramic frame. I also take a look at some different paper types to try and see what impact each one has on an image.
Discovering the Joy of Printing
Back in April of this year, I wrote about how I purchased a new Canon Pixma Pro-10S printer while I was at The Photography Show in Birmingham. You can read why bought a printer and watch the video I made on my first experiences of printing, in my blog article Discovery the Joy of Printing.
Ever since then I've been printing my images. A lot. And I have to say it's been a lot of fun. I've enjoyed the experience of going out to make an image, post-processing it, and then creating a print at the end.
Developing a Passion for Printing
I have however been keeping things relatively simple. I've been using standard paper sizes, using Canon's Platinum Pro glossy paper. The results have been great. Prints match what is on the screen and the whole workflow is straightforward.
However, there any many different paper types from many different paper manufacturers, so I thought it was about time to expand my printing horizons. In the video below I take one of my favourite panoramic images and print it on some panoramic paper from Fotospeed, and then mount it in a custom frame from Picture Frames Direct. I also take another one of my favourite images of the year and print it on some different paper types.
These are the images I printed in the video.
Nikon D750, Nikkor 24-70mm f/2.8 VR at 20mm, 1/3 sec at f/11, ISO 100, 7 image panorama.
Nikon D850, Nikkor 16-35mm f/4 @ 18mm, ISO 100, 5 sec @ f/13, Lee Filters circular polariser and ND grad.
Well, I hope you enjoyed my follow-up video on printing. As you can see I've still got a lot to learn, but I'm really enjoying the challenge. I get a great sense of satisfaction on owning the entire process from capture to print.
Have you recently taken up printing? Are you an experienced printer? Do you have any advice on printing? Let me know in the comments below.

Making the Print
In this blog post I tell you about my experience of printing, packing and posting my first print.
A Special Request
On the blog recently I told you about how I have discovered the joy of printing. Adding printing to my photography workflow is something I've been wanting to do for a while and since picking up my Canon Pixma Pro-10S I've very much enjoyed printing out my work.
As if by some happy coincidence a friend of mine who lives in Sweden asked me to create her a print of an image that I took while on a workshop in Glencoe. I was of course delighted by the request. What better way to put the printer to use than to create an A3+ print of this image for a friend.
Pass of Glencoe
As I live in the UK and she lives in Sweden, I would also need to learn how to package and ship my prints. Time to get to work!
Printing the Image
As I said in my video Discovery the Joy of Printing, getting a high quality print from the Canon is fairly straight forward. By using the Canon Print Studio Pro software it was just a matter of setting the correct options:
Set media type to Photopaper Pro Platinum
Paper size to A3+
Set quality to high
Set "clear coat the entire image" - this ensures the entire image, even where no ink as been laid, has an even glossiness.
Set printer profile to match paper
Set layout to bordered - as requested by my friend
Set brightness to +15.
Canon Print Studio Pro - simple and straightfoward to use.
The next step is to load the A3+ paper into the rear tray. As you'll see in this image I am using white cotton gloves so I don't leave any residue from my fingers on the paper. I will use white gloves thoughout the process whenever I am touching the photo paper.

Then you just hit the Print button and wait for your image to take physical form!
Packing the Print
For this part of the process, I really have to thank Martin Bailey for his very informative and detailed blog post and video, Rolling Fine Art Prints for Shipping. Following Martin's workflow I got the following items:
Tracing paper - to put over the print to protect it when rolling. Martin used some Canon paper but tracing paper should be sufficient.
Tear away paper - this is used in the final stages of rolling and using sticky tabs holds the roll to the size you make. This stops the rolled print expanding once it is in the tube.
White gloves - to stop my fingers marking the print
Business card - with my contact details and website address
Bubble wrap bung - these are used at either end of the tube to stop the print banging off the ends when the tube is slightly longer that the print.
Shipping tube - as Martin pointed out you need to make sure its strong tube so it doesn't get crushed in transit.

Once I had everything I needed, I covered the print in tracing paper and then gently started the roll.
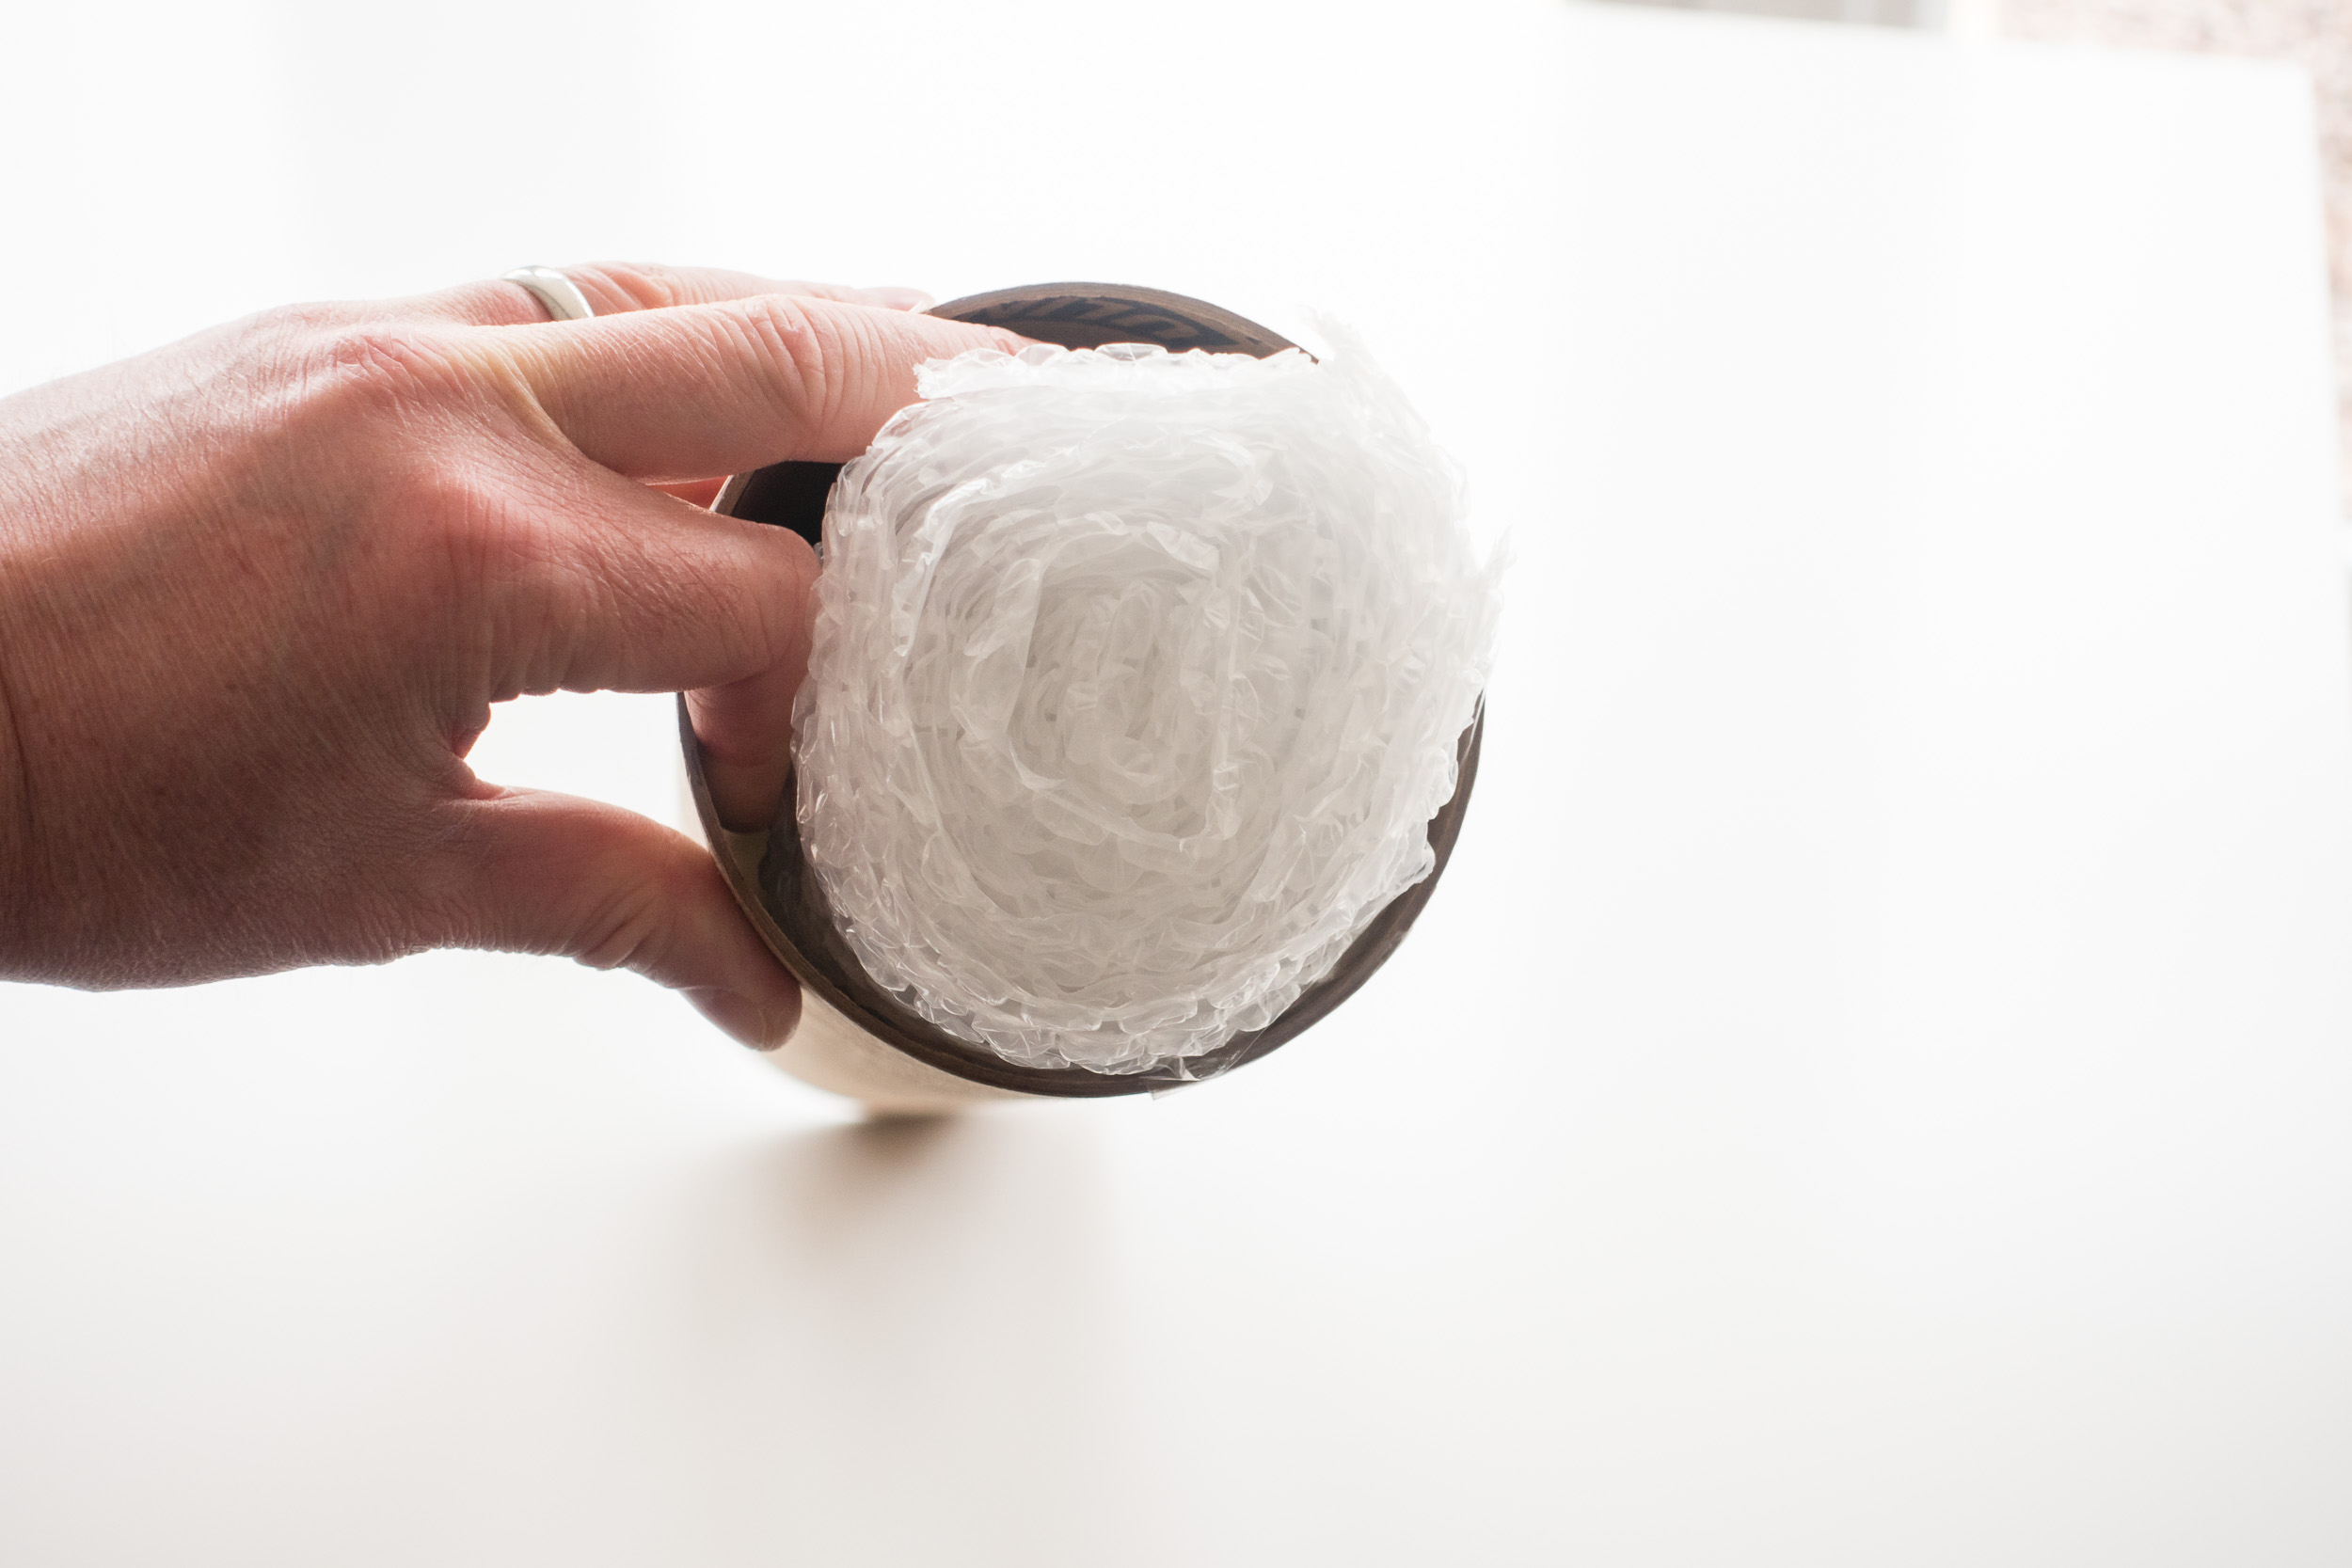
The rolling is the most difficult part of the process and you need to be careful not to damage the print, but after that, it's really just a matter of putting it in the tube along with one or two bubble wrap bungs and a business card.
Once the tube has been addressed and sealed it was off to the Post Office so the print could start its journey to Sweden!
Enjoying the Process
I suspect this whole process of printing and shipping isn't for everyone. After all, you can go to a printing lab online, upload your image and have it shipped directly to where you need it. However, for me at least, part of the enjoyment is doing it all myself. There is the satisfaction of owning the entire process from taking the image to printing it to shipping it. I like the fact that recipient of the print knows that I personally did all the work.
So do you print your own work? Do you sell and pakage your own prints? What personal touches do you put into the process? Let me know in the comments below.