

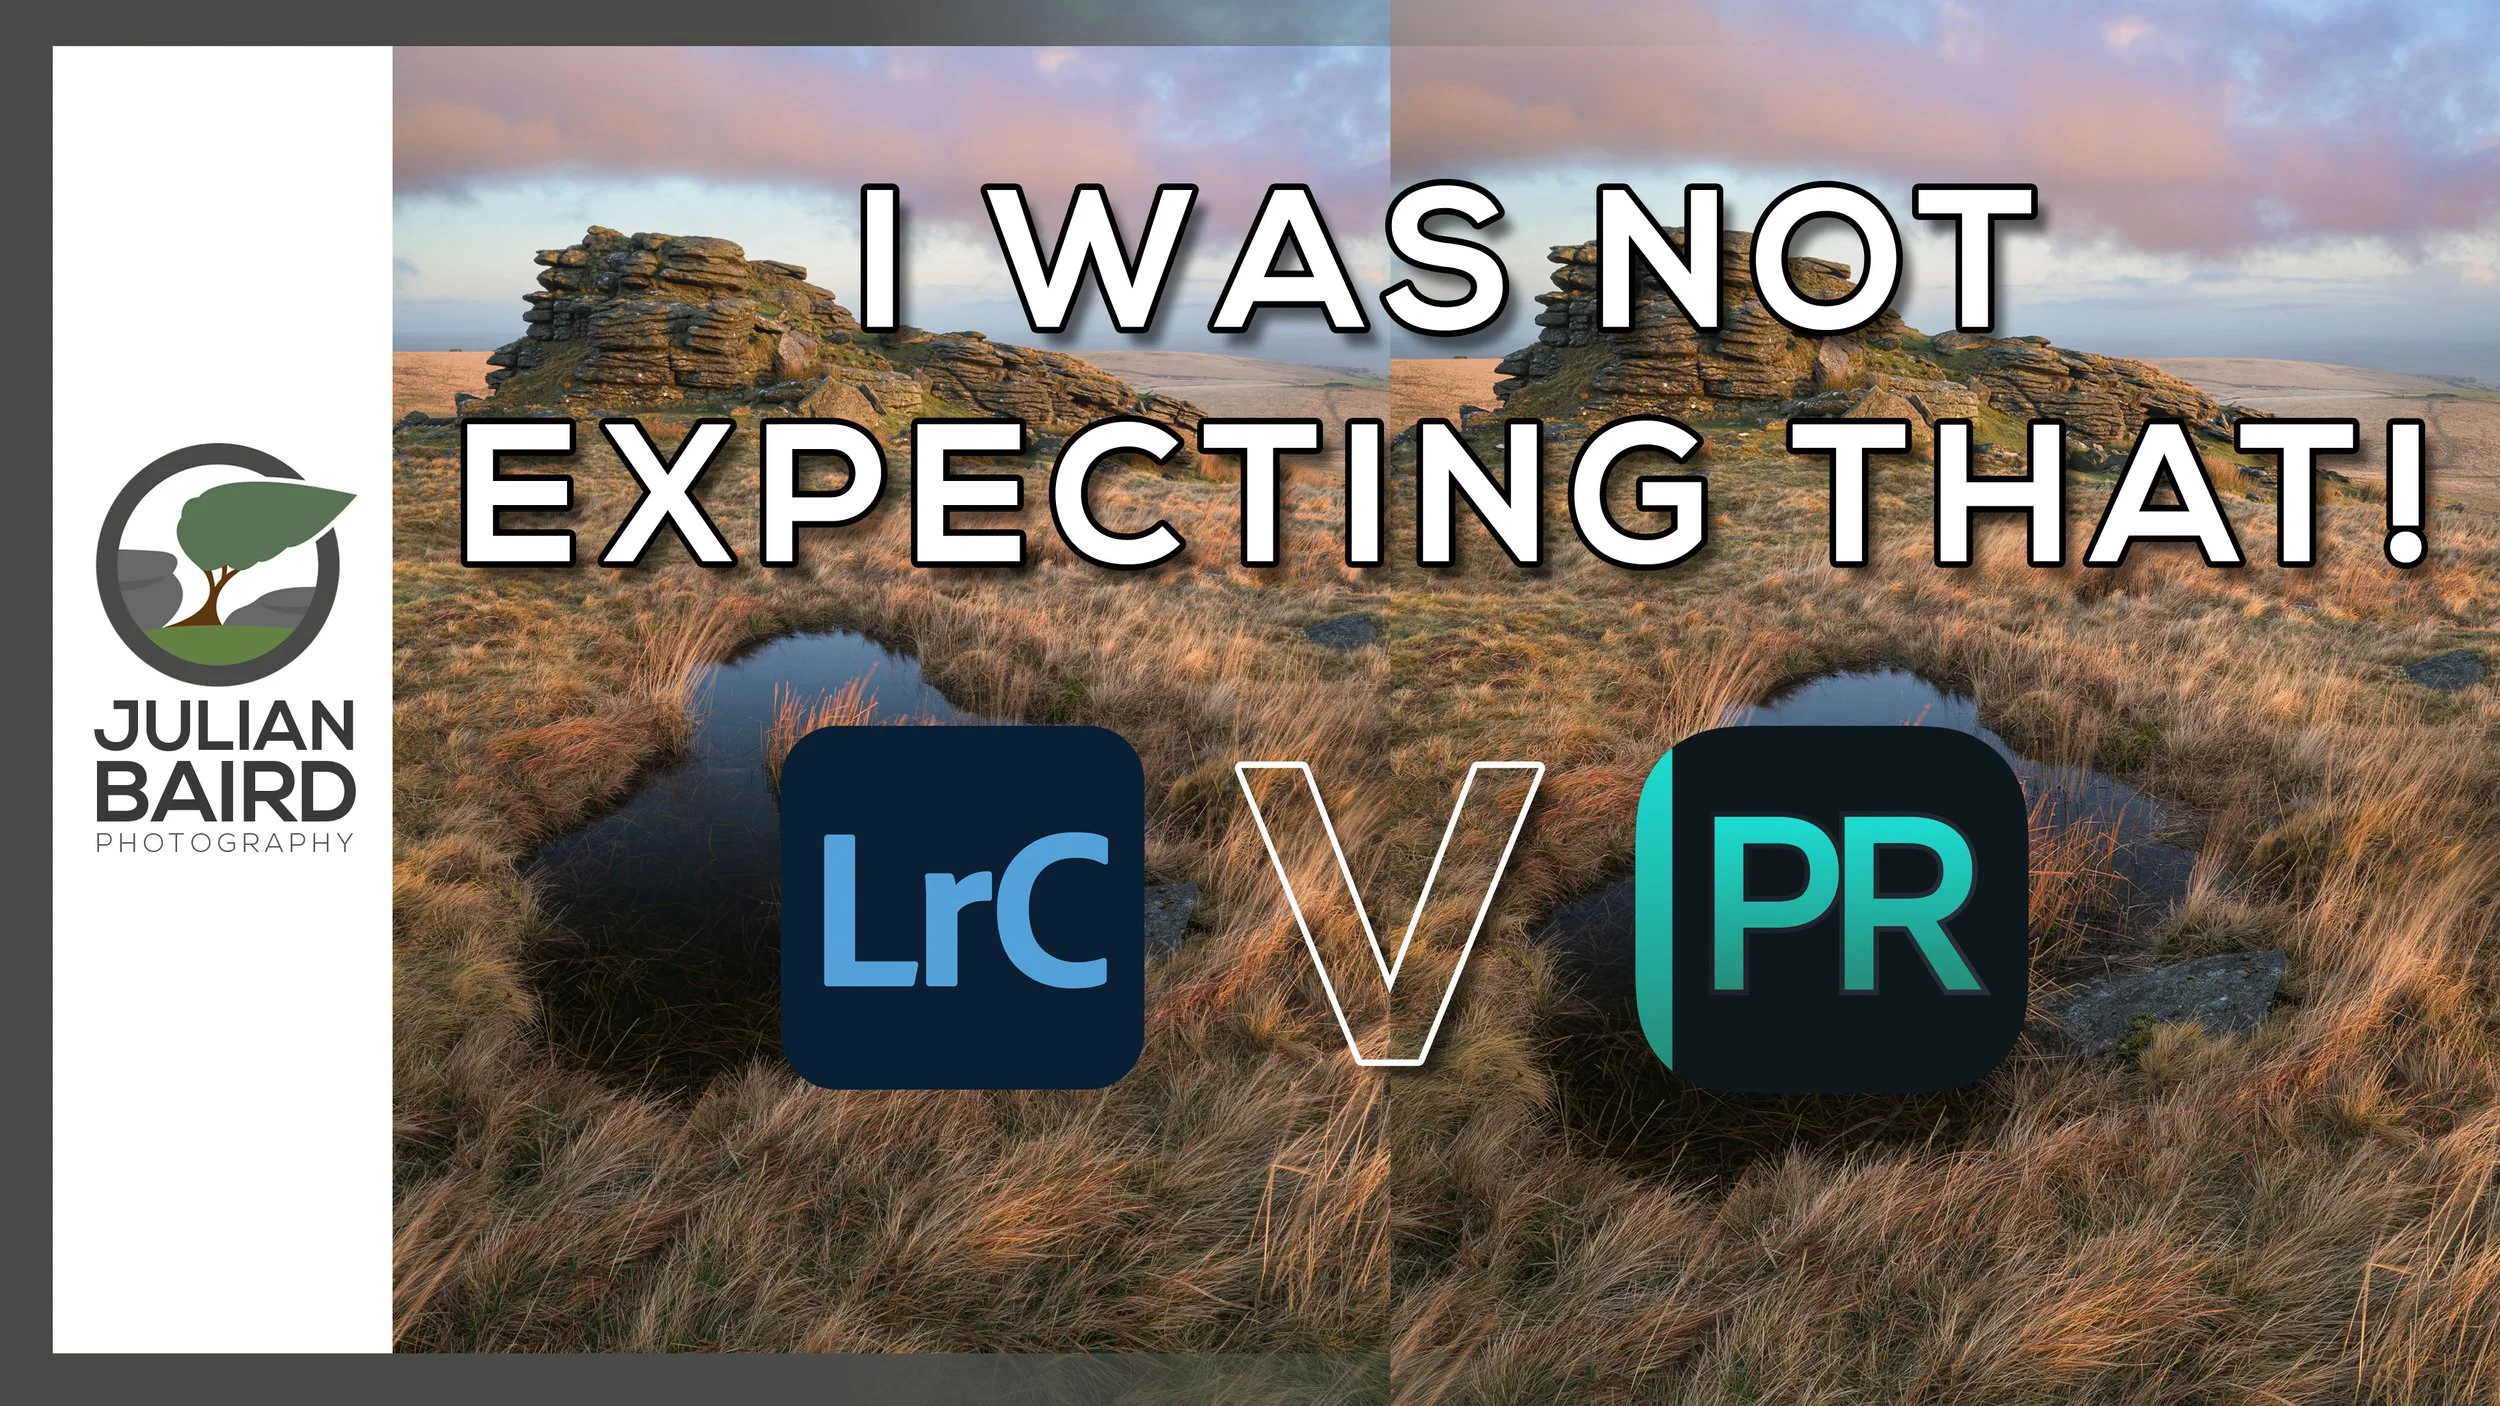
Why Your Image Editing Workflow Needs DxO PureRAW 4
In this video, I take a quick look at the newly released PureRAW 4 from DxO. If you've not used PureRAW 4 before this video will give you an overview of the product and if you are an existing PureRAW user, I'll highlight some of PR4's new features.
Making the Most of Your Raw Files in Post Processing
I admit that back in 2022 when I first tried DxO PureRAW 2, I was sceptical of the claims it was making in its advertising. However, I downloaded the free trial so I could evaluate it for myself. Needless to say, I was really impressed, and I bought the software.
The following year I paid for the upgrade to PureRAW 3, and now in 2024, PureRAW 4 is with us and I’m excited to see some genuinely useful new features. Who’d have thought it would be possible to get excited about a raw processing engine!
I’ve only just got my hands on PureRAW 4 and as I’m about to leave for a photography trip to Scotland I’ve only had time to create a short video on PR4. But hopefully it will provide new users with an overview of PR4 and for existing users an idea of some of the new features. Enjoy!
You can get a FREE trial or buy DxO PureRAW 4 here - https://tidd.ly/3F2y73y
If you want to know more about the reasons I use PureRAW then check out my original PureRAW 2 video - https://youtu.be/h39PVABNFYI
Will DxO PureRAW 2 IMPROVE My Images?
Over the years I've barely changed my landscape photography post processing workflow, but DxO PureRAW promises to change all that! It claims that its demosaicing, denoising, lens correction and deep learning technologies will improve sharpness, and reduce distortion, chromatic aberrations, and vignetting. Those are some bold claims, so I decided to try it out for myself. The results surprised me!
My Post Processing Workflow
I haven’t felt the need to change my post processing workflow for a long time. I’ve adapted it and leveraged new tools and capabilities from Lightroom as they’ve been released, but at a fundamental level, it hasn’t changed in at least 4 years. It can be summarised as a “light touch” approach using a combination of global and local adjustments in Lightroom. I very rarely use Photoshop for image editing, and I’ve never felt the need to add additional products to my workflow.
I’ve always been happy with my digital output but when I saw an advert or YouTube mention for a product called DxO PureRAW 2 something clicked, and I decided now was the time to try something different. I was also editing an image that I was going to print and hang on my wall, so it seemed the ideal time to try something new to see if I could squeeze even more out of my raw files.
I decided not to look at any video tutorials or marketing blurbs before trying this software for the first time. I wanted my first impressions to not only be free of bias but also genuine.
In the video below you will see me use DxO PureRAW 2 for the first time and hear my first impressions, both in terms of how the output looks digitally and in printed form. I’ll also tell you if I decided to use my own money to buy this product. (If you want to buy or try DxO PureRAW 2 then click here).
If you enjoyed this video, you might also enjoy the video I made where you can see me capture, print and frame the image I used in the video above.
I hope you enjoy both of these videos. Let me know in the comments below if you print your photographs and how you process your raw files.
Capture or Editing - Which Has the Biggest Influence on Landscape Photography?
How much of a photographer’s vision is realised in post processing? Is the look of a landscape photograph fixed at the point of capture? Can one raw file produce two different photographs? In this post, I aim to answer this question by editing another photographer’s raw file in Lightroom.
Virtual Collaborations
Collaborations can be a great way to discover more about your photography. They can also be a lot of fun. That being said I don’t do them that often. I tend to only do them with photographers I know and trust, and when the idea is unique or interesting. They require a fair bit of planning and coordination, but they can be rewarding if they benefit everyone involved in the collaboration.
Time is perhaps the biggest enemy of collaborations, but in recent months it’s been a very different issue. I don’t need to go into too much detail here. I’ll just mention the word “lockdown” and you’ll know exactly what I mean.
With travel not possible I found myself a bit stuck for collaboration ideas when I was chatting to my mate and fellow photographer Chris Sale the other day. We were both looking for something we could do together that didn’t involve travel. I’ve worked with Chris a few times on various projects, such as the documentary I made about him recently, but whatever we’ve done, we’ve normally done it in person.
How Important is Post-Processing?
As I chatted with Chris, I came up with the idea of editing each other’s raw files. This would be something we could do without meeting up, but it would still hopefully prove to be interesting. Neither of us would normally let someone else edit one of our raw files, but we’ve been friends for a while now so we both felt we could trust each other with our precious digital negatives.
The question we were aiming to answer in our collaboration was how much influence does post-processing have on the final image? If you give one raw file to two different photographers, how different will the results be? Is the output of the image fixed at the time of capture, or does the photographer's post-processing style have a significant impact on the output? You get the idea!
In the videos below you’ll find Chris editing one of my raw files, and me editing one of Chris’ raw files. At the end of each video, we’ll present our results back to each other, and compare them to the photographer's original edit. How different will the photographs look? Find out below.
Did the results surprise you? Would you ever let someone edit one of our raw files? Let me know in the comments below

Back to Bowerman's Nose
This week I photographed one of Dartmoor’s most iconic tors, Bowerman’s Nose. It’s not my first visit and it certainly won’t be my last.
What I’m Looking For
I can’t remember when it was, but ever since I saw my first photograph of Bowerman’s Nose on Dartmoor, I’ve wanted to capture my own image of this iconic tor. I’ve been there many times since but never managed to get the image I was looking for.
For me light is critically important when shooting Bowerman’s Nose. There are plenty of interesting compositions to be had, but without good light on the tor itself it’s just a flat vertical stack of stone. Flatter light might well work if the scene was covered in snow, but given that every time there’s a decent dumping of snow I can’t actually get up onto Dartmoor, it’s unlikely I’ll ever get that shot.
Snow aside, for me the best option for getting a good photograph at Bowerman’s Nose is when I get nice, soft, warm light from a setting sun. (Saying that though, I have been inspired by a recent photograph of Bowerman’s Nose by Neil Porter to photograph it in the morning, but I’ll save that challenge for another day). Anyway, the light is important for a couple of reasons. Firstly it gives the “nose” some contrast turning it from a flat bit of rock into something that looks 3 dimensional. The light also works well on the ground making the undulations and grasses more prominent in the frame.
Together with light and a reasonable amount of cloud I have pre-visualised the shot that I want to get from Bowerman’s Nose. The trouble is, I’ve never managed to get it. I’ve come close once, but the shot I want eludes me so I continue to return to Bowerman’s Nose in the hope that I get the shot one day.
To Exposure Blend or Not
With the desire to get the shot that I wanted I decided to return to Bowerman’s Nose on Thursday evening. I have to admit though the weather forecast wasn’t exactly optimal. I expected to get nice soft light from the setting sun but the cloud forecast was for clear skies. I’m rarely interested in blue skies but sometimes the haze or the very high cloud can go a nice colour as the sun starts to dip below the horizon. I thought it was worth a punt. Better to be out on Dartmoor than in the house watching TV….well, most of the time that is!
When I arrived on location the sky was even clearer than the forecast had predicted so I knew I was going to have my work cut out. The principle challenge was with the contrast between the dark and light areas on the scene. Even though it was only about 30 minutes before sunset the scene had a lot of contrast. As the “nose” typically breaks above the horizon in most compositions, it is almost impossible to use a neutral density graduated filter. To capture the scene I could either try and do it using one carefully exposed frame or capture two frames and exposure blend them later.
Bowerman’s Nose #1, Dartmoor, Devon - Nikon D850, Nikkor 16-35 mm f/4 at 16 mm, f/13, 1/8 sec at ISO 64, Kase CPL.
When it comes to post-processing though I’m very much a light touch/5-minute edit type of person, so exposure blending isn’t top of my list of things to do. However, the HDR merge feature in Lightroom does a pretty good job of exposure blending these days without the need to drop into Photoshop to use layer masks. I’ve included images in this blog that use both a single frame and that have been exposure blended. Can you tell me in the comments which are which?
Bowerman’s Nose #2, Dartmoor, Devon - Nikon D850, Nikkor 16-35 mm f/4 at 20 mm, f/13, 1/15 sec at ISO 250, Kase CPL.
It was a relatively productive evening in the end and I got a couple of images that I’m reasonably happy with. I’ve still not got that killer shot that I want but that always gives me a great excuse to visit Bowerman’s Nose again!

Focus Shift / Stacking with the Nikon D850: Capture and Processing
In the blog this week, I finally put the Nikon D850 Focus Shift feature to work by heading out to Dartmoor National park to capture a focus stacked landscape photograph of the waterfalls at Venford.
Using a New Feature of the D850
I love using my Nikon D850. It is without a doubt the best camera I've ever used. I even made a video on the 8 Things I Love About the D850. However, there was one feature that until recently I had never used. That feature was Focus Shift Shooting.
Focus Shift Shooting was a feature introduced with the D850 that allowed the camera to automatically take a series of photographs at different focus points throughout the scene. The idea is that you take those images, each with a different point of focus, and then "stacked" them in Photoshop, to create one super sharp image.
While the idea of focus stacking is hardly a new one, having a camera do the hard work for you is relatively new. Even the amount of work in post processing is much reduced now with Photoshop generally doing an excellent job of merging the photographs automatically.
Using Focus Shift in the Field
With the process of creating a focus stacked photograph becoming easier and easier I thought it was about time, I gave it a look. After all, even if I don't use focus stacking all the time, having another skill in your photographic toolbox can never be a bad thing.
So if you want to learn how I focus stack my images (and you don't necessarily need to own a D850 to do it), then check out my video below:
I hope you enjoyed that brief tutorial. Like I said, you don't have to own a D850 to create a focus stacked image. The D850 just automates the process of capturing the images. I was also a bit hesitant at first on trying out focus stacking. It all seemed a bit like hard work, but as it turns out it's not that difficult and the results are great. It's not needed for every photo, but you'll be glad you learnt the skill should you need it.
So, do you focus stack your images? Do you have a slightly different technique? Let me know in the comments below.
Those Focus Stacked Photographs
Venford Falls - Dartmoor, Devon: Nikon D850, Nikkor 16-35 mm f/4 at 24 mm, 2.5 secs at f/8, ISO 64, Lee Filters Circular Polariser.
Life on the Edge - Bedruthan Steps, Cornwall: Nikon D850, Nikkor 16-35 mm f/4 at 26 mm, 1/15th sec at f/5.6, ISO 64, Lee Filters Circular Polariser.
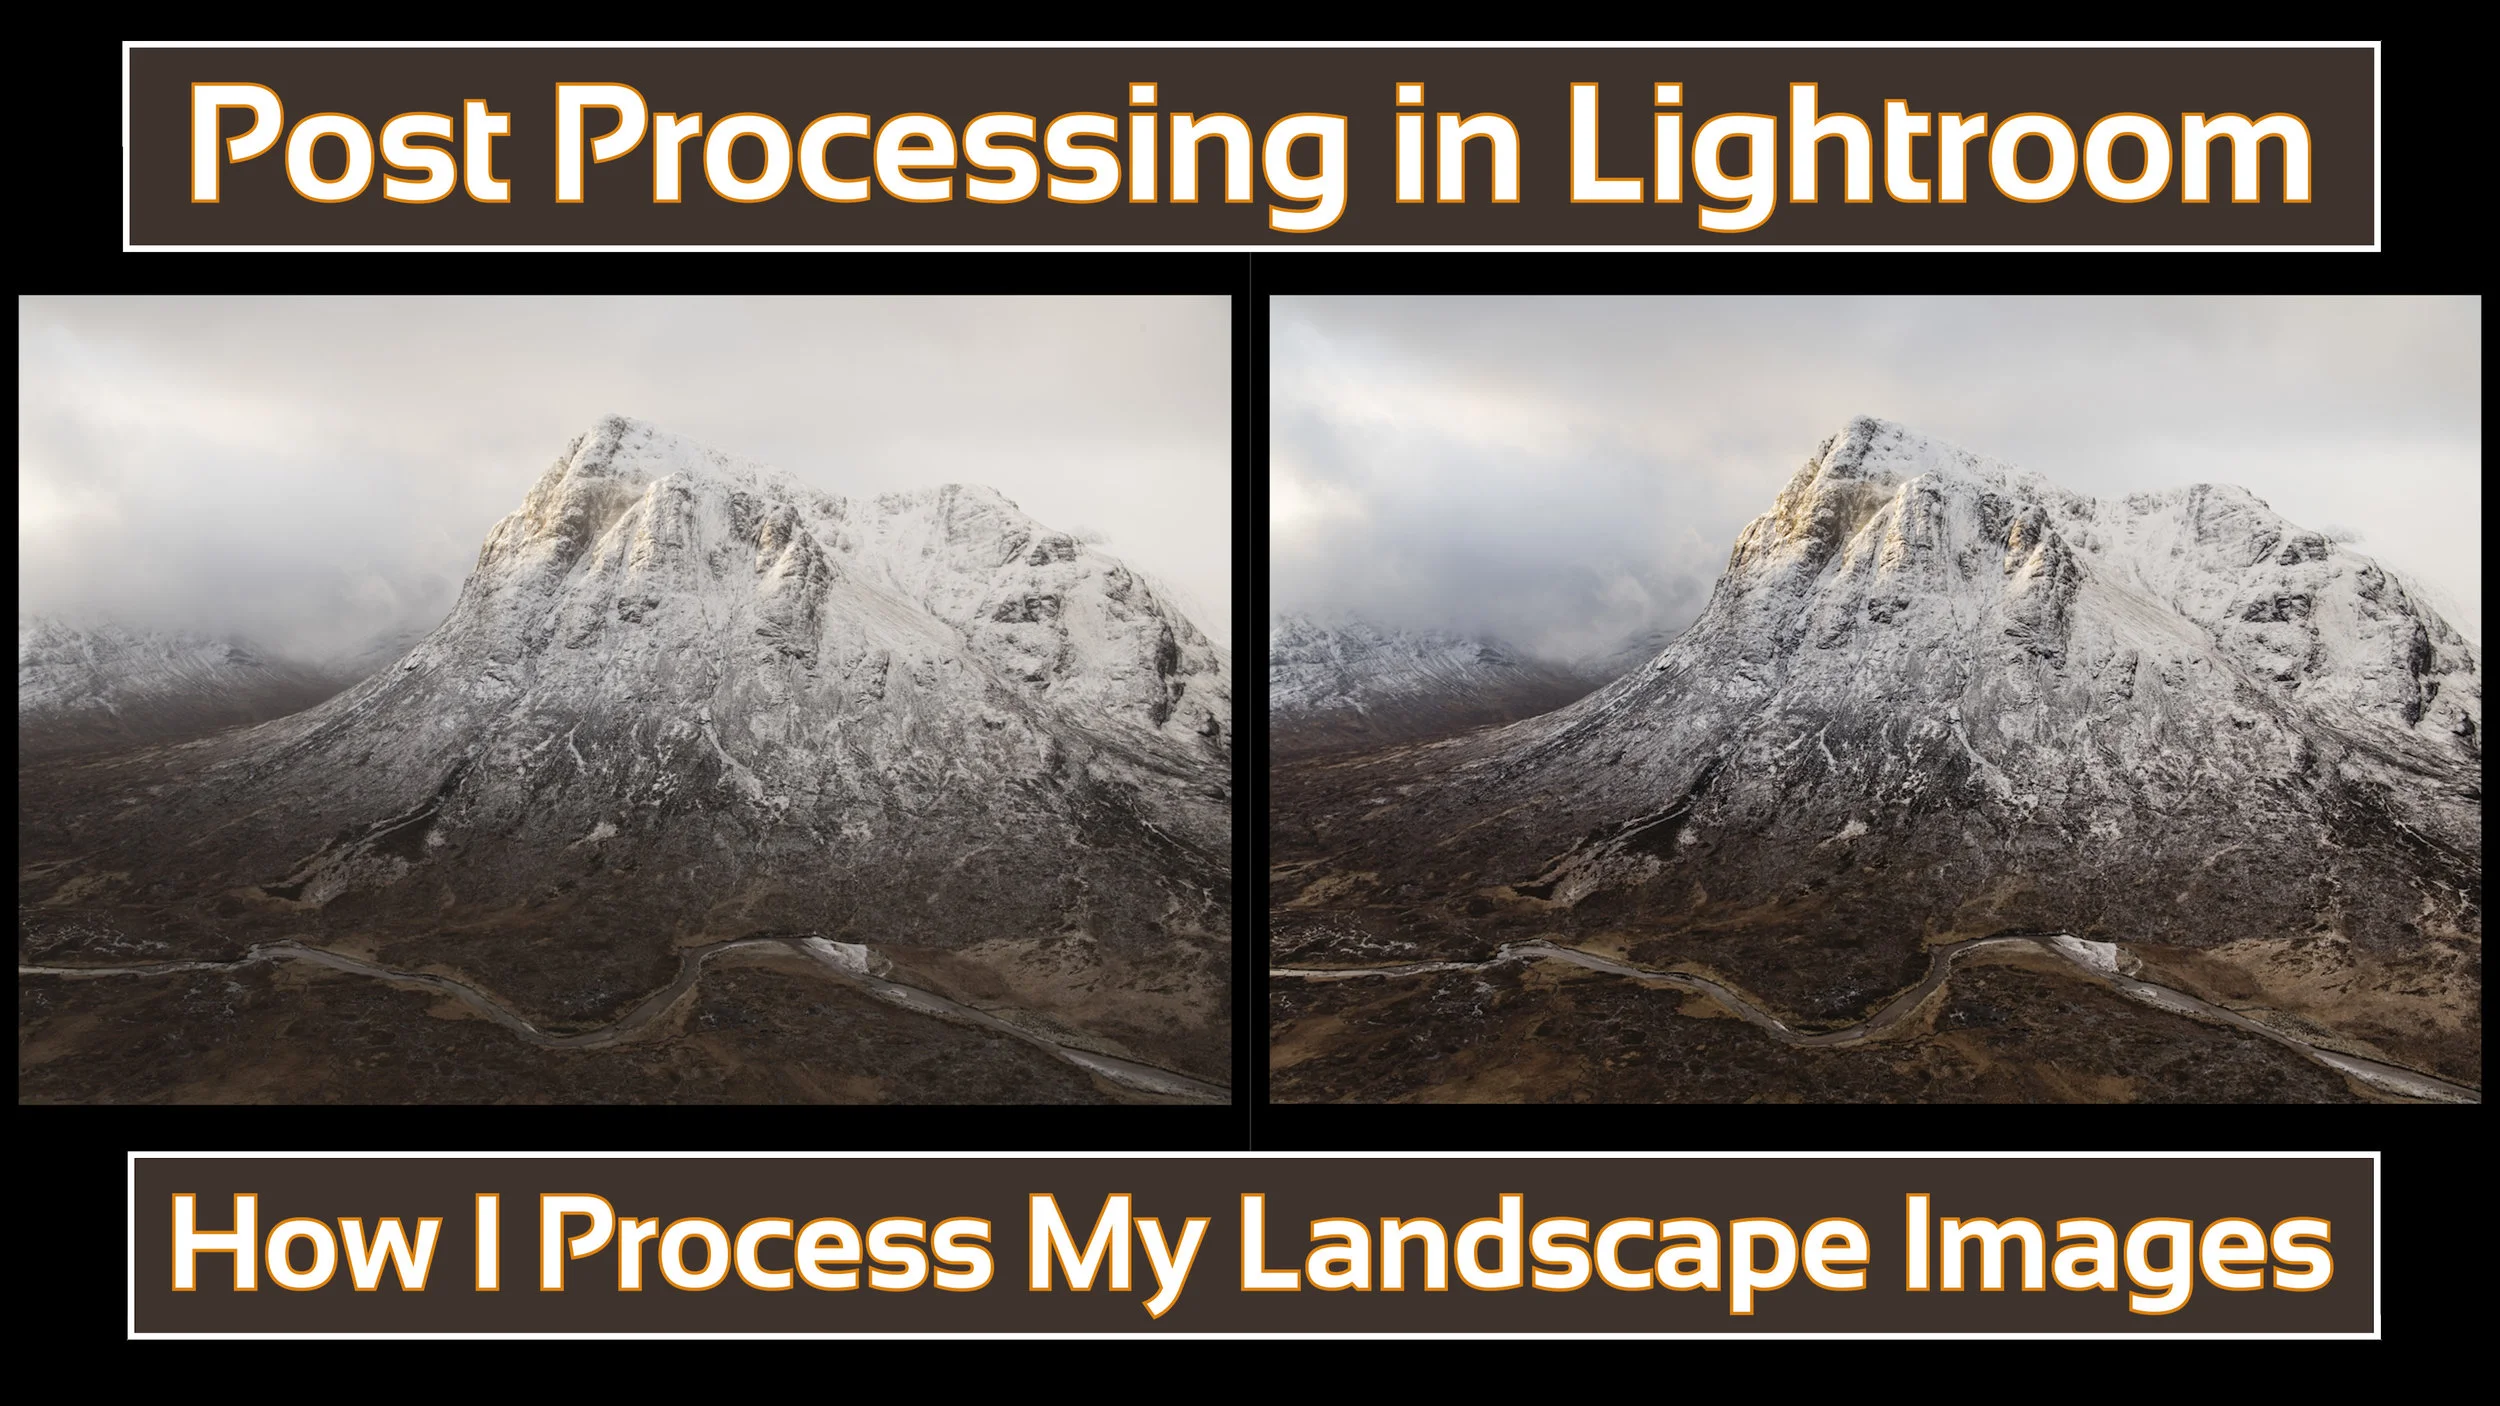
How I Post Process My Landscape Images in Lightroom
In the blog this week I share a video on how I post process my landscape images using Adobe Lightroom.
As Requested!
Over the last few months, an increasing number of my YouTube followers have asked about my post-processing technique and would I do a video on the subject. Well, I finally found a suitable gap in my schedule to create a post-processing video and you can watch it right here:
As I said in the video, what I do is not necessarily the right way or the only way to do post-processing, it's just the way I do. Hopefully, even if you already know Lightroom you might have picked up on something new that you didn't know about.
Anyway, just a really short blog post from this week. I just wanted to share that video.
Are you interested in how I backup my data? Would you like to know how I manage my Lightroom catalogue? Let me know in the comments below.